71 Early Bay, formerly know as 'SuperDry'

Early Bay Forum

Help Support Early Bay Forum:

This site may earn a commission from merchant affiliate links, including eBay, Amazon, and others.
Had a little bit of time today so got the T-Cut and Carnuba wax out to finish cleaning the engine bay.


Then on to rear valance


Much happier with it now. Obviously the catch needs cleaning and polishing, and the slots for the seals etc require cleaning, but it's heading in the right direction


Decide to make a start on the 1641 this afternoon.


Gasket needs properly cleaning off, it'd gone a bit crusty


Barrel #2


Barrel #1


#2 looks like there's a bit of oil in there


#2


Actually #1 doesn't look that good at the plug either does it?


Bores seem ok.


Awaiting some love......


I have a full set of replacement stock valves here, along with a set of rings and a set of valve guides.

Is it worth just replacing the lot?
 
The other head is coming off this evening and a pal of mine has Dial Test Indicator so we're going to measure valve movement within the guides.
Fingers crossed they're ok and the oil is just from the thing being bumped around and tipped in the time it's been in my custody.
Also got a new set of rings here as well as a replacement set of valves.
Not going to replace stuff unless I need to but I've got here what may be required.
 
Needed to get the other head off too
URL=http://s35.photobucket.com/user/misterscoops/media/SuperDry/ADA5168D-5155-4049-9B82-36AD95D818E1_zpszk89pkex.jpg.html]
ADA5168D-5155-4049-9B82-36AD95D818E1_zpszk89pkex.jpg
[/URL]

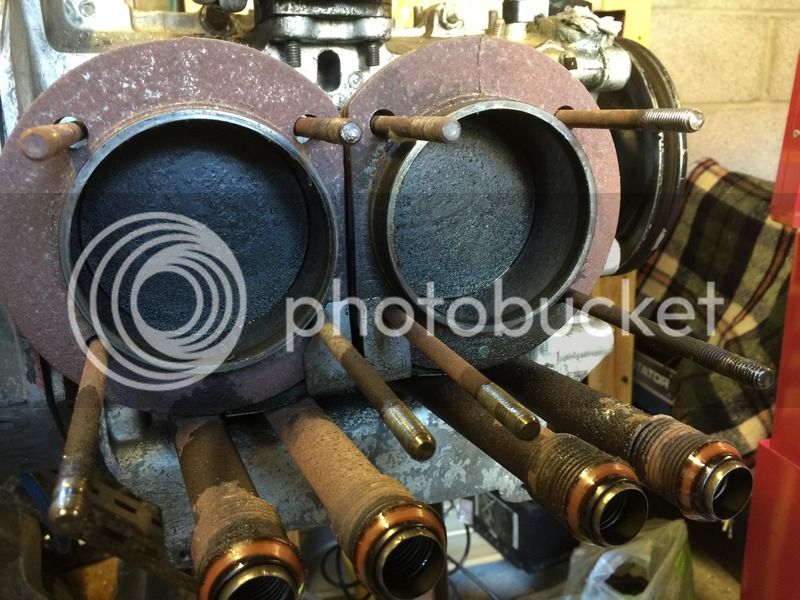
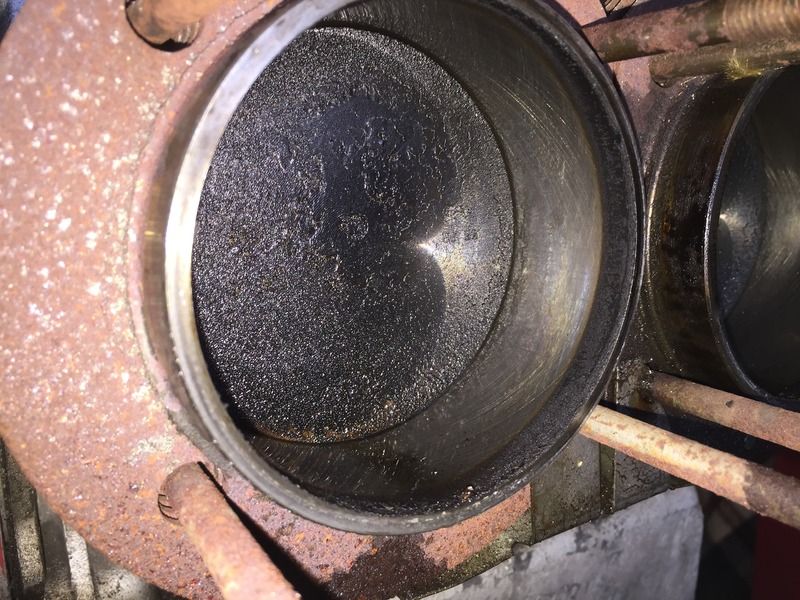
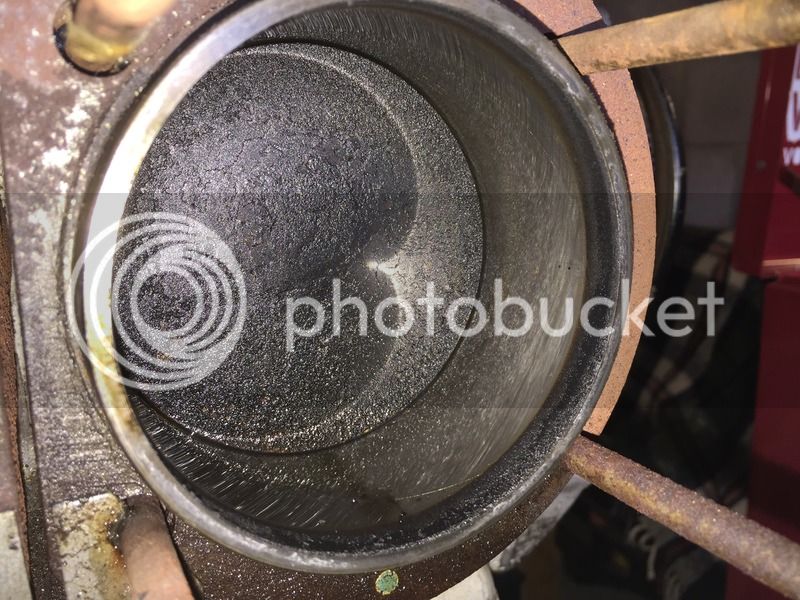
This side looked healthier so I'm assuming it had been tipped on it's side at some point.


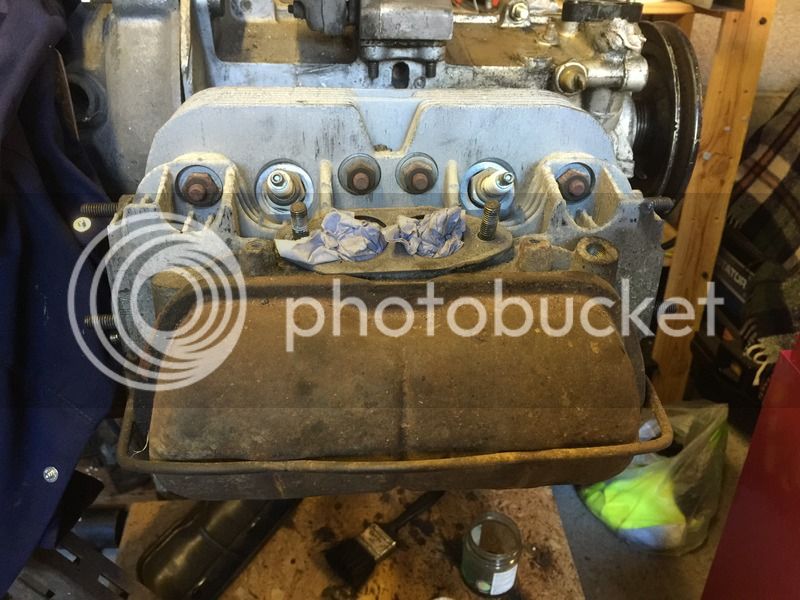
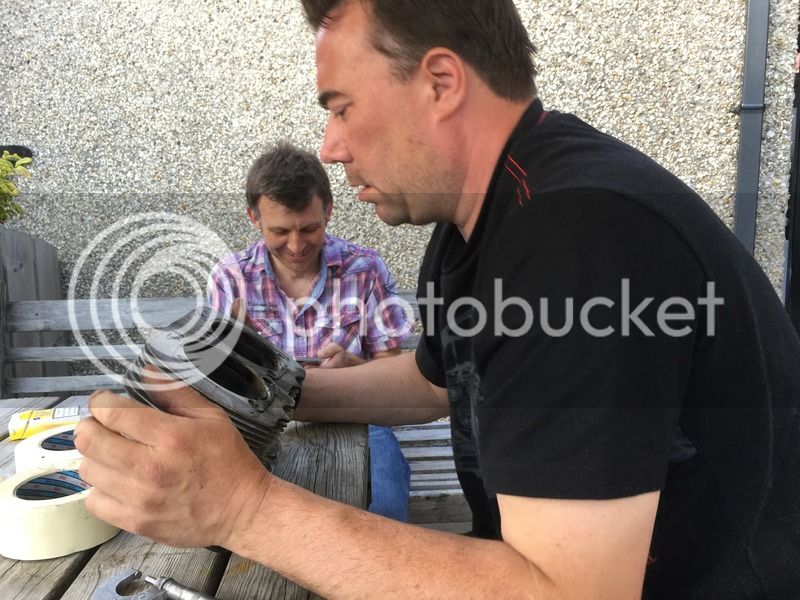
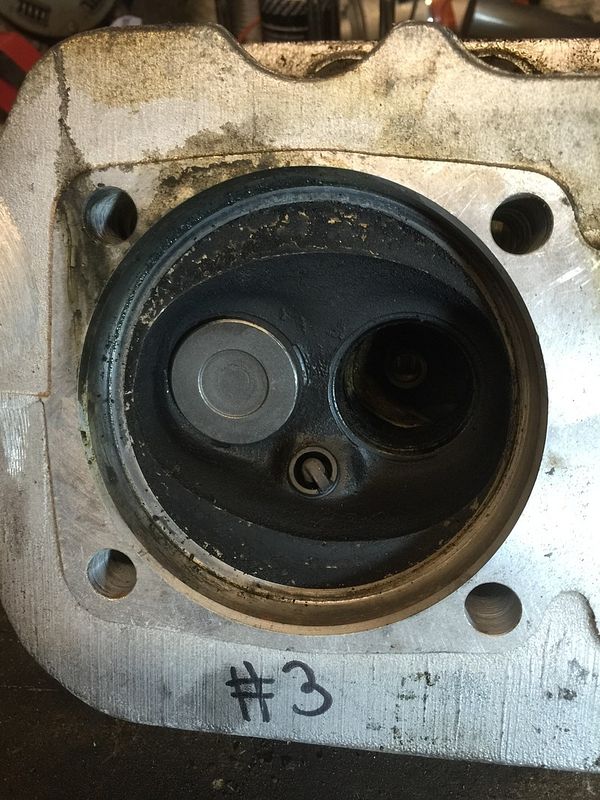
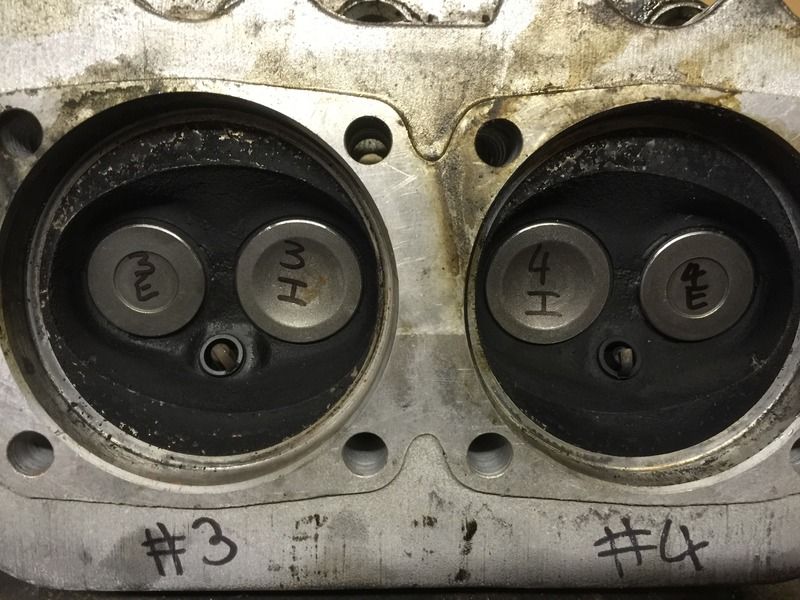
Marked up and ready for some diagnosis from Nomates


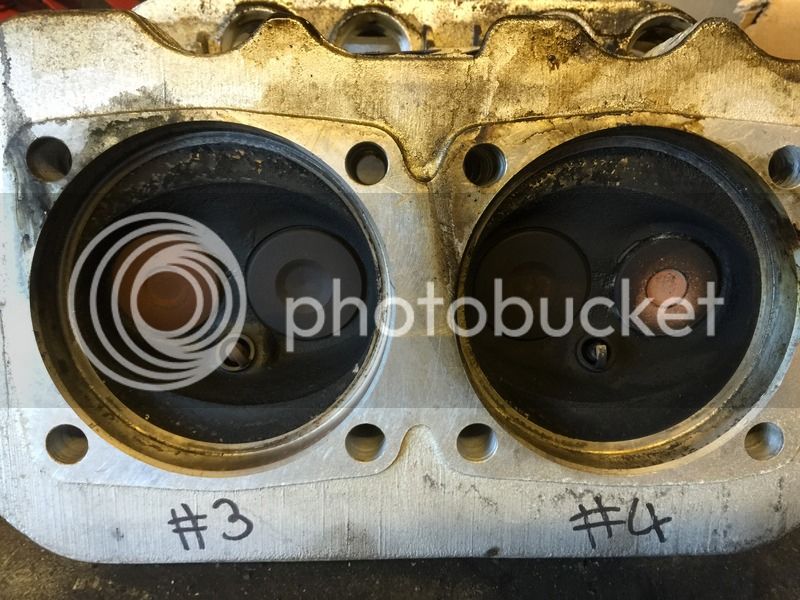
Plugs look better this side too


Armed with some measuring data I set off to Dr Nomates Engine Emporium.


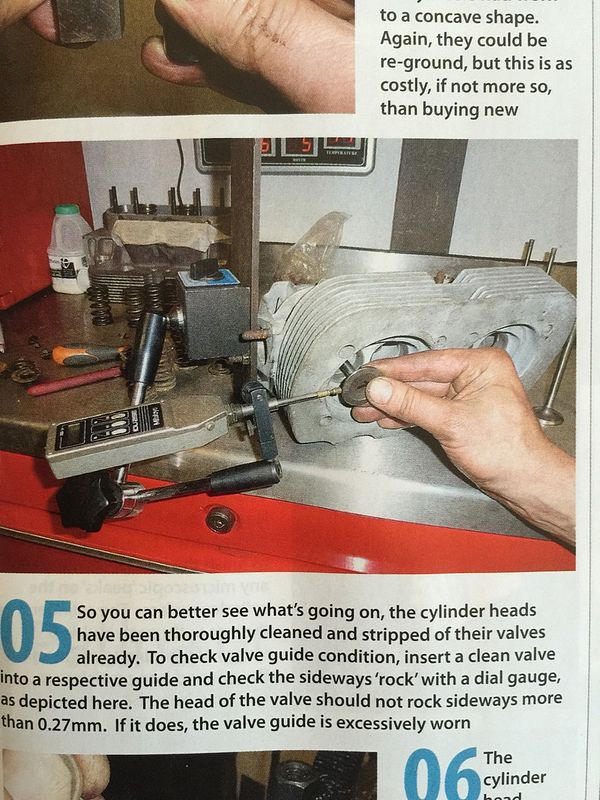
However, Dr Nomates shunned this info in his own special way by saying "that's bollocks, they are showing you measure the guide wear from side to side, they wear top to bottom" so we dismissed the article and he worked his magic.

Out came the collets and springs.


And he used his in built 'spidey sense'


He said in his opinion all the guides were ok but to relap in the valves, something I'd planned to do anyway.

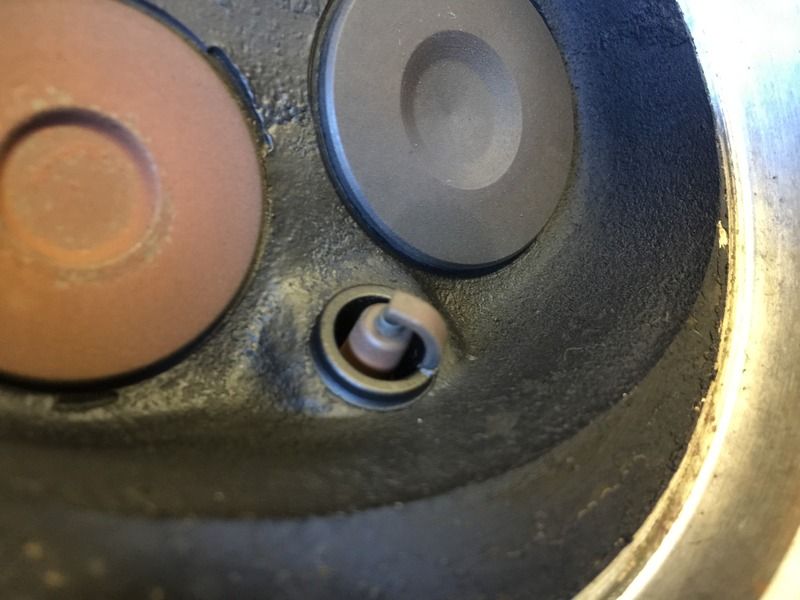
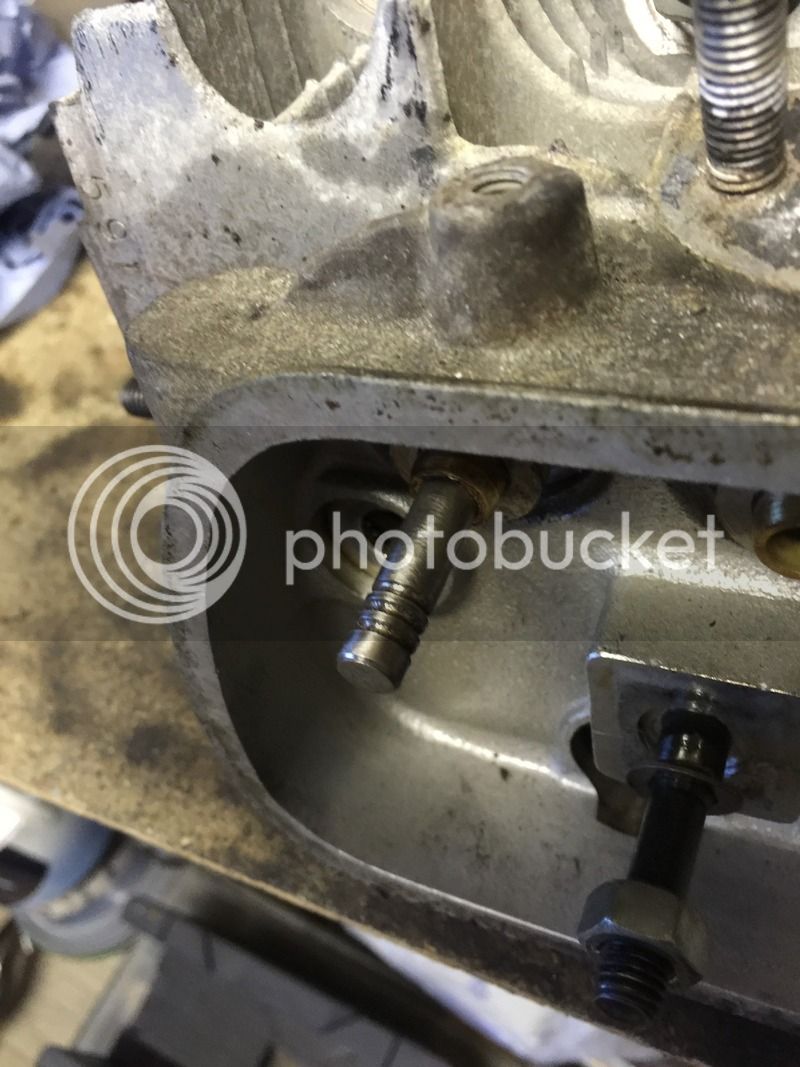
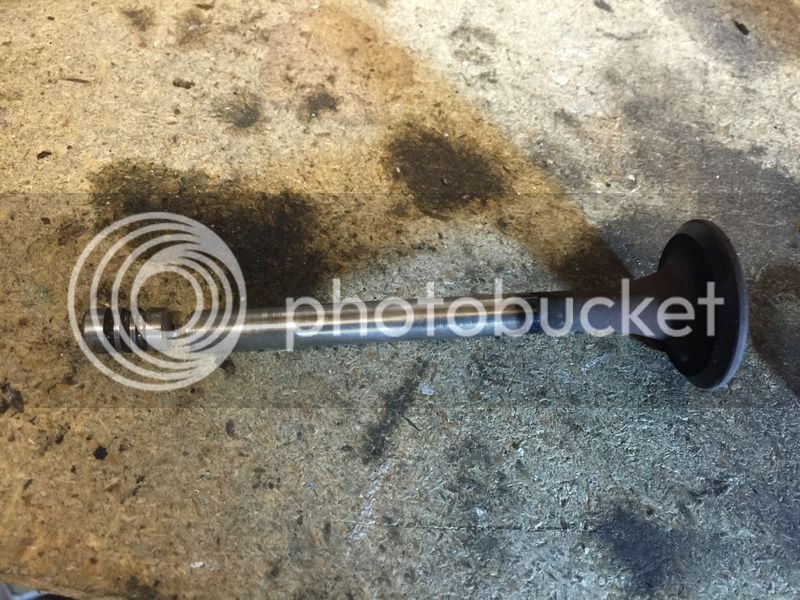
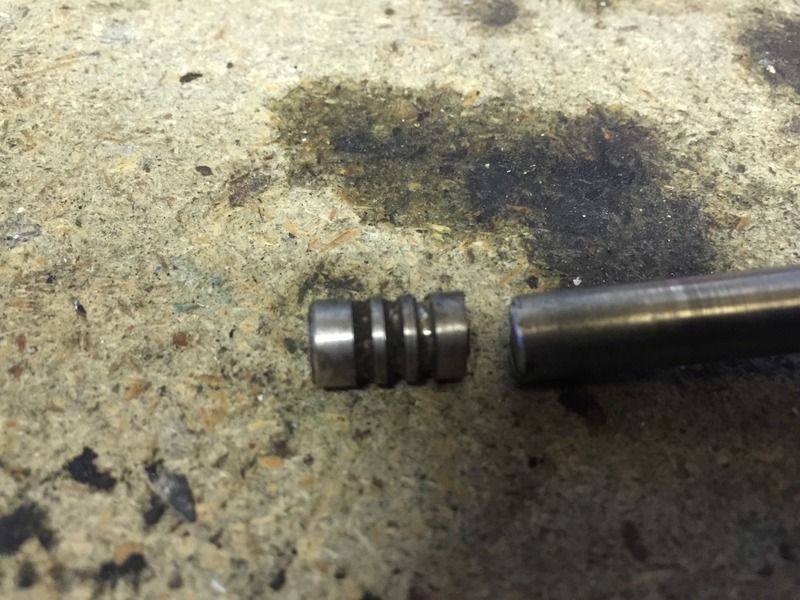
Then we had a minor issue in that the exhaust valve on Number 3 had developed a bit of a burr from the collet and wouldn't go back down the guide. The first groove had an edge on it and I didn't want to bugger the guide up by forcing it.


Out with the cutting discs in the Dremel
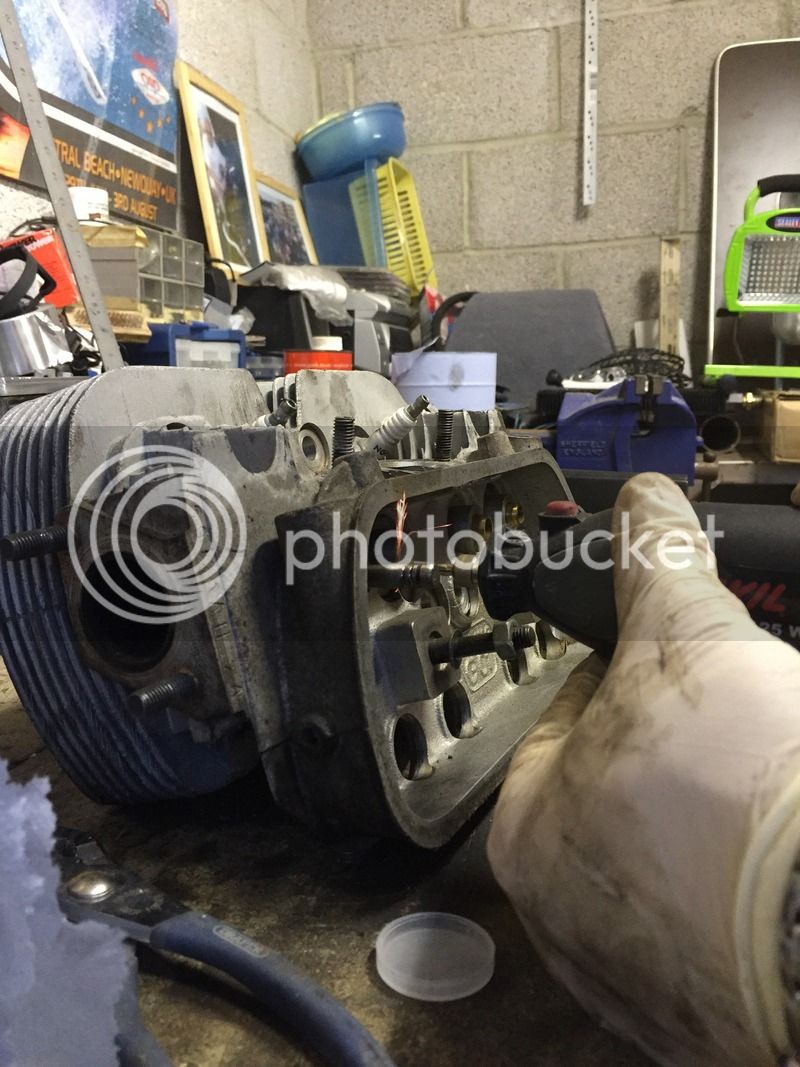


Ooooh, pretty


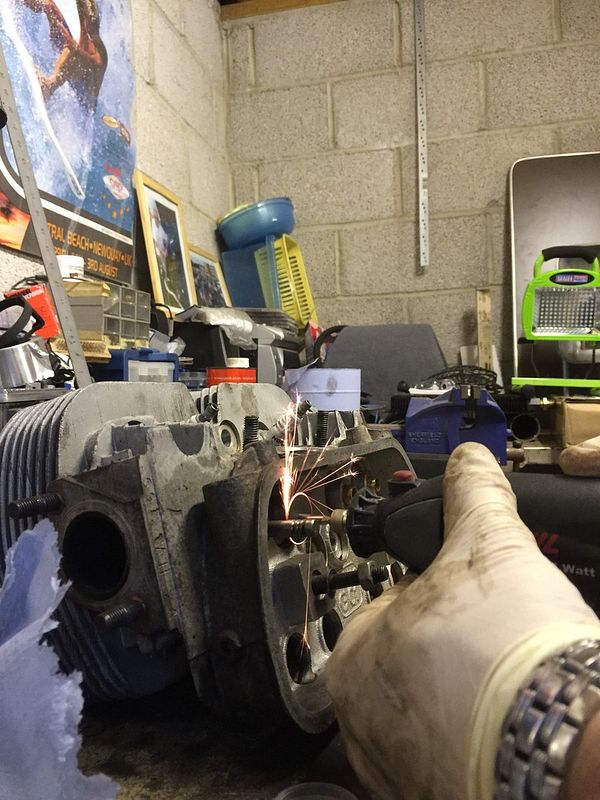
Valve cut and a chamfer put on to make sure the guide didn't get scored when it came out.


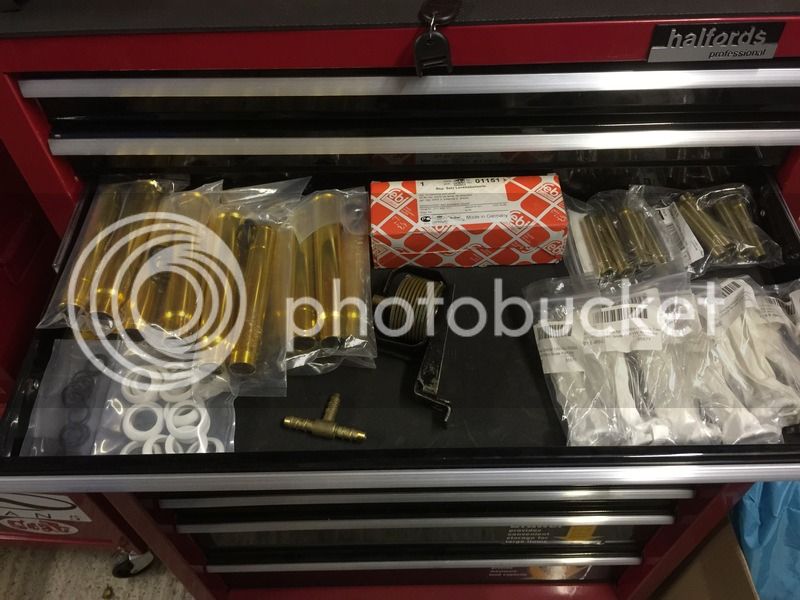
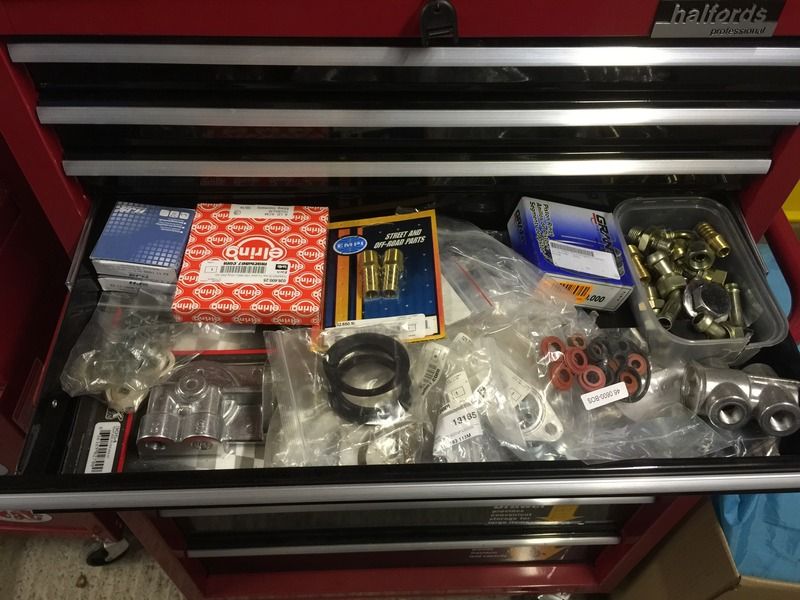
Time to start clearing the drawers out and getting stuff installed!


Problem valve replaced


Along with the others


Just need lapping in now.
 
smokehouse said:
i hate to tell you this but that rubber is upside down. besides that's not the correct rubber for a bus that's for a late bug.

Do you mean the rubber on the valance? I'm guessing it's what T2D fitted when they originally built the bus.
 
smokehouse said:
yes that's the wrong rubber early bays and splitties use the same split style rubber.

Just an extra item for the shopping list.

Had a little bit of time tonight so decided to make a start on valve lapping.


Mid-Lap


Need to clean this head up now, before starting the next one, before refitting the springs and then doing a valve leak check.
 
The other night I popped out to the garage for a quick trial fit of the valves.


As you can see I got the valves back in using my new tool and then filled the combustion chamber with white spirit to check for leaks.

And there was! :lol!:


Pissed out of Number 3 exhaust and a dribble through Number 4 inlet.

I'll pop them out and give them another lap and try again.

I've got to try and find my motivation because at the moment I'm thinking I may as well get the engine in and sell it as I don't feel that fussed that I don't have it to drive. Fingers crossed I'll feel a bit differently once I make a bit of progress again.......
 
So. I popped to a mates house earlier and borrowed the engine stand again.
Got the engine lifted up and bolted on.
I thought I'd pop the fuel pump rod and bakelite 'roofer' off. In doing so, the bloody bakelite thing snapped.
Fuck it!!


I tried to get the bloody thing out with a pair of pliers but it wasn't budging.


I tried to wind a coachscrew in to it to see if I could pull it out that way


But all that happened was it started to break up.

Not sure sure if I am going to have to split the case to get it out, or just leave it in there.

Whilst I was out there I thought I'd have a little play with some more of these.


Got the two number 2 valves done so slipped them in with their springs etc and did a leak test.


Initially it looked fine


But then it was apparent that the exhaust valve wasn't sealing.


BALLS!!!
I'll pop them back out and give them a bit more of spinny skinny with the grinding paste, then have a pop on to Number 1.

So the question is, shall I just put the blanking plate on and ignore it, or shall I split the case and get it out.
I can check the crank etc then I suppose if I split it......although I'll have to buy a case splitter.
 
I finally pulled my finger out and took the case to my mates this morning.


With the case split his initial prognosis was good. Everything looked as it should.


Out with the crank assembly


However. When we looked at the bearings it seems that the expression I was looking for was 'Bollocks'!

The main bearing journals at the flywheel end of the case were so knackered they seemed to have been shimmed just to be able to get the oversize bearing in.


So, in a nutshell the case is toast, and it leaves me with a decision.
Do I buy a brand new case, (so I know that the journals are pukka), get bearings and reassemble, or do I look around and see if I can buy a built up longblock, but from a reputable engine builder?
 
1776 longblock engine arrived today.


Also a new oil cooler and case adaptor arrived too. I've got the old oil cooler but was advised that it was best to fit a new one.
 
A mate kindly popped round earlier to give me a hand to get the new engine on the stand.
I had a spare ten minutes so wanted to have a look at what it may look like so had a little mock up.


Going to set to it and get it fully built up and ready for [squeaky bum time]cam break in[/squeaky bum time]

Really miss having her on the road. Roll on the Spring!
 
Thanks, it's powder coated and is known as an 'antiqued finish'

I fettled the tinware to fit my old engine, fingers crossed it won't need any tweaking to fit this new block.
 
Made a proper start earlier on the tinware fitting.
I think it got a bit bumped around when it went off to be powder coated. A little more fettling is required.


After realising the engine I had bought was actually about as much use as an engine if it had been made from chocolateI decided to send it back and eventually got a refund.
This left me with no engine, and to be honest a distinct feeling of getting more and more fed up with the Bus, in fact I almost threw the towel in and was going to advertise it as is, and invite offers to come and take it away.
After the wife and kids talked some sense in to me, and I had a proper chat with a mate up the road I've just ordered everything I need to build a 1641.

New case, counterweighted crank, new everything in fact.
Spec is going to be a 1641cc, blue printed with everything balanced and weight matched.
Engle 100 and 1.25 rockers.
Twin 36 IDFs and VS exhaust.

She WILL be back on the road soon, I've had enough of it being sat in the garage doing nothing.......
 
Ah, man!!!!
You are having some shit luck with this engine!!!!!!
But, hang in there, if you sell it in a moment of madness, you will regret!!!!
And you'll not be able to buy it back again!!!!
Look forward to seeing it progress !!!!!
 

Latest posts

Top