You are using an out of date browser. It may not display this or other websites correctly.
You should upgrade or use an alternative browser.
You should upgrade or use an alternative browser.
Moose the '72
- Thread starter NickJ
- Start date

Help Support Early Bay Forum:
This site may earn a commission from merchant affiliate
links, including eBay, Amazon, and others.
Toad
Well-known member
NickJ said:hi, yes when i got it one of the windows had been replaced by a piece of perspex and had been fitted using small screws every couple of inches all the way round. It looked like something out of a submarine :shock: so as a short term fix i replaced it with a new piece of perspex and used a combination of filler for the holes and sealant and it's been like that for nearly 5 years nowstill seems to be watertight.
Thats the kind of thing I was thinking of doing. I'm fed up with these things leaking (have had the same problem for 13 years with my bay and it was the same with my 65 Dormobile before that!). I recon that the perspex solution may be the way to go (its good enough for boats after all!). I could even paint the edge black, so at least it looked like the original rubber from a distance. Would love to get rid of the bloody drips! Especially as I sleep that side lol!
Thanks for the reply!


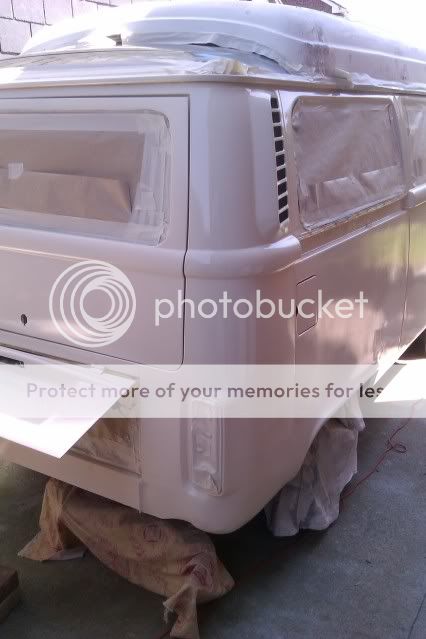
At last a bit of decent weather :mrgreen: managed to get a bit of paint on
Quite pleased with the results so far and my spray booth :lol: even managed to get a bit of a reflection in the paint, worst thing are the insects that get stuck but thankfully not too many.


Quite pleased with the results so far and my spray booth :lol: even managed to get a bit of a reflection in the paint, worst thing are the insects that get stuck but thankfully not too many.
A bit of an update, finally got the O/S sill sorted
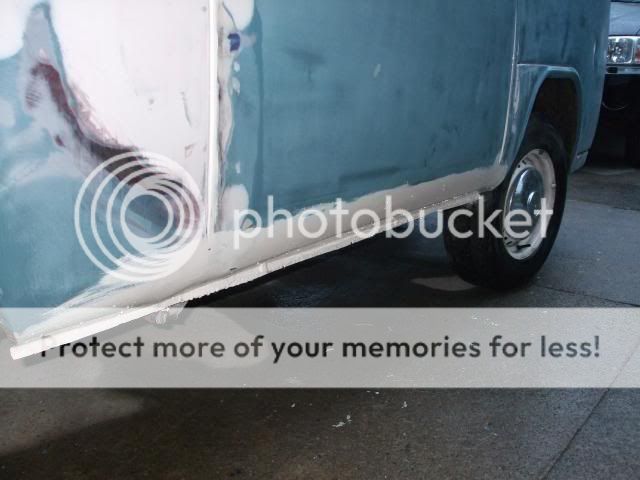
repaired the inners and replaced the outer but the Klokkerwhatsit outer sill didn't seem to be anything like the right shape although tried to make the best of it :roll:
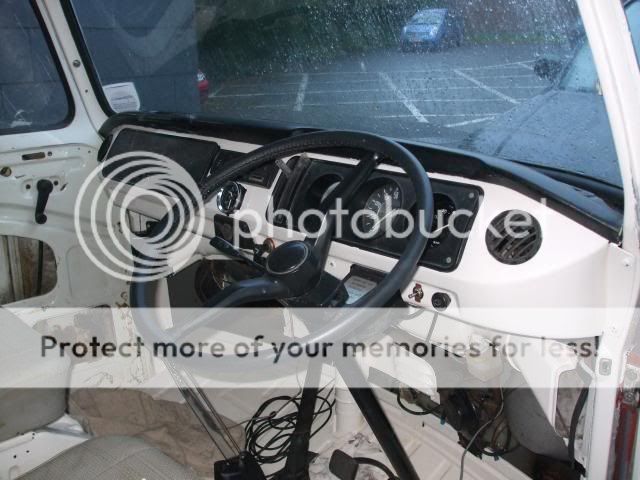
painted the dash, floor and totem to brighten the interior a bit .

repaired the inners and replaced the outer but the Klokkerwhatsit outer sill didn't seem to be anything like the right shape although tried to make the best of it :roll:

painted the dash, floor and totem to brighten the interior a bit .
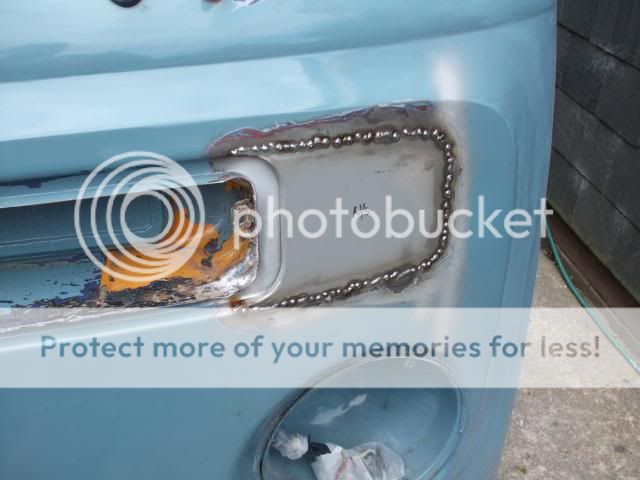
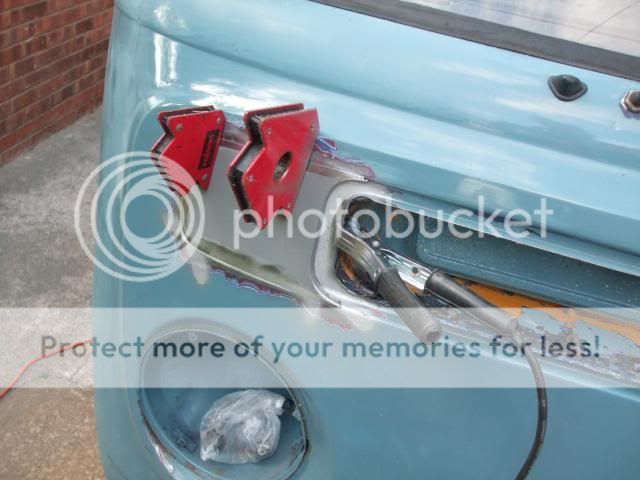
I managed to get a bit more work done, welded up the high indicator holes on the replacement late front that was fitted quite a few years ago. Here you can see the original sierra yellow.
Started out with this
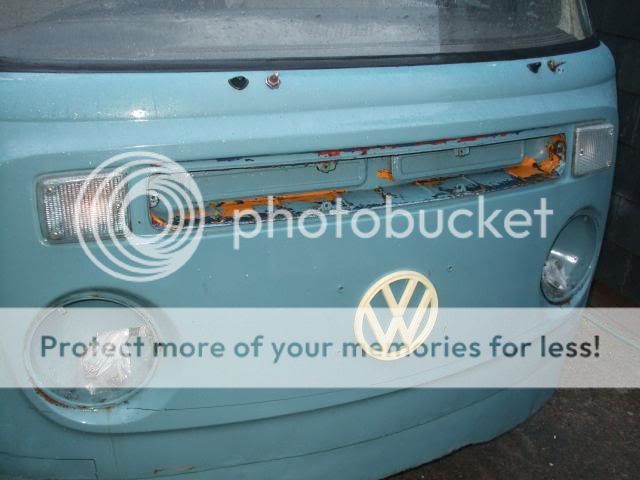
Started out with this


- Joined
- Nov 28, 2012
- Messages
- 926
- Reaction score
- 51
- Location
- Herne Bay, Kent
- Year of Your Van(s)
- 1970
- Van Type
- Devon
Hi Nick, loving the work so far. More or less exactly what I have to do!! I've found problems with the inner, middle, outer sills as well. Too late, but I ended up with the Schofield outer sill and it's miles better than Klokkenholm so if you have other bits to do and can change, I would shop around at Schofields and Auto Craft!
Which brings me on to my question, where did you get your blanking plates from? The ones I have are an awful awful fit. I am looking at the Schofields ones at the moment, although I am yet to confirm with them if they make them.
Which brings me on to my question, where did you get your blanking plates from? The ones I have are an awful awful fit. I am looking at the Schofields ones at the moment, although I am yet to confirm with them if they make them.
Hi Whistler, thanks for your kind words, I do tend to take a bit of a scatter gun approach though :lol: so the updates do jump about :mrgreen:
In hindsight I wish I had gone else where for the sills, had them from VeeWee, service was great but panels cr*p :evil:
Just read through your thread, very nice work, well done to you and your dad 8)
I had the blanking plates from JK, they needed a bit of fettling with a file and gentle curving to fit, but overall quite happy with them and good service as usual from JK.
Nick.
Got a bit done today as i had the day off,
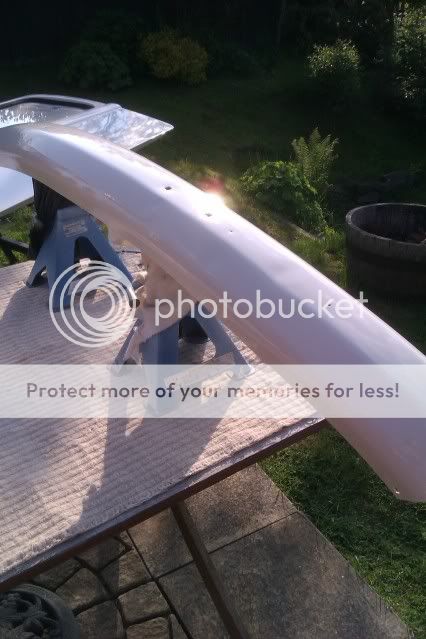
front panel is almost ready for paint.
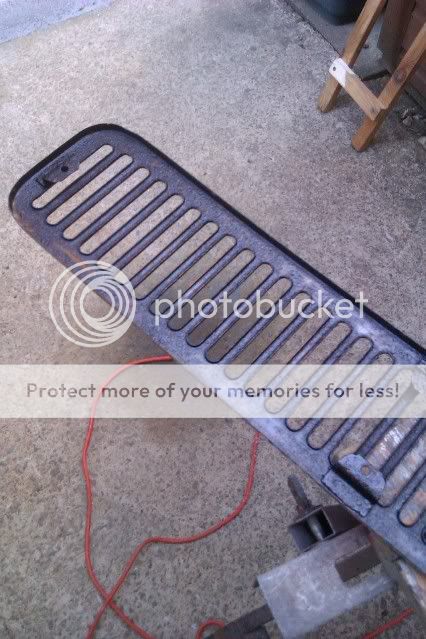
wire brushed the back of the front grill and gave it a thr Kurust treatment.
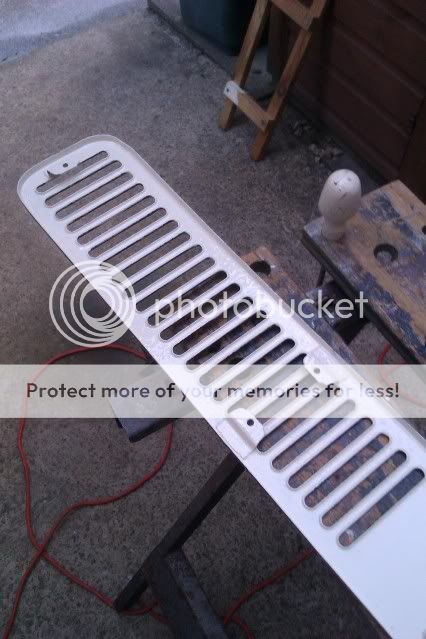
Then gave it a coat of Rustoleum.
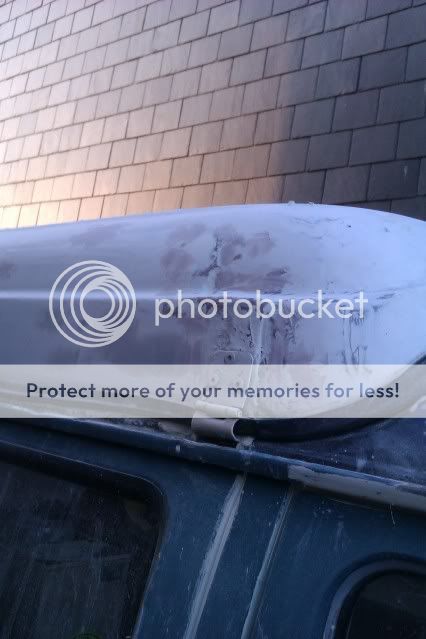
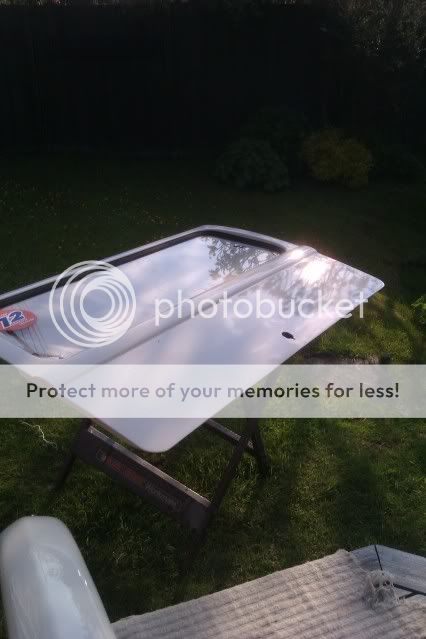
Started on the pop top, sanding and filling, it looks like some one has been at it with a grinder :shock:
Got tomorrow off as well so hopefully there will be another update tomorrow evening.

front panel is almost ready for paint.

wire brushed the back of the front grill and gave it a thr Kurust treatment.

Then gave it a coat of Rustoleum.

Started on the pop top, sanding and filling, it looks like some one has been at it with a grinder :shock:
Got tomorrow off as well so hopefully there will be another update tomorrow evening.
Well I can't complain about the weather we're having at the moment, it feels like summer so I've been cracking on.
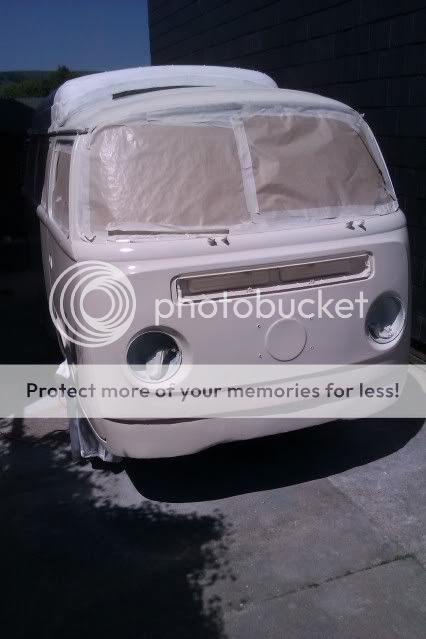
First coat of paint but still got n/s to paint as i really need to turn the bus round to get a bit more room.
only a couple of small flys stuck to it , so not too bad
so I've been cracking on.

First coat of paint but still got n/s to paint as i really need to turn the bus round to get a bit more room.
only a couple of small flys stuck to it , so not too bad

- Joined
- Nov 28, 2012
- Messages
- 926
- Reaction score
- 51
- Location
- Herne Bay, Kent
- Year of Your Van(s)
- 1970
- Van Type
- Devon
Blimey Nick, you are really moving along fast! I thought I was moving pretty quick! Great job
Whistler said:Blimey Nick, you are really moving along fast! I thought I was moving pretty quick! Great job
Cheers, decided to just go for it because I didn't want to miss out on the good weather with working outside, just don't look too closely :lol:went to turn the van round last week so I had a bit more room to paint the n/s and it wouldn't start :evil:
not even a splutter, thought perhaps fuel pump had stopped working but I took the petrol pipe off the carb and turned it over catching the petrol in a container so I could see the pump was working but the petrol was very cloudy and didn't smell right. The concensus was that there was water in the fuel so I drained the tank, flushed the pump and stripped the carb, when that was all done and some fresh petrol it started straight away , pity I didn't do a thorough job first time as I ended stripping the carb 3 times as I thought Icould get away with rushing it and not fully draining the tank or flushing the pump :roll: but we live and learn :lol: sorry no pics of this.
not even a splutter, thought perhaps fuel pump had stopped working but I took the petrol pipe off the carb and turned it over catching the petrol in a container so I could see the pump was working but the petrol was very cloudy and didn't smell right. The concensus was that there was water in the fuel so I drained the tank, flushed the pump and stripped the carb, when that was all done and some fresh petrol it started straight away
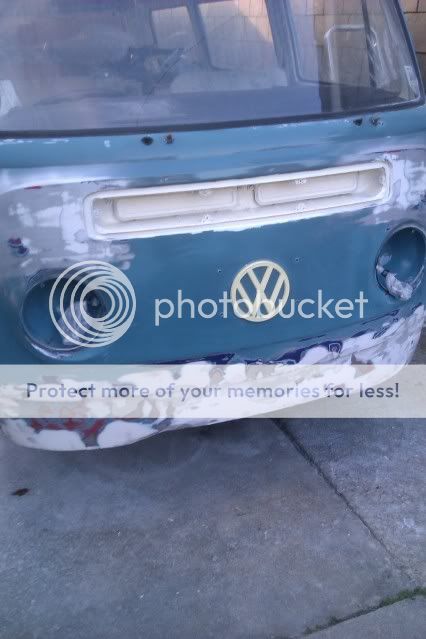
, pity I didn't do a thorough job first time as I ended stripping the carb 3 times as I thought Icould get away with rushing it and not fully draining the tank or flushing the pump :roll: but we live and learn :lol: sorry no pics of this.Here's the latest pic, with the lights fitted and bumper back on but still not sure about the number plate location and fitting
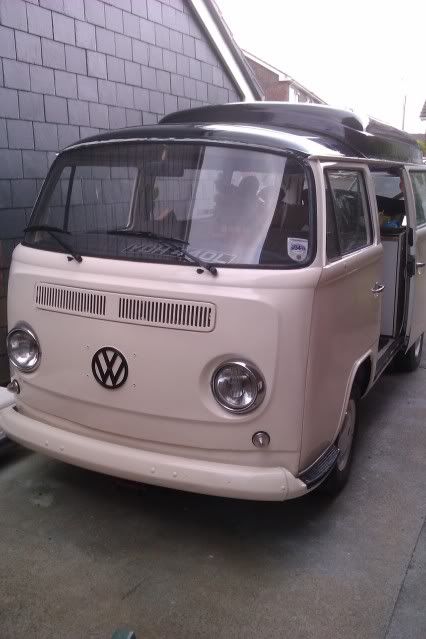
Fitted the rear plate, I had new pressed aluminium plates made by Vinyl Art on ebay, good quality and a nice price.


Fitted the rear plate, I had new pressed aluminium plates made by Vinyl Art on ebay, good quality and a nice price.
