Moose the '72

Early Bay Forum

Help Support Early Bay Forum:

This site may earn a commission from merchant affiliate links, including eBay, Amazon, and others.
Well I finally decided to bite the bullet and make a start on the bodywork, the photo below shows a split in the top of the n/s door
SplitInDoorTop_zps7e98c8c5.jpg


SplitInDoorTop1_zps2e71f052.jpg


I'll be welding this up on wed if all goes to plan as I have to work outside on the drive.
 
Here are a few other areas that need attention

Flaking paint on the roof
RoofampGutter1_zps6365e985.jpg


Reinstall the low indicators
FrontPanel.jpg


More pics to follow
 
O/S rear corner not too pretty either
OSRearCorner.jpg


weather permitting today I'll weld the split in the door top.
 
The sun came out today and so did the welder :)
Splitwelded_zpsb1be44a3.jpg

Splitwelded2_zpsc82cbcf8.jpg

splitskimoffiller_zpsc3a73123.jpg

splitsanded_zpsf185ea5e.jpg

splitprimered_zps90f38728.jpg

Ok for a starting point as still plenty of work needed on the rest of the door.
doorskin_zpsb0f3e062.jpg
 
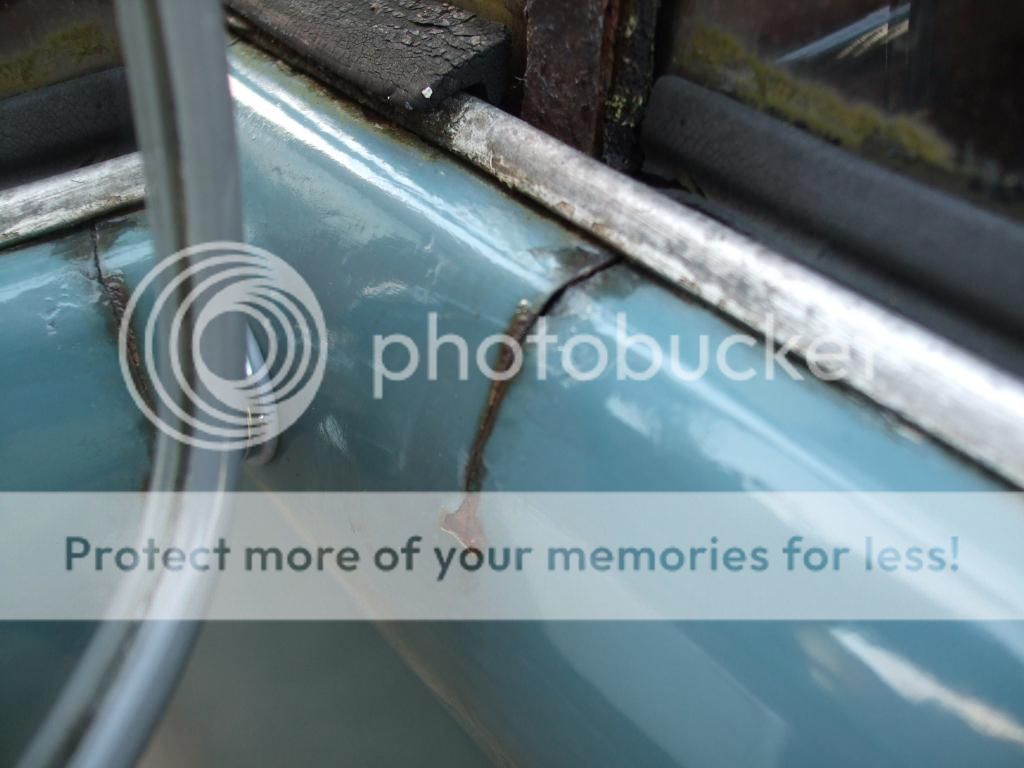
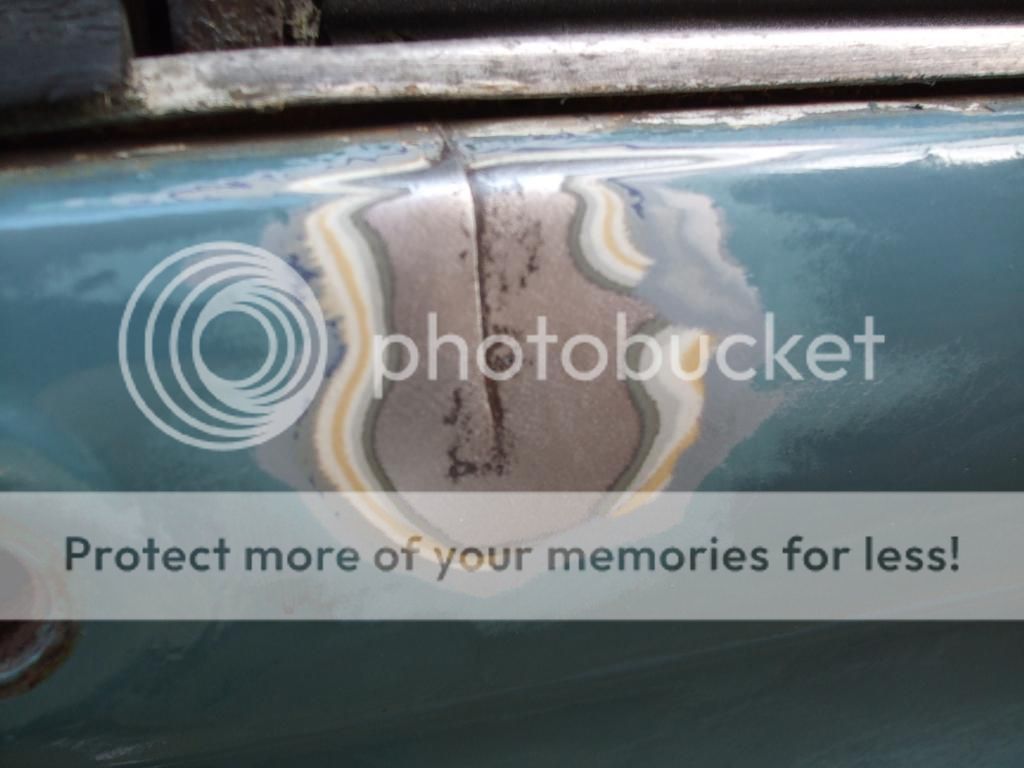
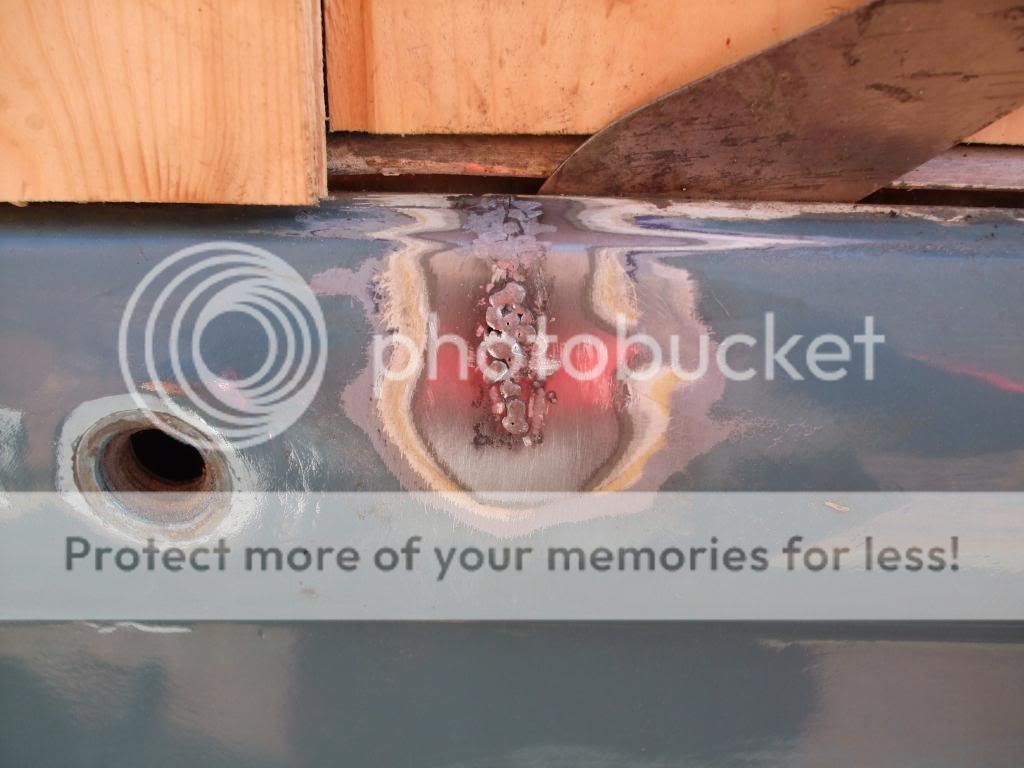
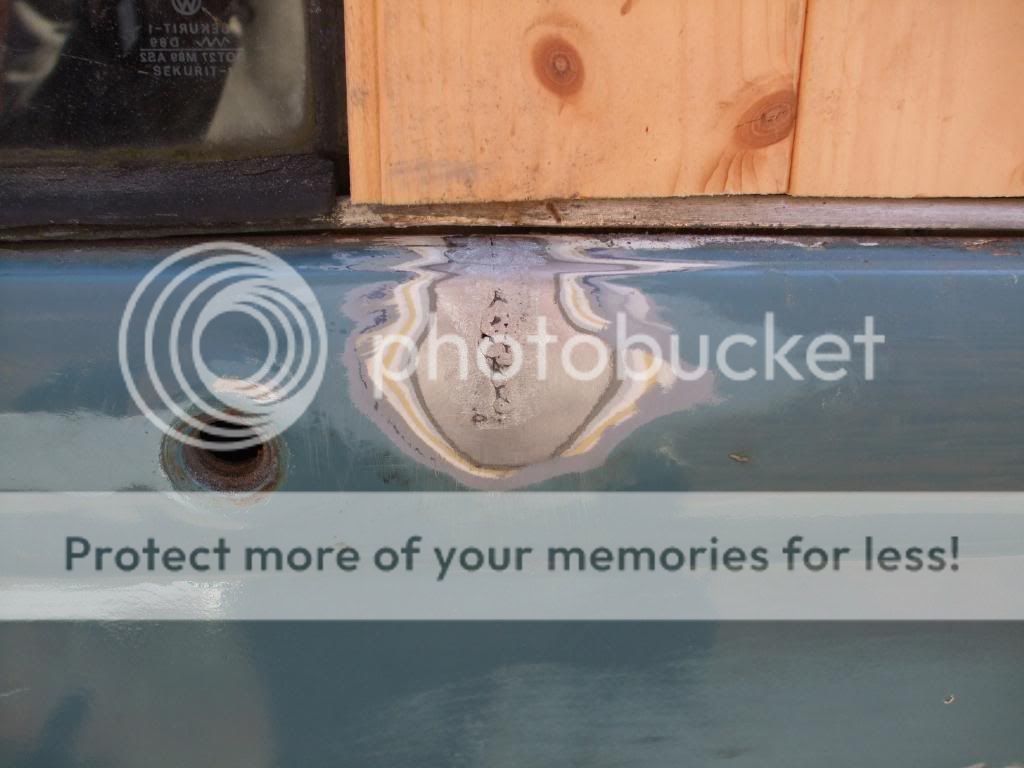
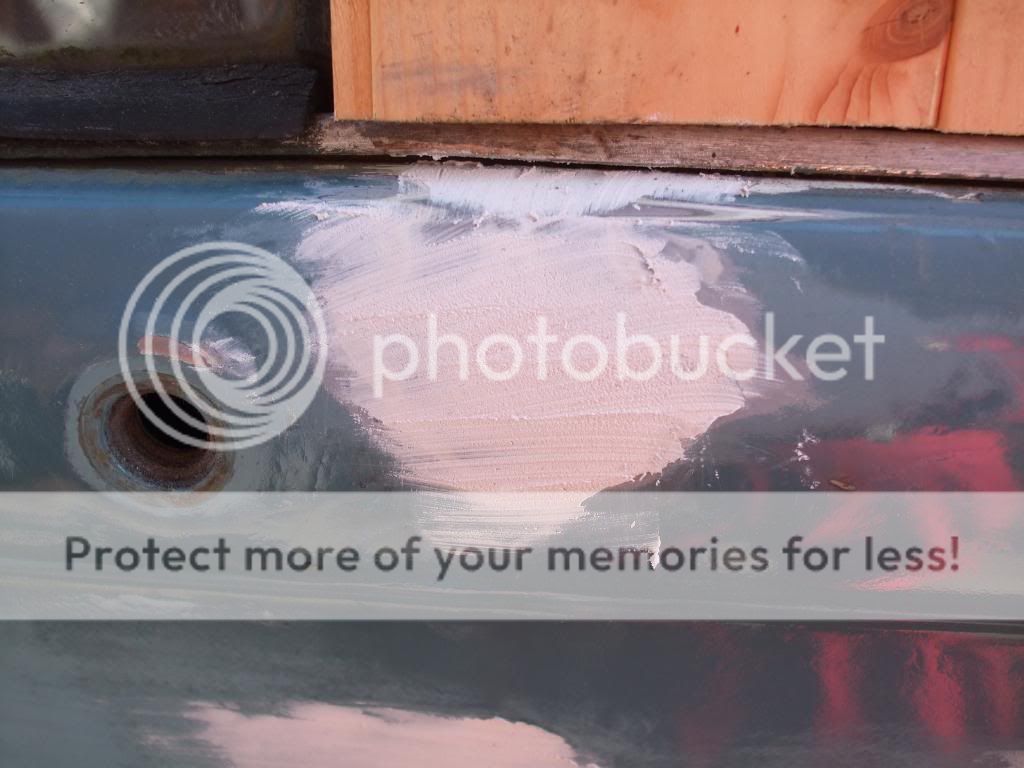
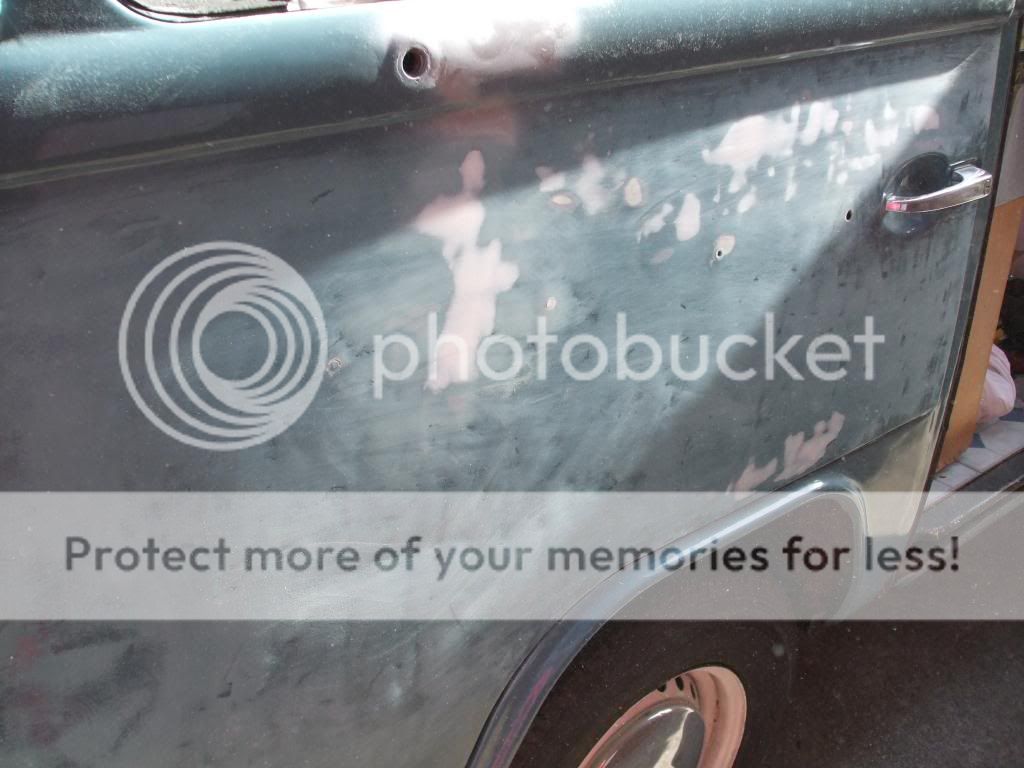
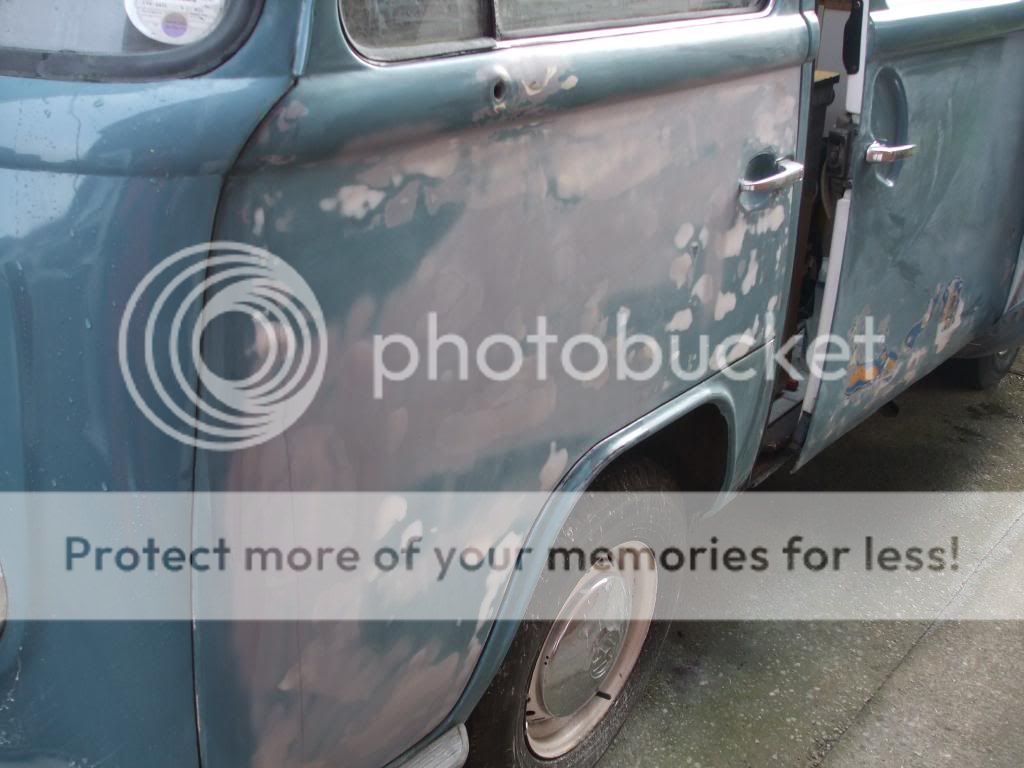
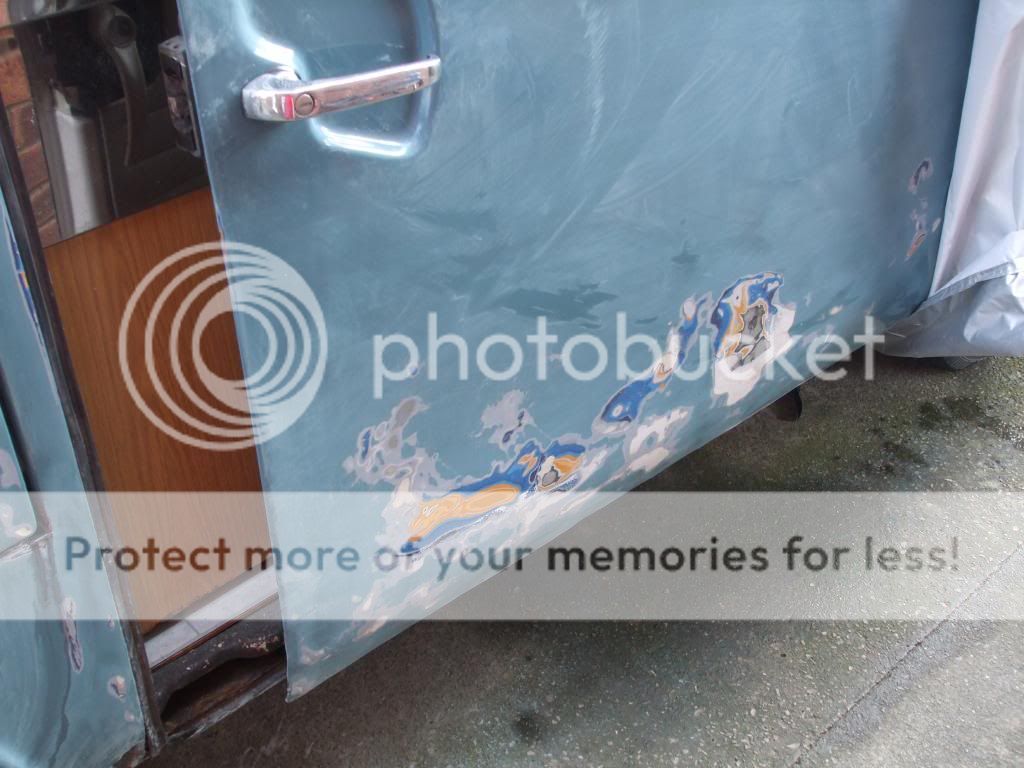
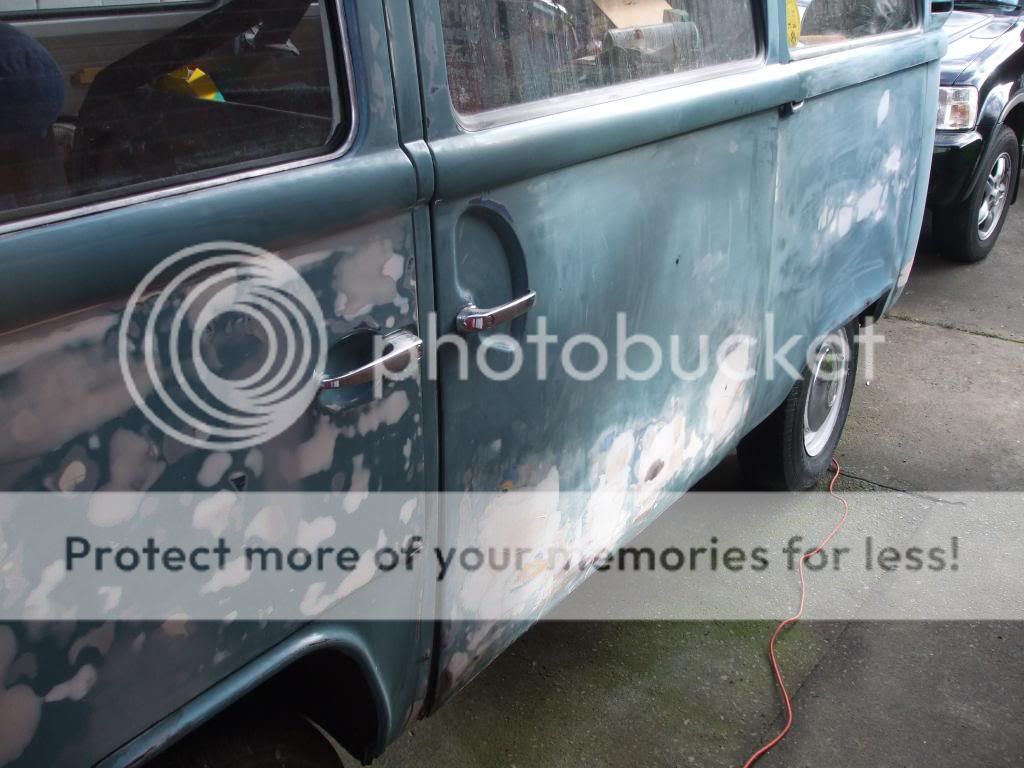
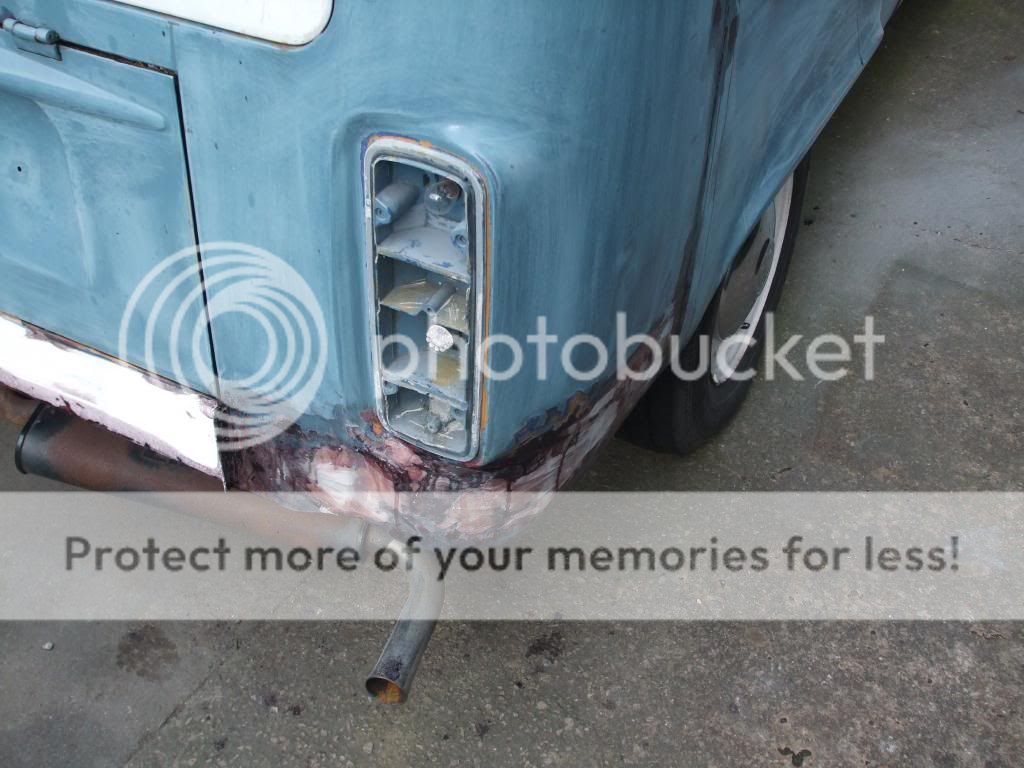
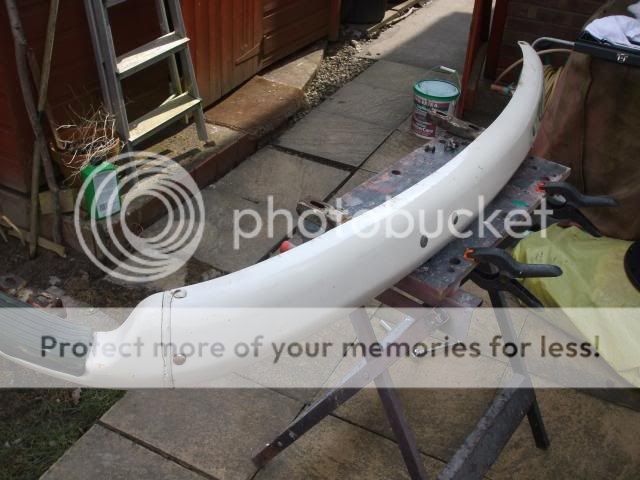
A bit more work done, the trim holes have been welded up and a skim of filler and a bit of primer, you can see that the whole skin was peppered with small dints. I've also started on the sliding door.
NSdoorsanded.jpg


Sliderstarted.jpg

Just getting back to sound paint rather than bare metal as I'm doing it in the drive and using a cover to keep the elements off, I'm doing this on a fairly tight budget and plan to spray it with rustoleum paint so I'd be very interested to hear from anyone else who has done this.
 
Looking good dude 8)

I used the Rustoleum paint but on my poptop and found it easy enough to use, but not used on the body though :D
 
gninnam said:
Looking good dude 8)

I used the Rustoleum paint but on my poptop and found it easy enough to use, but not used on the body though :D

Cheers Andy, how did you apply it ? I've bought a sealey HVLP sprayer off fleabay that I'm going to use.
 
Bought a 2nd hand compressor (25 litre) and a spray kit from machine mart (cheap).
Did the job very well - might find the end results on one of my threads somewhere.

Good luck.
 
Got a bit more done :roll:
OScorner_zps45927fe6.jpg


oscornerwip_zps2c0fc8dd.jpg


Started to dig out the filler in os side expecting some horrors but thankfully it wasn't too bad :)
ossidefillerbeingremoved_zps1ee2e4f5.jpg

You can see here the original Sierra Yellow paint.

more to follow
 
Got the rear hatch seal off
nshatchsealremoved_zpse2262c59.jpg

Nothing too bad under there and the gutters aren't too bad either. :)
 
Took the front bumper off to start cleaning it up
DSCF3004_zpsb1ccdd23.jpg

DSCF3005_zpsd9c33e4c.jpg


DSCF3008_zps07afdfa0.jpg

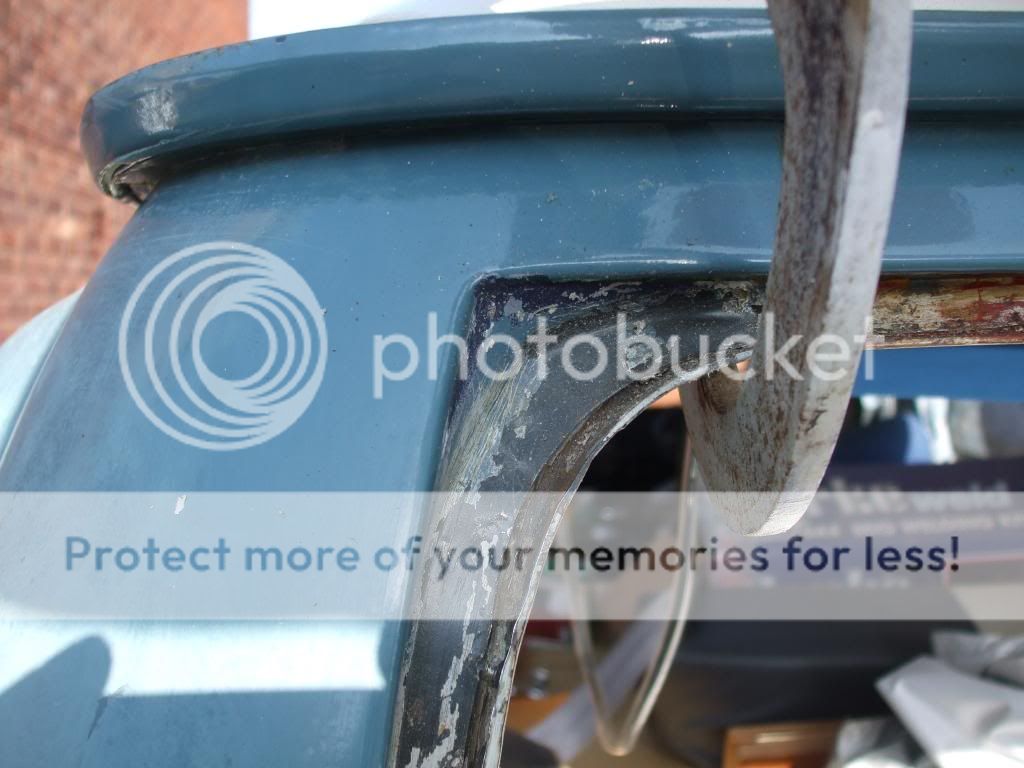
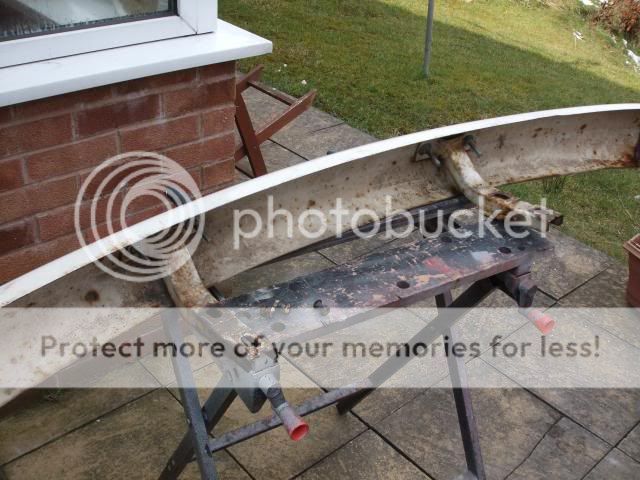
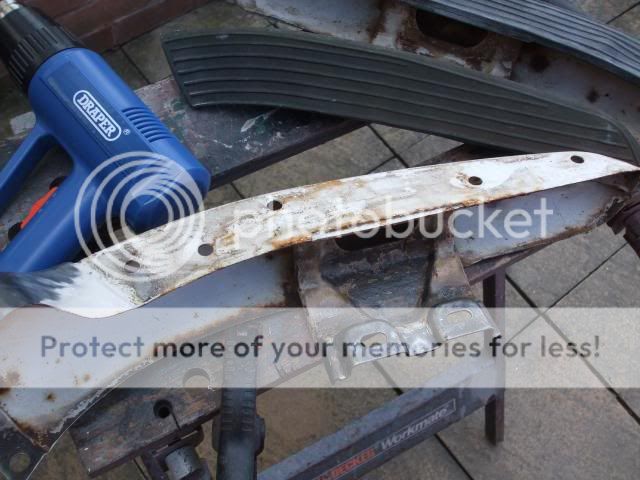
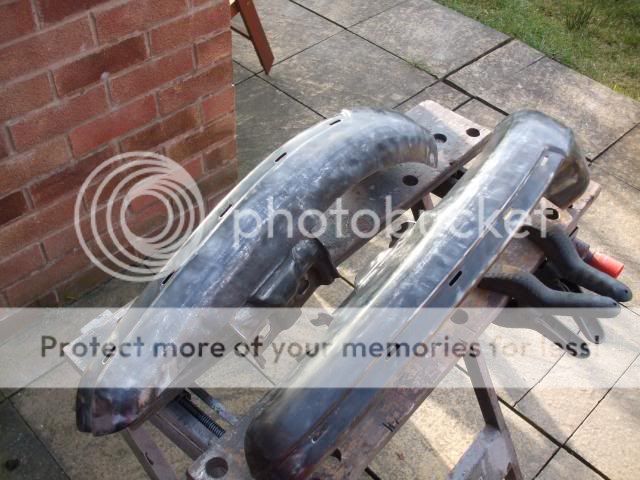
I used a hot air gun to soften up the step rubbers and they came off very easily, I'm using a combination of a wire cup on the grinder and a wire brush in the drill to clean them up.
 
I thought I'd clean the sill up under the sliding door but it wasn't quite as good as I'd hoped :cry:
2NSsill8042013_zpsa2ee4178.jpg


NSsill8042013_zpsf62e9e62.jpg


Looks like I need a new sill or 2 as the O/S looks like it could be as bad :roll:
 
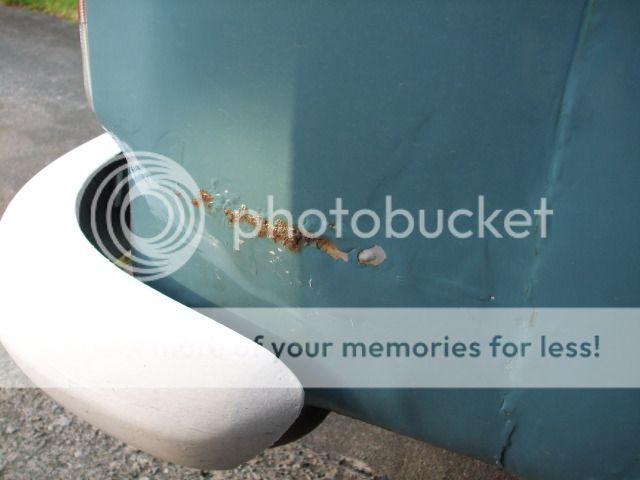
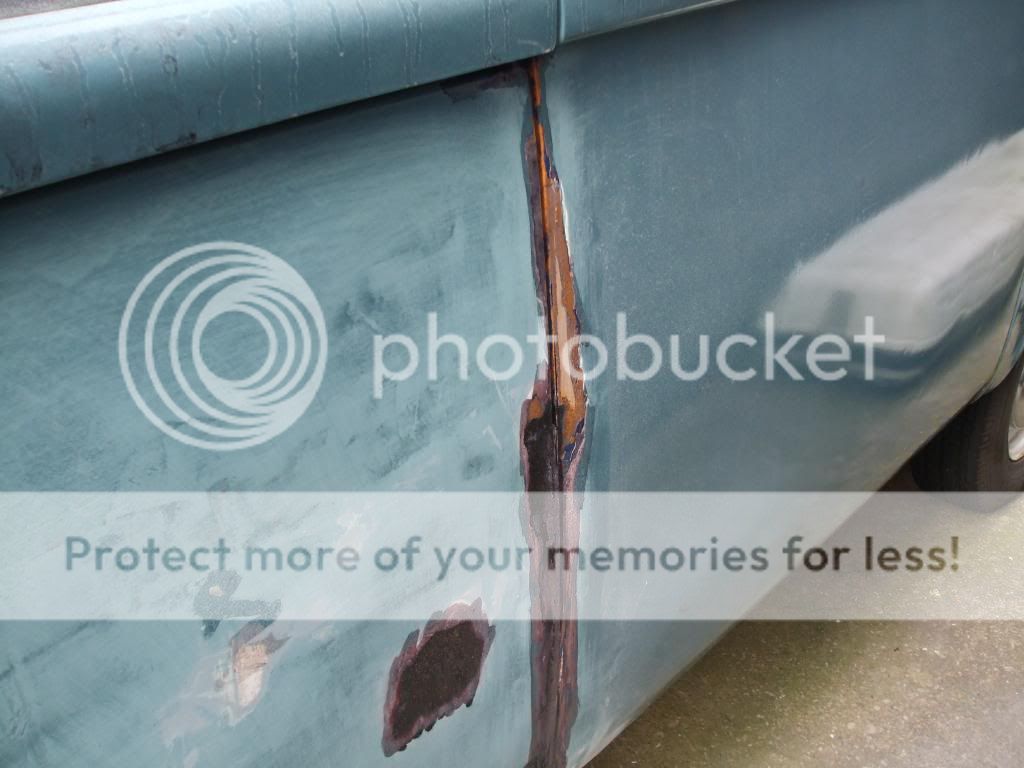
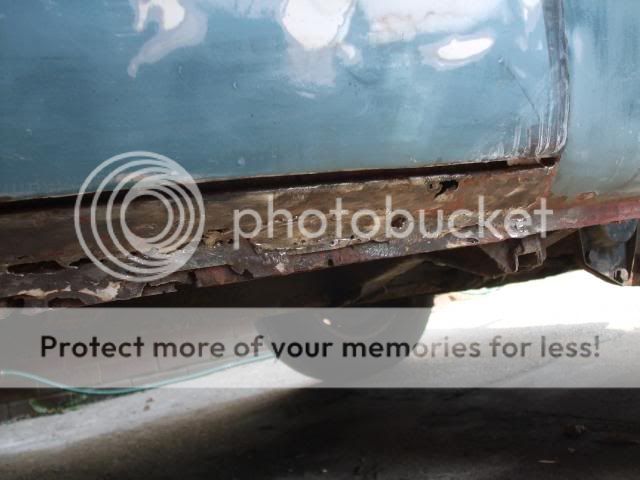
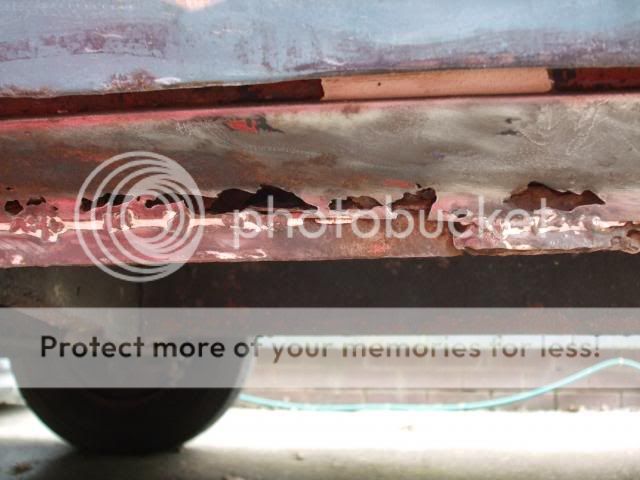
Been welding the sill today, no photo though :oops: , because I'm working outside on the drive I've always used gasless to weld but ran out of wire today so set it up to use gas as I had the kit just never used it, wow what a difference much nicer to use and much neater results :D I think I'll have to look into getting a big gas bottle.
 
Hi there,
I noticed that one of your windows in your pop top is not fixed in with the normal rubber? I'm thinking of doing something other than the rubbers on mine as they just seem to leak however good the rubbers are, as rain water just sits on the glass and seeps in. Just wondering? thats all :D
 
hi, yes when i got it one of the windows had been replaced by a piece of perspex and had been fitted using small screws every couple of inches all the way round. It looked like something out of a submarine :shock: so as a short term fix i replaced it with a new piece of perspex and used a combination of filler for the holes and sealant and it's been like that for nearly 5 years now :oops: still seems to be watertight.
 

Latest posts

Top