You are using an out of date browser. It may not display this or other websites correctly.
You should upgrade or use an alternative browser.
You should upgrade or use an alternative browser.
Meet Gertie the rotten 72 lowlight crossover :)
- Thread starter exuptoy
- Start date


Help Support Early Bay Forum:
This site may earn a commission from merchant affiliate
links, including eBay, Amazon, and others.
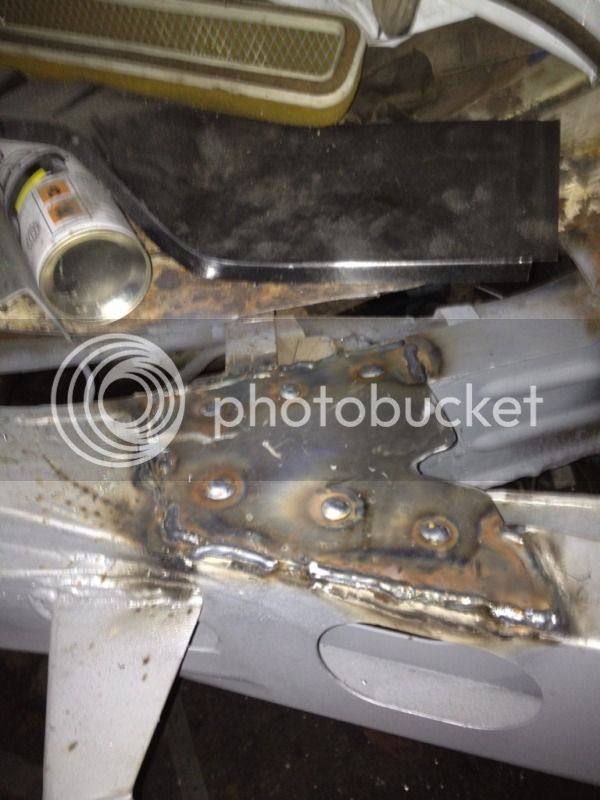
Done a little more today. Stripped off all the surrounding metalwork from the chassis cut which is not required then cleaned up the remains with a wire cup on my grinder then gave it all a coat of kurust, then when it had all dried gave it a coat of zinc182.


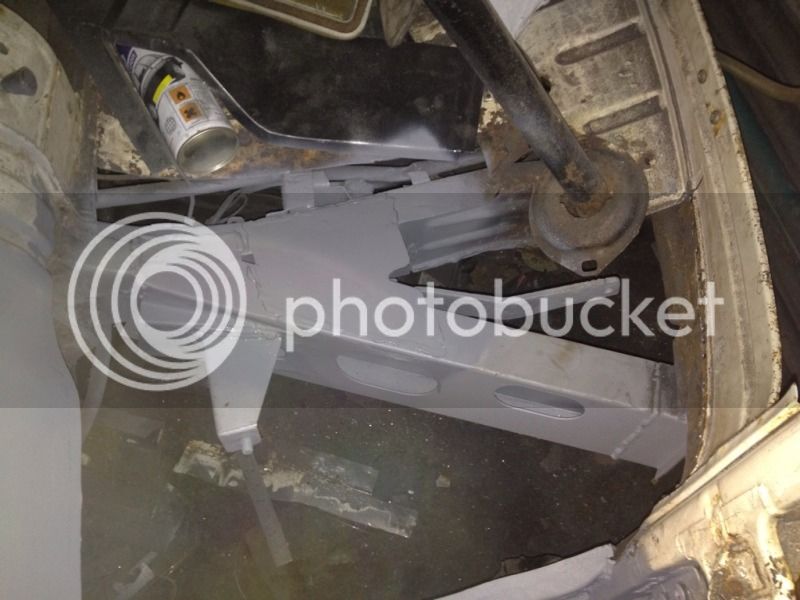
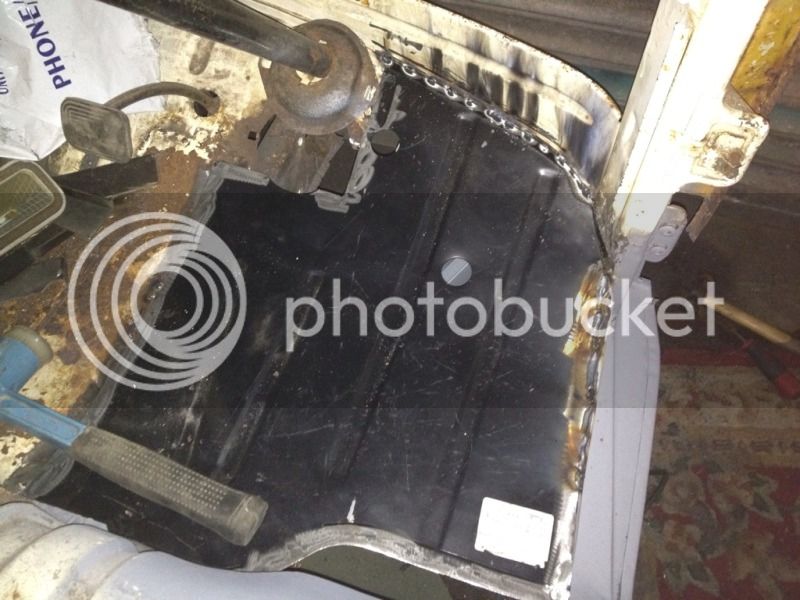
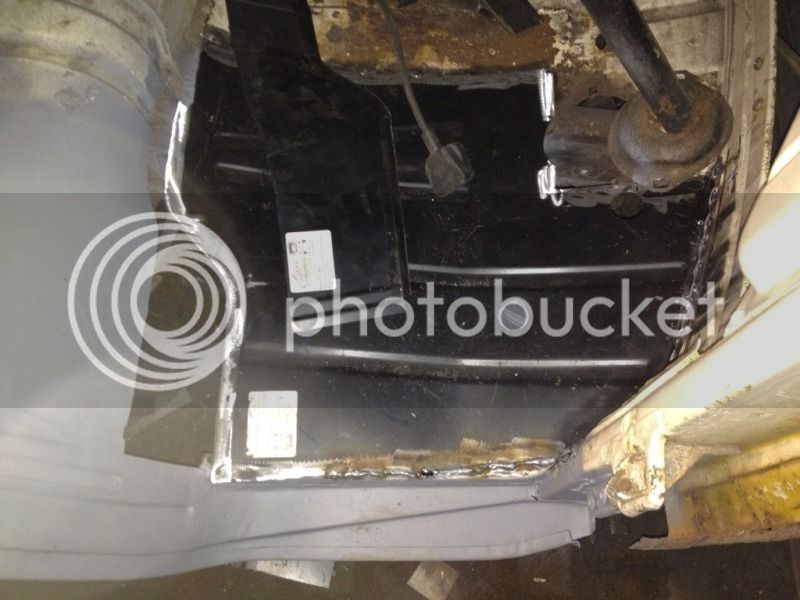
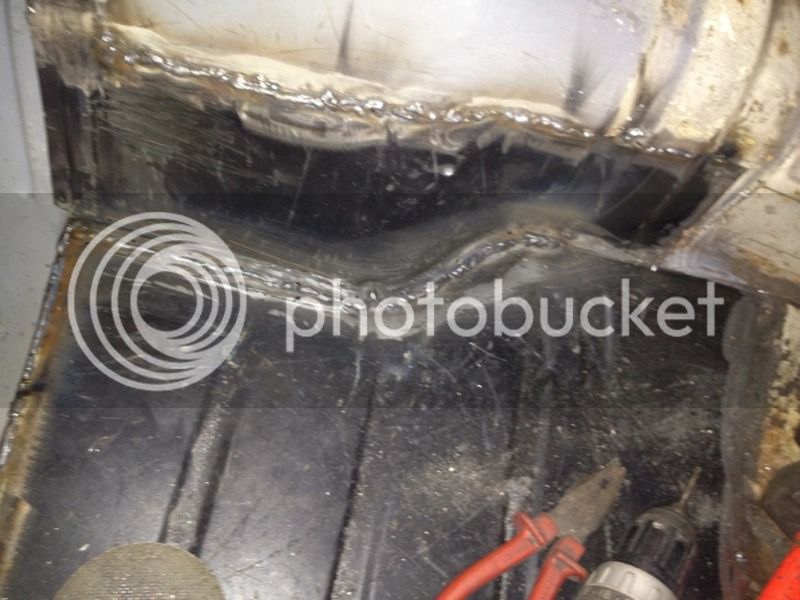
Then I turned my attention back to the floor of the bus. I unpicked all the spot welds in the offside cargo floor and removed the deck in preperation of repairing the i-beams and top hat sections. I have also ordered some fresh metalwork from Schofields today so I can continue.


There is a bad section which is the front tophat which will need a serious repair. Anyone have an idea the way this should be approached?
I have to repair/replace the 12 inch section anyway but don't know how to unpick this area to replace the tophat.

Then I turned my attention back to the floor of the bus. I unpicked all the spot welds in the offside cargo floor and removed the deck in preperation of repairing the i-beams and top hat sections. I have also ordered some fresh metalwork from Schofields today so I can continue.
There is a bad section which is the front tophat which will need a serious repair. Anyone have an idea the way this should be approached?
I have to repair/replace the 12 inch section anyway but don't know how to unpick this area to replace the tophat.
Done a little more today. Going offshore again tomorrow so won't be doing any more for a couple of weeks now.
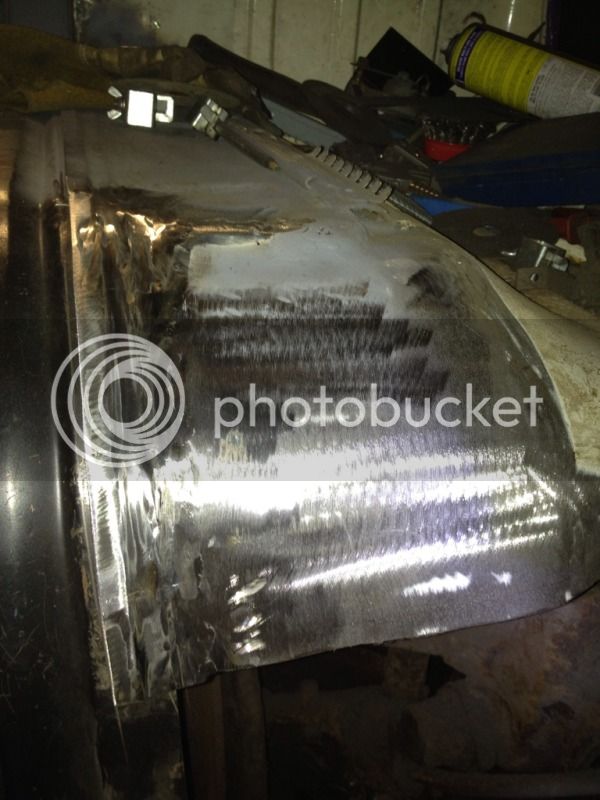
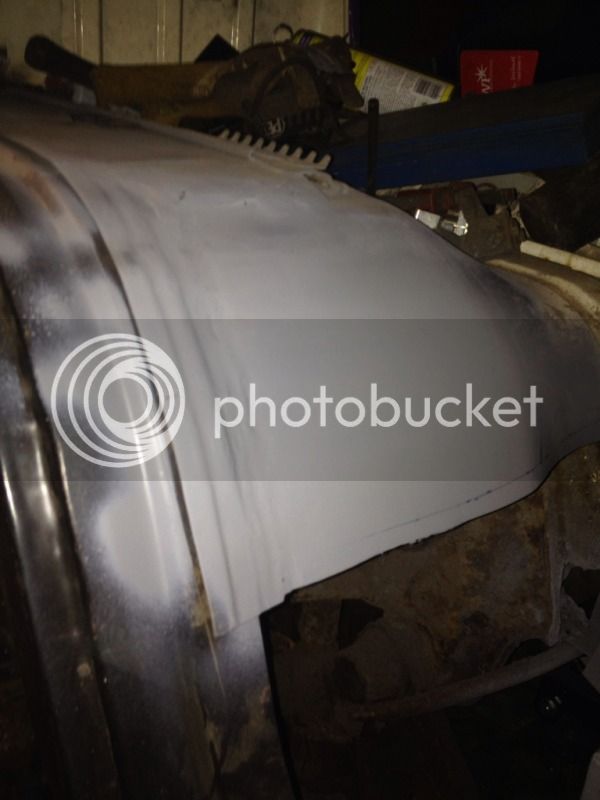
Got the rag end of the 2nd tophat cut off anf joggled the repair section and spot welded it before runing a seam along the joggled edge. Very happy with the outcome (and it is the right length :lol")


Commenced chopping back the 3rd tophat back to as good metal as I could find and used the inner sill as a guid as there was no outer extremity to take a measurement from. Looks like it has worked out ok.

Another 2 to go and a few chassis repairs then I can start on the sills. Wahay!!!
Got the rag end of the 2nd tophat cut off anf joggled the repair section and spot welded it before runing a seam along the joggled edge. Very happy with the outcome (and it is the right length :lol
Commenced chopping back the 3rd tophat back to as good metal as I could find and used the inner sill as a guid as there was no outer extremity to take a measurement from. Looks like it has worked out ok.
Another 2 to go and a few chassis repairs then I can start on the sills. Wahay!!!
Got a little work carried out today before I go away to work again. Decided to cut out the lower 'B' pillar where it had rotted away. I haven't welded anything back in just yet as I need a little advice.
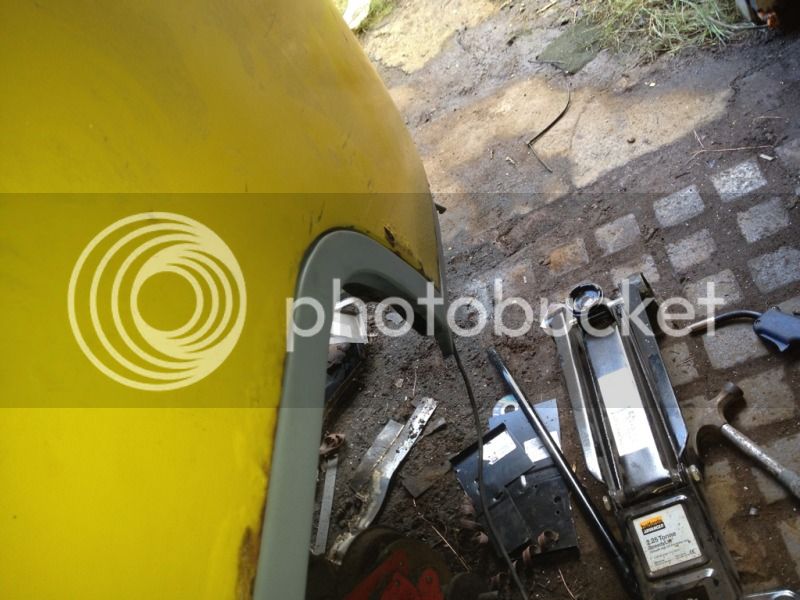
Due to the fact there was no metal left in this area of the bus I have offered up the inner and outer sills and clamped it all in place with the 'B' pillar repair section which I have trimmed back to the datum points on the panel which are the indents which match the original. What I need to know is, is the inner sill meant to over hang the edge of the 'B' pillar as per the photo.
Also does anyone have the measurements of the gaps above the 2nd and 4th I beams/top hats and should I beam 3 be flush to the top of the inner sill. I have tried to get measurements from the nearside but can't get any joy.
Can anyone help before I start stitching the panels in place?
Nick-Rackham
Well-known member
Looking really good If you want reference pics, check out my thread towards the back, page 9 I think, just done this on the nearside
If you want reference pics, check out my thread towards the back, page 9 I think, just done this on the nearsideuber cool
Well-known member
Bloody hell :shock: You obviously like a challenge, I cut a bay up to make a trailer that had less rot than that :msn4:
Keep up the good work, looks like you'll be busy with the angle grinder for a few months
Keep up the good work, looks like you'll be busy with the angle grinder for a few months
Suppose I'd better update this hadn't I?
Been doing bit lately but been loitering over on latebay as well as VZi
Got my B pillar inner welded in and removed the cap off the original rotted one and salvaged what I could to be extended with a B pillar outer cap.


Made up a section to join the B pillar inner to the striker area.


Before

After

Before

During

After

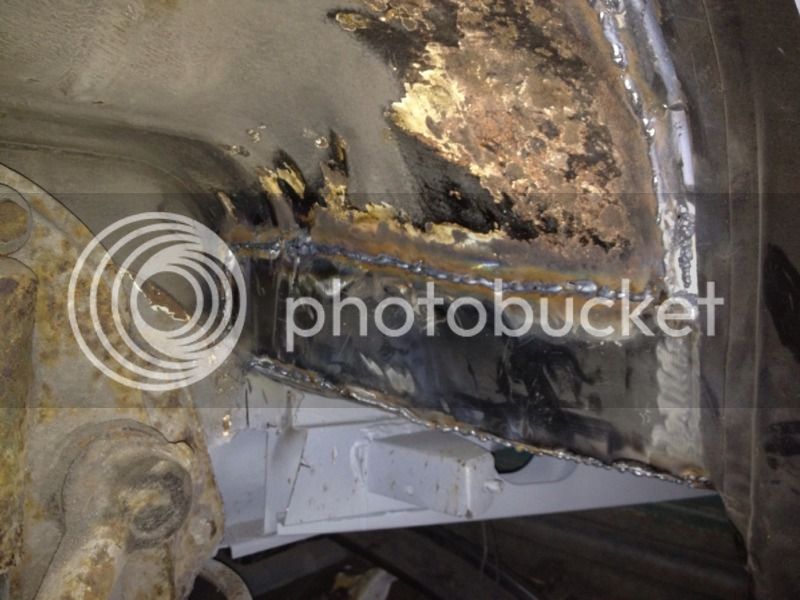
Front jacking point and chassis section before.

During

After, including the jacking point.

Inner sill going on.

and in place awaiting the middle sill.

Middle in place.

Inner arch cleaned and awaiting the repair panel.

all in place.

and tied into the B pillar.

sealed and in etch primer

A pillar being repaired


arch/step looks like a nice fit.

arch welded in place inside and out and the vertical line ground out

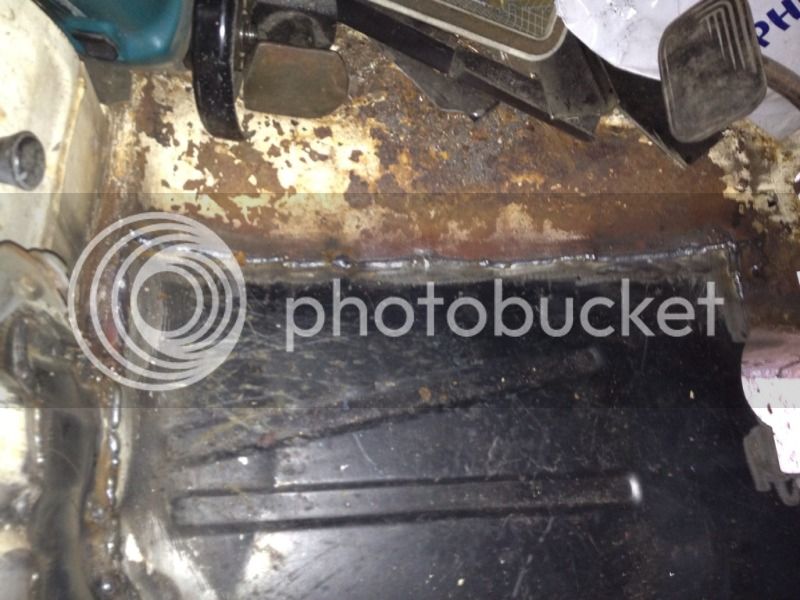
cab floor cleaned up and cut back to suit the repair panel after removing the steering box and accelerator.

panel offered up for size, although not in place correctly.

Need to concentrate on this lot next, and thats about where I've got to.


Been doing bit lately but been loitering over on latebay as well as VZi
Got my B pillar inner welded in and removed the cap off the original rotted one and salvaged what I could to be extended with a B pillar outer cap.
Made up a section to join the B pillar inner to the striker area.
Before
After
Before
During
After
Front jacking point and chassis section before.
During
After, including the jacking point.
Inner sill going on.
and in place awaiting the middle sill.
Middle in place.
Inner arch cleaned and awaiting the repair panel.
all in place.
and tied into the B pillar.
sealed and in etch primer
A pillar being repaired
arch/step looks like a nice fit.
arch welded in place inside and out and the vertical line ground out
cab floor cleaned up and cut back to suit the repair panel after removing the steering box and accelerator.
panel offered up for size, although not in place correctly.
Need to concentrate on this lot next, and thats about where I've got to.
Spent a couple of hours today, dressing the seatbelt mount then welding it in place. Not plug welded it to the arch yet as the arch is loose along the top until I know how it fits with the door. When I've jacked it into place then I'll tack it. I still need to repair the tub edge so I am gonna chop another seatbelt mount and repair the double set edge on the tub then I'll worry about it.

Still need to dress a little more weld and finish the run underneath.

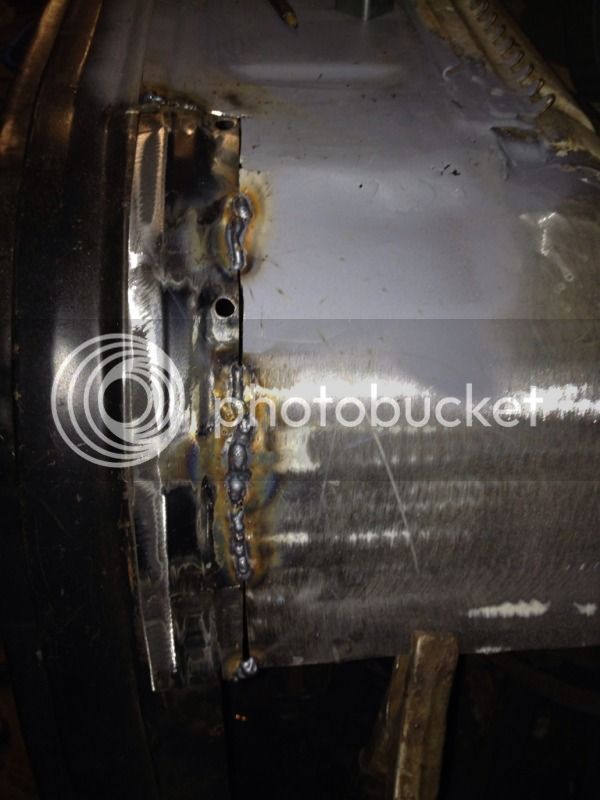
Measured what was required to finish the end of the chassis section and welded in a repair section and chopped out a little metal which was holed. Next will be to repair the inboard section of the same piece.


Still need to dress a little more weld and finish the run underneath.
Measured what was required to finish the end of the chassis section and welded in a repair section and chopped out a little metal which was holed. Next will be to repair the inboard section of the same piece.
Oh, yes, lots more to come.
After my start on the y-section chassis, I went to have a GOOD look at the work required on the remaining part of the Y section horn that I made the end for. I decided to chop the horn off and fabricate the new one to match what had been removed.
Deep breath.


The inner is equally bad but it can wait until tomorrow. this was today. ;D
Not looking too good. Right decision I reckon.

I was a bit concerned at replicating this. But as they say faint heart never won fair maiden and all that.

Not too shabby I reckon. What you think?

and a quick pic with the accelerator post tacked in. I was worried that the angle would be all wrong but I needn't have panicked.

After my start on the y-section chassis, I went to have a GOOD look at the work required on the remaining part of the Y section horn that I made the end for. I decided to chop the horn off and fabricate the new one to match what had been removed.
Deep breath.
The inner is equally bad but it can wait until tomorrow. this was today. ;D
Not looking too good. Right decision I reckon.
I was a bit concerned at replicating this. But as they say faint heart never won fair maiden and all that.
Not too shabby I reckon. What you think?
and a quick pic with the accelerator post tacked in. I was worried that the angle would be all wrong but I needn't have panicked.
Started the day with this rot and wasn't sure where to start.
Chopped out the best I could and made myself a template from cardboard and set about cutting a 2mm plate to shape.

Welded in place.

The only problem is when I welded in the plate, I realised I hadn't put the throttle shaft through the plate before assembly, so I now need to remove the master cylinders out to get the shaft in place, but thats tomorrows work.
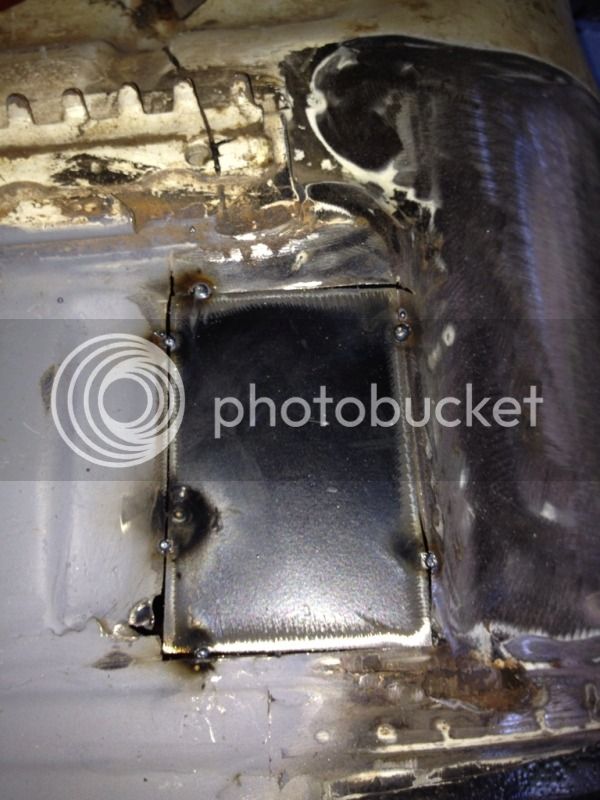
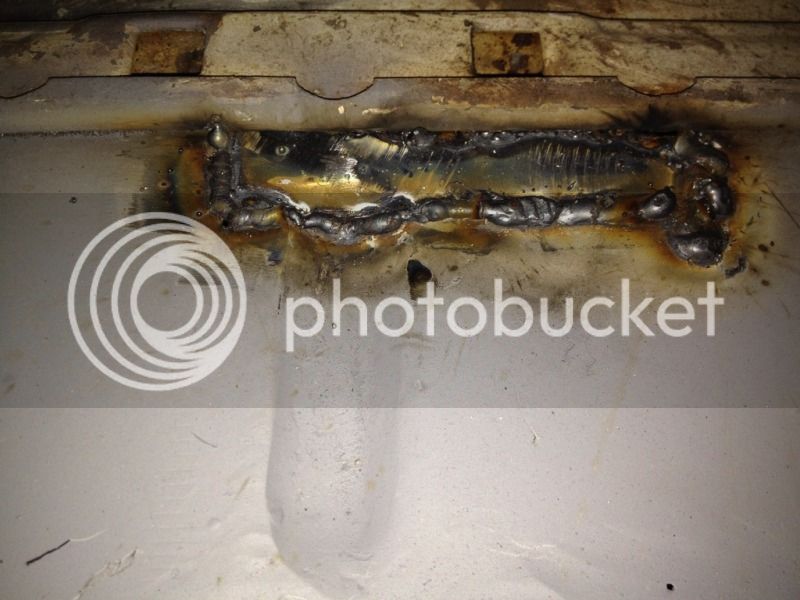
Removed the remains of the tie plate from the top of the chassis section and found a couple of holes (may have caused them by tearing the plate lol) so cut out and made a plate to fill the hole. Well, at least my weldings improving. O0

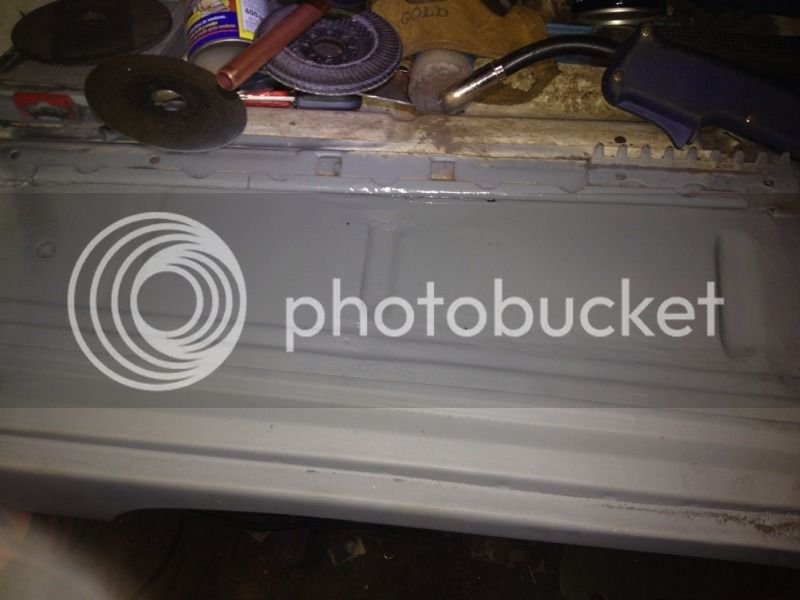
Cut out the grot beneath the brake pedal shaft and rebuilt with fresh metal.


Only offered up the Y piece to see how it looks. Much better!

Chopped out the best I could and made myself a template from cardboard and set about cutting a 2mm plate to shape.
Welded in place.
The only problem is when I welded in the plate, I realised I hadn't put the throttle shaft through the plate before assembly, so I now need to remove the master cylinders out to get the shaft in place, but thats tomorrows work.
Removed the remains of the tie plate from the top of the chassis section and found a couple of holes (may have caused them by tearing the plate lol) so cut out and made a plate to fill the hole. Well, at least my weldings improving. O0
Cut out the grot beneath the brake pedal shaft and rebuilt with fresh metal.
Only offered up the Y piece to see how it looks. Much better!
Cut out the perforated double joggled edge along the side of the arch and cut up a spare seatbelt anchor repair so I could replicate the joggled edge. Then welded on both sides so I could grind the top welds right back without fear of loosing the weld integrity.


Looking much better.

Spoke to my m8 Darren who runs a machine shop called Fairfield Tool and Die to make me a pair of spacers to house the throttle assembly shaft. He has made numerous one off parts for my streetfighter like adapting the steering stem on a set of Hayabusa forks to fit my GPZ, so I know his work is second to none. Also if anyone needs anything machining, I can get it done at a very good price. Just drop me a pm.

The last one of these was worn in an elongated fashion due to the throttle pedal linkage causing lateral wear.
Much better.


I then clamped up the Y section arm and offered my inner valance up so I could get the measurement of the inner section of the arm so I could weld in the inner box section wall. Then marked where the arm was to come to then welded it all in place.
So happy. This means I can weld in the closing panel over the top of the Y section tomorrow then once the arch is finished I can get the floor panel in place.
Speeding along now.


Looking much better.
Spoke to my m8 Darren who runs a machine shop called Fairfield Tool and Die to make me a pair of spacers to house the throttle assembly shaft. He has made numerous one off parts for my streetfighter like adapting the steering stem on a set of Hayabusa forks to fit my GPZ, so I know his work is second to none. Also if anyone needs anything machining, I can get it done at a very good price. Just drop me a pm.
The last one of these was worn in an elongated fashion due to the throttle pedal linkage causing lateral wear.
Much better.
I then clamped up the Y section arm and offered my inner valance up so I could get the measurement of the inner section of the arm so I could weld in the inner box section wall. Then marked where the arm was to come to then welded it all in place.
So happy. This means I can weld in the closing panel over the top of the Y section tomorrow then once the arch is finished I can get the floor panel in place.
Speeding along now.
dubscum
Well-known member
wow, nice work!
creationblue
Well-known member
^^^^^^^ I'll 2nd that, nice work
Todays 8 hrs!
Cut a plate for the top of the tub and stuck it in. There was a lot of thin metal there tho so took me a while to fill it in on the front corner. Same procedure, weld above then below then grind back the top.
Cut up another seat belt repair patch to get the edge for the tub. Need to clean this up!

Due to the curve of the door, I had to make 3 cuts and kick the edge to follow the line.
Welded in place then cleaned up.
Cleaned up the little patch required along the seat runner and sorted that.
Cut a piece of 2mm plate and tacked it across the Y section but it was fouling the pedal a little, so I notched the top to clear it. Seamed around the plate then put 6 plug welds for a little more future proofing.
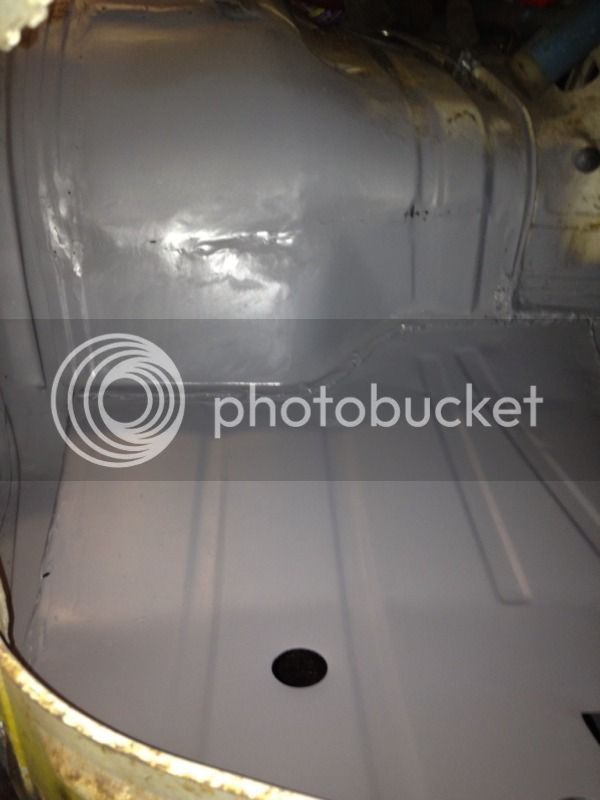
Dropped the floor in place and tacked it but not finished as I need to hang the door to jack the arch into the right place alongside the tub before it is welded along the arch.
Cut a plate for the top of the tub and stuck it in. There was a lot of thin metal there tho so took me a while to fill it in on the front corner. Same procedure, weld above then below then grind back the top.
Cut up another seat belt repair patch to get the edge for the tub. Need to clean this up!
Due to the curve of the door, I had to make 3 cuts and kick the edge to follow the line.
Welded in place then cleaned up.
Cleaned up the little patch required along the seat runner and sorted that.
Cut a piece of 2mm plate and tacked it across the Y section but it was fouling the pedal a little, so I notched the top to clear it. Seamed around the plate then put 6 plug welds for a little more future proofing.
Dropped the floor in place and tacked it but not finished as I need to hang the door to jack the arch into the right place alongside the tub before it is welded along the arch.
Just been up the garage for an hour.
Bolted back on the door and jacked the arch out to where it should sit and spot welded it in place.
For a cheap arch, I'm quite impressed with the line of the door and the gaps.
Also jacked out the step a little so the door line was right at the step, even that looks well. The floor pan originally looked like the line on the edge was out but now the floor has been jacked, the angle looks correct. You can see in the last pic of yesterdays work how the floor looked off. That was the reason I stopped where I did. I'm kinda glad now.
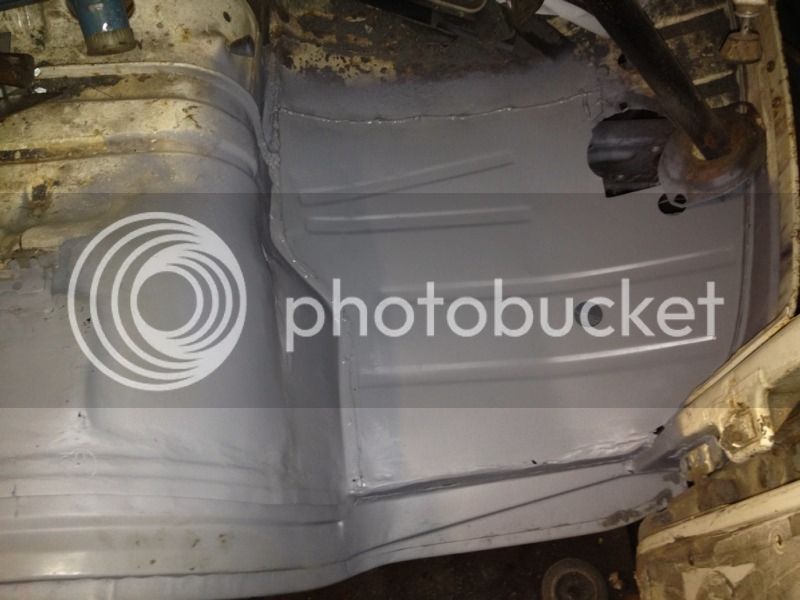
Todays work was to get the floor in place and the tub/floor join repair sorted.
The floor was tacked into place from yesterday so that was fine however there was still some manipulation required to meet the tub repair section and that panel was a real pig and had to be cut, reshaped and forced into place. Got there in the end though.
Welded the back of the panel.
Welded the join to the floor panel.
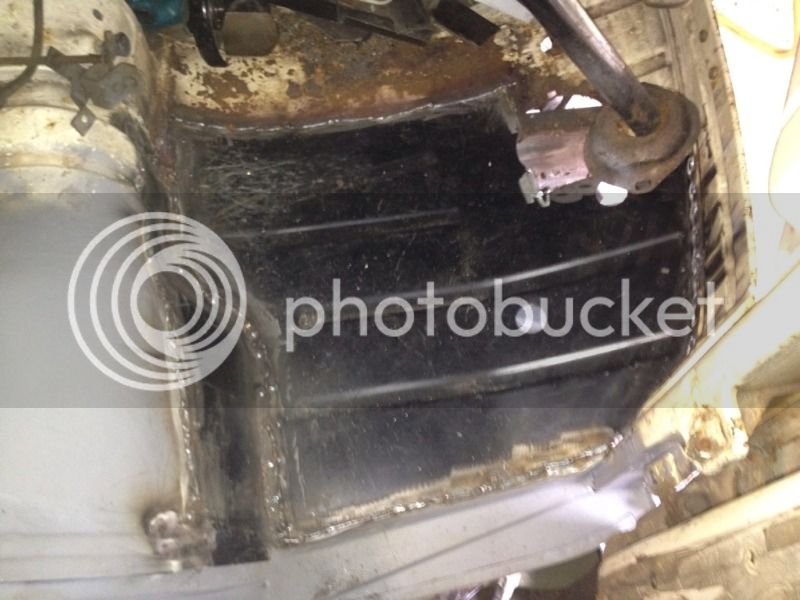
and the finished article.
The floor was tacked into place from yesterday so that was fine however there was still some manipulation required to meet the tub repair section and that panel was a real pig and had to be cut, reshaped and forced into place. Got there in the end though.
Welded the back of the panel.
Welded the join to the floor panel.
and the finished article.
Similar threads
Vehicle For Sale
Early Bay Deluxe 1971
- Replies
- 5
- Views
- 1K
- Locked
- Replies
- 1
- Views
- 2K
- Replies
- 59
- Views
- 10K
- Replies
- 4
- Views
- 3K