Uber Cool-68 Westy Cal import LHD

Early Bay Forum

Help Support Early Bay Forum:

This site may earn a commission from merchant affiliate links, including eBay, Amazon, and others.
thanks for the comments. Got the rims off VZI for £100 set of 4, well chuffed. Think you can get them from MWS and VW hertiage for about £70 per rim.

Think I'll have a few sets in different colours to match my moods :mrgreen:

Can't wait to get this in. :twisted:

Picture190.jpg

DSCN4094.jpg

but that might be a while yet :roll:
 
Mother Hubbard.......that is one lovely looking motor. The hills in Wales wouldn't give me gip with one of those. Looks like a fair amount of work to fit though. This is turning into a must watch thread. 8)
 
The engine has been in a bay before, mind you a few years/owners ago. the bellhousing and clutch have been made to fit a bay box. I need to sort out the carbs, MSD for the spark and some hose for the dry sump. Plan is to get it running in the craddle I have made before fitting. However I want to get my shortened bay trailer finished before I start the engine swap, So could even be a winter project engine change.
 
Just checked the M codes results

Decode Results:
Production Date: October 28, 1967
Exported To: USA, Los Angeles
Designation: Kombi
Engine KW (BHP): 35 (47)
Transmission Type: manual
Engine: 157
Transmission Code: -
Extras Code: -
Paint / Interior
Paint Scheme: Pearl White
Paint Codes: L87
Paint Notes: code for Westfalia campmobiles (type 23)
Interior Scheme:
Interior Material:
Interior Notes: This model has a special paint code which means no interior info is available
Options
697: ???
426: Specifications for the USA M020, M047, M102, sealed beem headlamps... (?)
A67: Westfalia Campmobile 67 A (SO67 interrior)
507: Vent wings in cab doors
511: Padded instrument panel (LHD only)

Quite pleased its a 68 model :mrgreen:
Need to change the rear number plate surround now :x
 
Looking good, think you'll definately need some stopping power with that engine though!
On the wheels i'd go with the chrome caps.
How many sheets of birch ply did you use on the interior panels?
 
yep big brake will be needed.

used 2 sheets of 5' x 5', did all the panels , but not the roof.
 
Nice westy! Are you going to fit the 911 engine (what year?) to your standard gearbox? :shock: :shock:
Love the Porsche 356 replicas! Please put the chrome baby moons on!
 
Yes, will fit to standard gearbox. It might be a 911 engine bit its only 140bhp. A lot of the subaru conversions are more than this and can take the box.

I'll suck it and seee, maybe a 1303 or 1302 box for taller gearing?

Also in years of modding cars something will always be the weak link. I have spare boxes :mrgreen:
 
Been busy in the garage today. Adjusted the brakes and steering box, stops and turns nicely now.
Also got some new lower profile tyres 185/65 for the rear and 185/60 for the front.
Picture001.jpg

Picture002.jpg

Picture003.jpg

Picture004.jpg

Also got the spare wheel off the front,
Before
Picture007.jpg

After. much better, need the bra on to hide the bloody holes and difference in paint colur where the holder was :evil:
Picture008.jpg

The choice of baby moons or the originals was not a choice in the end, the baby moons wont fit over the rear hub nut. So on the look out for some original chrome hub caps, or might get mine rechromed.

Next weekend the Red 9 kit and the lowering stick will be out.
 
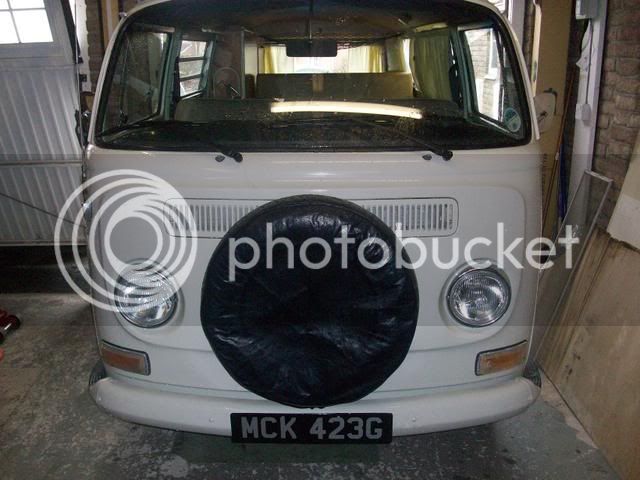
Had a busy weekend on the van. Saturday did the job I've been putting off, fitting a new rear window seal. Thought it would be a nightmare to fit. Once cleaned up etc went in in 15 mins on my own :shock: Must be those good seals from VW Status :mrgreen:

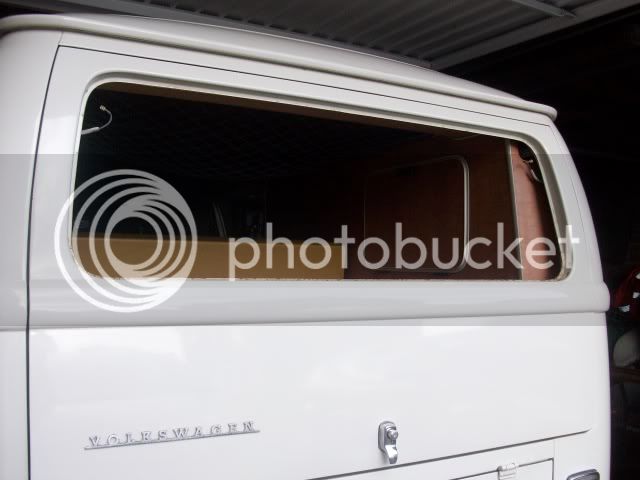
Old window seal and window removed, frame nice and clean only a but of surface rust at the bottom.
Picture361.jpg

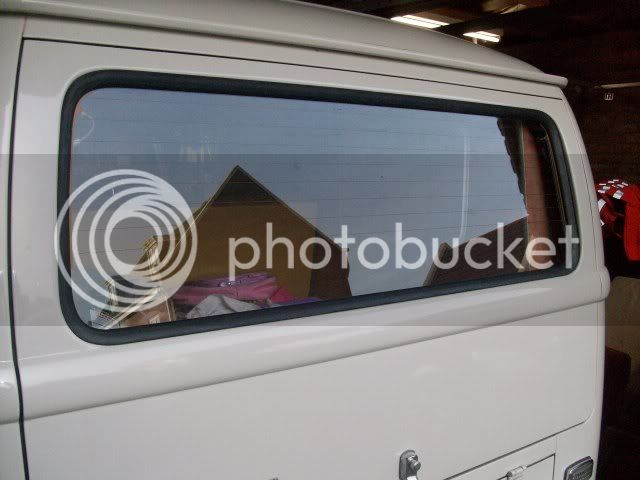
New window seal and window fitted 15 mins later

Picture362.jpg


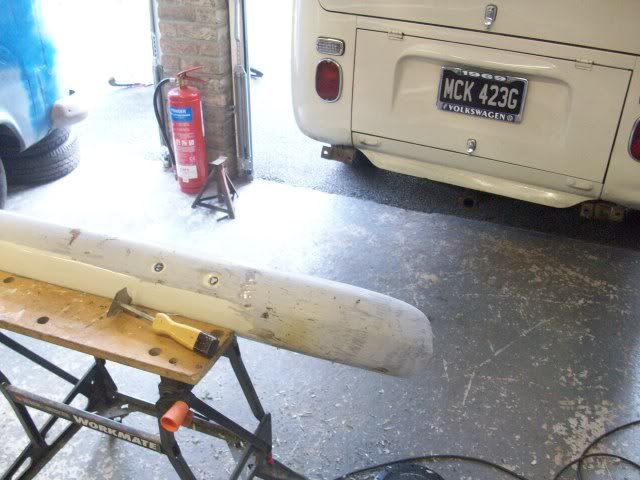
Sunday took the rear bumper off as there are a few dings which was starting to bug me.
Stripped the paint off with a hot air gun, to reveal the previous seller (trader) must have blown over the whole bumper, inc some soot from the too rich exhaust :shock: tut tut.
Picture379-1.jpg


Set the valve clearances, got a nice surprise how clean inside it was and the uprated rocker shafts, showed this to the wife, who didn't have the reaction I was hoping for :roll: you guys will appreicate it though :mrgreen:
Picture331.jpg

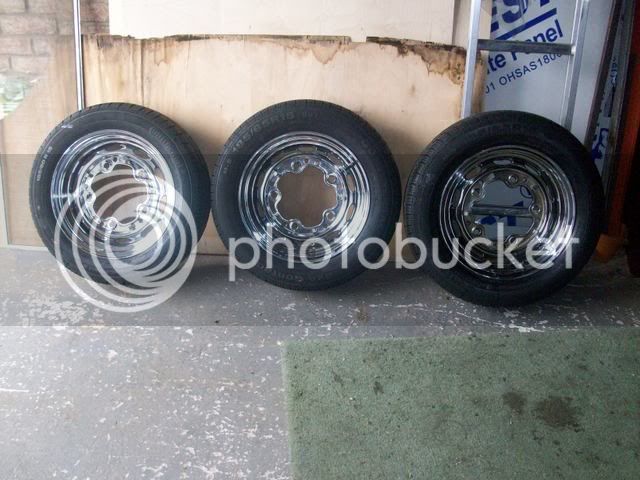
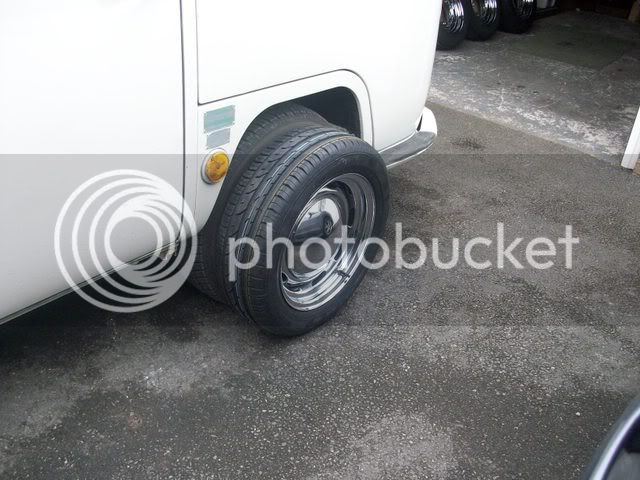
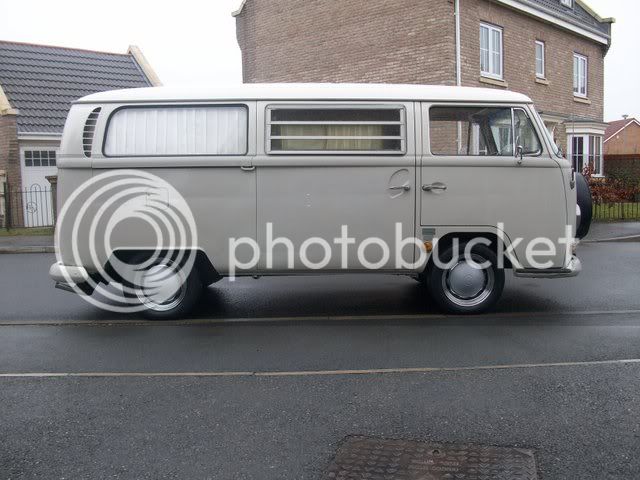
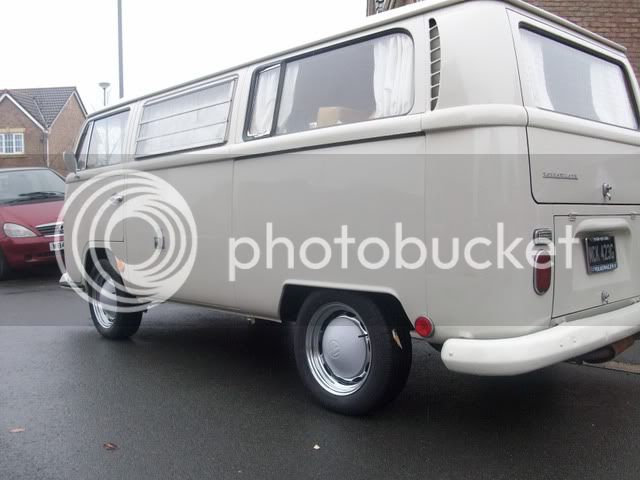
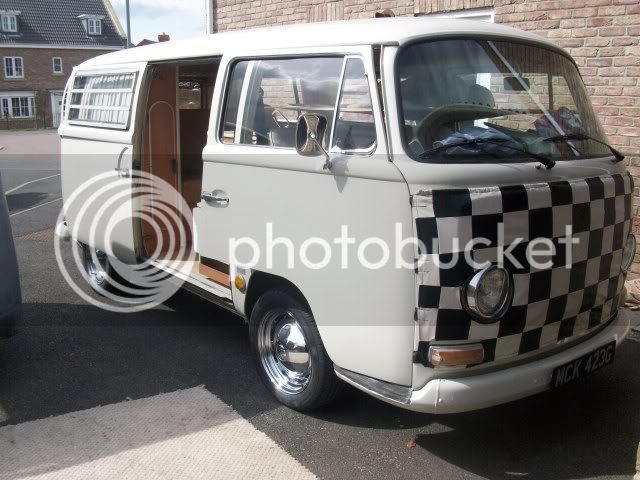
Fitted the chrome hub caps
Picture375.jpg

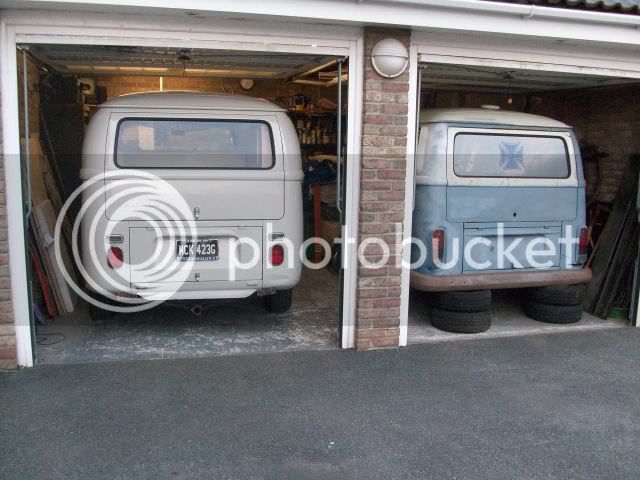
Tided up the garage of crap so I can get my trailer project back inside
Picture376.jpg

Put them both to bed, exhaust off to give it a coat of high temp paint, so couldn't resist a quick spin round the block :evil:
Picture380.jpg
 
I've even been tempted to fit a dummy model or vinyl graphic on the windscreen of someone driving it :mrgreen:
 
Hi, nice looking van. Are the Status rubber seals really that good???? Will you be selling on those lovely painted hub caps??? :D
 
Status seals (baring in mind I only have the front and rear window) is excellent quality. Had others that were poorly shaped and quite a hard rubber. These have proper shaped corners and very flexible rubber.

Once I've lowered the van the hubcaps and wheels will be up for sale, just want to make sure the new wheels clear the arches once lowered.
 
Sounds good, i will have to have a look at Stanford Hall for the seals. Could i have first dibs on the hub caps please? :D
 
BILLYBOB said:
Sounds good, i will have to have a look at Stanford Hall for the seals. Could i have first dibs on the hub caps please? :D
They are only chrome ones the PO has sprayed grey. Going to keep them for a while in case I want to swap back to STD rims
 
BILLYBOB said:
Sounds good, i will have to have a look at Stanford Hall for the seals. Could i have first dibs on the hub caps please? :D
They are only chrome ones the PO has sprayed grey. Going to keep them for a while in case I want to swap back to STD rims
 

Latest posts

Top