The last few days have been spent entirely working on the bus. Progress is starting to quicken up but I'm doing 15 jobs at once, so this post will be a little bit confused.
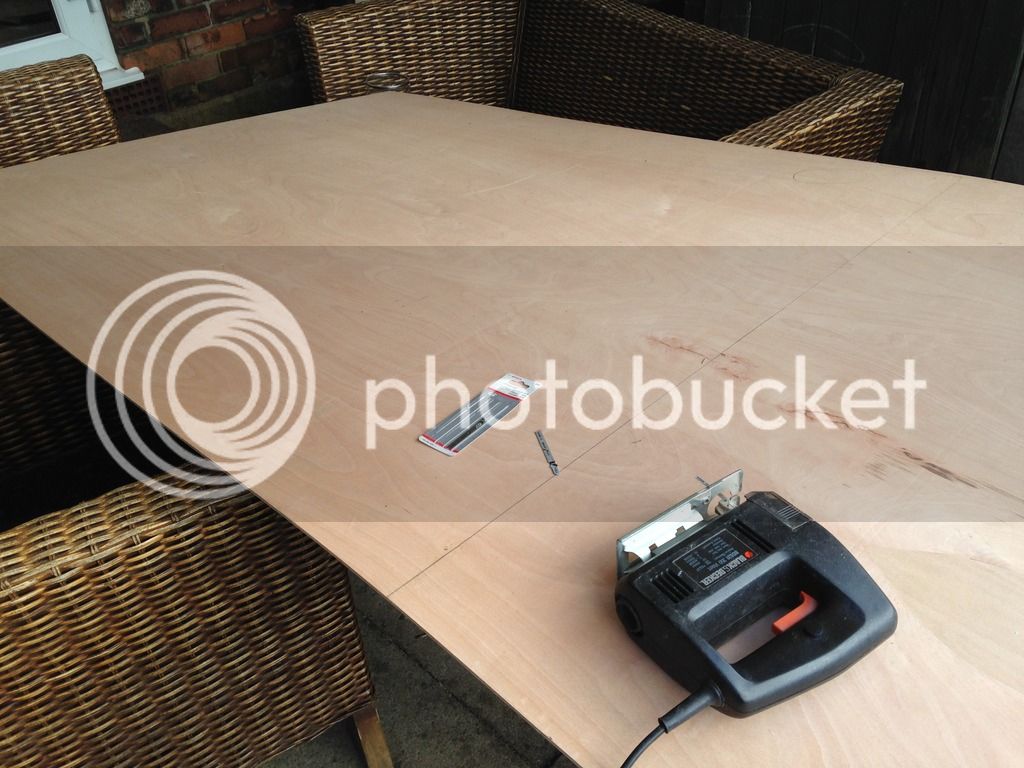
Started cutting the ply for the floor. Two sheets, one 9mm one 6mm. Unfortunately could only get them 8x4 meaning a join would be needed on each, not the end of the world.
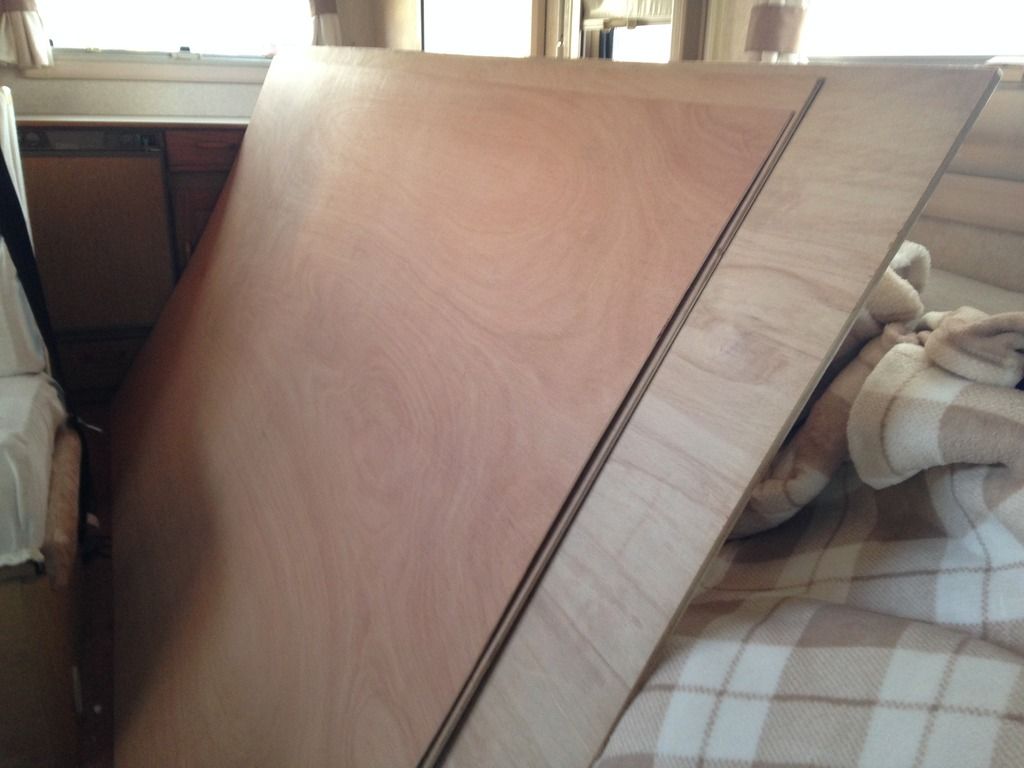
Cutting began:
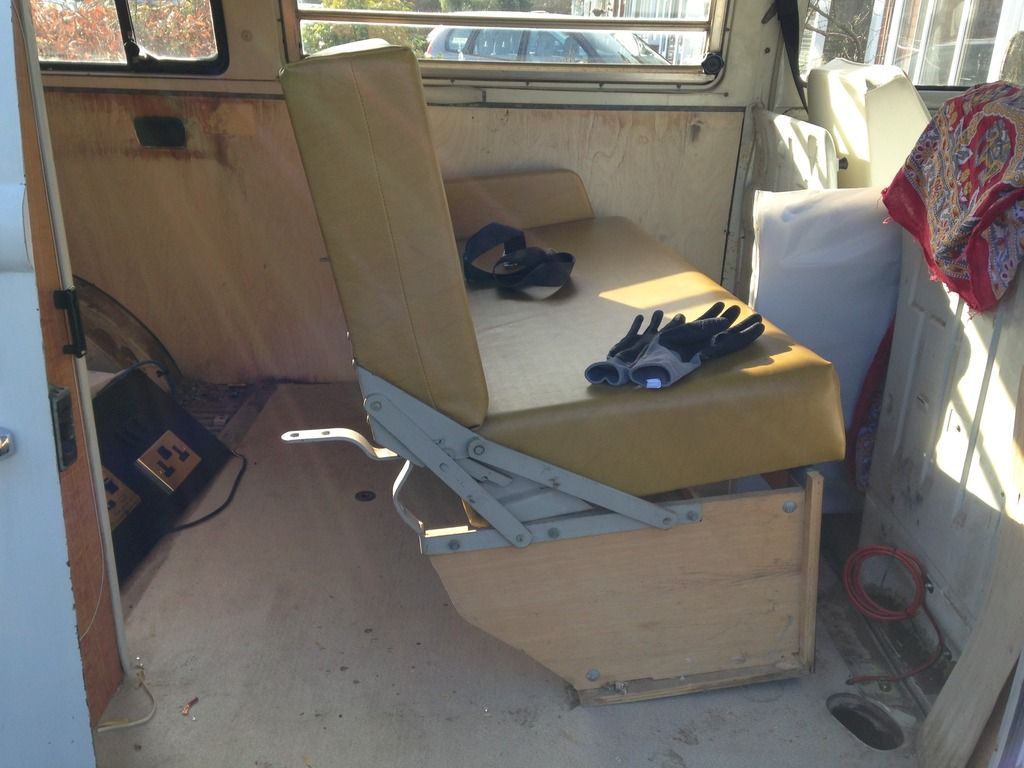
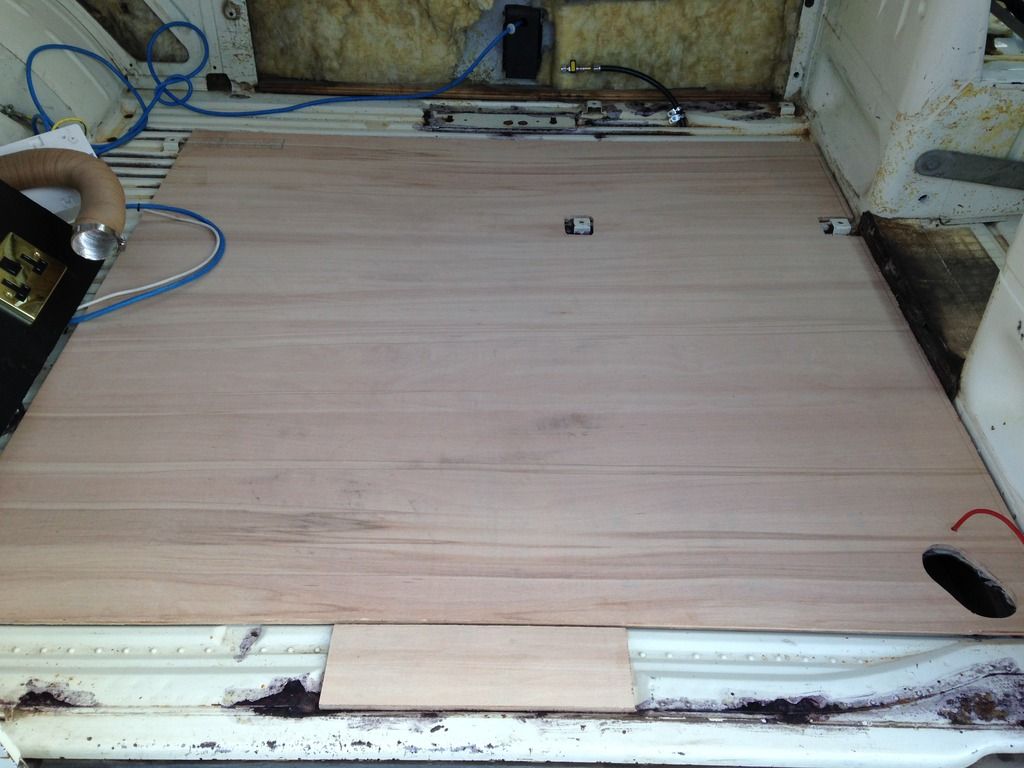
And a trial fit of the 9mm:
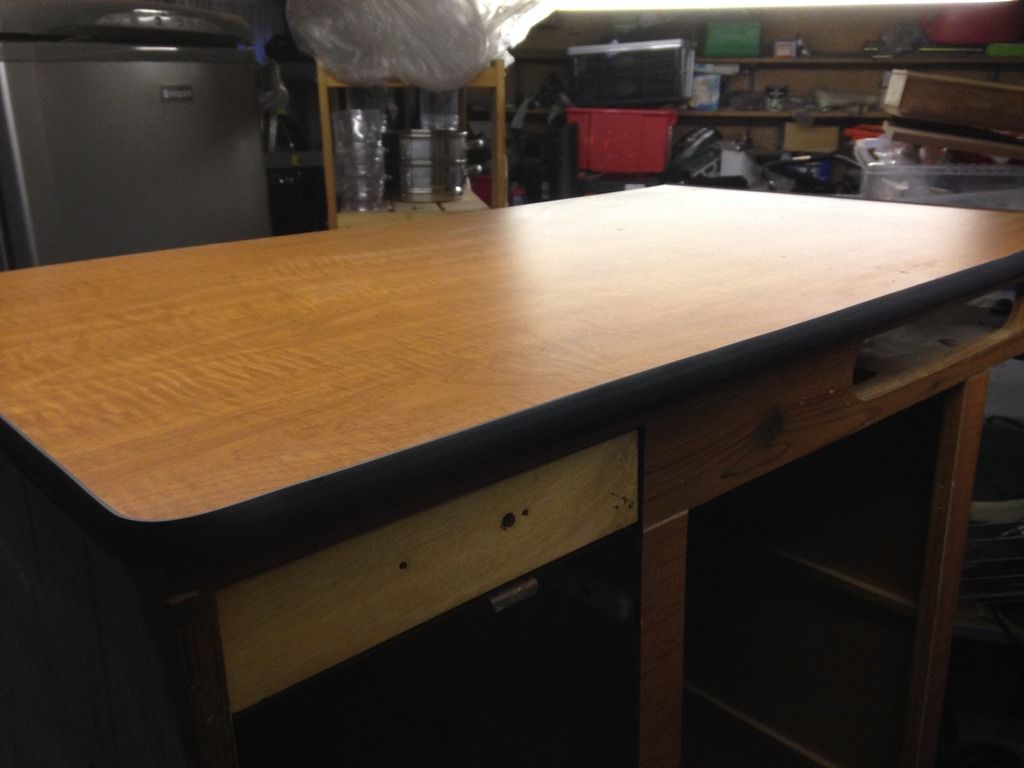
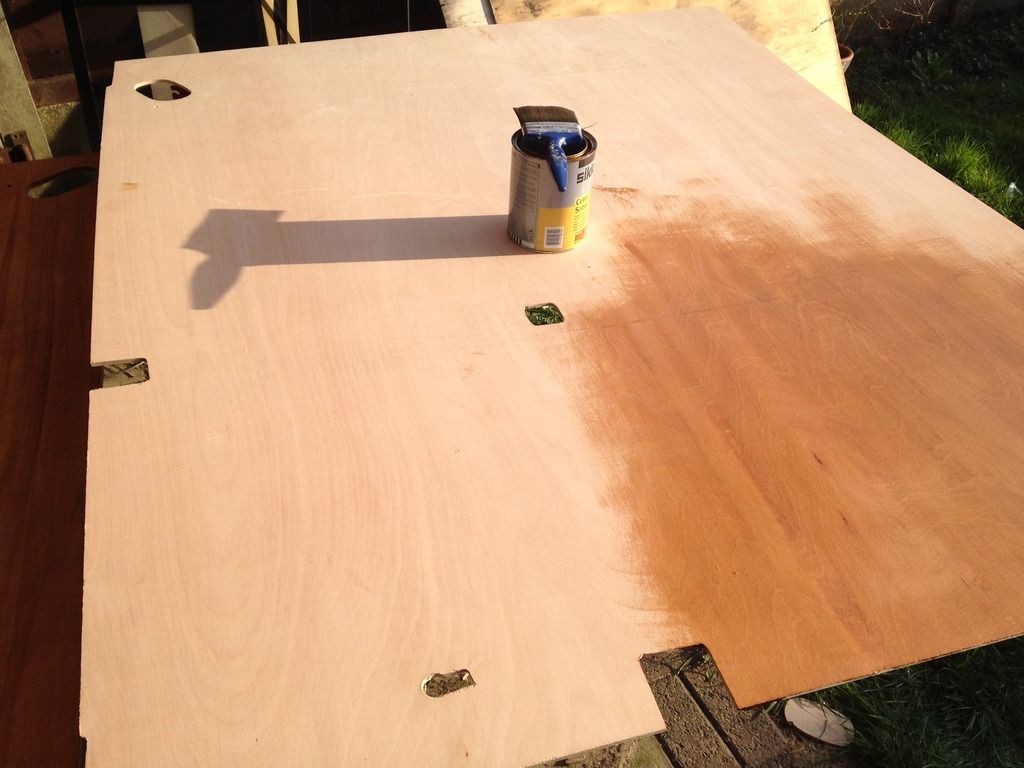
Very happy with this so decided to seal and weather proof the wood just to be on the safe side, used Sickens.
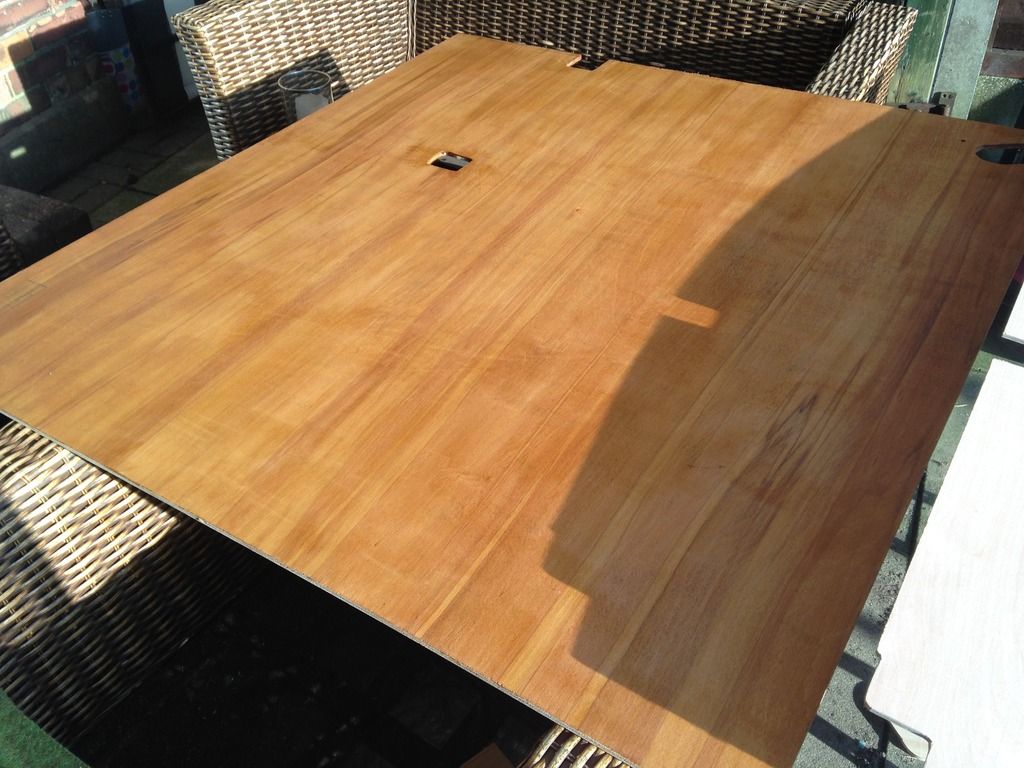
And done...
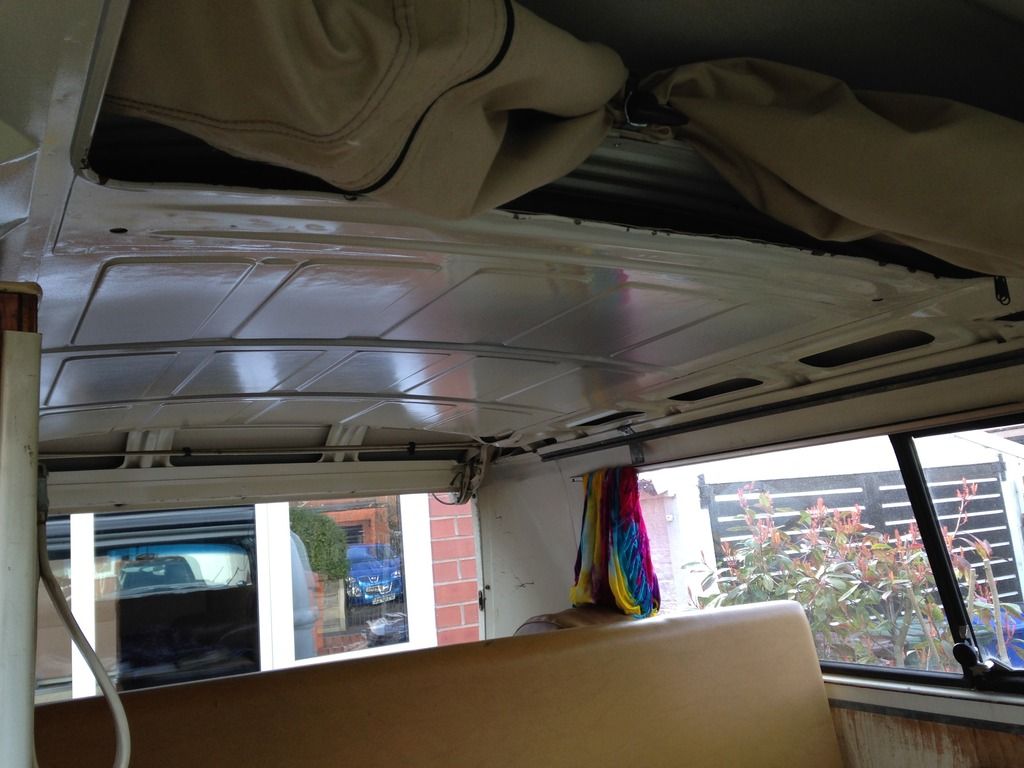
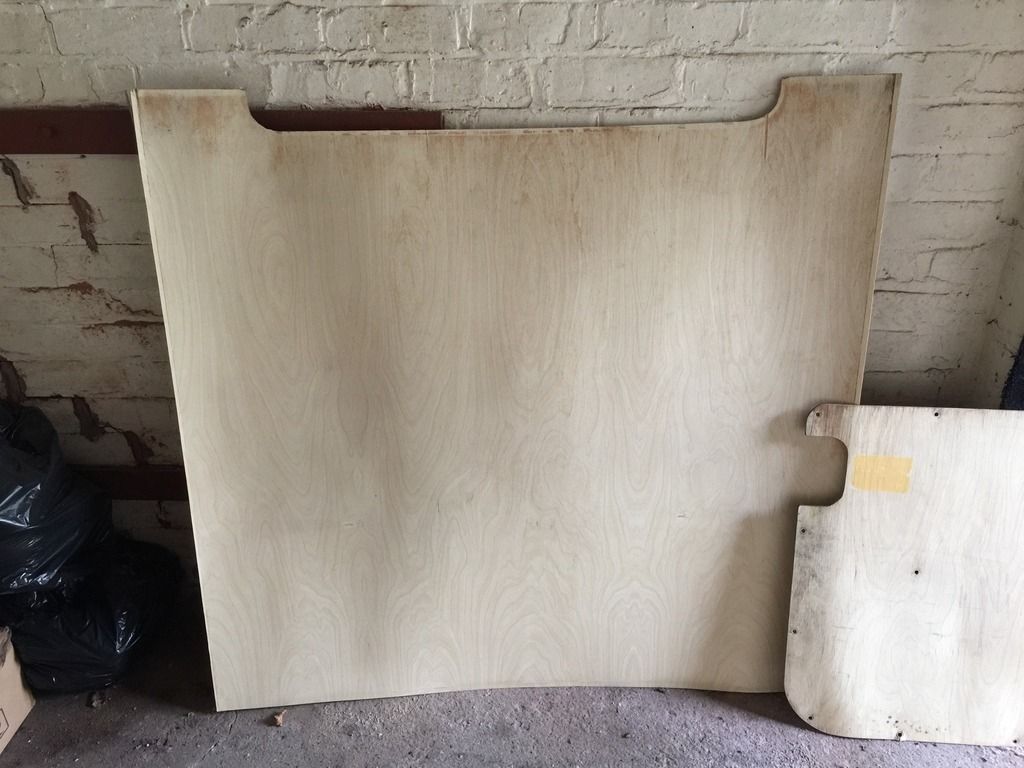
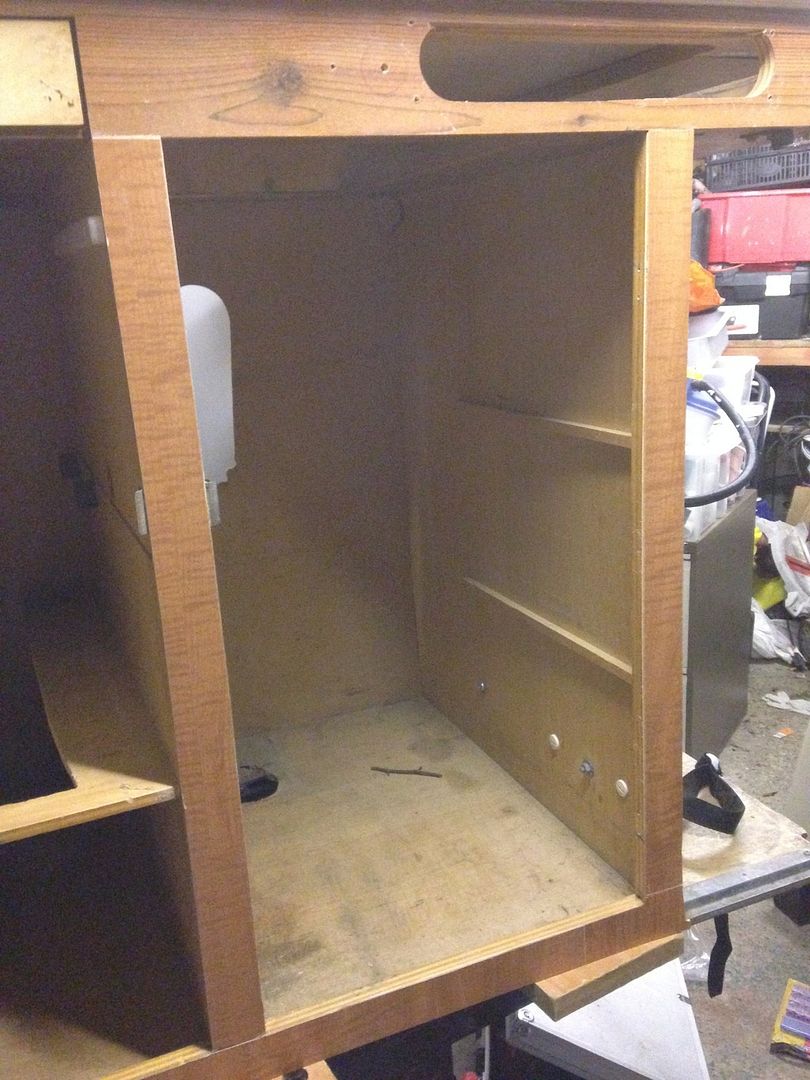
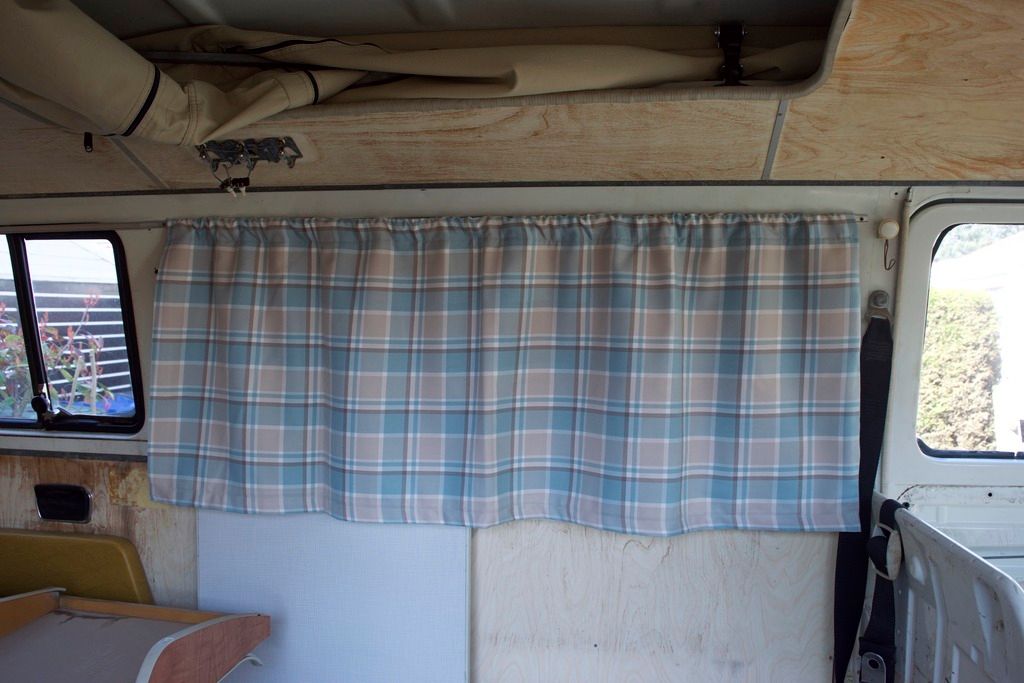
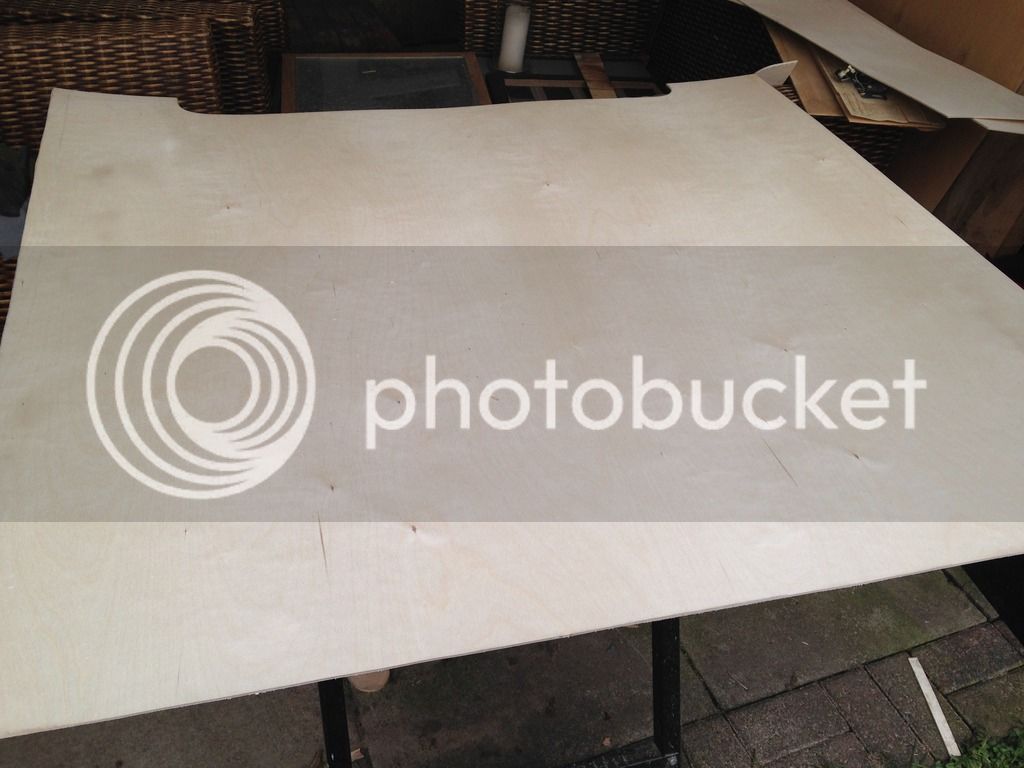
So then moved onto cutting the ply headliner:
I don't know how people can cut these things off measurements, credit if you can. Fortunately I was able to use my old stuff as a template, making the job far easier. The headliner is all cut and ready to trial fit in the bus, I think it probably needs a few adjustments to fit, though fitting tips would be handy.
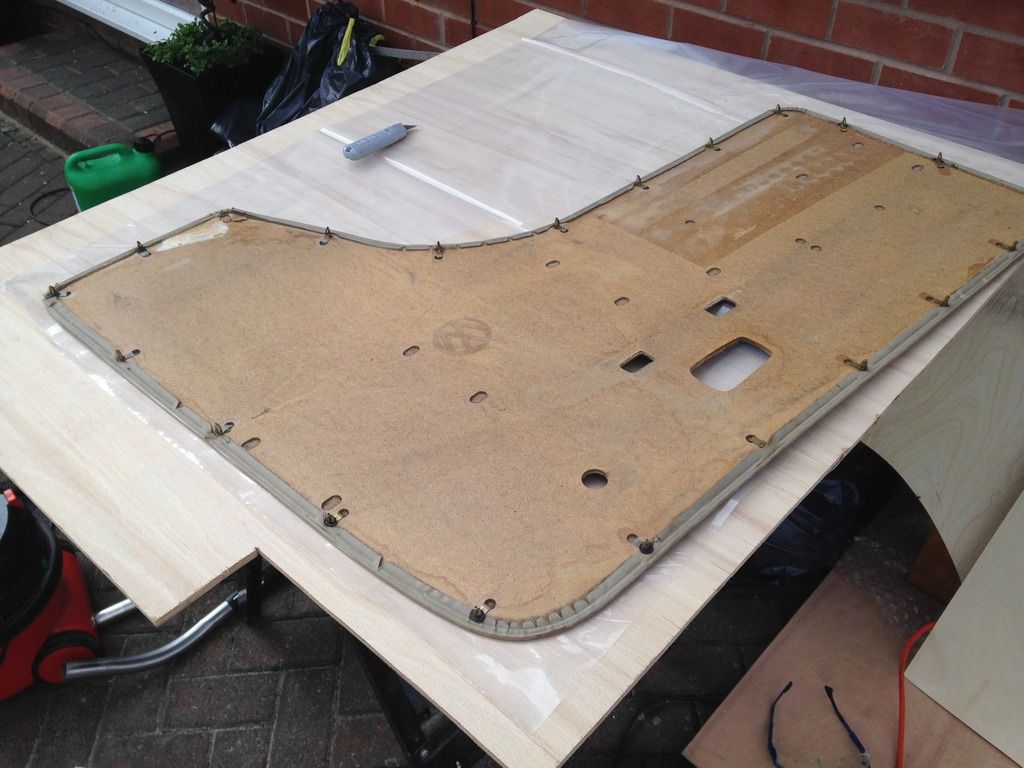
Once I'd finished cutting the ply I decided to move on to the cab doors which needed cleaning, soundproofing, and new membrane sorting. So onwards...
Used my old doorcard as a template:
Quick fit to check size
I cut two pieces for each door, the first I'm going to fold and lip inside the door, the second over the top of that glued to the bottom. Two layers of this stuff should be more than enough to keep water from hitting the door cards.
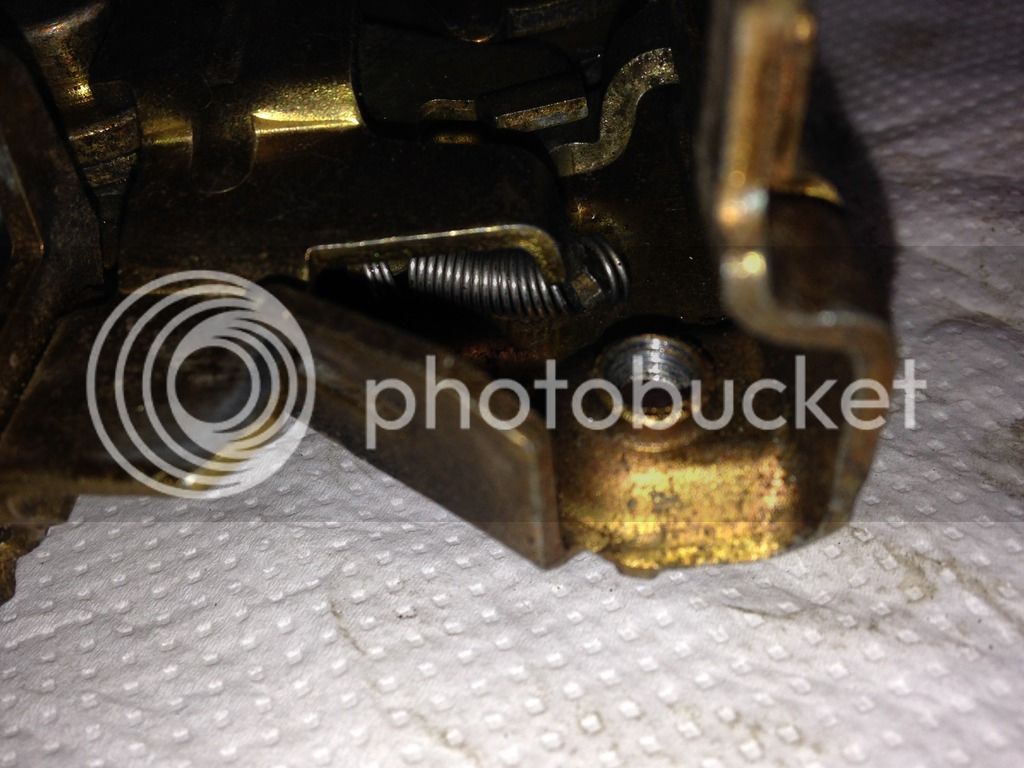
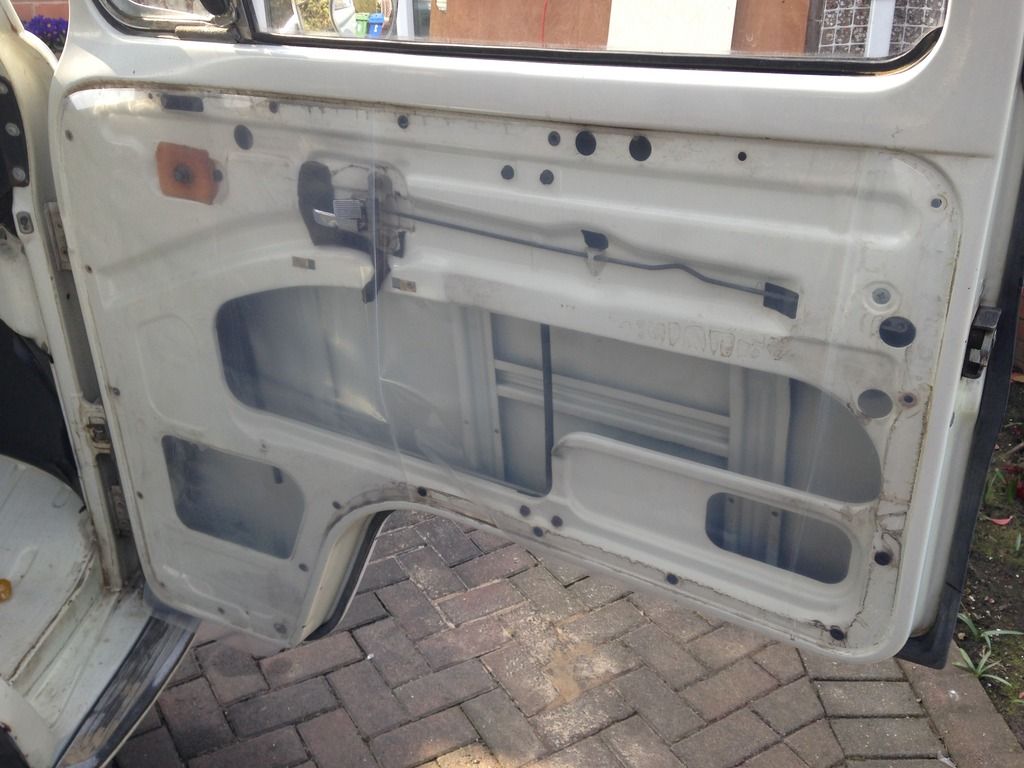
Door cleaned:
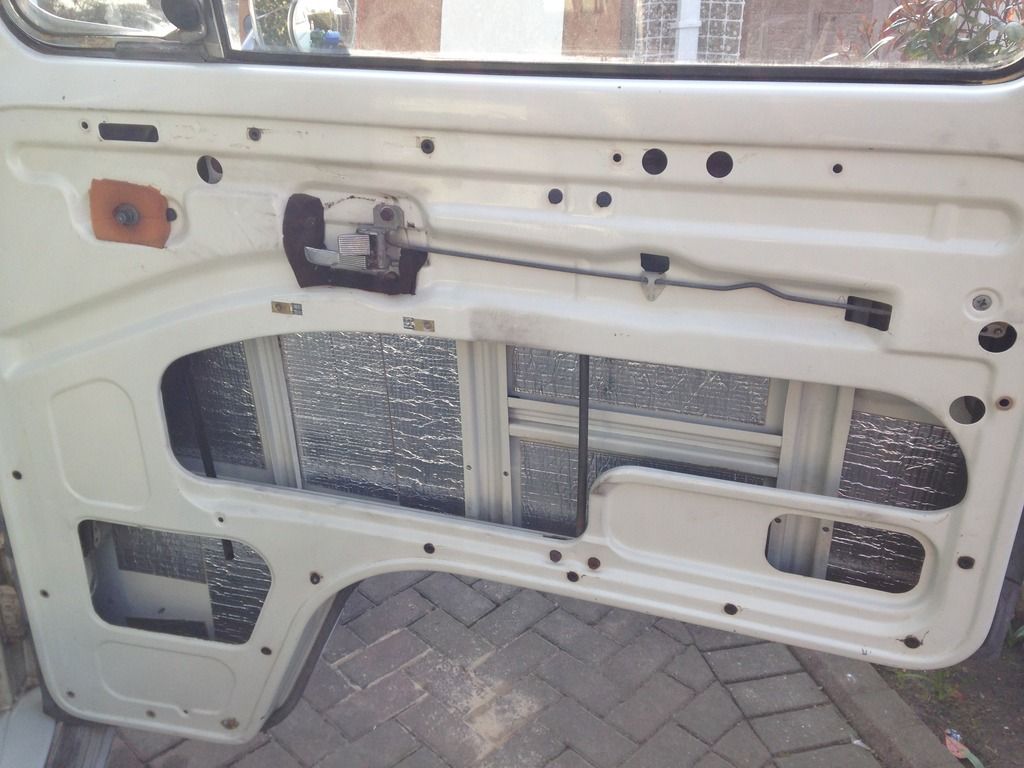
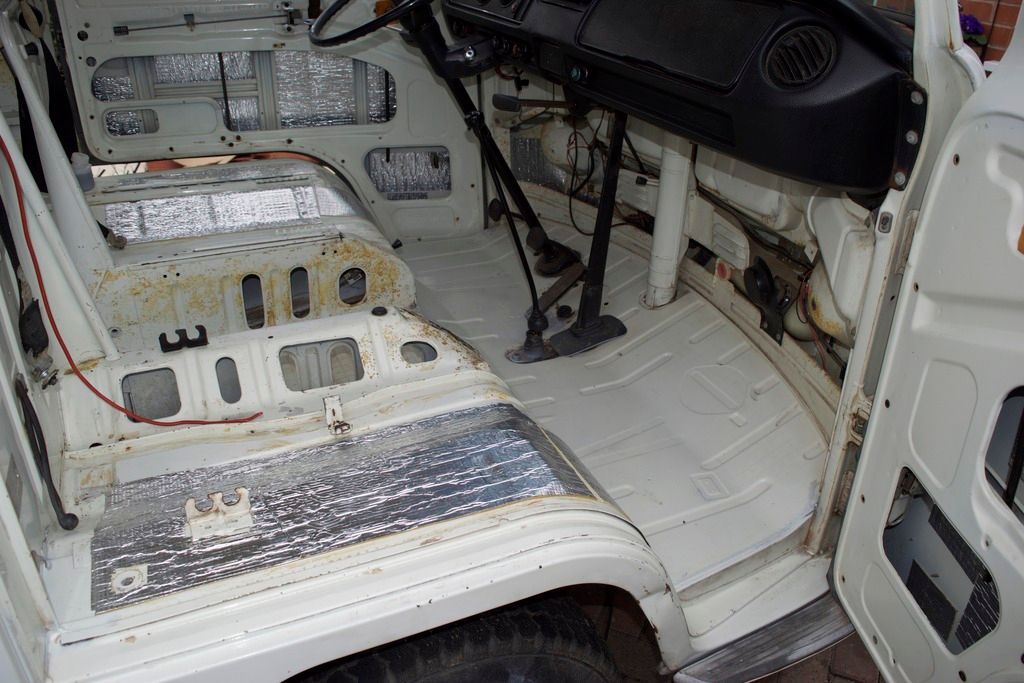
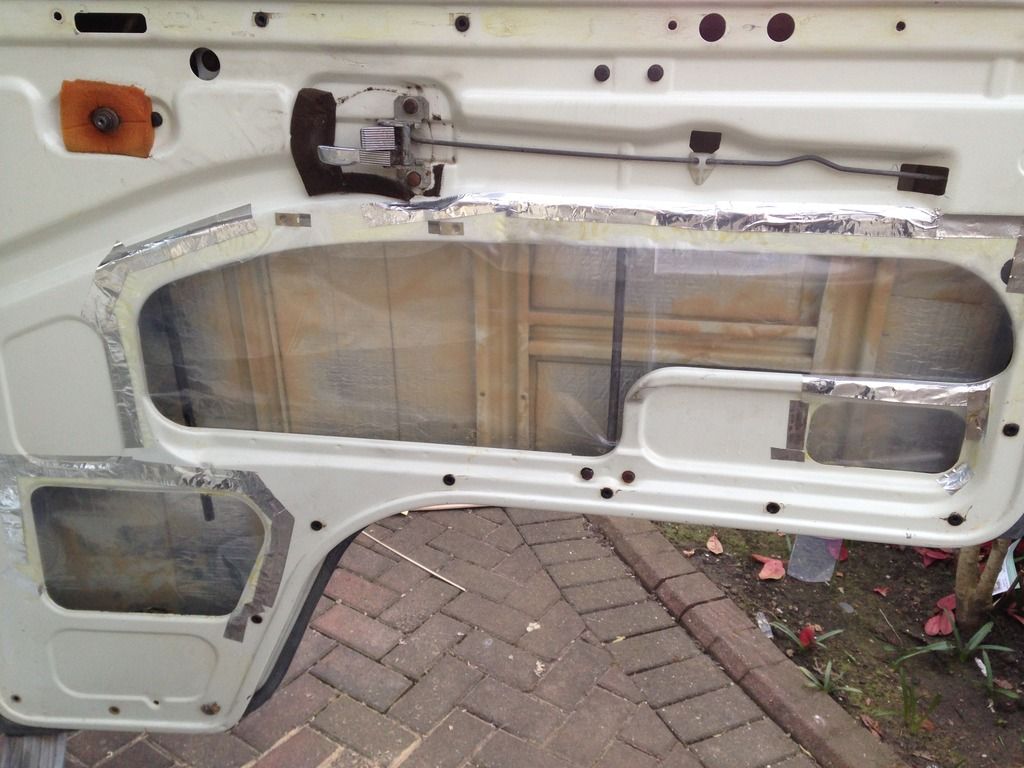
And soundproofed:
I'm using Noisekiller for the soundproofing. The foil stuff is a deadener, I also have a black matt for the actual sound proofing. The doors however, now shut with a reassuring thud rather than clank! Fitting was very easy given that they're self adhesive.
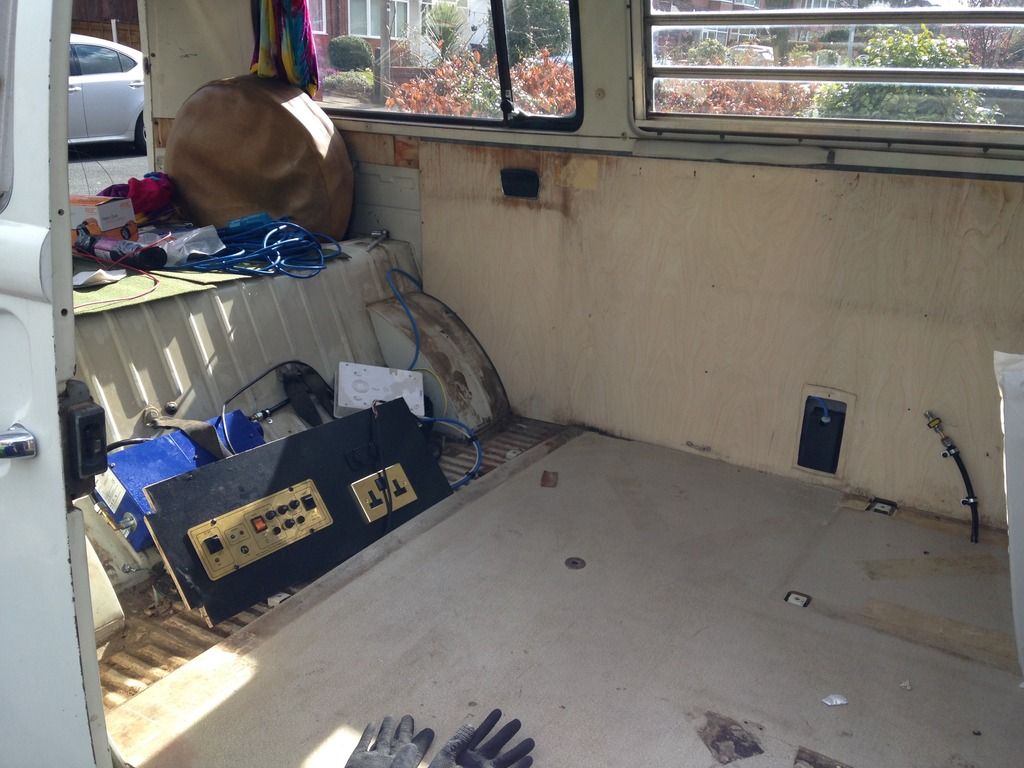
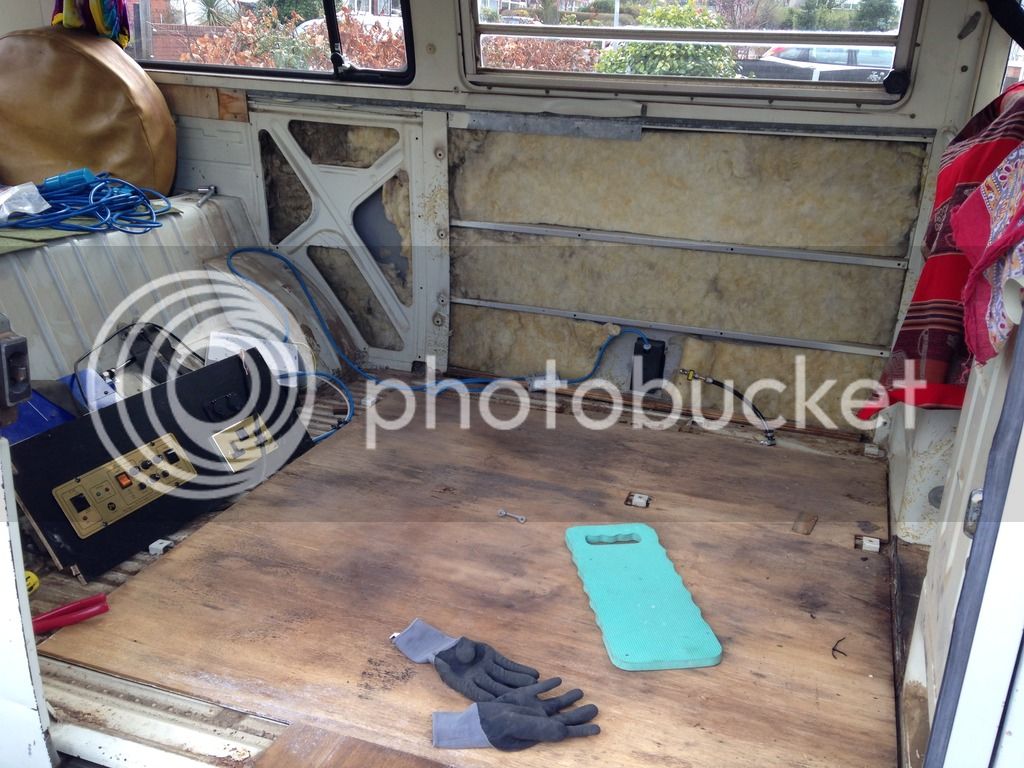
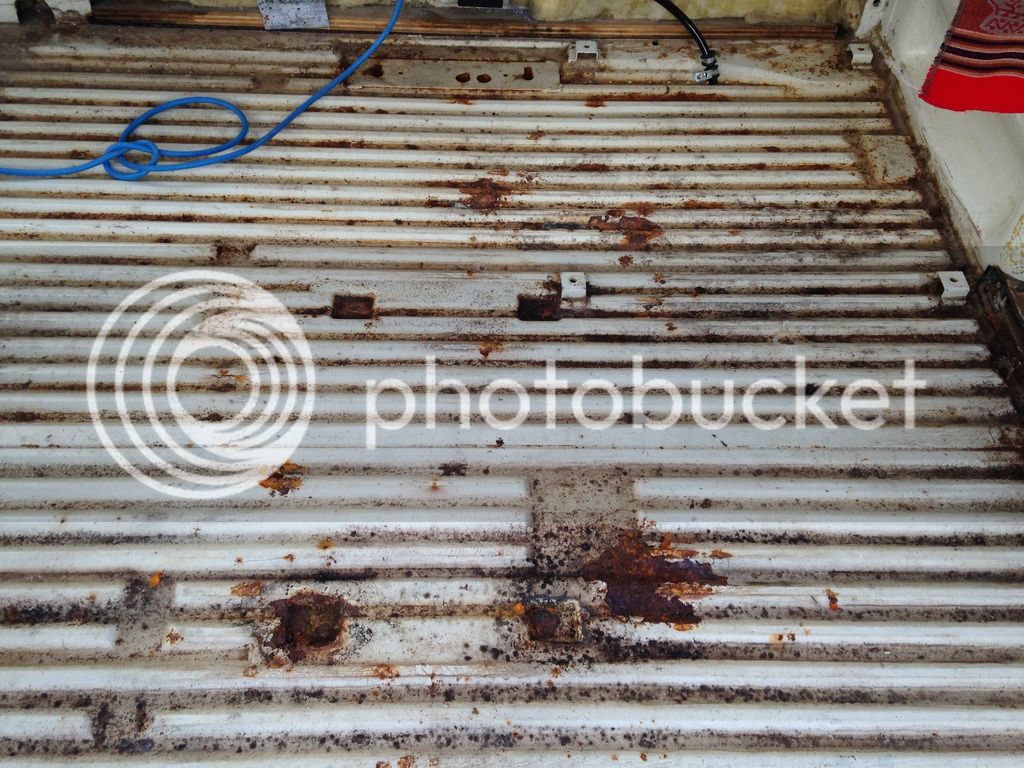
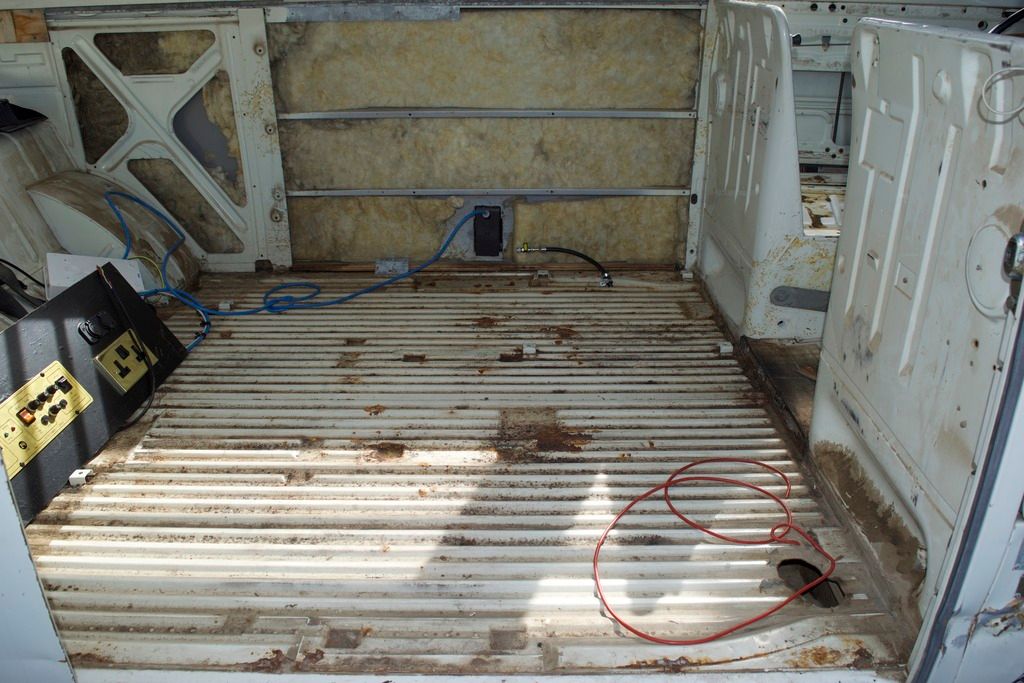
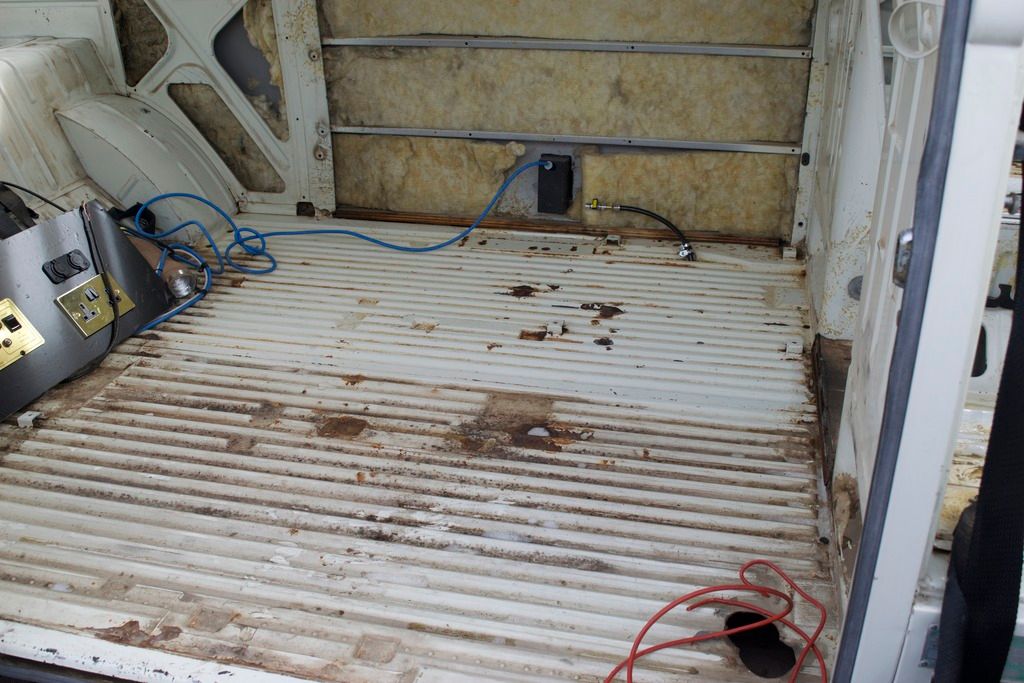
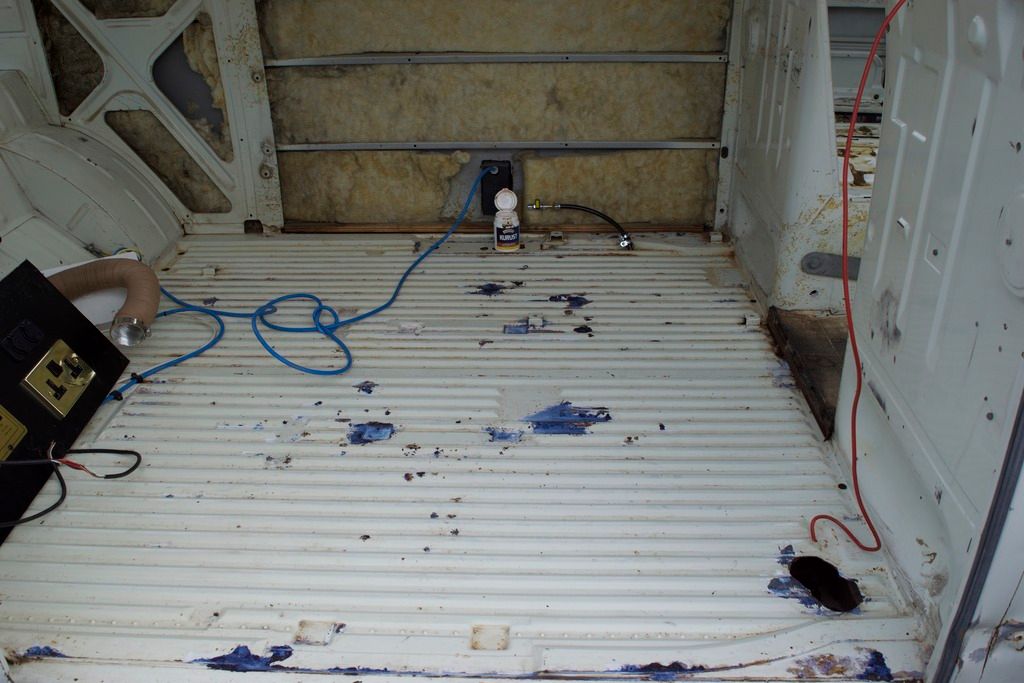
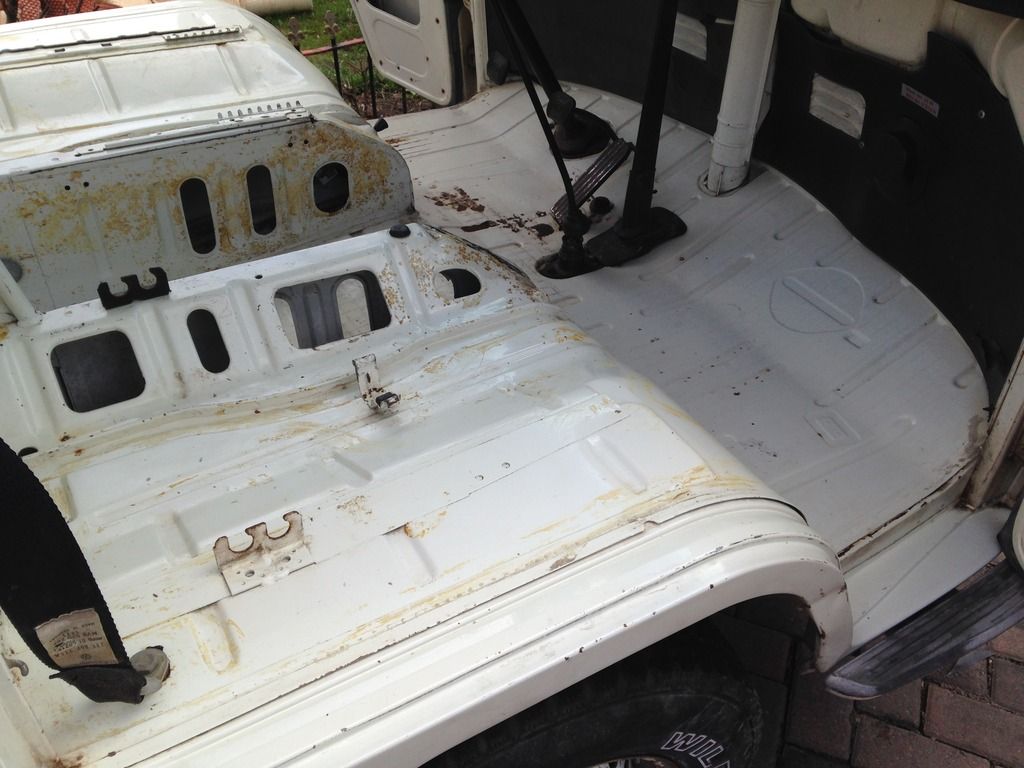
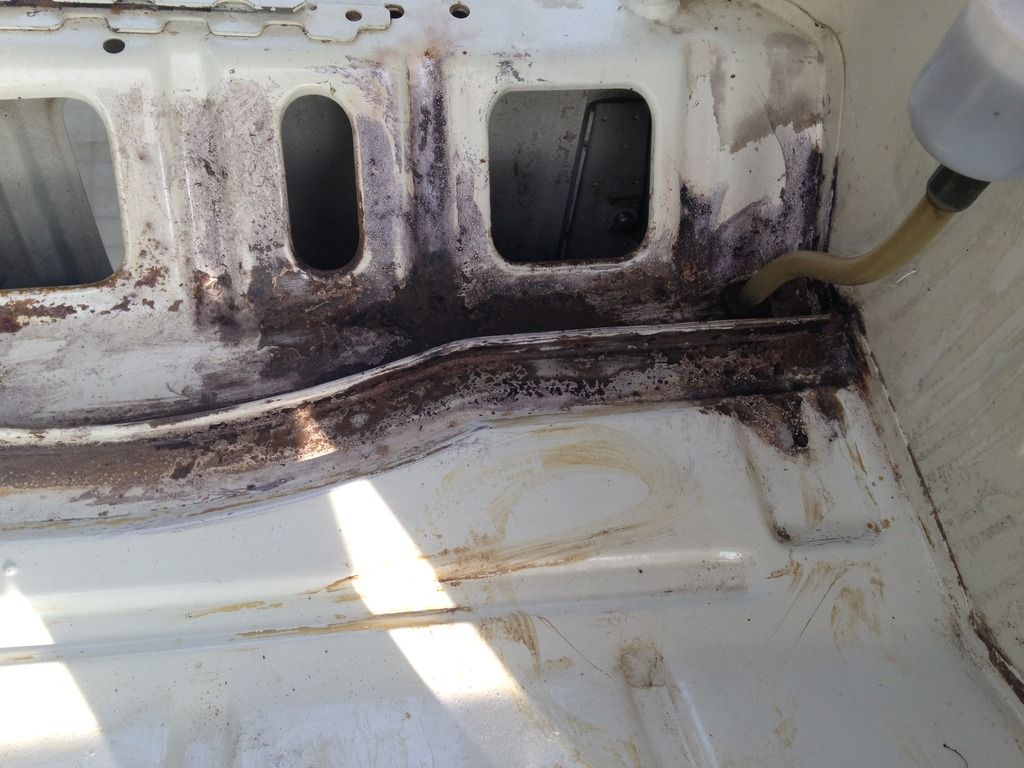
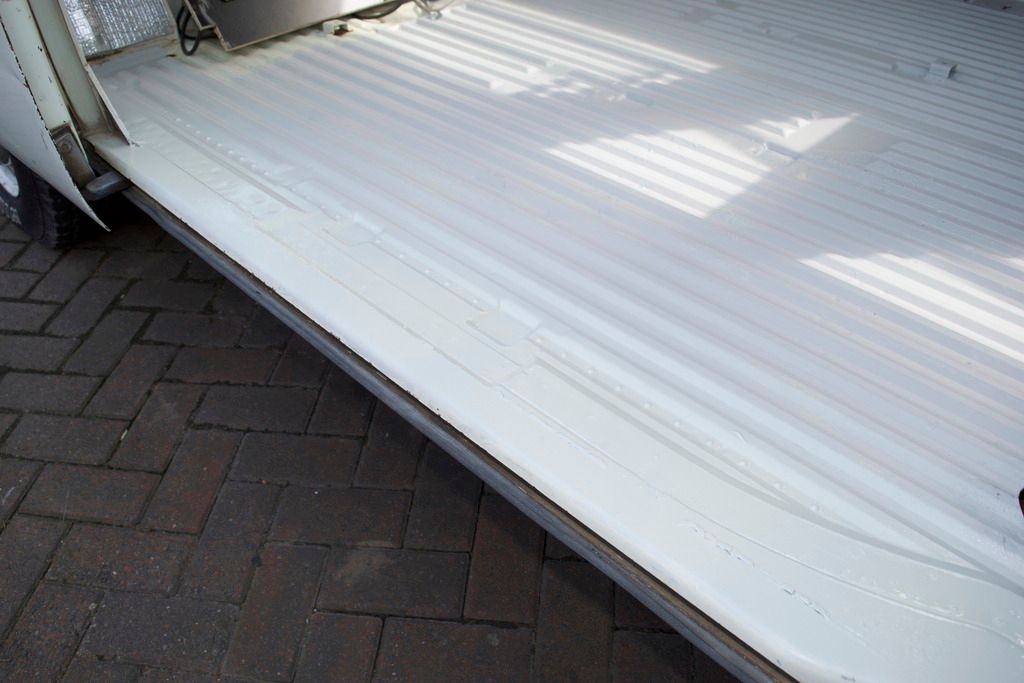
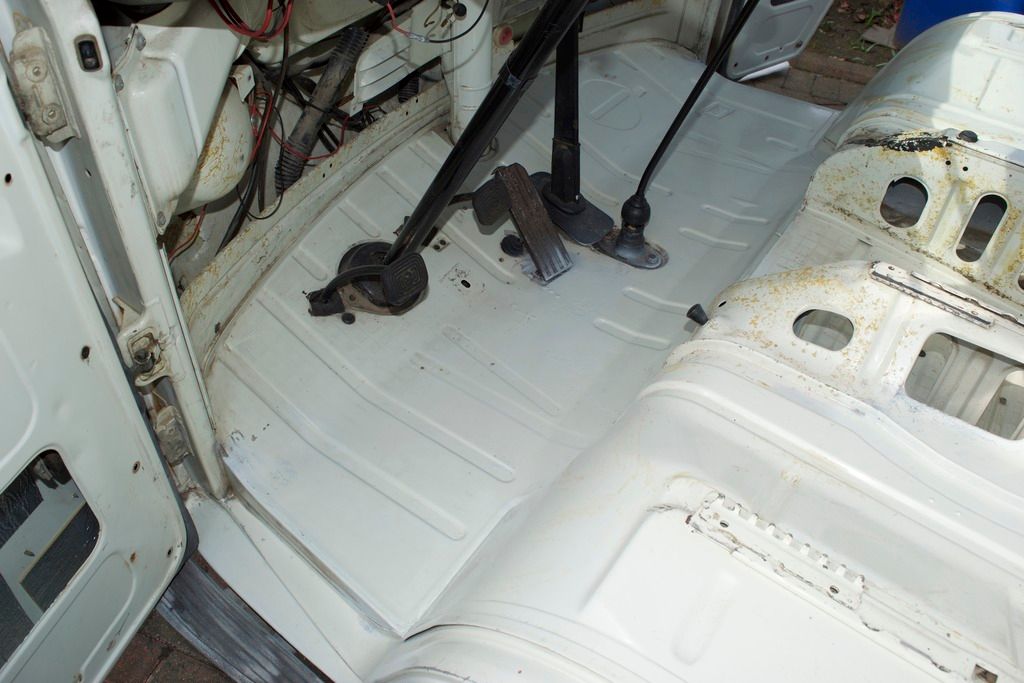
Also cleaned the cab floor ready for rust proofing and paint:
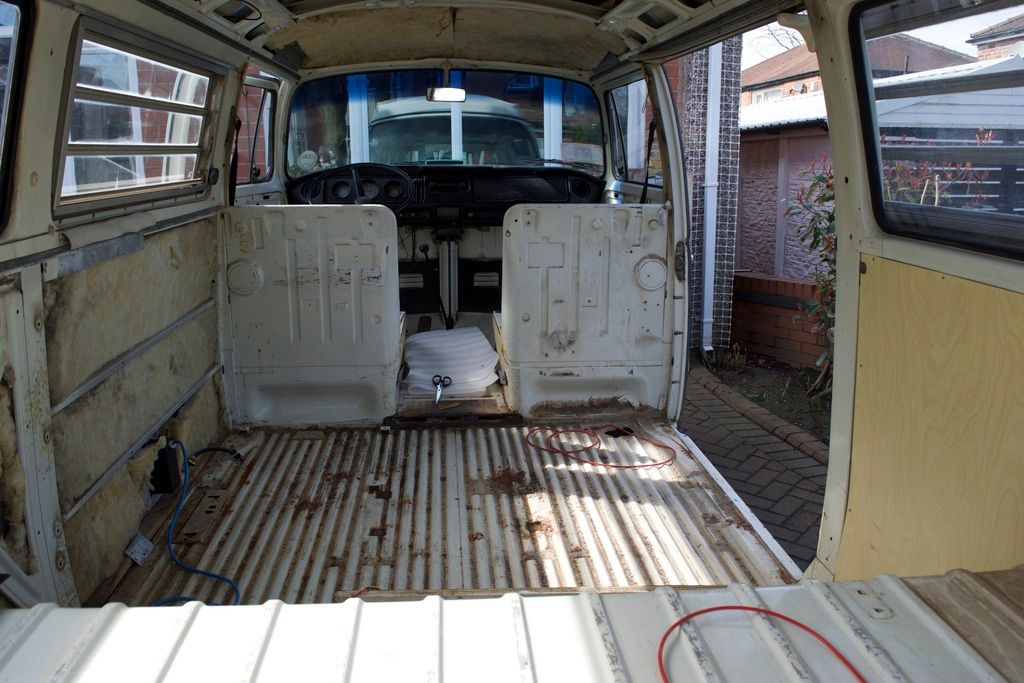
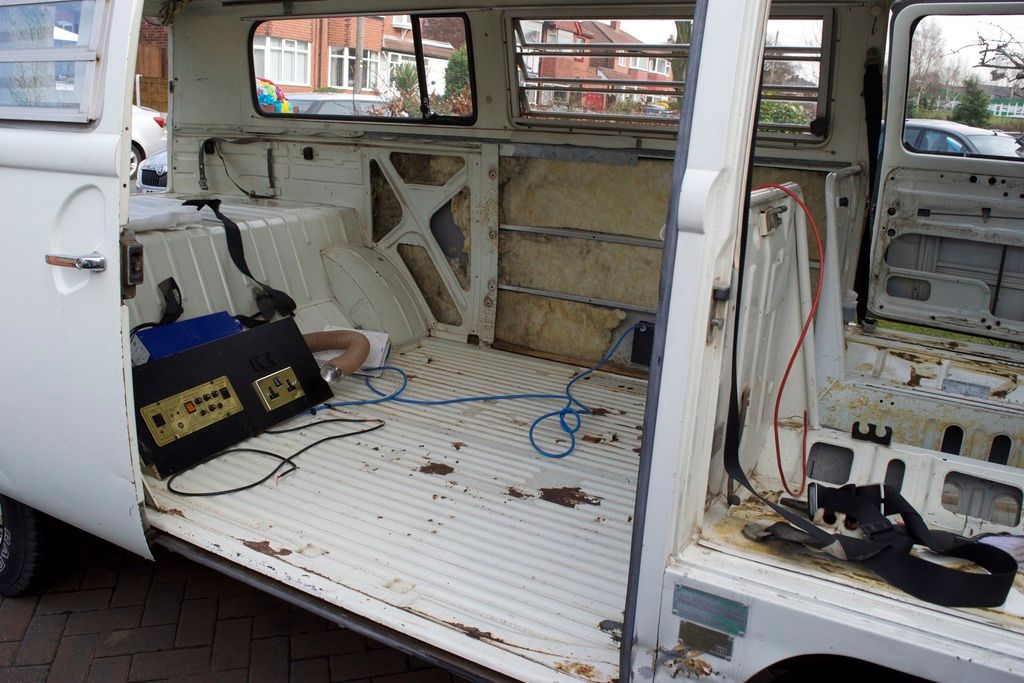
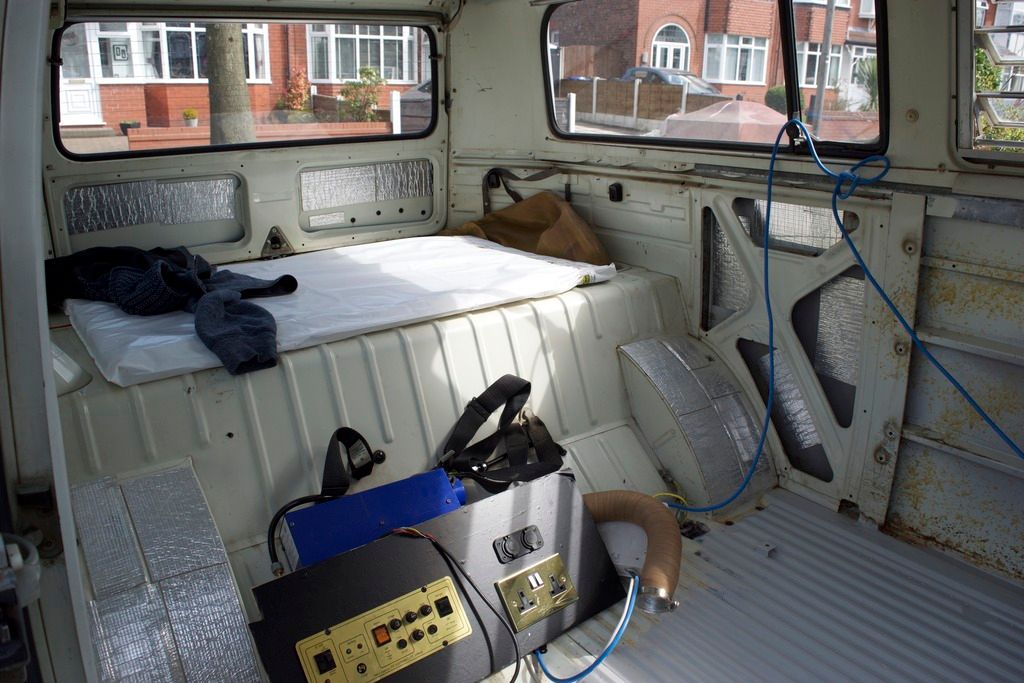
I seemed to have done far more over the last few days than these pictures actually show but as you can see it's starting to take shape.
Todays to do:
Finish door membranes
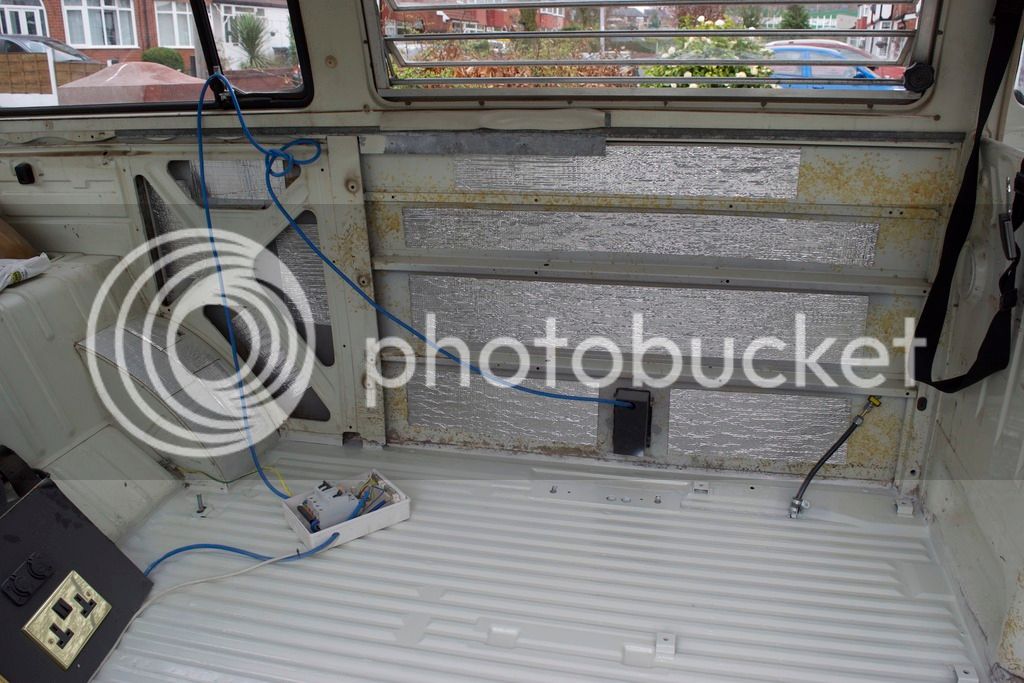
Soundproof rest of the bus
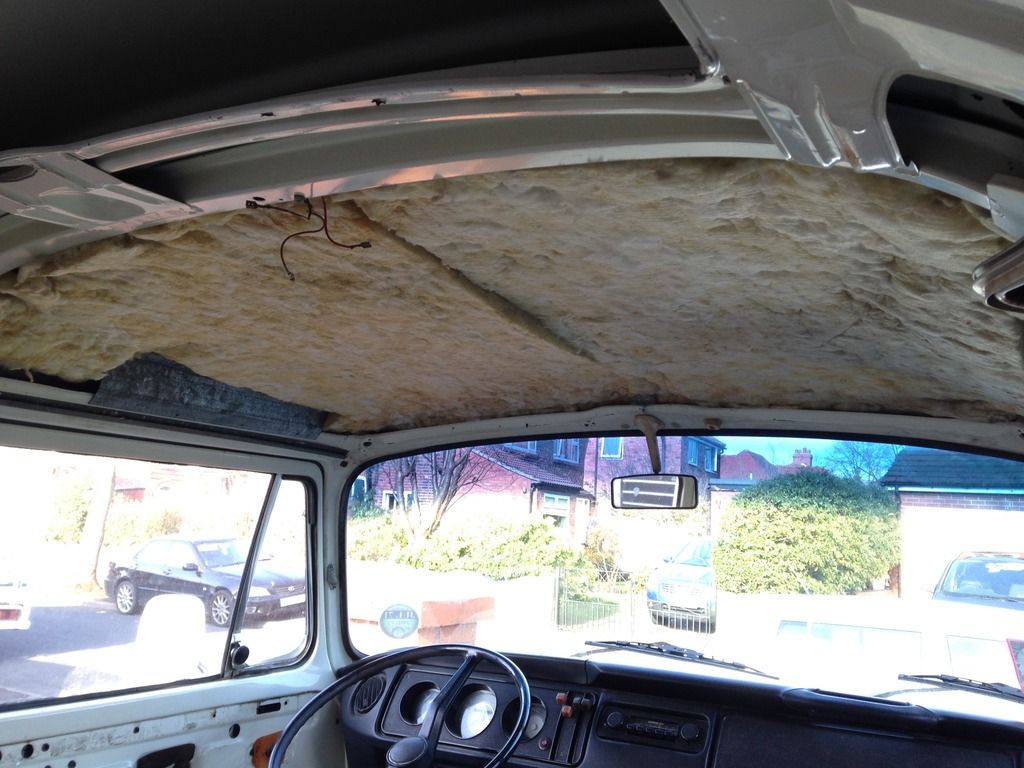
Insulate the bus
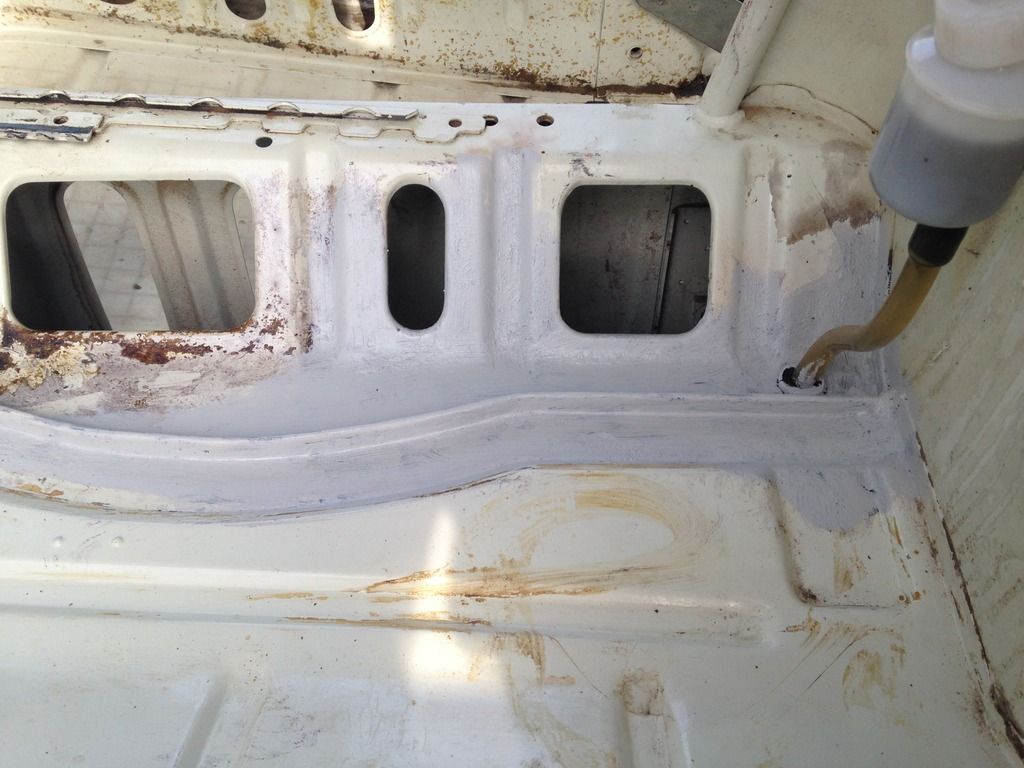
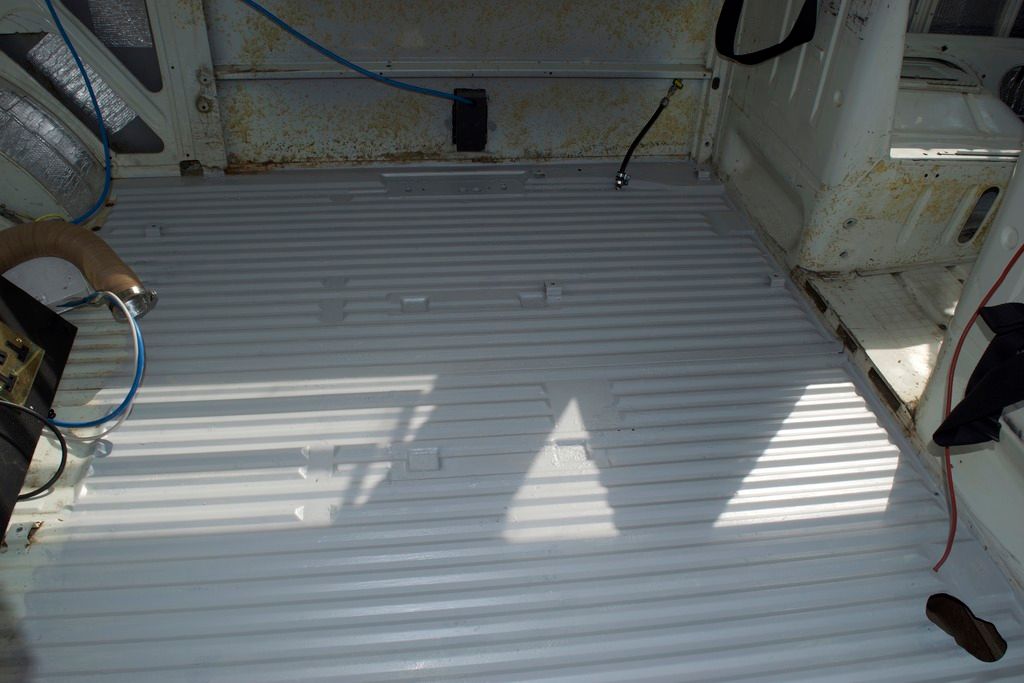
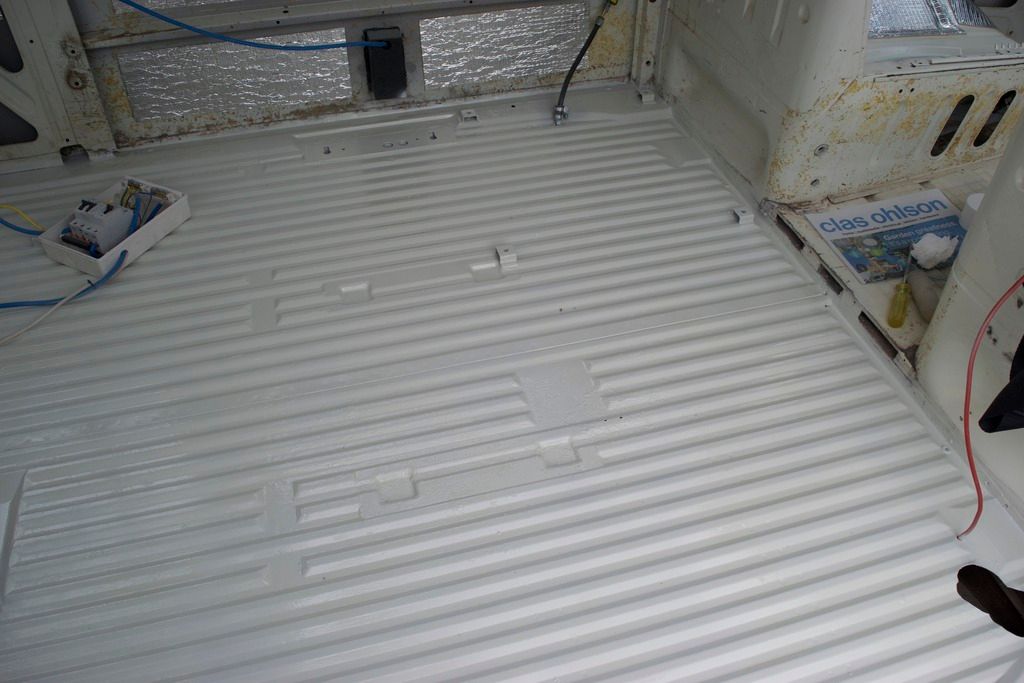
Prime and paint cab/cargo floor
Check headliner fits
More updates tonight.


")