The 1971 White Westfalia 'Fe'

Early Bay Forum

Help Support Early Bay Forum:

This site may earn a commission from merchant affiliate links, including eBay, Amazon, and others.
Cheers Andy and Paul.
That isn't my bus by the way, it's just an example, although I've changed my mind a bit and have some plans about to be put into action.

Dropped the bus off today with Steve at Gasure, leaving the engine in his capable hands.
 
Arrived today:
IMG_2474.jpg


IMG_2481.jpg


Christmas came early!
 
The engine troubles
The plug hole was too big and therefore there was a deep crack between the plug hole and the exhaust valve.
The engine had been badly overheated with most of the head bolts being loose.
All four spark plugs were different. Some short reach some long reach. Couple of pictures below.

ef14086d2d37e85ee6e4b859c044c46f.jpg


772e493947a8530b9d3cedfb65ac6905.jpg


So it's having a new head. The other head is being refreshed. Vacuum advanced distributor put on and swapping to electronic ignition while we're there.
Should be done and back to me by the end of February.

In the mean time I have to drop my seats off at Deliliahs, finish buying all the parts I need for the interior and get an electrician. No rush!
 
A month later and the bus is nearly done. Should be back with me within the next two weeks, with all new everythings.
Had a bit of a delay as this happened:
unnamed.jpg


Bolt pulled out of the case?

While all that's been happening, the parts pile in my bedroom is growing;
Inertia 3 point seatbelts
Waeco CR50
Parcel Shelf
Smev Hob
Camping Equipment

With the bus due back the first week in March, it's going to be a mammoth task to get it ready for going at the end of March, but we shall plough on regardless.
 
Started the re-laminating of the Berlin kitchen unit.
Started with this:
DSC_0188.jpg


Rather lovely isn't in. I then destroyed it, becoming this, when I removed the top to accommodate the new hob:
DSC_0191.jpg


DSC_0192%202.jpg


Started tackling the old laminate, used a heat gun to melt the glue then a scraper to get it off. Managed to get everything off without splitting or breaking.

DSC_0196.jpg

DSC_0195.jpg


These are the pieces that came off next to the new laminate:
DSC_0194.jpg


Do you think I got enough?
DSC_0193.jpg


First test on the small draw:
DSC_0198.jpg


Going to carry on tomorrow, all being well, hoping to have it finished by next week. Late bay Berlin in early bay laminate...
 
Bluesnailman said:
Interesting, what else are you putting in the interior (I'm guessing in matching laminate)?

Thanks. Not putting anything else in. I have the early westfalia interior, so removing the buddy seat to install the later Berlin kitchen unit to house my hob.
My girlfriend and I are going travelling for six months in the bus so we needed more space than the westy setup could provide, but I didn't want to go too far from original, so best compromise was the Berlin unit. Lots of extra storage space and I don't have to mess with my sink unit to fit a hob.
 
Aha. That's a great idea, and one I did too. Made mine much more usable and self contained. With the Westy wardrobe you will have a huge amount of storage. You'll love it. Here's what mine looks like

 
If you wanna re coupe some money I will but some of the left over laminate from you.
 
Cheers guys.

Bluesnailman said:
Aha. That's a great idea, and one I did too. Made mine much more usable and self contained. With the Westy wardrobe you will have a huge amount of storage. You'll love it. Here's what mine looks like


Yours looks great. Saw it in your thread and if I'd not gone down this route getting another sink unit would have been the way forward, you just need that extra storage space, especially with a woman in tow. :roll:

*Sam* said:
If you wanna re coupe some money I will but some of the left over laminate from you.

Well it was £200 a sheet and I got a few so...No, I got it for £45 and I'll put all the details of where to get it on the forums shortly, I'll have loads left I imagine so I'll let you know.
 
Ok brill, is it an exact match to the original cherry ?
 
Yours looks great. Saw it in your thread and if I'd not gone down this route getting another sink unit would have been the way forward, you just need that extra storage space, especially with a woman in tow. :roll:

*Sam* said:
What's really good is you will be able to fit half a dozen boxes of wine in there.....

Another great and cheep invention is some really big/tough waterproof bags, you know the type with a rollover neck. Some bungy chord and some hooks and you have a waterproof DIY roofbox, that you can bring inside if you're parking in any unsavioury places.
 
Bluesnailman said:
What's really good is you will be able to fit half a dozen boxes of wine in there.....

Another great and cheep invention is some really big/tough waterproof bags, you know the type with a rollover neck. Some bungy chord and some hooks and you have a waterproof DIY roofbox, that you can bring inside if you're parking in any unsavioury places.

That's a great idea, I was trying to work out what's best for the luggage rack that is easily removable given some of the places we'll be visiting. Fountain of knowledge springs to mind...

*Sam* said:
Ok brill, is it an exact match to the original cherry ?

I don't know/don't think it's an exact match. As far as I'm aware to get an exact match you need to spring for the NLA £200 per sheet stuff. Fortunately, I'm not too concerned about an exact match as I'm not patching up original bits, and the Berlin unit isn't original to my bus anyway, as long as it's close I don't mind, and it looks pretty close to me.

mike202 said:
New laminate looks good on the draw front. How do you cut that ?

I guess, carefully is the answer :lol:

Used scissors just for the trial piece but this splinters the laminate ever so slightly, so will be using trimming blades from amazon, score and snap...

The laminate came from Arnold Laver, it's called Grand Isle Maple and is £45+VAT per sheet. I doubt it's a big secret really, though took me a day or so research to find it and then had to get a sample. Fingers crossed the finished article looks good.
 
Work has taken over my life for the last week so haven't managed to do anything further to the kitchen unit, hoping to crack on this week, however a few presents arrived! :D

DSC_0193_1.jpg


Fridge!! Only wanted one for ever! Waeco CR50
DSC_0197_1.jpg


DSC_0198_1.jpg


Hob to go on the kitchen unit. Smev 8022
DSC_0195_1.jpg


DSC_0196_1.jpg


And my new table. Smaller than the berlin table and folds up nicely so we've got that bit of extra room.
DSC_0194_1.jpg


Got another rather amazing delivery due in the next few days, really looking forward to that one ;)
 
The bus returns

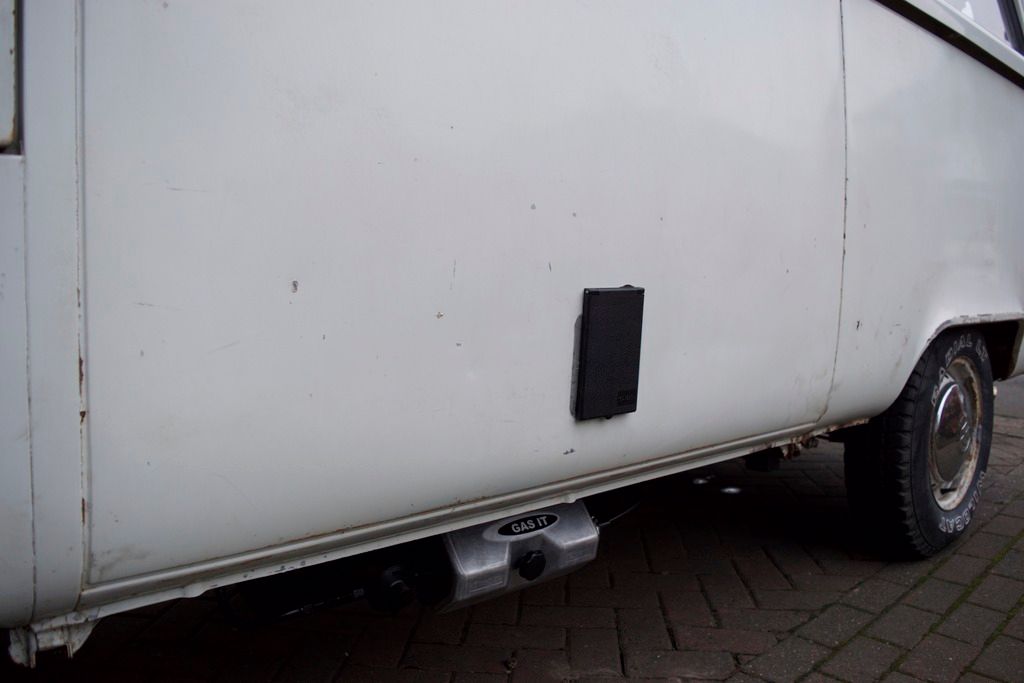
Starting with the visual changes to the outside, the most obviously being the 20L gas tank underneath, powering the propex and hob.

DSC_0193_2.jpg


DSC_0194_2.jpg


And no, not original to the early westies, or to everyone's taste, but is extremely practical and means we don't lose valuable space inside accommodating a gas tank, or the need to cut a vent/dropout hole in the bus. It's also exceptionally cheap to fill up (£8) and will last for ages.
Above it you can see the new hookup. It can stay for now but the plan was to eventually get the hookup hole blanked off and painted, didn't like the original either. When that happens the hookup can move somewhere else. But alas, it powers my bus, where we move onto the inside...

DSC_0196_2.jpg

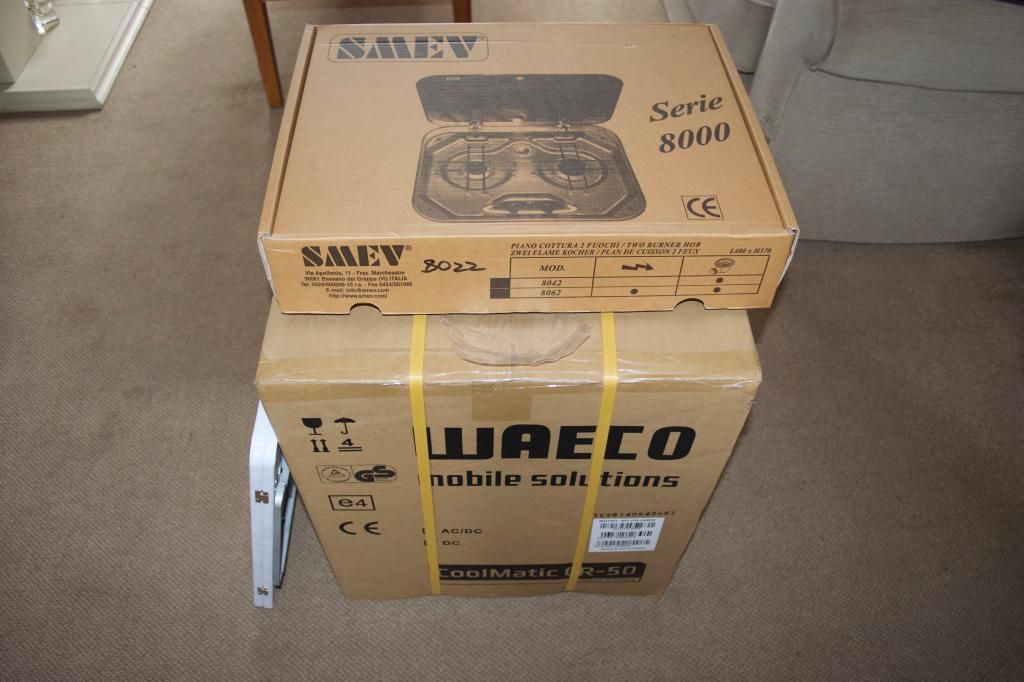
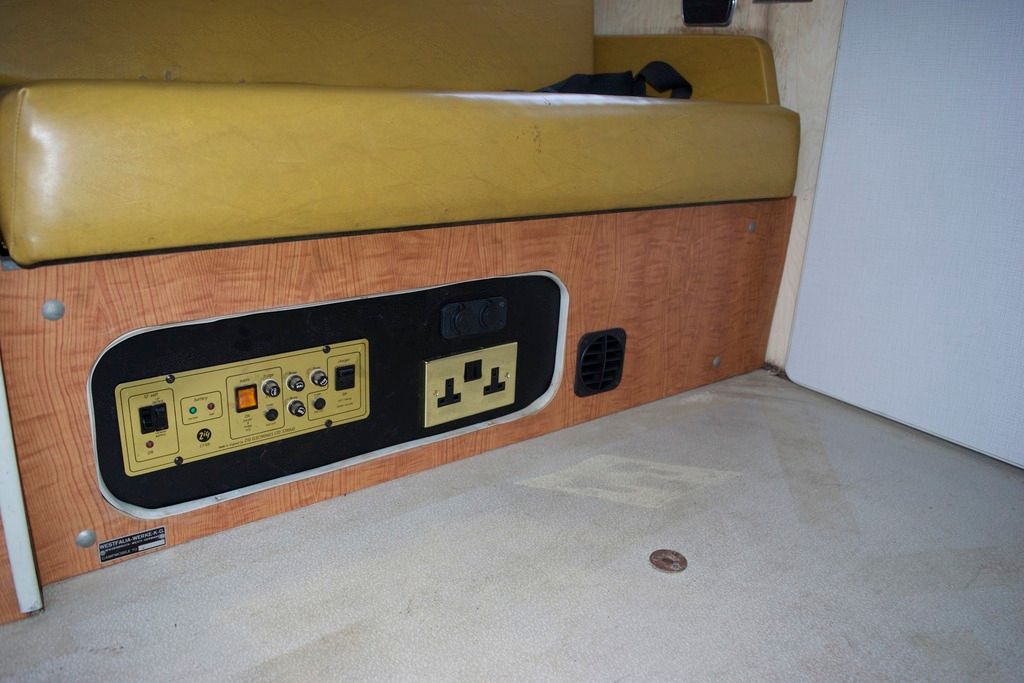
Zig CF9 unit, 240v sockets, a 12v socket and two USB chargers, installed under the Westy bed, using Alastair's (aogrady) method, wrapped in black vinyl. Next to that is the rather wonderful propex. It kicks out a fair amount of heat and keeps the van toasty warm. It's been brilliant these last two days while I've been working on the interior.

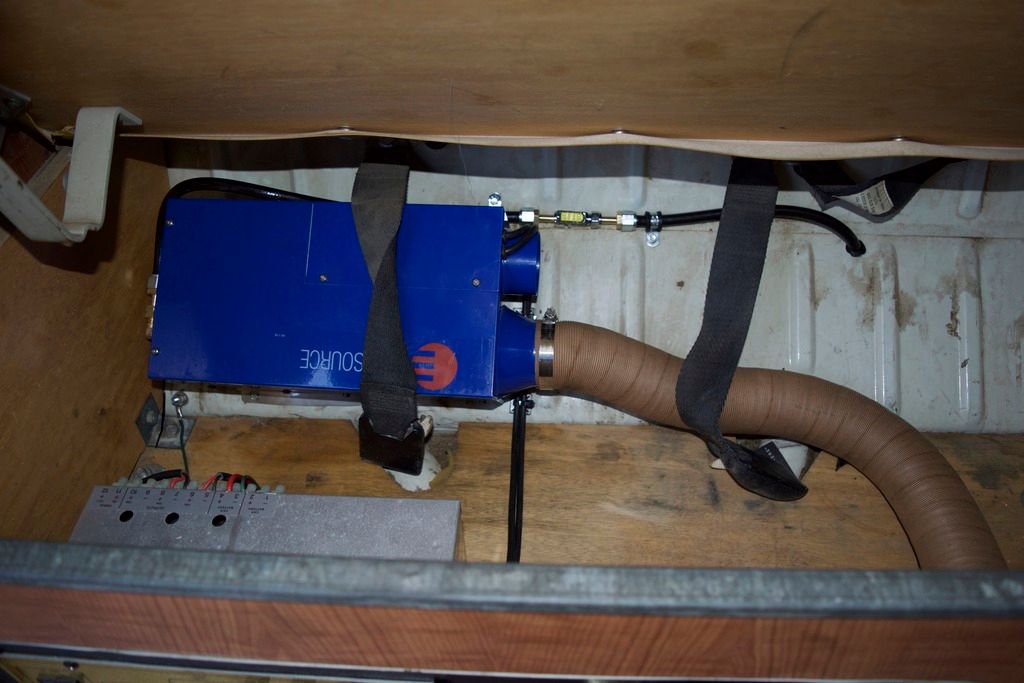
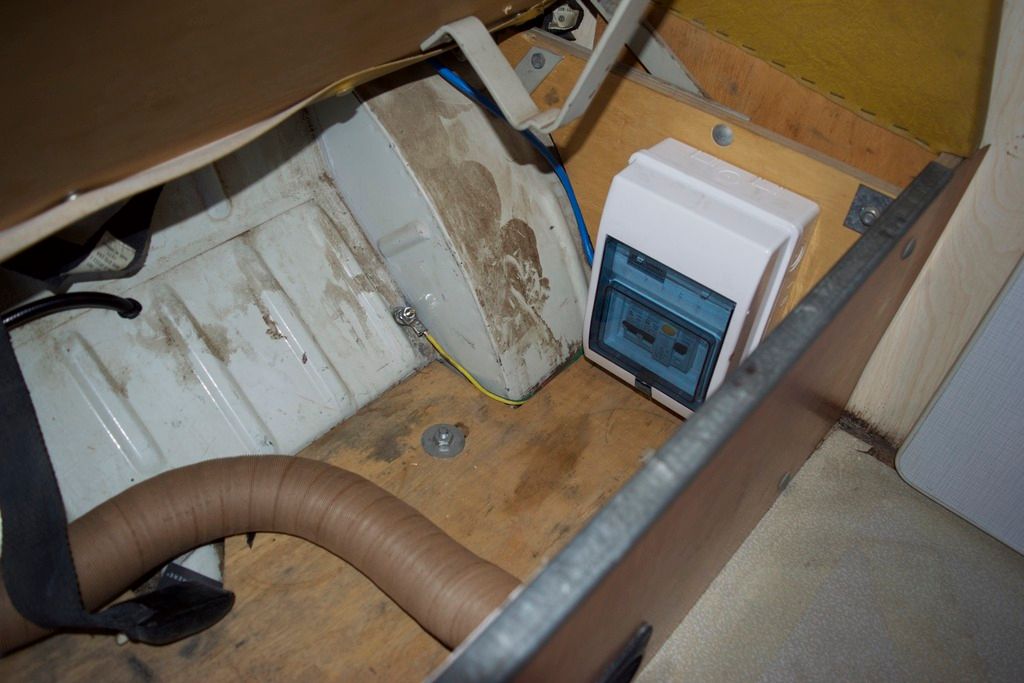
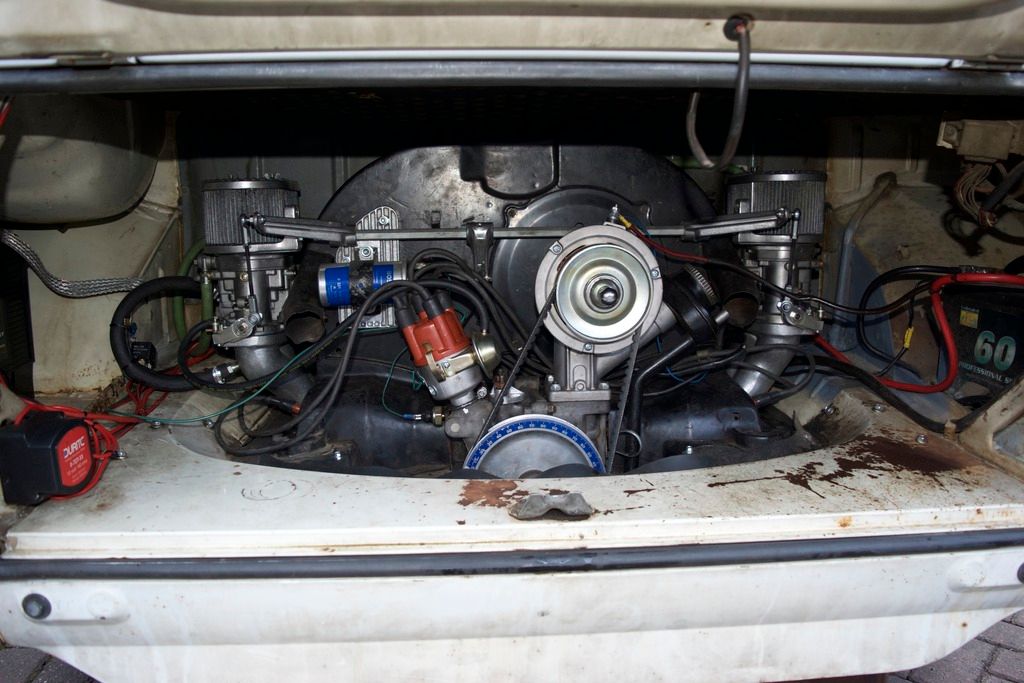
Underneath the bed are the internals, rather well put together, very neat and tidy!
DSC_0200.jpg


DSC_0201.jpg


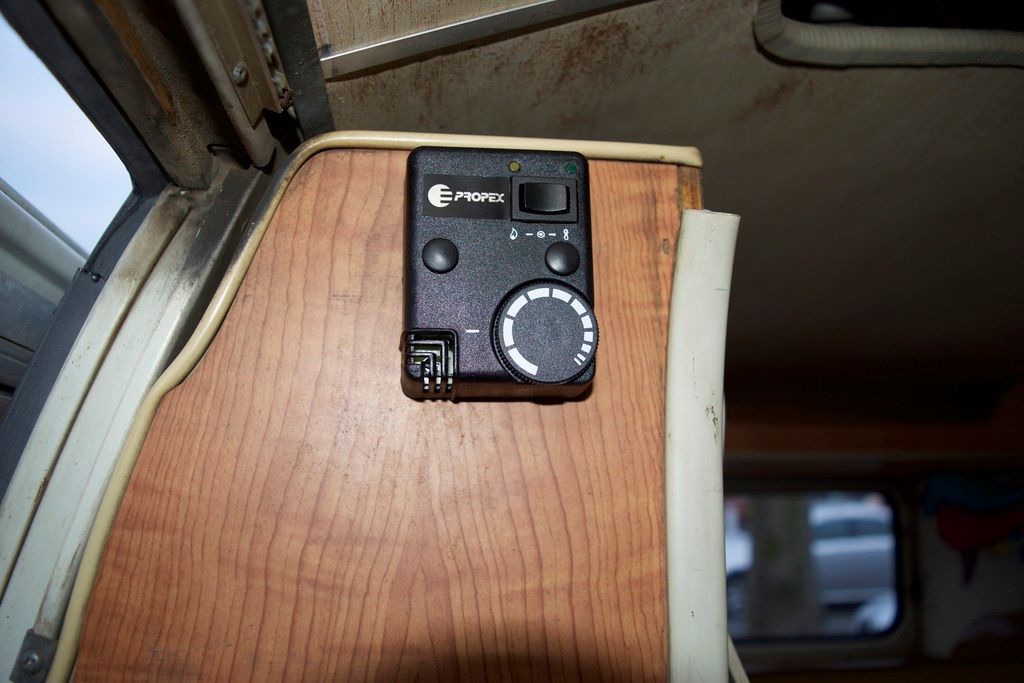
Propex control panel
DSC_0197_2.jpg


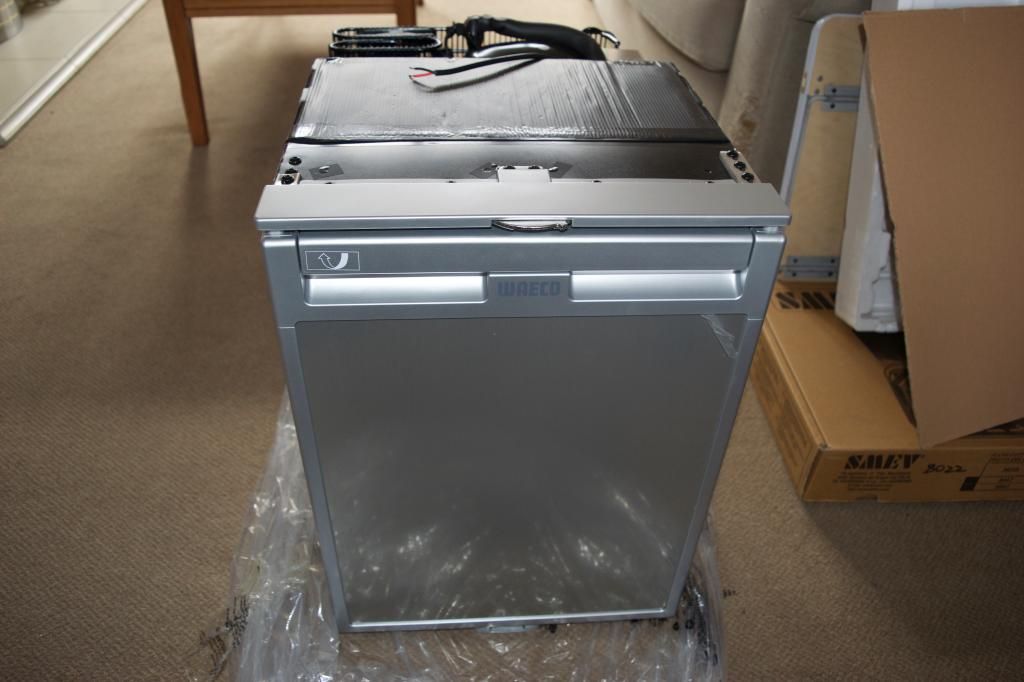
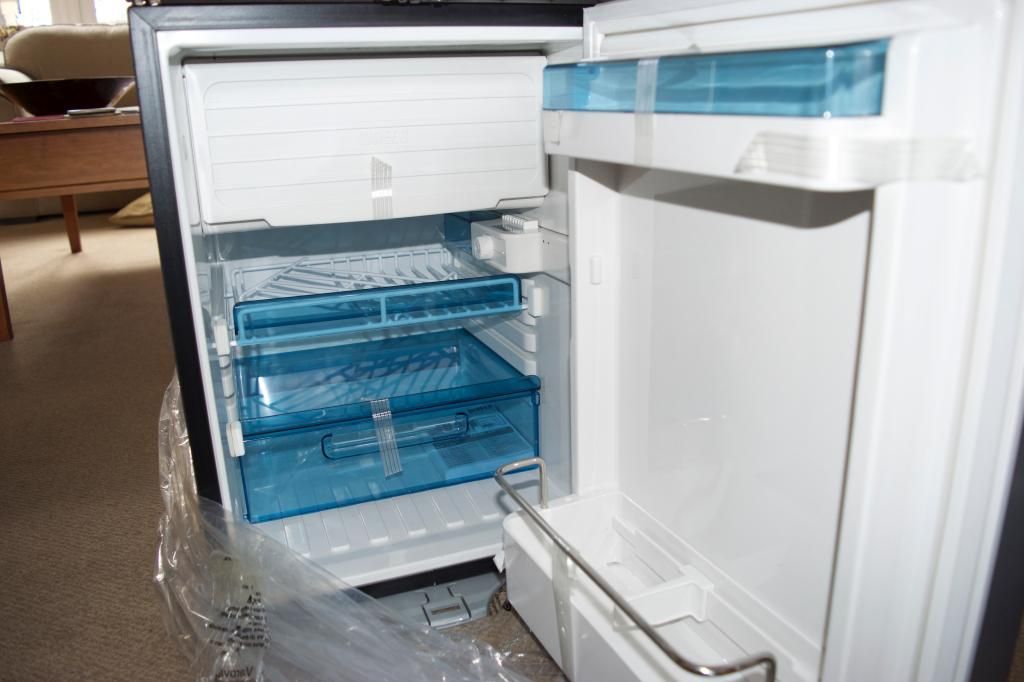
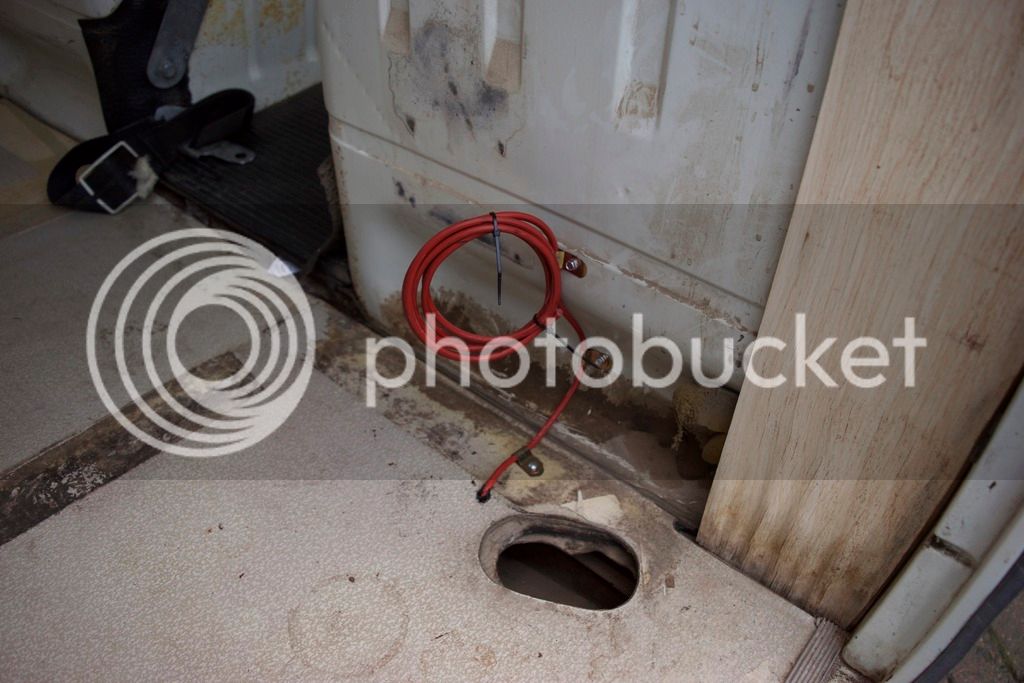
6mm wire ready for the fridge
DSC_0207.jpg


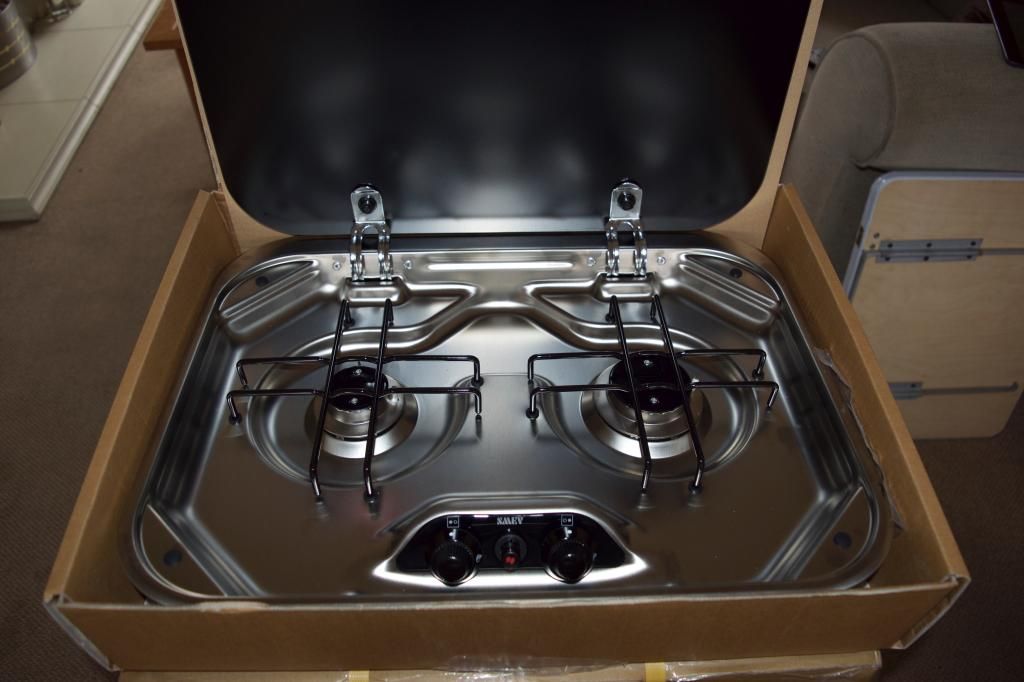
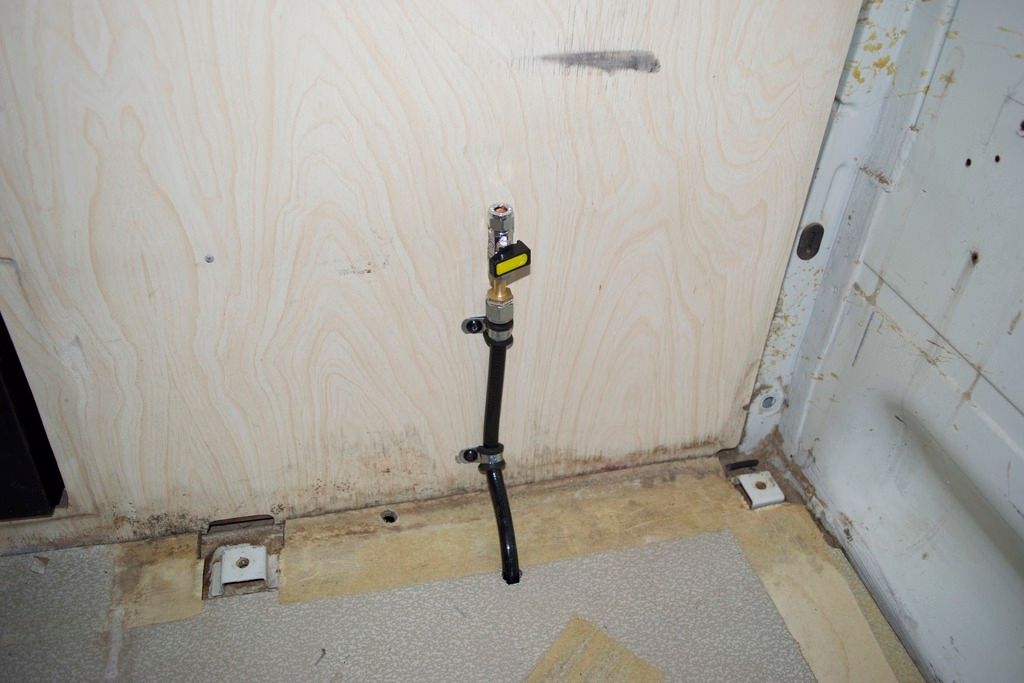
Gas tapped for the hob
DSC_0199.jpg


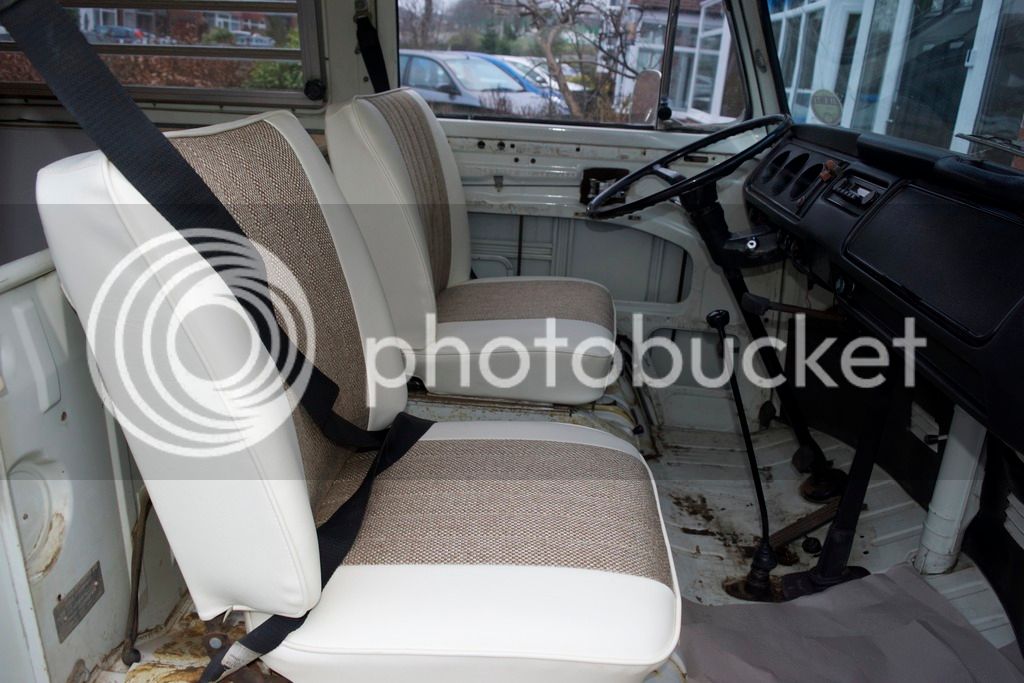
Had the seats reupholstered. Less said about them the better, but if anyone is thinking of using Delilah's do feel free to PM me regarding my experiences.
DSC_0206.jpg


Also have my new curtains, created by VW Campervan Curtains (Sarah), whom I cannot fault. Very quick service and excellent communication. Curtains look amazing. Fabric chosen by my girlfriend and ended up costing me more than original westy stuff :roll:

DSC_0217.jpg


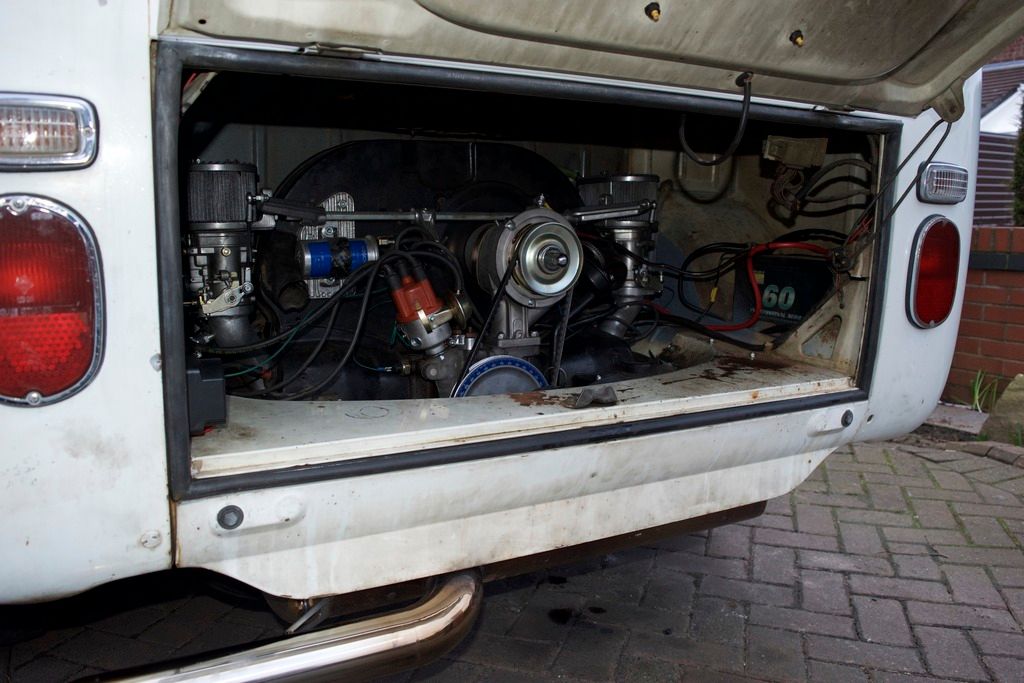
And most importantly, the engine is complete!
DSC_0211.jpg


DSC_0209.jpg


DSC_0210.jpg


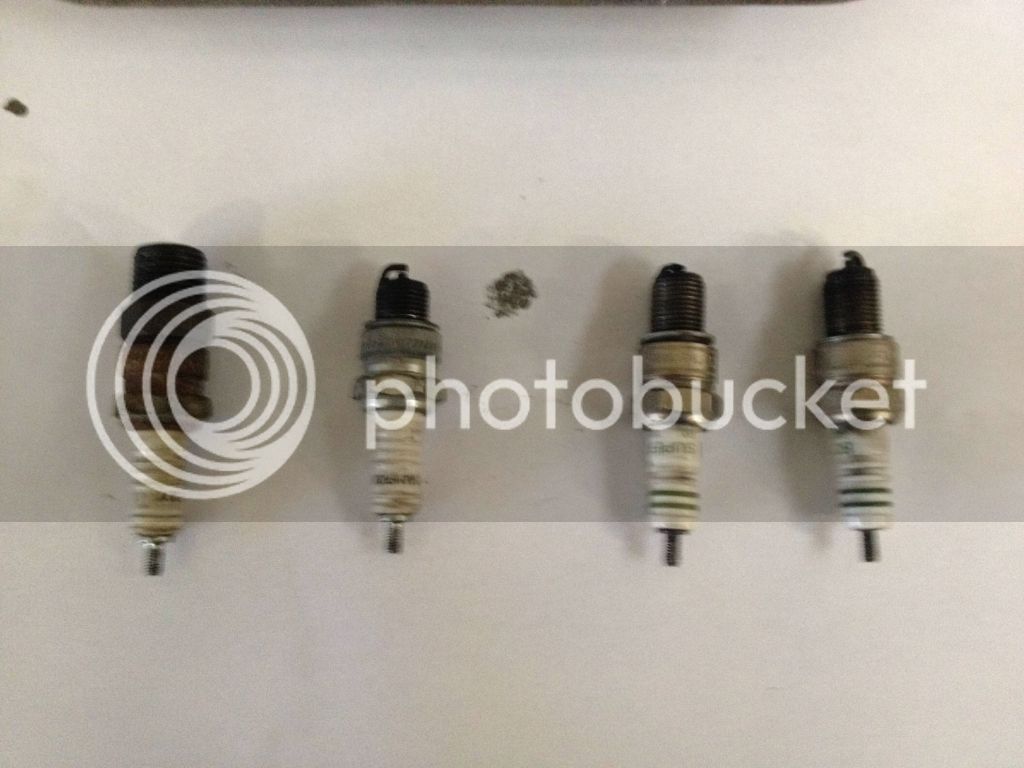
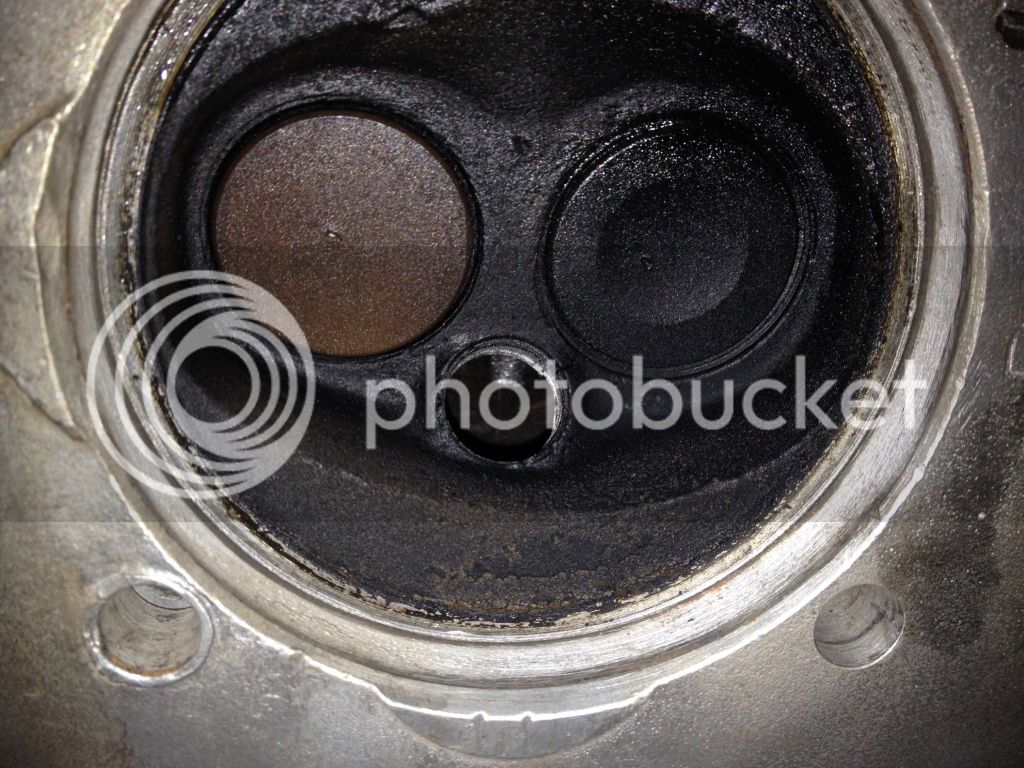
Dellorto 36 DRLA's are in and running alongside the rather gorgeous Vintage Speed exhaust...Wow that roar! Added electronic ignition and an SVDA distributor to boot.
Having a couple of issues with some popping and backfire, hopefully the rolling road tune up will sort that out. Done a few hundred miles already and it's far more powerful than my single carb setup, also sits nicely at 65mph without screaming. Just need to iron out a few niggles with it and I'm happy.
You can also see the Numax 120ah leisure battery and the Durite intelligent split charge system, keep both my leisure and starter battery topped up either through the alternator or when hooked up.

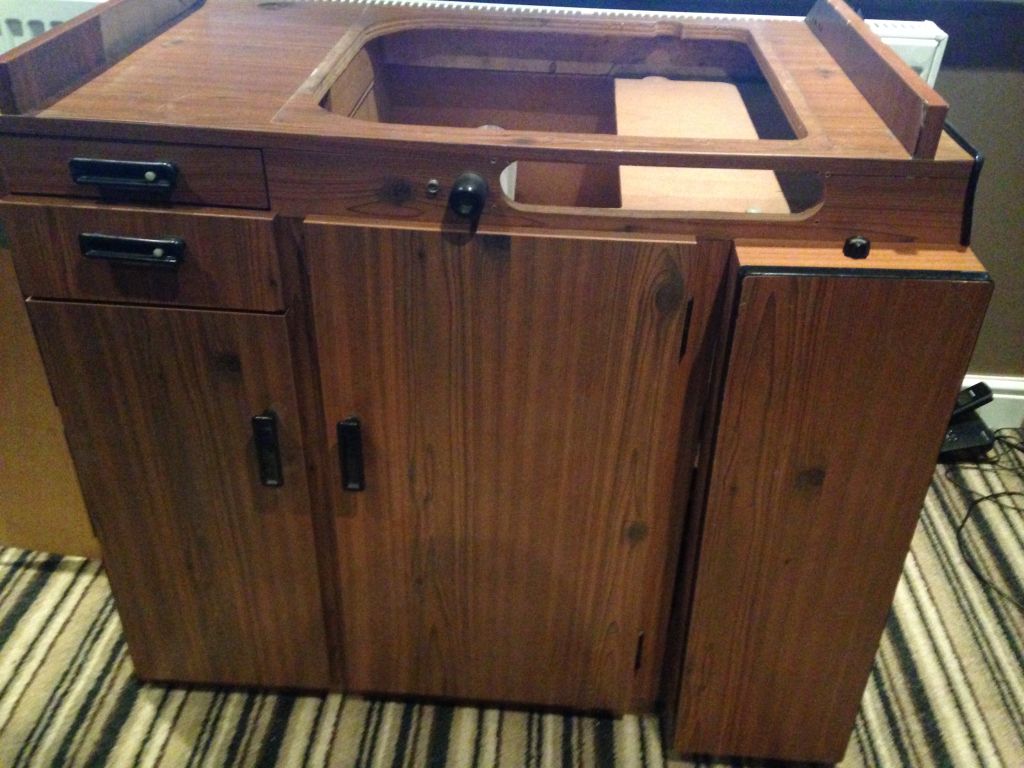
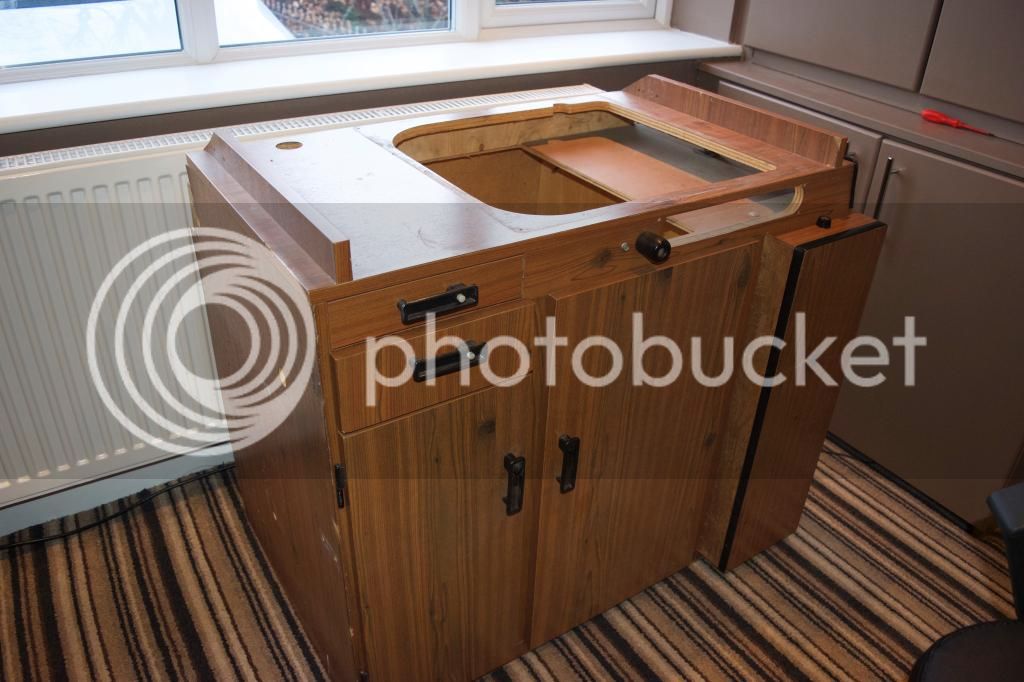
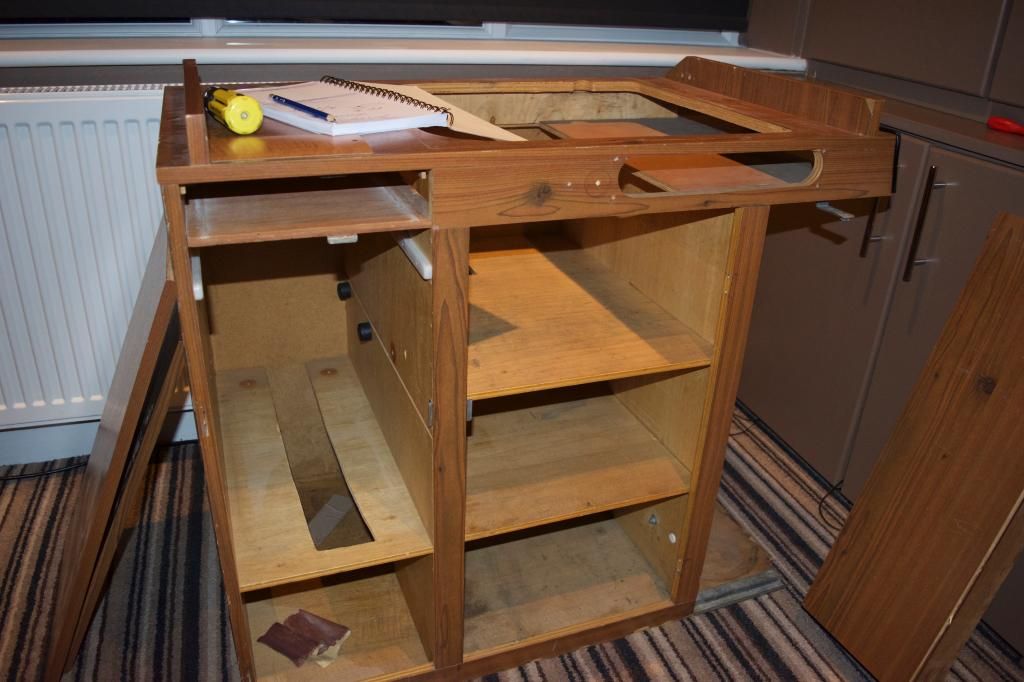
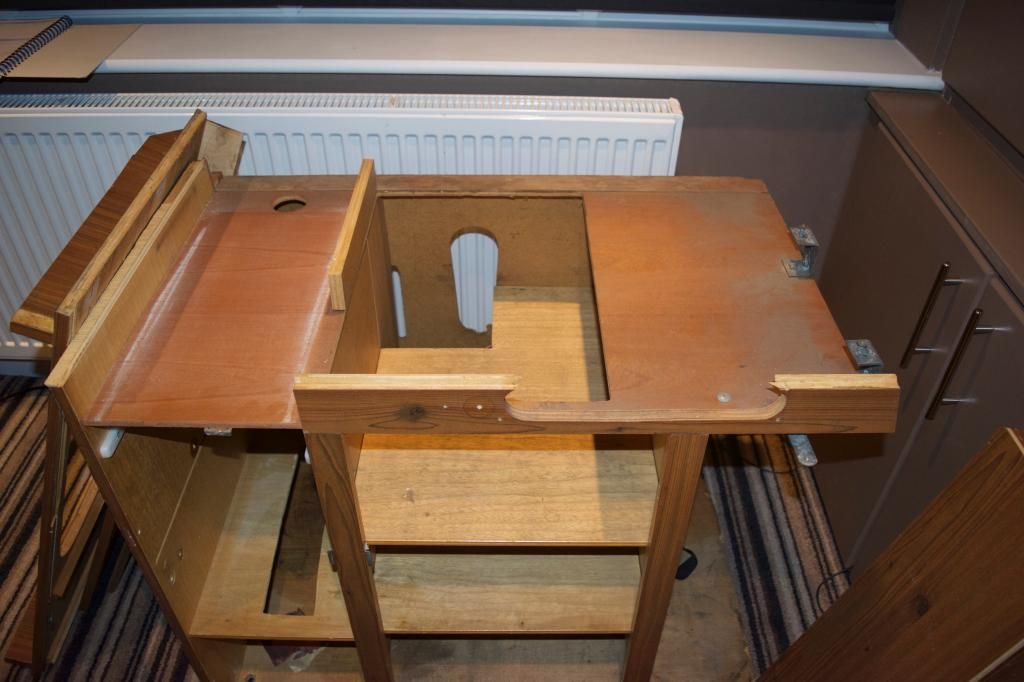
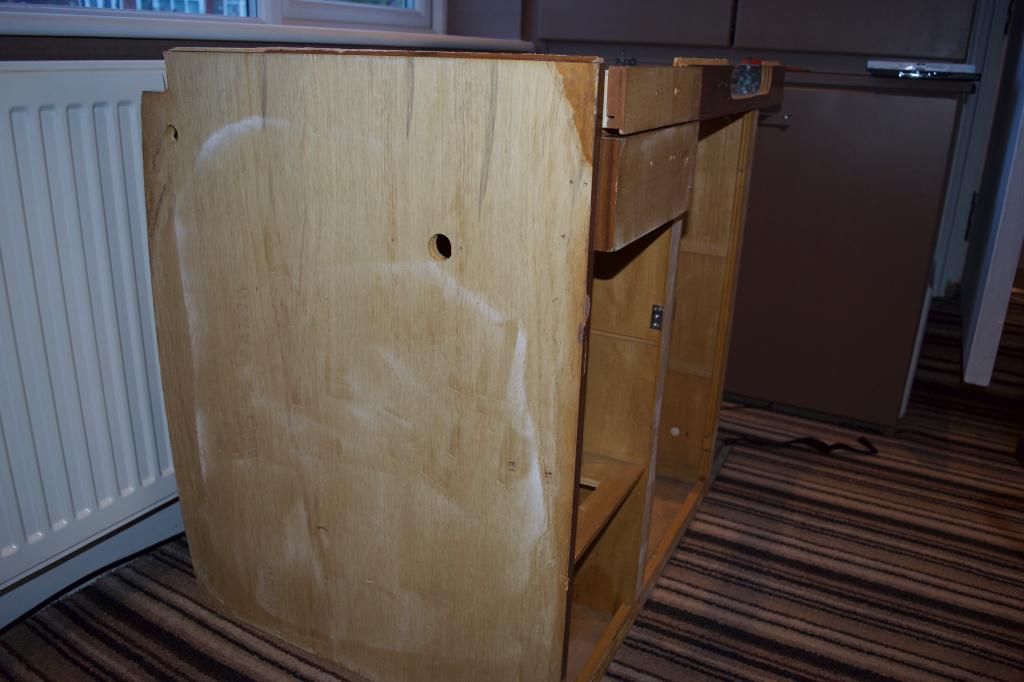
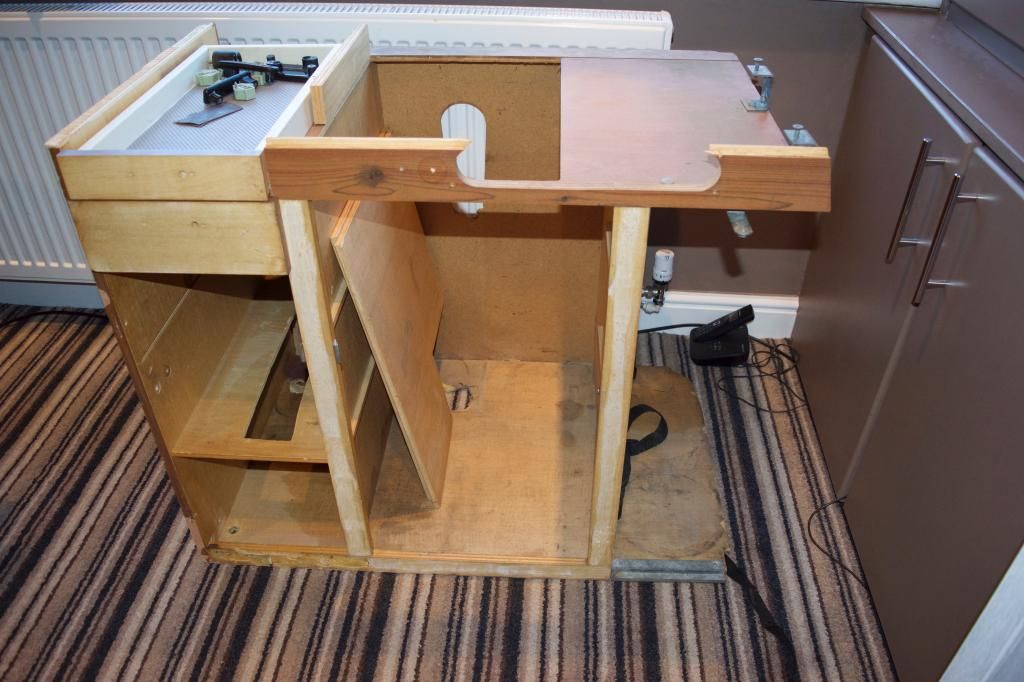
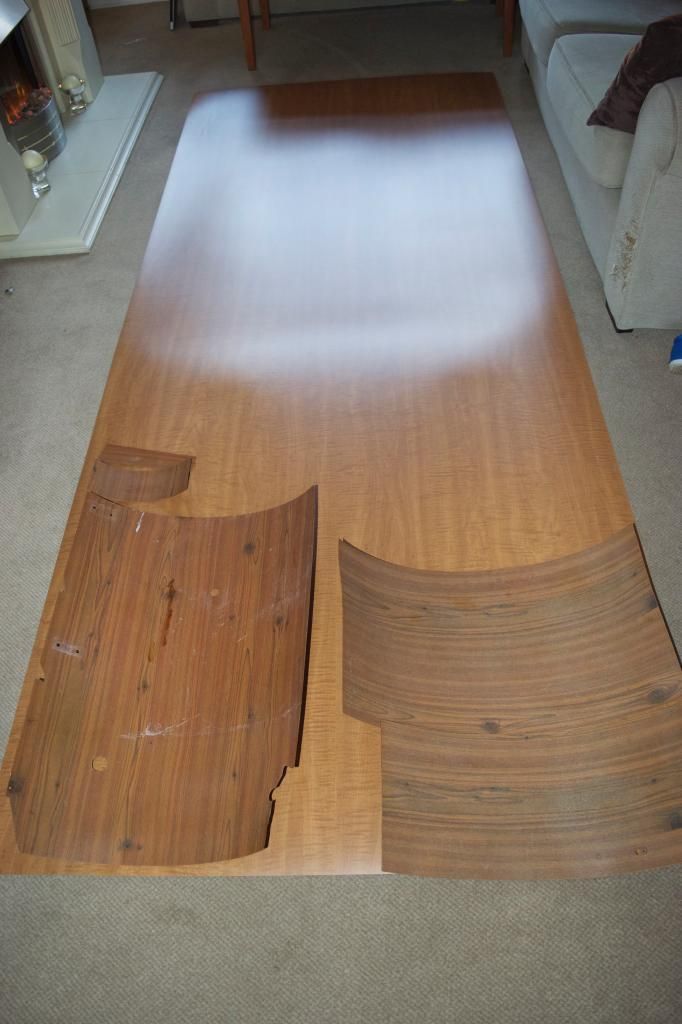
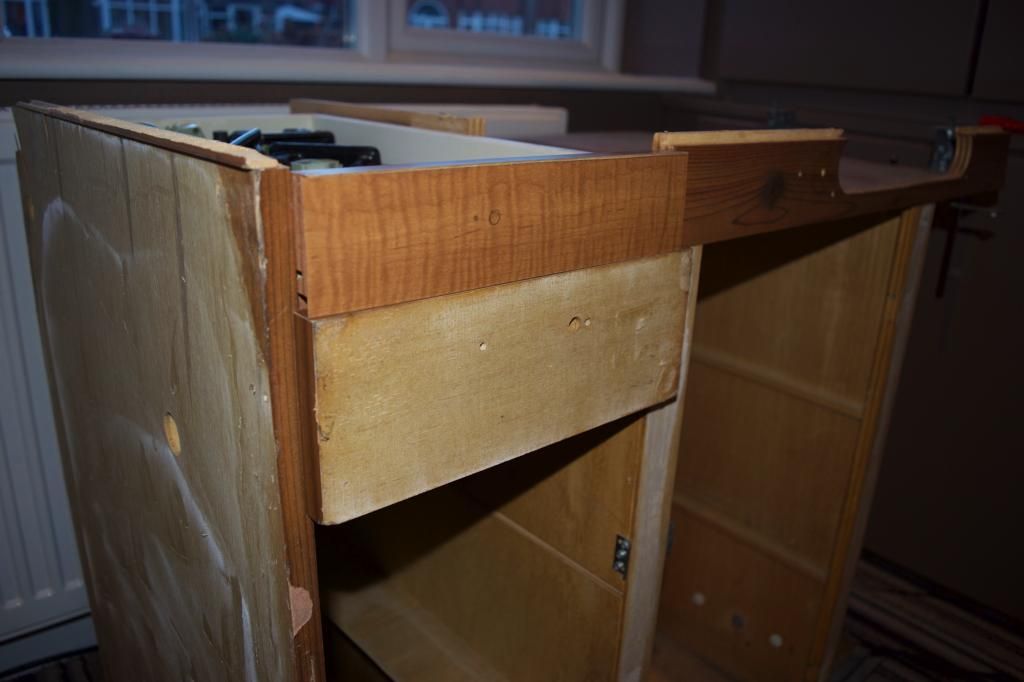
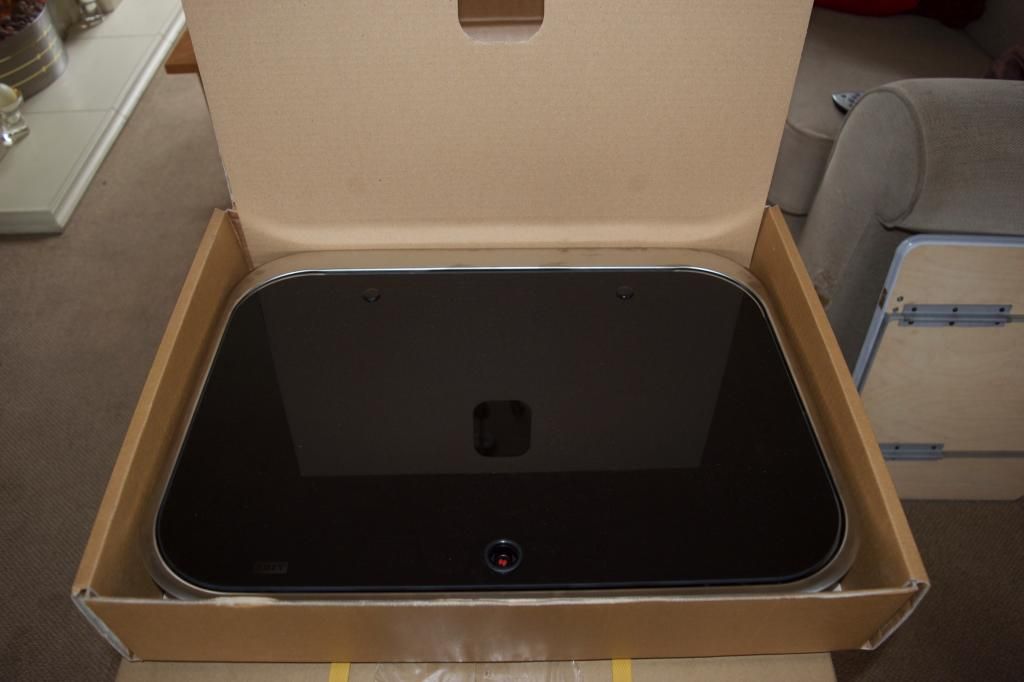
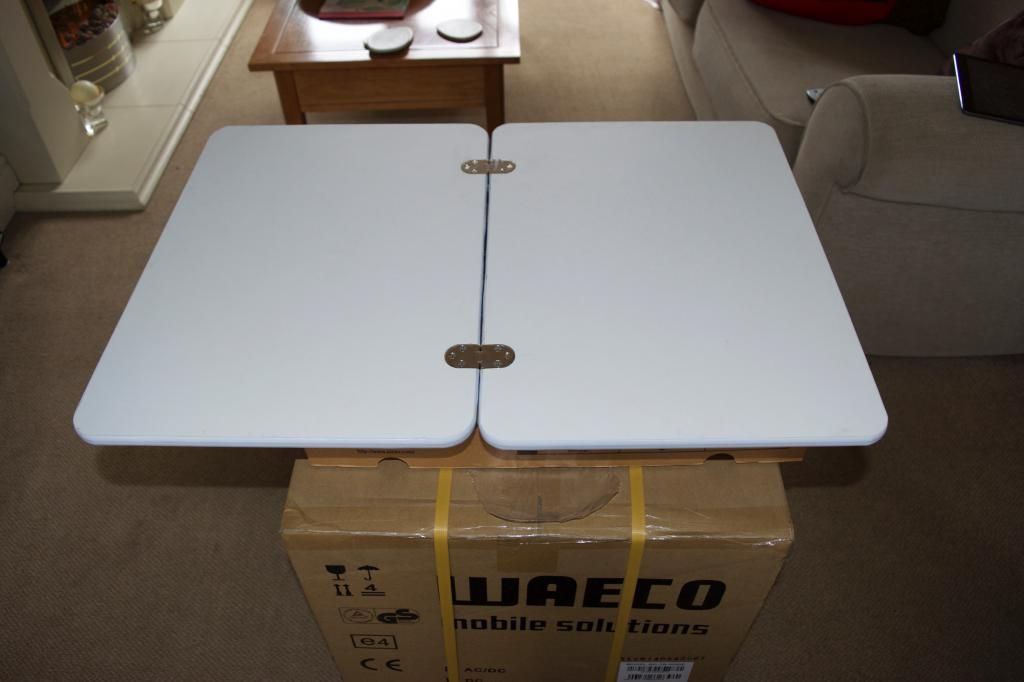
I'm loving all the changes so far, just using things at the minute to make sure there are no niggles. Also working on getting the interior sorted, as you can see from the above pictures neither the sink unit or the Berlin unit are in, but before they can be installed I need to varnish the headliner, rustproof, soundproof and fit a new floor. Then they can go in, but that's not all. Curtains need to be installed, stereo, speakers, carpet in the cab amongst many other things. The list grows ever longer.
 

Latest posts

Top