You are using an out of date browser. It may not display this or other websites correctly.
You should upgrade or use an alternative browser.
You should upgrade or use an alternative browser.
Another Dormobile restoration :)
- Thread starter kevinhall
- Start date


Help Support Early Bay Forum:
This site may earn a commission from merchant affiliate
links, including eBay, Amazon, and others.


kevinhall
Well-known member
- Joined
- Sep 28, 2009
- Messages
- 277
- Reaction score
- 1
Still recovering from the cold from hell, so progress slow but managed a few more bits at the weekend.
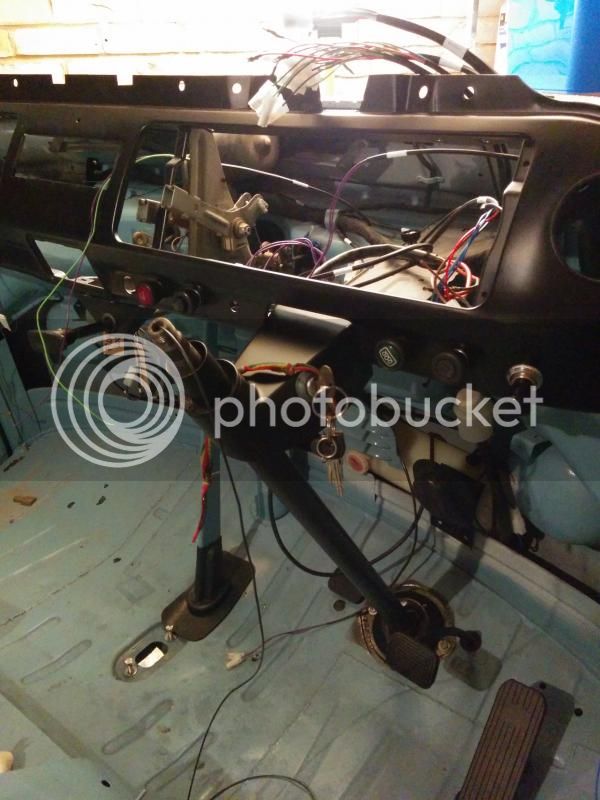
Refitted my steering column, re-did the horn wiring so that I can reinstate it on the wheel rather than a button on the dash that the PO had installed. Also wired in the lights, hazard, and washer switches. Just need to get my multimeter out and check it all over as fewer wires in the new loom than the original. Think they're all correct, just wires each switch from the fusebox, rather than some in series as they were originally and things like that.
Couple of pics:
The floor was still slightly rusty under the column base so cleaned up, quick spray of hammerite then coated with Dynax UC:

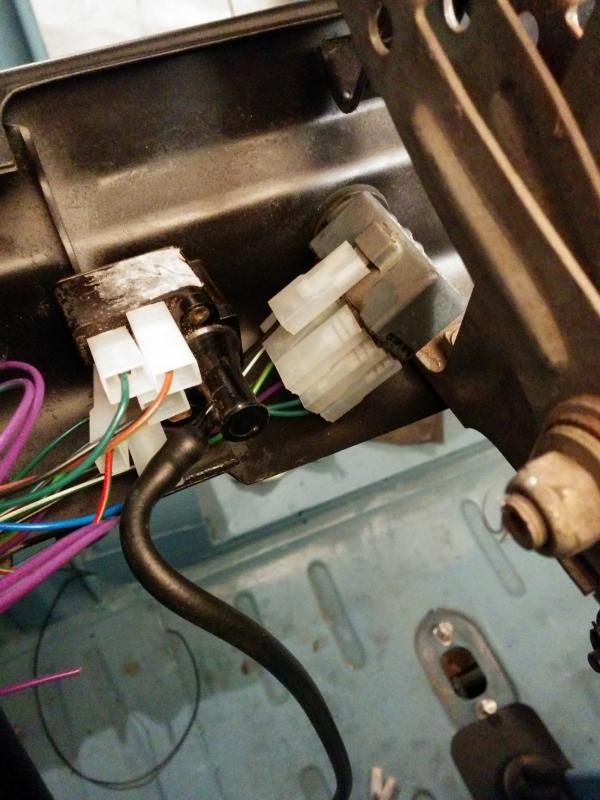
And switches wired in. Not the most exciting photos!

Refitted my steering column, re-did the horn wiring so that I can reinstate it on the wheel rather than a button on the dash that the PO had installed. Also wired in the lights, hazard, and washer switches. Just need to get my multimeter out and check it all over as fewer wires in the new loom than the original. Think they're all correct, just wires each switch from the fusebox, rather than some in series as they were originally and things like that.
Couple of pics:

The floor was still slightly rusty under the column base so cleaned up, quick spray of hammerite then coated with Dynax UC:

And switches wired in. Not the most exciting photos!


kevinhall
Well-known member
- Joined
- Sep 28, 2009
- Messages
- 277
- Reaction score
- 1
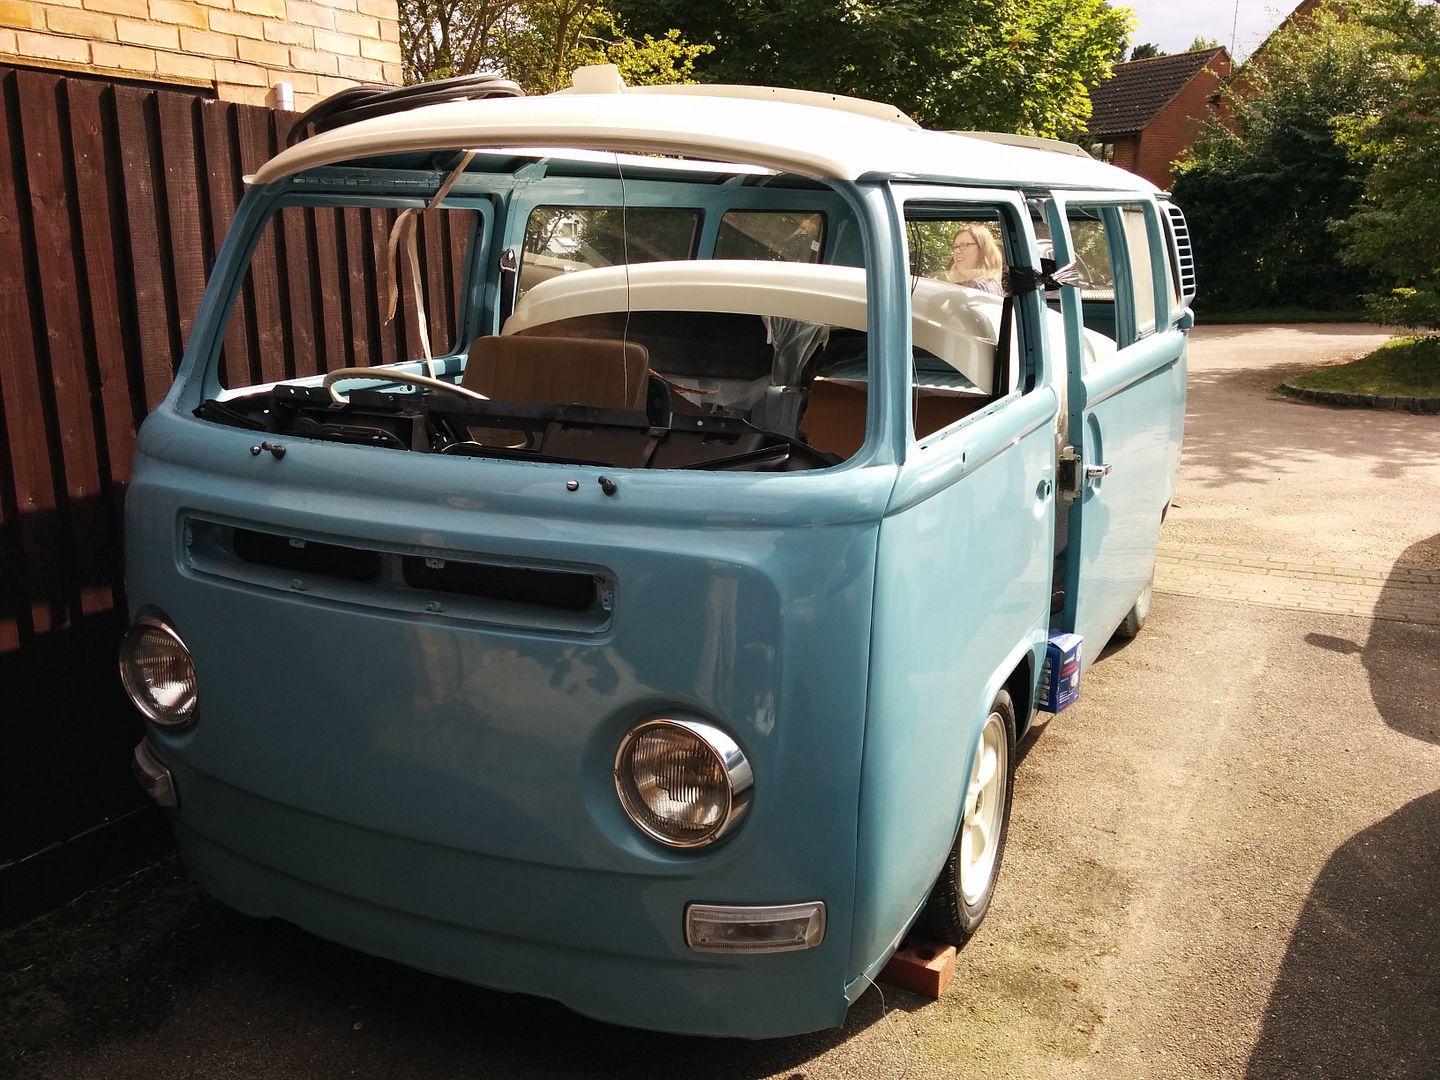
Been fairly quiet on the updates, but continually chipping away at things. Front end now basically built up; red9 fitted, brakes, electrics, heater pipes and controls, dash built up..... So today was finally able to drop the front end down 8)
Now to get the back up!


Now to get the back up!
kevinhall
Well-known member
- Joined
- Sep 28, 2009
- Messages
- 277
- Reaction score
- 1
Got the rear springplates on and rebuilt hub carriers and drums fitted ready to get some wheels on so we could roll her out of the garage and retrieve the dormy roof from inside the van!

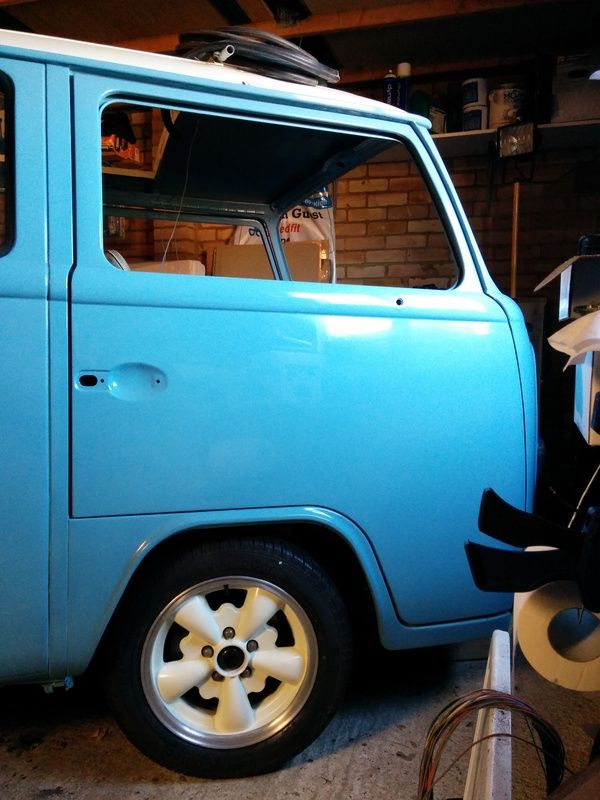
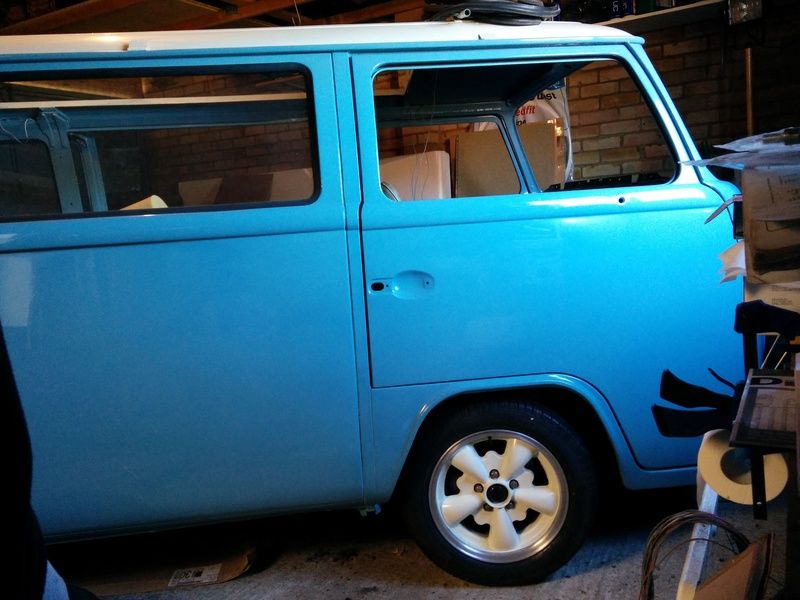
And rolled out. First time she's seen daylight in nearly 3 years!
Unfortunately, I'm an inner spline different between the two sides (9° out) so need to take one of the torsion bars back out and rotate.
Next up, a clean off the fuel tank area, copious amounts of bilthamber fuel tank in and onto rear electrics.

And rolled out. First time she's seen daylight in nearly 3 years!

Unfortunately, I'm an inner spline different between the two sides (9° out) so need to take one of the torsion bars back out and rotate.
Next up, a clean off the fuel tank area, copious amounts of bilthamber fuel tank in and onto rear electrics.
kevinhall
Well-known member
- Joined
- Sep 28, 2009
- Messages
- 277
- Reaction score
- 1
Not updated for a while but been continuing to make progress. I hope this might be the year I get her going!!
Cleaned up the area above the engine bay, fitting some new soundproofing and sprayed and refitted the metal boards.
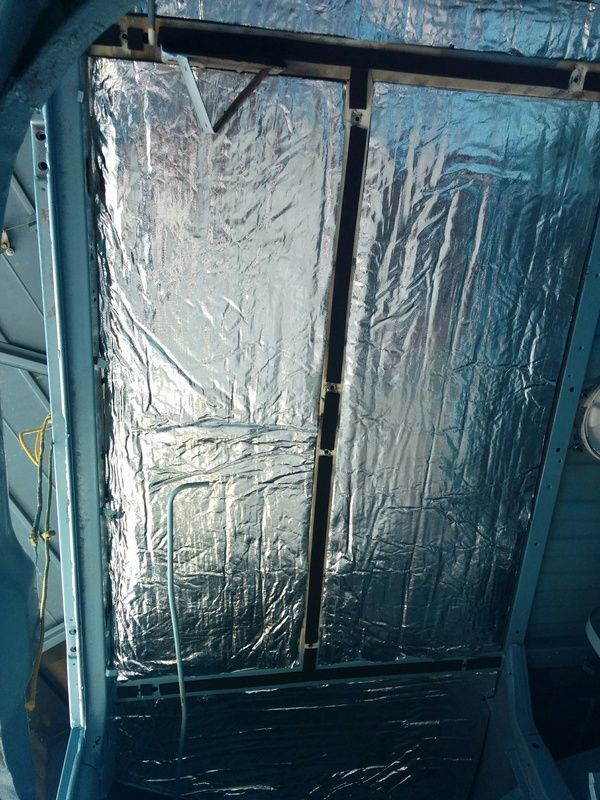
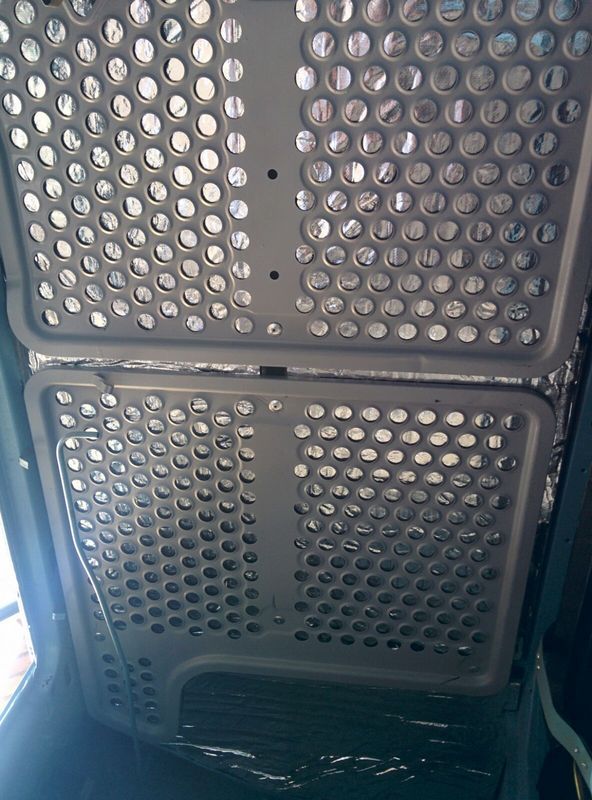
Couldn't get dove grey mixed up so went for a ford grey...little but lighter but pleased with how it looks.
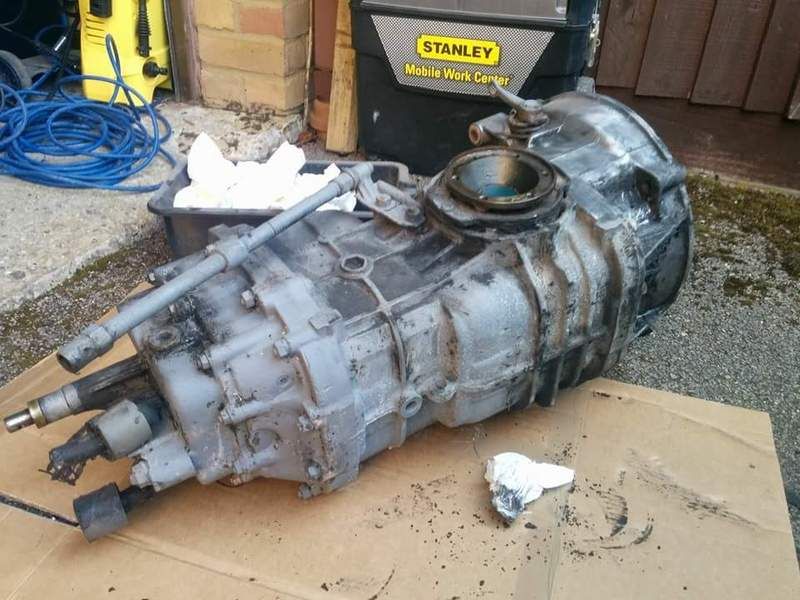
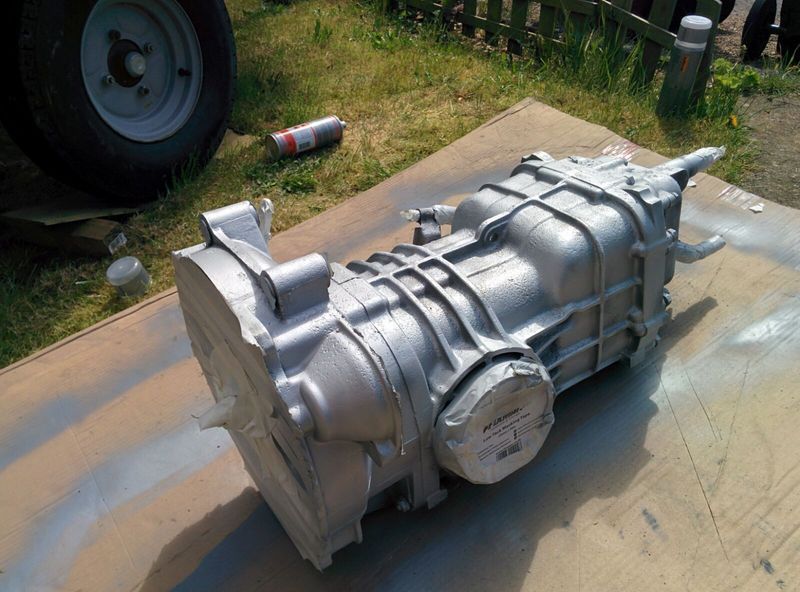
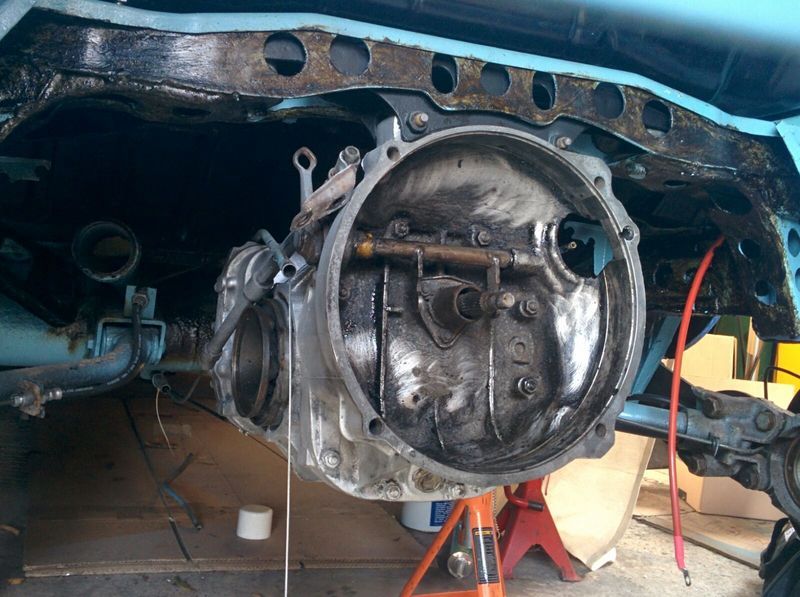
Gave the gearbox a good clean, a quick lick of paint and got it back on the van:
 [/URL]
And got the fuel tank in, filler neck reconnected, all breather pipes connected:
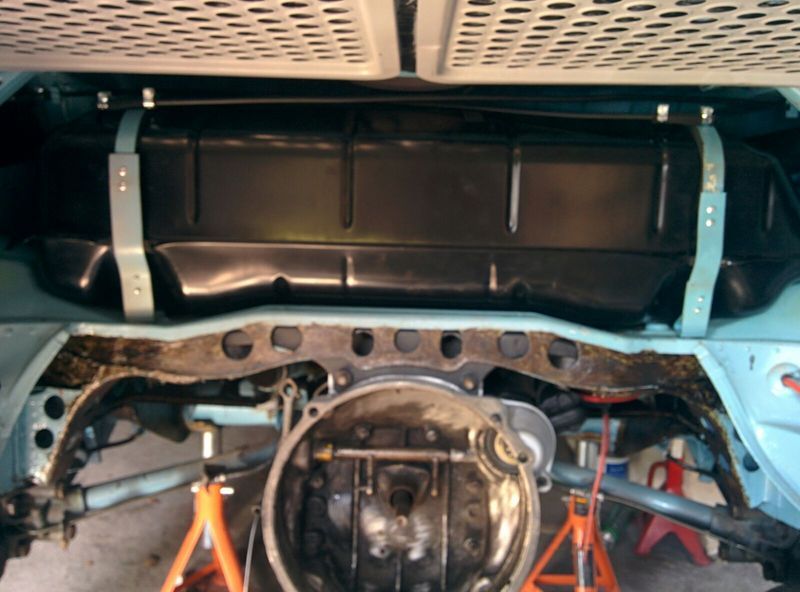
Went for a new tank as the 'original' was screwed. Not actually original as didn't have the centre breather that a '72 tank has so thinking it'd hin a late bay replacement at some point. But of a bugger to get the new one in as it has an extra plug on the bottom and wouldn't sit flat. Bashed one of the ridges in the tank area flat and then fitted well.
Also made new ends for the tank straps as the originals had been cut off.
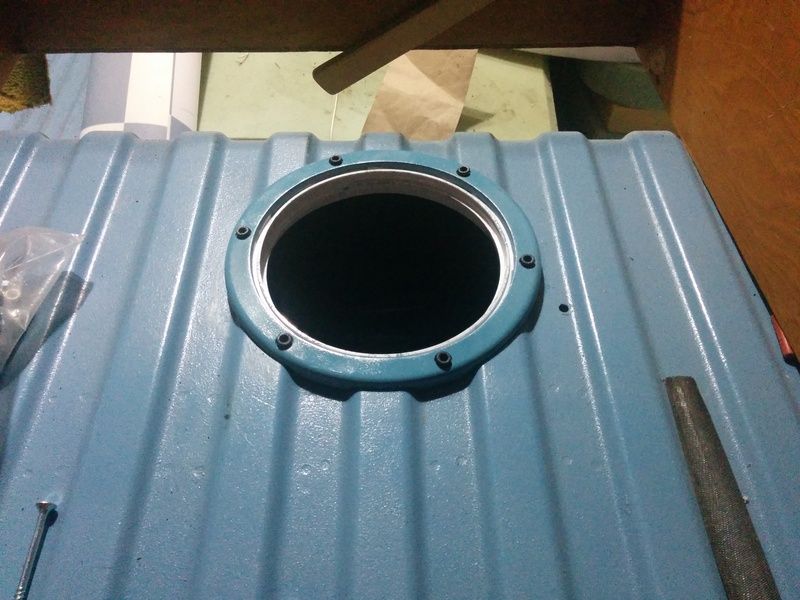
And cut in an access hatch for the tank sender... don't want to have to take all this lot out again if it doesn't work for any reason!

Cleaned up the area above the engine bay, fitting some new soundproofing and sprayed and refitted the metal boards.


Couldn't get dove grey mixed up so went for a ford grey...little but lighter but pleased with how it looks.
Gave the gearbox a good clean, a quick lick of paint and got it back on the van:


And got the fuel tank in, filler neck reconnected, all breather pipes connected:

Went for a new tank as the 'original' was screwed. Not actually original as didn't have the centre breather that a '72 tank has so thinking it'd hin a late bay replacement at some point. But of a bugger to get the new one in as it has an extra plug on the bottom and wouldn't sit flat. Bashed one of the ridges in the tank area flat and then fitted well.
Also made new ends for the tank straps as the originals had been cut off.
And cut in an access hatch for the tank sender... don't want to have to take all this lot out again if it doesn't work for any reason!


Myvanway
Well-known member
kevinhall said:And cut in an access hatch for the tank sender... don't want to have to take all this lot out again if it doesn't work for any reason!
That is a mint job there. 8)
vassy69SC
Well-known member
Looks sweet mate!
Be interested to hear your thoughts on the RED9 when it is on the road.
Be interested to hear your thoughts on the RED9 when it is on the road.
kevinhall
Well-known member
- Joined
- Sep 28, 2009
- Messages
- 277
- Reaction score
- 1
Thanks guys. Saw the idea for the fuel sender access on another site. It's a 6" marine hatch off Amazon, contoured the bottom to match the ridges of the van and sprayed it body colour. Was pleased with how it came out.
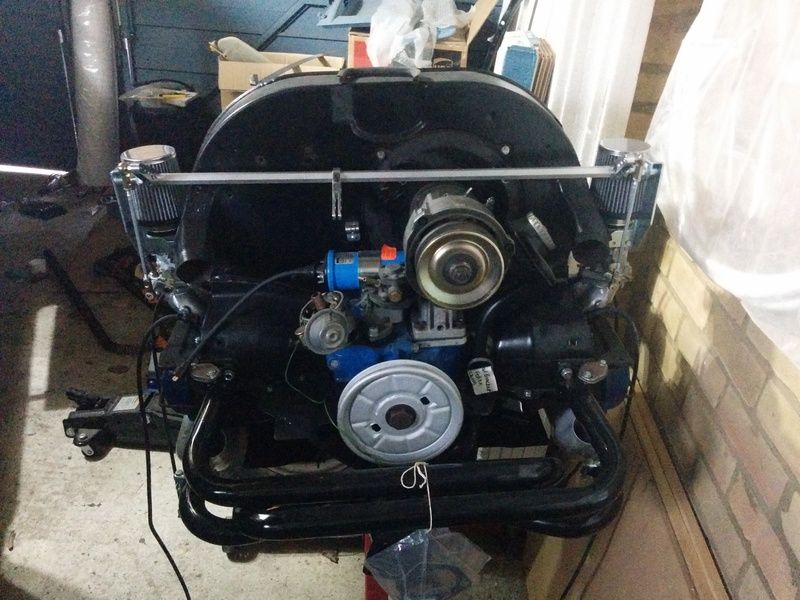
Also got the engine just about rebuilt:
Also got the engine just about rebuilt:

kevinhall
Well-known member
- Joined
- Sep 28, 2009
- Messages
- 277
- Reaction score
- 1
No pics from the weekend but another good weekend of progress...
Driveshafts built up and greased, just waiting for new spreader plates and then I'll get them in
Wasnt happy with the finish on the engine bay and little bits of rust coming through so sanded down, kurust applied, zinc182 and new top coat
Wiring loom a bit short so additional tail light looms made and fitted
Couple more bits on the engine
Corrected a few previous mistakes :msn4:
Fell out with the gear shift (stupid bloody spring!) so bought myself a vintage speed replacement!
Sprayed up some more tinware and engine mounts
Gearbox drain plugs removed and oil drained
monkeyvanwestybike
Well-known member
- Joined
- Nov 11, 2009
- Messages
- 800
- Reaction score
- 5
- Location
- Hampshire New Forest
- Year of Your Van(s)
- After 1972
- Van Type
- 79 sunroof deluxe
That is looking superb matey!
Very nice! 8)
Very nice! 8)
