kevinhall
Well-known member
- Joined
- Sep 28, 2009
- Messages
- 277
- Reaction score
- 1
Hi All,
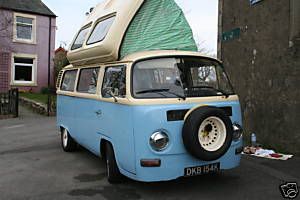
So about 6 months ago we got our 1972 Dormobile, Bertie. We picked him up from Cumbria and set off to drive him back home to Bedfordshire. Unfortunately we didn’t quite make it!
But, wiring redone and he ran nicely for a couple of months and racked up 1000 miles or so.
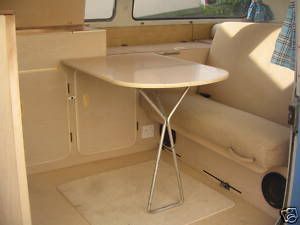
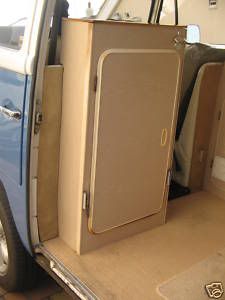
When we got him we knew we wanted to redo the interior so a couple of months in we got a second dormobile interior with the intention of taking the best bits of the two interiors and creating one good one.
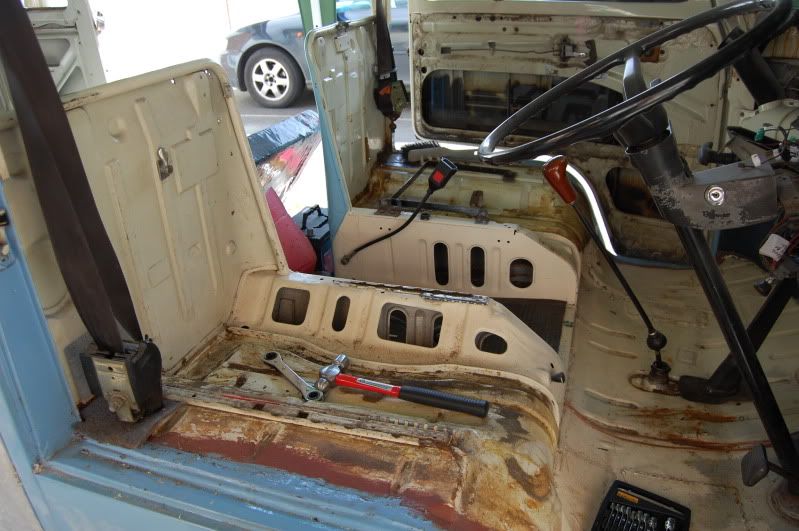
Out with the old interior and a bit of rust was uncovered (need to get come pics). And then it all went a bit crazy and this ensued!!
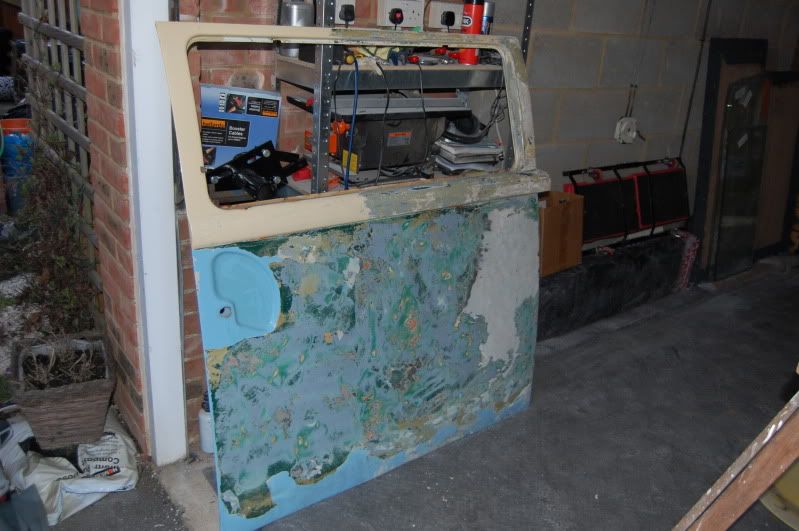
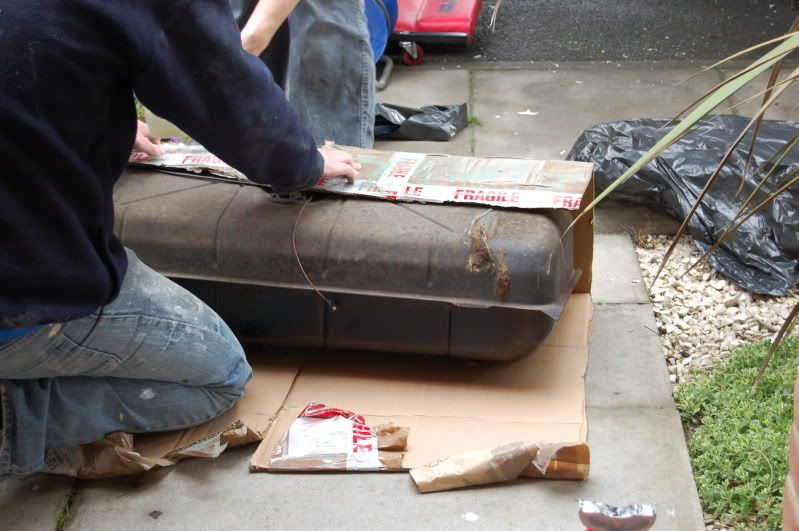
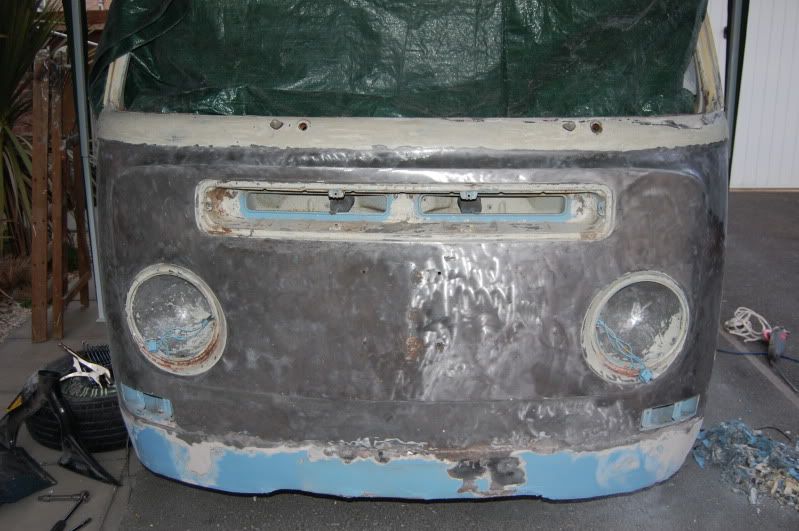
Day one. Had the lads round and removed the pop top and started to bare metal the front to see what was what. No pictures on my camera but left with this…

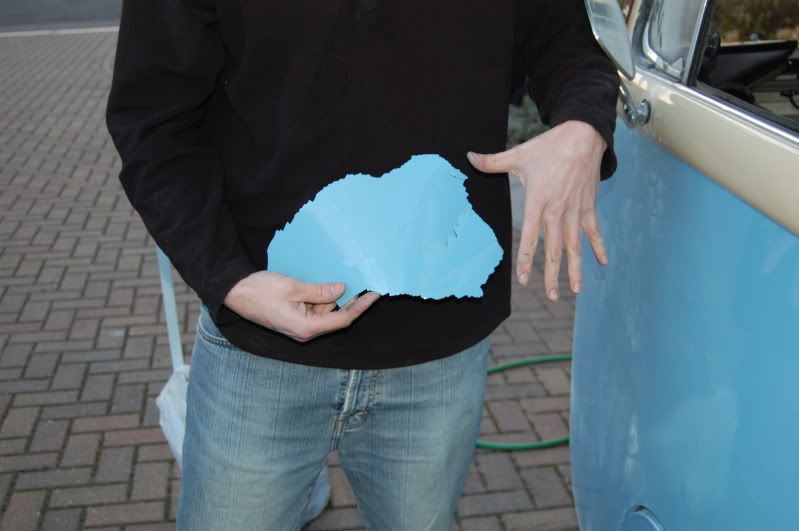
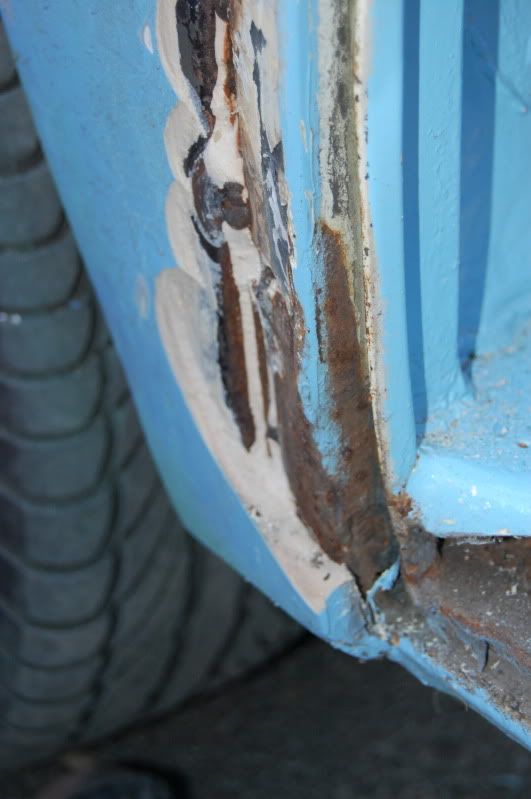
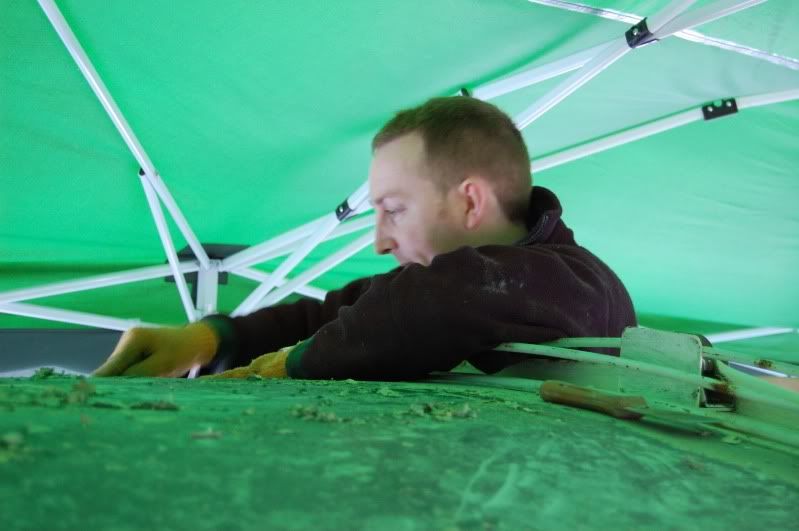
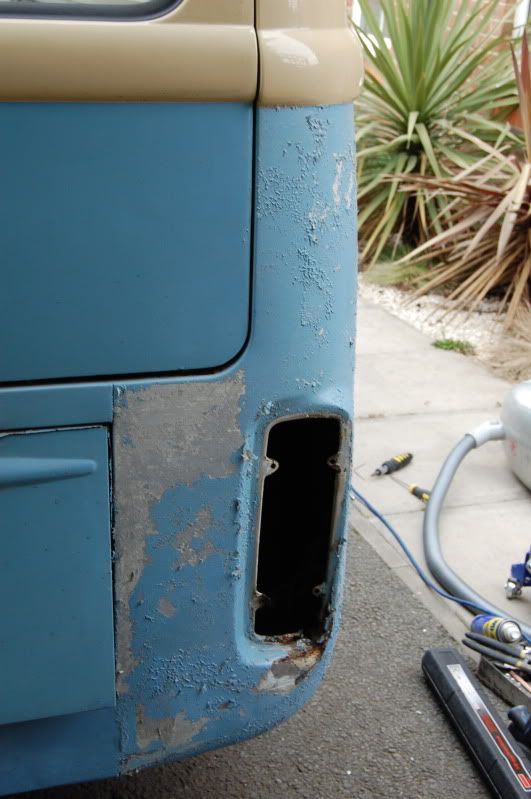
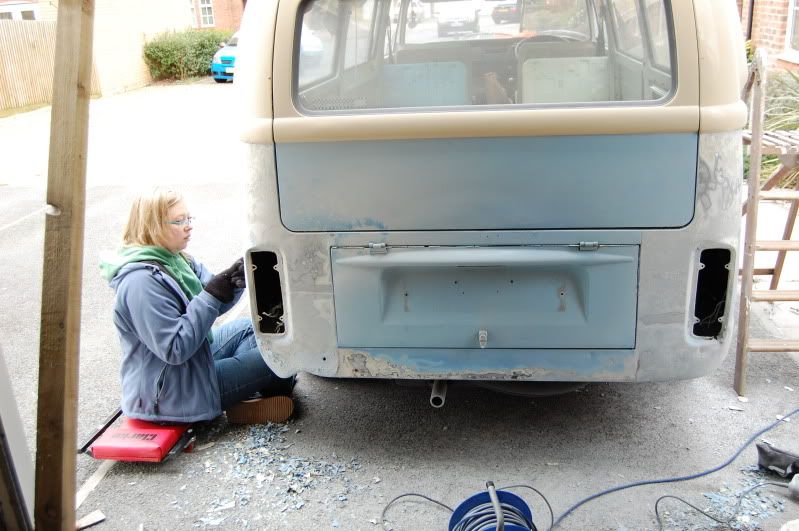
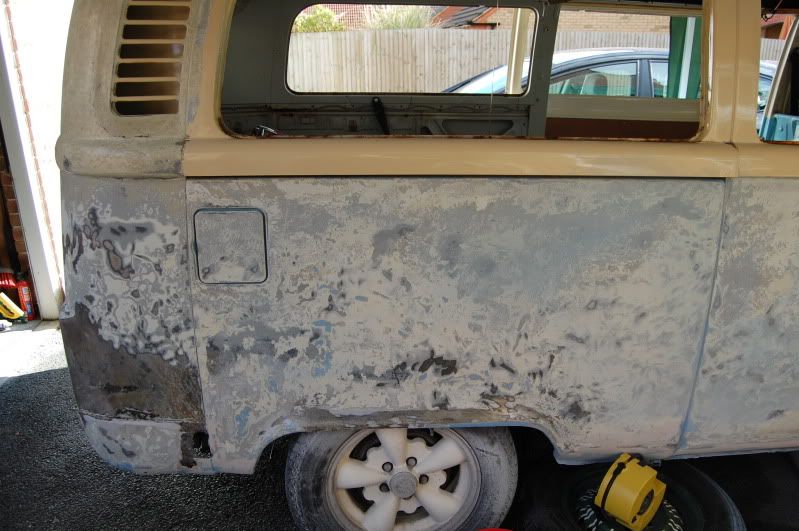
Day two. Had to work half of it so only had a couple of hours. The missus and I decided to nitromors and strip back the rear quarters.

My glamerous assistant")
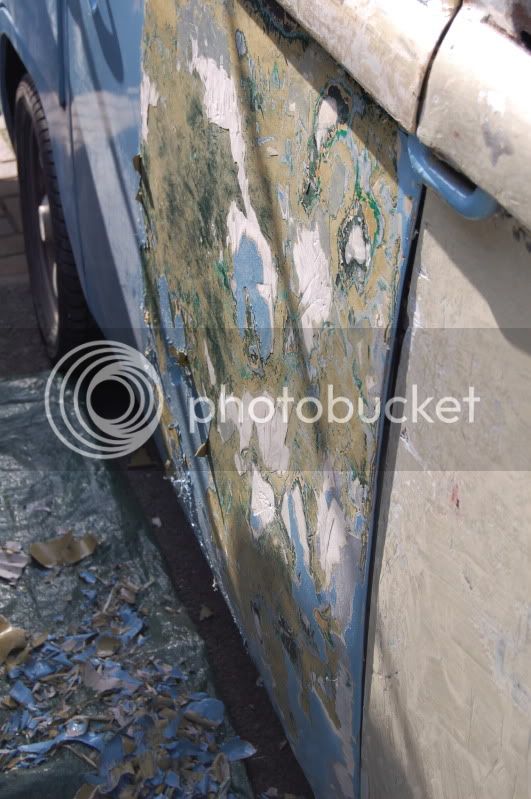
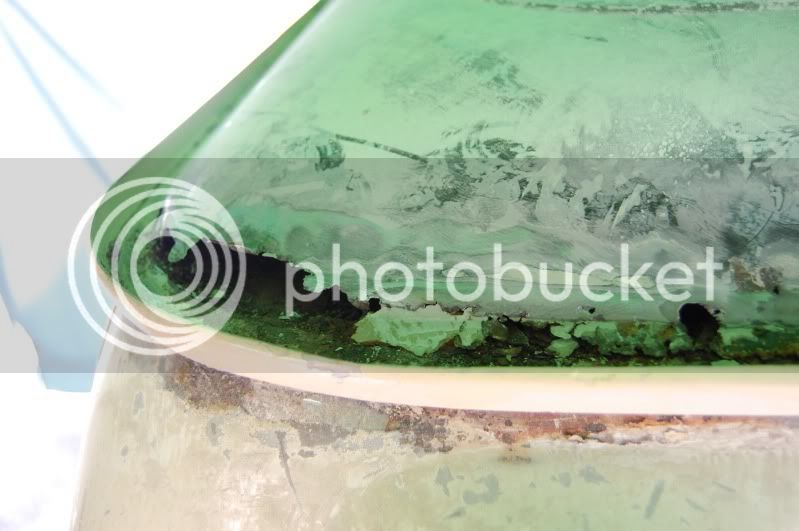
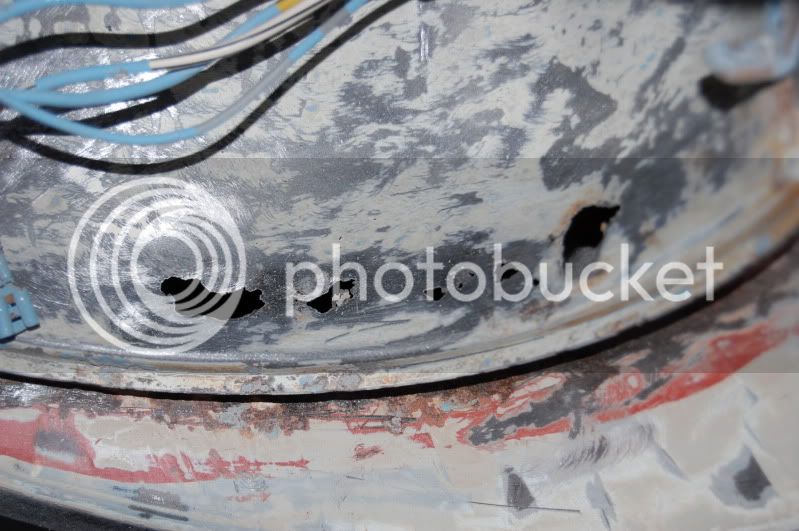
Some previous repairs
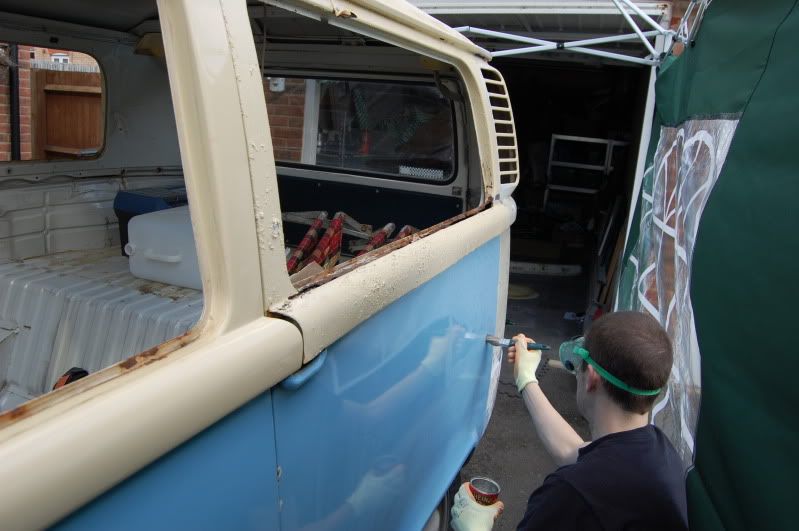
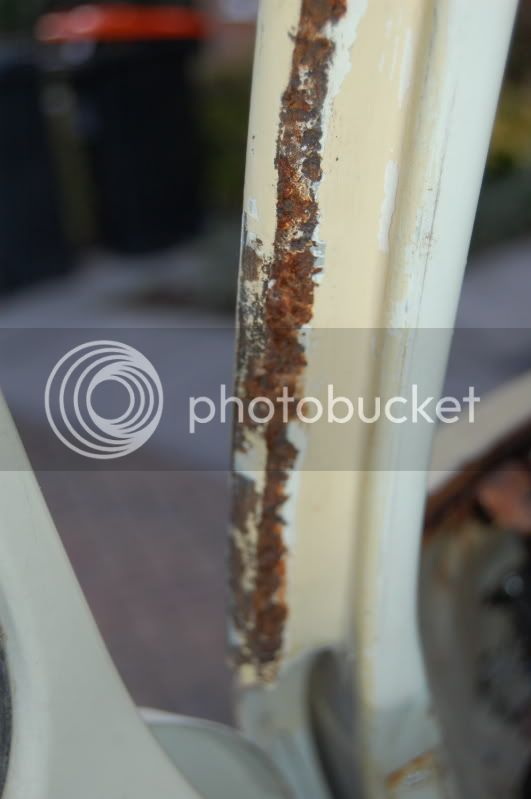
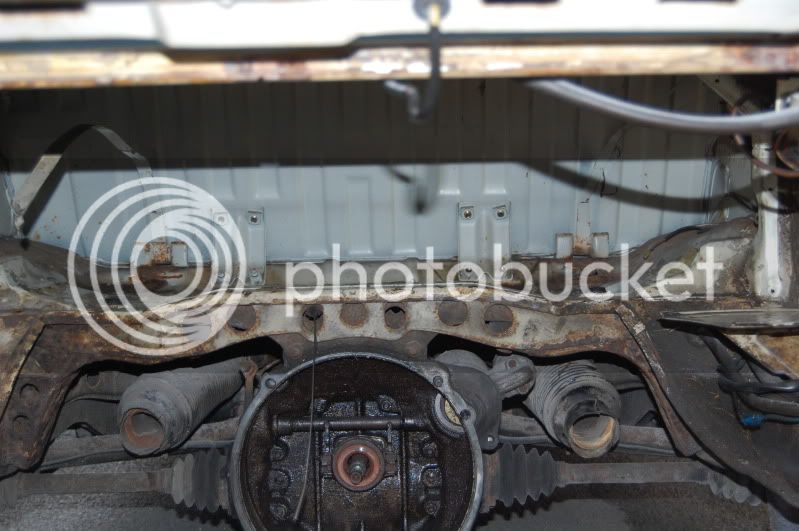
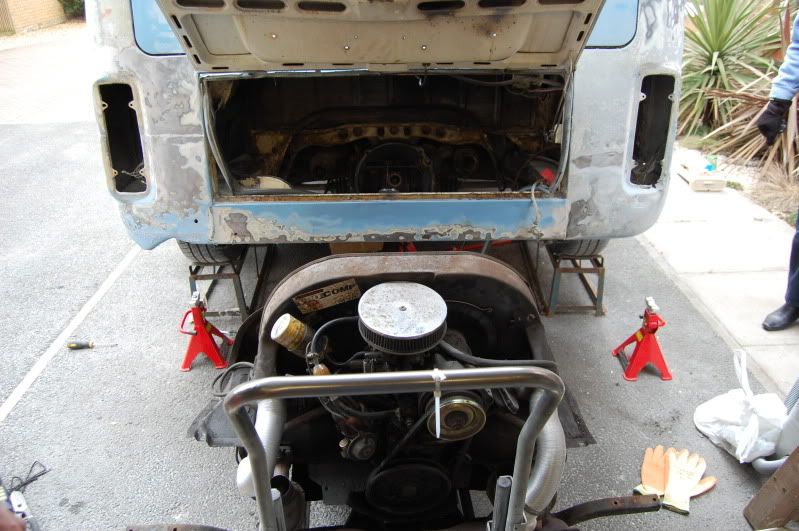
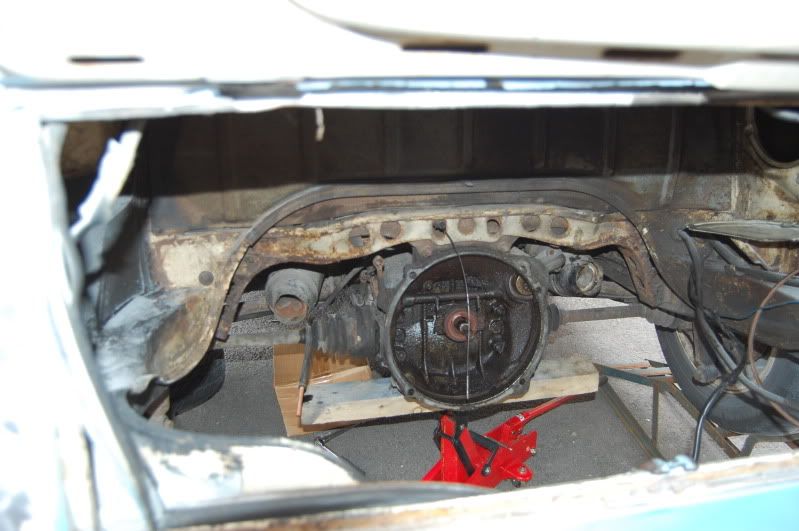
Day 3. My dad came over to give us a hand and we dropped the engine out and stripped the drivers side paint.
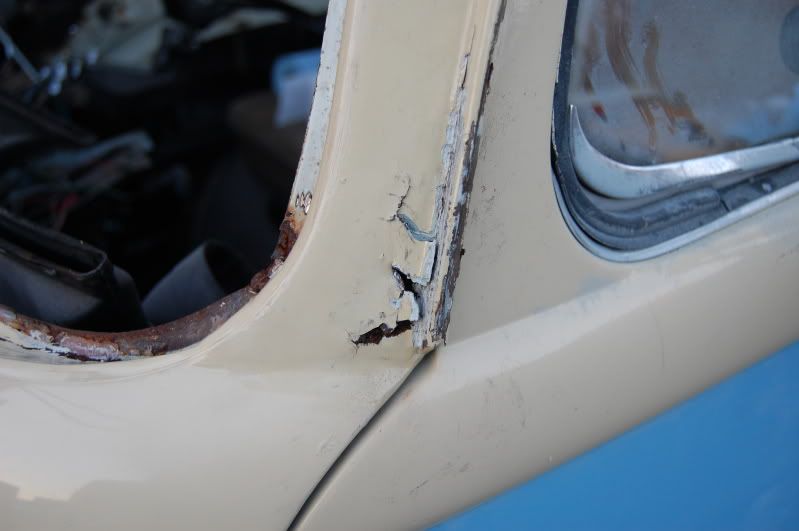
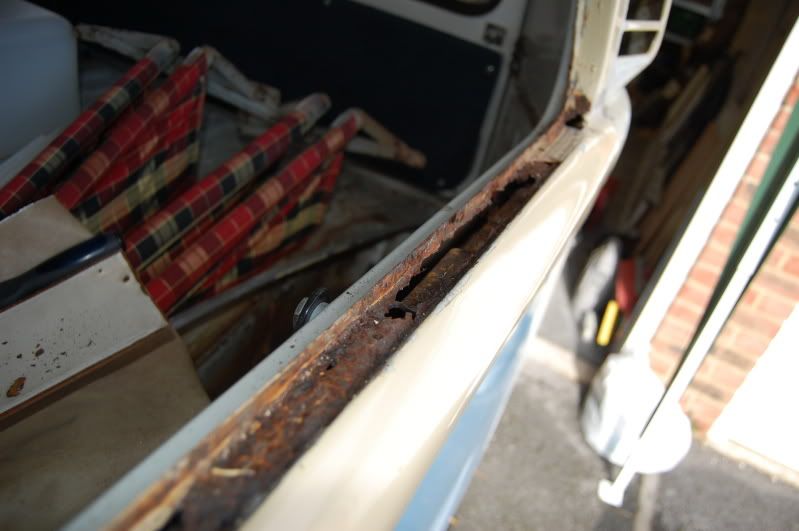
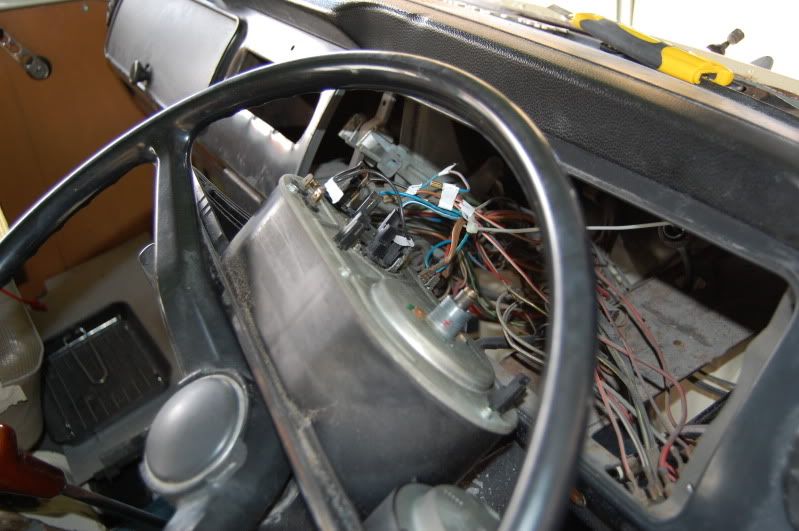
Day 4. My father in law came over and we popped out all the windows and the dash. Some more rot ïŠ These had been covered in fibreglass resin!

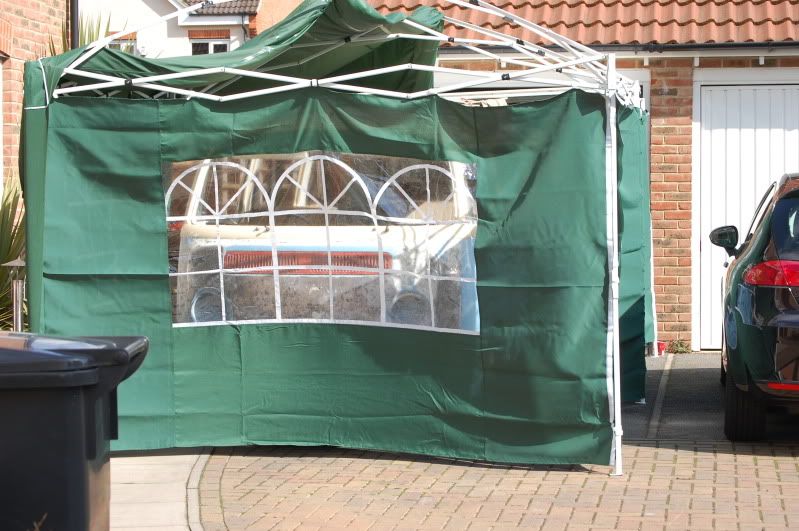
And here he is tucked away at the end of the day.
Aim is to get the hold van stripped back to a solid original paint layer, uncover and dodgy old repairs, redo them myself where I can and otherwise get some help with them and then get him painted and rebuilt in time for my wife’s cousin’s wedding at the end of July. We’ll see how we go! Never done anything like this before so massive learning curve but thoroughly enjoying it.
No time to do anything this weekend, so updates in a week.
So about 6 months ago we got our 1972 Dormobile, Bertie. We picked him up from Cumbria and set off to drive him back home to Bedfordshire. Unfortunately we didn’t quite make it!
But, wiring redone and he ran nicely for a couple of months and racked up 1000 miles or so.
When we got him we knew we wanted to redo the interior so a couple of months in we got a second dormobile interior with the intention of taking the best bits of the two interiors and creating one good one.
Out with the old interior and a bit of rust was uncovered (need to get come pics). And then it all went a bit crazy and this ensued!!
Day one. Had the lads round and removed the pop top and started to bare metal the front to see what was what. No pictures on my camera but left with this…
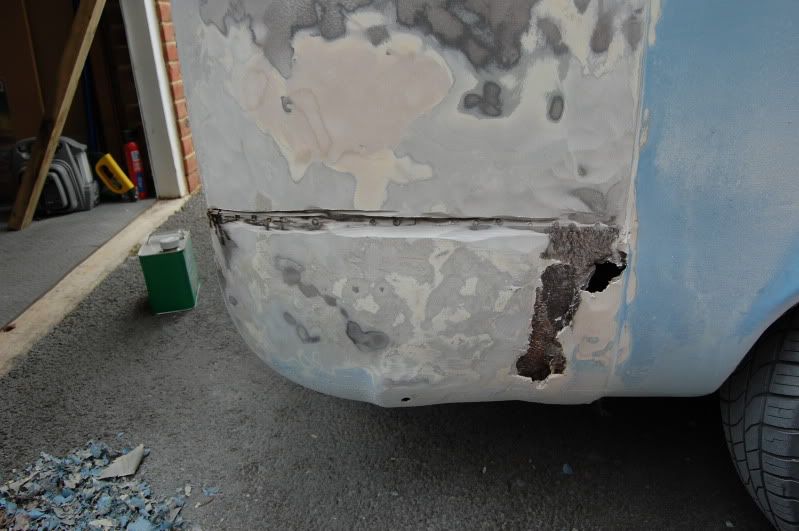
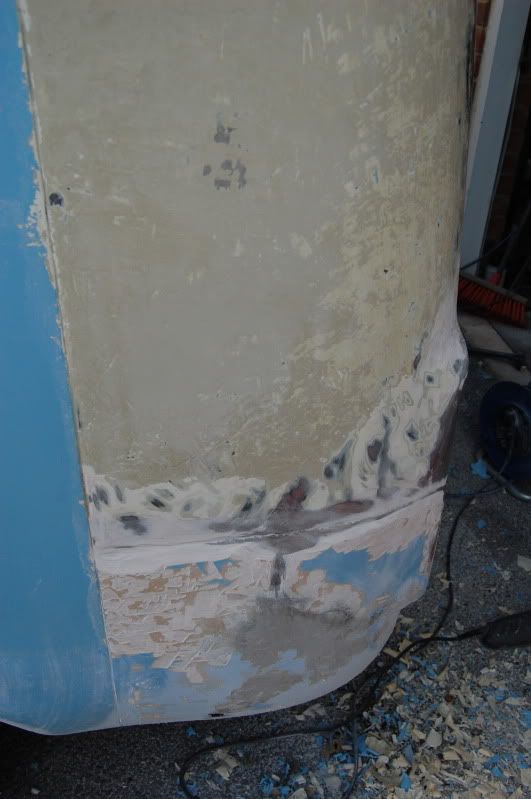
Day two. Had to work half of it so only had a couple of hours. The missus and I decided to nitromors and strip back the rear quarters.
My glamerous assistant
Some previous repairs
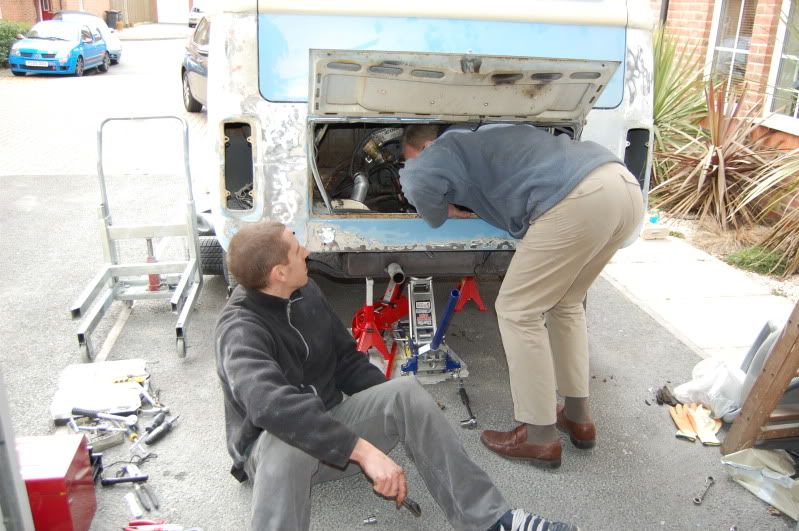
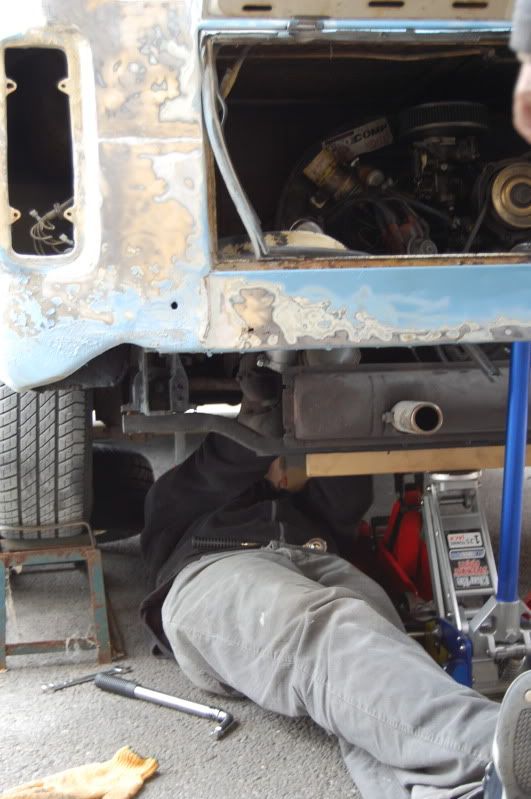
Day 3. My dad came over to give us a hand and we dropped the engine out and stripped the drivers side paint.
Day 4. My father in law came over and we popped out all the windows and the dash. Some more rot ïŠ These had been covered in fibreglass resin!
And here he is tucked away at the end of the day.
Aim is to get the hold van stripped back to a solid original paint layer, uncover and dodgy old repairs, redo them myself where I can and otherwise get some help with them and then get him painted and rebuilt in time for my wife’s cousin’s wedding at the end of July. We’ll see how we go! Never done anything like this before so massive learning curve but thoroughly enjoying it.
No time to do anything this weekend, so updates in a week.