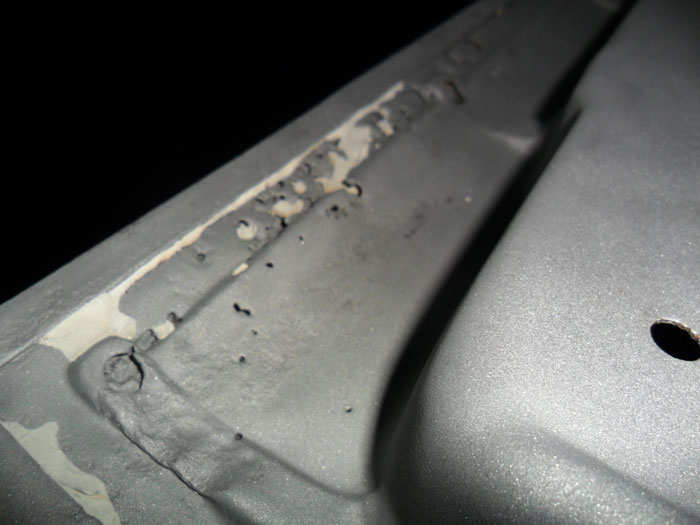
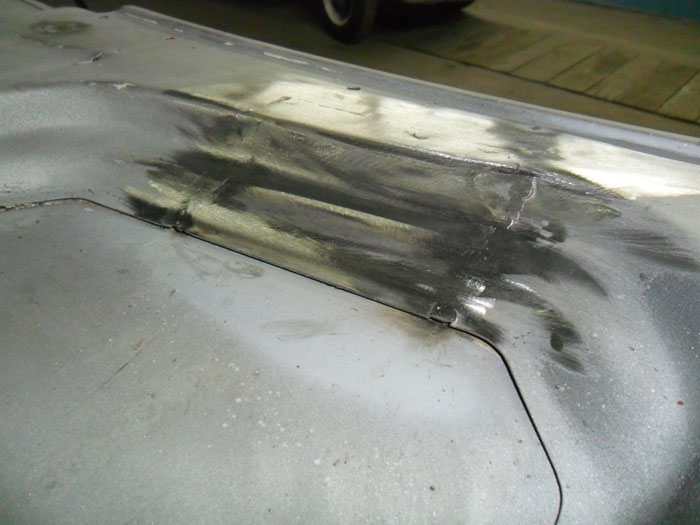
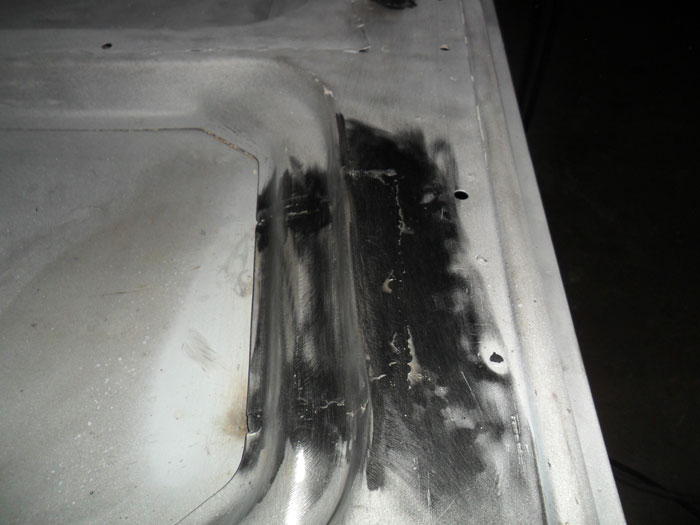
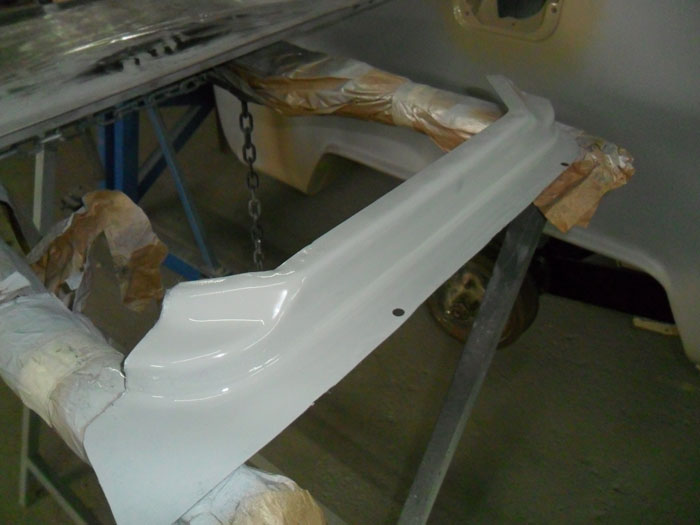
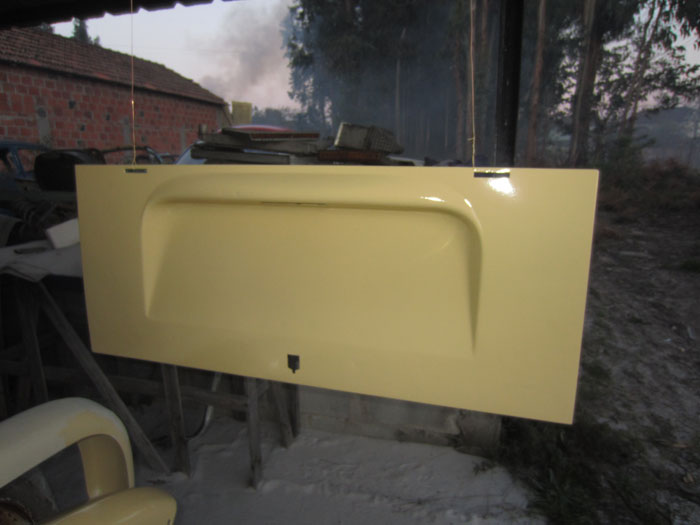
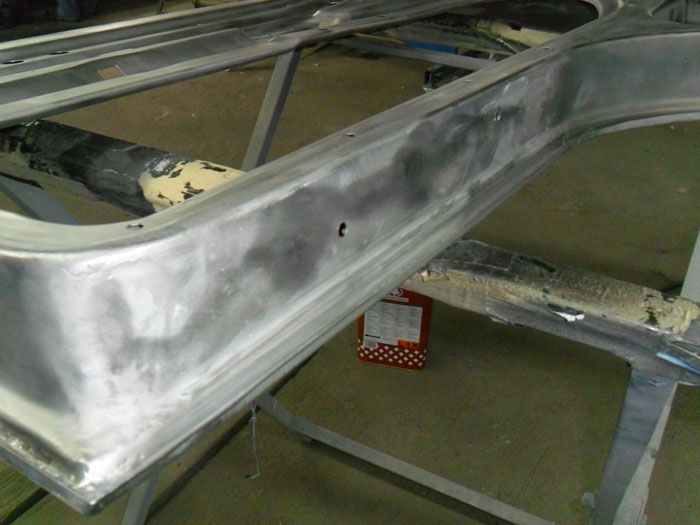
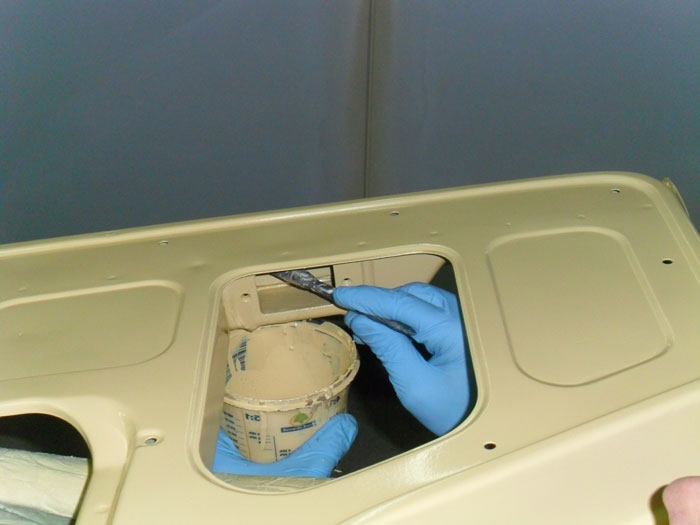
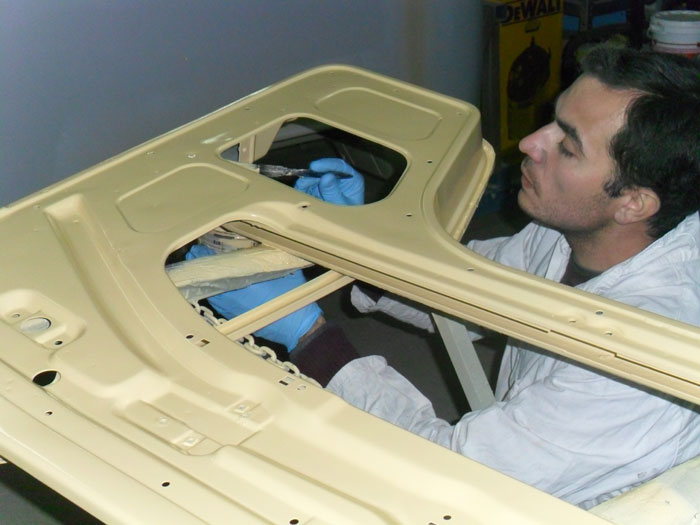
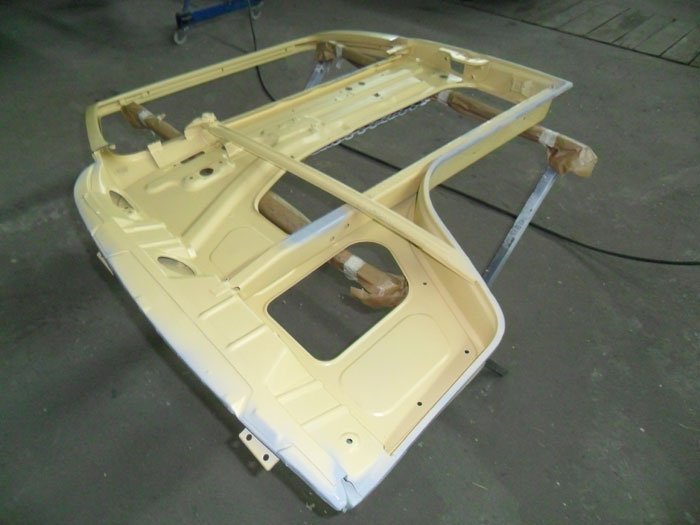
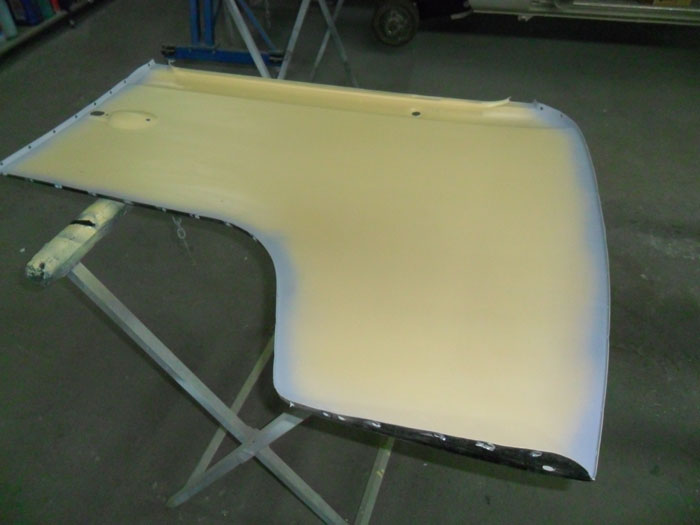
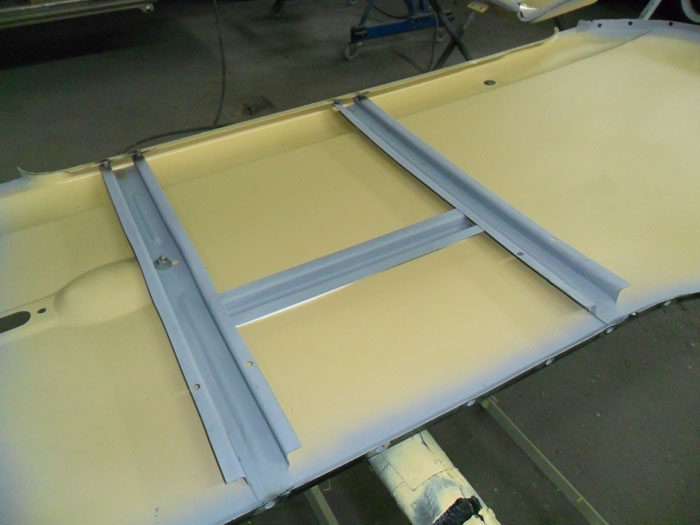
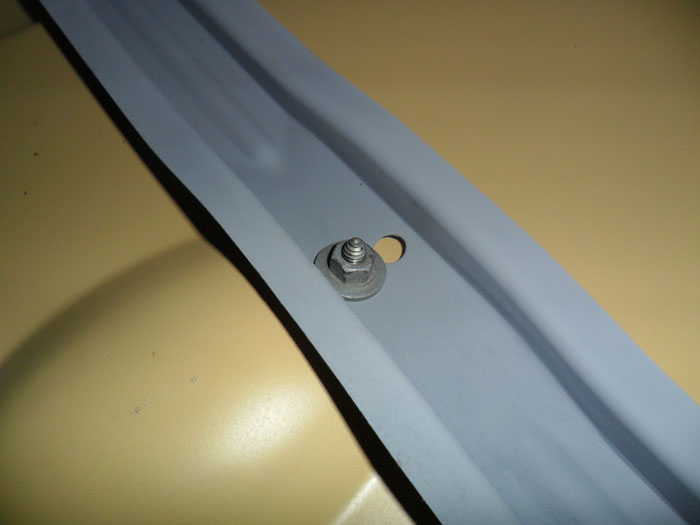
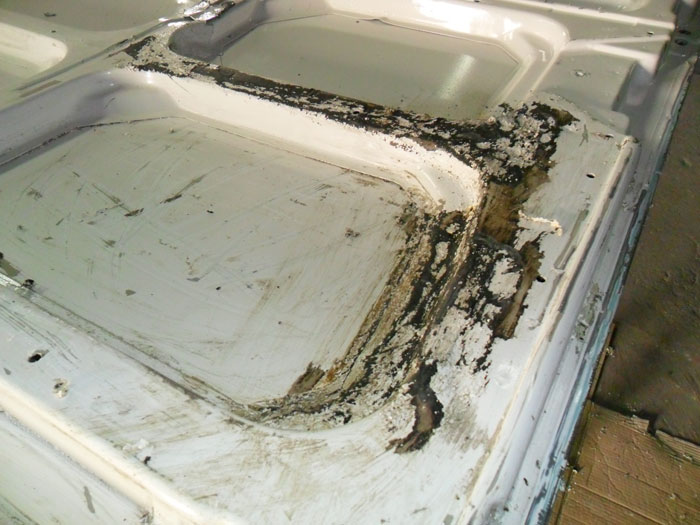
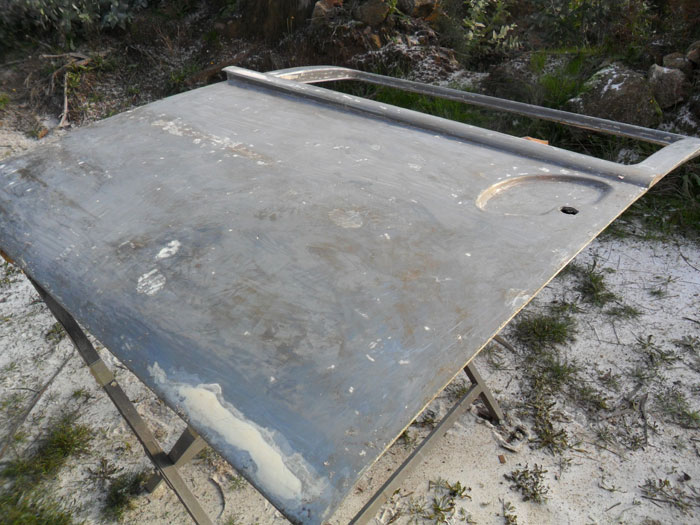
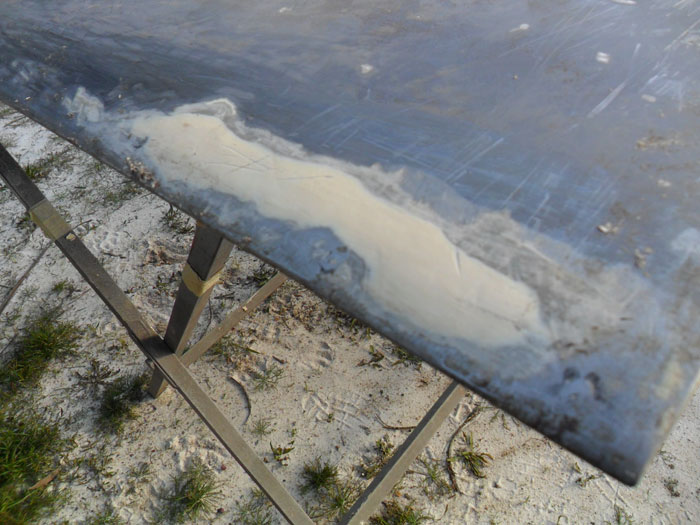
the outer skin panel had already been prepared to be welded to the door... there were only a couple of small tasks yet to be done before welding it in place:
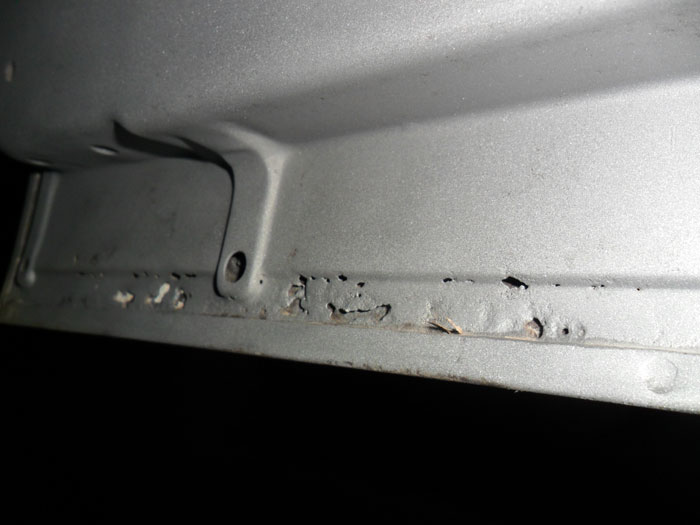
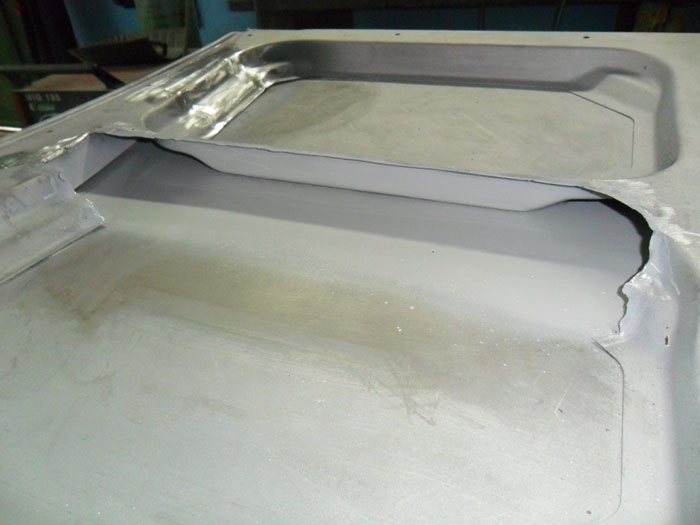
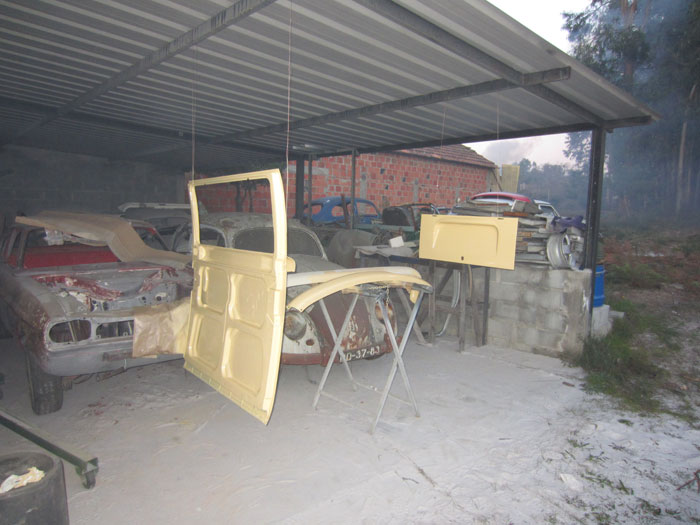
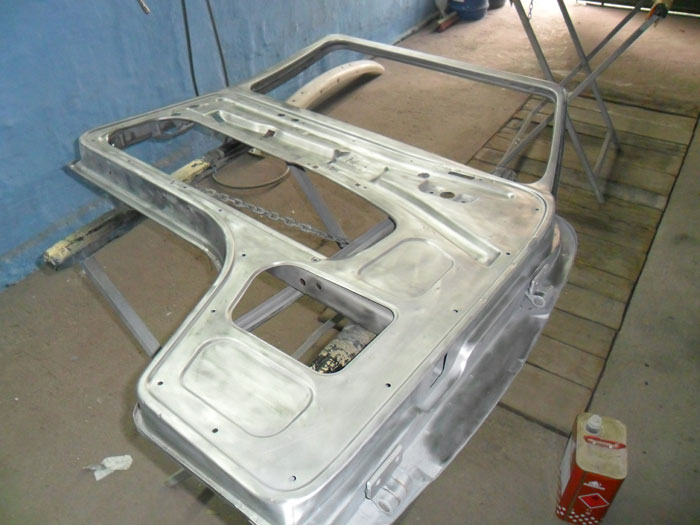
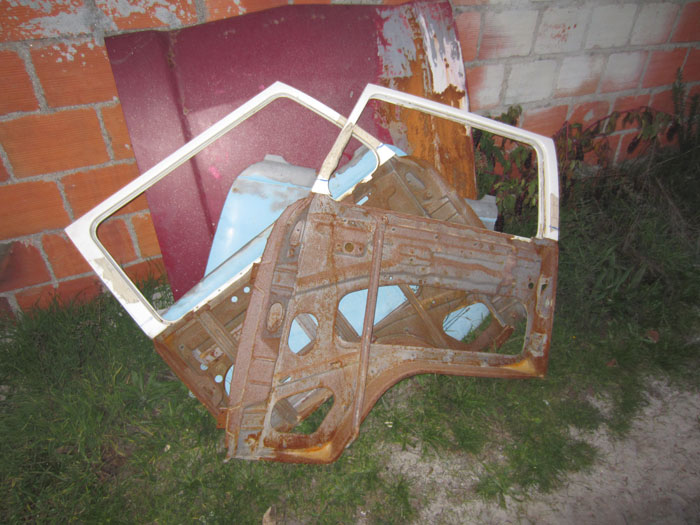
Hugo also had to fix the sliding door.
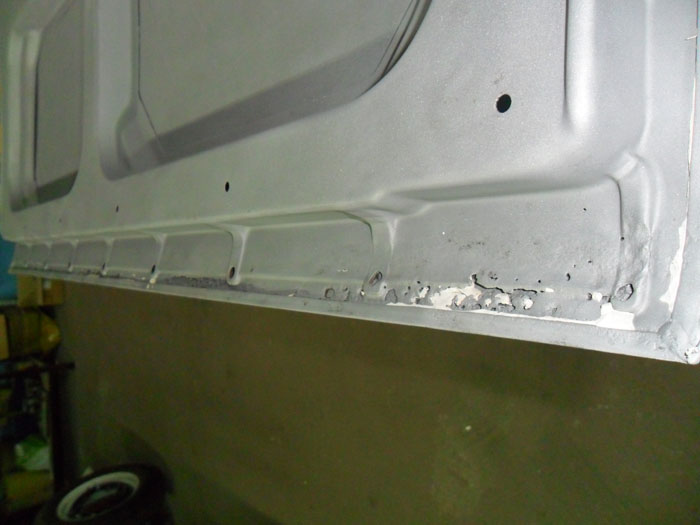
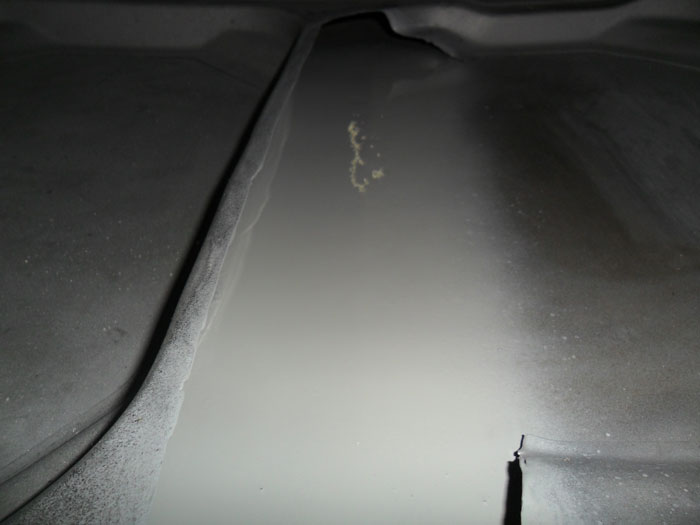
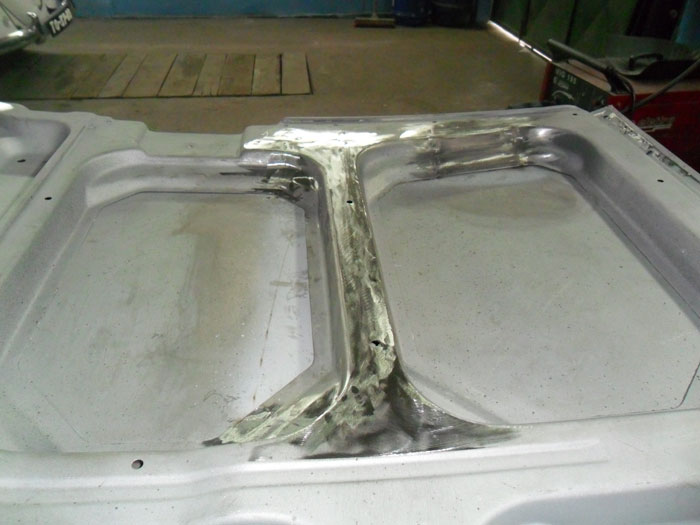
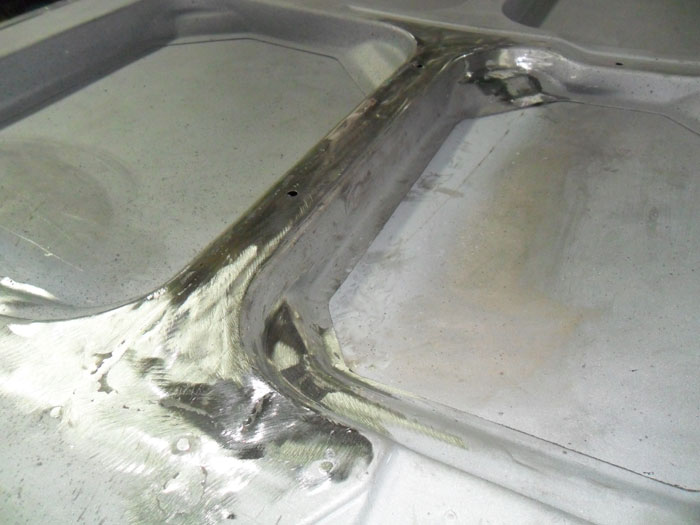
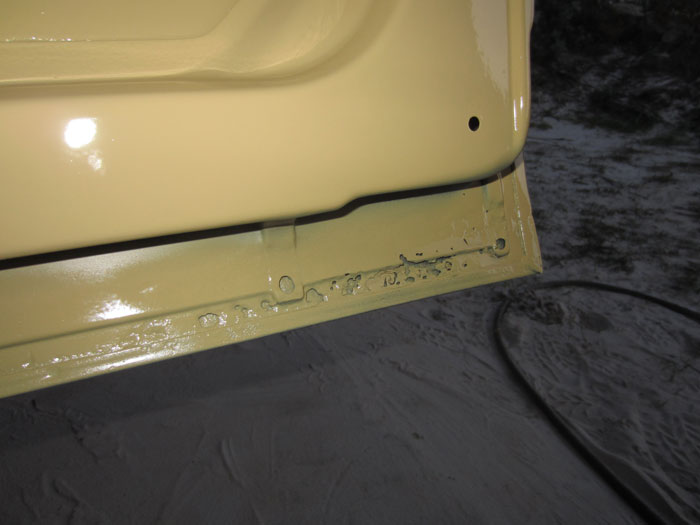
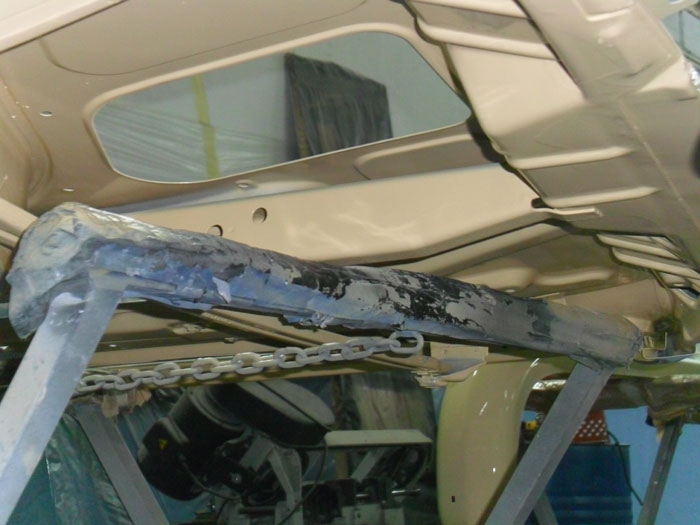
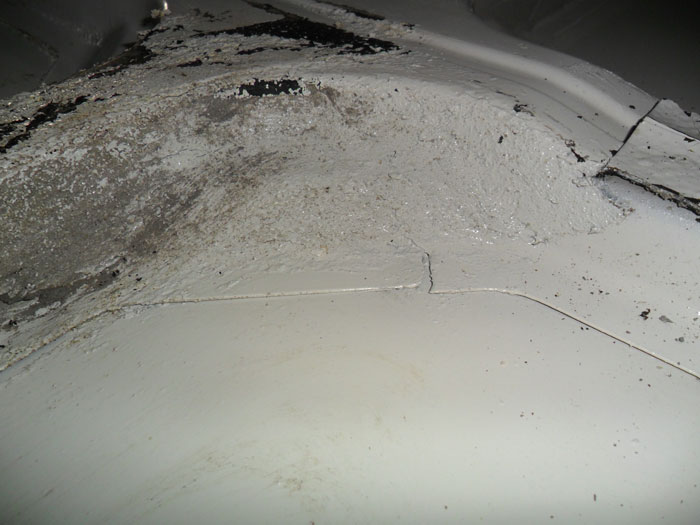
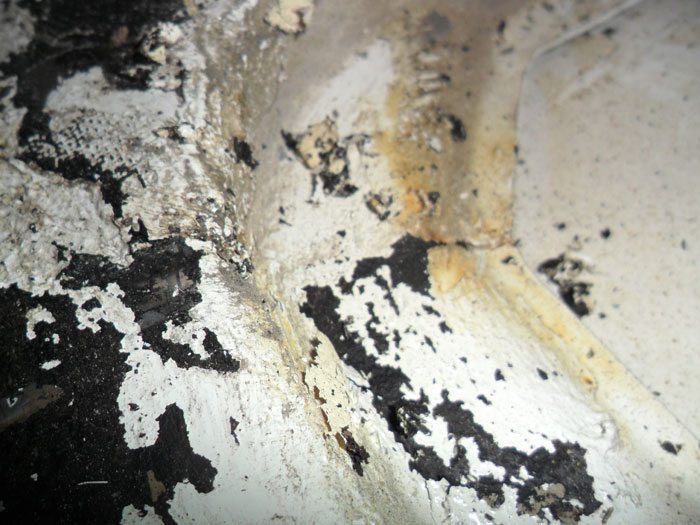
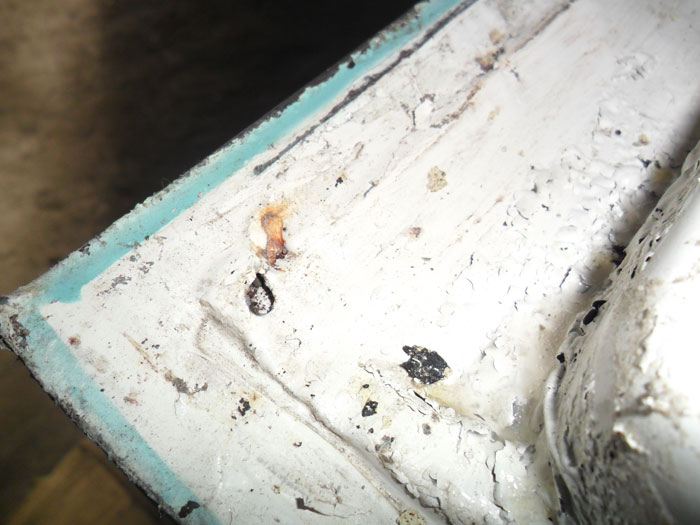
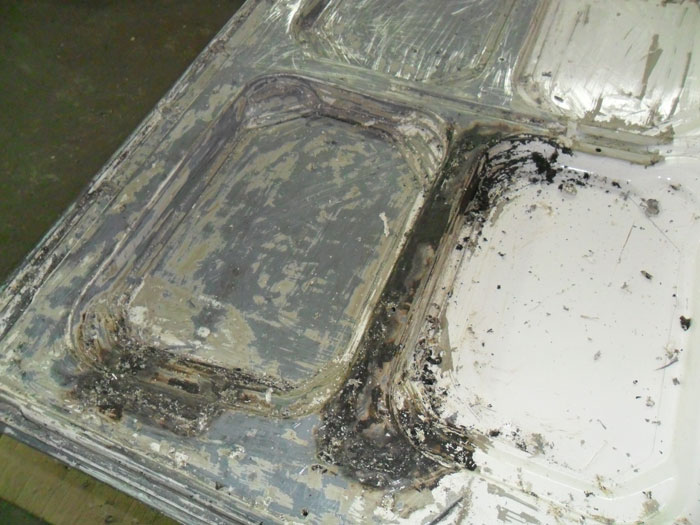
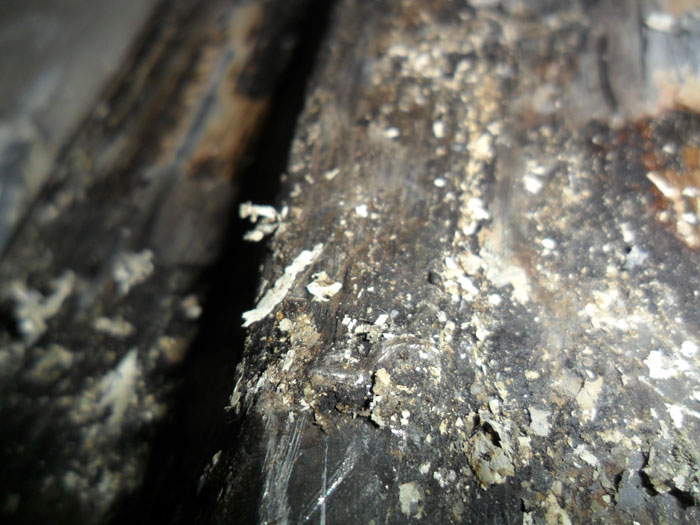
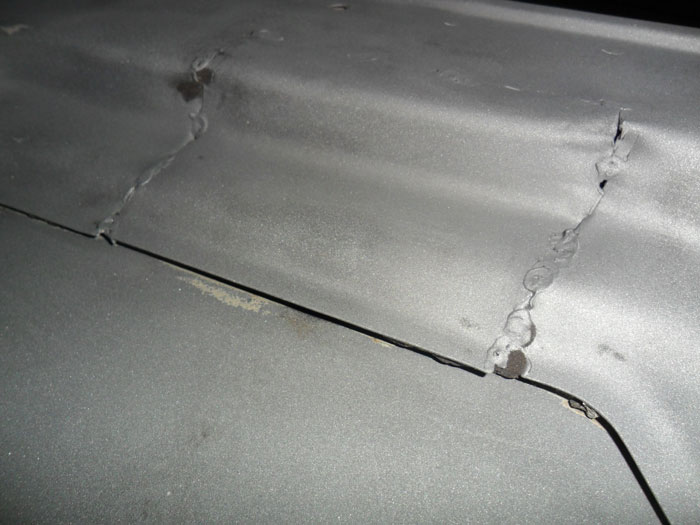
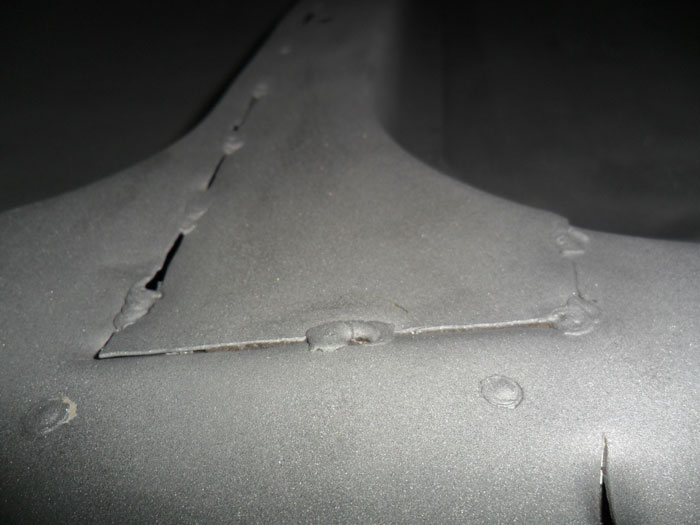
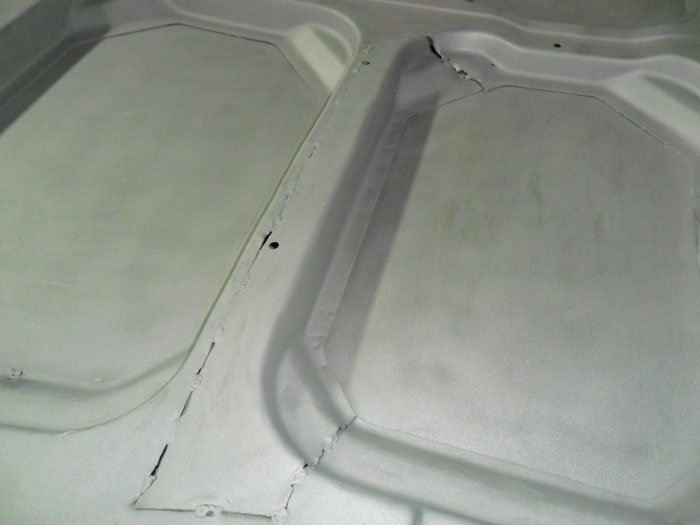
In the interior, there was an area, where he thought there was some surprises beneath a large area of stone chip:
one day will get mine that good :msn4: front beam is a 68 to mid way through 69 part,its the same bolt pattern as a split (recon they used the same "chassis"legs) it changed when they added the extra front chassis leg.
thanks 67panel
I should have read my haynes and bentley manuals before spending so much time in a stunt like that 8)
well, but at least I learned this (although the hard way) and I will not try this a third time :mrgreen:
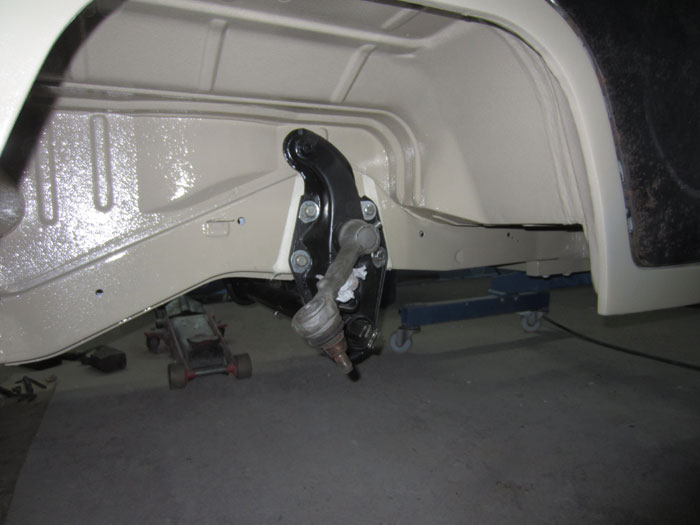
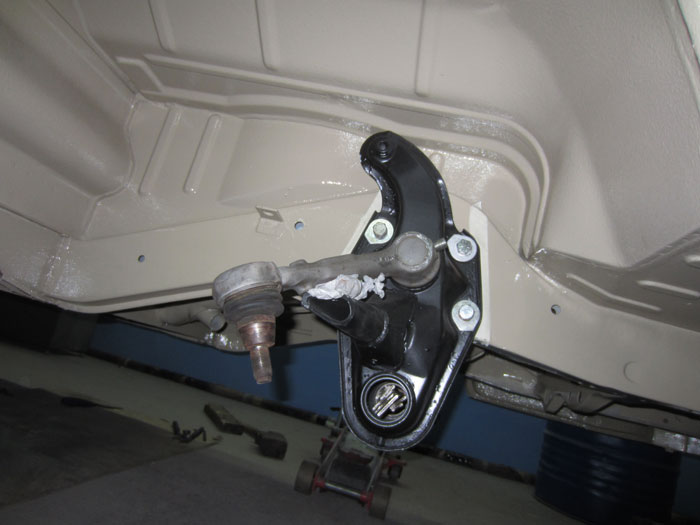
I do have to write some words of appreciation to you, 67panel, for your help about how to assemble a regular front suspension in here. With it, I was able to assemble it on the bus all alone and pretty fast. Thank you so much!
I owe you a beer! :mrgreen:
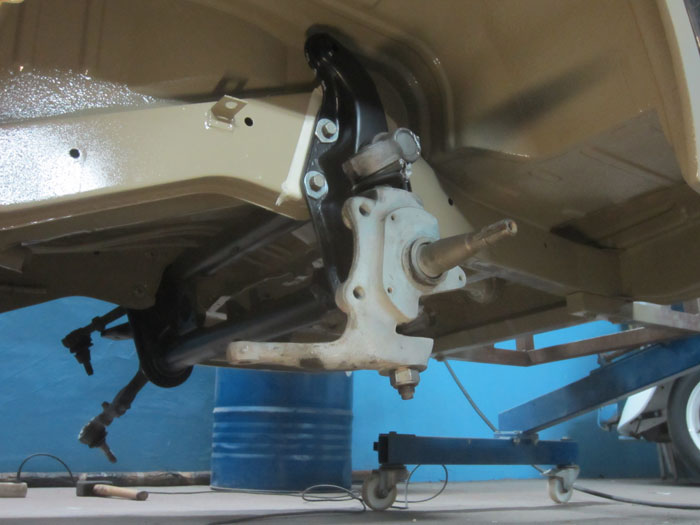
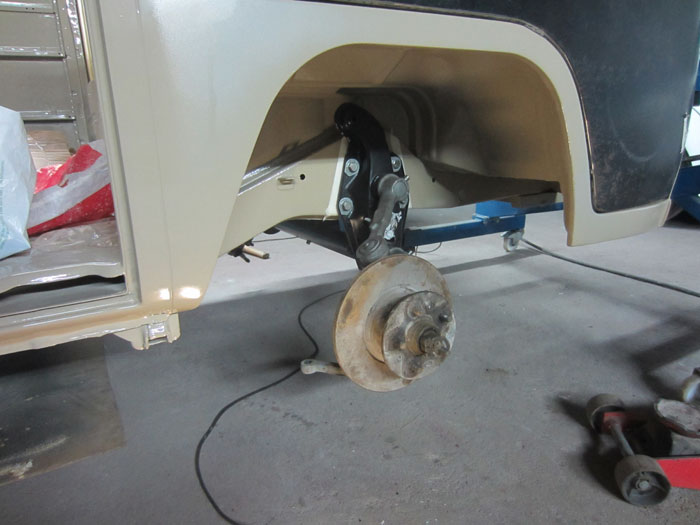
so, a couple of weeks ago and with the help of 67panel I was able to assemble the front suspension in place without any major efforts and completely alone:
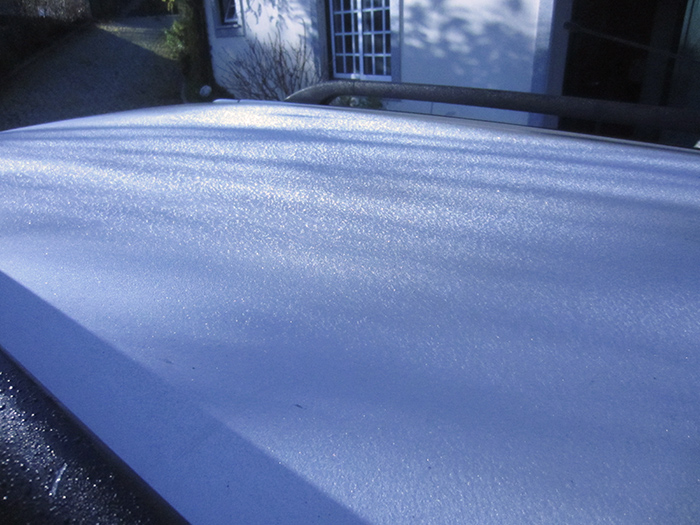
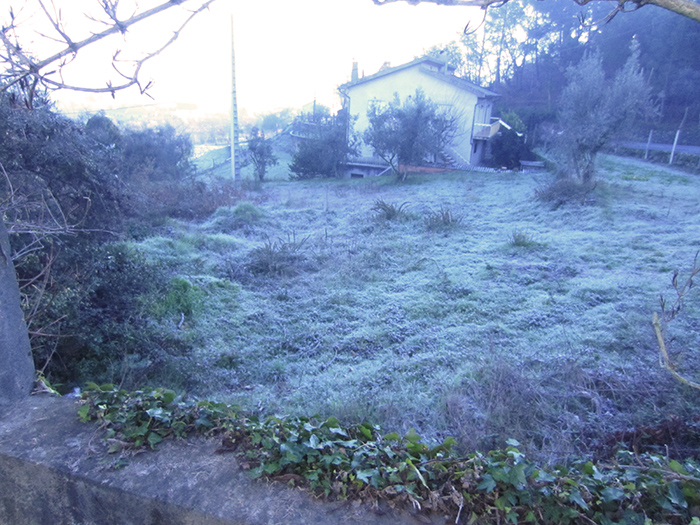
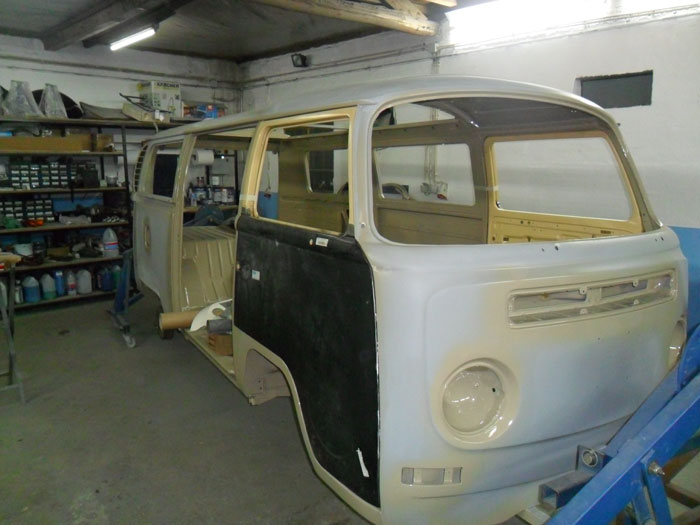
Friday, it was transported to the paint shop and saturday morning (it was freezing )....
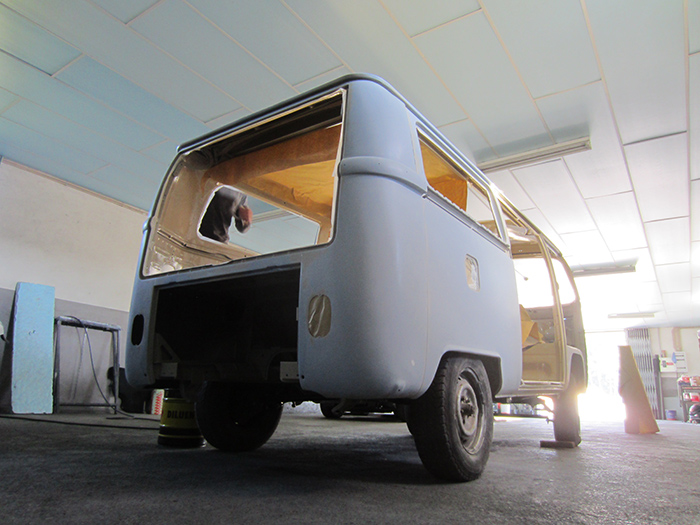
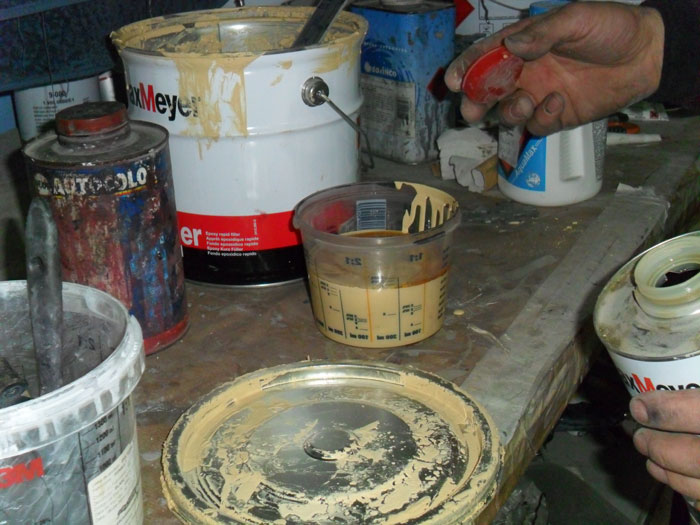
... I went to another city (some 50 km's from where I was) to get the materials André needed to paint it.
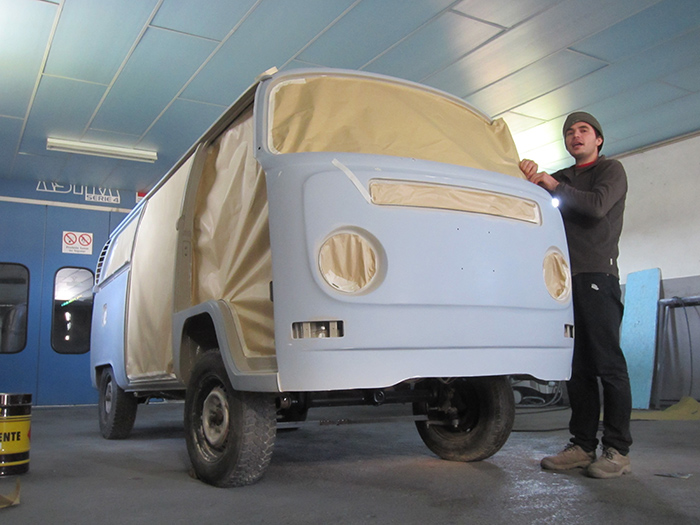
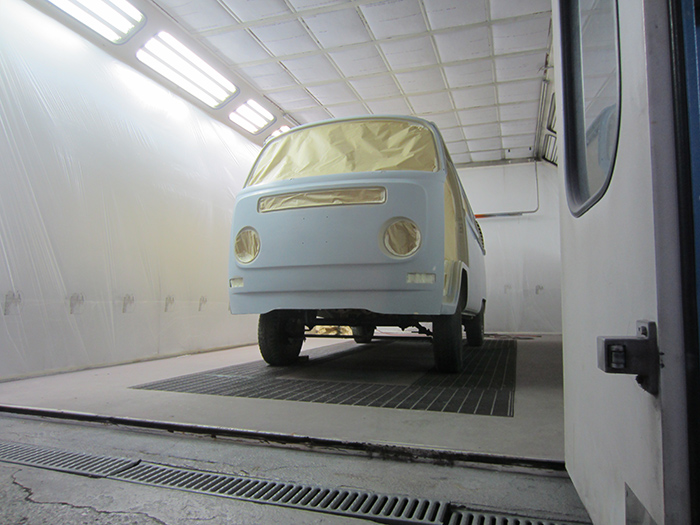
On arrival to the paint shop, André was already isolating the bus:


")