1968 Campervan conversion

Early Bay Forum

Help Support Early Bay Forum:

This site may earn a commission from merchant affiliate links, including eBay, Amazon, and others.
thanks easy ;)
... but there's still a lot to be done and a bunch of mistakes to avoid :mrgreen:

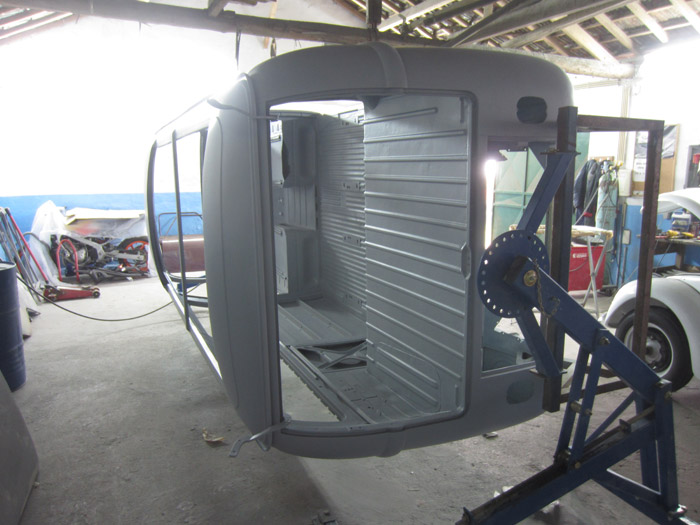
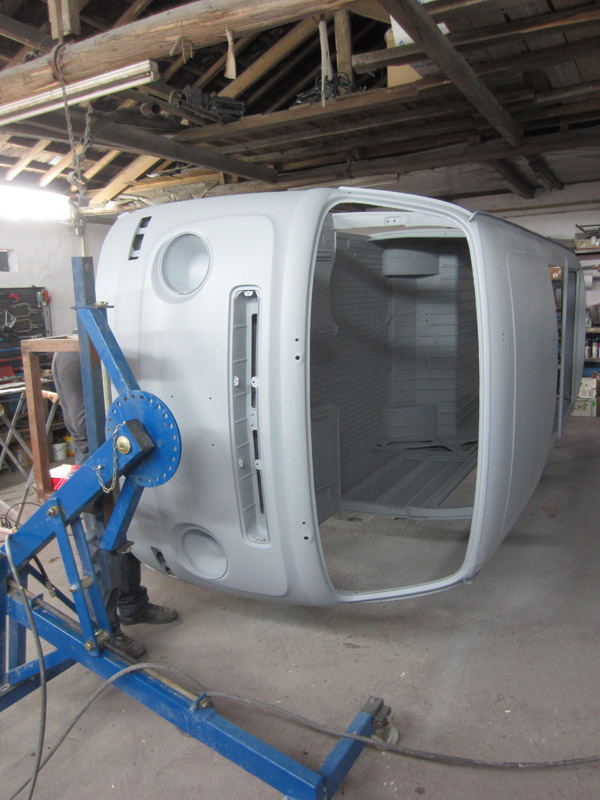
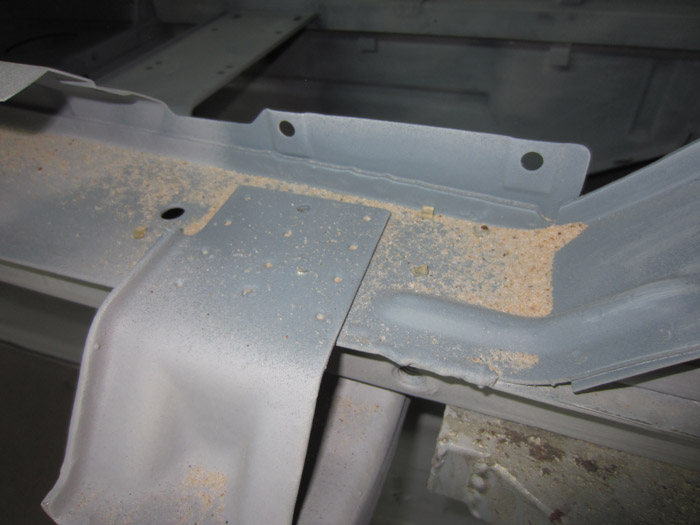
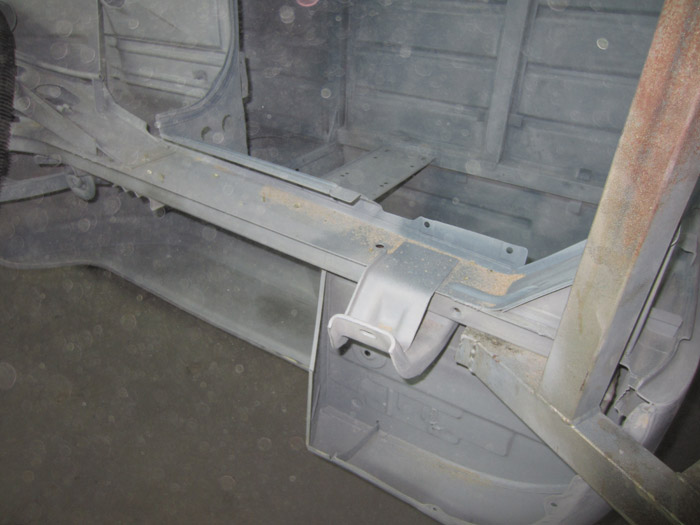
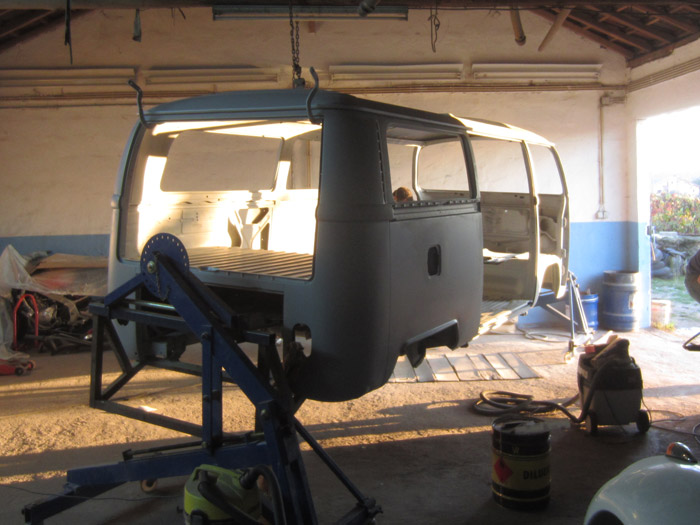
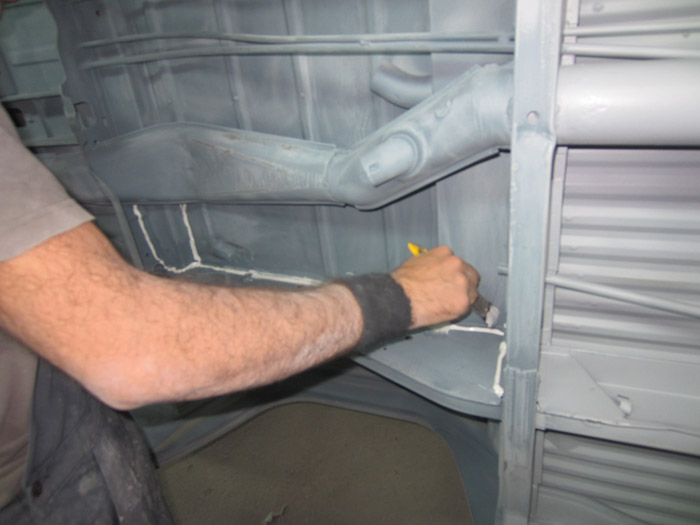
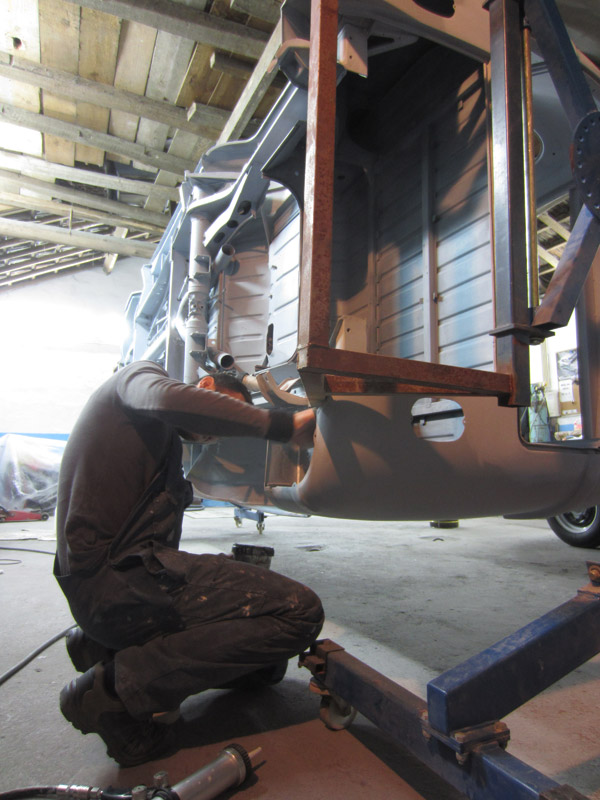
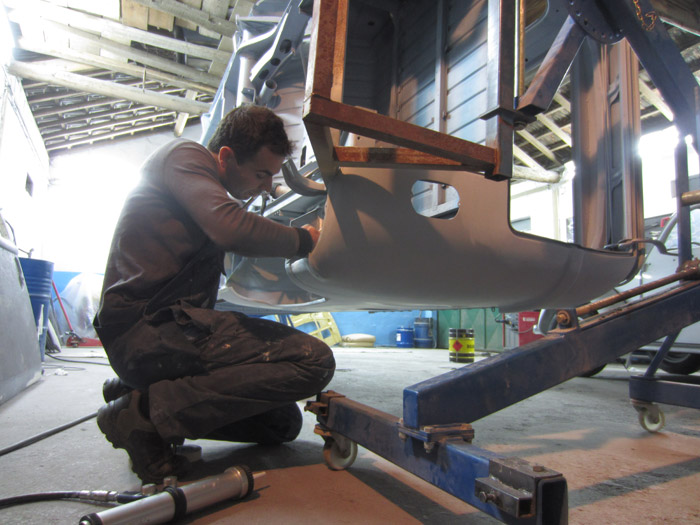
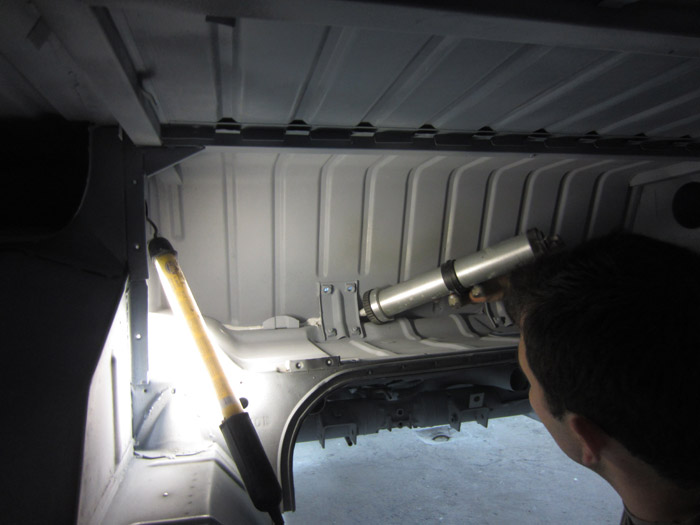
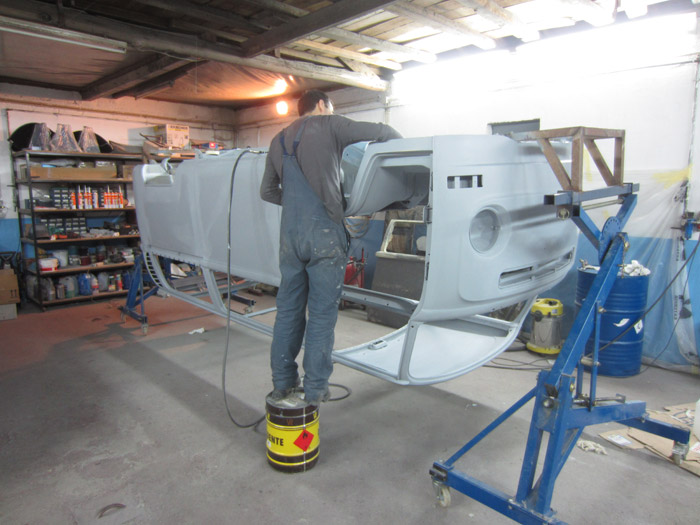
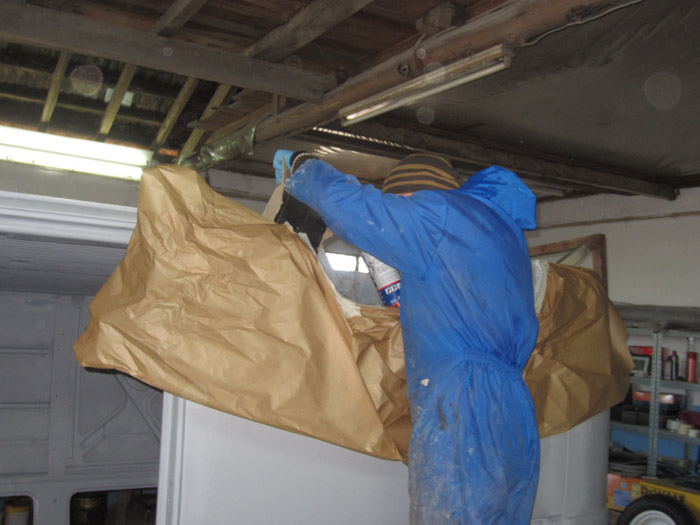
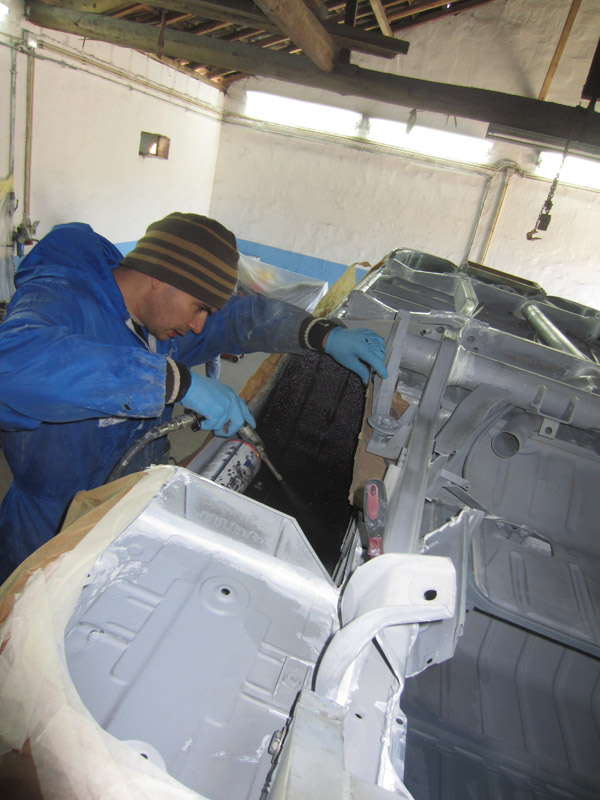
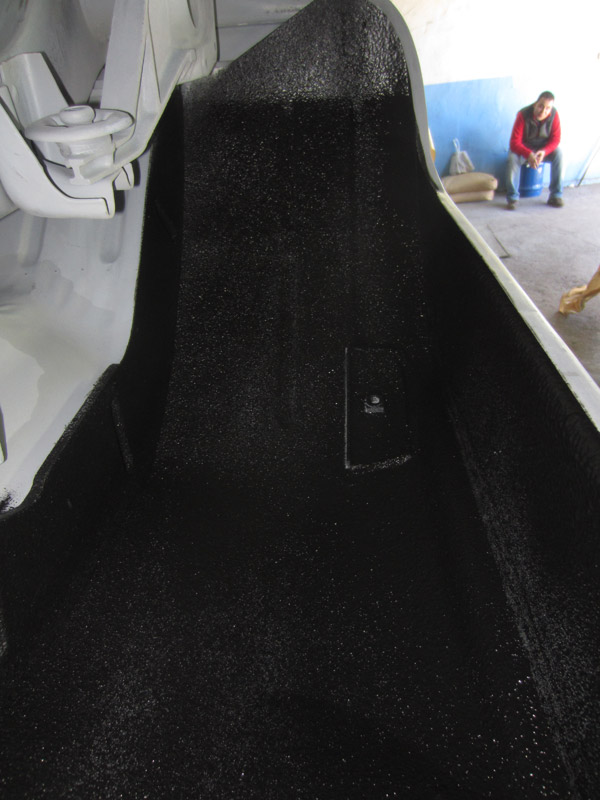
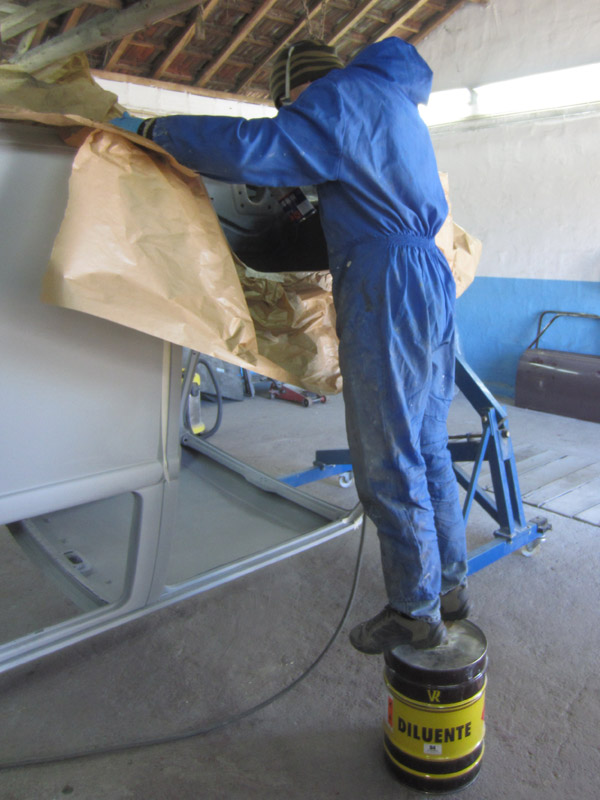
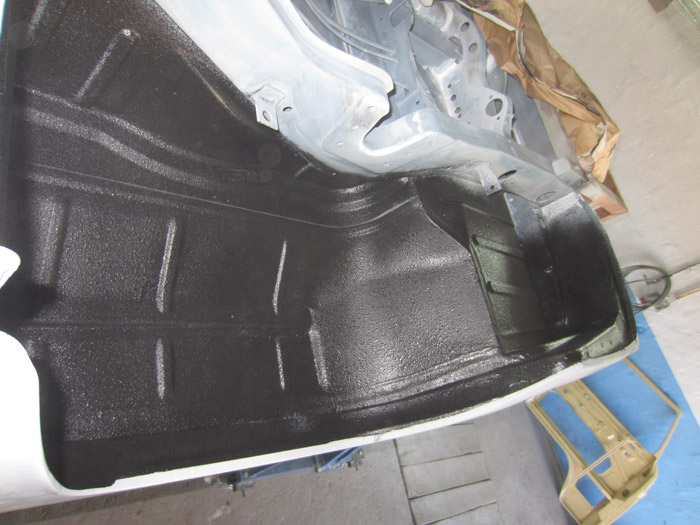
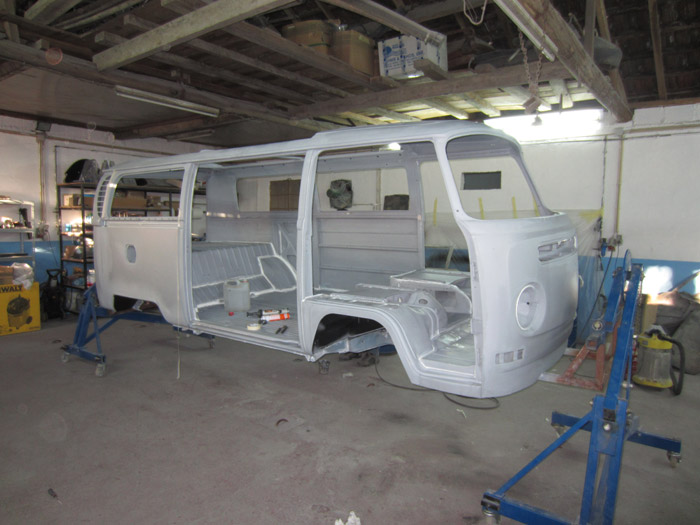
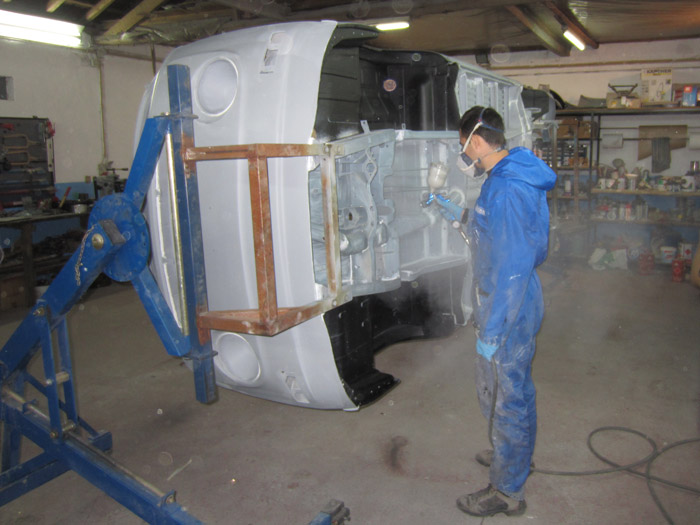
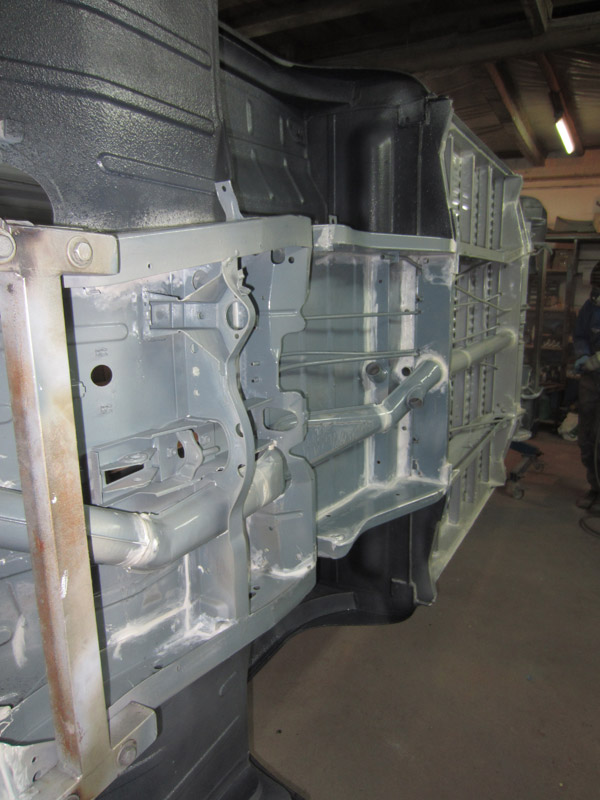
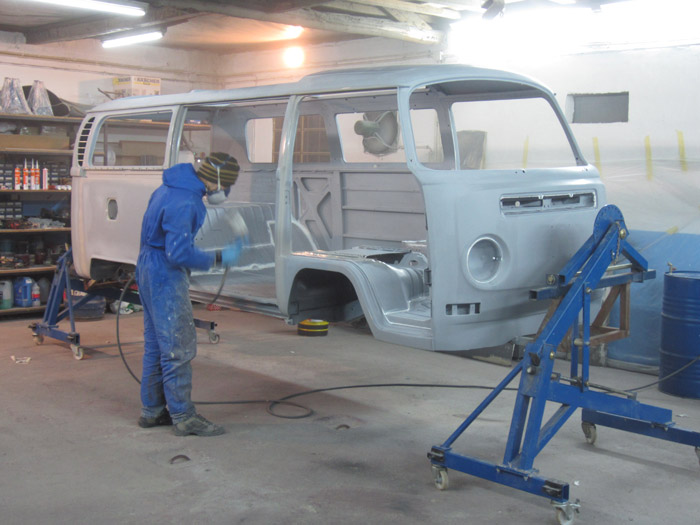
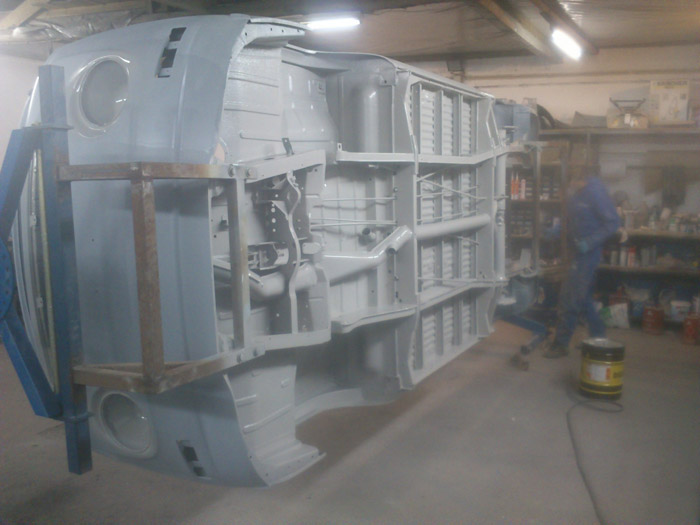
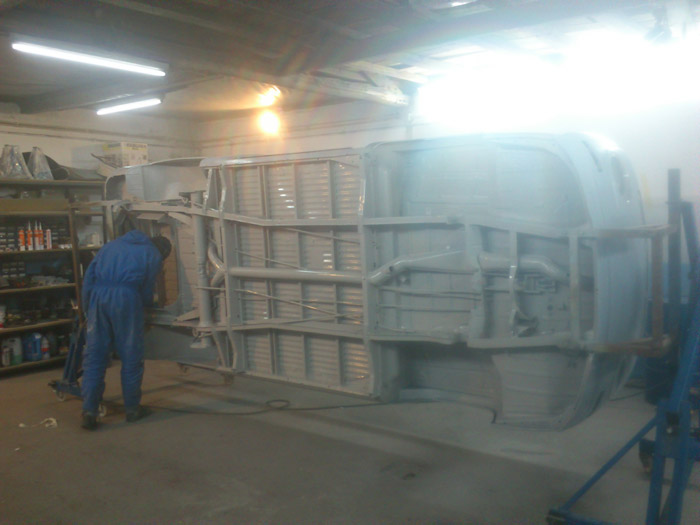
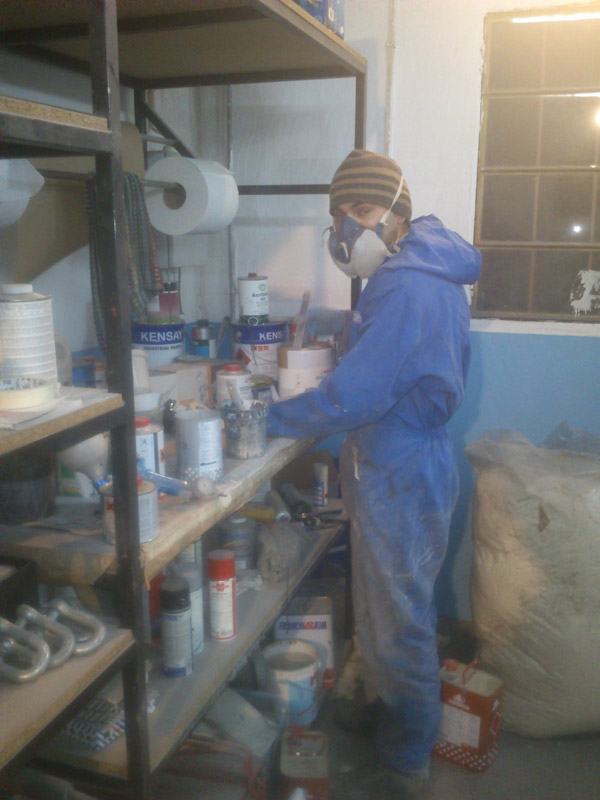
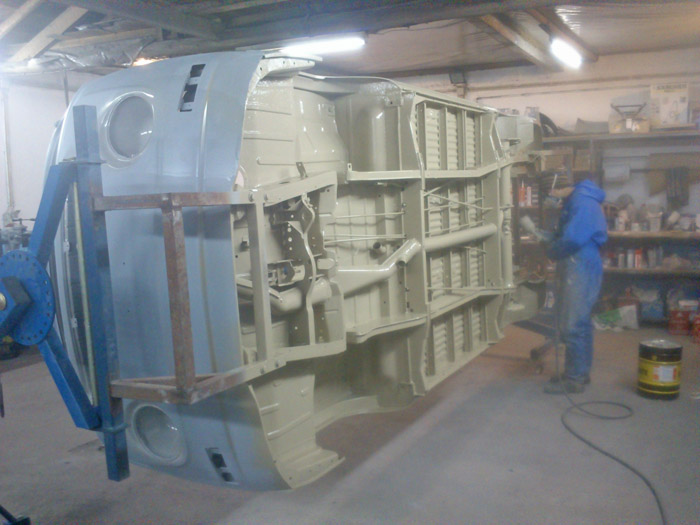
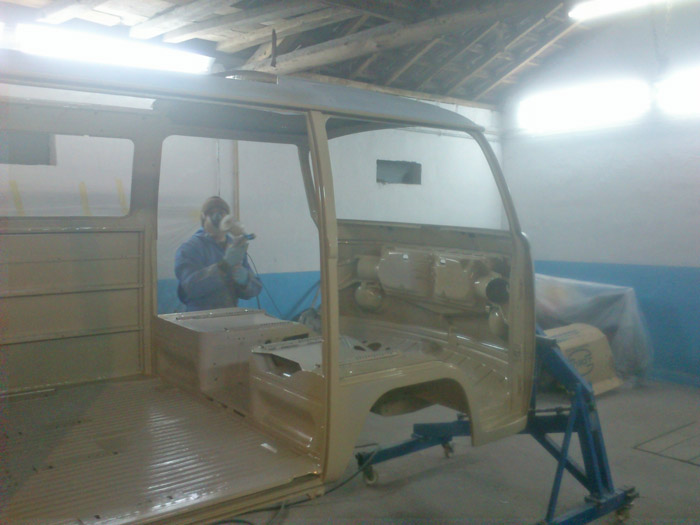
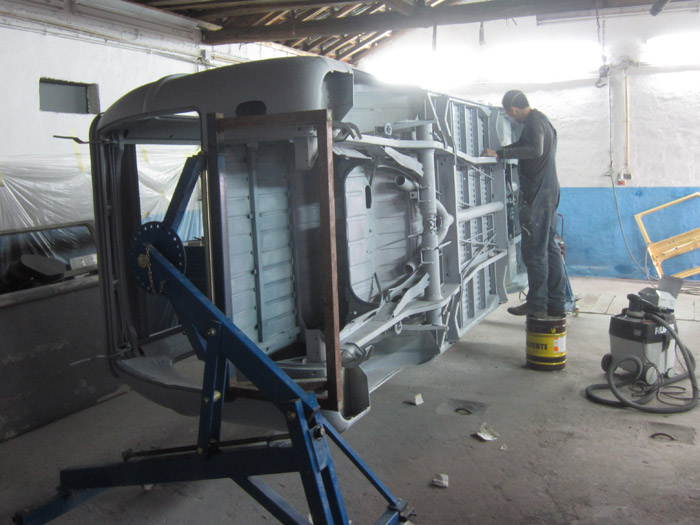
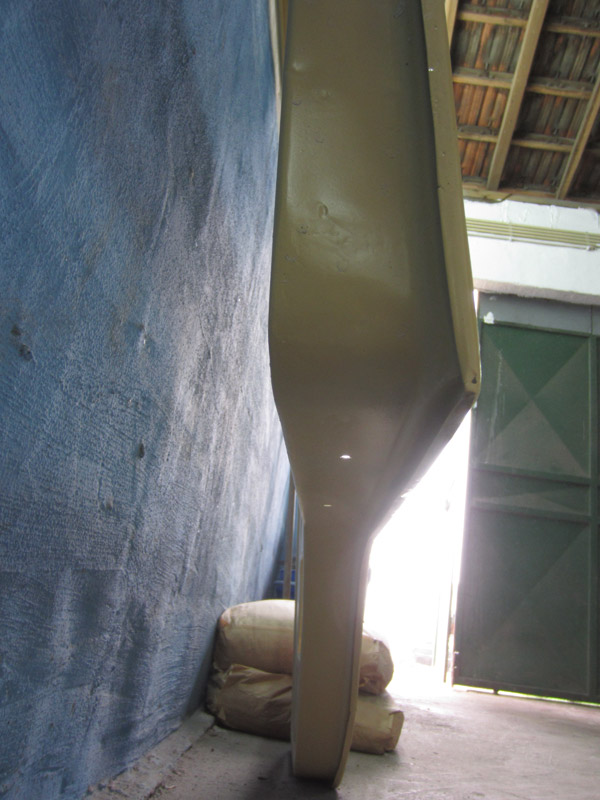
well... a few days later I paid a visit to Hugo's bodyshop. It was a Saturday morning and André was already there and working on it. He was sanding all the primer on the bus as well as sanding all the por-15 primer beneath the bus before applying the clear sealer in this area:

IMG_1554.jpg


IMG_1555.jpg


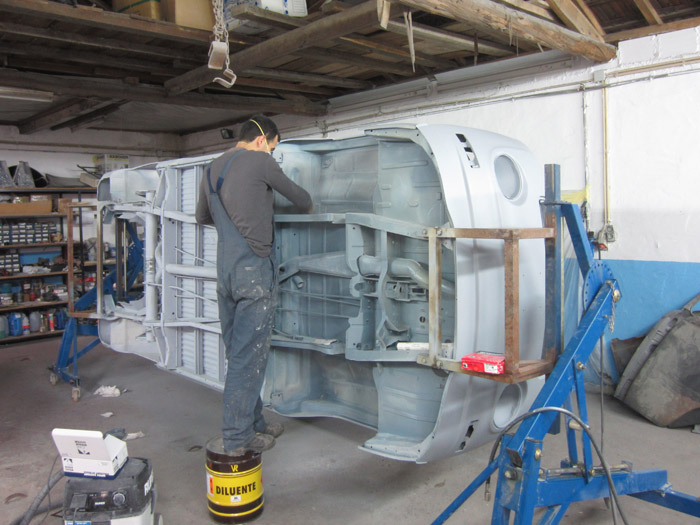
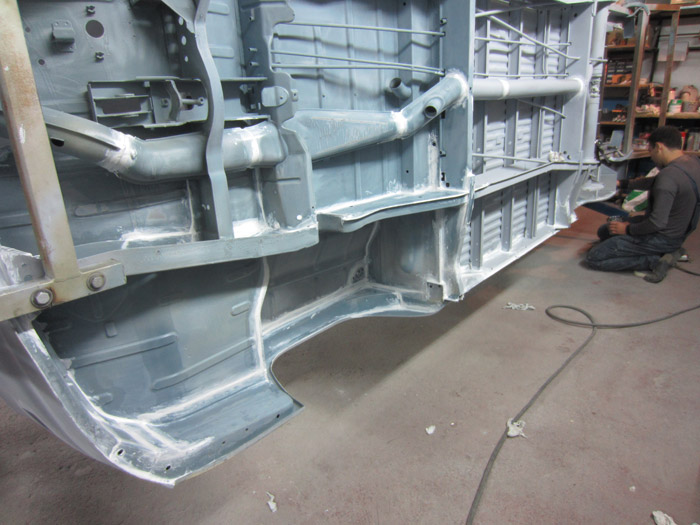
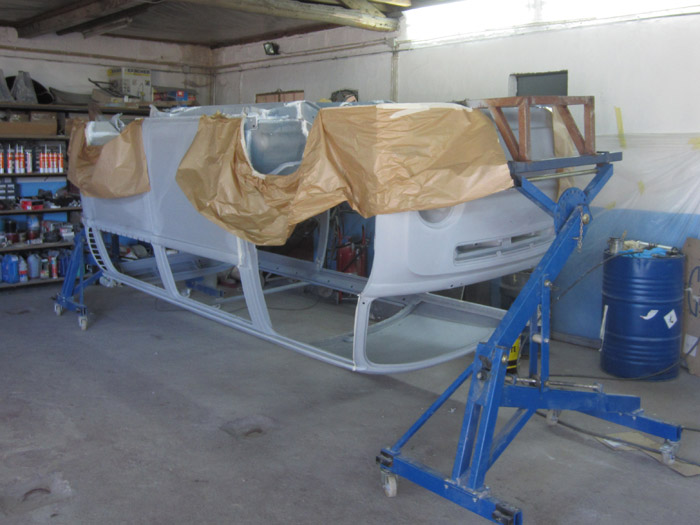
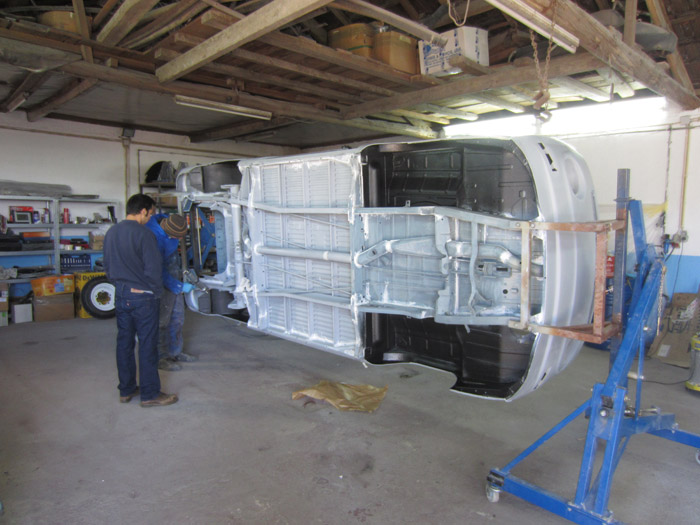
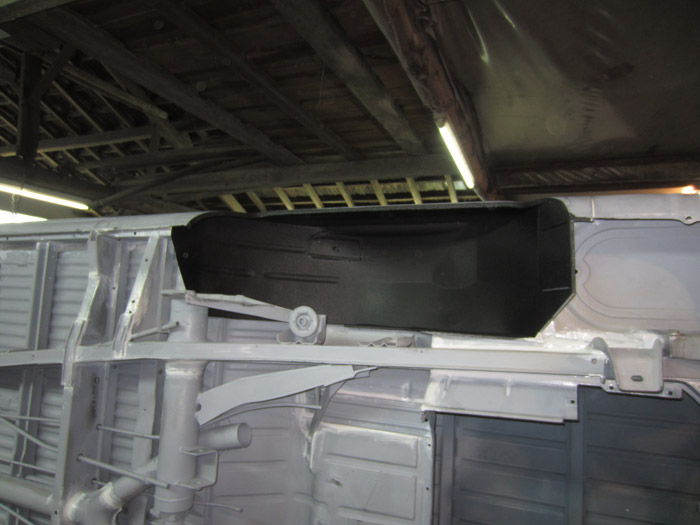
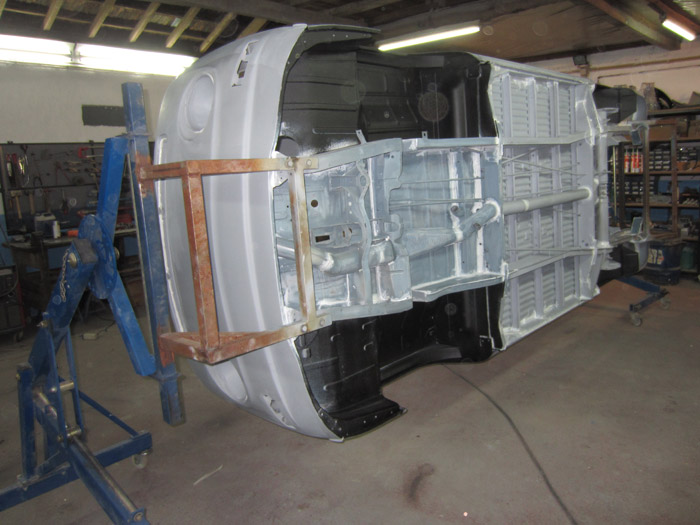
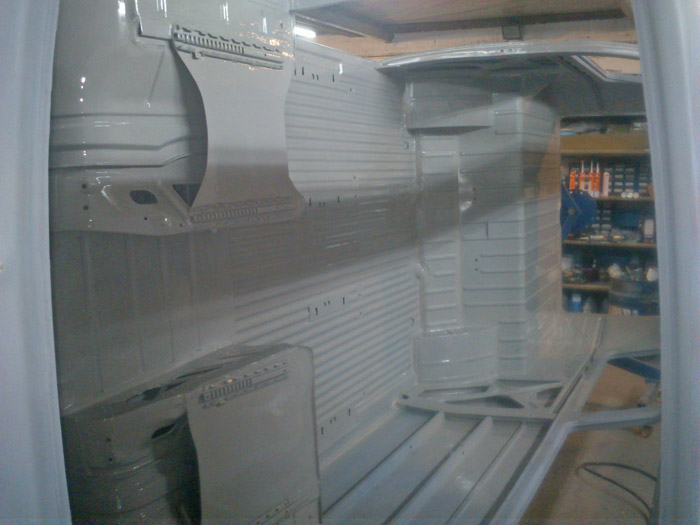
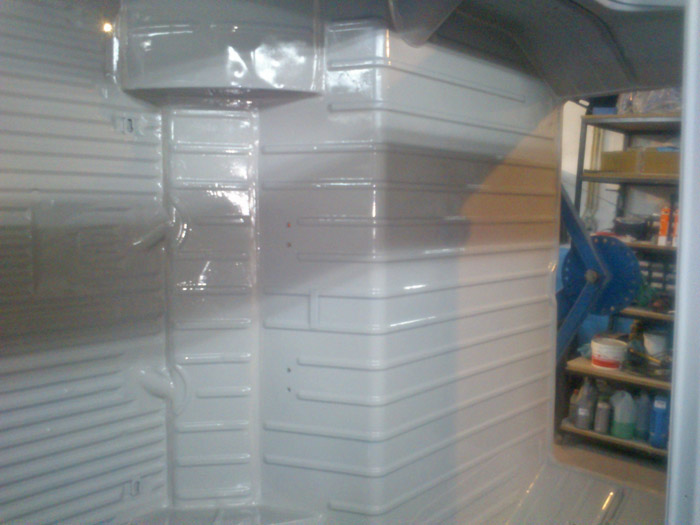
... and before giving him a hand, I took some pictures of what they did in the previous days.
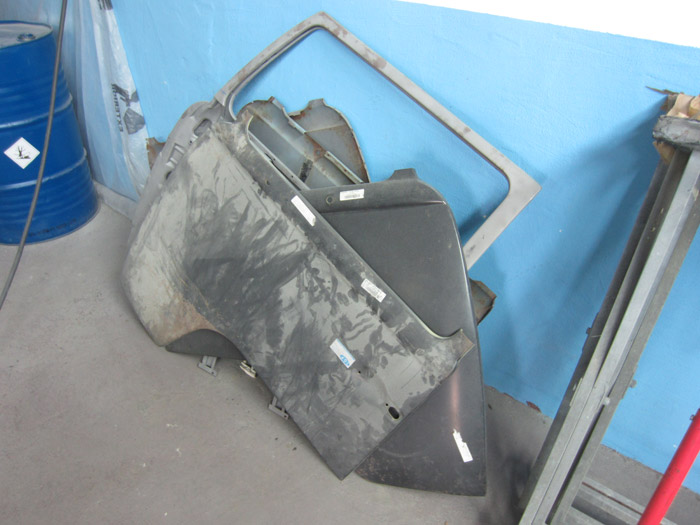
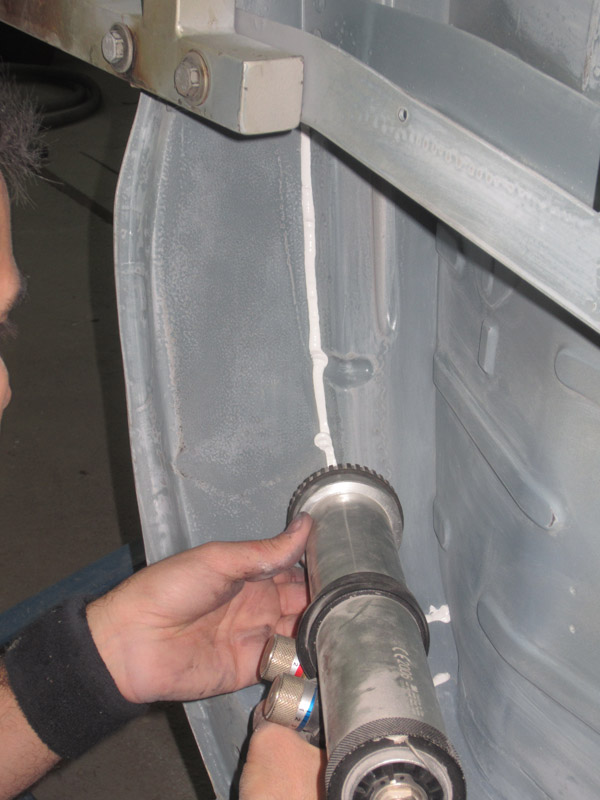
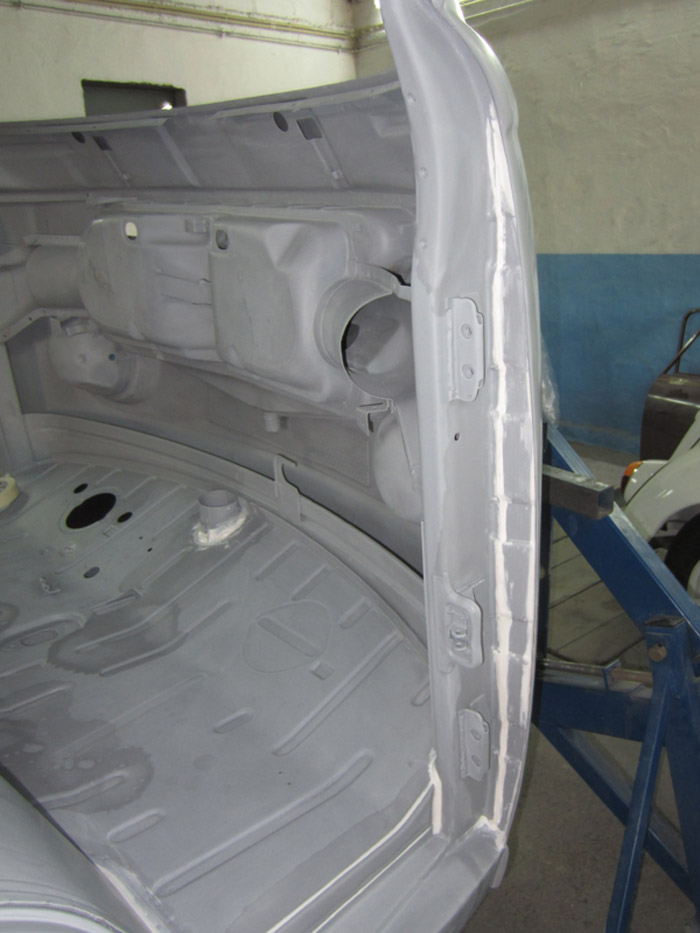
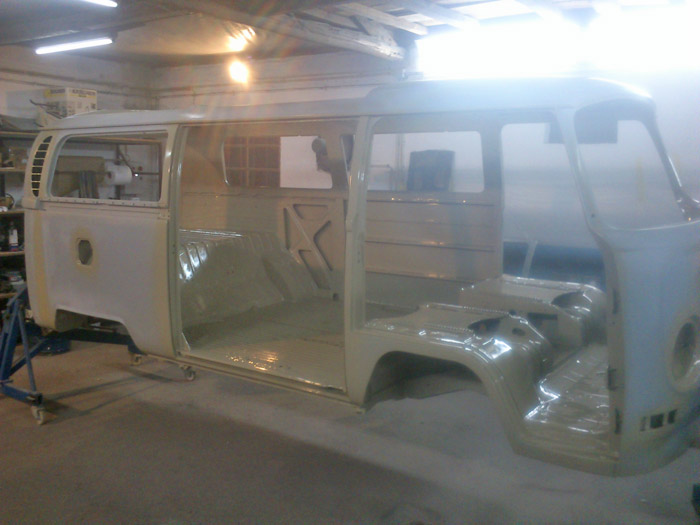
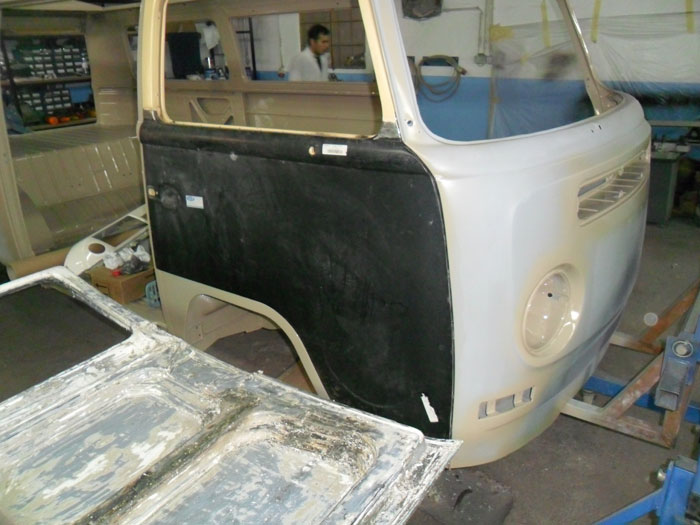
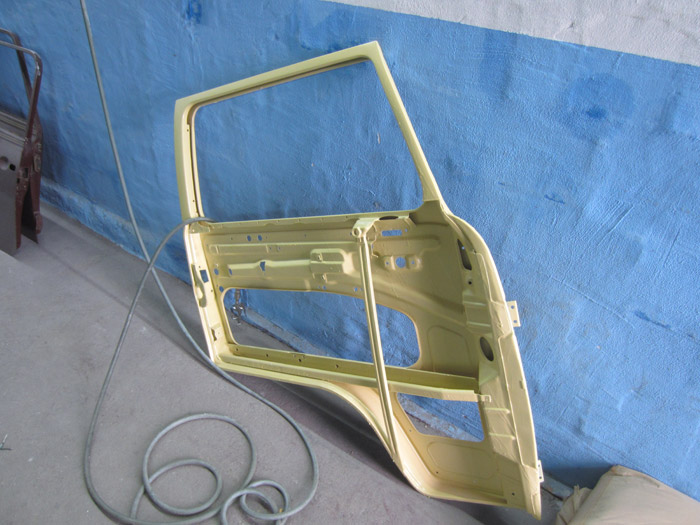
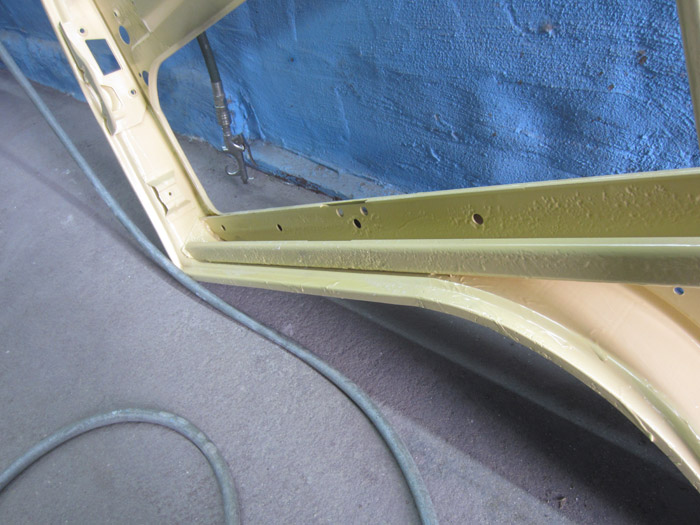
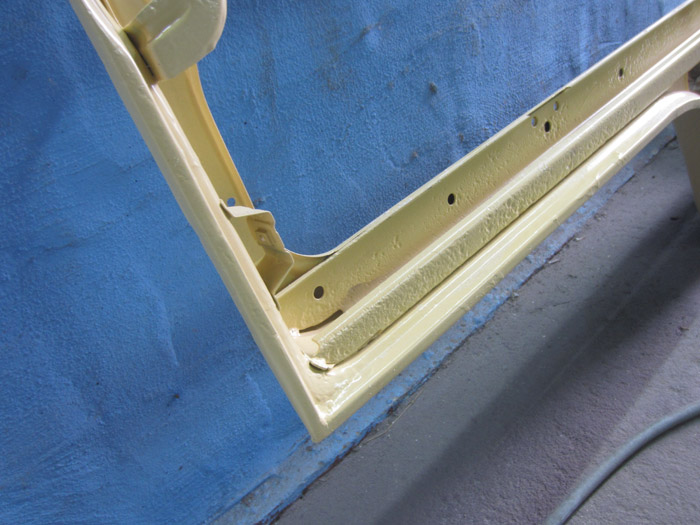
One of the doors is almost done. There's still some sanding to do but it's looking good and durable :mrgreen:

IMG_1556.jpg


IMG_1562.jpg


IMG_1563.jpg


IMG_1564.jpg
 
The other one still needs to be cleaned with the sandblaster:

IMG_1557.jpg


all the other ones are still in the beginning but there's not a lot of work to be done in them (so I hope :mrgreen: ):

IMG_1558.jpg


IMG_1559.jpg
 
after taking a quick tour around the shop, I went helping André in this most interesting task :mrgreen: :

IMG_1560.jpg


IMG_1561.jpg


After a lot of sanding, a thick layer of dust was everywhere. André then decided to clean it with an air nozzle that he made.... and what an amazing power it have.... so much blowing power that it started spitting sand from all the pipes and tubes (as if it had never been cleaned before :shock: ). With the help of his nozzle, we could push the air hose within the tube until it appeared from the other side. I guess that now it's a lot cleaner and much lighter :lol:

IMG_1567.jpg


IMG_1568.jpg


IMG_1569.jpg
 
After cleaning all the sand (once more), we spent several hours more, sanding what was left of the primer:

IMG_1570.jpg


IMG_1571.jpg


... a task that took us ages to end...

IMG_1575.jpg


IMG_1576.jpg


hours and hours sanding it.... :?
8)
 
so, after we ended this fantastic task, André started another exciting one: sealing all joints between panels 8)
Nice!

IMG_1579.jpg


IMG_1580.jpg


IMG_1581.jpg


... hour after hour ...

IMG_1582.jpg
 
... and more sealing ...

IMG_1585.jpg


IMG_1586.jpg


... some joints between panels already sealed and ready for the next task:

IMG_1587.jpg


... and in some areas, it's harder to do a proper job than in others:

IMG_1589.jpg
 
seeing this tasks being done this way is when we in fact realize that this body roller it's a huge help ... although quite expensive it was a great investment for Hugo's bodyshop 8)

IMG_1591.jpg


... that Saturday became a very long one...

IMG_1592.jpg


IMG_1593.jpg


... and some minutes and a few panels later, we decided it was time to go home and sleep some hours.

IMG_1594.jpg
 
next day morning, Sunday, when I arrived, André was already there and he was preparing to apply stone chip protection into the wheel arches:

IMG_1595.jpg


... and so, another task began :?

IMG_1596.jpg


IMG_1597.jpg


it was looking good:

IMG_1598.jpg


IMG_1599.jpg


IMG_1600.jpg


IMG_1601.jpg
 
After a couple of layers of stone chip protection, the bus was looking like this:

IMG_1602.jpg


(hugo came into the shop, to see what we were doing 8) )

IMG_1607.jpg


IMG_1608.jpg


After, some more cleaning with degreaser....

IMG_1603.jpg


and the last joints between panels already sealed:

IMG_1604.jpg


IMG_1605.jpg
 
Before the final layer of paint, André decided it was best to give it a coat of transparent sealer... Now I'm not to confident about the Por-15 and I can bet I will be doing this task again in a couple of years :msn4:
:mrgreen:
:oops:
:|

IMG_1609.jpg


Since it's a clear sealer, you just can't see any diference.

IMG_1610.jpg


and finally, the great moment: the final layers of paint (beneath and inside the bus) :mrgreen:

IMG_1612.jpg
 
André decided to use a pair of cans that were left from the second paint job (they were still usable) and add a litle of black and yellow just to try and match them to the new color of the bus, since I decided not to go back to the two color scheme - blue and white. However this time ( :oops: ) it will be white but only on the roof and poptop:

DSC_0102.jpg


and after rotating it for better access to the other side:

DSC_0106.jpg


and inside the van:

DSC_0108.jpg


DSC_0109.jpg
 
Finally the last coat of paint in these areas... and this time, using the new color. First, André preparing the paint:

DSC_0111.jpg


...and André applying it:

DSC_0113.jpg


DSC_0114.jpg


DSC_0116.jpg


DSC_0117.jpg


DSC_0118.jpg


8)

.. and it's all for now.
Cheers to you all from Lisbon, Portugal!
;)
 
Awesome work as ever! do Hugo and Andre do deals for people who drive their vans over from the UK for a bit of love and TLC, while they lay on their backs in the sun? I think that we could offer some sort of new package deal here! :mrgreen: :party0006:
 
thanks easy 8)
feel free to come and visit us... :mrgreen:
however, I've to tell you that Hugo's bodyshop is about 80 km's from the nearest beach :mrgreen:
 
I am over for a week or so next year probably around the Monchique region or sesmarias, if your near there we can hook up for a beer or 2 8)
 
100% quality work going on here gents. Keep it up. Glad to see there are folks out there doing things by the books and not cutting corners. Going to follow this one closely. :D
 
easy: let me know when and I'll meet you there ;)

aspro: thanks 8) . I made a lot of mistakes in the way ... and very expensive ones but they will work as learning curve for the next bus that's waiting it's turn to get a second chance :mrgreen:
 
here I am again.
A couple of weekends ago, I went to the house where everything for the bus (except the bus itself) is. The plan was to remove both suspensions from the blue bus (the one from whom we remove the roof), to use on the 68 one... but once again, I made the same mistake. I removed it, took it to Hugo's bodyshop and only there I finally realized that the front suspension is completely different. So, I guess that the front suspension from a 68 it's a one year only model :oops:

IMG_1613.jpg


IMG_1615.jpg
 
since I wasn't able to assemble the front suspension on the bus, at least, I assembled both rear ones... and with the time I had left I decided to organize all my original bolts and nuts, already zinc coated:

IMG_1619.jpg


IMG_1620.jpg


IMG_1623.jpg


I ended doing much less that I wanted to do that weekend... what a waste of time
 
in the following days, Hugo and André, sent me some pictures of what they were doing in the bus. One of the front doors, was already as new and in place while the other one was almost fixed:

021.jpg


018.jpg
 

Latest posts

Top