1968 Campervan conversion

Early Bay Forum

Help Support Early Bay Forum:

This site may earn a commission from merchant affiliate links, including eBay, Amazon, and others.
so, after cutting all welding points, the outer skin came out:

IMG_1401.jpg


IMG_1402.jpg


IMG_1403.jpg


... and without it, I took what was left to be cleaned with the sandblaster:

IMG_1404.jpg
 
Some excellent work on those doors - its a lot harder than it looks getting the door repairs like that to be right. :)
 
and some other parts that reappeared after several years on the catacombs :mrgreen: :

IMG_1405.jpg


(meanwhile, I need to find out some decals like these ones :roll: )

IMG_1406.jpg


... and the dash that I needed disassemble completely:

IMG_1407.jpg


IMG_1410.jpg
 
Trikky2 said:
Some excellent work on those doors - its a lot harder than it looks getting the door repairs like that to be right. :)

thanks Trikky2... ;)
Let's see how they will look at the end but I'm really confident that they will look great :mrgreen:
 
my dashboard:

IMG_1411.jpg


IMG_1412.jpg


IMG_1413.jpg


... and some more parts:

IMG_1408.jpg


and the sliding door that needs some affection also :mrgreen:

IMG_1409.jpg
 
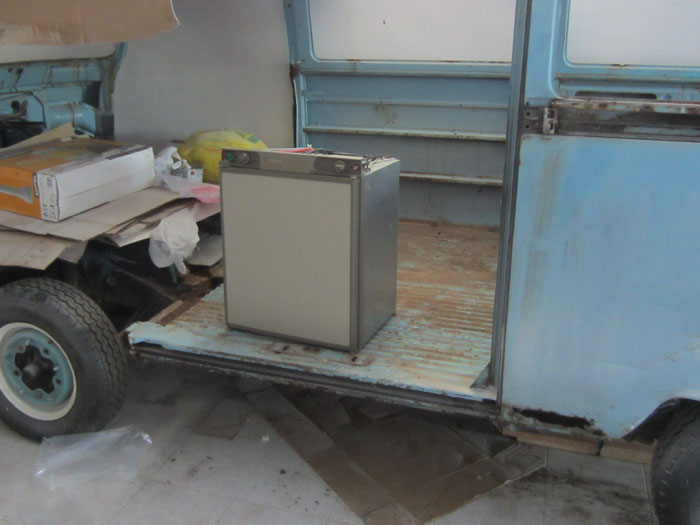
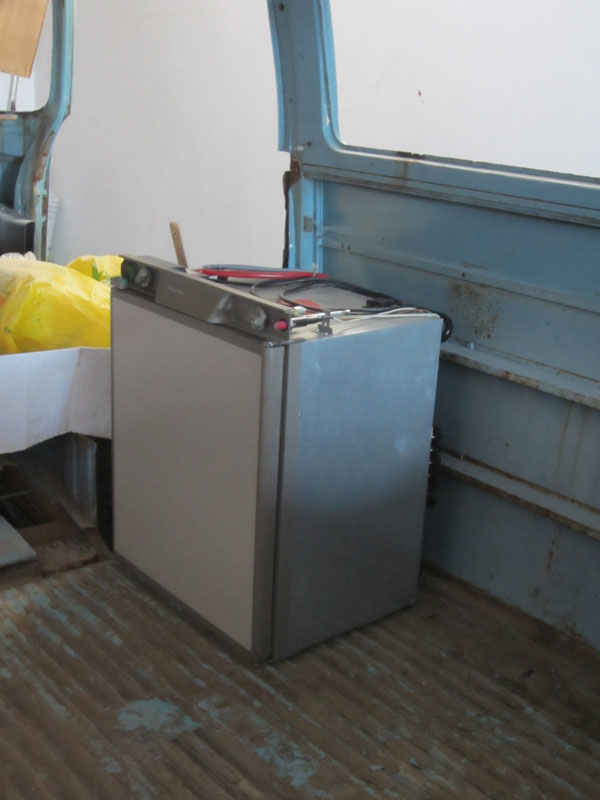
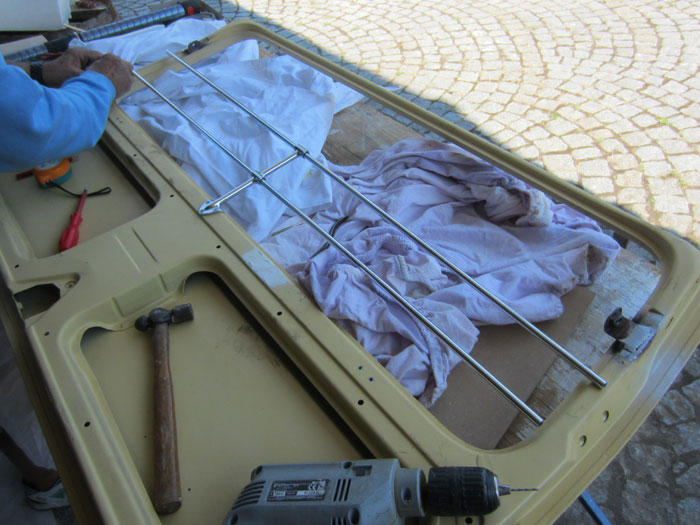
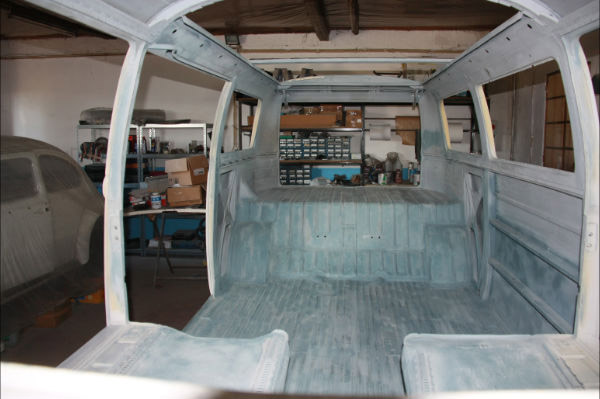
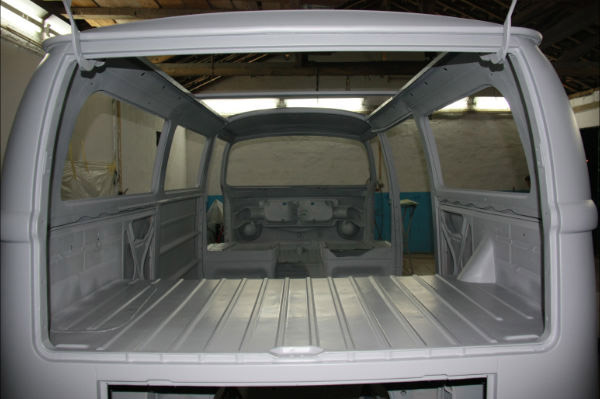
since the bus is almost ready for paint, there's another huge task that we need to start doing: the interior.
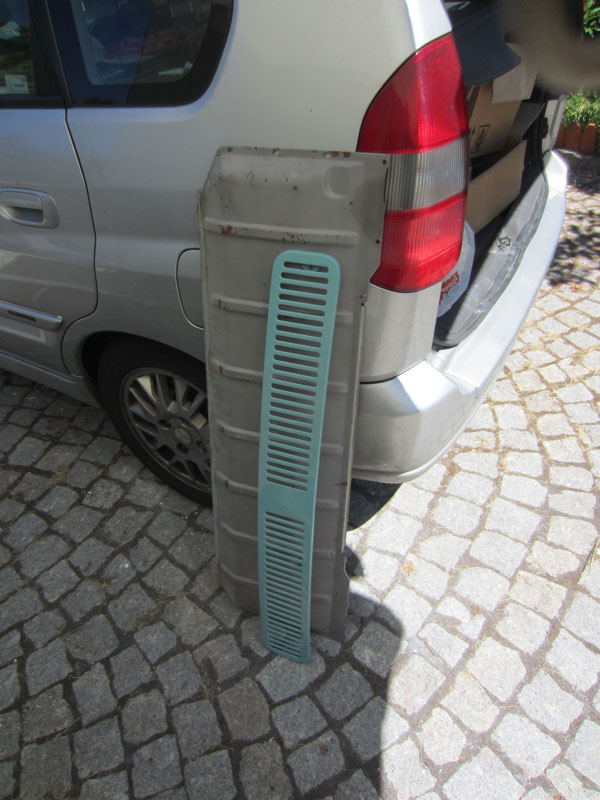
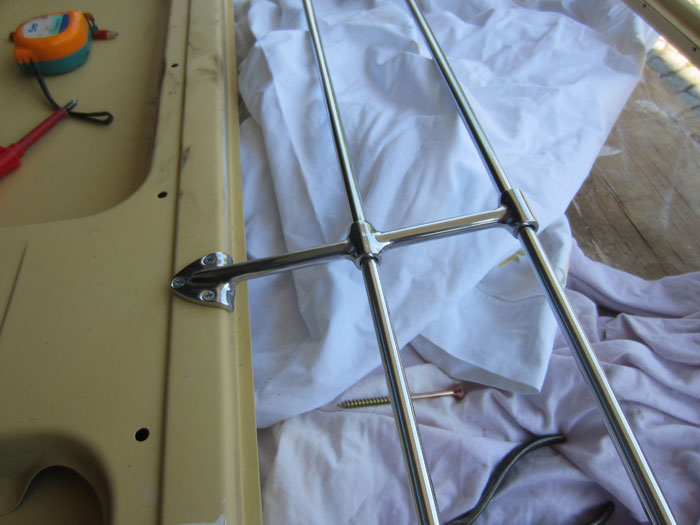
For that, we needed to check if everything will fit as planned. So, I took out my fridge just to make some less acurate measurements :mrgreen: :

IMG_1414.jpg


IMG_1416.jpg


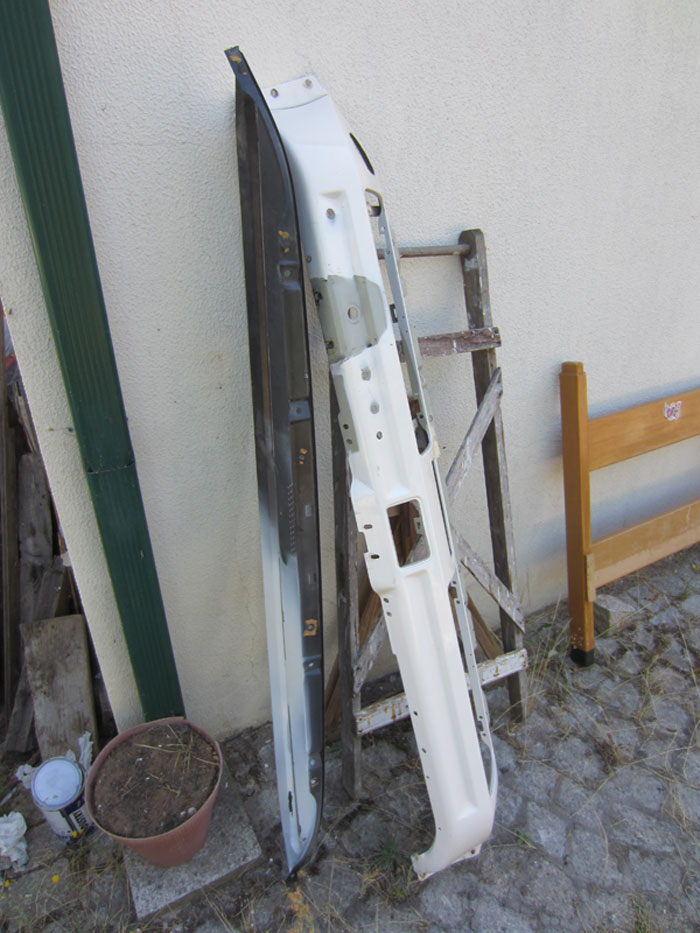
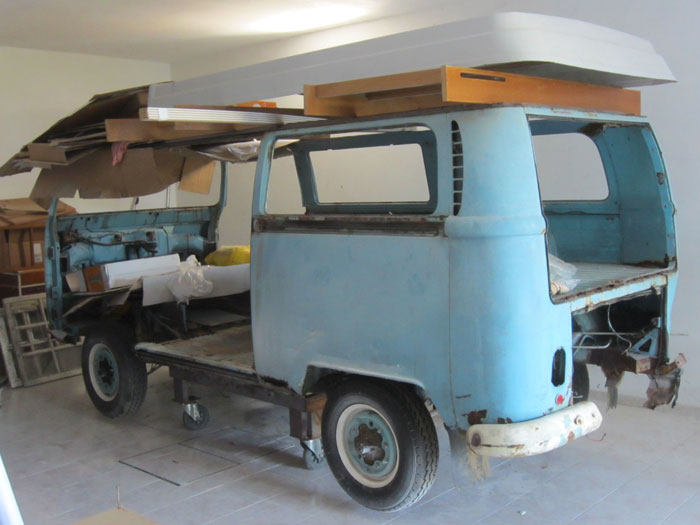
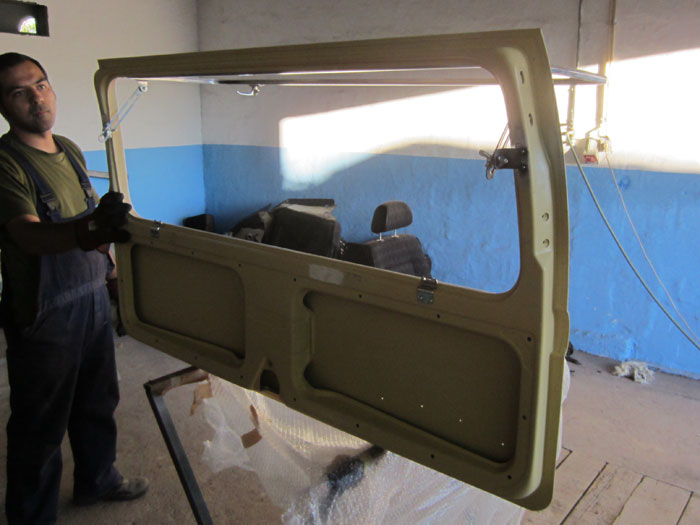
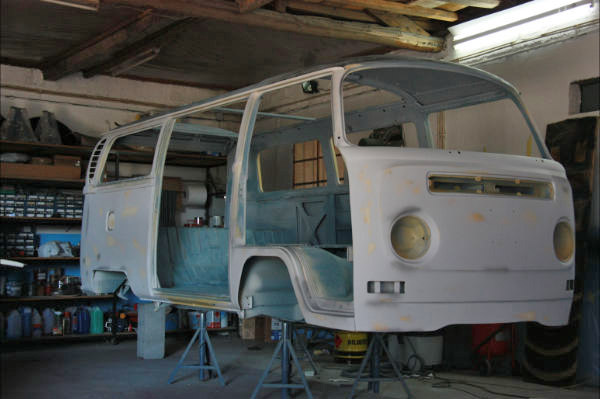
Finally after several years, he saw daylight :mrgreen:
Meanwhile what's left of the blue bus is on top of my dollie. For now, I'm going to use her's suspensions to take my '68 bus for painting:

IMG_1415.jpg
 
There was a last task to do. We need to weld the brackets from the rear safari into the rear hatch.
So with Hugo's help, we did it:

IMG_1417.jpg


IMG_1418.jpg


some markings and cleaning:

IMG_1419.jpg


and the task began:

IMG_1420.jpg


And after we welded it on one side, we did it on the other:

IMG_1421.jpg
 
in the end, it will be something like this:

IMG_1422.jpg


IMG_1423.jpg


they now need to be properly welded so I removed the window:

IMG_1424.jpg


That's all for now :mrgreen:
Cheer's to you all!
;)
 
ps.

Dont be tempted to paint you dash top anything light - the reflections in the windscreen will drive you crazy :lol:
 
Trikky2.. sorry for this late reply :oops:

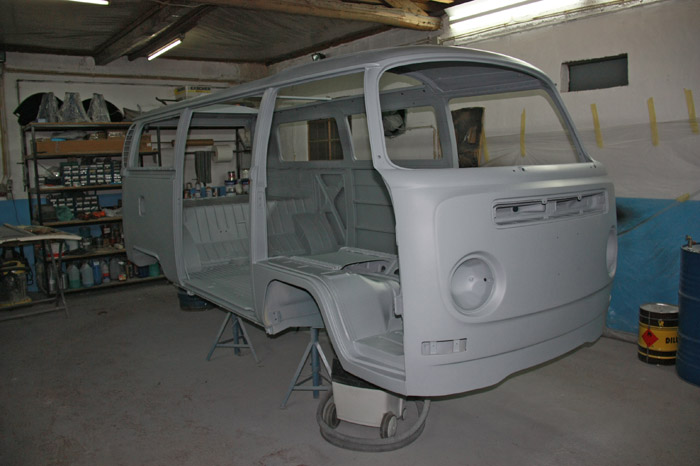
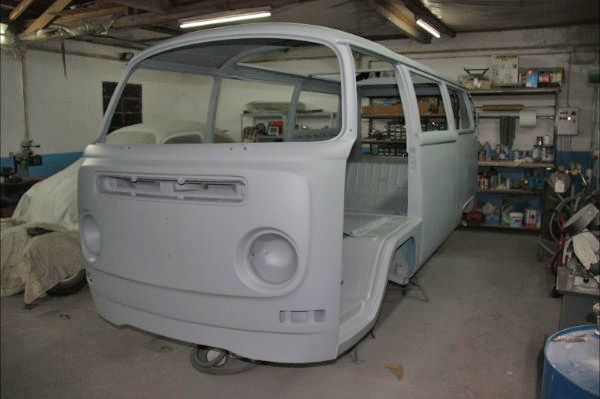
Paint it with some other colour rather than black.... never! :mrgreen:
I already know what you're saying. If it was originally black, it will stay like that.
;)
 
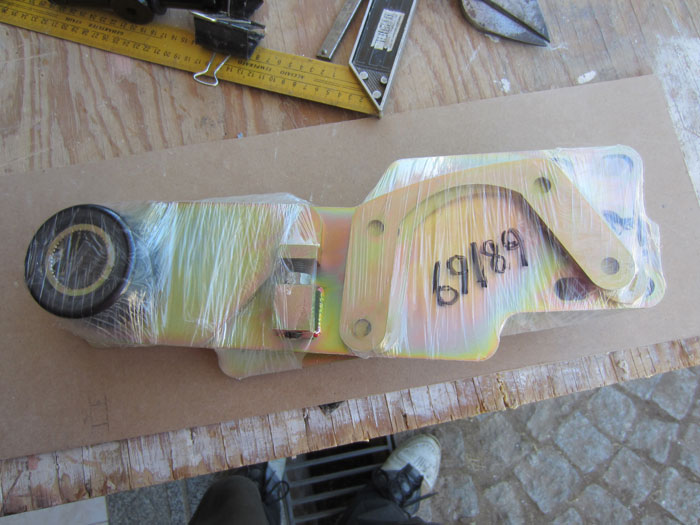
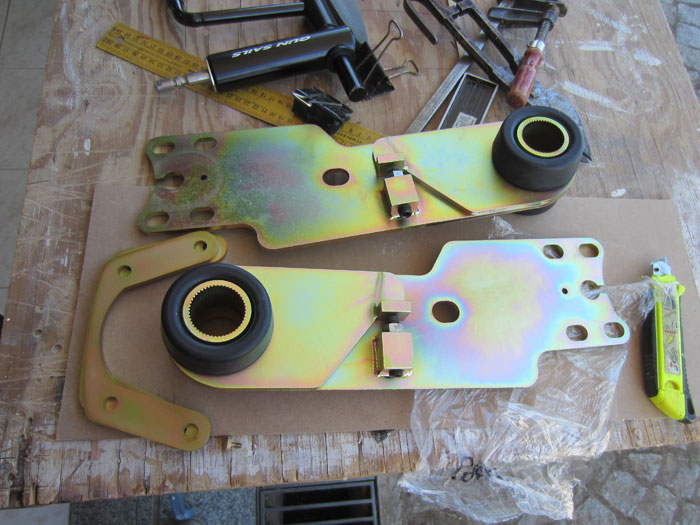
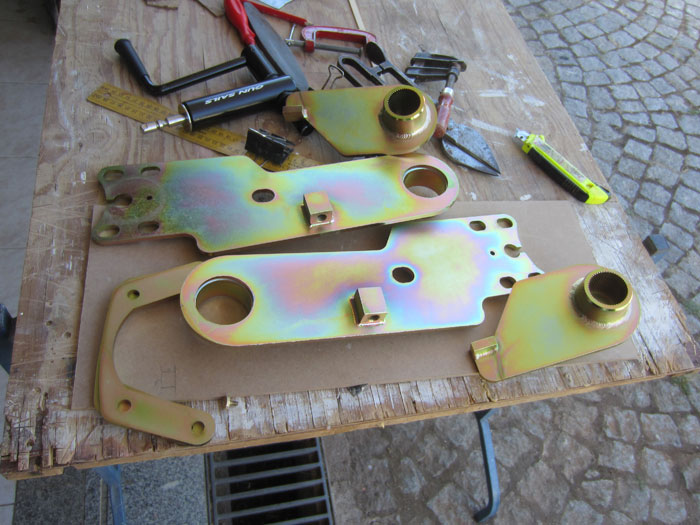
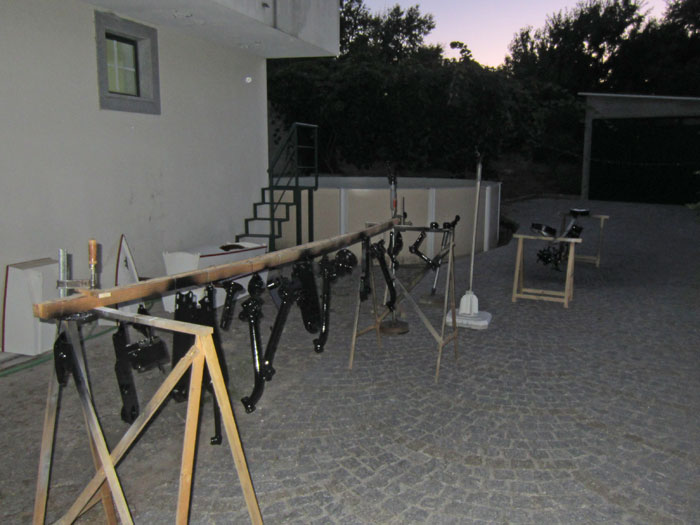
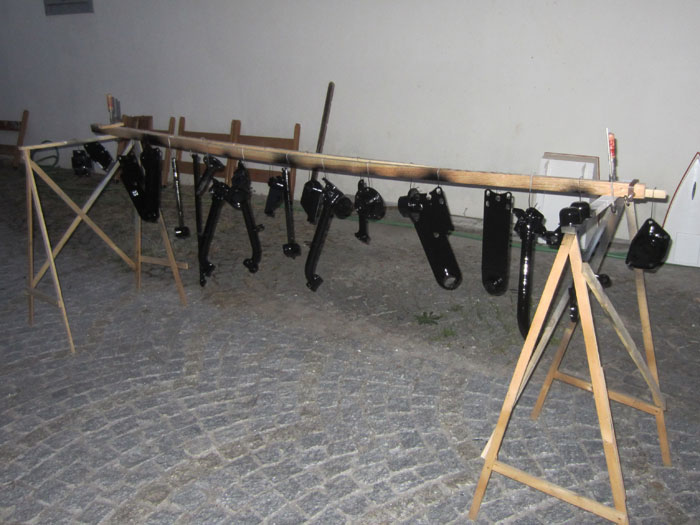
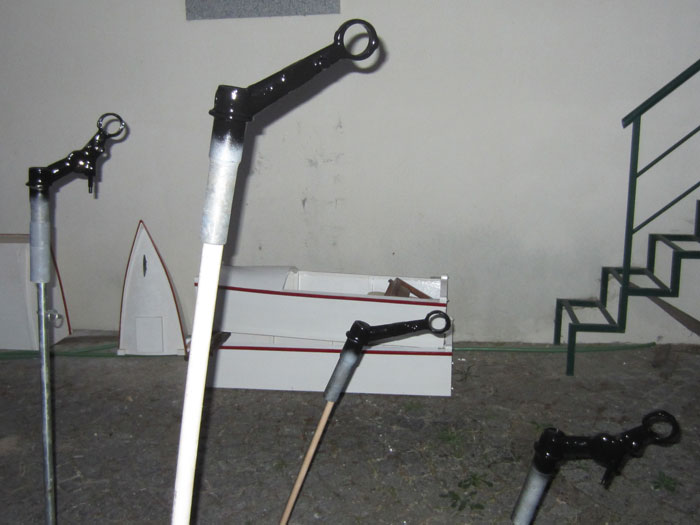
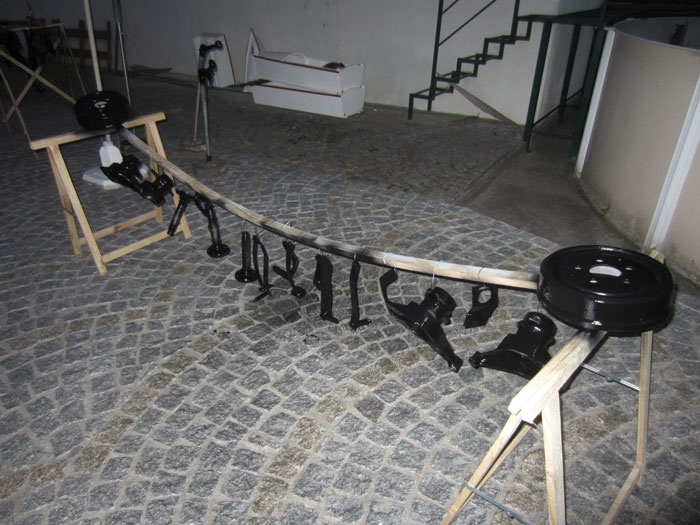
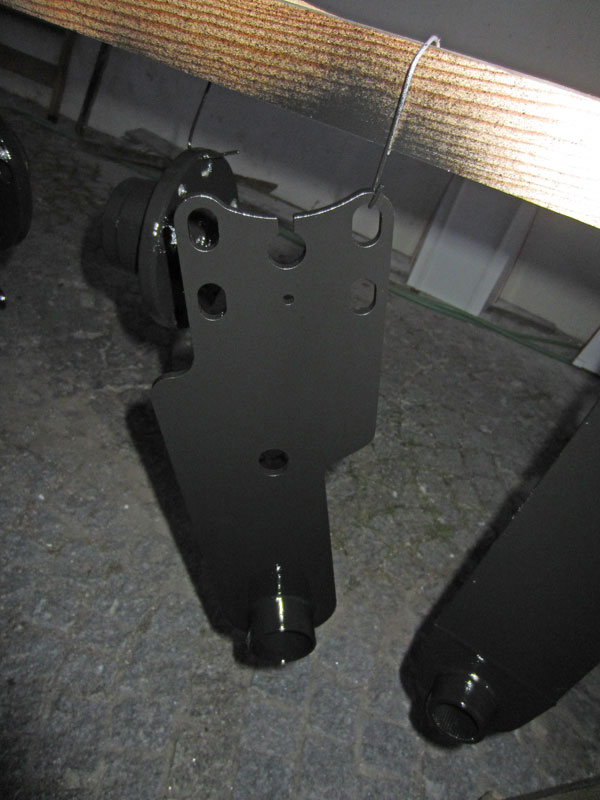
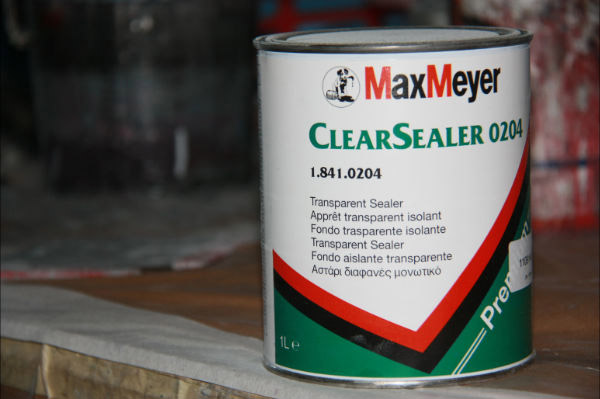
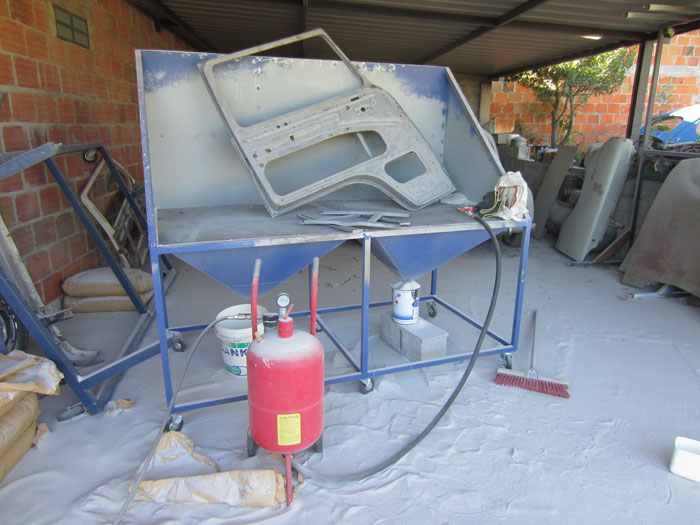
and I was able to do something else. After painting some of my suspensions parts (the parts I'll be using and some other one's that I have as spare parts) with POR-15 Black Chassis Coat, I wasn't happy with the end result. So, I decided to remove all of it and star all over again. I also sanded all paint from the remaining parts. After these task, I painted all once more:

IMG_1497.jpg


IMG_1498.jpg


IMG_1499.jpg


IMG_1500.jpg


In the end, they were looking good. Although there are some negative reviews on Por-15 paints, I decided to use what I had left. Since these parts are easily disassemble, if I find out it is as bad as some reviews say it is, I can always clean them all again and paint them again.

IMG_1501.jpg
 
Nice progress. I know what you mean about por15. I have also seen a lot of negative reports but have never used it myself.

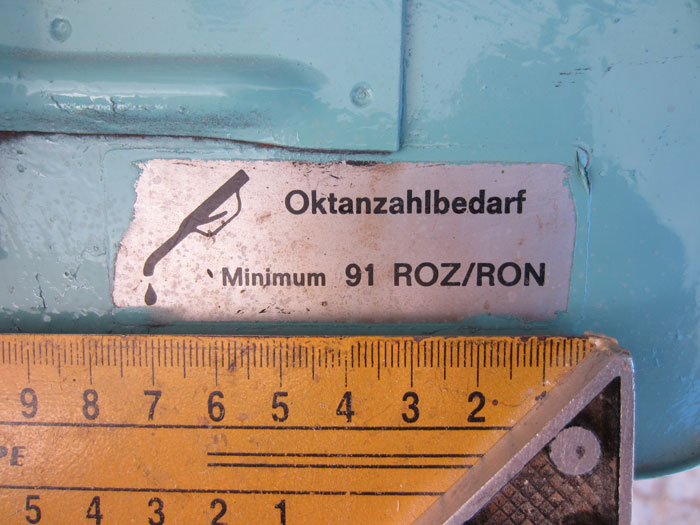
Did you find the decals in the end? If not then I found you some here http://www.vwheritage.com/vw_spares_Decal-Sheet-68-79-Bus-14pc-2119996879_act_shop.product_pID_185315_lang_EN_country_GB.htm" onclick="window.open(this.href);return false;
 
thanks 68_early_bay 8)

So... I'm back with some more pictures of what's going on.
These ones were sent to me by André, the painter that's helping me.

Here's a picture of a transparent sealer that was used over my POR-15 paint and primer. I will keep these areas under severe control :msn4:

IMG_9112.jpg


IMG_9113.jpg


IMG_9114.jpg


... and after, André used a two components primer before applying the final layer of paint:

IMG_9117.jpg


IMG_9118.jpg


IMG_9119.jpg
 
Looking awesome! 8) hats off :mrgreen:
 

Latest posts

Top