Gadgets Speed Shop presents The Citrus Valley Campground Bus

Early Bay Forum

Help Support Early Bay Forum:

This site may earn a commission from merchant affiliate links, including eBay, Amazon, and others.

Gadget Boy

Well-known member
Joined
Dec 6, 2006
Messages
1,654
Reaction score
7
Location
In Gadgets Speed Shop modifying a Bus
This is the Build Up thread from the beginning:

The Citrus Valley Bus

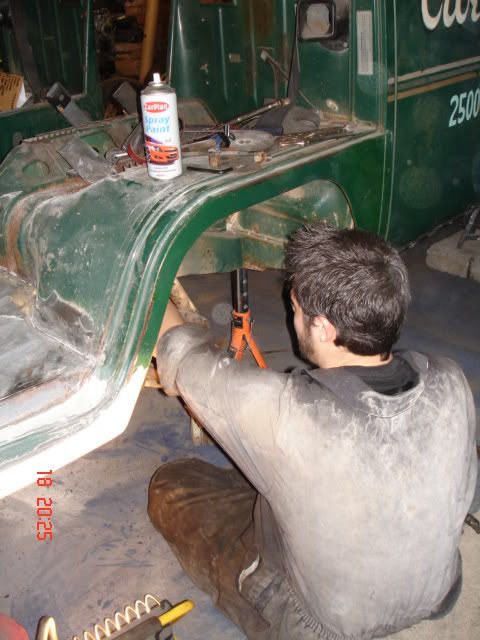
Ive kept a check on all teh hours that Ive put into this and I can tell you its over 600 hours now its been a very very Hard 7 months of every day a 40 mile round trip to my workshop and doing other customers buses to pay for the parts etc needed to get it to where it is today , Running and driving to Vanfest :mrgreen:

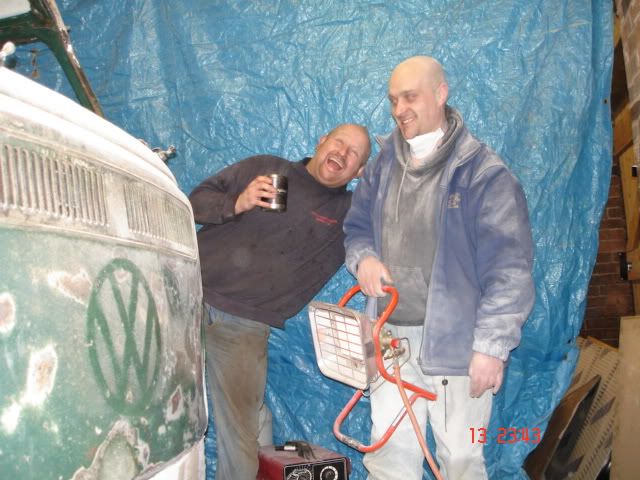
This project wouldnt have been possibly without the help of some VERY special people so in no particular order ..... Paul (Fffing Hell Man) Aucott & Amy Kemp ( Jordans Crossing Ministries Bus ), Pete ( Its 6 o clock time for my tea ) Gee 56 , Dave (Chunky Biscuits) Smith 84 , Guy, Ted, Tom at Slamwerks , Evil Ben Lewis for all his advice :mrgreen: and all the Lovely people of Early Bay.com who sold me parts to fix her .....

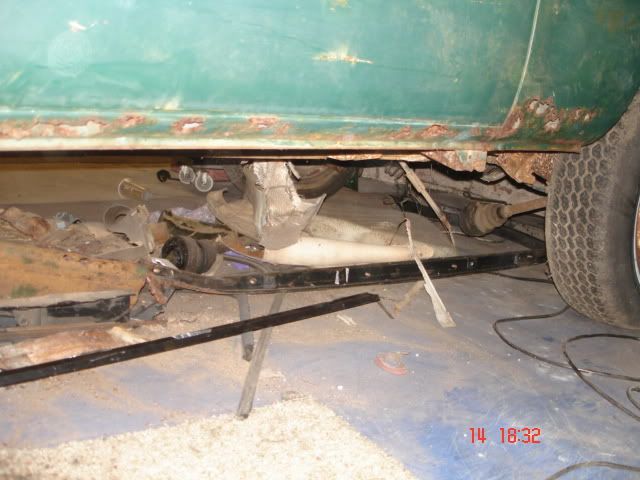
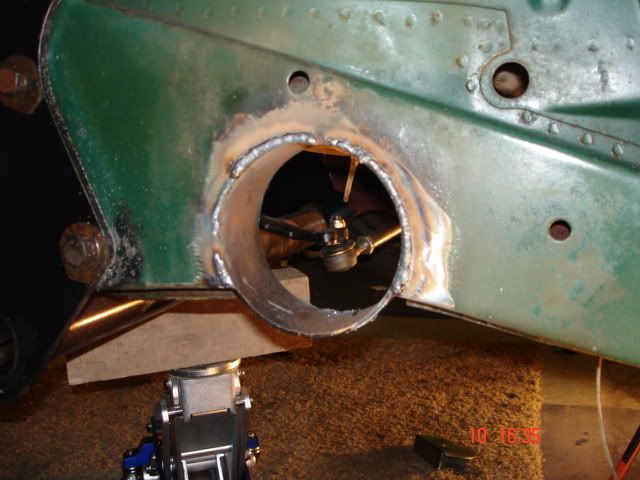
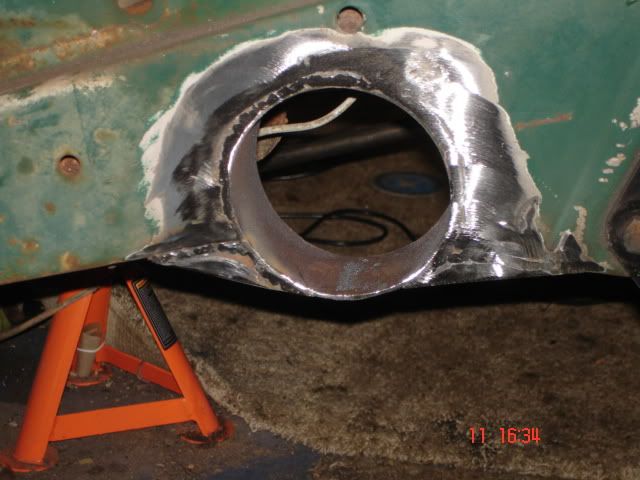
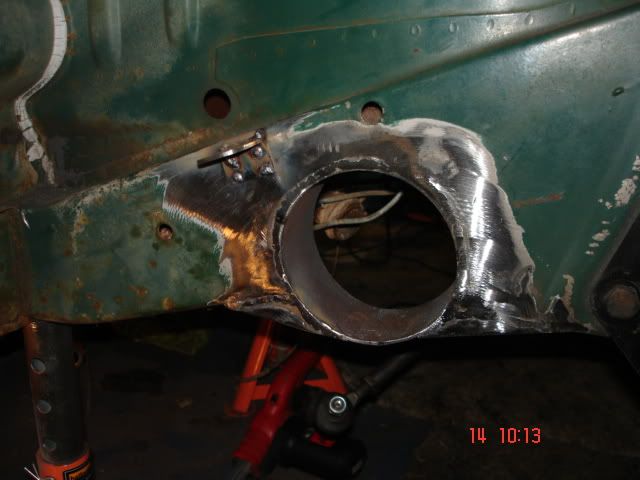
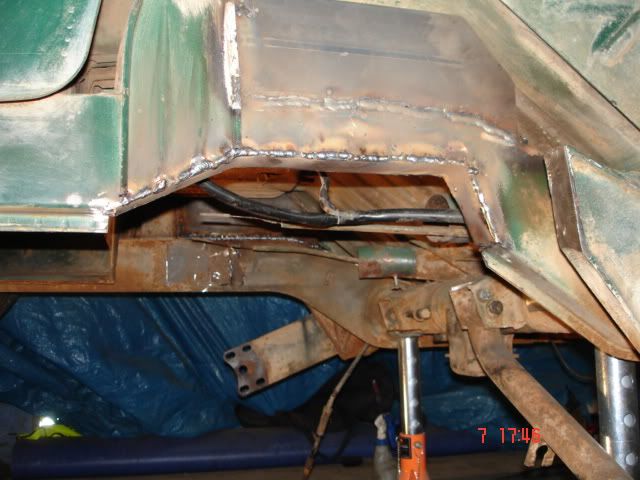
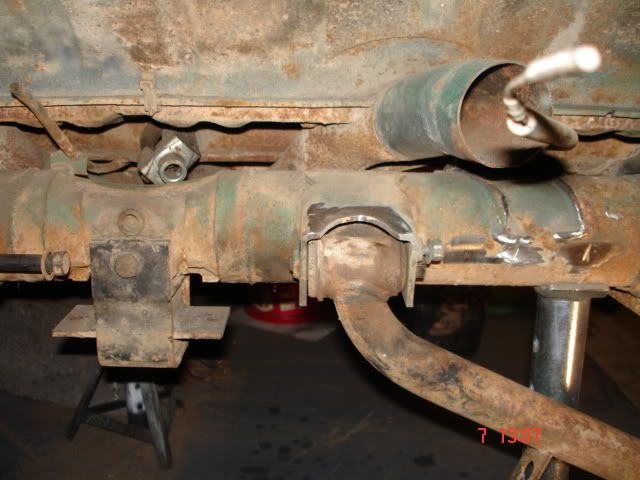
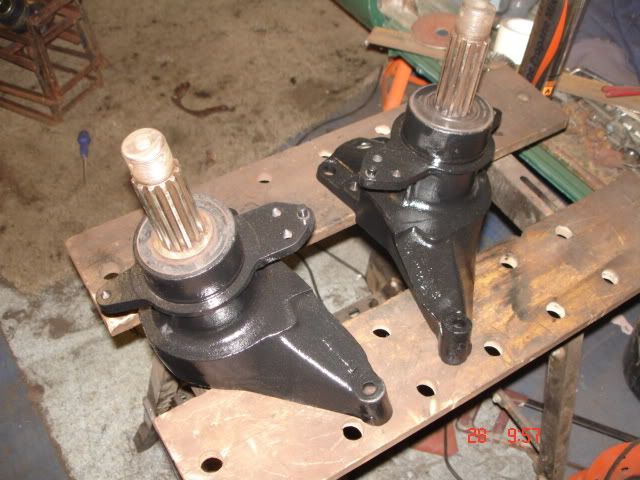
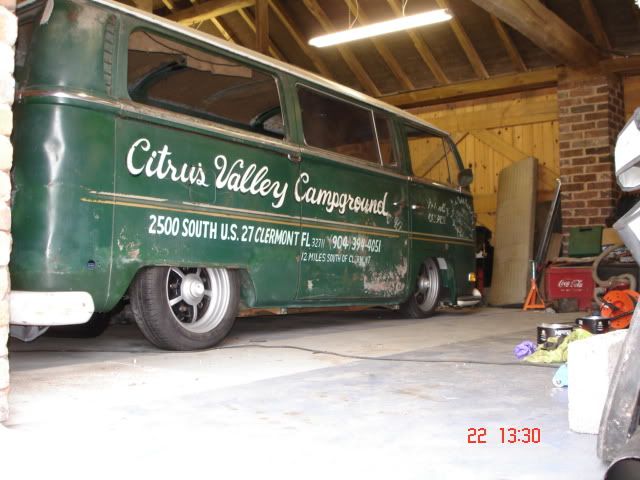
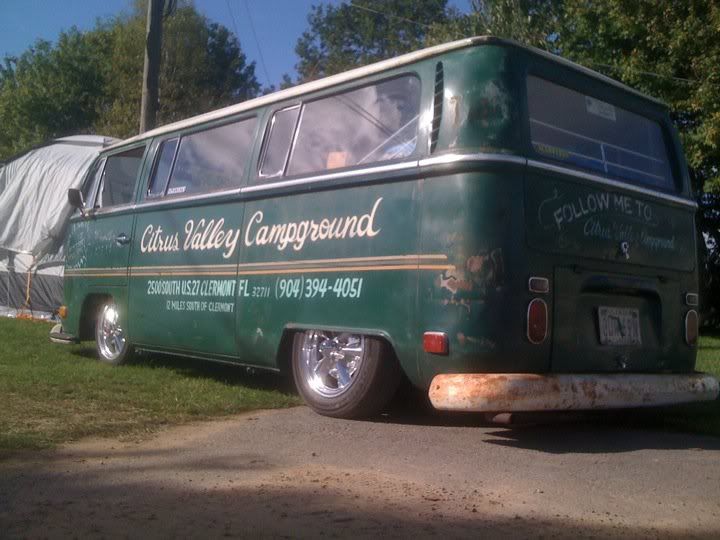
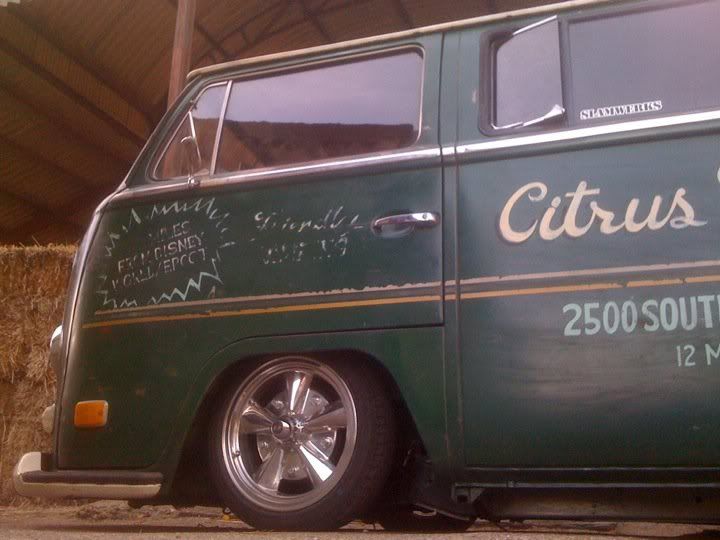
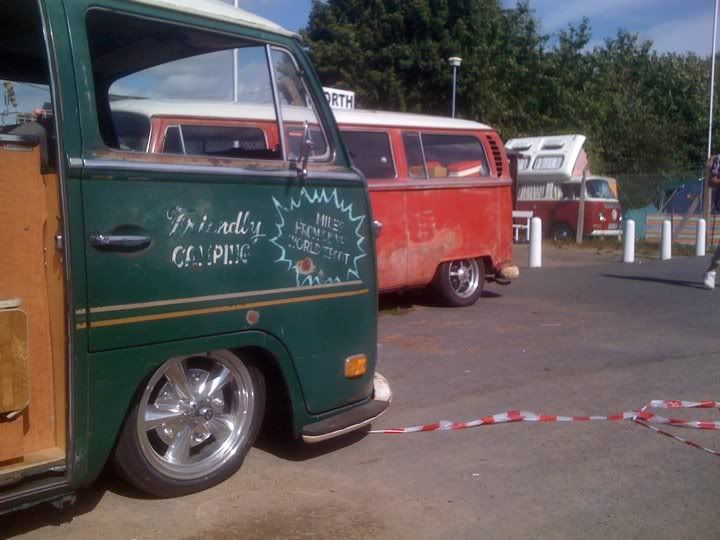
The quick spec is 5 inch narrowed Slamwerks king an linkpin beam with flipped spindles and more than a few custom tweaks to get it this low , The rear is 3 splines down and with the kick of the Slamwerks spring plates its actually four splines :shock: :shock: :shock:

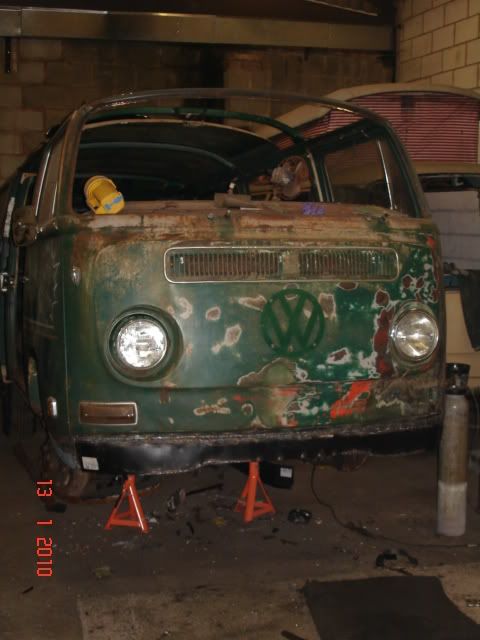
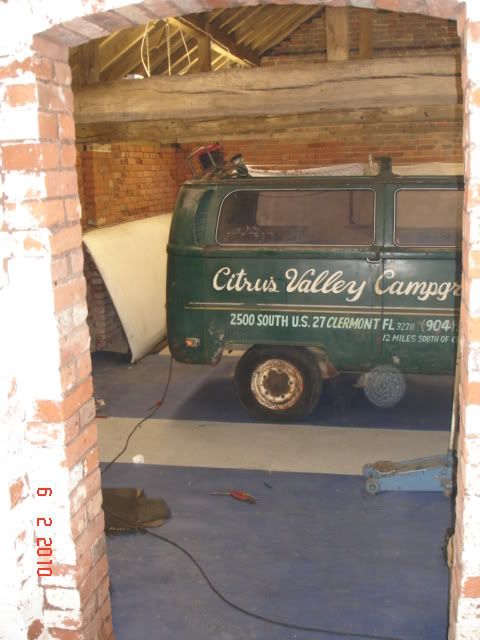
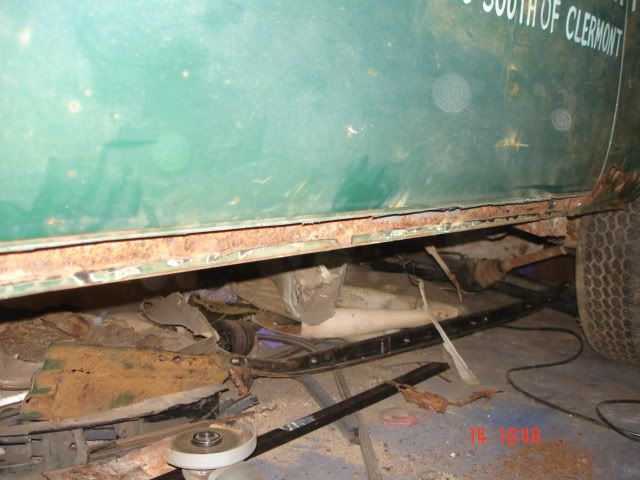
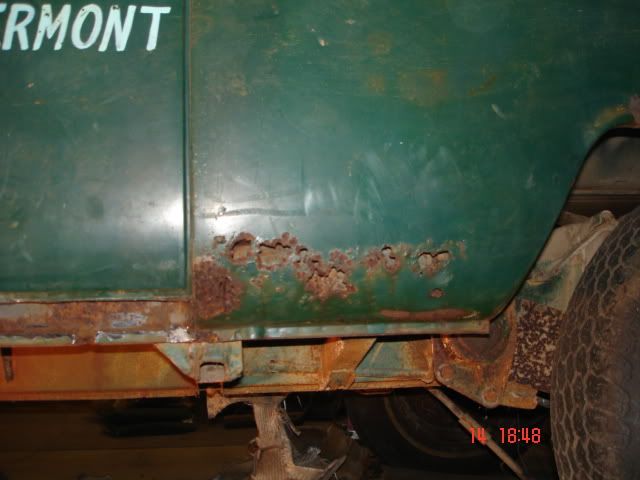
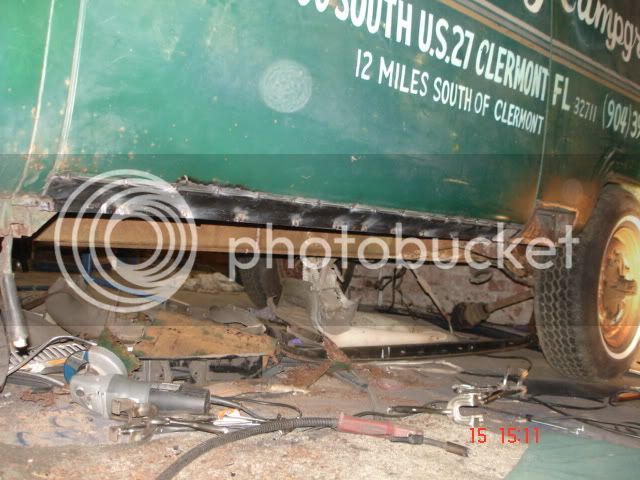
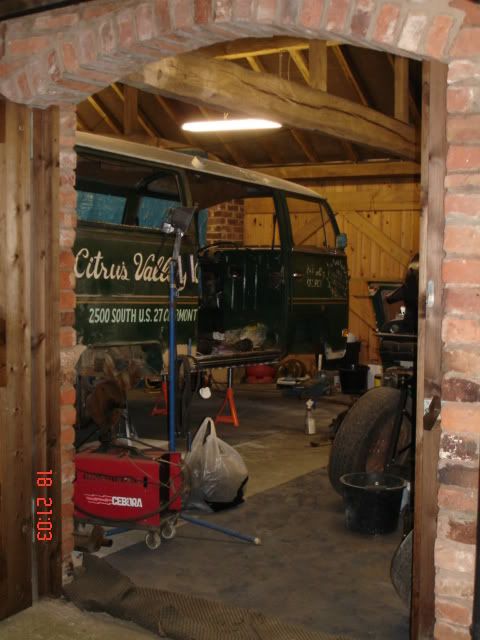
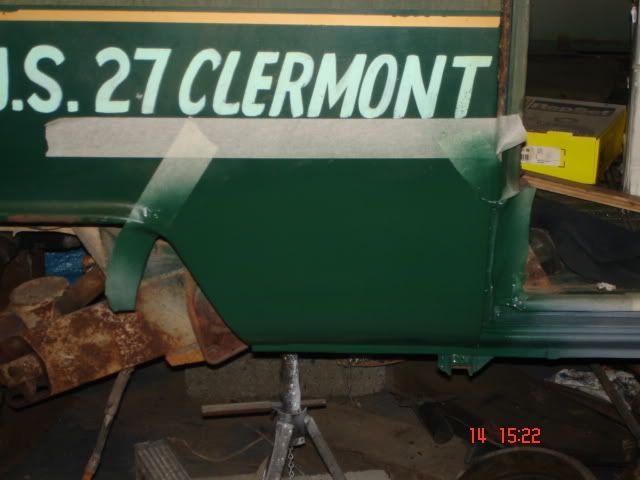
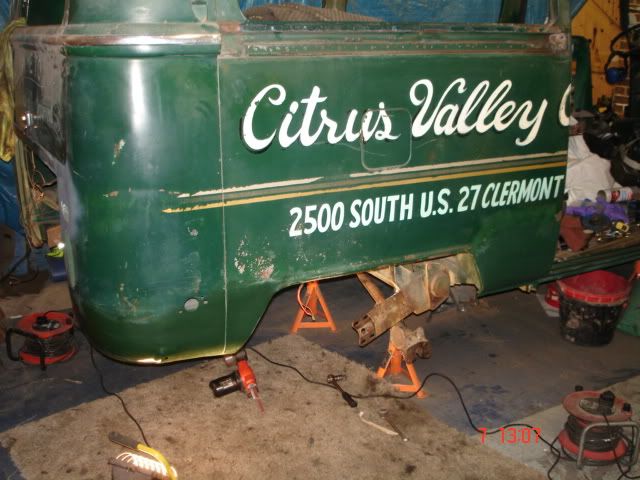
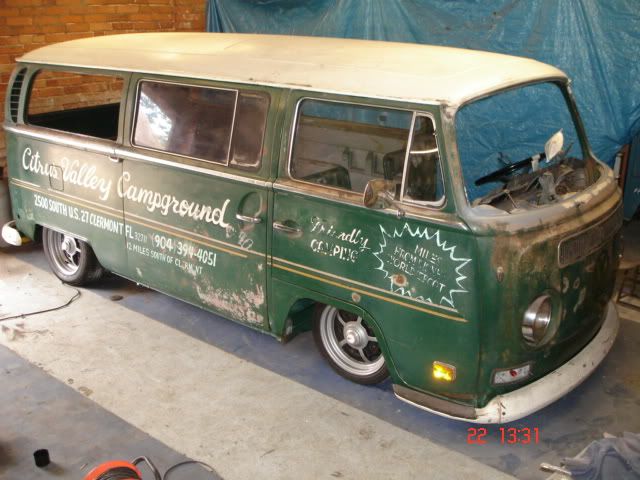
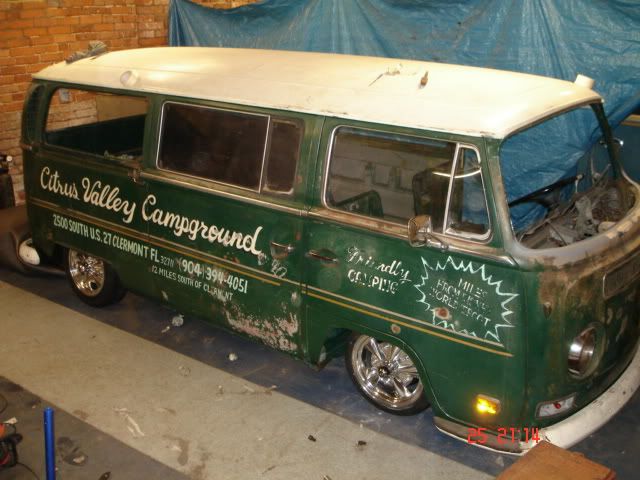
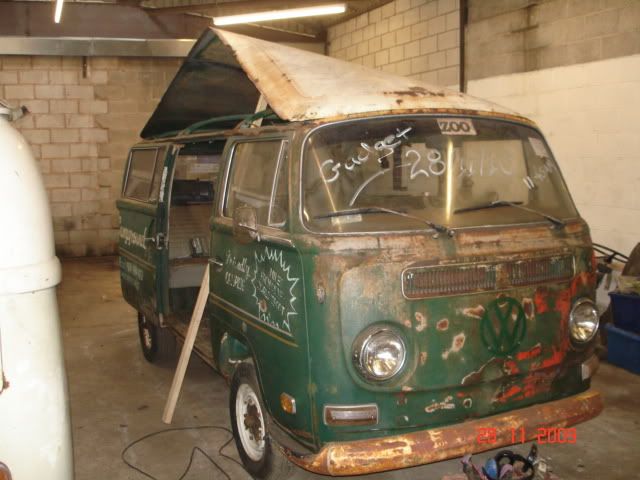
The bus is a 1970 minibus originally and was bought by The Citrus Valley Campground in Florida to ferry there new arrivals around . Probably to Disney World /Epcot Centre as its only 9 miles away . Today the Campground is still going But is a Elite resort and has wooden holiday Lodges etc .

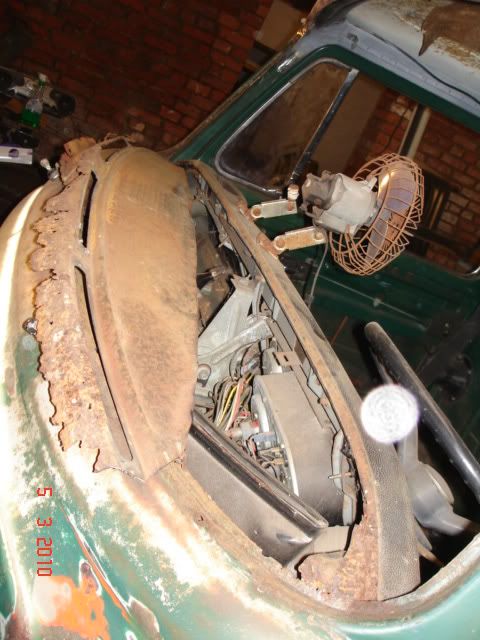
Originally imported by Tim from Road House Retro the bus didnt have a engine or box and was transported on large wooden crate . Tim picked it up on from southampton docks on the 22 March 2007 and was quite surprised at the lack of roof gutter .

In Oct 2008 It was sold again and i missed it finally managing to buy it in Oct 2009

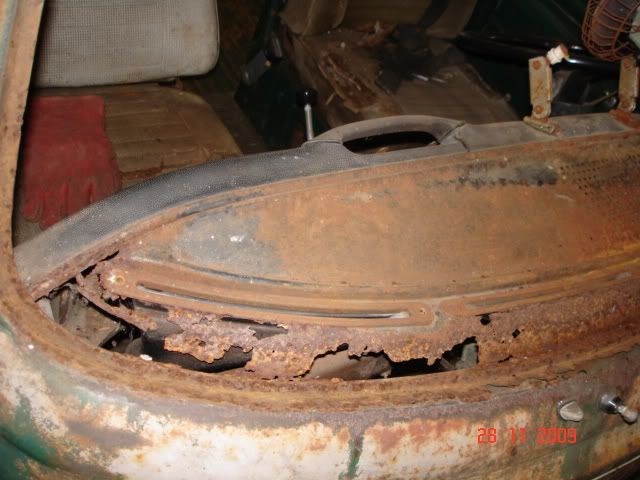
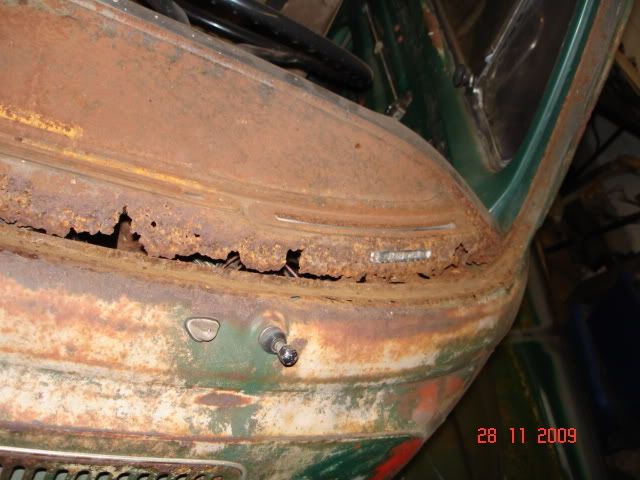
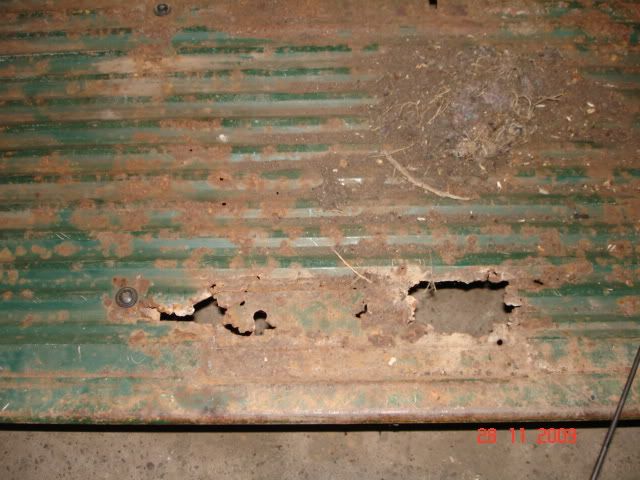
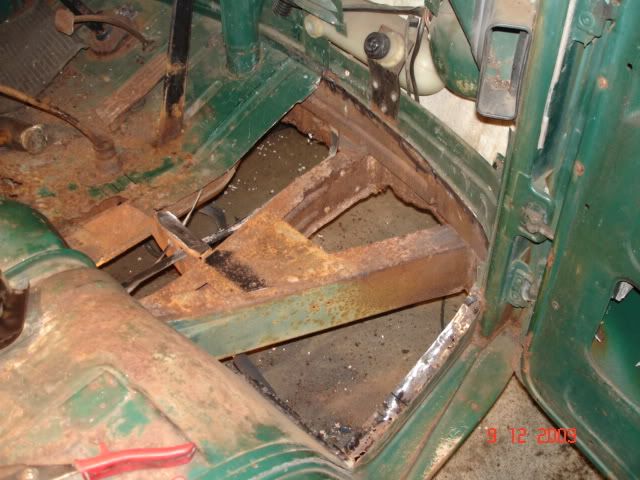
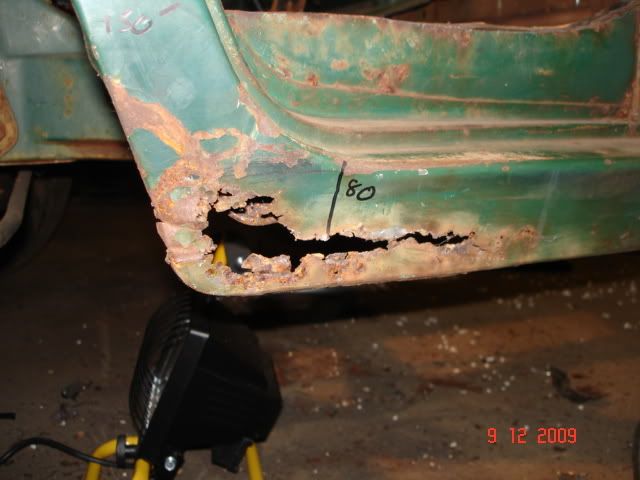
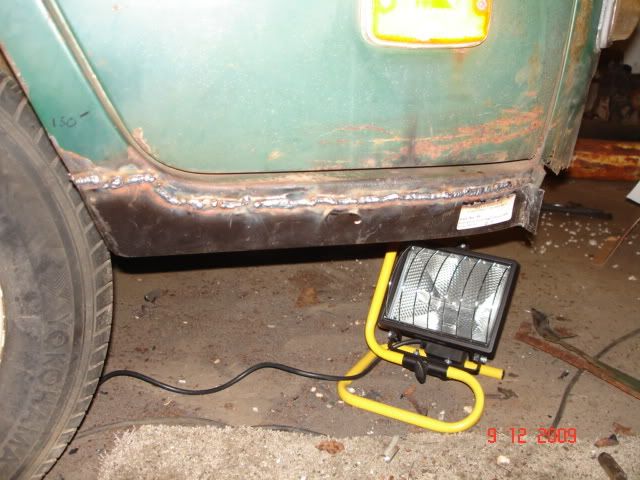
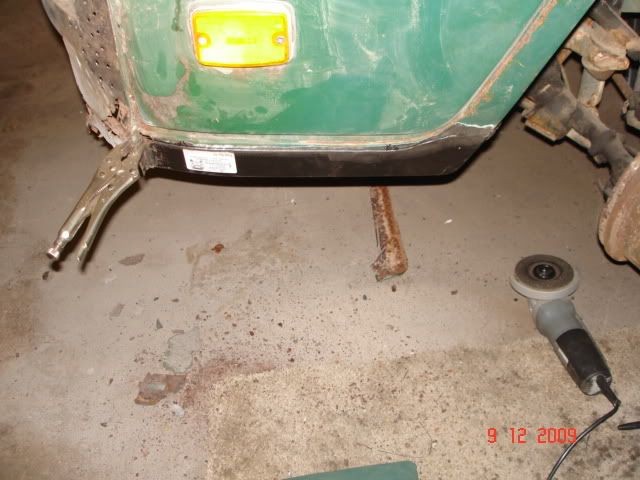
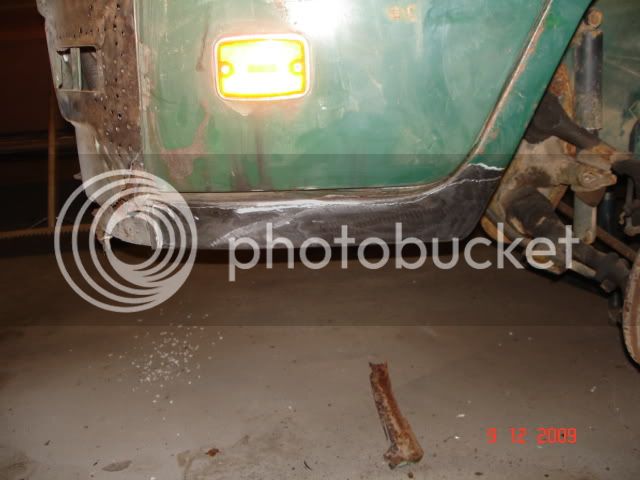
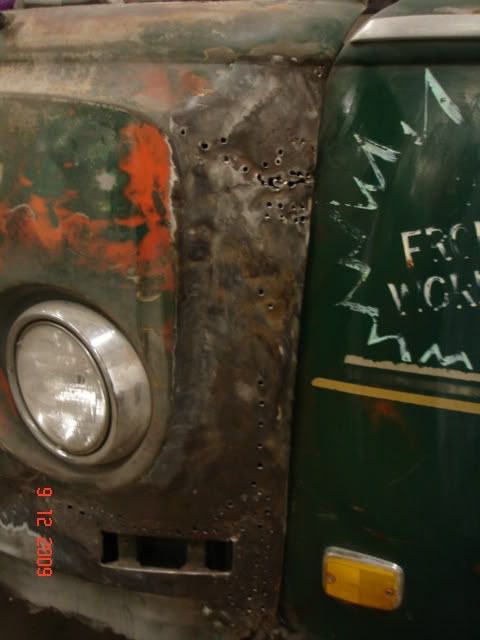
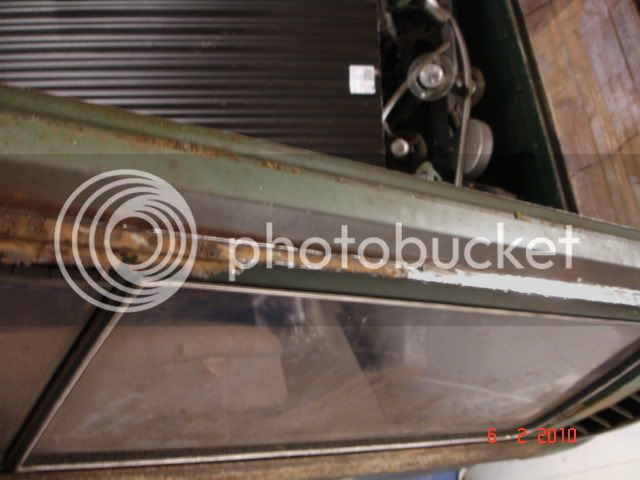
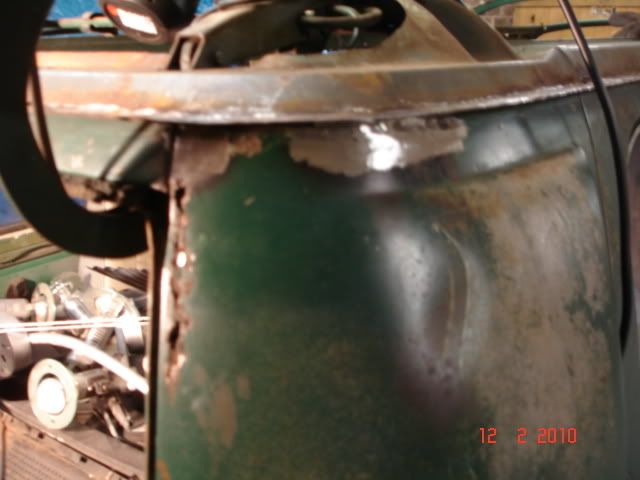
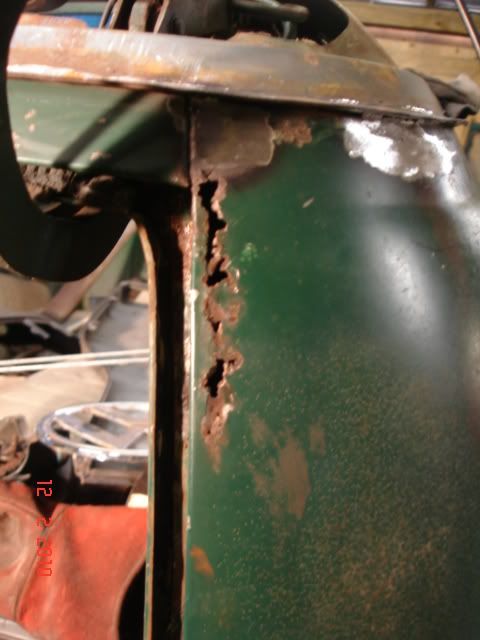
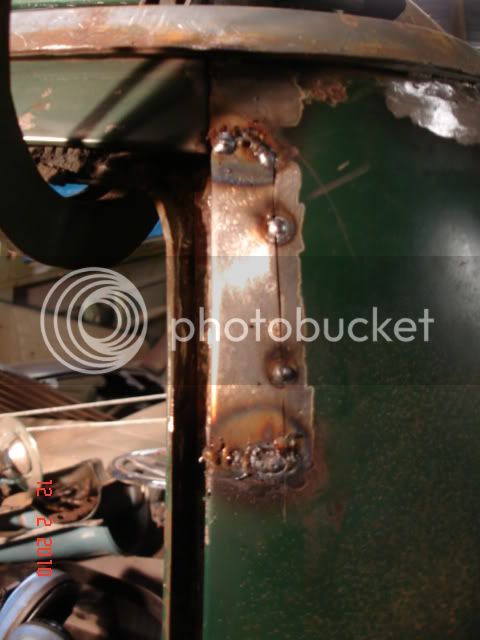
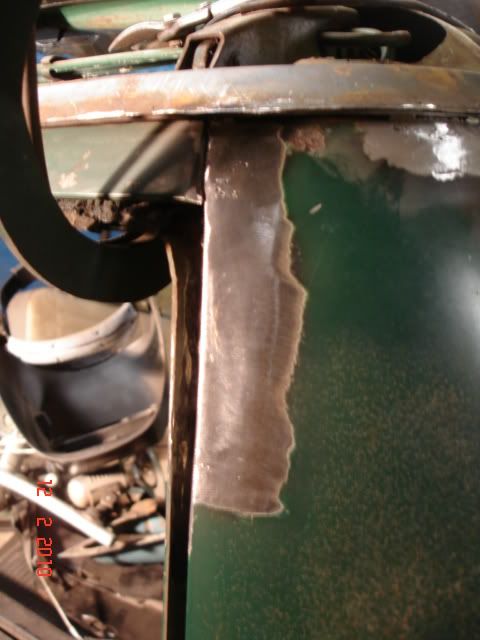
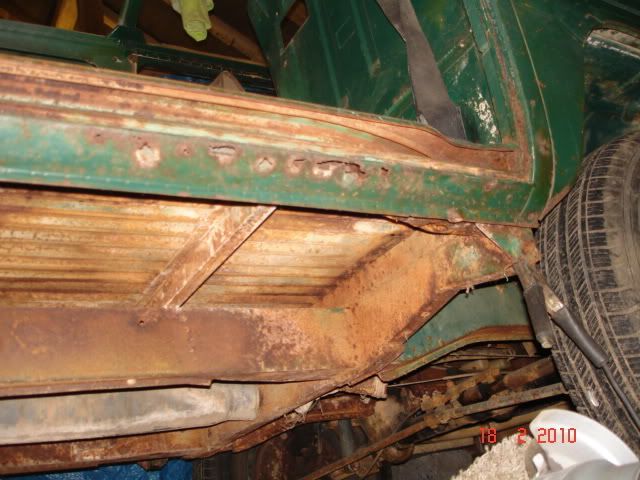
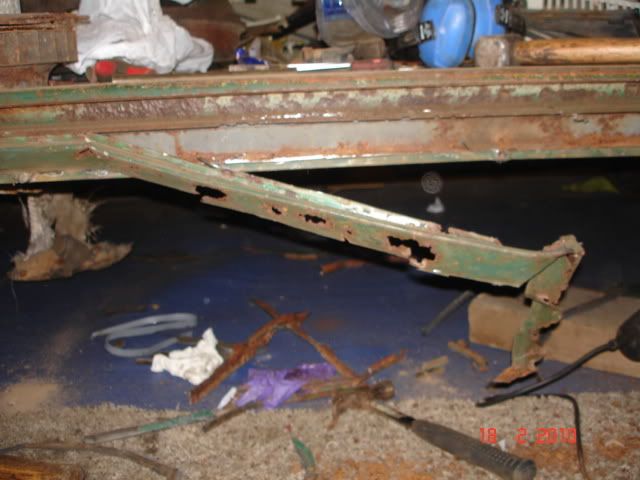
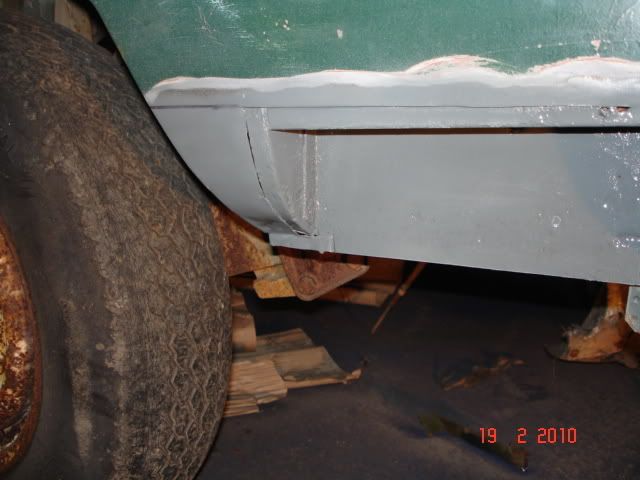
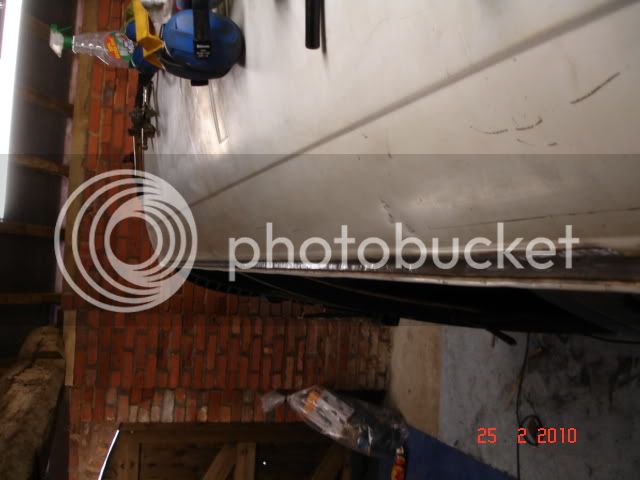
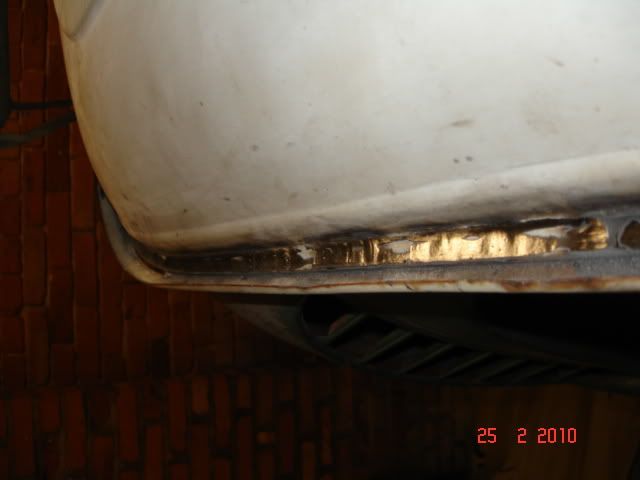
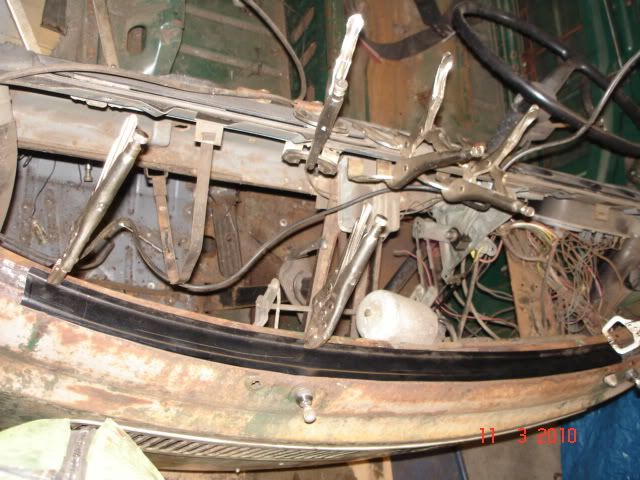
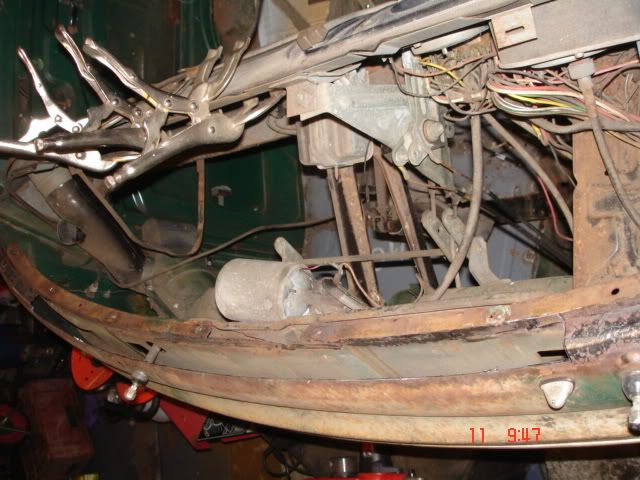
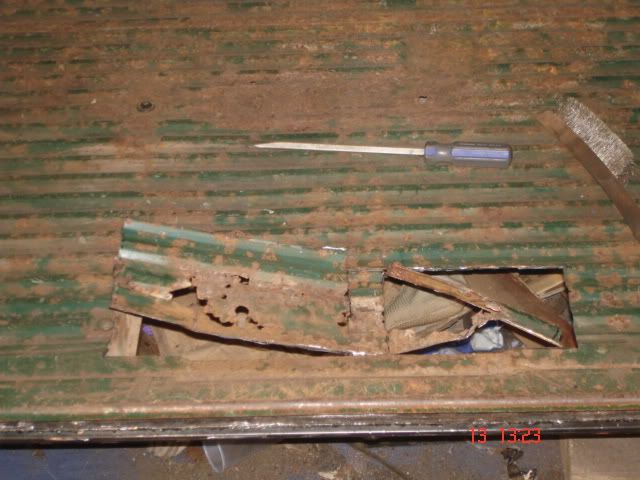
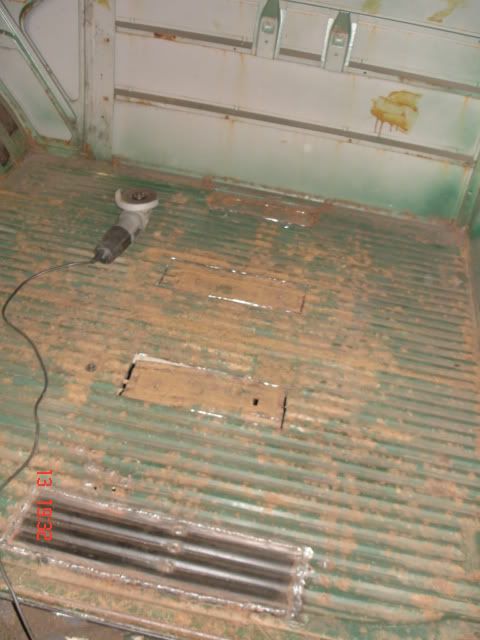
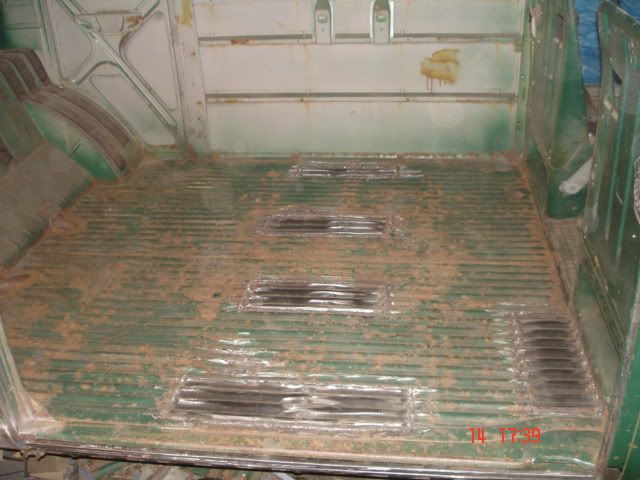
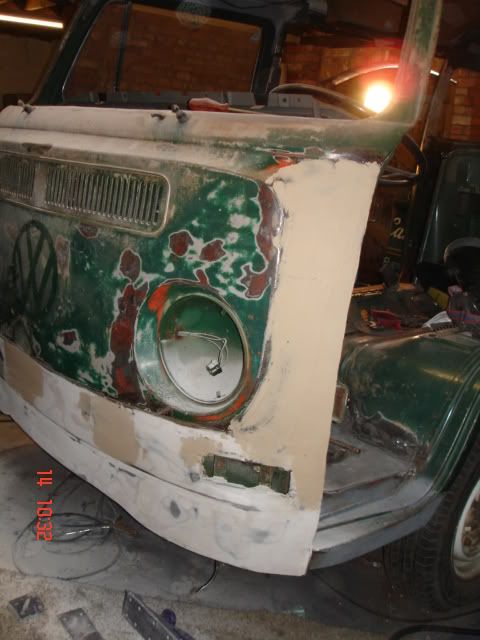
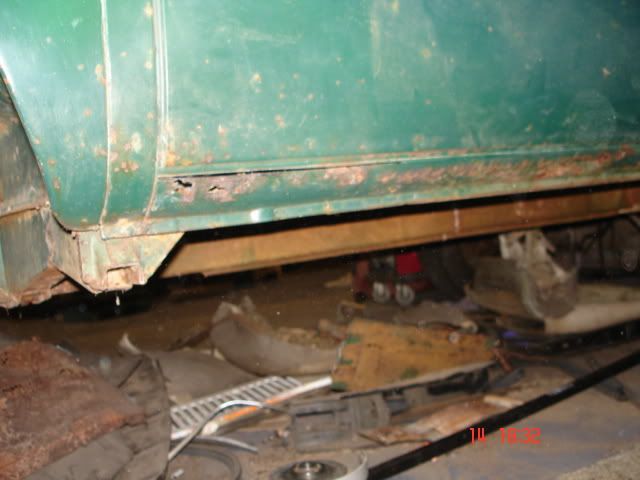
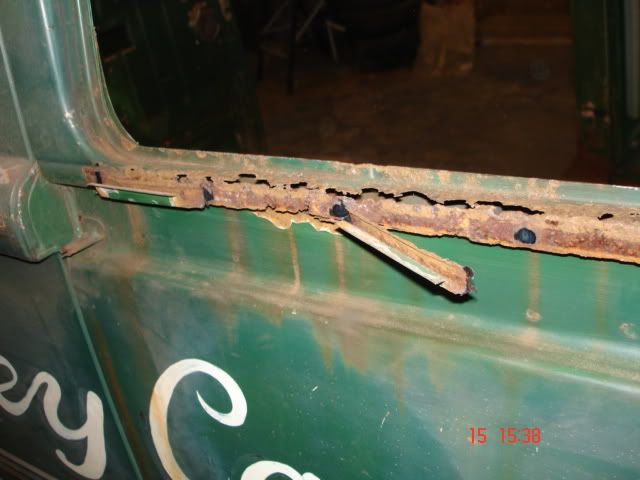
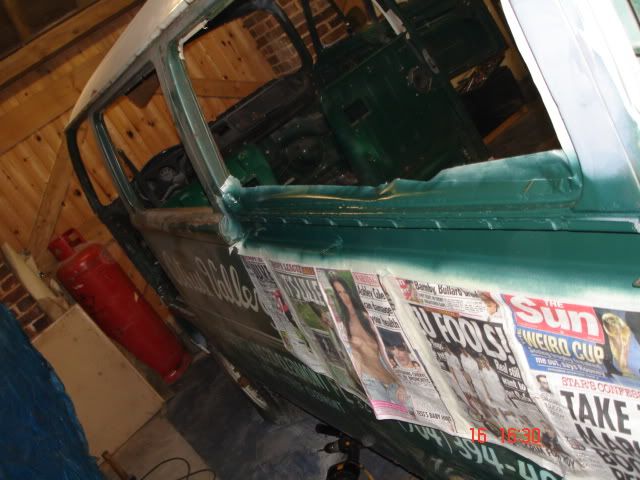
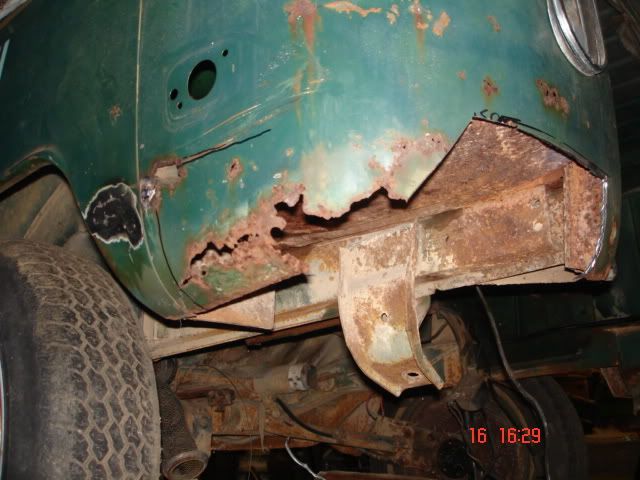
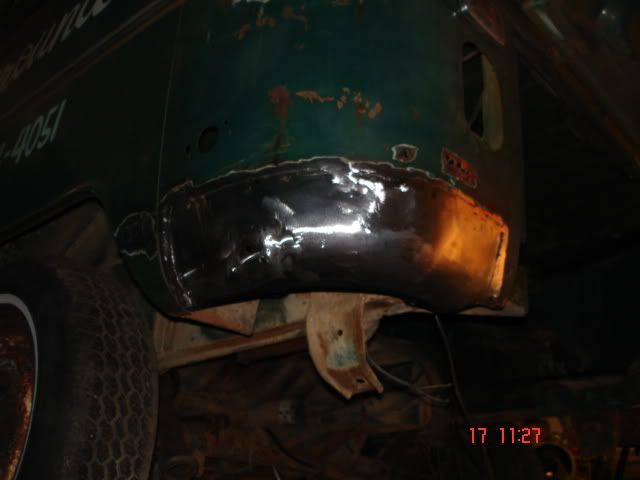
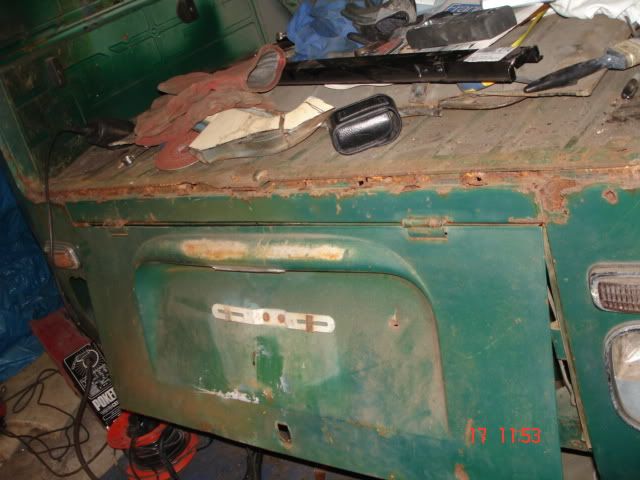
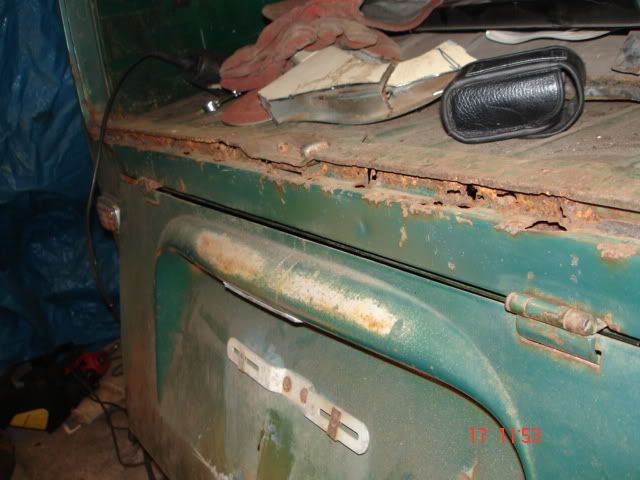
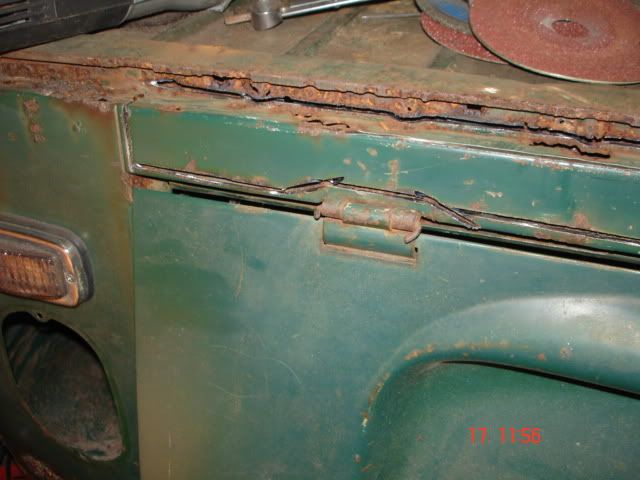
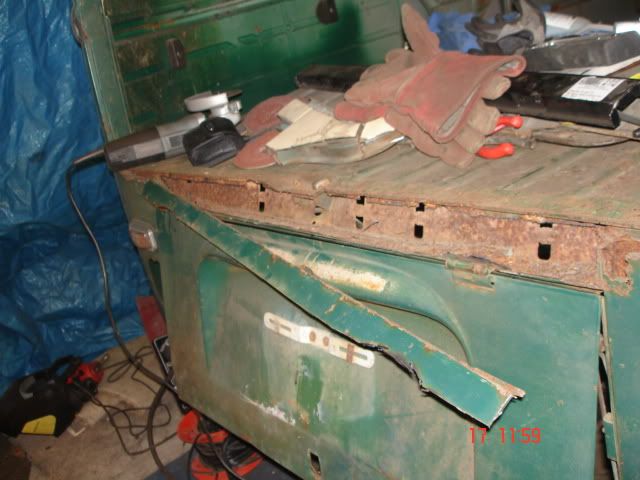
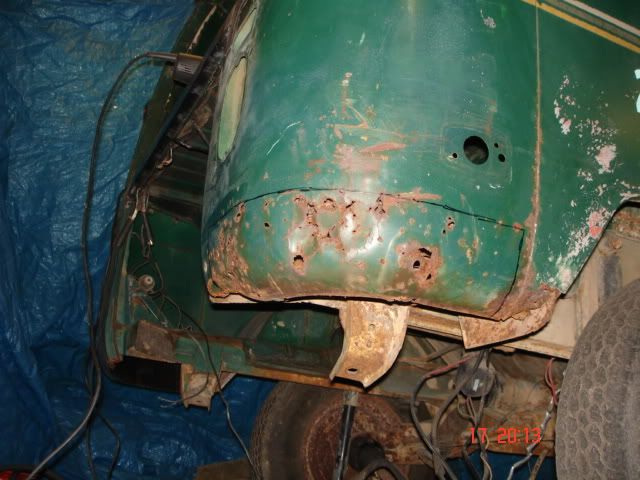
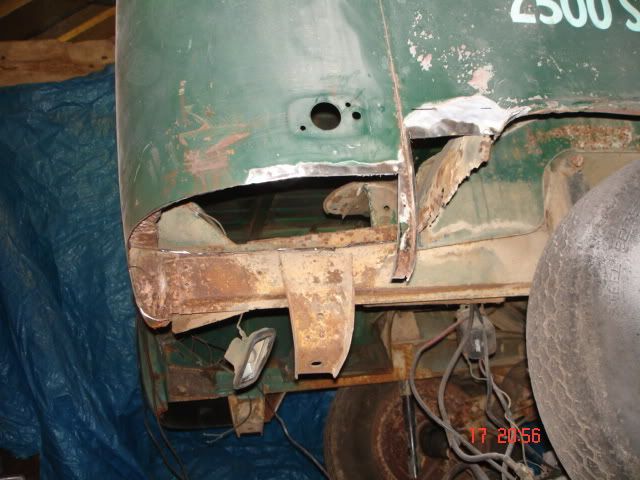
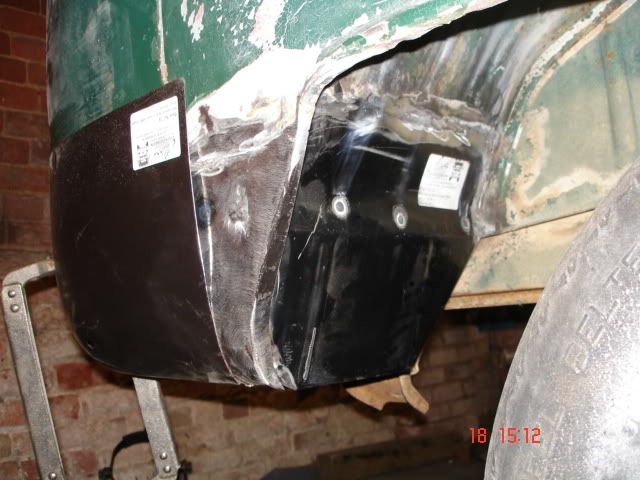
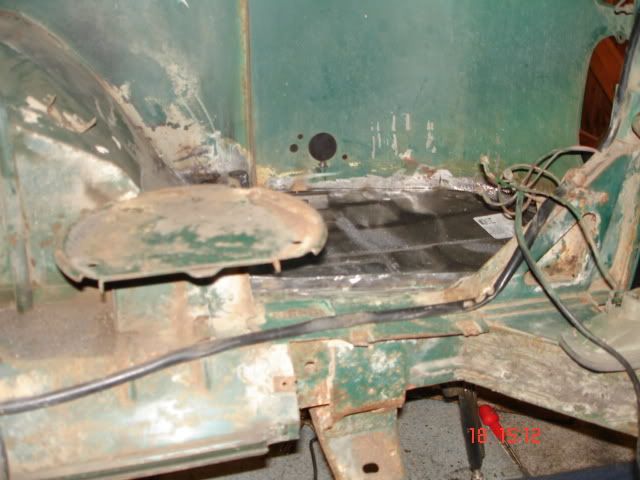
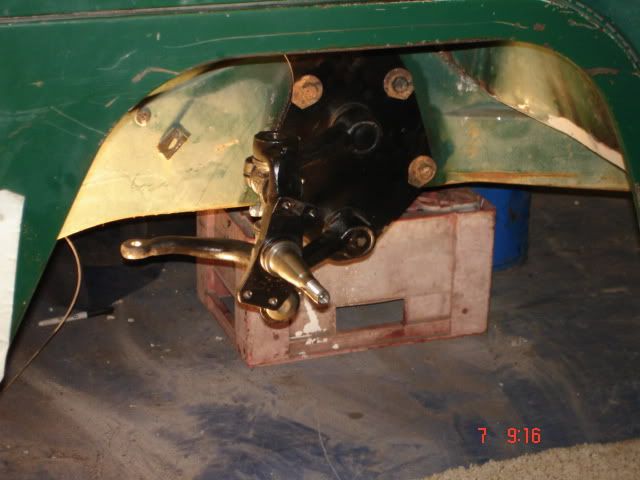
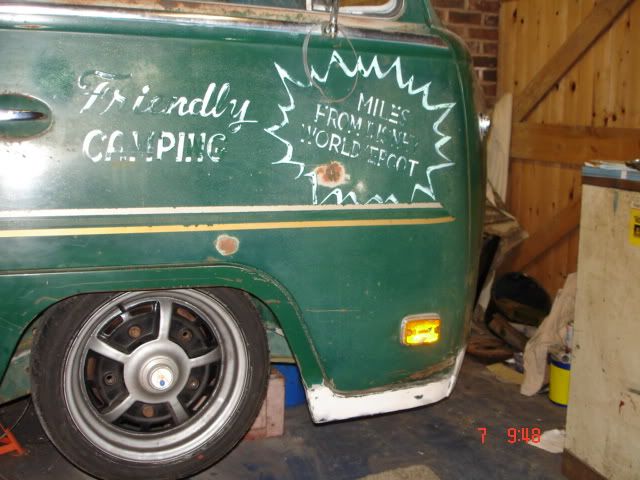
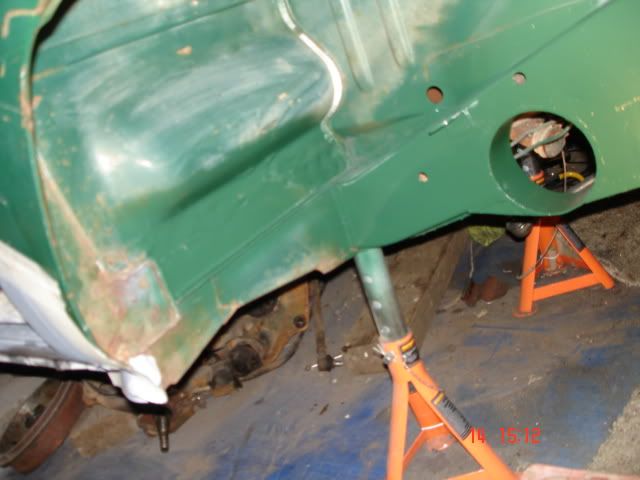
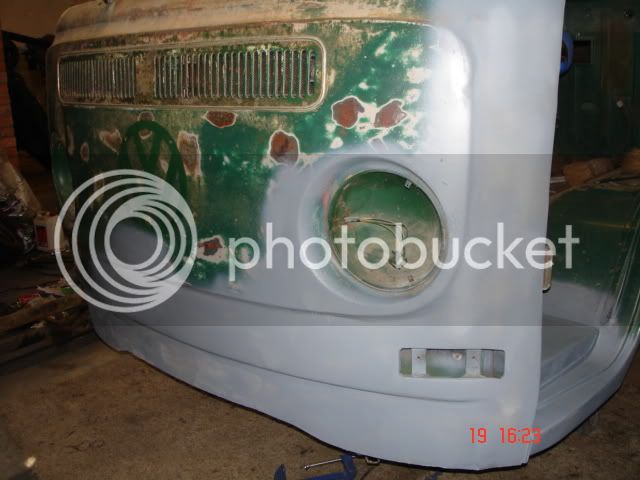
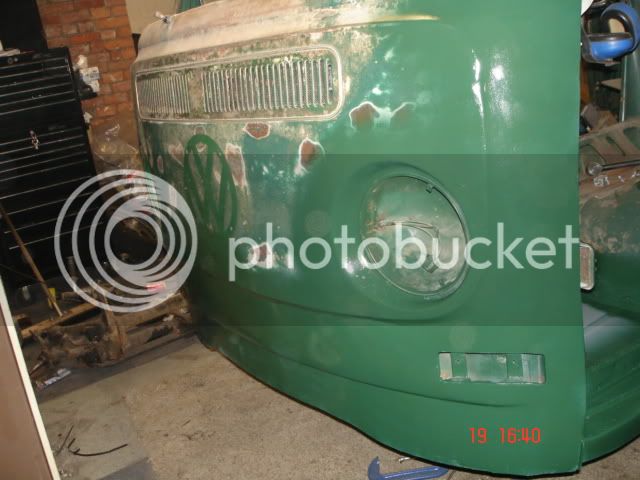
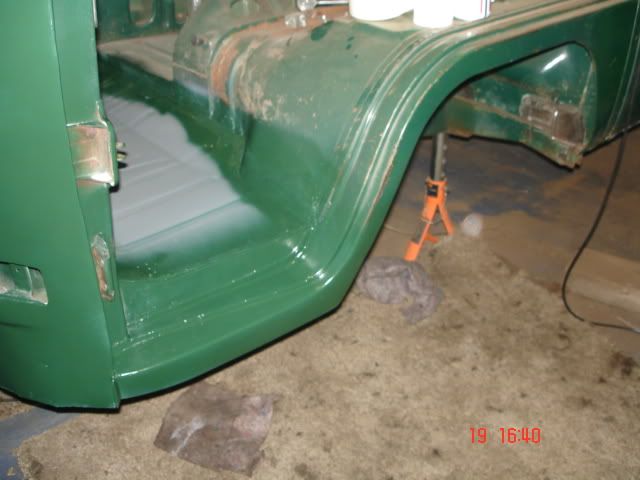
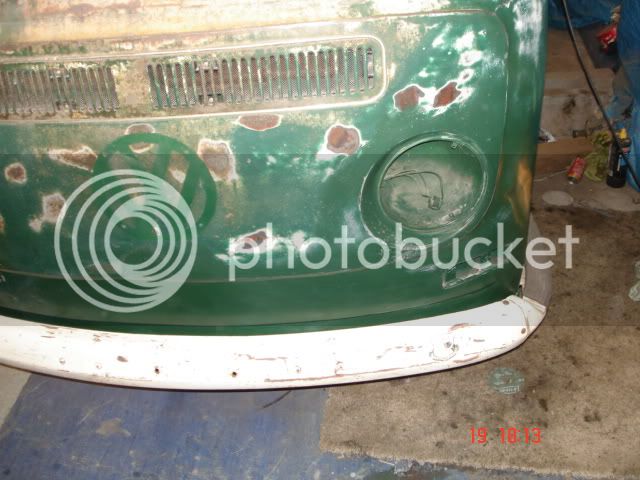
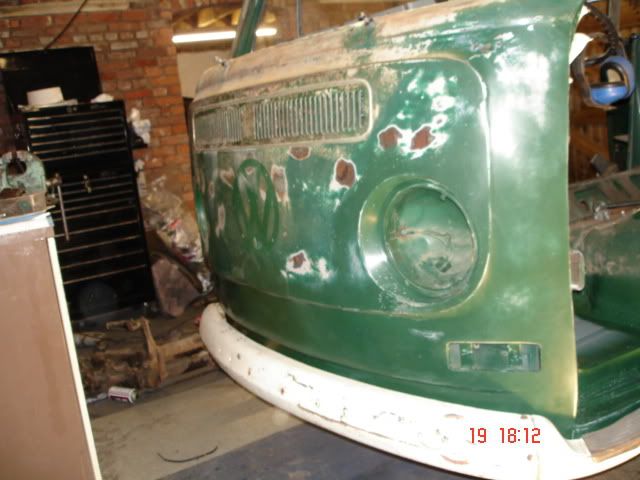
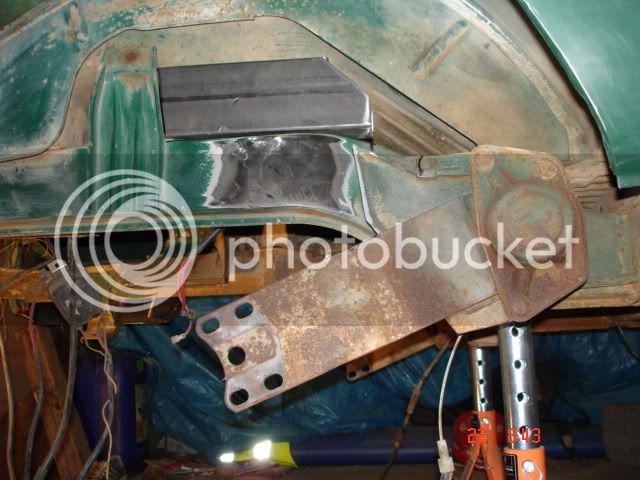
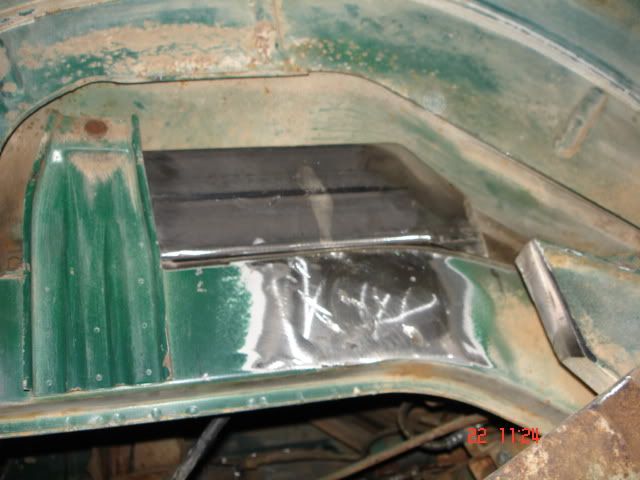
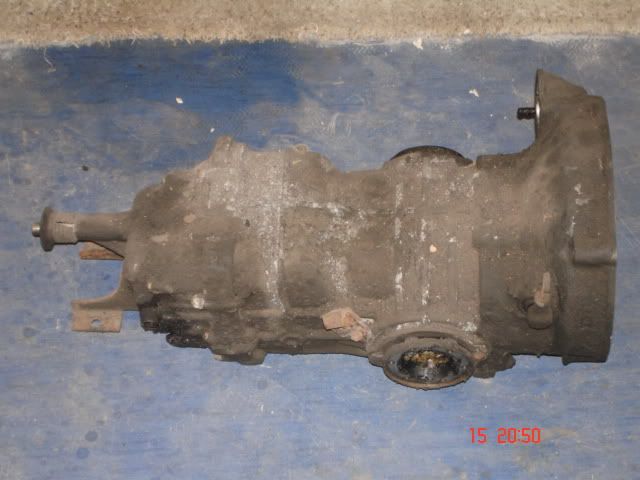
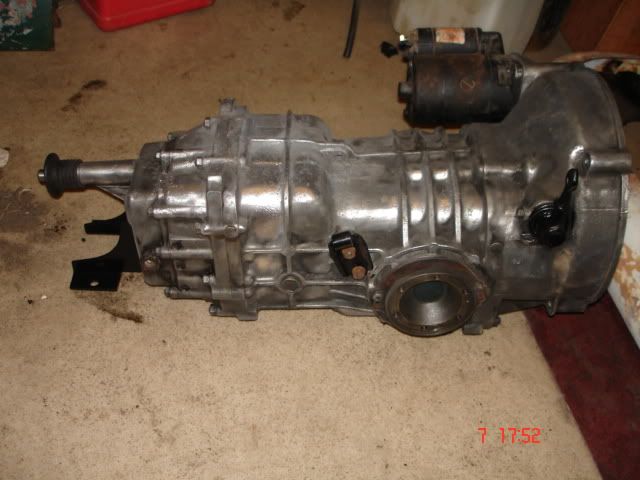
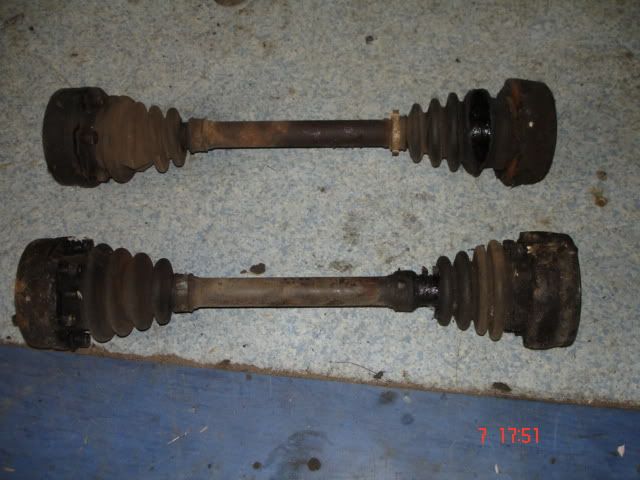
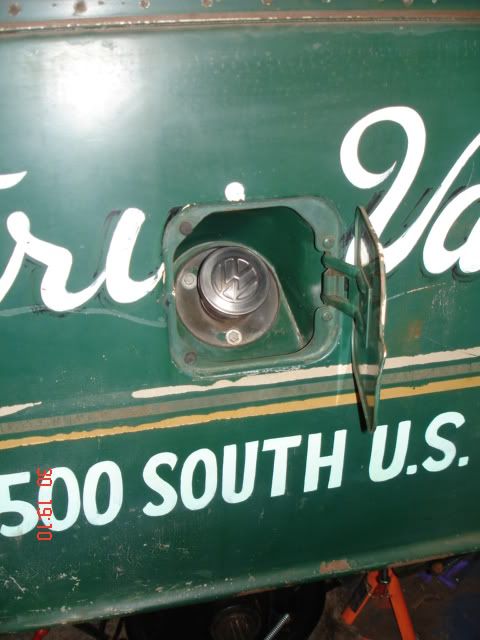
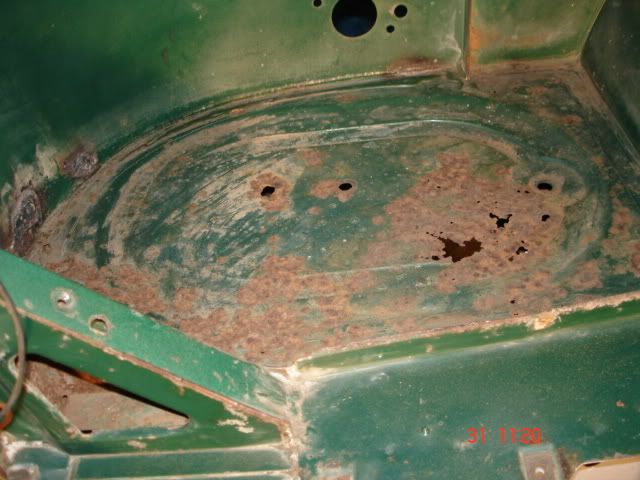
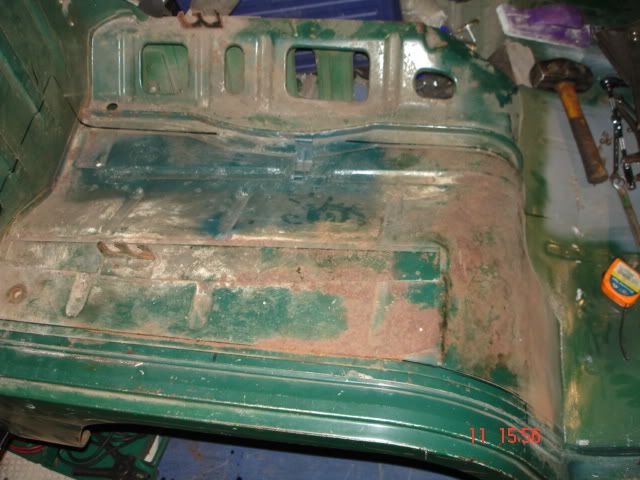
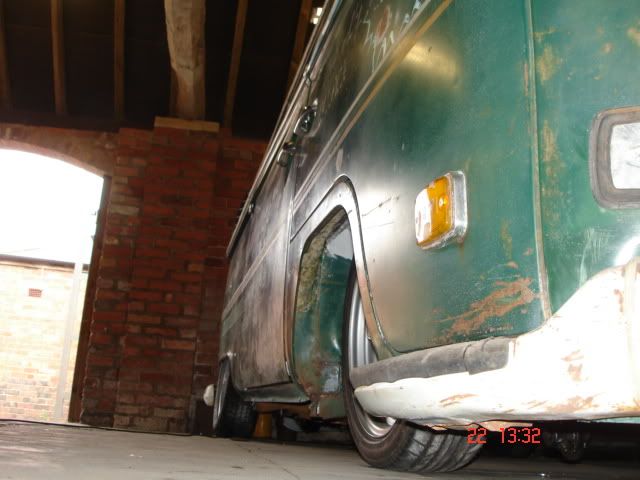
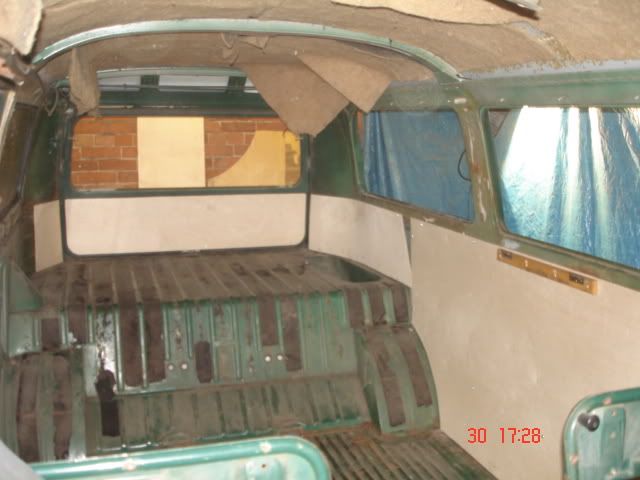
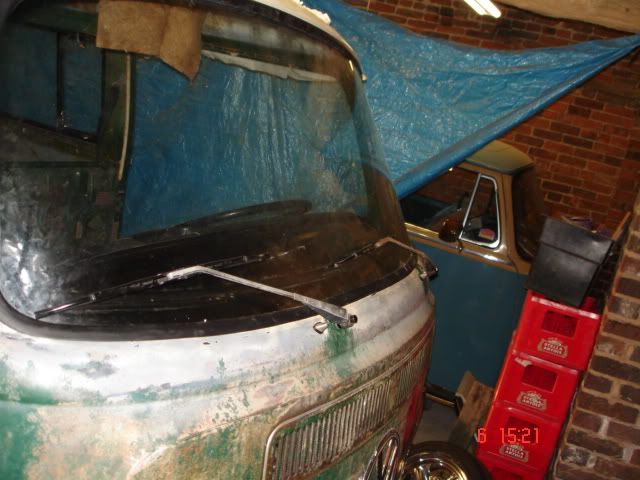
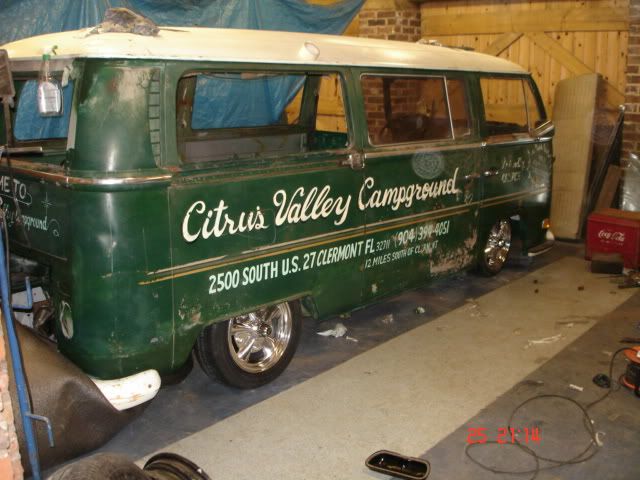
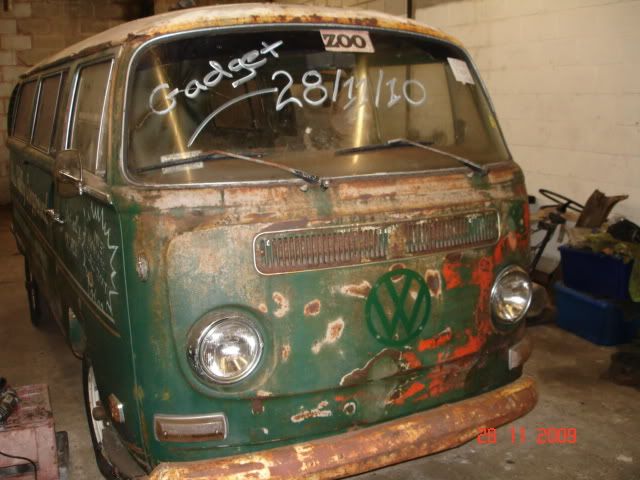
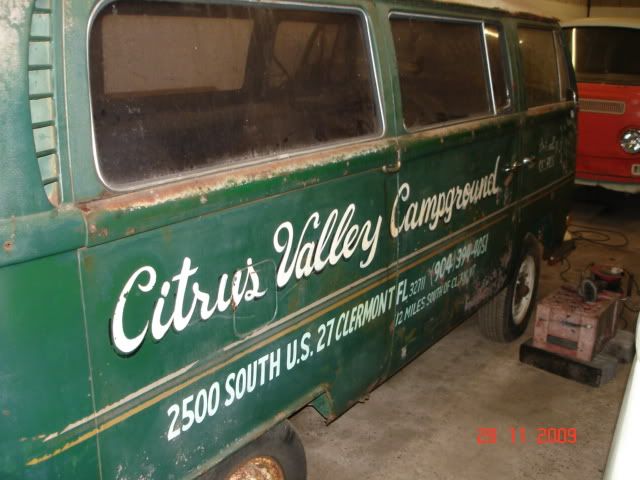
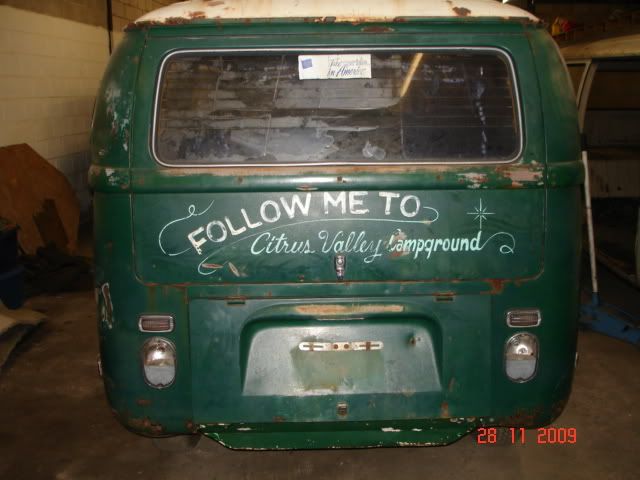
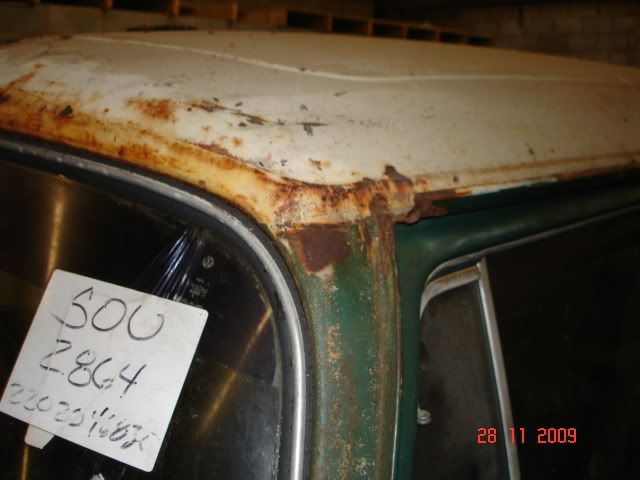
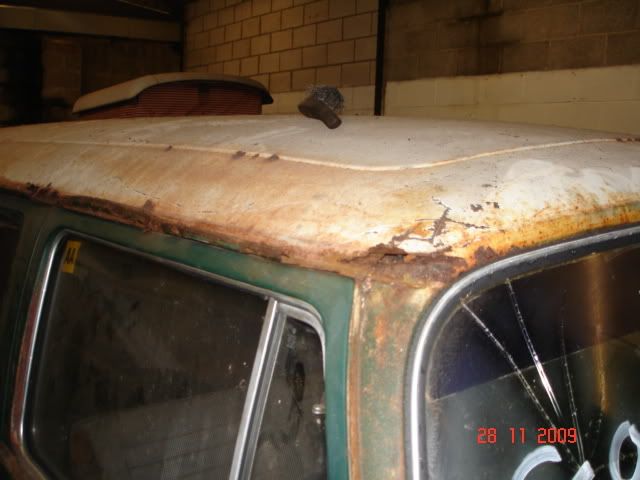
Now the fun begins . Tbh its quite solid But its real bonus is the original sign writing . Its mint and very good in the flesh . It just needs a new roof transplant , outer sills, front steps, inner & outer front nose, a windscreen repair , lower rear arches, both battery trays, both rear corners and engine and gearbox which I now have .

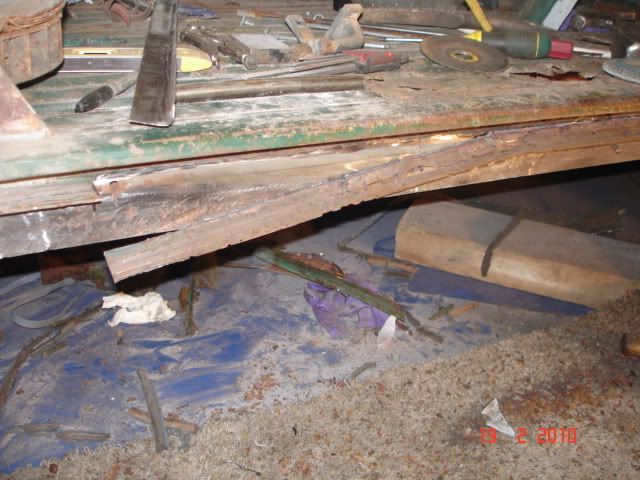
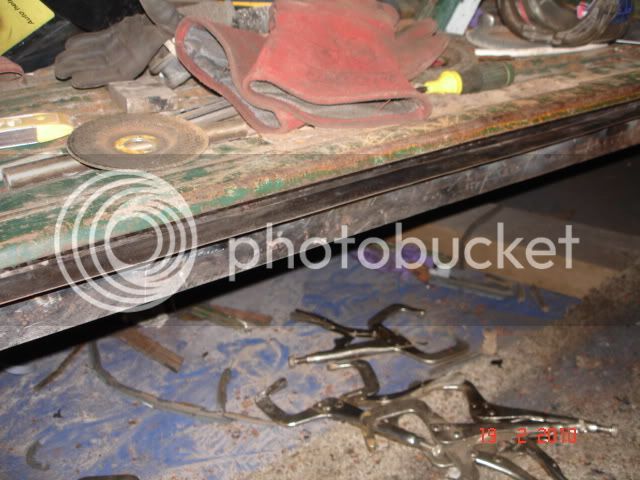
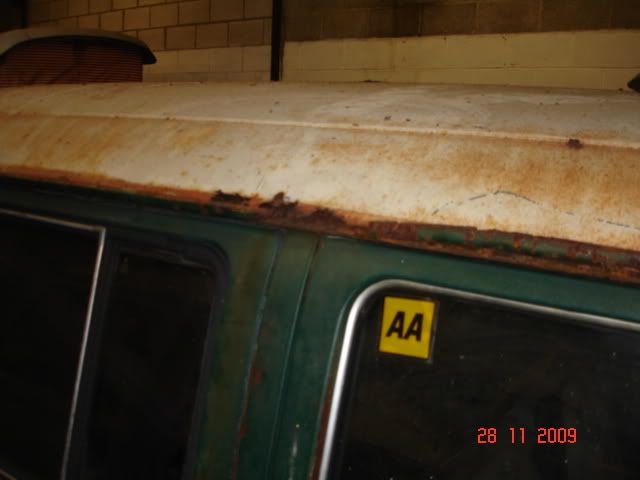
Any way heres sum photos for Ya all.......

DSC02722.jpg


DSC02723.jpg


DSC02726.jpg


DSC02727.jpg


DSC02728.jpg


DSC02729.jpg


DSC02730.jpg


DSC02731.jpg


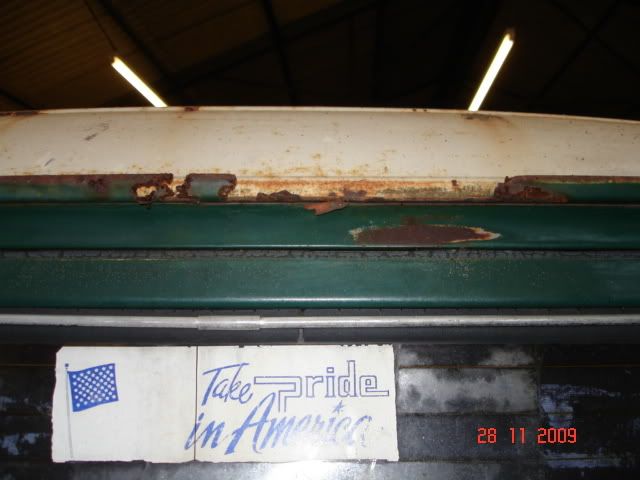
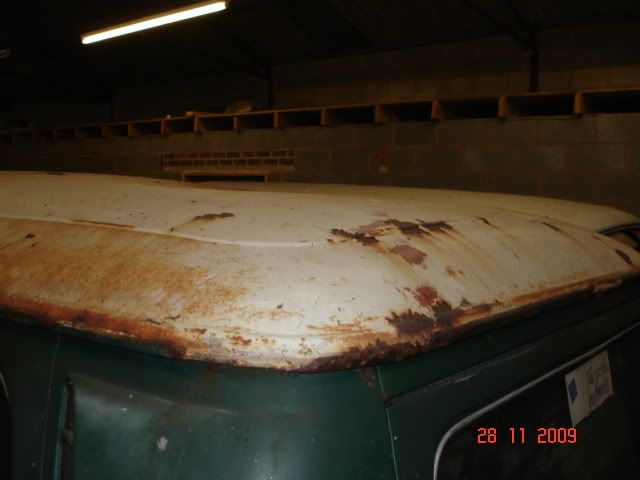
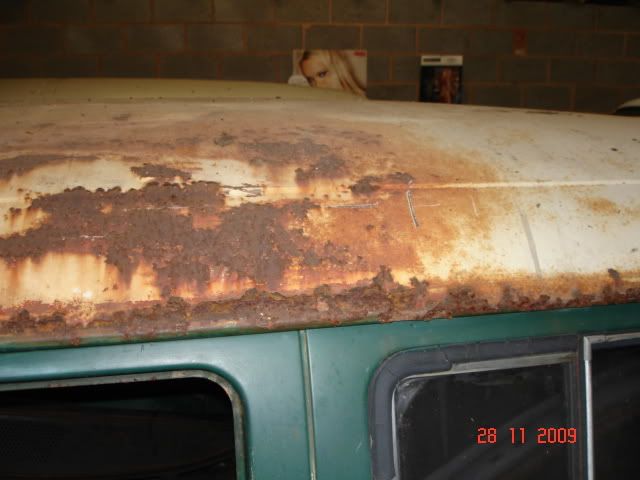
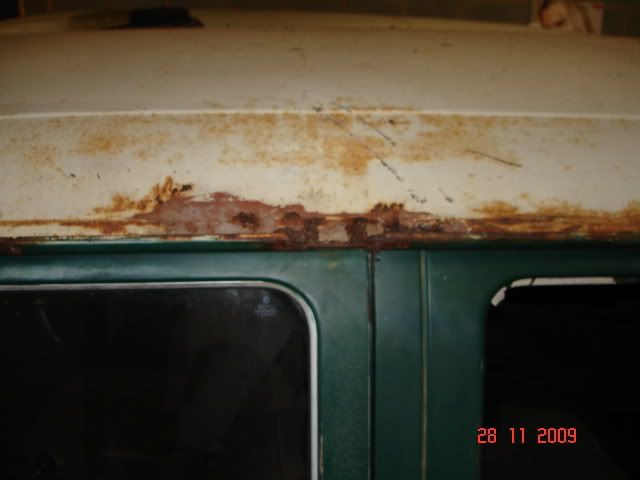
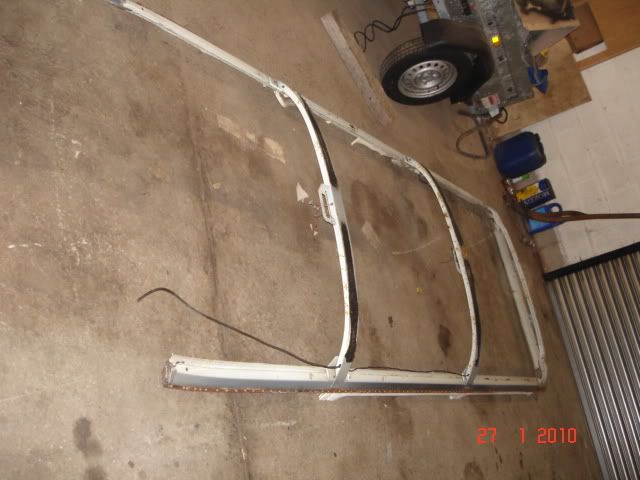
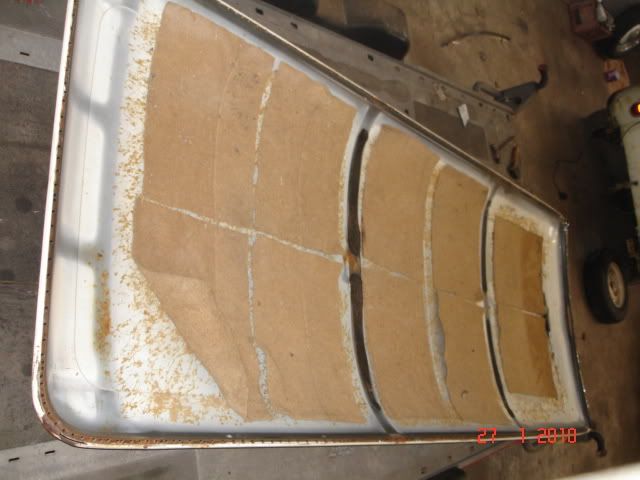
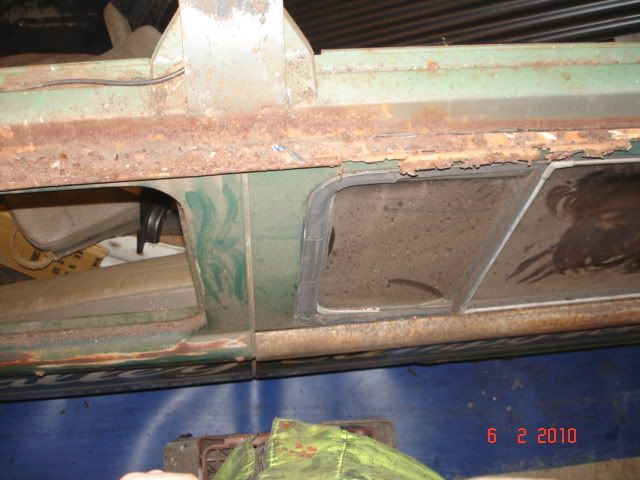
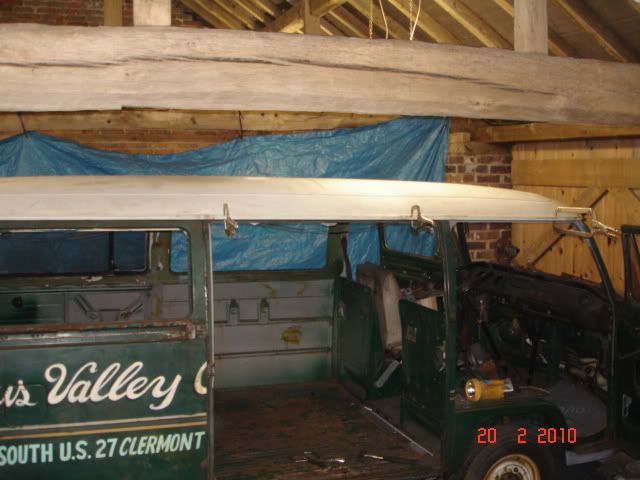
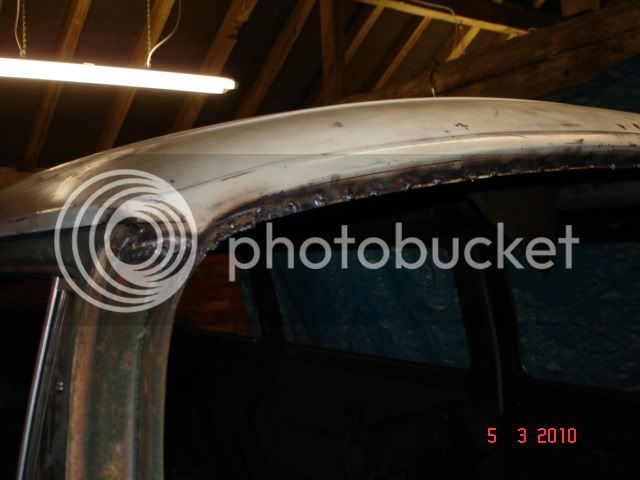
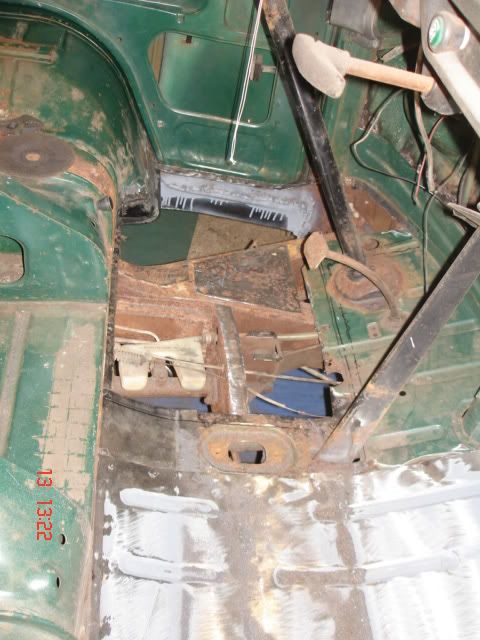
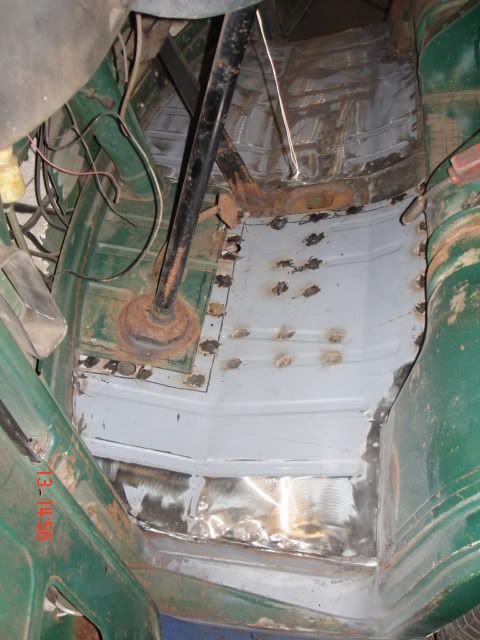
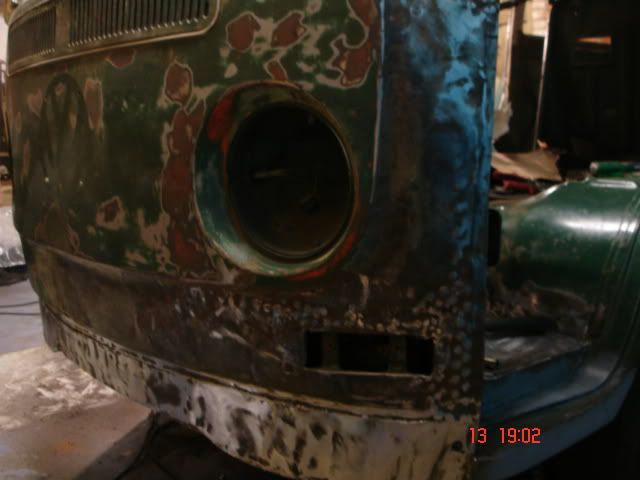
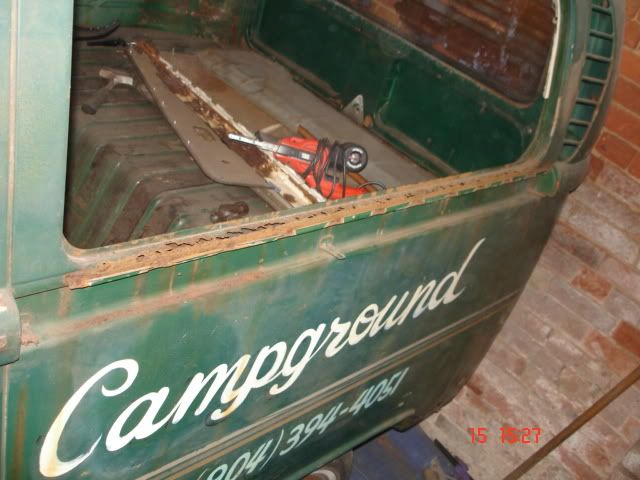
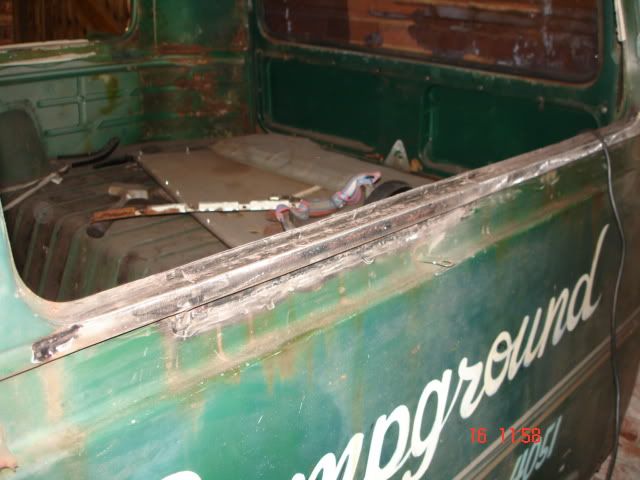
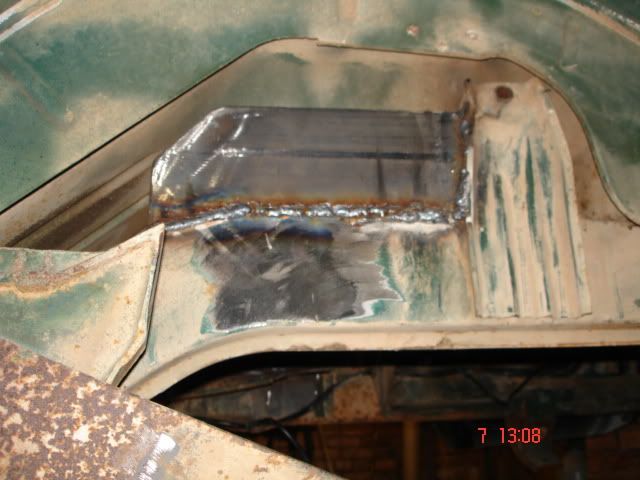
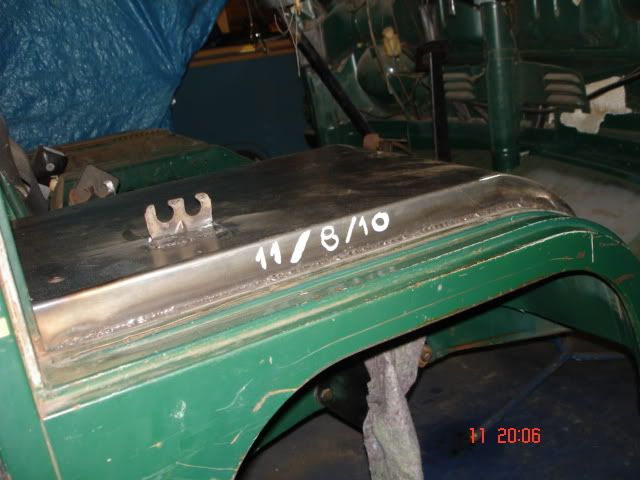
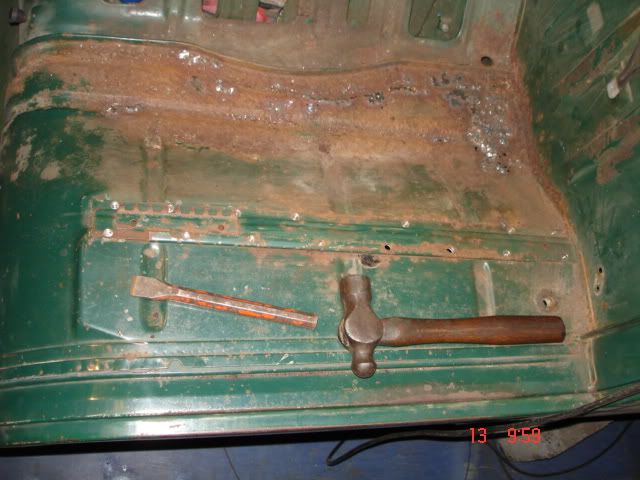
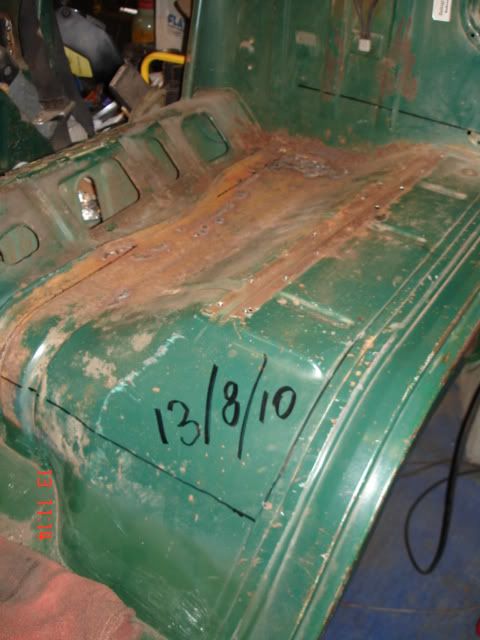
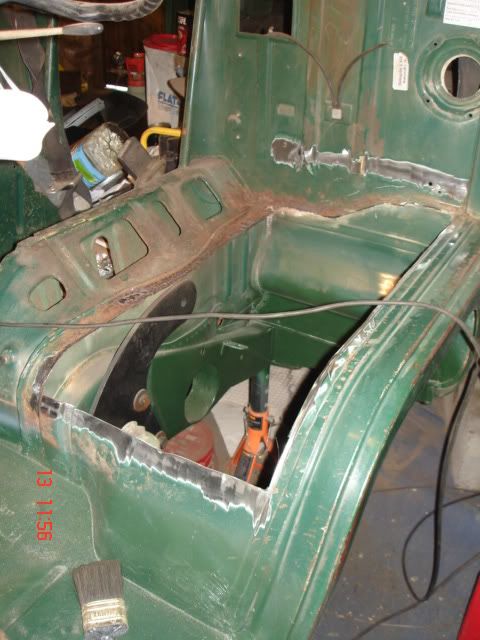
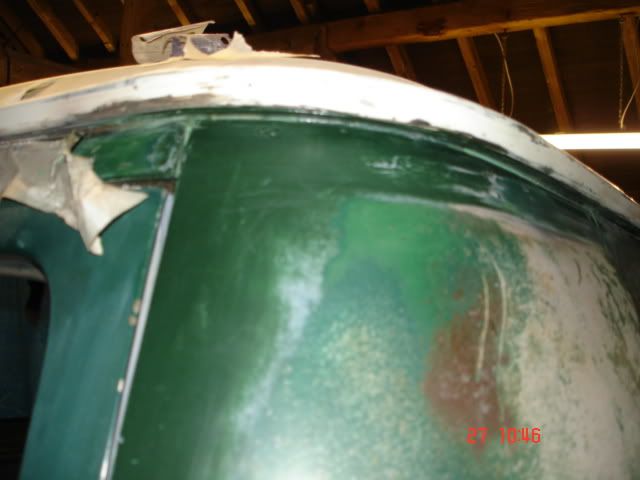
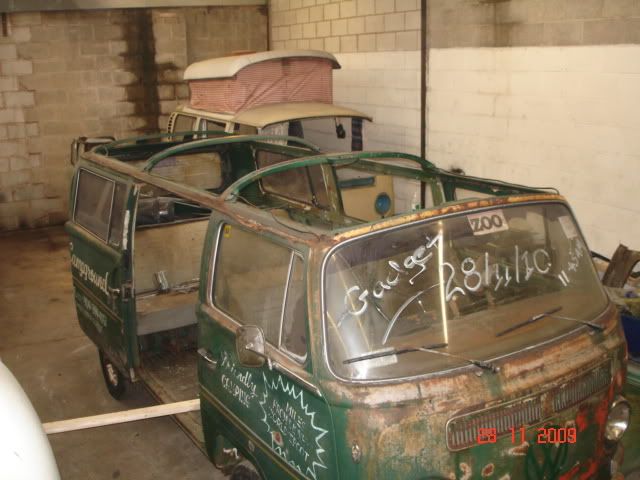
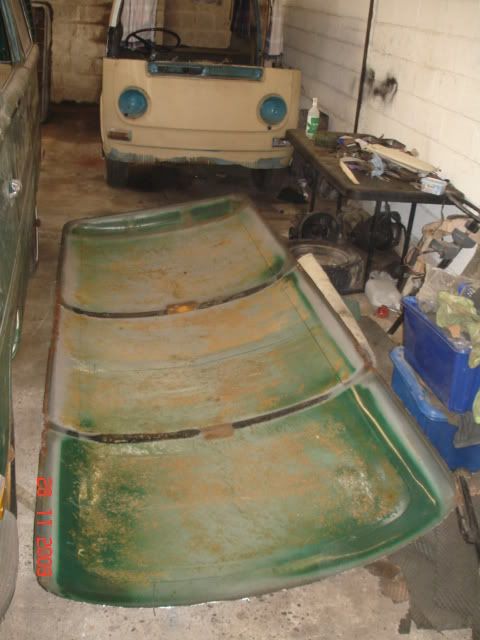
Just as You can by the photos above the roof was quite bad, But the main roof substructure was really amazingly sound :mrgreen:

DSC02732.jpg


DSC02733.jpg


DSC02734.jpg


DSC02735.jpg


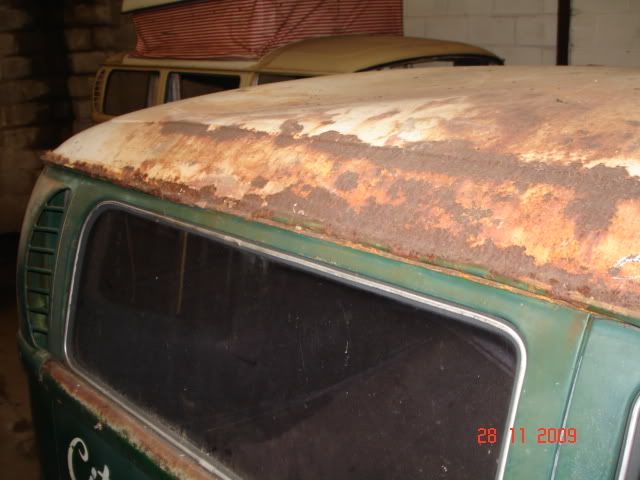
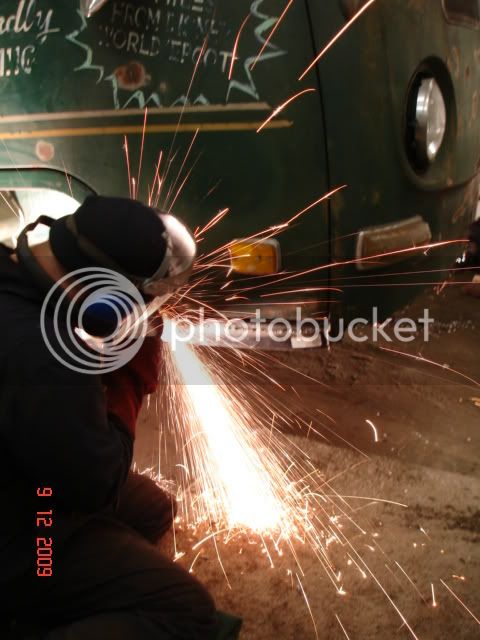
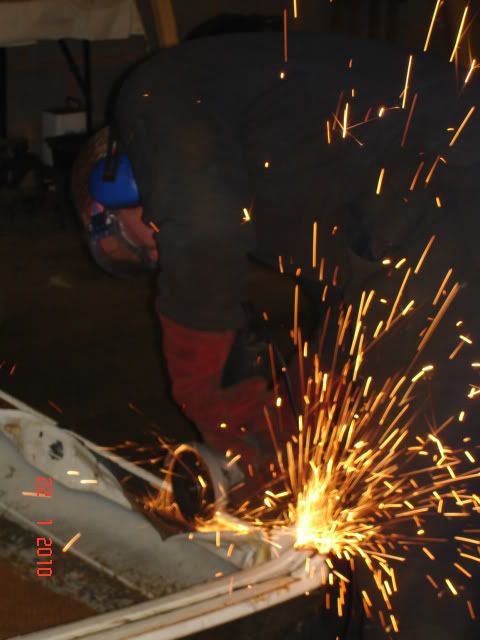
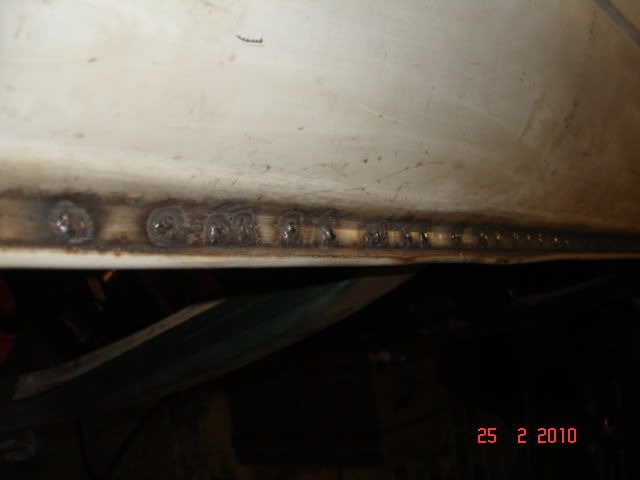
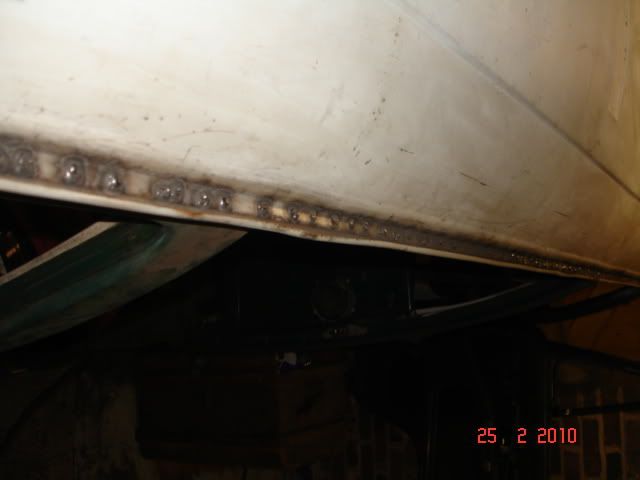
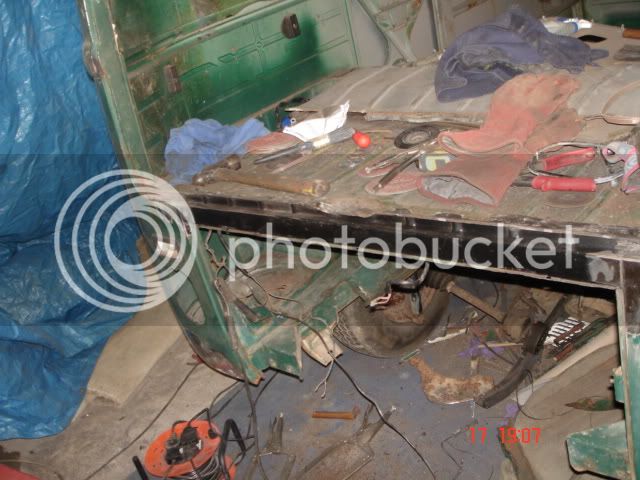
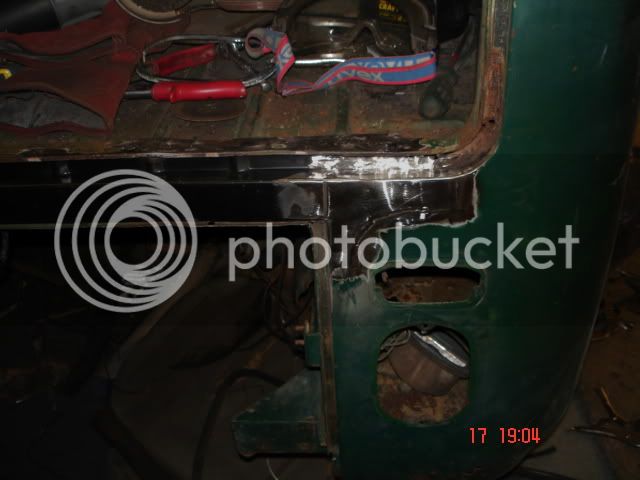
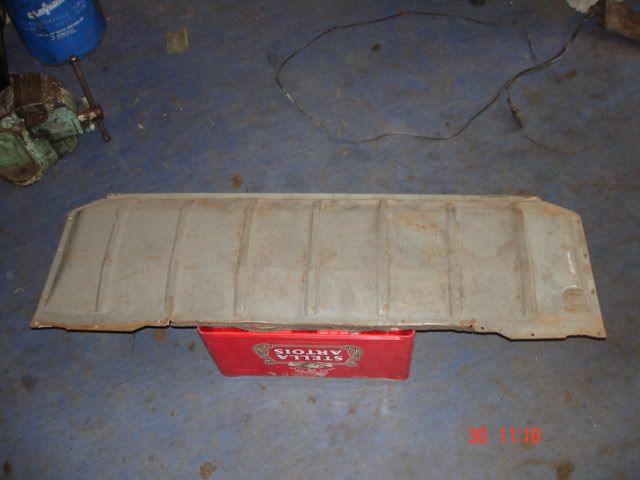
It took me an hour on the 28 Nov 09 to cut the rotten roof off , It took a further 8 hrs to clean the panel lip up that the roof welds too ::) ::)

DSC02739.jpg


DSC02740.jpg


DSC02742.jpg


DSC02786.jpg


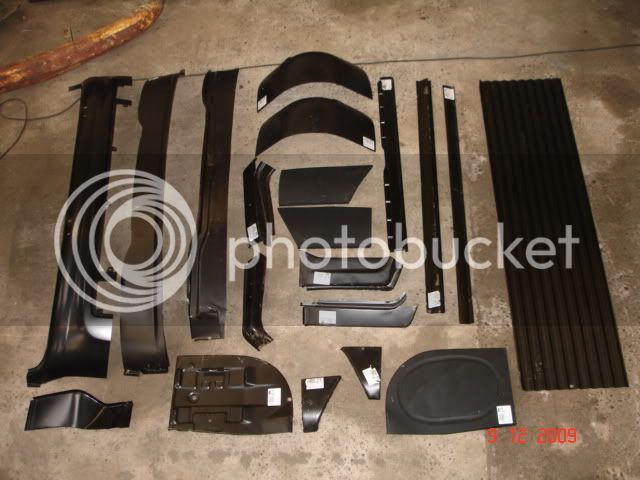
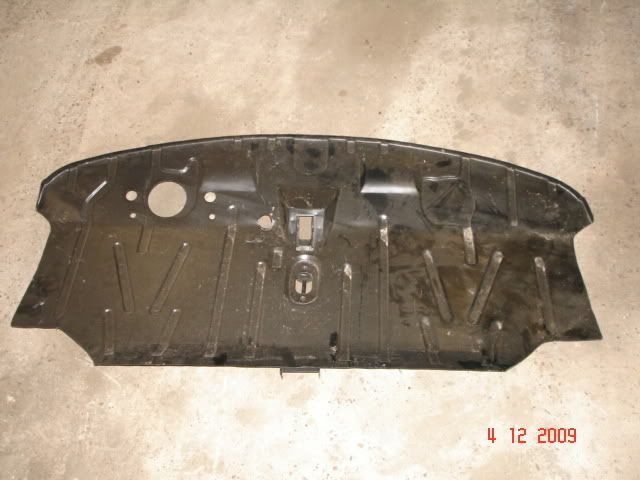
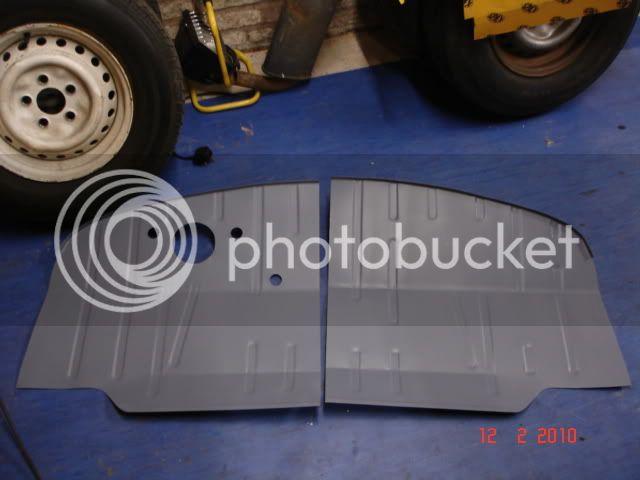
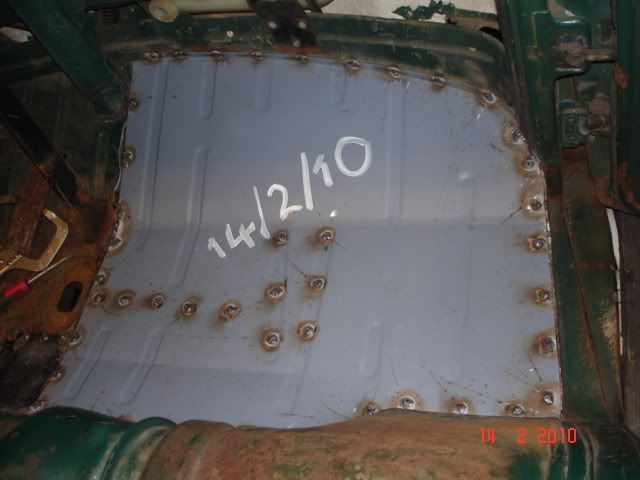
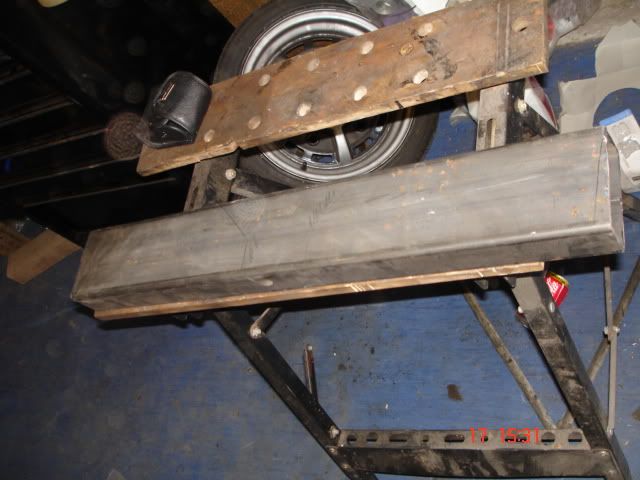
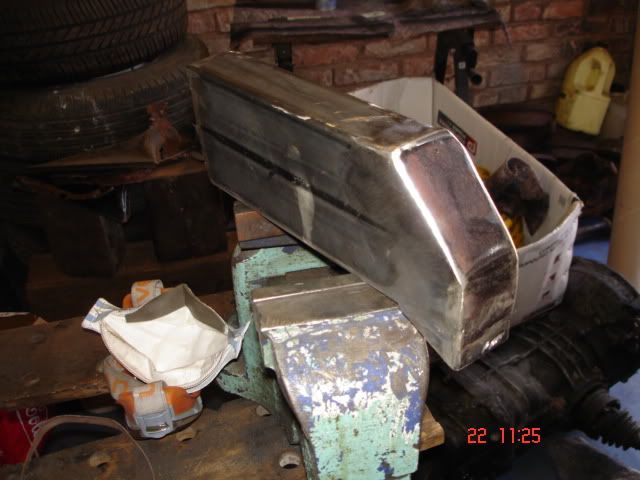
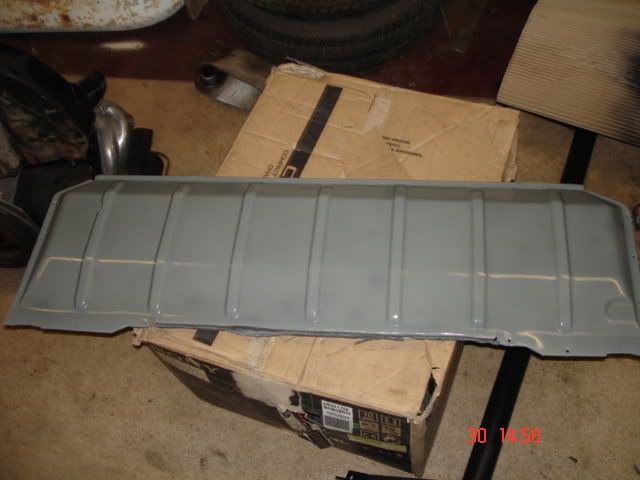
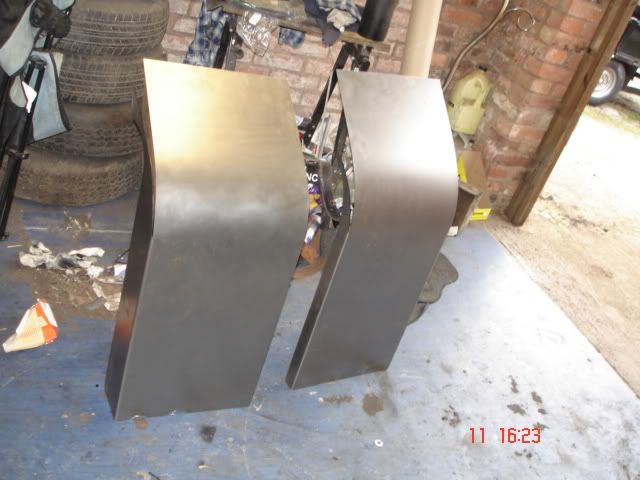
Heres all the panels i ordered off Alan Schofield , This wouldnt be the last time I'd be calling them :(
 
DSC02744.jpg


DSC02746.jpg


The dash top is rotten cus the windscreen had leaked badly over the years . Im sure the bus stood for a long time up a tree as that would explain the bad roof .

DSC02749.jpg


The only bit of rot in the cargo floor ???

DSC02762.jpg


Front passenger floor the drivers is better But not much lol ...

DSC02782.jpg


Frt floor out ready for the new floor

DSC02764.jpg


New front floor as you cant get complete early bay floors ::)

DSC02783.jpg


Rotten original front passenger step .

DSC02787.jpg


Soon got that cut out and replaced . Im staying away from all the shut lines so once the panel has been painted etc it willl all still look very good .

DSC02791.jpg


Action Shot LOL :eek:
 
Drivers side outer ready to go . Unfortunatly they dont make a one piece step and these are two piece and therefore Shit. I ended up throwing half of the inner and outer steps away .

DSC02802.jpg


DSC02806.jpg


Done

I then moved on to the drivers side front panel and found 132 slide hammer holes under the filler ....

DSC02796.jpg


DSC02797.jpg


Then due to the fact that the water had got under the filler the front panel was quite weak
 
Since then ive welded the lower inner and finally today(13/01/10) the lower outer nose on , Ive also managed to sand off all that shitty red primer that was covering the front panel

DSC02828.jpg


Tbh over the last few days with the snow its below freezing and with five layers of clothing on and no heater it aint fun :mad:
 
Sorry Guys Ive been a tad busy lol ;)Pics tell a thousand words so i will let Em.......

DSC02860-1.jpg


DSC02862.jpg


DSC02864.jpg


12hrs and 460 spotweld holes later For Fu#ks sake :mad: I was left with a mint og paint outer roof skin

On the 1/2/2010 At last I moved into my Own workshop and resigned from MEB . Work could now properly start .

DSC02871.jpg


I had to grind what was left of the old roof off and back to clean good metal

DSC02876.jpg


DSC02877-1.jpg


There was lots of odd bits of rust But judging by the rot in the bus its because its sat under a Tree since 1992

DSC02878-1.jpg


DSC02880-1.jpg


DSC02866-1.jpg


Bit of an Arty shot pushed into my new workshop , Its big enough for 4 buses ;D

DSC02868.jpg


DSC02882.jpg


I heard Schofields had started making these BIG floor plates they look alot better than loads of little patches

DSC02887.jpg


DSC02897.jpg


The original sills on the bus, unfortunatly the sliding door rail is rotten Again so i had to get out my big bending brake and make one .

DSC02899.jpg


DSC02902.jpg


DSC02905.jpg


Its basicaly an L shaped panel and welded all along the bottom edge . Then ground down so the sliding door can run along it . Unfortunatly the sliding door bottom runners had both seized solid years ago and had ground themselves flat ,which didnt help the rotten sill ::) Fortunatly it was very solid underneath

DSC02908.jpg


New outer sill on ready for grinding down

DSC02898.jpg


Original outer rear quarter

DSC02915.jpg


Mint inner sill too and a good dose of weld through zinc paint ;D

DSC02919.jpg


The sat nite before Dubfreeze the new roof is Sikoflexed on its and industrail adhesive used to bond new door skins on cars and roof panels . Its only holding down the central roof struts its still gotta be rose welded all round the outside .Im not looking forward to it .

DSC02875.jpg


A cheeky test fitting to ensure it all lines up ;D
 
DSC02928.jpg


DSC02929.jpg


Then after a few Long hours with the grinder and the finger belt sander

DSC02935.jpg


DSC02931.jpg


DSC02941.jpg


The dash top was badly rotten I already have a good used one so I just cut this one out .

DSC02944.jpg


DSC02950.jpg


DSC02955.jpg


DSC02958.jpg


I cut all the drivers floor out and welded in the new large Schofield panels

DSC02964.jpg


DSC02968.jpg


The middle seat fixing key holes were as usual rotten so I cut all of these out and repaired them all . As well as other sections of the ribbed floor too

DSC02966.jpg


DSC02981.jpg


DSC02998.jpg


The front panel needed alot of work But with Paul "God Bus" Aucott on the front panel , He had it alot straighter in no time. Over 5hrs shrinking and panel hammering it got it some where near and the first coats of filler could go on .

DSC02974.jpg


DSC02978.jpg


DSC02984.jpg


Amy, Pauls other half drinking Pete Gees quality beer , it tasted like Piss . In fact piss would be stronger......

DSC02987.jpg


Keeping the filler warm and yeah that clock is correct 11.50pm on a saturday nite ::) ::)

DSC02989.jpg


Its now starting to look bus shaped ;D

DSC03001.jpg


Round to the long side

DSC03002.jpg


The best thing is no one else has messed with the bus before , So im cutting off original german panels

DSC03005.jpg


DSC03004.jpg
 
A week before the Volksworld show very Unfortunatly my Nan passed away unexpectedly . Unfortunatly I didnt get to see Her because I was working on this bus . Ive been killing myself doing 16hr days and frankly Its too much . It will be finished when its finished. So heres so more updates

DSC03009.jpg


Long side sill on

DSC03010.jpg


DSC03014.jpg


The rear window aperture is pretty rotten

DSC03016.jpg


DSC03019.jpg


DSC03024.jpg


After a new outer non sliding door grip rail was welded on and a few coats of primer I fired some Delta green over the finished work ;)

DSC03023.jpg


I started on the rear corners

DSC03027.jpg


Moving around the back the engine lid hanging panel was rotten as a pig So that was coming out too . It was bloody hard work to as the engine lid screws were seized in ......

DSC03029.jpg


DSC03030.jpg


Using a 1mm slice blade I cut the majority of the panel away

DSC03032.jpg


DSC03033.jpg


Fortunatly it was solid underneath

DSC03037.jpg


Now I could get to the back of the srews with a cheap blow torch which quickly free'd them up so i could unscrew the lid

DSC03046.jpg


While I was there I also fixed various other holes around the panel and rebuilt the rhs rear corner of the rear hatch

DSC03039.jpg


I then started on the rear corner . At some point I think the bus has caught a tree stump or post as this rear corner and rear lower arch has alot of filler . I cut all of this out and ended up completely rebuilding this corner .

DSC03048.jpg


DSC03050.jpg


DSC03054.jpg


DSC03056.jpg


I have to call in all my favours that Im owed, So heres Dave " Chunky Biscuits " Smith taking off the front suspension

DSC03058.jpg


DSC03060.jpg


Arty shot ;D
 
Ok having come back from Pete Gee's wedding in Crantock 29/05/10 and after visiting Ben @Mike at Evil Bens ,I was all fired up to go at Her again . Its turned a Bit love and Hate with this bus for a while but Im finally getting to the point where it looks like a bus again

So......

Its gotta be low so I started mocking up the front suspension including the Hubs & brakes to get everything to clear and brake pipes not fouling etc ......

DSC03774-1.jpg


DSC03775.jpg


It will be running 165/50/R15s Bridgestones and Luckily Ive just had a pair fitted to the Gadget Bus ;)

DSC03777.jpg


This shot shows where Ive removed the old brake pipe hanging bracket ,Thats the shine metal polished patch in top Rhs and the black squiggly circle is the centre of the track rods where it will pass through the chassis ....

DSC03785.jpg


The bloody hole saw cost 42 quid with a new arbor and I went through two of em at £ 30 quid each . Its not easy to hold the drill, Not let it whip round when it catchs and break your wrist, and squirt lots of cooling oil on to it to try and prevent wear .....
The drill was new from Wickes it didnt last 6hrs and wasnt Up to the job and burnt out Id only drill two holes as well :eek: :eek: ::)

DSC03787.jpg


When drilling these 5 inch holes stuffs in the way thats mounted to the chassis , So i gently bent the heater cables up out of the way and also moved the loom up and attached it too.
DSC03778.jpg


Also on teh drivers side the clutch conduit is in teh way so thats gotta get moved Which means I have to make a new ' Bent ' conduit and get a longer RHD cable to compensate too
DSC03788.jpg


After cutting the holes I welded a solid and strong 5 inch ring into the chassis
DSC03793.jpg


Ive seen some truly awful and dangerous C notching of buses lately , with people just cutting the steel out With no thought to chassis strength in an accident etc ... This will put some much needed strength back into the bus, Especially combined with the extra gusseting Im adding to the inside nad outside of these rings . The added pieces are welded internally and externally and Just the outers linished down for tidyness. This was this week 10/6/10 ;D

DSC03798.jpg


I hadnt finished tidying this up in this shot But you get the idea ..
Also Ive had to completly remount the flexi brake hose bracket as It would have fouled the suspension .

DSC03802.jpg


After a good grinding and linishing session, I fired some grey primer over it all and finished off with some L 610 Delta Green ;)

DSC03806.jpg


When the drill broke the other night I dug out a brand new master cylinder and reservior and bolted it all to the bus :)
Just gotta start o the hard lines next :cool:

And today I started painting up the passengers side repairs Ace

DSC03807.jpg
 
Ok more updates Ive been in the workshop all this week 19/06/10 and to get this super Low ive started removing the inner support ribs . These were deleted on later buses and really arent needed , Much like the front reinforcement chassis legs on 1969 onwards buses ....

DSC03808-1.jpg


I started with the Lhs one and it was a right pain as its a tight space and lots of sparks grinding etc

DSC03809.jpg


This is the Rhs version

DSC03810.jpg


The Lhs version after its all cut out I have some minor grinding to do to clean it all up

DSC03812.jpg


With them all removed I can get on with making the chassis reinforcements out of 4 x 2inch box section ;D I still have the rear bumpstop plates to remove and tidy up .

DSC03811.jpg


Ive started prepping the front panel for paint and blasted on some grey primer

DSC03817.jpg


After that a couple of coats of Delta Green

DSC03819.jpg


The trouble is when doing a Rustoration ;) You dont want to put to much paint on the body as You just have to wet flat it all off again ::) ;D And you want it to look something like it would have done Originally .

I also shot some onto the lower drivers frt steps too

DSC03820.jpg


DSC03823.jpg


DSC03821.jpg


After some heavy flatting back using 1200 wet an dry the front panel looks like this , Ive also trial fitted the original white paint front bumper . Once all the lights,bumpers and rusty chrome front badge is fitted it will look great ;D
 
Ok did a bit more this week 22/6/10 . Ive started trimming the rear bumpstops down and getting the rear ready for some big ass Notches ;D

DSC03824.jpg


So cut the rear bump stops off

DSC03825.jpg


Then trimmed the rear casting too . But dependent on what the bus sits like when its on the floor it may have to be trimmed back some more ;)

DSC03827.jpg


DSC03828.jpg


After it had all been cut off an linished back I started to mock up the 4 x 2 strengthner piece ready to weld it in . I then boxed the open end in for strength and also added the little fill in piece to follow the contours of the original chassis :cool:

DSC03829.jpg


And this is it :D . Ive been in Scotland all weekend and had a relaxing time BUT lost 3 days on the bus So im back on it tomoz morning as Im on my afternoons ...
 
Ok Another thrilling installment ....... ;D 4/7/10

Some times I havnt got a full day as I have a afternoon shift Etc so as I have plenty to do I thought Id tackle the gearbox .
I hauled this box out of a running and driving 71 as the bus didnt come with one ::)

DSC03018.jpg


After a bloody good pressure washing at the local Vauxhall garage ;D it still wouldnt clean Up, the above photo is the after washing :eek: :eek:

So i had to go in heavy with a wire cup brush on the grinder ...

DSC03851.jpg


I also refitted the recon starter and cleaned and painted sum of the brackets and fittings . While I was there I grabbed some original drive shafts from my stock .....

DSC03848.jpg


And after stripping the Og Ujs the were all genuine Vw so I checked them for play and cleaned and washed the old grease and snot out of them .Ive heard some bad reports about '' New '' ones that are being sold at the moment. Then I fully repacked them with grease and new boots ,And a dash of paint too ;D ;) and Yeah its a right shitty Job to do....

DSC03849.jpg


Also on Monday I managed to borrow a 180amp welder and get the chassis braces welded in above the chassis ,This ment I could start on the Mahossive chassis notches too... Id already cut off and trimmed the castings back . So i marked the chassis and cranked up the grinder

DSC03838.jpg


DSC03845.jpg


DSC03846.jpg


With this much notching It will get real low, But realistically I want to drive the shit outta of it too so it will probably never get as far down as it Could .NOTE: Ive yet to flash any of the welding with the grinder. I want to clean up the welding and generally tidy it up But not too much as I still want all the strengh too ;D

DSC03847.jpg


Thats the A arm for the Irs so that would put the Hub way Up into the rear arch ;)

Also when getting down this low, Your gunna run into Other problems like the A arm hitting the top lip of the inner mounting bracket, So with a bit of radius clearancing its soon sorted it .

Ive had to cut the rhs brake flexi hose bracket off as its mounted on top of the rhs inner A arm mounting bracket and ive got to now make it taller to clear the new radiusing. I will have to raise the bracket that holds the T piece for the rear brake fluid too as its mounted on the Lhs A arm mounting bracket ::) ::)

DSC03837.jpg
;D

And when Ive not been grinding or welding Ive started painting bits of the bus too , It doesnt look to good here But once its had a bit of flatting and the rear bumper etc is fitted It will look alot Better

DSC03834.jpg
 
Ok well after Spa 26/7/10 ive had the week off and Ive been a tad busy ;D

Ive been busy cleaning and painting various suspension components up , Due to the bus standing so long its last valid tags were in 1992 everything wants derusting/cleaning/detailing etc ;D I must be hanging around with Foxy too much ;D

DSC04215.jpg


Ive finished the drivers side notching and started painted teh chassi up in primer then body colour

The passenger side with the rear hub carriers fitted and the new Slamwerks adjustable spring plates fitted The 2nd set for bays ;D and Just for the record she is a 3 spline Hussy ;) :D

DSC04223.jpg


These are the original seatbelt mounting brackets they had to be cut out when I removed the inner rear chassis braces , So i modified them and then welded them back in again. Its ok modifing cars but you cant skimp on safety ;D I also remade the heater outlet control brackets as well from scratch as again I had to cut them up to notch the chassis

DSC04225.jpg


DSC04226.jpg


I also painted all the underneath in a coating of light grey smoothrite and refitted all the rear suspension/and tightened it all up ;D

The fuel tank panel was a bit of a state so that got a good detailing too

DSC04228.jpg


DSC04230.jpg


DSC04232.jpg


DSC04235.jpg


I also cleaned and detailed the inside of the fuel fillar and gave it a good t cut before reinstalling it all

DSC04233.jpg


DSC04234.jpg


The opposite spare battery tray was a tad worse for wear so I cut that out and replaced it ;)

DSC04239.jpg


The car jack is in place to hold teh new panel down ready to weld it back in again

DSC04241.jpg


All seam sealed and ready for paint ......

DSC04245.jpg


And painted ,I will do a bit of light sanding and blend it in a bit better

While I had the paint out I finally painted the passenger rear inner wheel arch too

DSC04244.jpg


I modded the brake pipe bracket and welded it back on ;D

DSC04243.jpg


DSC04246.jpg


And the gearbox should be in by tommorrow ;D

More soon
 
Ok its been a bit mad the last few days as Ive been working flat out to try and get all of this looking some where like a bus again ::)

The gearbox went in last weekend and it all started to come together , the driveshafts are on and all the rear suspension is in . The rear brakes are on and the handbrake now works too . After discovering I had a blocked handbrake tube I got it fixed by completly removing it and clearing the blockage and unfortunatly losing 3 hours to that ::). The engine went In with Paul ( Jordans Crossing Ministries ) Aucotts Help and he also gave me a brand new clutch ;D the wiring in the engine bay went back in and after painting all the opposite battery tray I gave the whole engine bay a good T cut and polish .The rear brace bar needs to come out again for painting and Im going to raise the engine/gearbox by 25mm for extra added clearence ;D

DSC04278.jpg


DSC04281.jpg


Now if you check out earlier photos You will see that the drivers side wheel arch was In a bad way. After several attempts at repairing it I realised it needed complete replacement and I cut a complete wheel arch from a scrap bus ready to do the job.

Well me being me and the words of Evil Ben Lewis flying around the inside of my head from a drunk conversation when I was in Newquay, I decided to TUB the front wheel arches on the bus :eek: ;D She will now get down proper Low .....

DSC04282.jpg


DSC04285.jpg


I got these preformed tubs from Slamwerks at a good price as there was some favours swopped/traded in ;) ;D

DSC04283.jpg


I cut out the original seatbelt mounts and fully seam welded them back in , Safety first and Safety second guys ..... Then I also welded the OG seat mounting brackets in too . I modded the wheel arch tubs a fair bit as there designed to go all the way down to the floor plate But I didnt want that so I cut them short across the front flat part of the arch....

DSC04286.jpg


DSC04287.jpg


I wil have to fit a piece of 40mm square box section to take up the difference in height so the seat sits square . Also the tubs arent big enough to make you look into the top of the windscreen like on other heavily tubbed buses Ive seen .....

DSC04293.jpg


The drivers side is as mentioned worse for rust so I have to make some minor repair panels before welding the new Tub in

DSC04302.jpg


After taking alot of measurements to ensure the runners stayed square I drilled all the spot welds out of the runner and cut out the tub.... I have taken all the measurements off the inside runner too, I just have to get the box section . Thats a job for this week coming

DSC04303.jpg


DSC04304.jpg


In the last photo you can see how much of the original wheel arch is left in so the tub doesnt sweep down to the floor
 
Today August 16th has been a very good day ;D I cleaned all the rear lights and swapped the wiring around then cleaned all the earth straps etc and bolted then down , I then put a big 12 volt battery on and put some power into the old girl for the first time since 1992 ....

And F#ck me it all worked I was absoulutly Gob smacked all the lights /indicators and wipers etc all worked , The engine will turn over on the starter and has power to the coil too

Its been a hell of a day and a Giant leap forward in progress ;D ;D

I need to finish off getting the motor wired and fired this week and then finishing off the drivers side wheel tub...........
 
Now then Ive been very busy. Unfortunatly I had to go on a course at work so missed out on a a few days off and lost a bit of productivity.
Ive been getting to the unit after 4pm then going home about 11pm so Ive lagged a bit . On friday 20/8/10 I got to the unit about 3.30 pm and finished at 2am :eek: I got all the front suspension on and set all the linkpins up and basic tracking and connected the steering and centralised it .
I stayed in my bus overnight at the unit and got up at 9am and put all the new front brakes on . Cheers Paul ;D

So after tweaking the suspension a bit ........

DSC04306.jpg


DSC04307.jpg


DSC04305.jpg


Now after looking at this all wkend I was going to click the rear spring plates down one more spline . But Ive got to put the Westy interior in yet and they weigh a ton so i will probably tweak it up a little at the back , The front is very low and i can just get my fingers between the top of the tyres and the wheel tub ;D ;D Also please ignore the rims there just to set the suspension up etc

Ive just started doing the last bits of paint that want doing and blending the new paint and some rubbing back to age it .....

There is still a fair bit to do ;D
 
In the previous post the van was Just on the sprints to set everything up and check for clearence after this I lowered teh back another outer spline ;) .....

DSC04317.jpg


The long side sill is always a nitemare but after alot of paint blending Im finally happy with it

DSC04311.jpg


If you check back some of the earlier posts you will see just how much work has gone into this rear corner alone

DSC04314.jpg


Quite a time ago february I think I bought all the white birch ply to make the westy interior , I cut it all to shape using original westy panels as templates .Ive hoarded a lot of them ;D

DSC04315.jpg


I finally painted al the front wheel tubs and front floors

And all the rear glass went in too
DSC04328.jpg


Before the windscreen could go in the gauges had to come out as all the gauge glass had slipped down ::)

DSC04334.jpg


DSC04337.jpg


With the help of Dave Smith 84 and Pete Gee 56 the windscreen went in last night to 6/9/10
Considering how much work has gone into the windscreen aperture alone the fit of the windscreen and rubber is outstanding ;D

DSC04369.jpg


DSC04370.jpg


Due to the tubs going in I had to raise the seat runners too so I bought some box section and capped the ends off then welded them in and replaced the seat runners and passenger bracket back on top

DSC04339.jpg


DSC04342.jpg


After some paint

DSC04372.jpg


I started building all the dash back up and installed the horn switch and the electric washers

DSC04371.jpg


Getting underneath the rubber steering coupler was perished and cracked and I stuck a new one which was only 9 quid .

DSC04322.jpg


Unfortunatly the original indicator stalk packed up and £ 120 quid later :eek: :eek: :eek: I put a new one in as well .....

DSC04321.jpg


Today I got all the front suspension together and after doing lots of tricks to get it fully down It now sits as low as it will physically go without doing a beam raise ;D

And finally heres a shot with the new wheels on Too .........

DSC04309.jpg


DSC04308.jpg


;)
 
In the last week ,Ive been busting it to get this bus finished for Vanfest 10/12 Sept so its been all systems go Including fixing all the interior in and getting the bus through the Mot.. After all sorts of dishearting problems with the brakes and pulling a 30hr straight through all nighter on the Thursday nite before Vanfest to get it motd on the friday morning so I could drive it down there .......

It finally made it and was the talk of the show ;D

Heres some final photos

VF2010no6.jpg


VF2010no2.jpg


VF2010no4.jpg


Rolling on the M5

VF2010no1.jpg


VF2010no3.jpg


Theres still a fair bit left to do put the Mad Matz down in the back and glue down the front rubber arch mats also get a headliner installed ;)

Gadget
 
Im sure one or two will comment But that is ride Height ..... ;)


Rolling Video .......

http://www.youtube.com/watch?v=Eeu_FLeF41I" onclick="window.open(this.href);return false;

Thanks Dave Smith 84 thats Amazing :mrgreen: :mrgreen: :mrgreen:


Gadget ;)
 

Latest posts

Top