

tmatre said:Got a mail from VWParts yesterday.. parts shipped
Exciting times ahead :mrgreen:
tmatre said:Got a mail from VWParts yesterday.. parts shipped


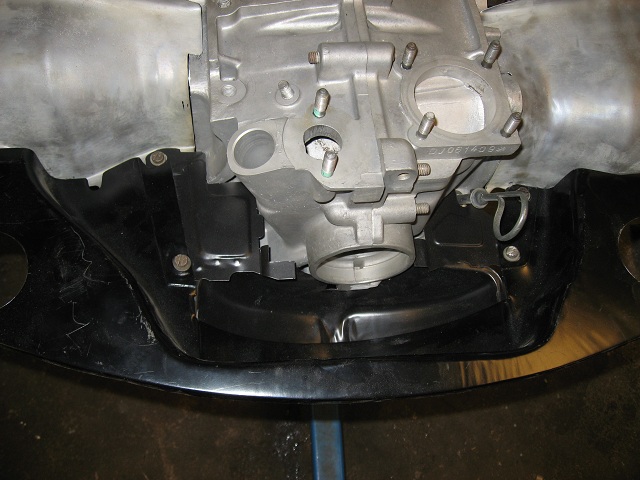
Airtime said:This will be an awesome engine! :shock: 8)
Great job on your home made continental bed! 8)

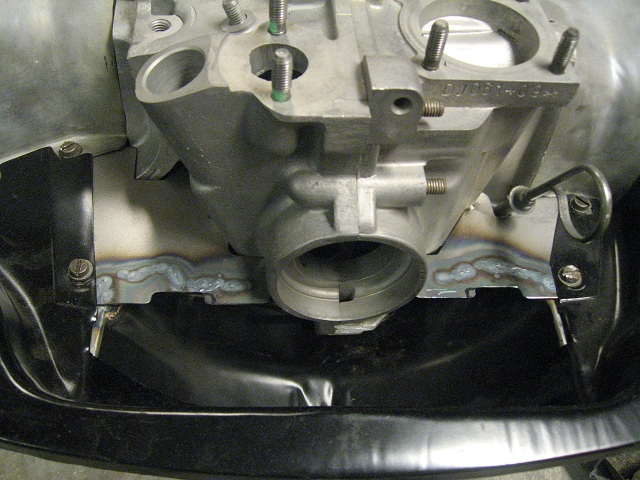
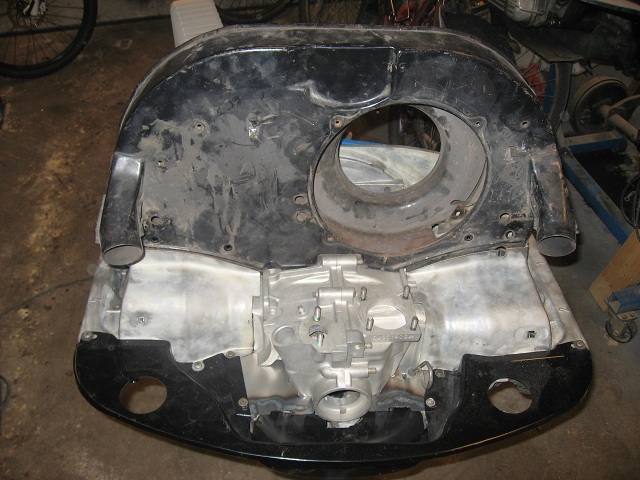
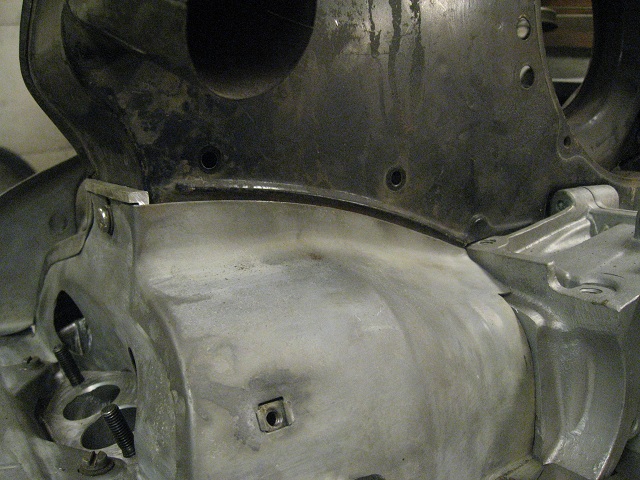
gninnam said:That canoe look fantastic 8)
Any pics of that being made :mrgreen:
Enter your email address to join: