71 Seattle Westy Restoration - Done, Time to go camping

Early Bay Forum

Help Support Early Bay Forum:

This site may earn a commission from merchant affiliate links, including eBay, Amazon, and others.
Bigbear said:
That looks like hell to me! Wiring makes my head hurt! :|


I had major parts missing on the 72 so getting that running was a learning experience. Makes this a walk in the park?
 
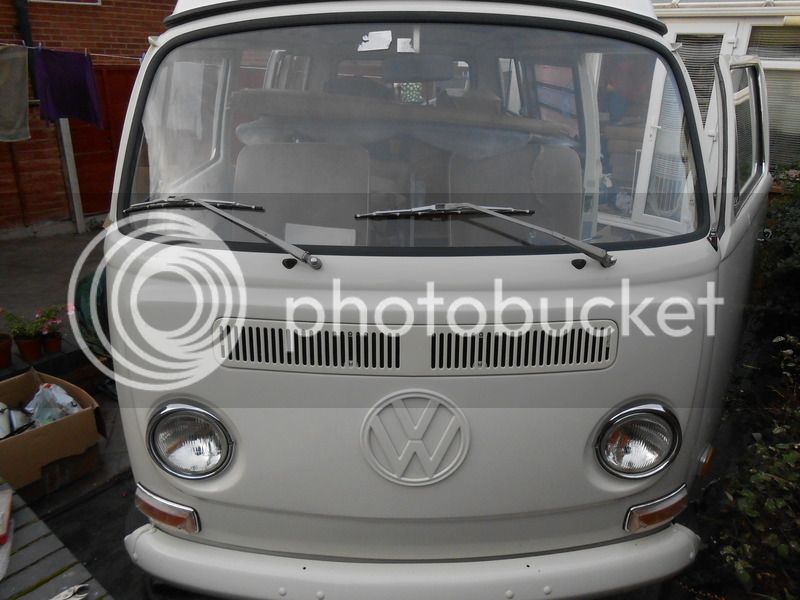
Absolutely cracking example of how to do a resto - really love this bus you're doing an amazing job.
 
georgeyv said:
Absolutely cracking example of how to do a resto - really love this bus you're doing an amazing job.

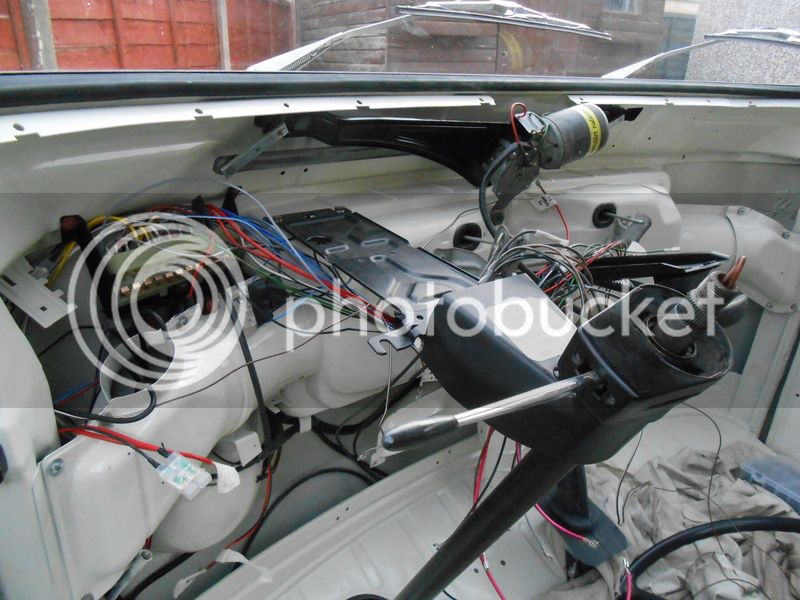
Thanks, looking forward to getting it finished. Plan is for next summer which is now looking achievable. One thing I have learned to do thing properly takes time.
 
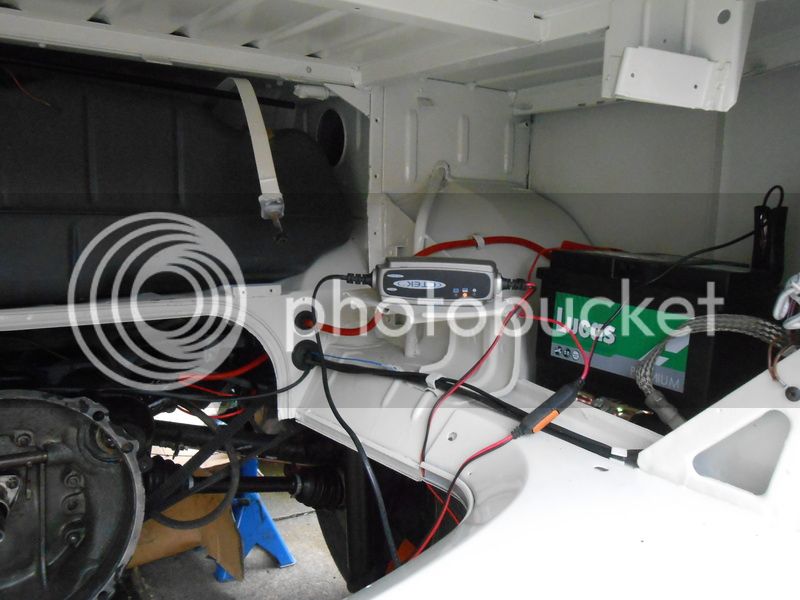
Good progress on the 71 this weekend. The new wiring loom is in place and started putting lights and things back on. Next step is the dash, connect all the lights up, fit a battery then the big switch on. Still need to refit the engine but that can wait until the electrics are all finished.


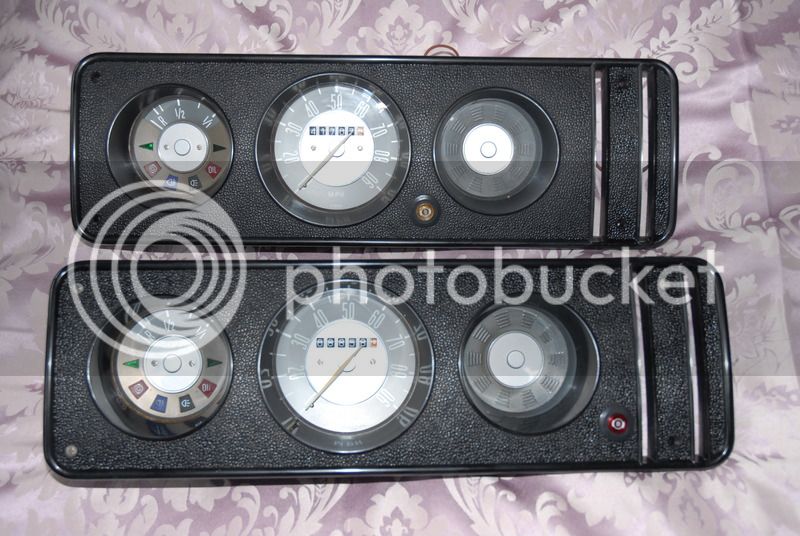
After 4 months of house alterations which re finally finished it's back to the camper at last. I'd already made some good progress on the new wiring loom so picking up where I left off. First I stripped the instrument pod completely. Amazing how much better these look now, (I cleaned up the 72 one at the same time). Then back to the wiring. I decided to wire up the dash by just connecting the switches and dash pod first. The good news is it's all ow working, even turning the starter motor. Next jobs is to tidy up all wires to the fuse board and dash, then refit the dash. Then refit the pedals, gear lever, fuel tank then the biggy, the engine. Then it's MOT time which I'd like to think I can get done before Xmas.


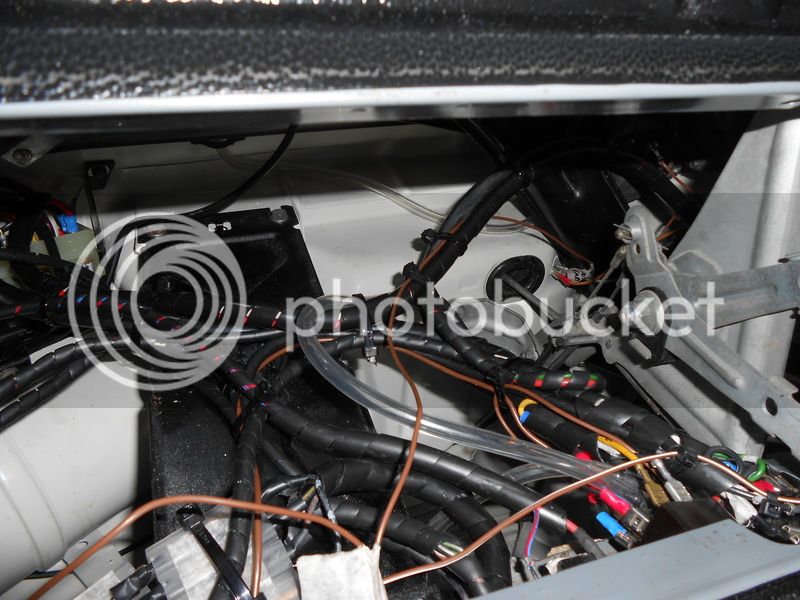
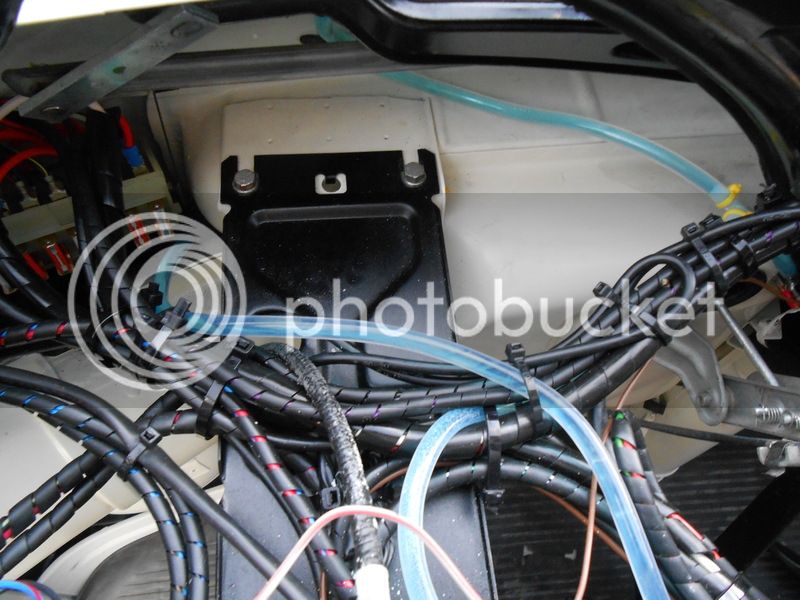
Spent most of today tidying and spiral wrapping the wiring. Very time consuming but worth it to keep the wiring nice and tidy. So now ready to refit the dash tomorrow.

 
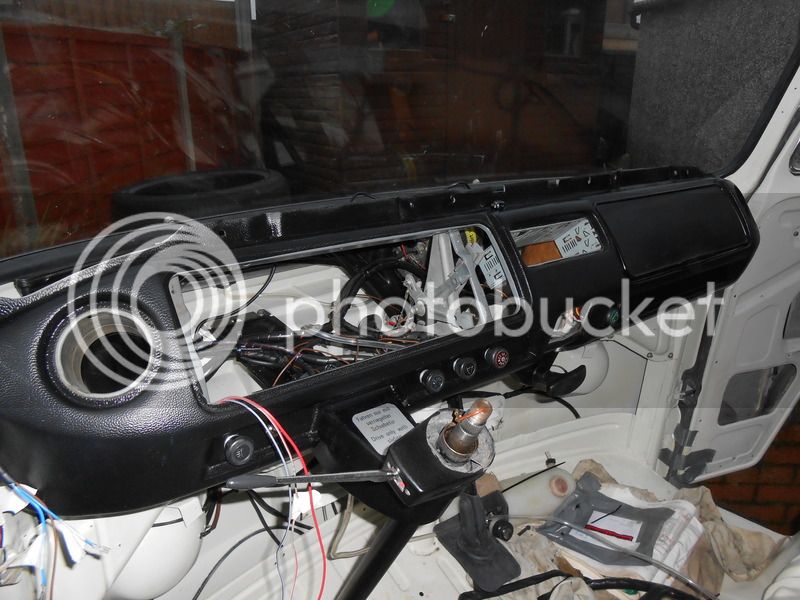
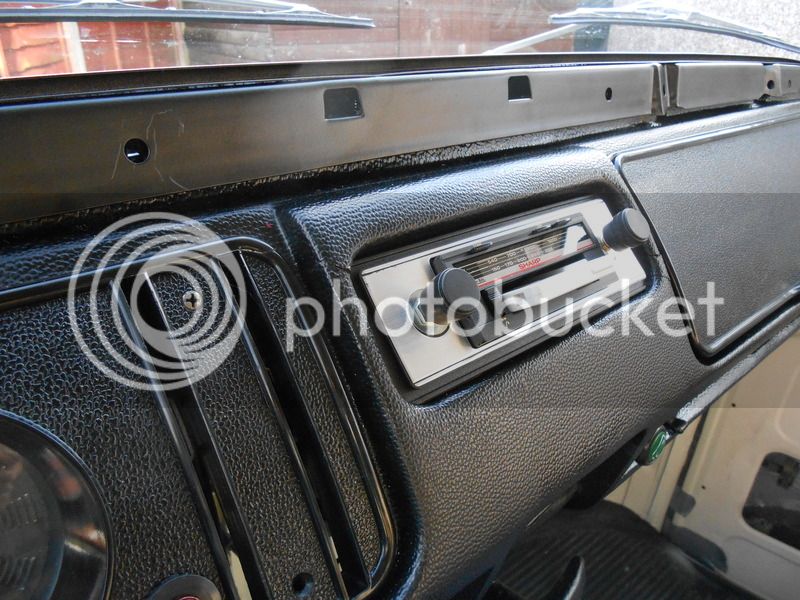
The dash is in and all electrics working. I bought an old Radiomobile Radio off eBay to go in and unfortunately this doesn't work. I'd only tested it without an aerial and heard it crackle. That's all it does with an aerial, so this wasted time. Since taking this picture I've fitted the instrument pod.....in the dark. Very pleased with the wiring, all neat and spiral bound so no dangling cables and hopefully good reliability.


That's looking amazing.

I'm going to tempted with a full new loom but that may be one for next winter - I'd like to get a years use out of it before I try something so big!

It looks great spiral wrapped, beats the factory spaghetti junction behind the clocks!
 
georgeyv said:
That's looking amazing.

I'm going to tempted with a full new loom but that may be one for next winter - I'd like to get a years use out of it before I try something so big!

It looks great spiral wrapped, beats the factory spaghetti junction behind the clocks!
Thanks. Yes the spiral wrap is easy to do although takes a while. Dirt cheap too. Looks nice when you look under the dash. No cables dangling.
 
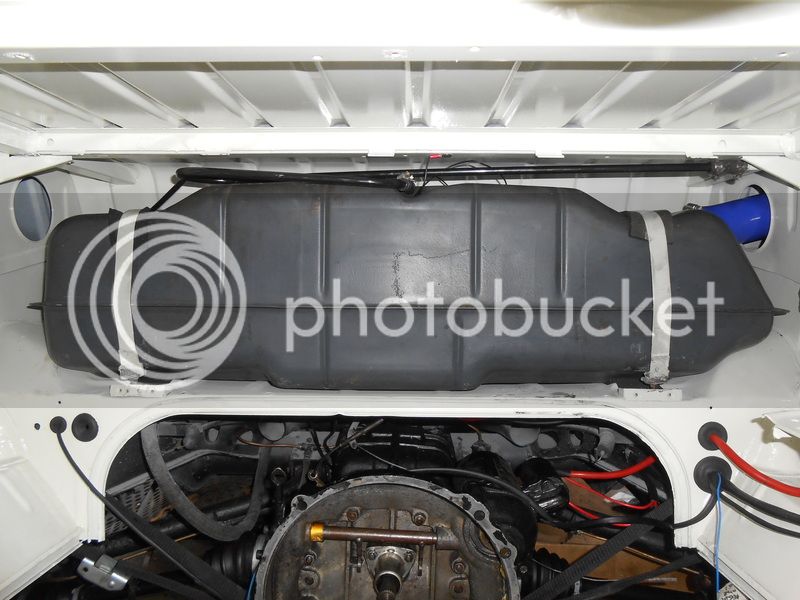
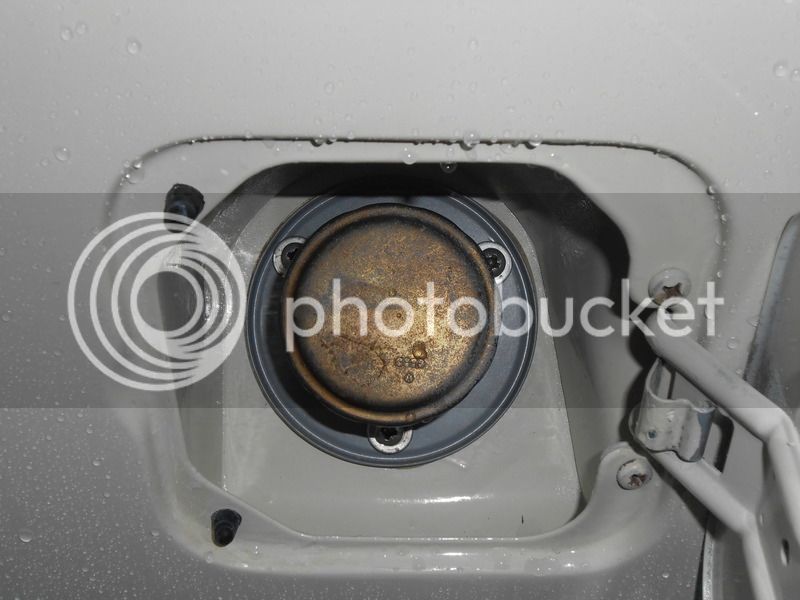
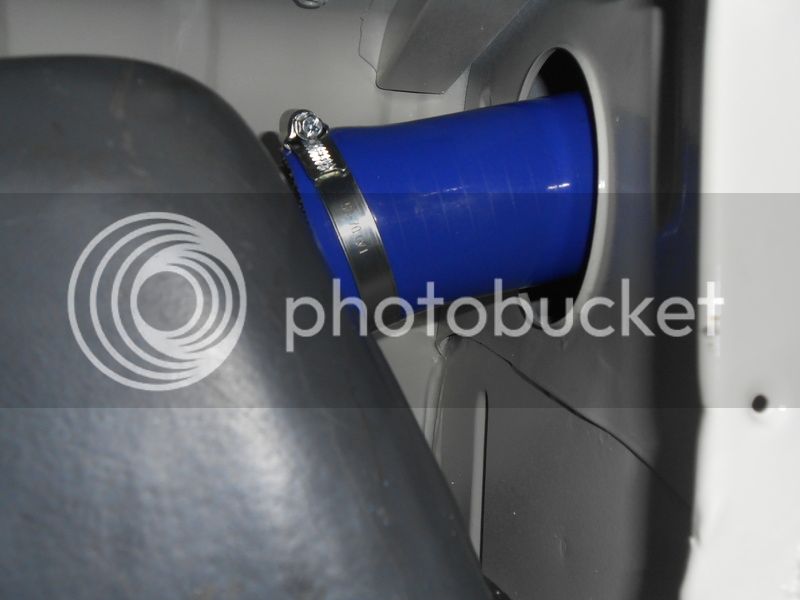
Spent a bit of time checking the fuel gauge worked. I also renewed the wiring and replaced the seal for the sender. Also fitted a new filler neck pipe and clips. I flushed the tank out and got a few ferrous bits, then refitted it. I had the filler neck powdercoated so pleased how that looks. Then refitted the firewall, which I also had powdercoated. I fitted new neoprene seals first.

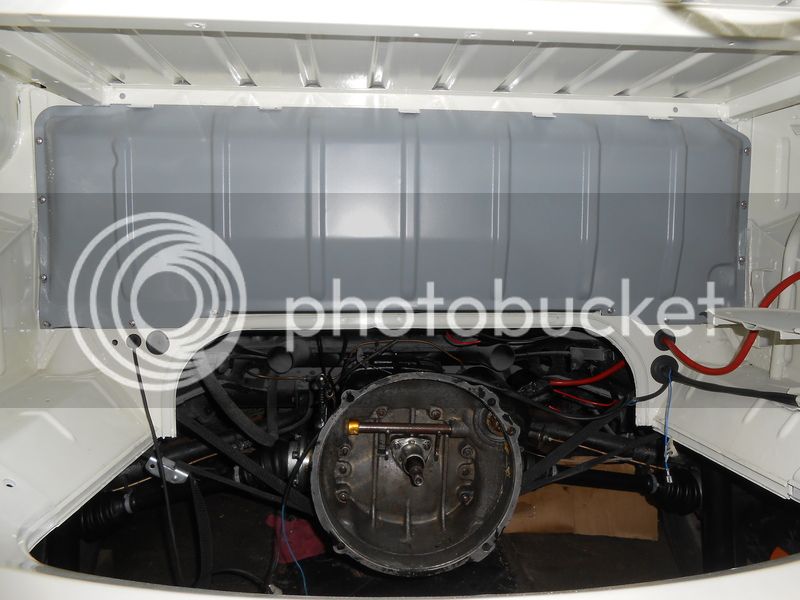
So the engine bay is now looking great.


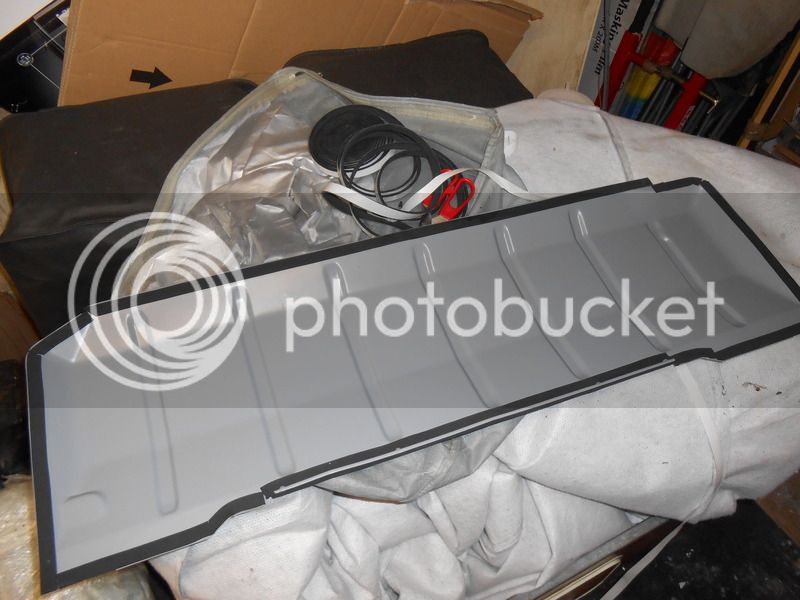
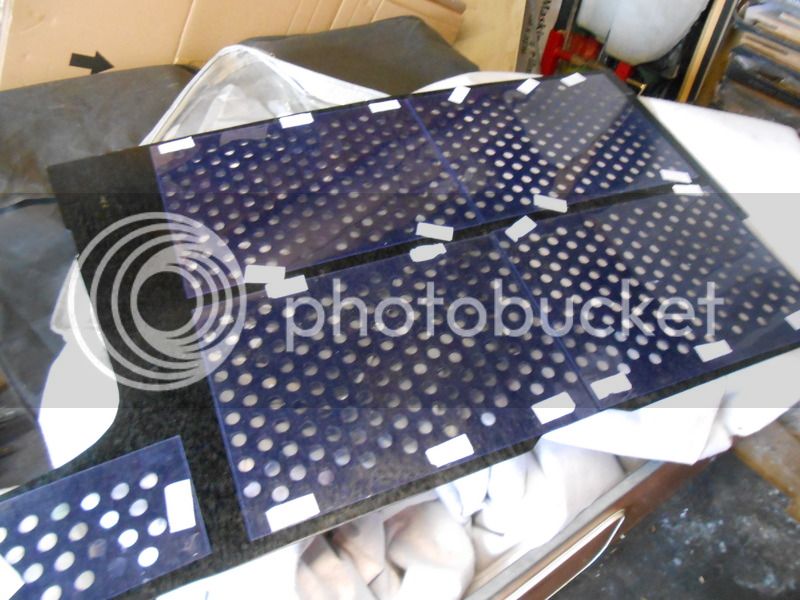
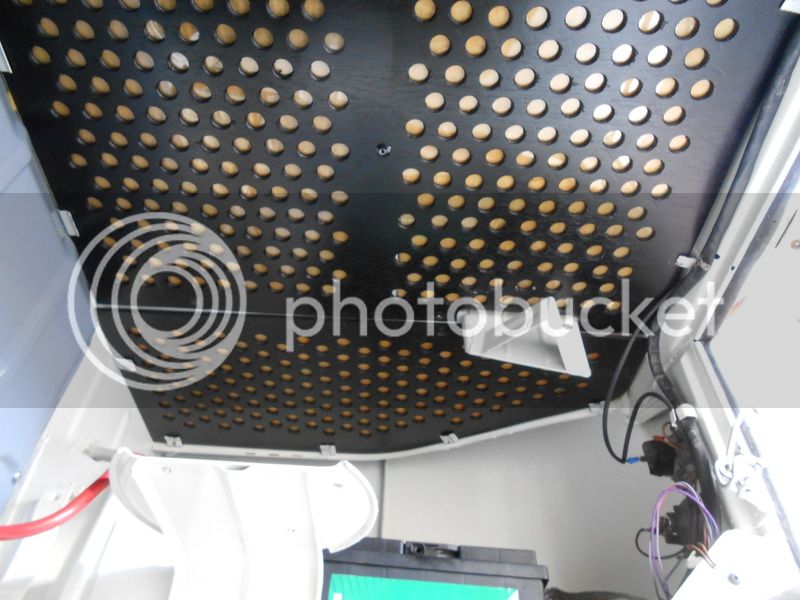
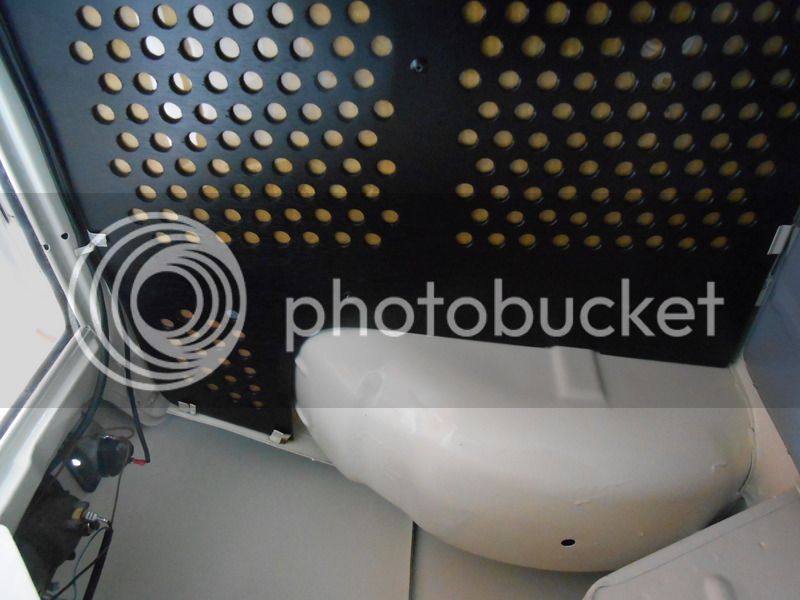
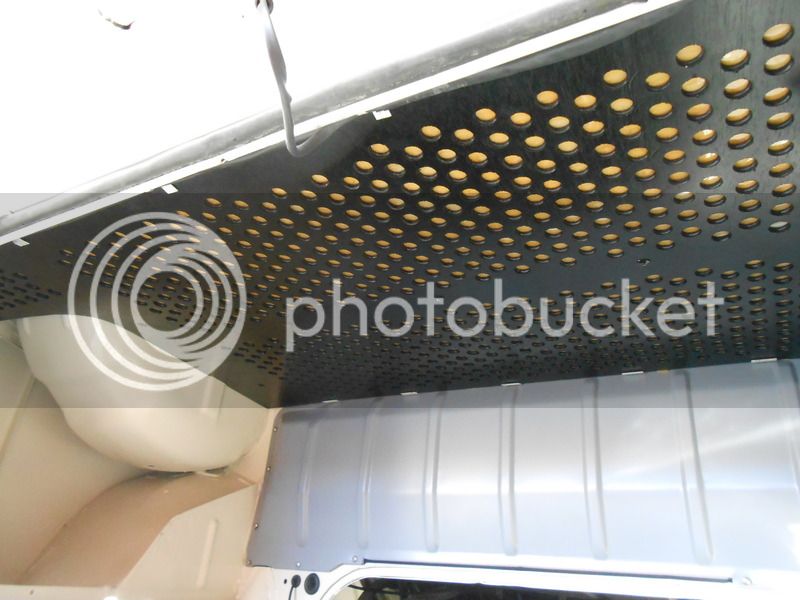
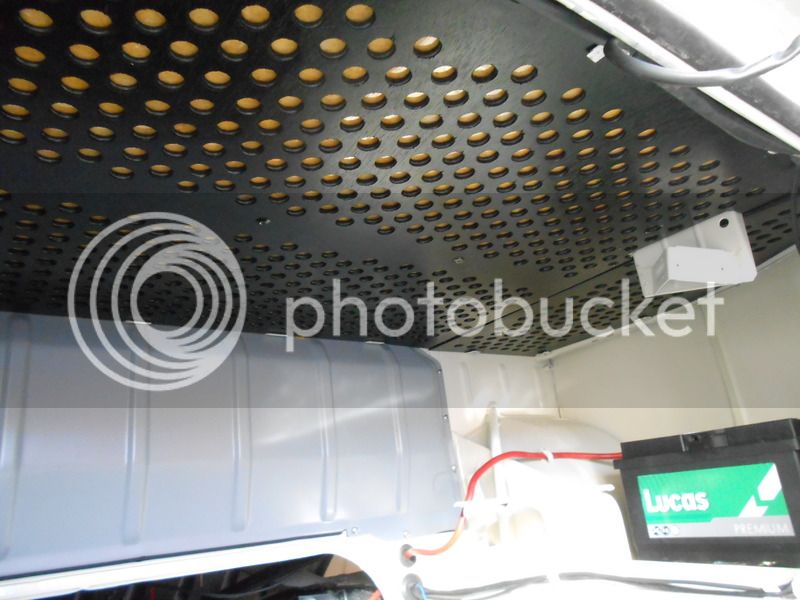
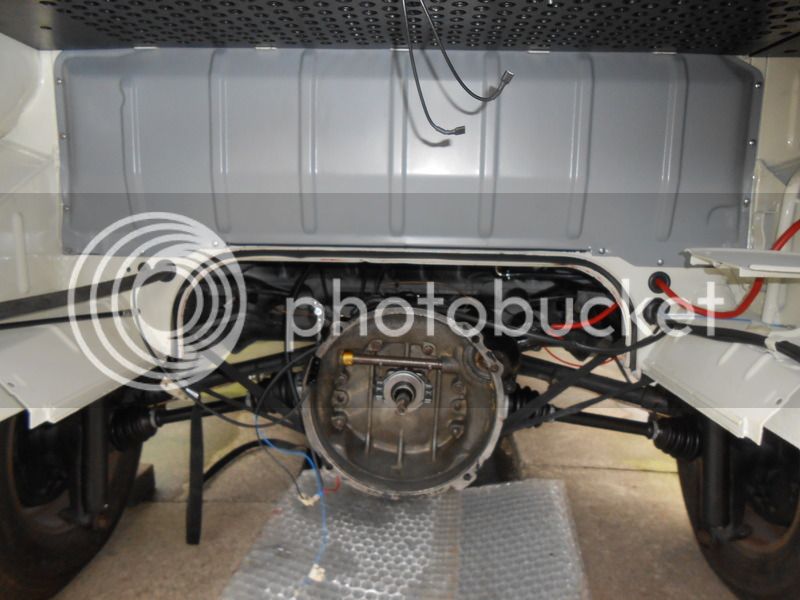
Fitted the engine bay roof from Rackhams today, very pleased with that. The old one was falling to pieces so now option really. I decided to stick some acetate sheets to the back as the insulation was originally wrapped in plastic but this fell to pieces. The acetate should be more heat resistant but block the holes may affect the sound deadening quality. The important thing is to stop any oil fumes soiling the insulation. I turned the main sheets over as they were clean on the back.

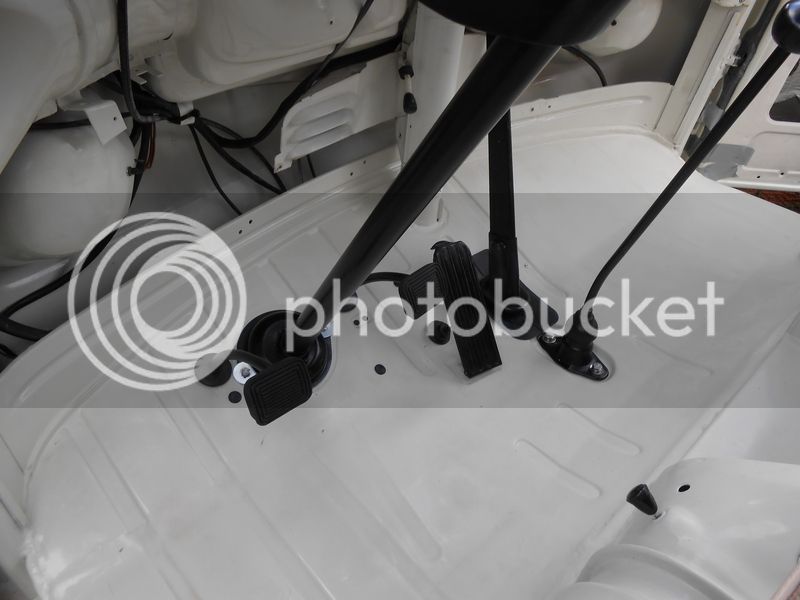
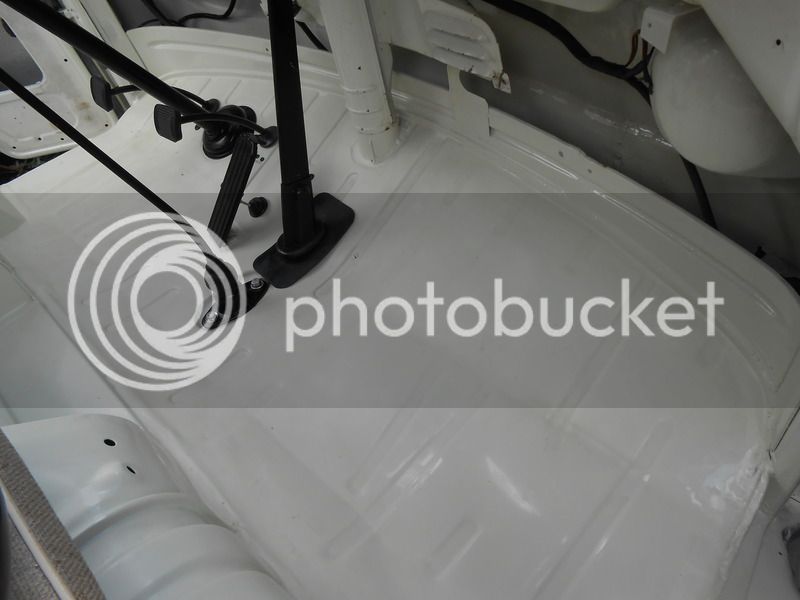
I also finished the cab floor, grommets in the holes, clutch, accelerator and brake pedal fitted.


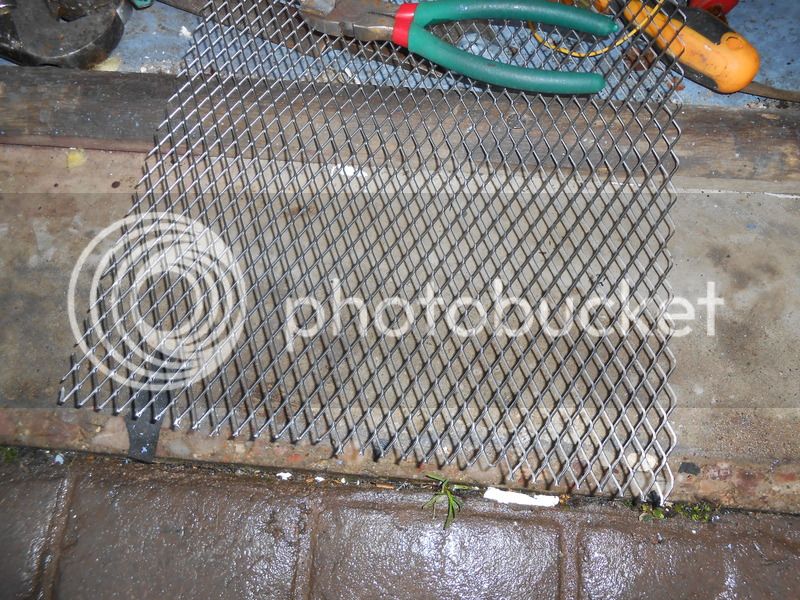
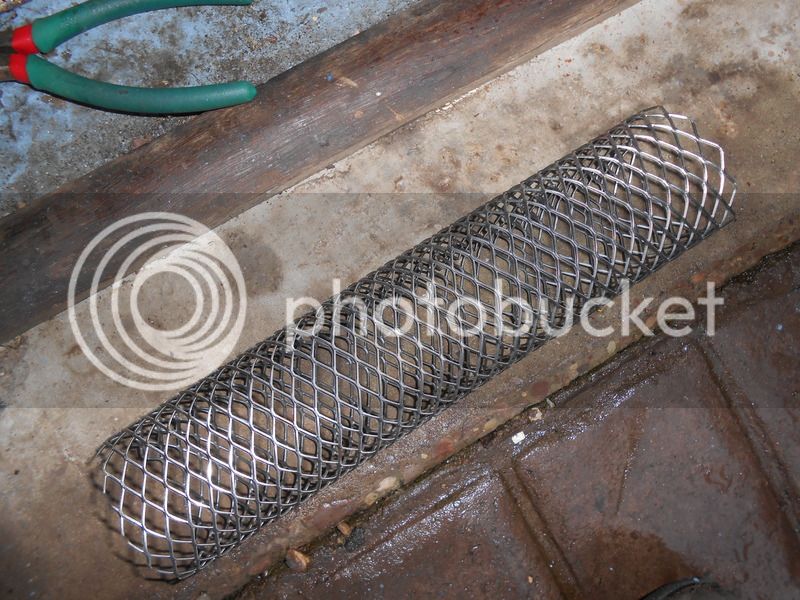
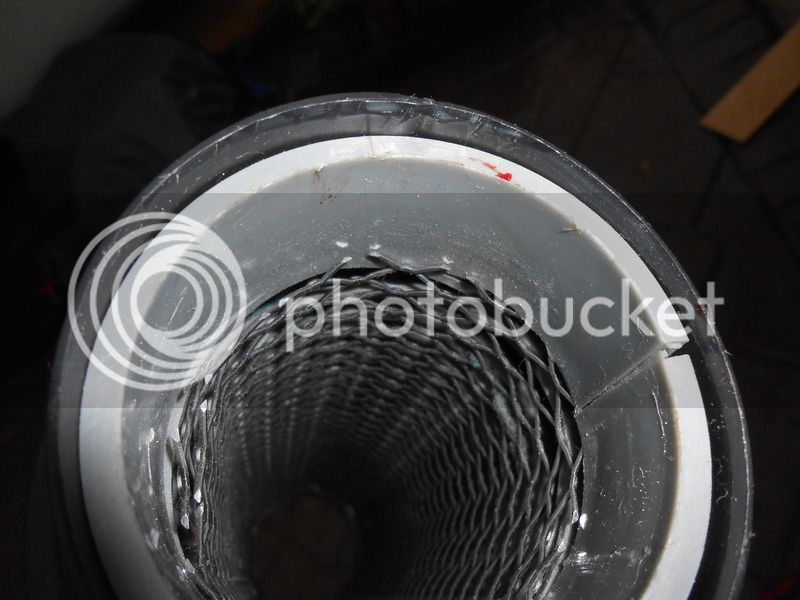
Got some new heater tubes from Schofields and ready other threads it seems the plastic liner can melt so I fitted some metal mesh.

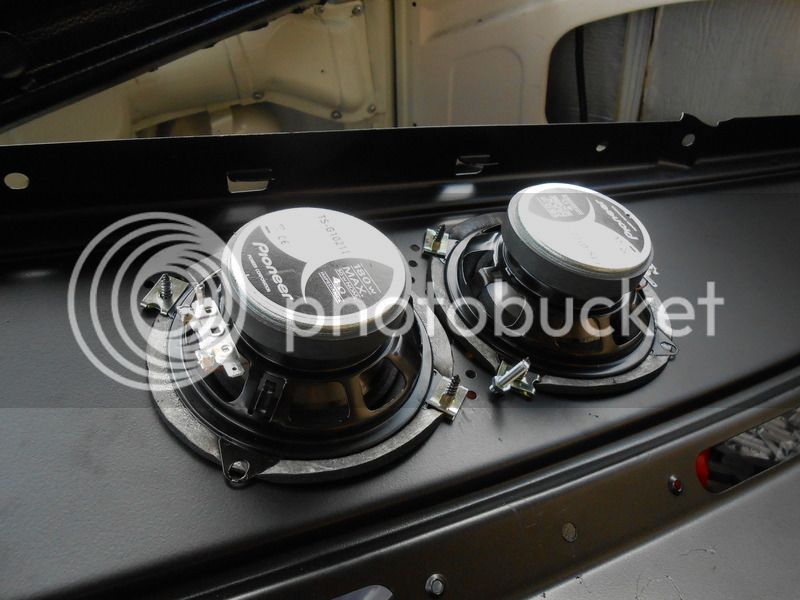
Also fitted the washer bottle and got my new Sharp Radio Cassette fitted. I decided to fit 2 4 inch Pioneer speakers in the dash next to each other. I did this without drilling any holes too. Mounted them with neoprene rubber around the edge. Worked a treat and sound good.


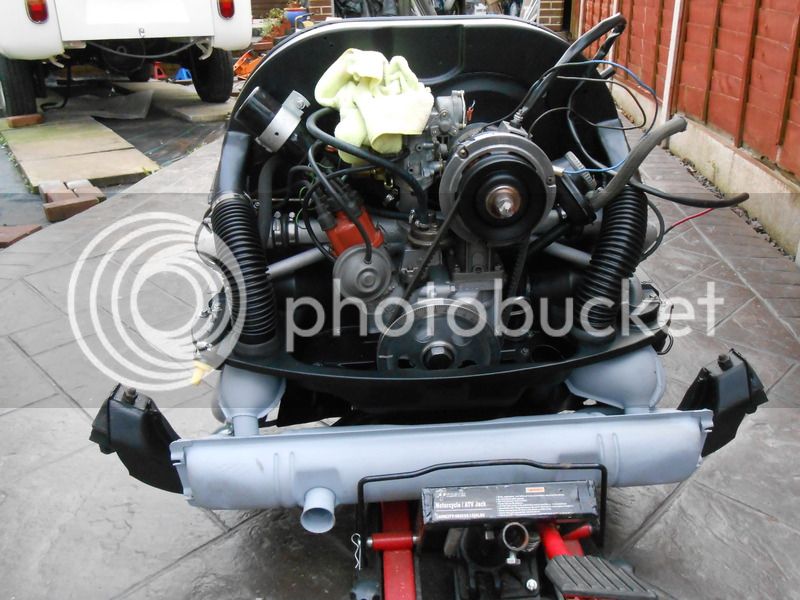
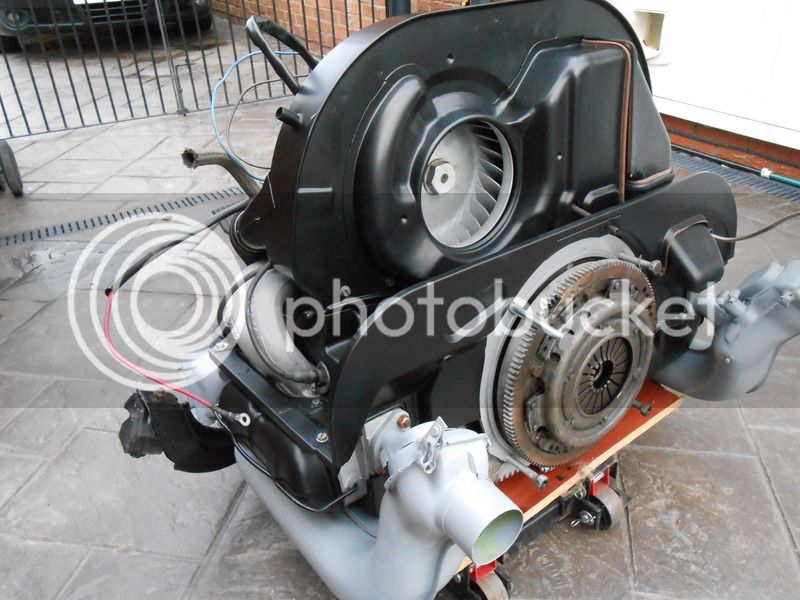
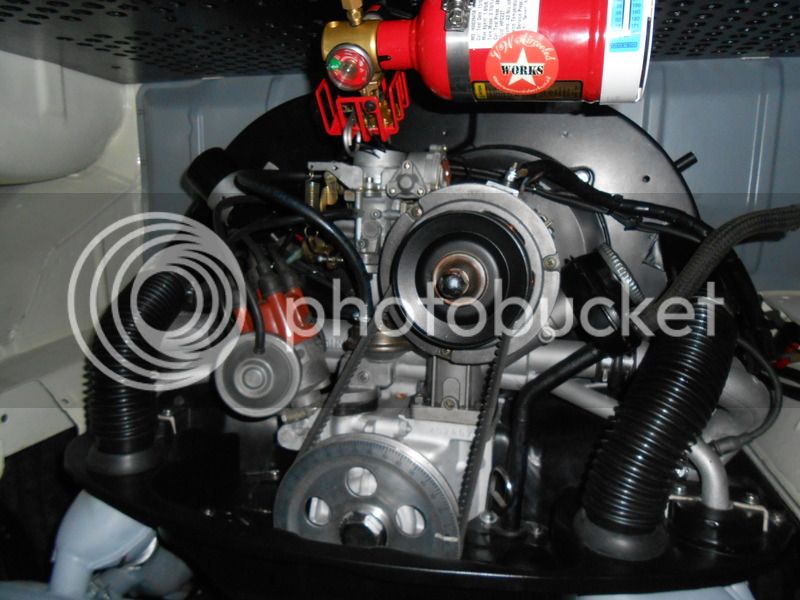
The engine is in and running. Don't you just love the simplicity of the VW air cooled engine. It was almost exactly 2 years ago I took the engine out before the van went to the bodyshop so it's been a long journey. I haven't done much to the engine as it was a good runner. But I have had all the tinware powdercoated, sorted the cooling flaps, heat exchangers etc. So it's all looking very tidy now.

Once the fuel had got through it fired up and is running lovely. I still need to fit the heater bellows, valalnce and engine seal, rear bumper then its just about ready for an MOT. I am planning fitting an electronic dizzy and have a genuine Solex carb to fit but I might just get it MOT'd as it for now and do that later. I've not taken it for a test drive yet as it's only got offroad insurance.

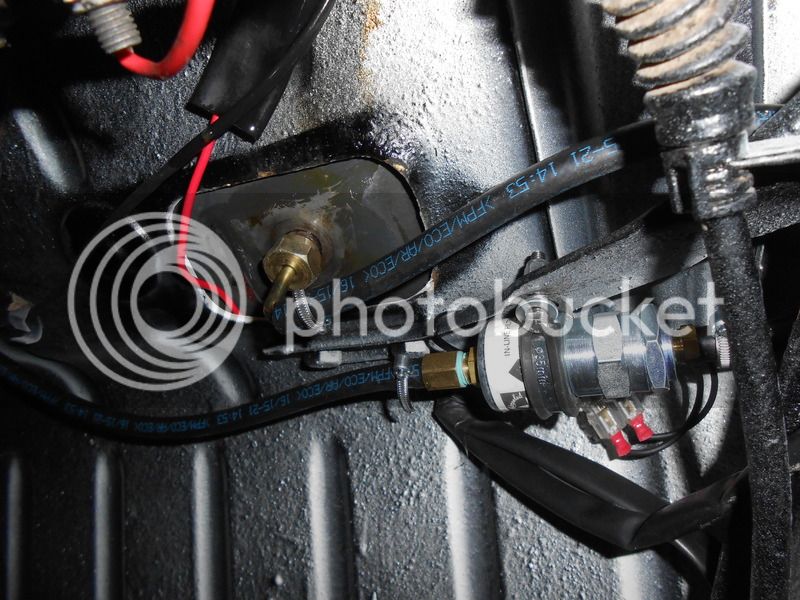
I also got my TMI door cards. You will also notice I've fitted an Air Cooled Works fuel cut off solenoid and Fireboy extinguisher kit. This means the fuel is cut off when the ignition is off but also if the extinguisher goes off it cuts the fuel.


Quality work. 8)


Wiring is on my list at some point..... and fuel tank out too..... and heat exchangers.....winter jobs! If I can motivate myself again!


....Oh and breaks....... :lol: :D
 
Myvanway said:
Quality work. 8)


Wiring is on my list at some point..... and fuel tank out too..... and heat exchangers.....winter jobs! If I can motivate myself again!


....Oh and breaks....... :lol: :D

I've treated the inside of the tank with Slosh from Rust Buster. Pete at Air Cooled works recommended I do it. I also replaced the in tank fuel filter. So now I'm only running the filter built into the solenoid. No horrible plastic filters.
 
Again, great work all round. Absolutely amazing standard.

I'd love to see this in person one day - maybe a show in the summer!

I've got an electronic dizzy to fit, ran it with a standard SVDA for the MOT, as I had it running like that I didn't want to mess with it until it had it's ticket and I could run it about as and when I need.
 
georgeyv said:
Again, great work all round. Absolutely amazing standard.

I'd love to see this in person one day - maybe a show in the summer!

I've got an electronic dizzy to fit, ran it with a standard SVDA for the MOT, as I had it running like that I didn't want to mess with it until it had it's ticket and I could run it about as and when I need.

Thanks for the compliments.

Not planning on showing it as we plan to use it as a camper in the summer but will probably be at a few shows.

Yes I'm thinking I will get it MOT'd before I start swapping carb, dizzy etc.
 
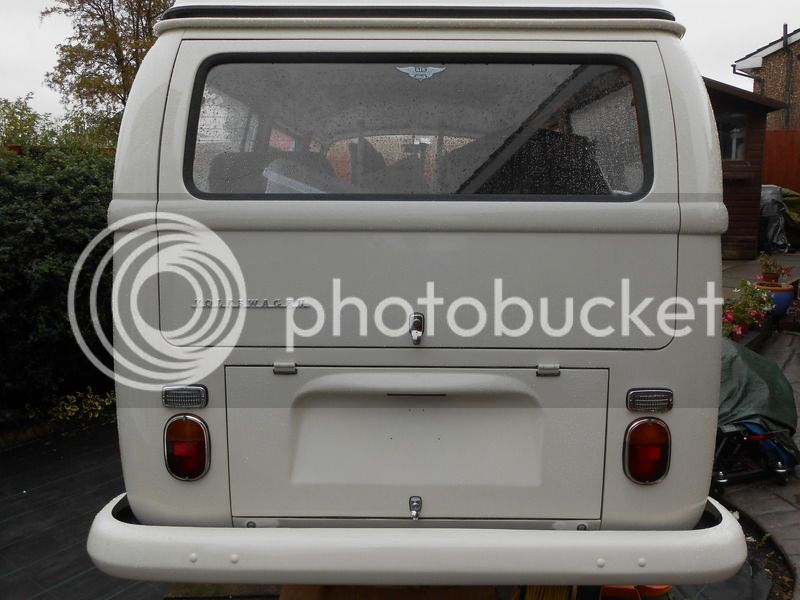
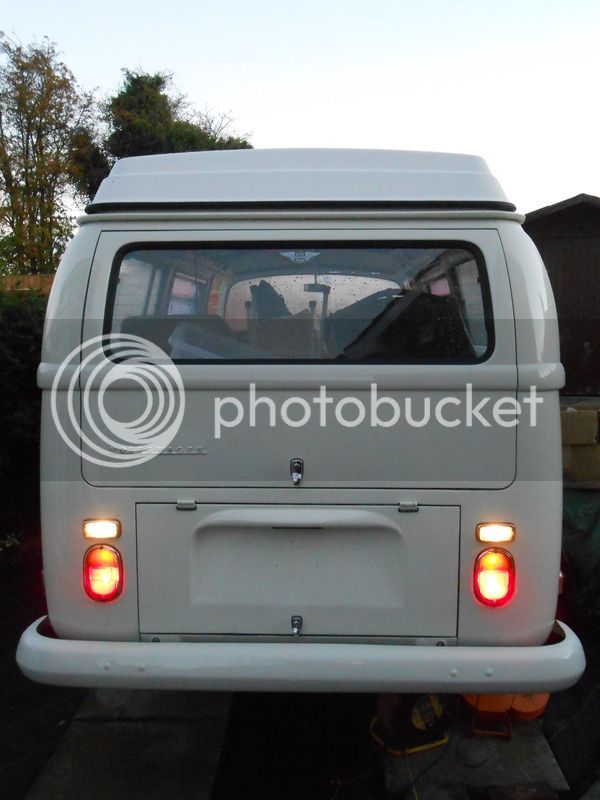
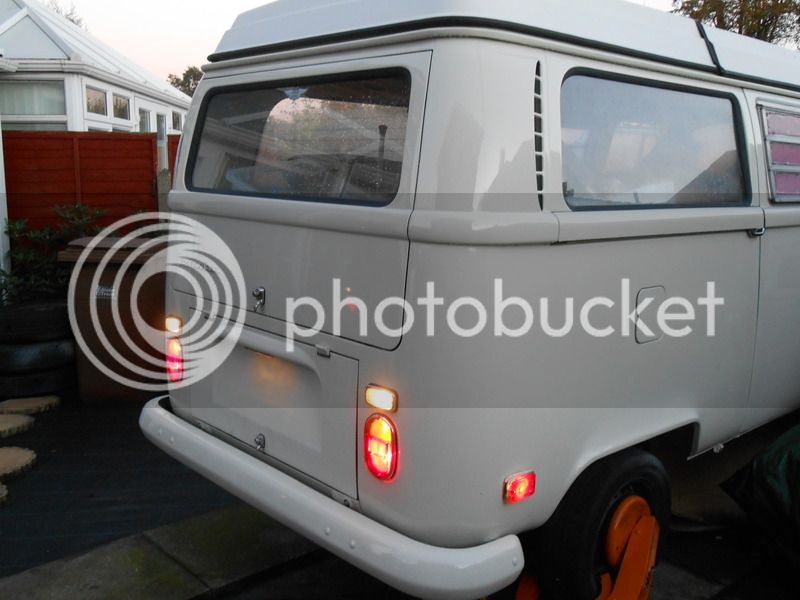
Finished fitting things back today. Valance and engine seal, New heater bellows, heater cables connected, nice shiny stainless tail pipe, (I decided a bit of bling was in order), and the bumper. So I'm just about ready for a road test and MOT.


Latest posts

Top