

68_early_bay
Well-known member
Wow :shock: cracking bus and a cracking job on the dash and wiring loom 8) happy days :mrgreen:
68_early_bay said:Wow :shock: cracking bus and a cracking job on the dash and wiring loom 8) happy days :mrgreen:

squirt72 said:some amazing work done there, very 8)
mozzie said:Absolute quality mate I bet your well stoked

 arty0021:
 cunning plan said:
Late night for you! :shock:
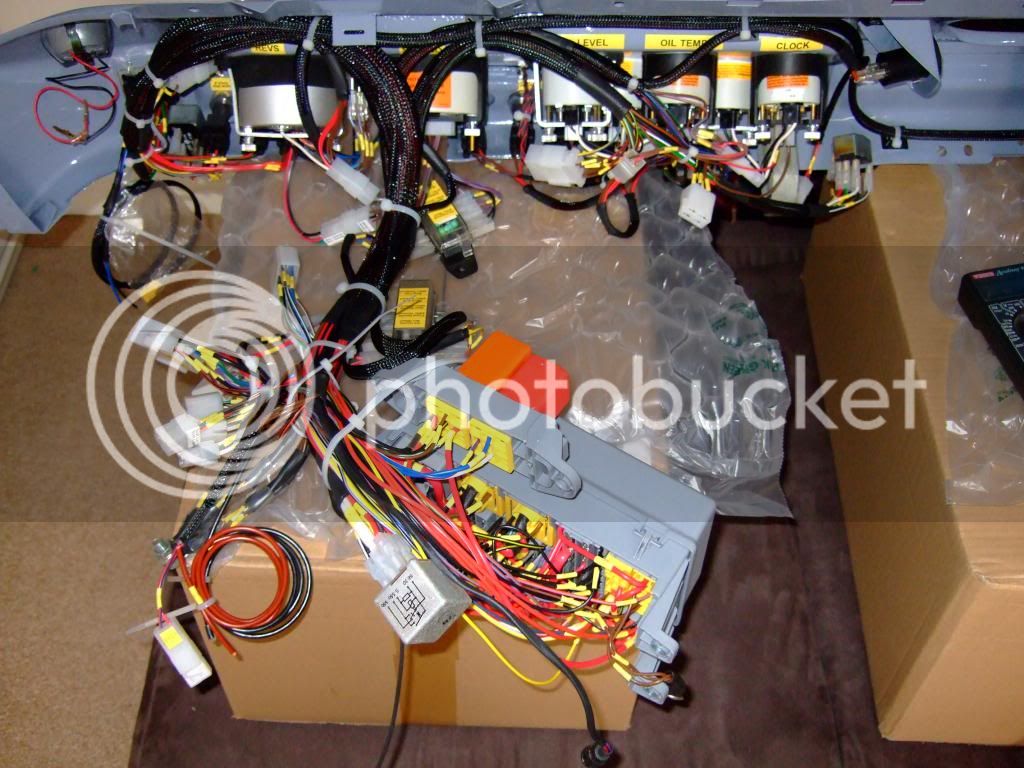
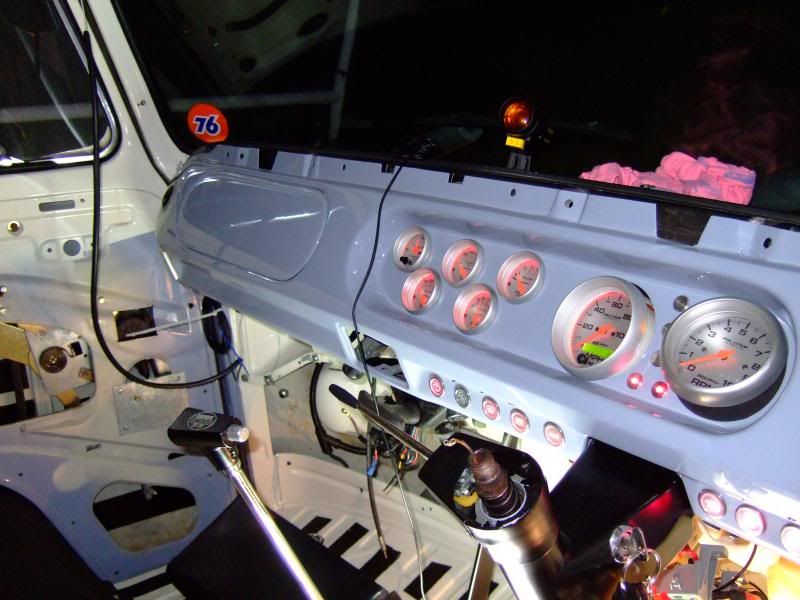 . I'm so chuffed it really has been a lot of work and this is a mile stone. I've got to connect up the electric window winders in both doors, build the interior lighting loom (which is pretty easy) and check a few camping items (sockets, water pump etc). Here's another shot.
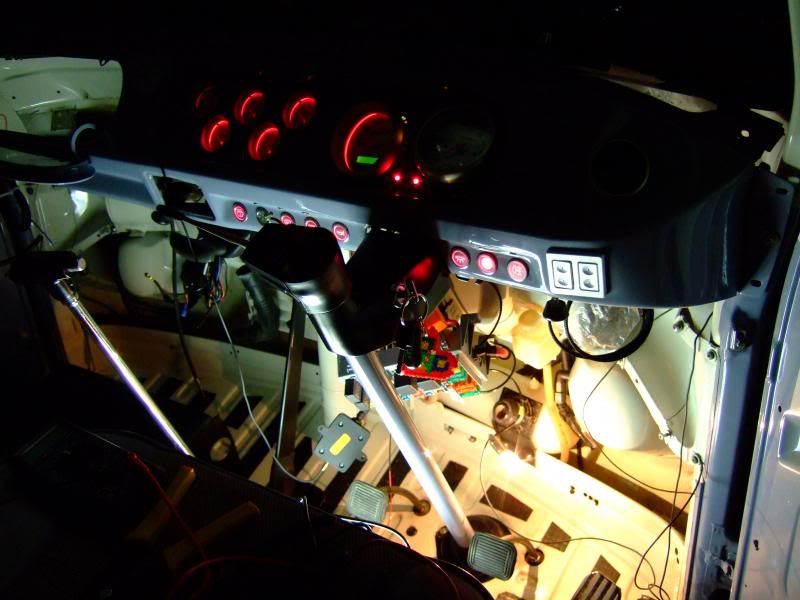
stuif said:Wow, your really a wizzard with electrics
As far as my knowledge goes, is changing a lightbulb
mattyd72 said:Fuckin' awesome.
Wanna do my wiring :mrgreen:
Buss69 said:stuif said:Wow, your really a wizzard with electrics
As far as my knowledge goes, is changing a lightbulb
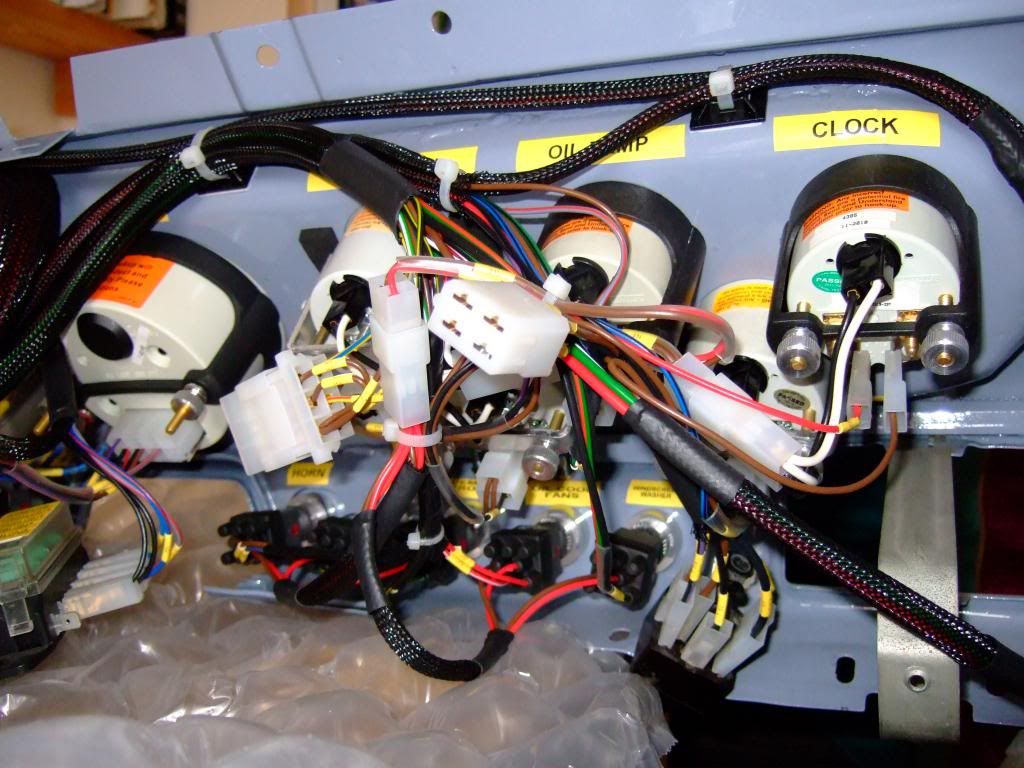
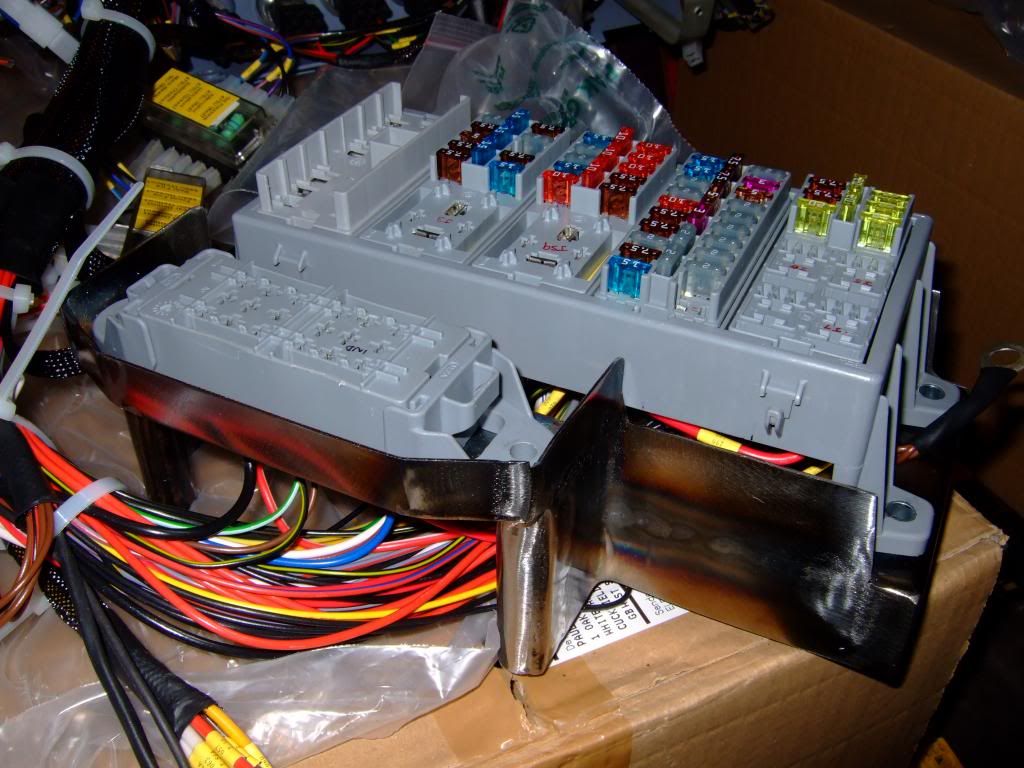
I know it looks complicated but really it's just a collection of very simple circuits. When you break each one down they are all basically, power, switch, device and then an earth return.
The best way to look at it is in layers.
mattyd72 said:Fuckin' awesome.
Wanna do my wiring :mrgreen:
Dude you'd hate me if I did your bus, I take too long to do anything. It's taken me nearly 2 years to do my own bus! :lol:
mattyd72 said:I can beat that, the one that needs the wiring hasn't moved since 2009.... :lol:
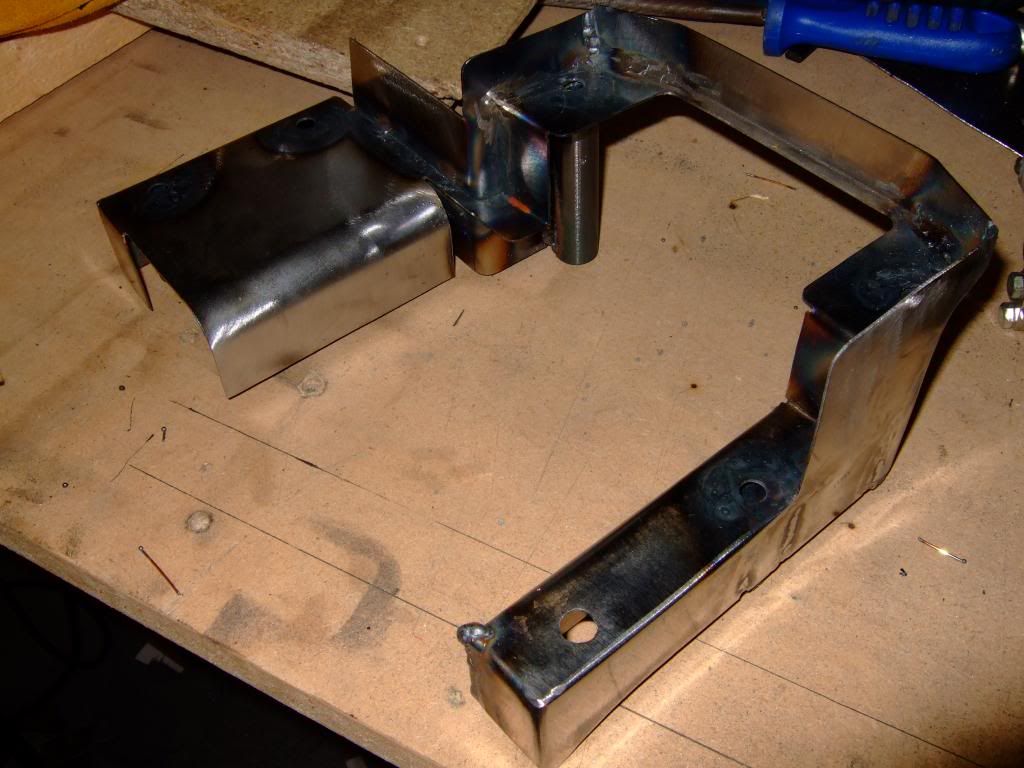
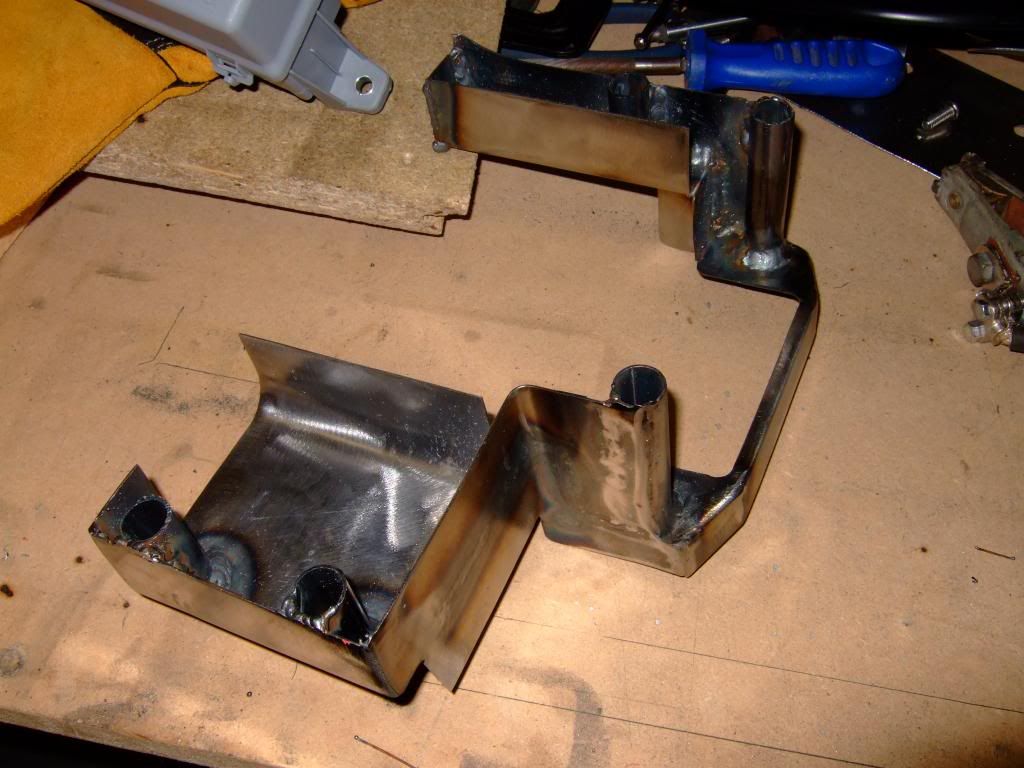
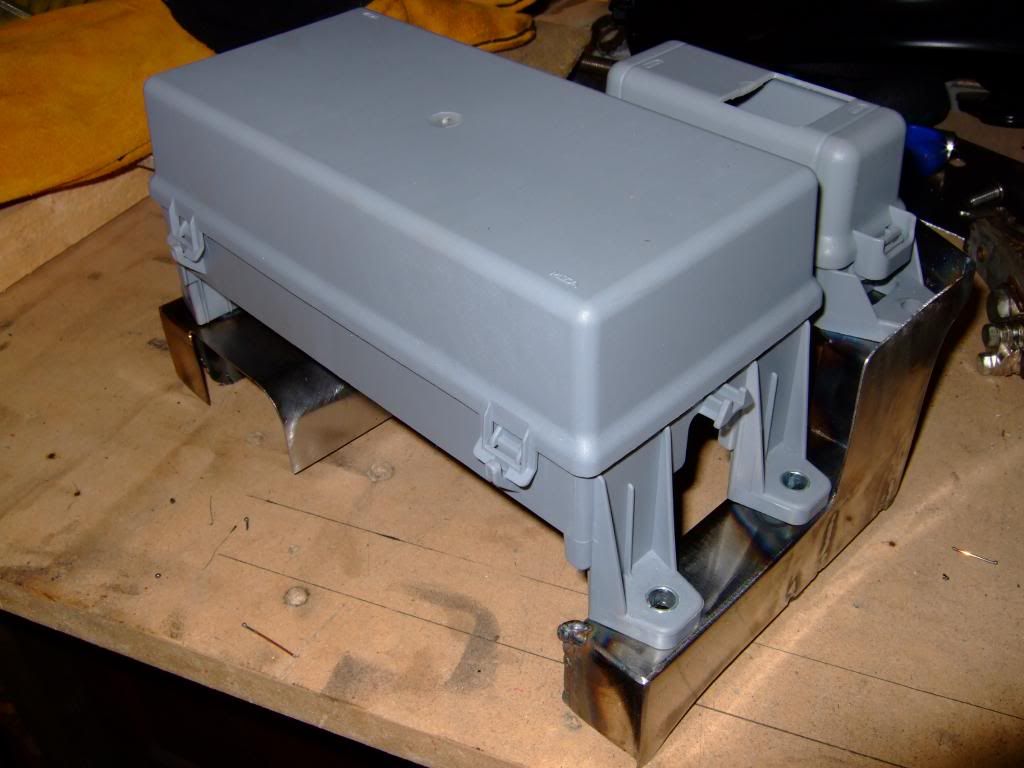
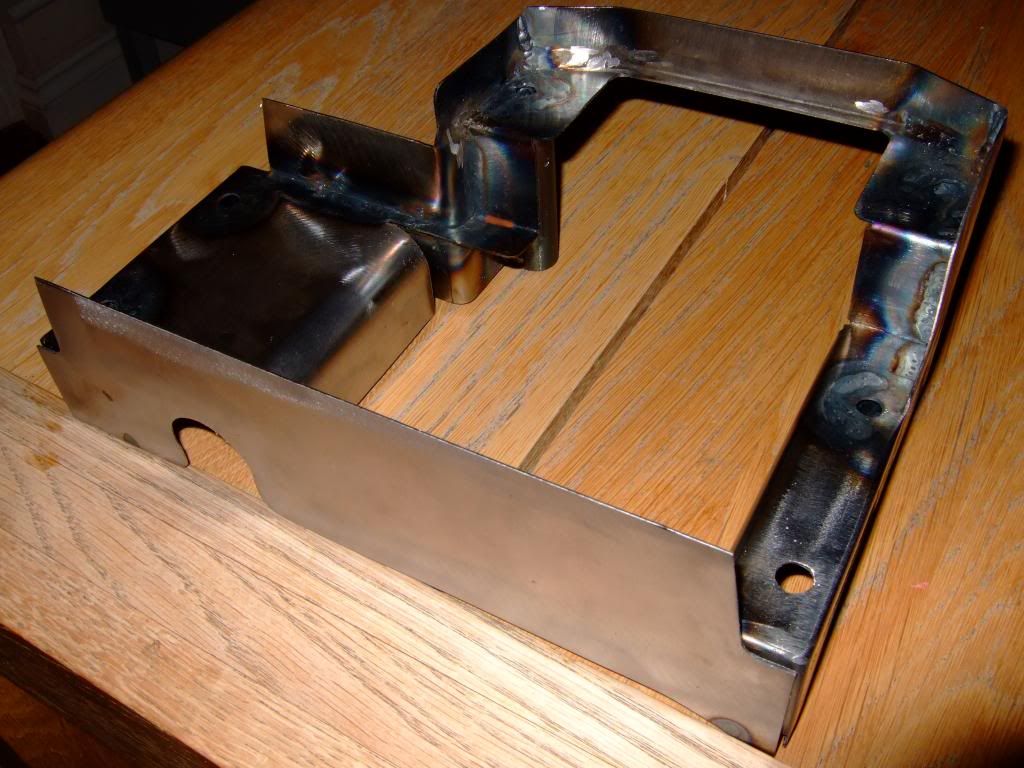
gninnam said:Not only a wiring god but very nice fabrication work dude 8)
Will keep an eye on this one :mrgreen:
not sure how healthy my obsessive nature is though :roll:arty0047: arty0021:Enter your email address to join: