My 1971 bay project...

Early Bay Forum

Help Support Early Bay Forum:

This site may earn a commission from merchant affiliate links, including eBay, Amazon, and others.
Wow, thanks for all the comments guys 8)

Right, my computer died after I made that last post, new one coming soon (2 weeks) so I'm using a borrowed laptop...

On saturday, I set about removing the headlining from the new roof.

Found this poster below it:

CIMG6101.jpg


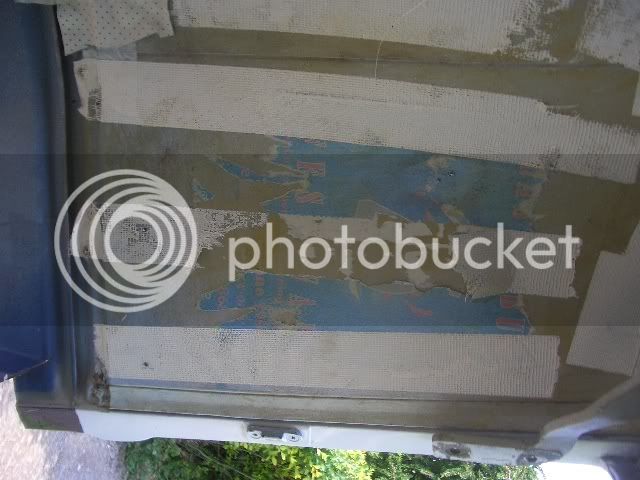
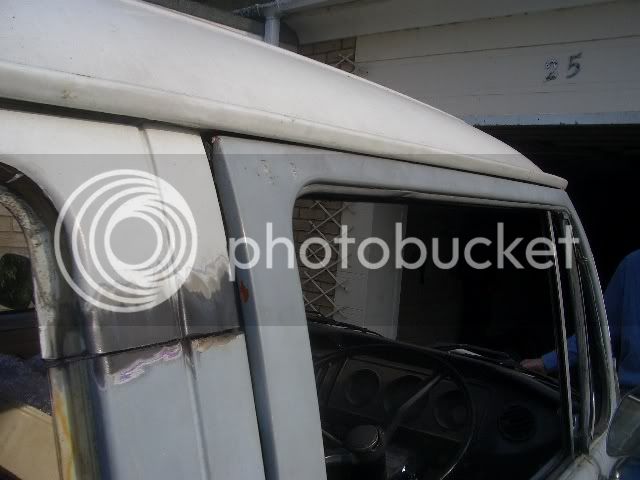
A couple of hours cutting and prepping later, and the roof was ready to go on.

Paul (percydub), Lucy (shamrockez) and Steve (Mr Shamrockez) came round to assist with the lifting and advice, so a huge thanks to them all :D
CIMG6102.jpg


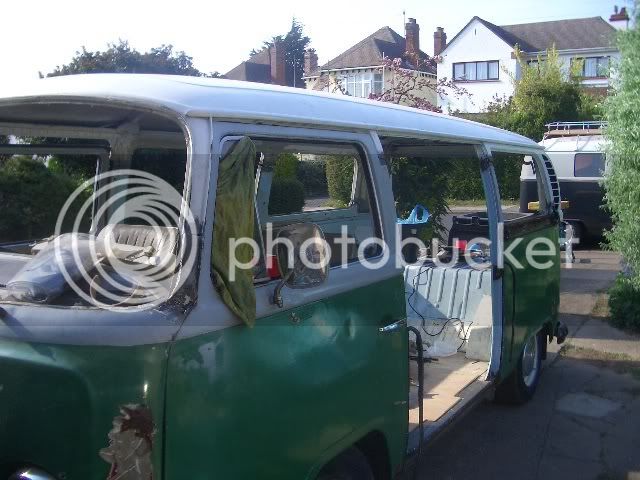
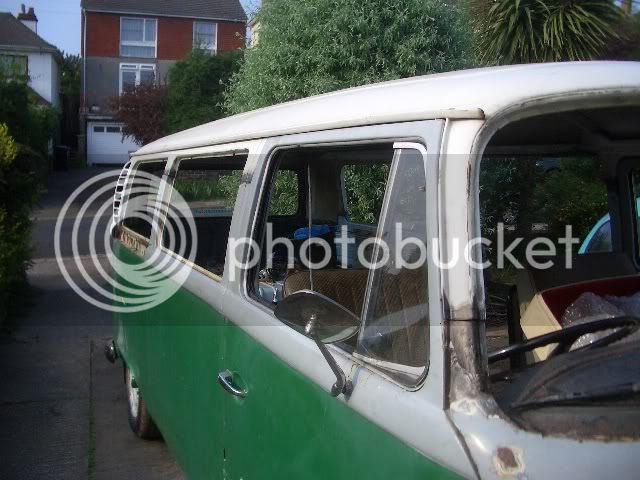
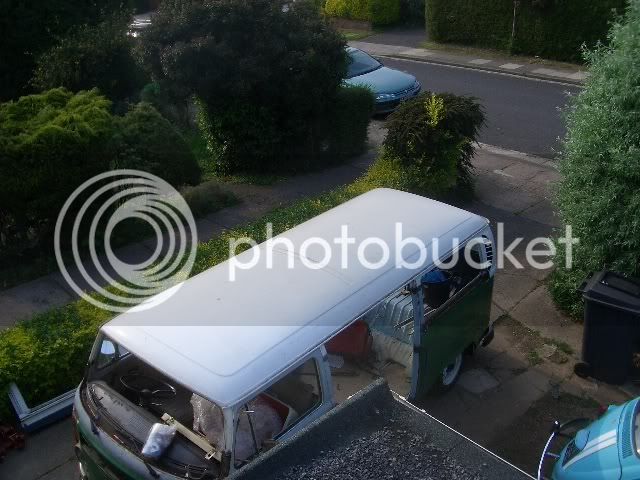
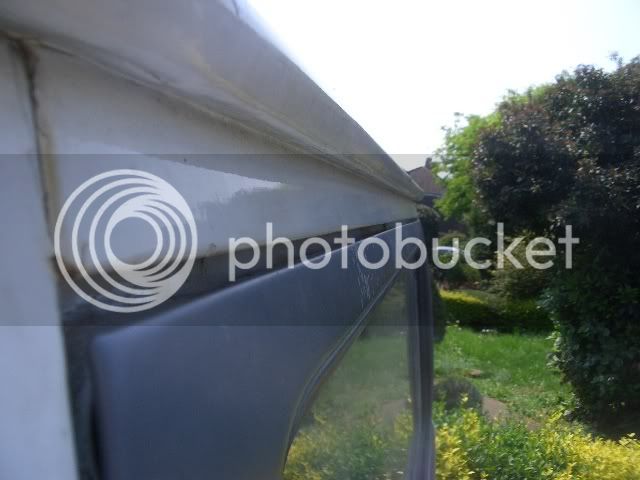
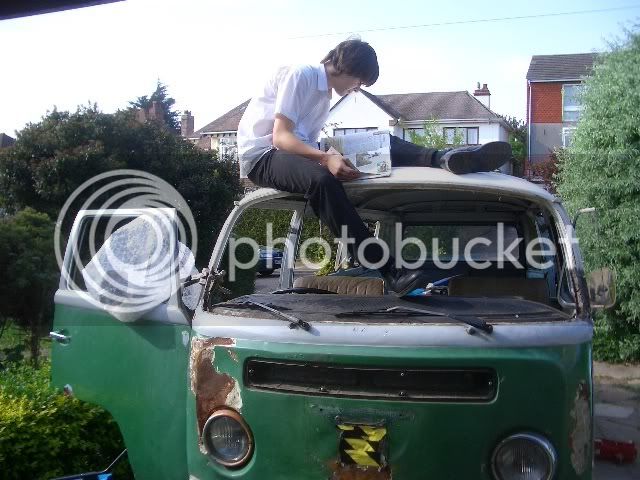
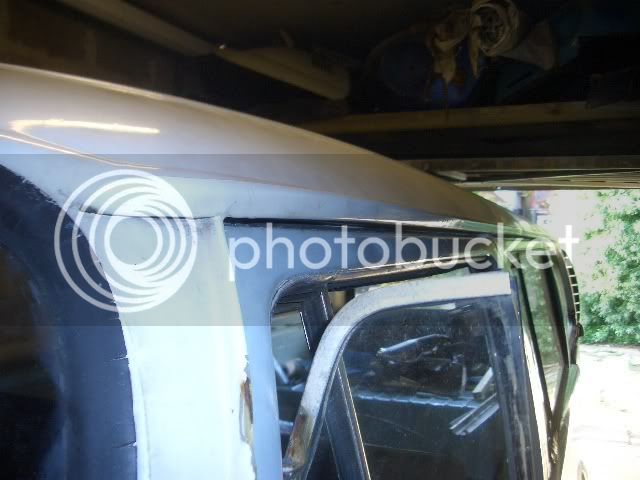
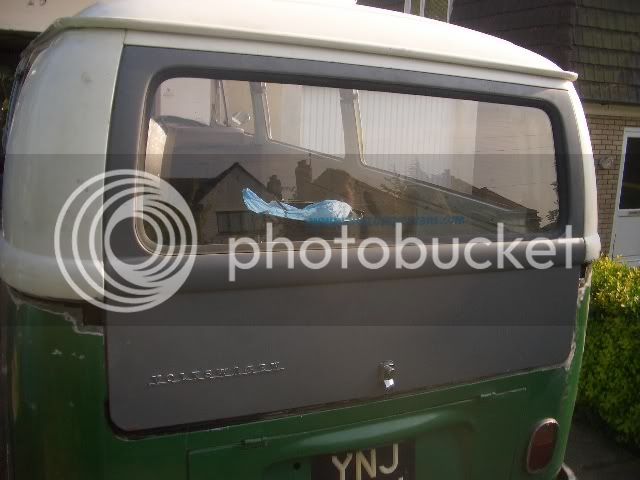
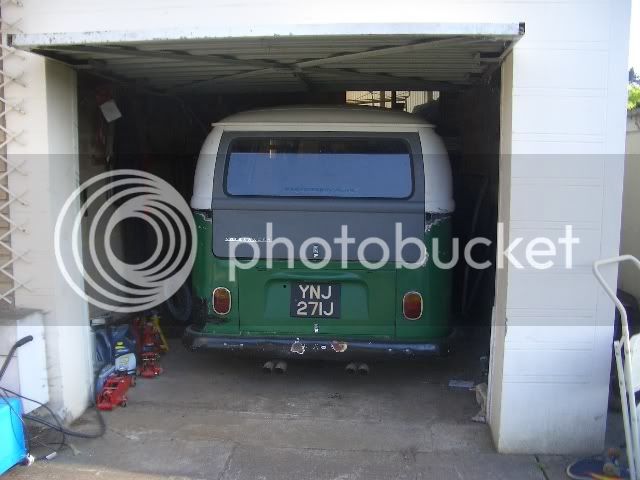
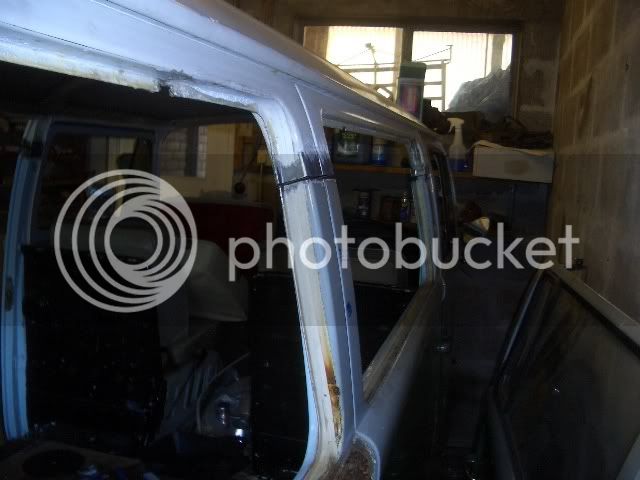
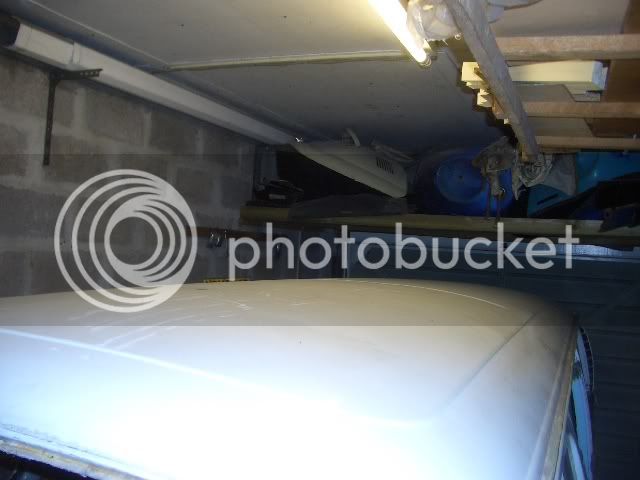
Anyway, that pic is of the roof first balaned on the van.

Still a lot of work to do.

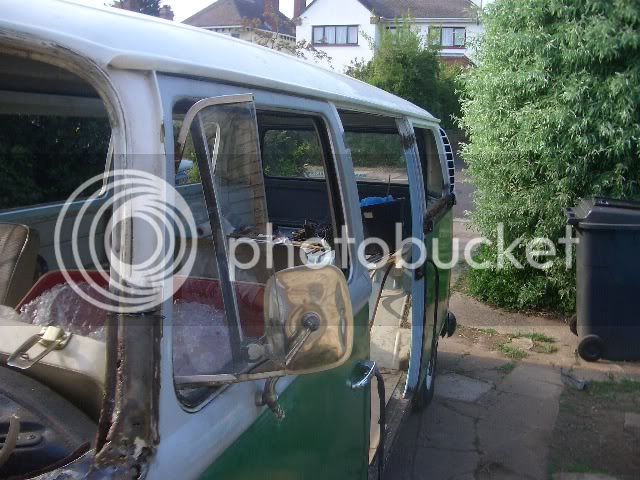
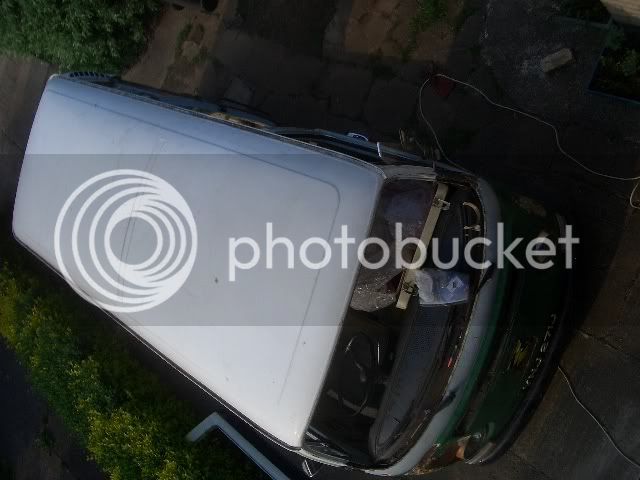
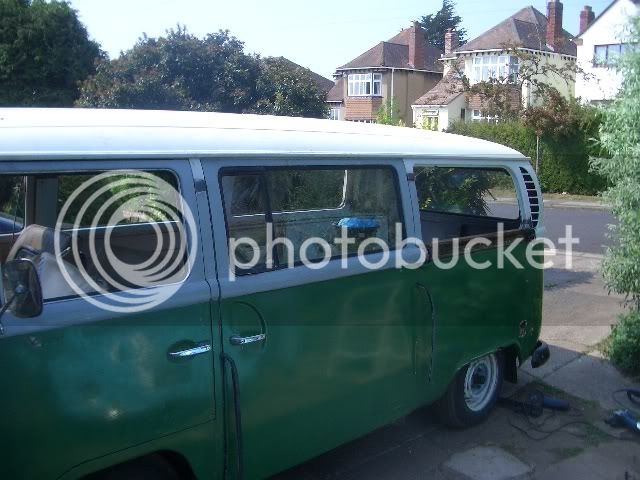
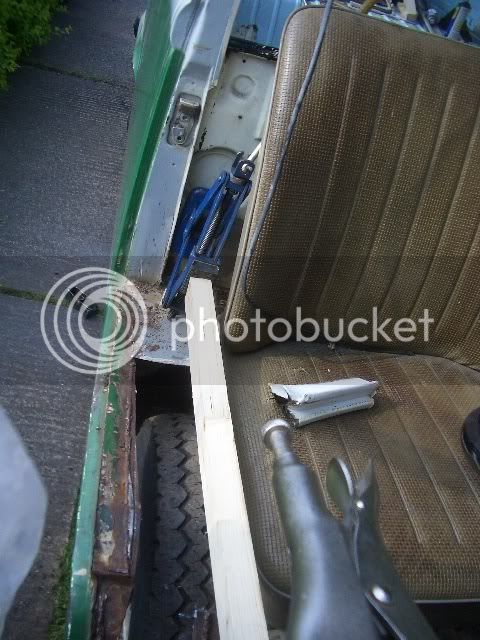
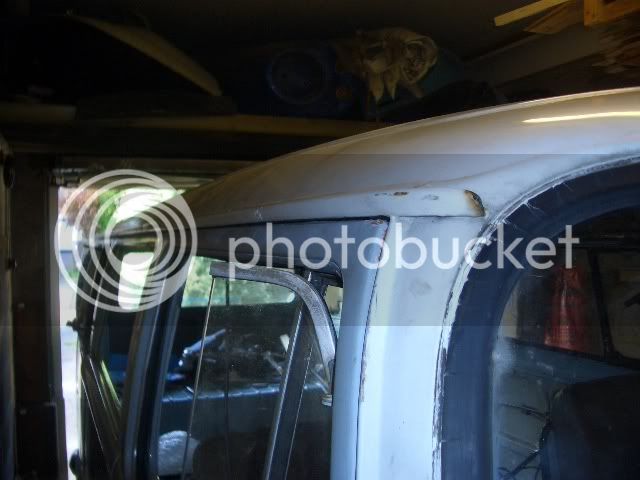
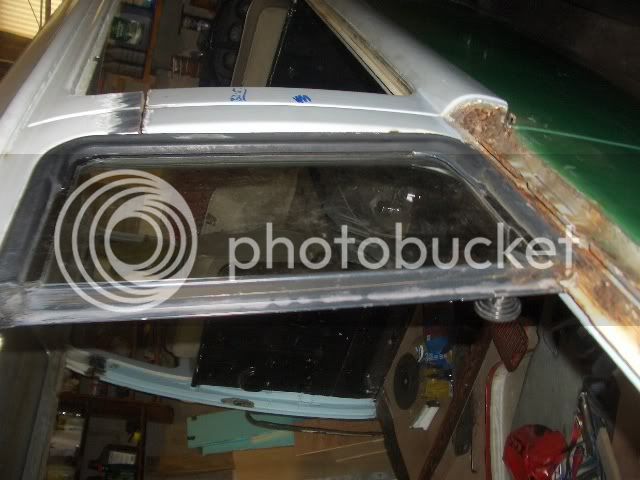
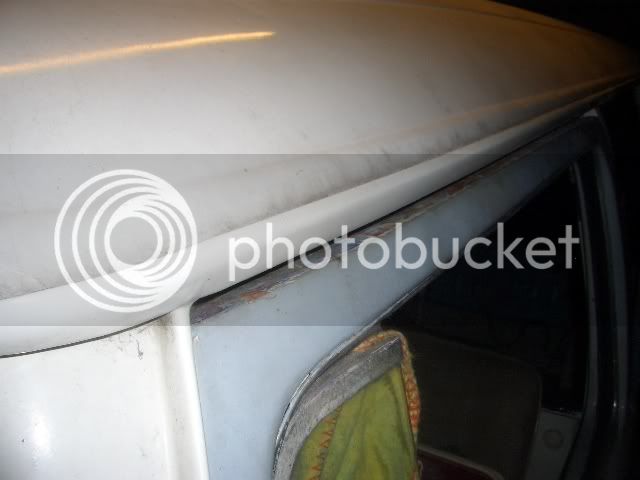
A lot of trimming later,

CIMG6103.jpg


CIMG6104.jpg


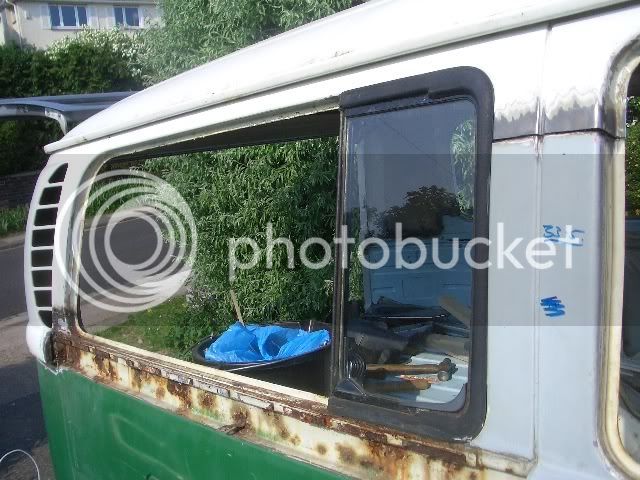
The drivers side is almost done.

CIMG6105.jpg


CIMG6106.jpg


CIMG6107.jpg


CIMG6108.jpg


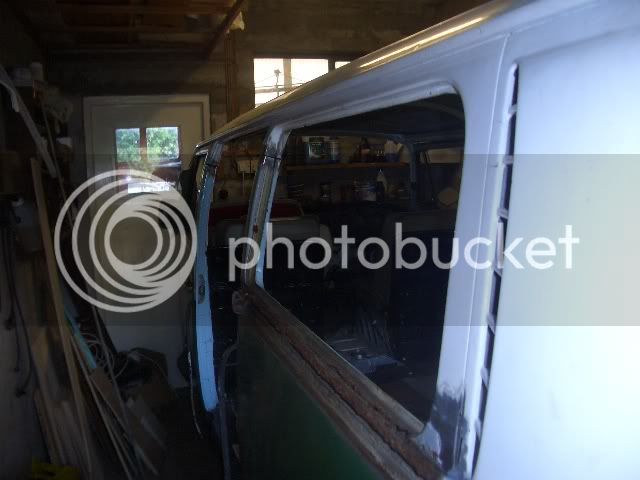
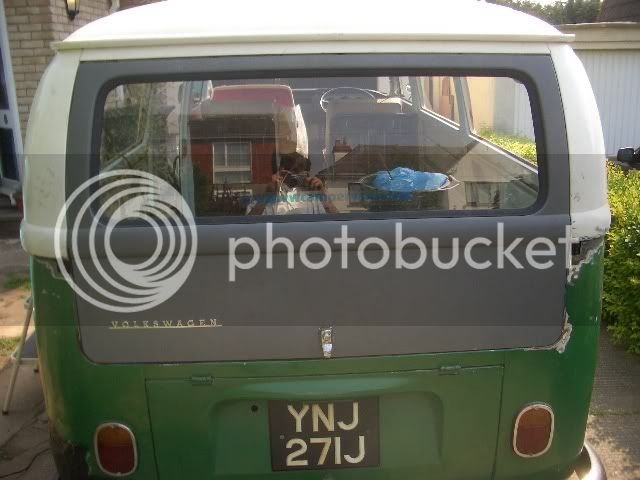
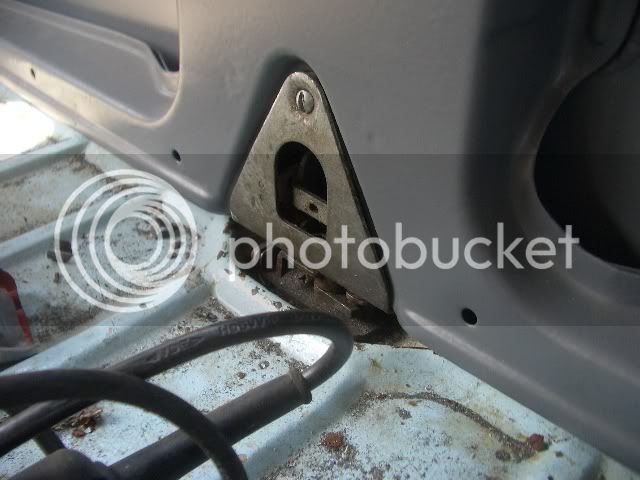
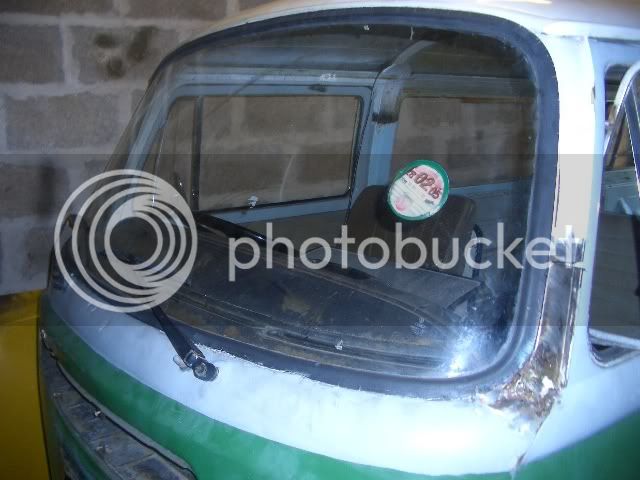
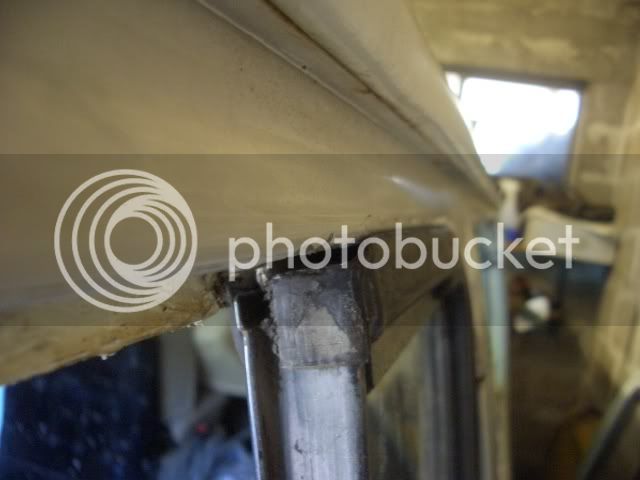
Pictures are easier to post than words on this laptop, so that's what yoiu're getting. More work needs to be done to get the pillars to their correct heights, but it is getting there slowly.

CIMG6109.jpg


CIMG6110.jpg


CIMG6119.jpg


CIMG6120.jpg


CIMG6121.jpg


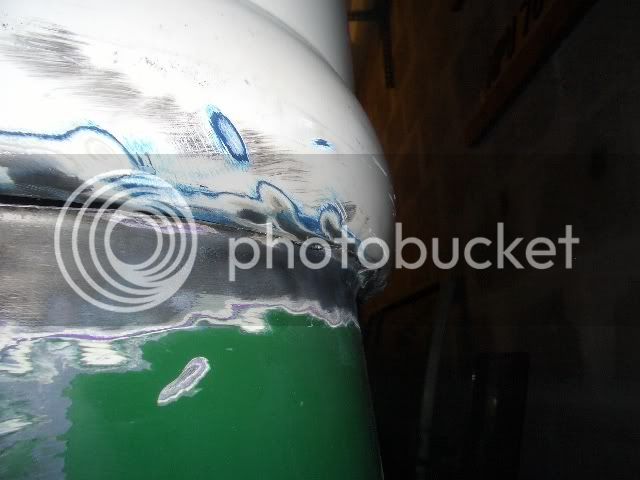
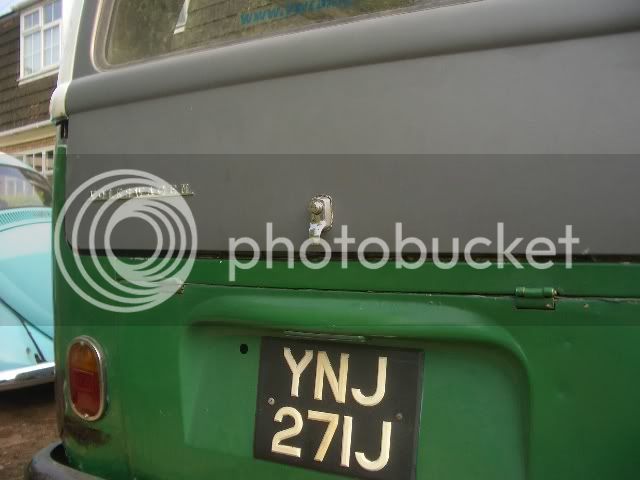
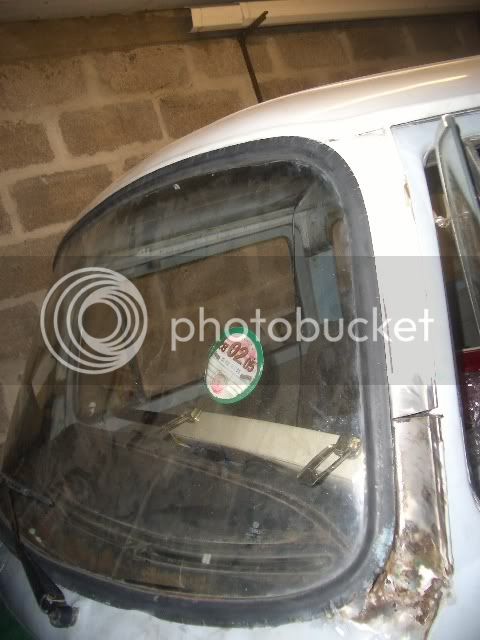
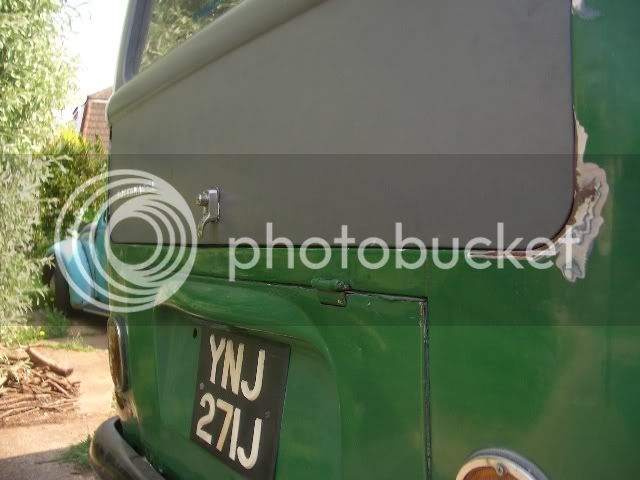
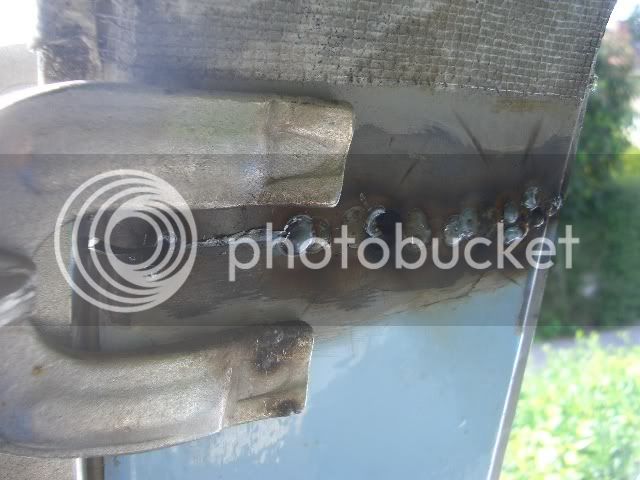
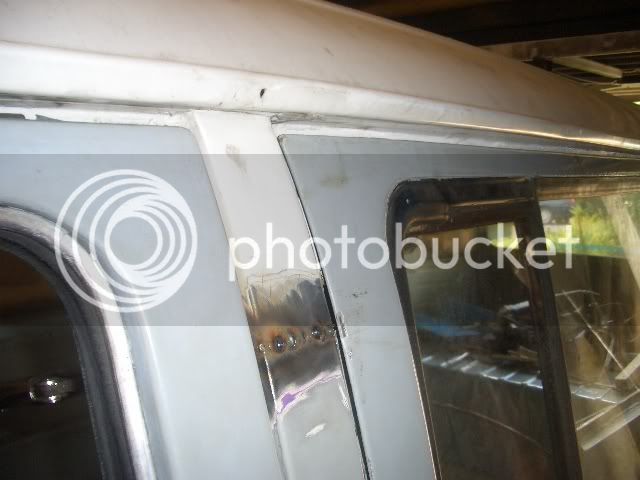
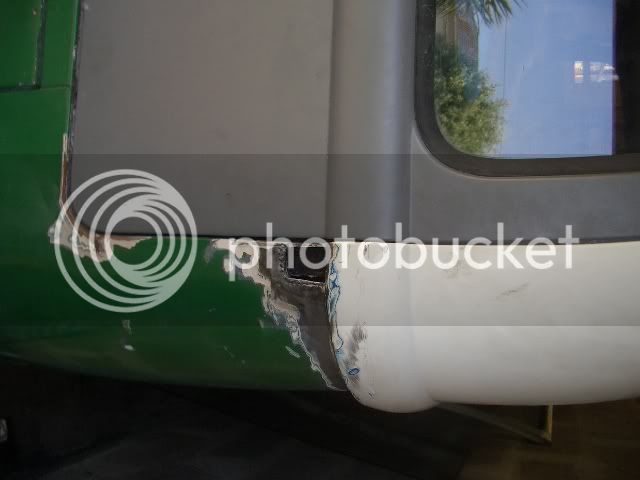
We cut the rear pillar at the bodywork line to make it easier to hide the join.

Thats all for now folks, this borrowed laptop is running out of battery.
 
Just to add that as itnow it still needs a lot of finishing and trimming. The windows are almost the correct size on the drivers side, only the front pillar needs cutting down, and then a tad on the back one. The passenger side requires about 1cm out of every pillar as far as I can tell. Nothing has been welded on yet, that ought to be next weekend :D
 
Wow, thanks for all the great comments guys :oops: 8)

Did a bit more work today, and all the pillars are now within a few mm of their correct lengths. I did cut 2 of them about 1mm short, but it's only metal and can be adjusted to suit. :)

drivers side:

CIMG6249.jpg


CIMG6247.jpg


Been paying particular attention to the door shuts. Drivers side is near spot on. The top of the door sticks out a bit due to the seal, but the roof sits straight enough above it.

Passenger side:

CIMG6251.jpg


The back end still needs to go down a few mm, but otherwise all is seemingly OK.

CIMG6252.jpg


Aerial view:

CIMG6256.jpg


CIMG6254.jpg


That's all for now, maybe more tomorrow :wink:
 
well done mate excellent work there , nice to see it with a lid on it . well done nuff respect dude 8)
 
Cheers dude :)

10 second update:

just went out and tried the front windscreen for the first time.

It looks like it will fit perfectly :D

CIMG6260.jpg


A bit difficult to fit on your own in a garage, but it's looking hopeful :D
 
inspirational mate. the quality of the work some guys on this site are doing is fantastic. its threads like yours and alfies that drives me to get stuck into my van and get it sorted mate
 
Thanks guys :oops:

Got a bit more work done today.

CIMG6261.jpg


CIMG6262.jpg


CIMG6263.jpg


CIMG6264.jpg


That's the rear hatch gap sorted all the way round :)

The roof was then in the correct place, so I started welding.

Put the sliding door on to check clearances:

CIMG6265.jpg


All was fine and it works ok :D


Quarterlight fitted and it fits snugly too :D

CIMG6266.jpg


That's all for today. My welding wasn't particularly brilliant, but I've spot welded the rearmost pillars and the passenger side one behind the sliding door. That roof ain't going nowhere now.
 
I had the afternoon off today, so out came the welder again :D

Every single roof pillar is now tack welded on. And it all seems pretty damn solid.

C pillar, drivers side:

CIMG6267.jpg


To correct the door gaps, I used a very sophisticated method to ensure everything fitted correctly.

Jack and piece of wood to hold the front in position:

CIMG6269.jpg


Brother sitting on the roof to ensure the roof stayed put, and make it sit correctly.

CIMG6268.jpg


Having done that, all the door gaps are beautiful:

CIMG6271.jpg


CIMG6275.jpg


The doors all shut easily, even the sliding door is OK (will be even better with some new grease and a bit more adjustment:

CIMG6276.jpg


Oh, and I popped the windscreen in and that fits pretty much spot on too.

CIMG6272.jpg


So I'm rather chuffed. All needs seam welding now. I spent all day battling my welder though (had to re-feed the wire, replaced the tip countless times (went through 4 tips today). However, it now seems to be OK :)
 
You're definately the front runner for the "I've undertaken the hardest resto ever" award 2007 - it's looking great, keep up the good work and great thread!

8)

;)
 
Nice work Jim 8) glad that roof went back cool and the gang :D
 
Cheers guys :D

Mutley, what do I get if I win that award? :lol:

Today, I Mostly did more welding to the pillars, I think I've sorted out the welder issues by playing about with the settings further. Not too many photos, but I also pulled lots of holes in the chassis too.

So all of this will probably be needing fixed before the MOT: (and I need it MOTd by the 30th June!)

CIMG6282.jpg


Passenger side B pillar

CIMG6280.jpg


Side step (both sides need doing)

Holes in sills
Holes between front panel and chassis
One outrigger/ jacking point area
engine needs tinwear etc fitting
Electrics need attention
Oh, and the Brakes also need sorting too.

So more work for me.

Oh, and I went to remove the windscreen and found these:

CIMG6283.jpg


Hundreds of the buggers. I've left them to disperse naturally :)
 

Latest posts

Top