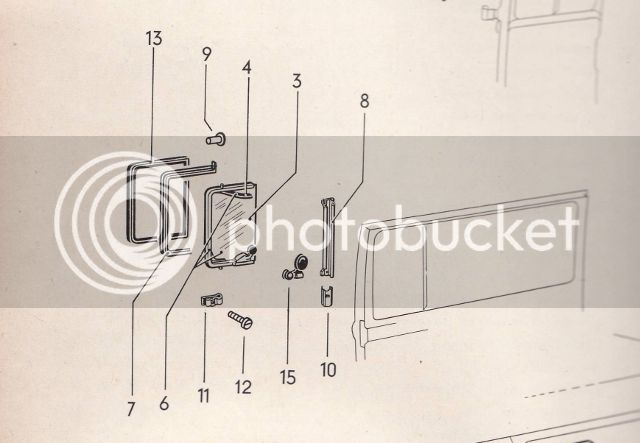
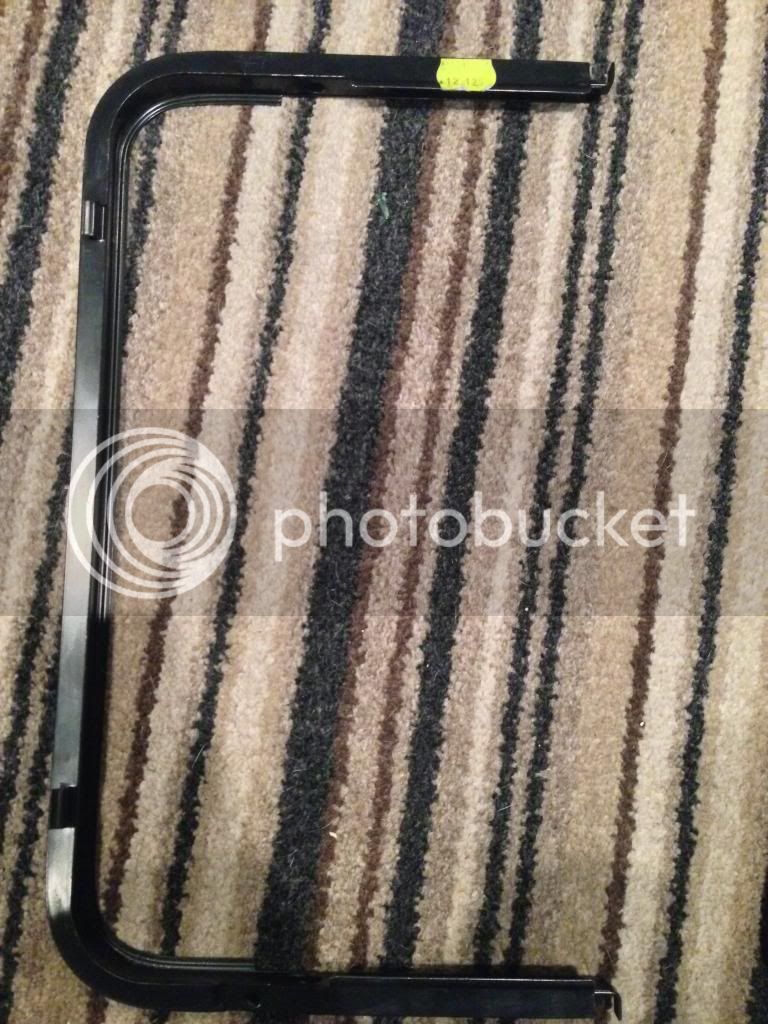
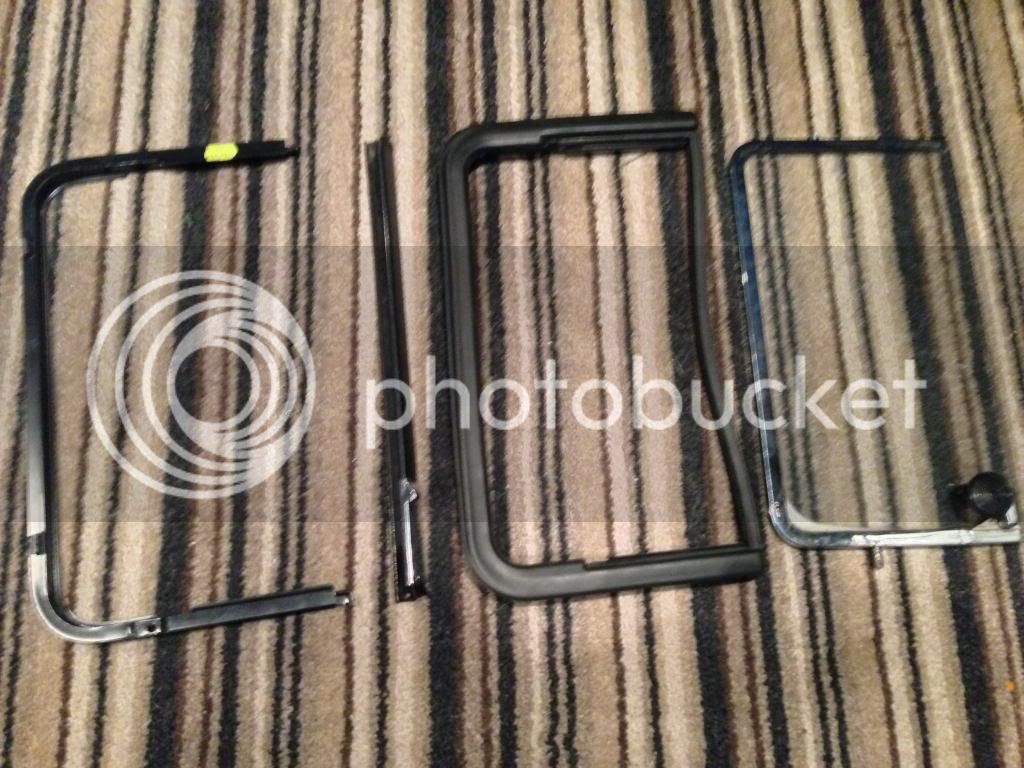
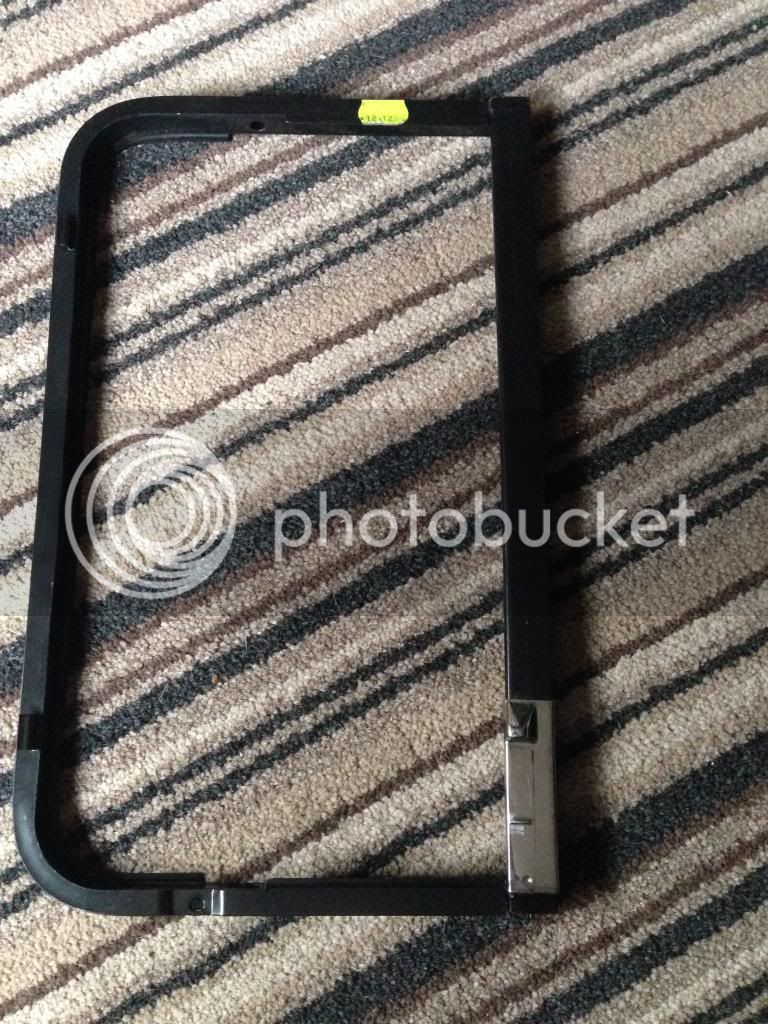
Now, what to do about these window surrounds.
(Also, this is a lesson to always do things yourself and never to trust the 'experts'.
Doing the same job on mine at the moment (also a beige bus - snap!).
I'll post the photos when I can find find them but this is a quick summary of what I did...
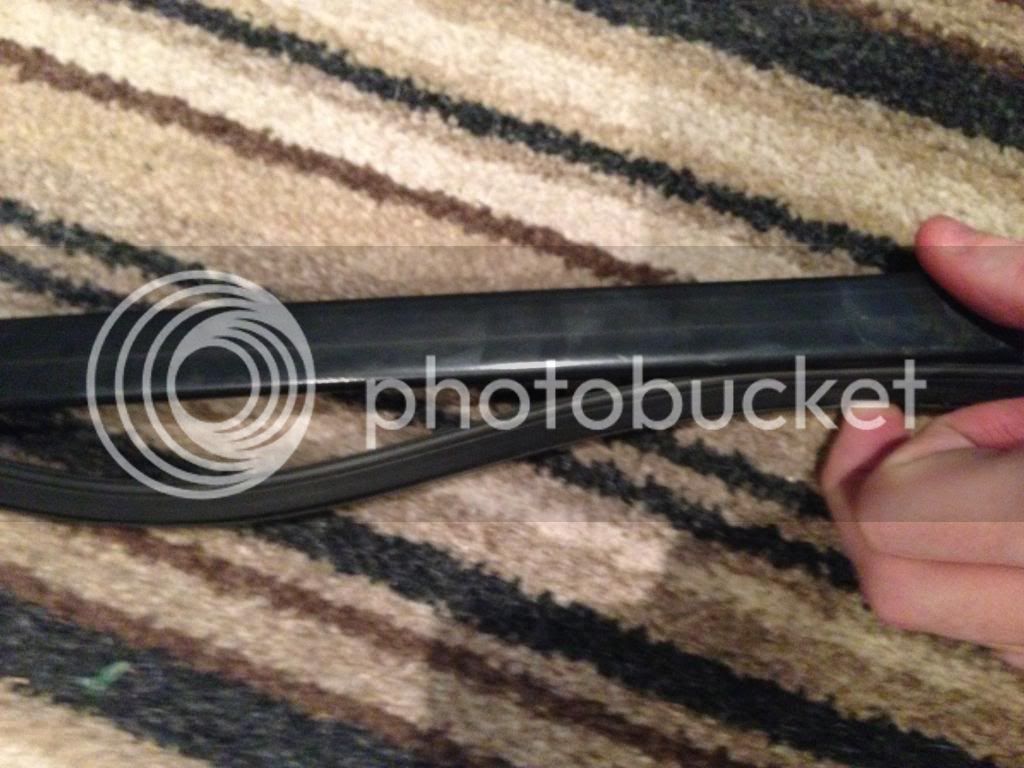
1. Removed back window rubber, taking trim out first same as you.
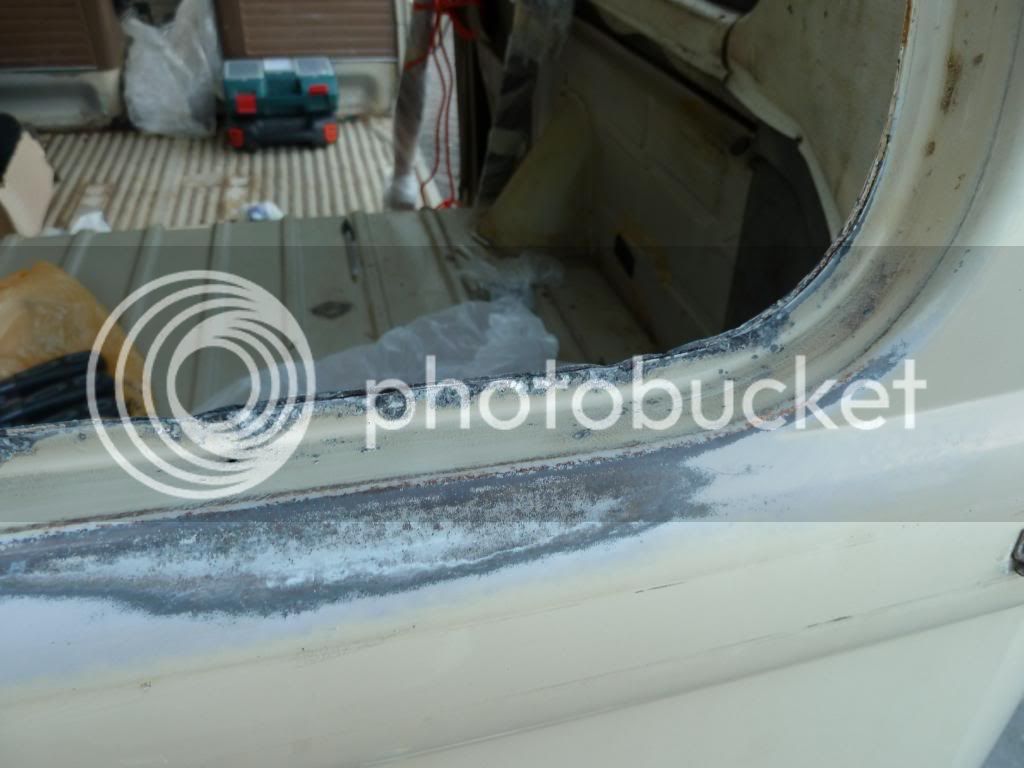
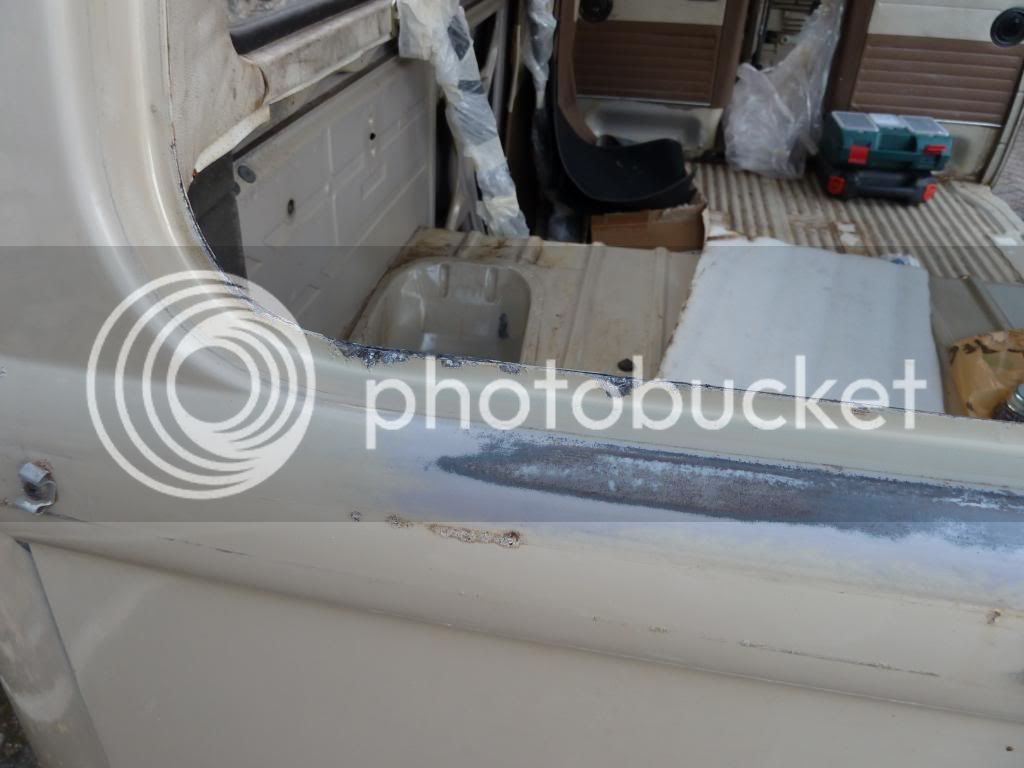
2. Was confronted with same condition as you,ie couple of rough jaggered rust spots in the window lip (or whatever it's called)
3. I wire brushed the loose rust off & then filed the rough edge smooth.
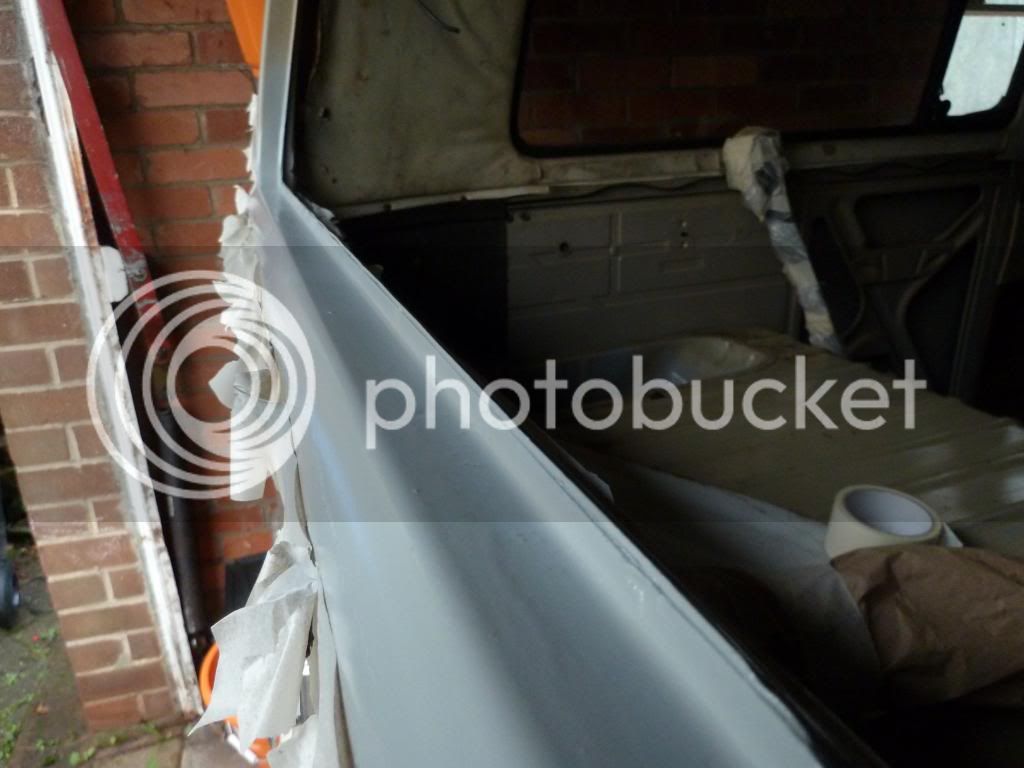
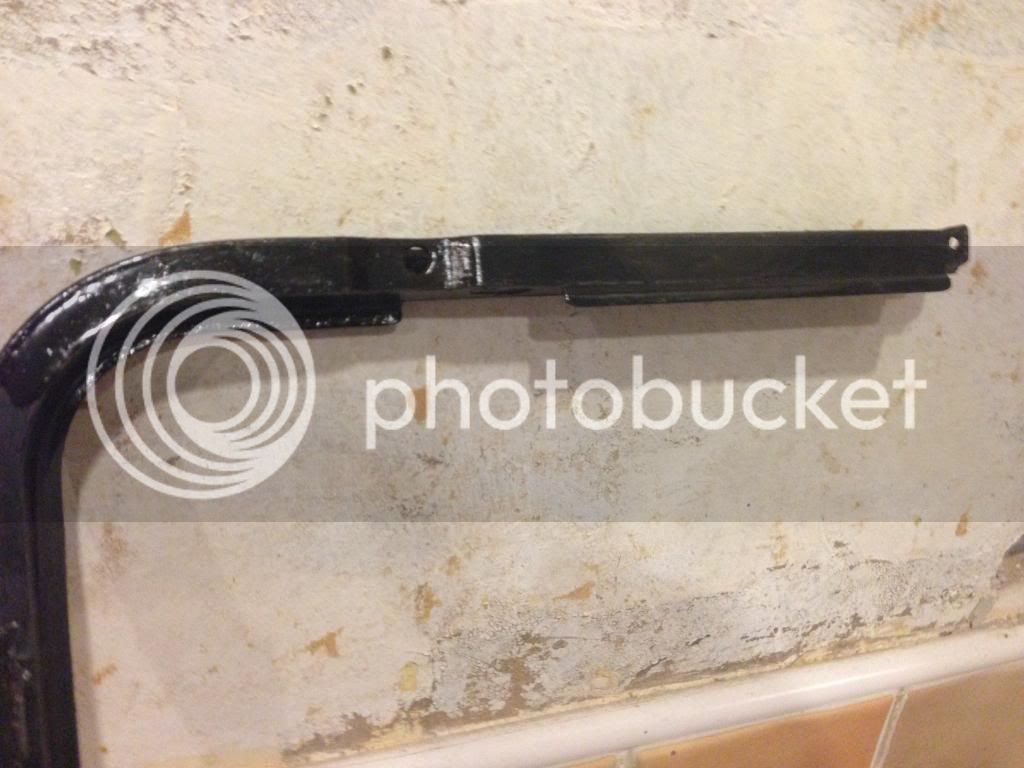
4. Next I used 2 coats of POR 15 (and the clean and prep/metal ready stuff aswell).
5. Thencouple of coats of acid etch primer.
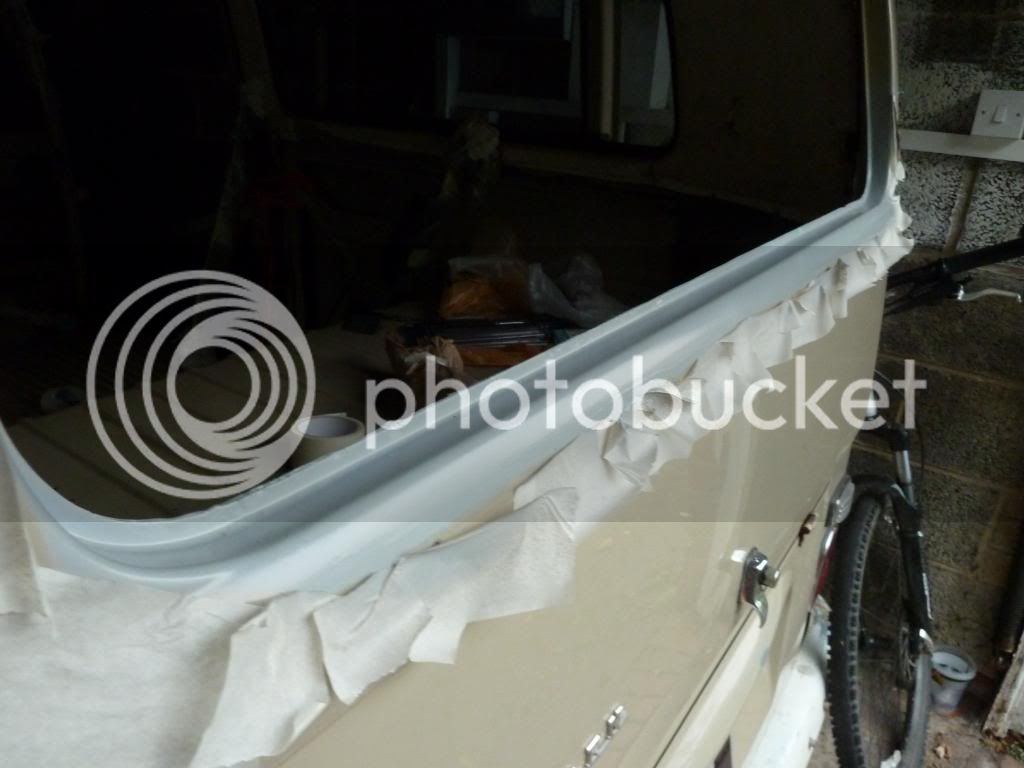
6. Then a couple of coats of top coat.
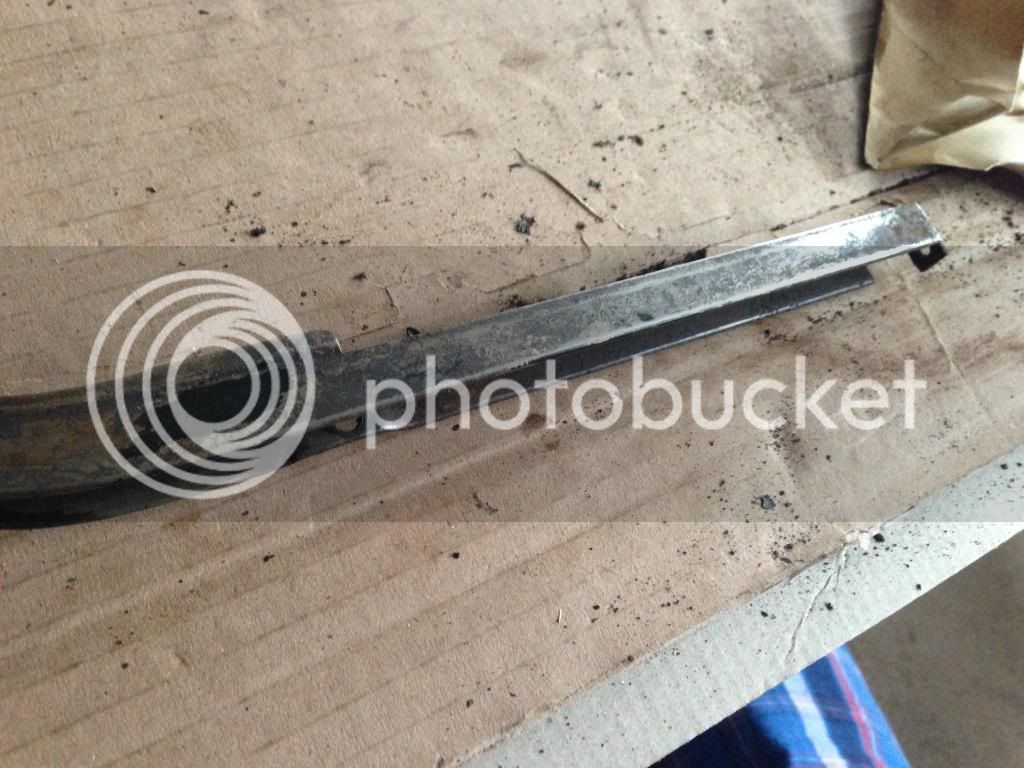
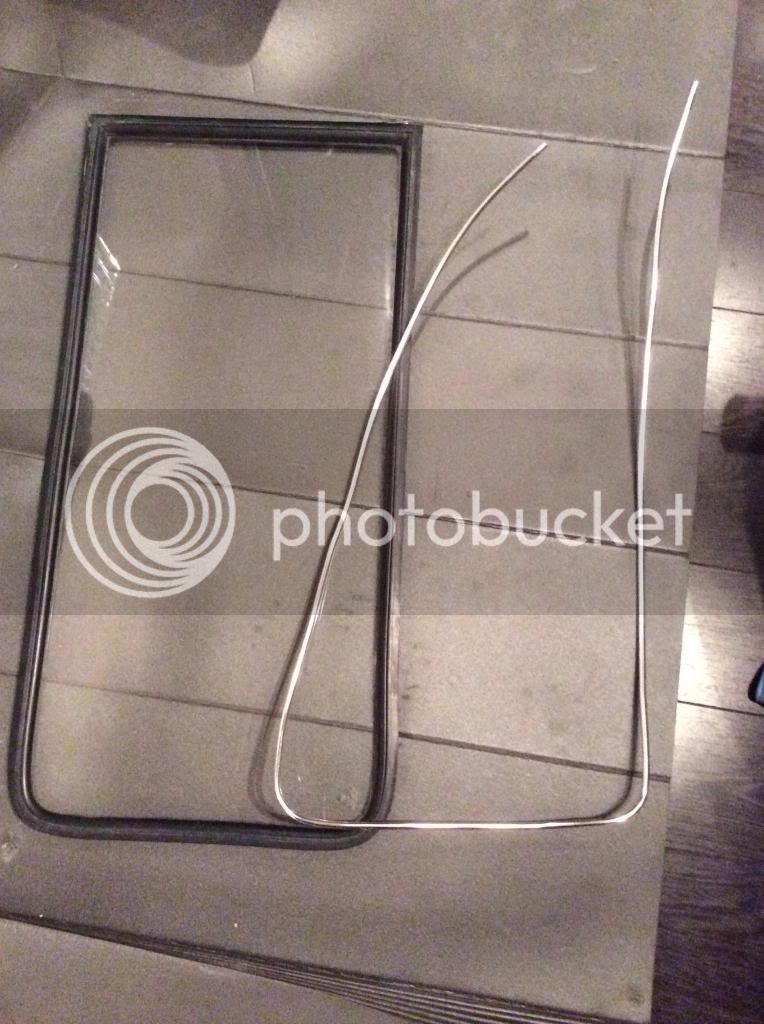
7. My window is ready to go back in bar fitting the metal replacement trim - which you definitely need patience for.
I'll see if I can find the photos.