You are using an out of date browser. It may not display this or other websites correctly.
You should upgrade or use an alternative browser.
You should upgrade or use an alternative browser.
Moose the '72
- Thread starter NickJ
- Start date


Help Support Early Bay Forum:
This site may earn a commission from merchant affiliate
links, including eBay, Amazon, and others.
Wow didn't realise that it was nearly a year since I last updated !! well I thought the inlet manifold boots were looking a bit "tired" for some time now but noticed a petrol smell last couple of times I'd started the camper.
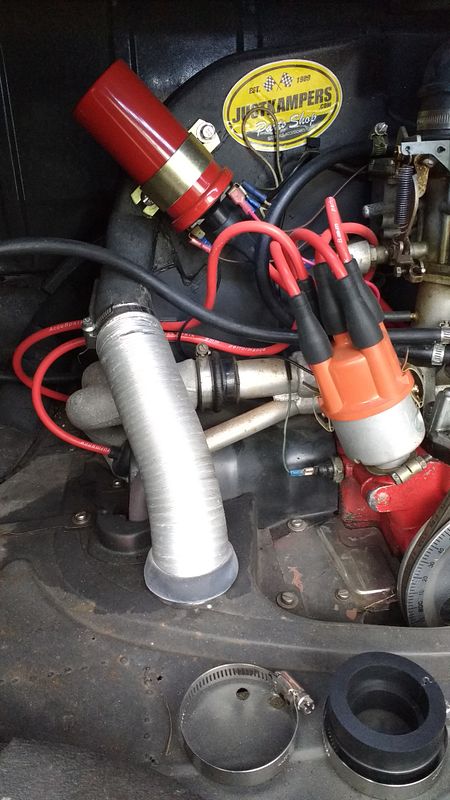
You can see here where petrol had been leaking :shock: from the boot, it did have 2 clips on but I started to remove before taking the "before" pic.
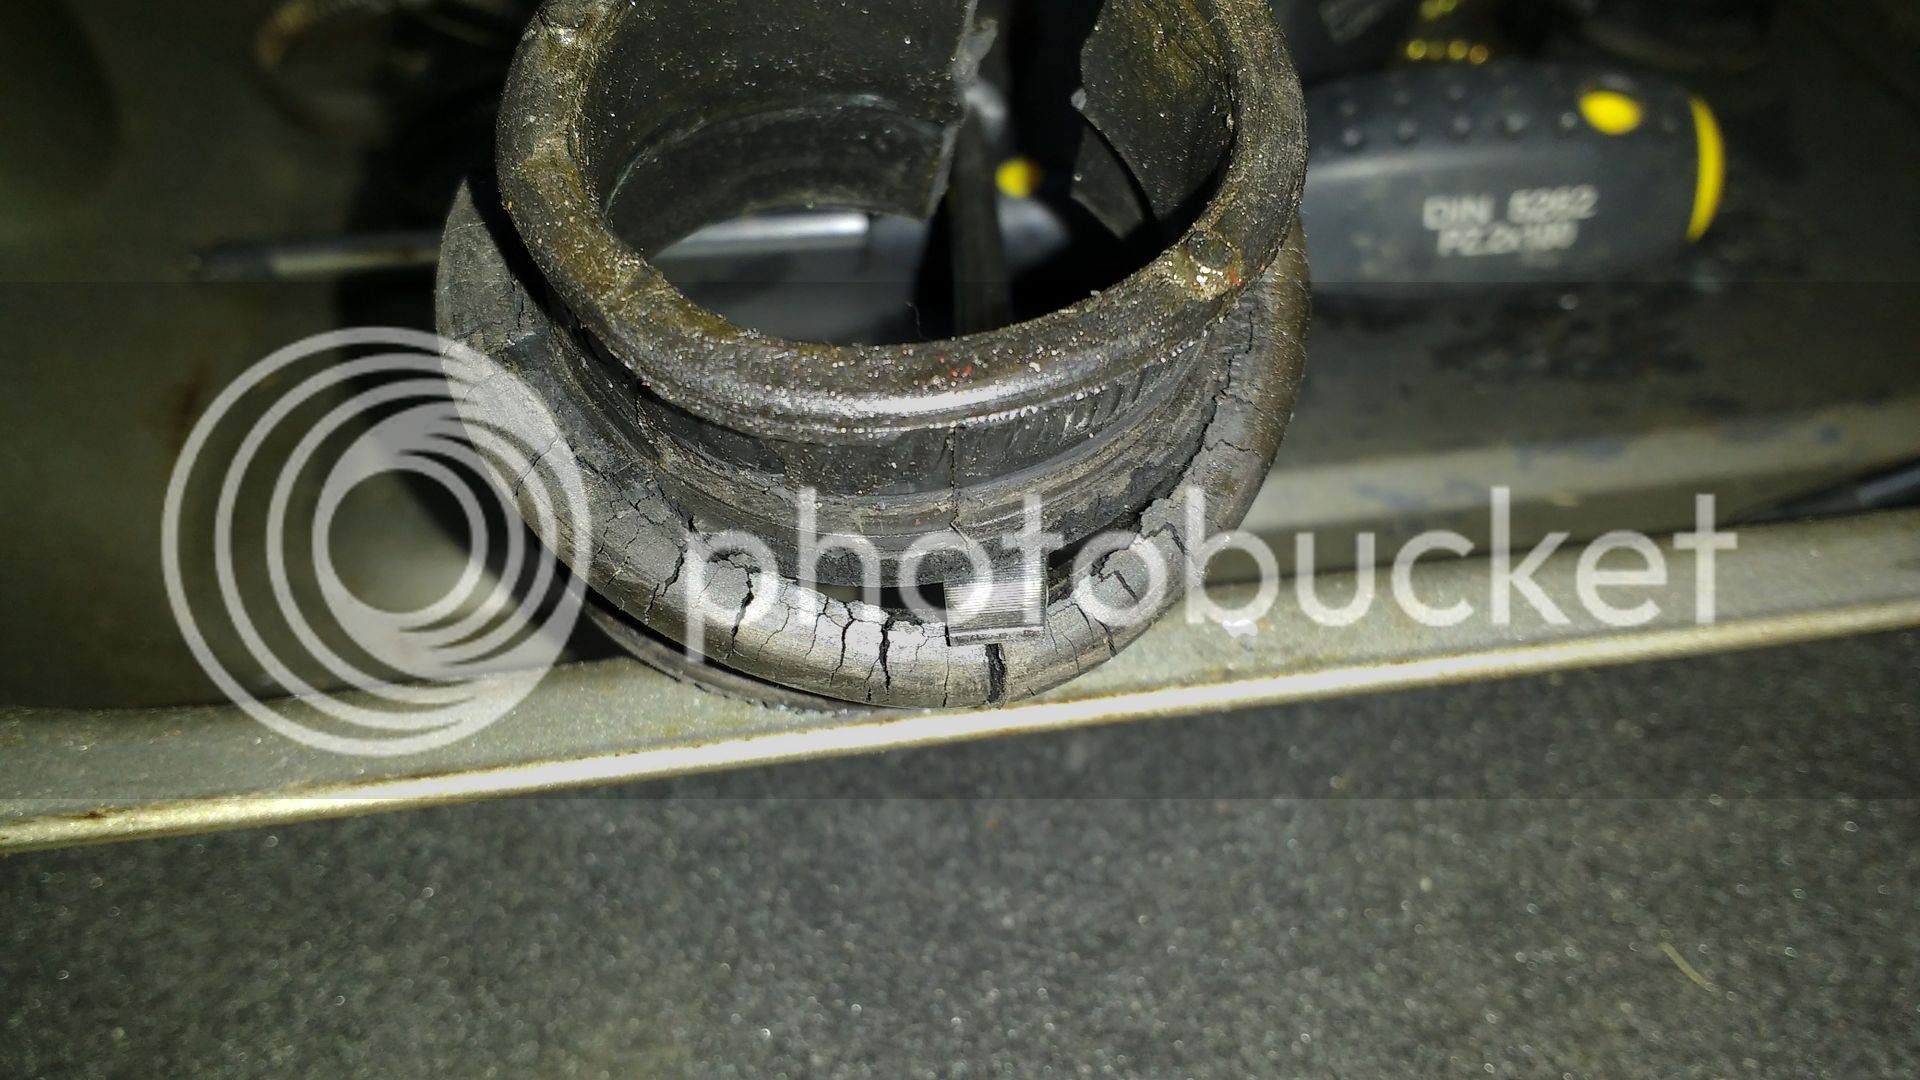
This was the split in the boot, both sides were similar, so I don't really know how it ran.
I decided to try the Empi split boots from JK and it certainly made the job much easier, I should imagine it being a real pita to swap standard boots with the engine in.
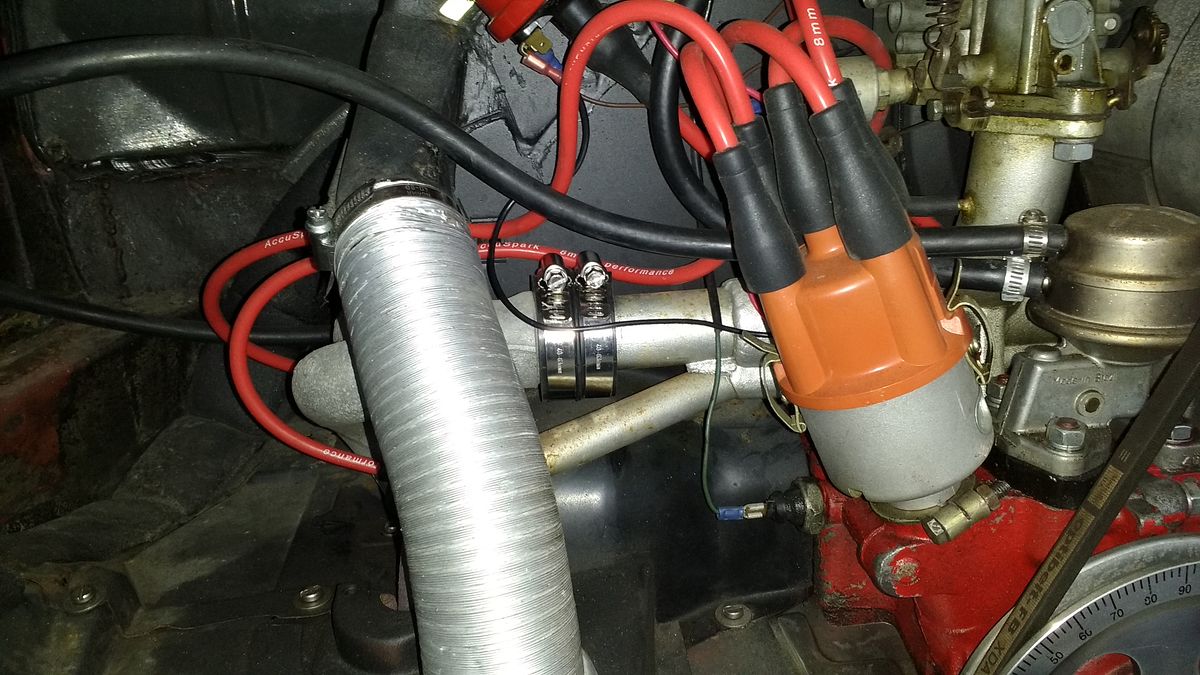
All done, both sides in minutes rather than hours as is normally the case for me.
NickJ said:gninnam said:Good result and I hope these are better quality than the last ones.
:lol: you and me both Andy, not the nicest of jobs unless you like black grease.
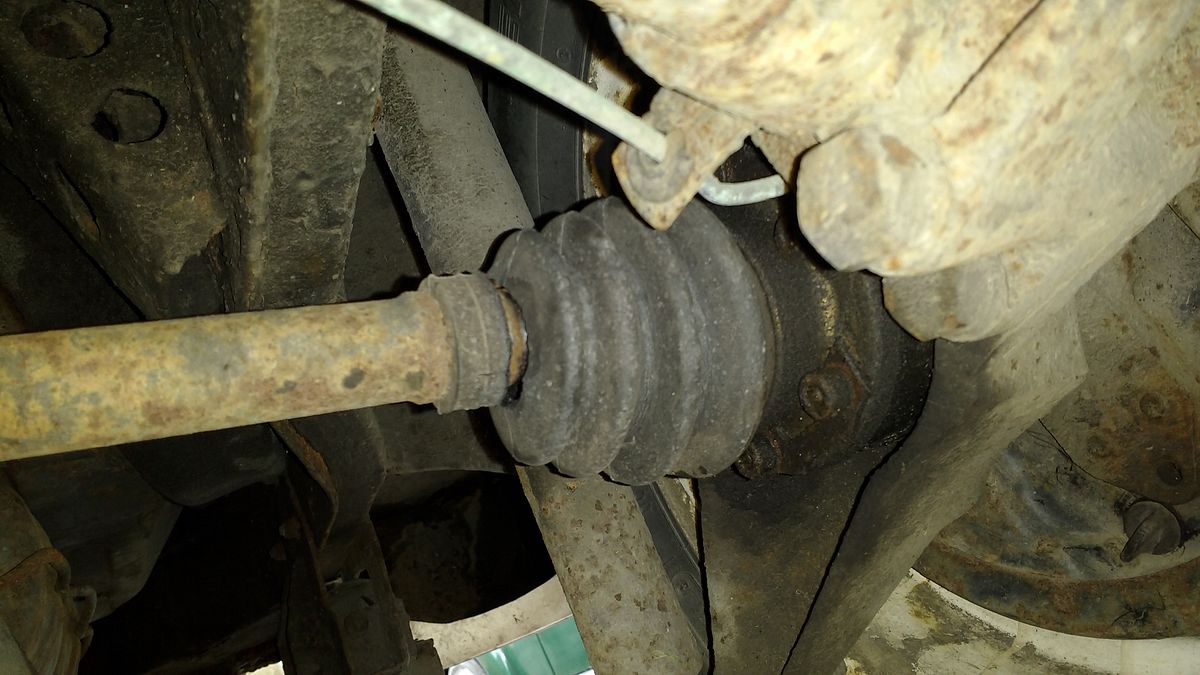
Well this was only partially true :roll: checking the camper over pre MOT and 1 of the N/S boots is split almost all the way round at the drive shaft end and the other boot this side is showing cracks but not split yet. The O/S don't look too bad, they have lasted 2 years (about twice as long as the cheapies) but considering they are genuine VW it's still pretty poor. Pics to follow.
What is it with the quality of replacement rubber components available now
Here you can see the split in the boot
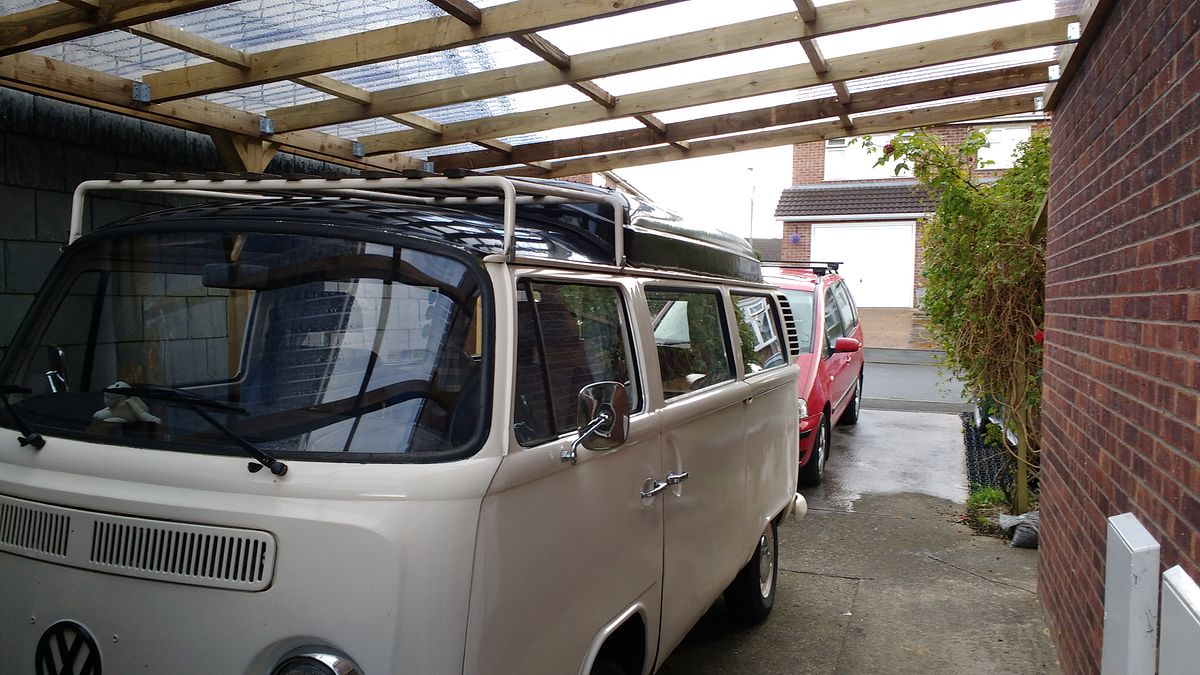
Swapped it over today in between the showers. Hopefully I'll get my carport finished before too long and then the weather wont matter quite as much.
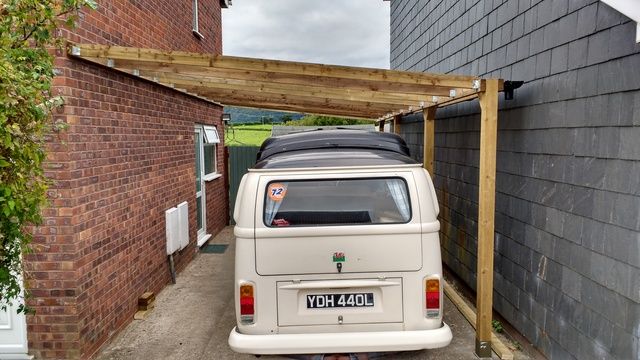
Just got to fit the roof panels.

Swapped it over today in between the showers. Hopefully I'll get my carport finished before too long and then the weather wont matter quite as much.

Just got to fit the roof panels.
Hi Andy, hopefully I'll get it finished in the next couple of weeks as I've got some holiday to take. should make it much nicer to work on the camper also I've bought a Beetle as a project for me and my son for his first car, he's 15 so we've got 18 months to get it sorted and the carport will be a big bonus.
should make it much nicer to work on the camper also I've bought a Beetle as a project for me and my son for his first car, he's 15 so we've got 18 months to get it sorted and the carport will be a big bonus.Top banana :mrgreen:NickJ said:Just a mini update, passed the MOT on Friday and I've ordered the plastic for the carport roof

Latest job on the camper has been to replace one of the rooflight seal in the dormobile roof
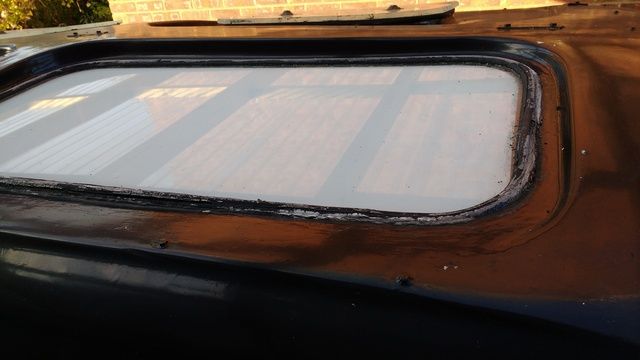
It has been leaking off and on for quite some time and I've tried resealing it a number of times but looking at the seal I realised it needed replacing now as it was almost totally degraded.
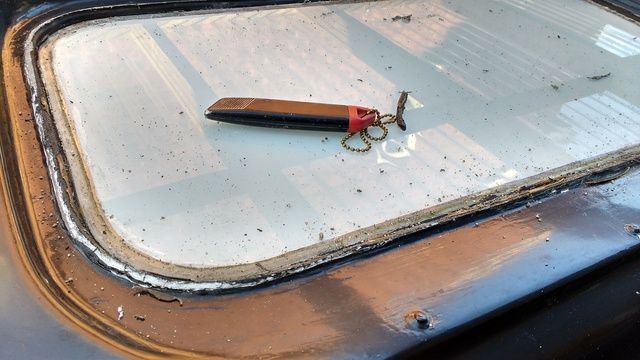
I cut the old seal out with a stanley knife.
I ended up putting the seal in "upside down" with the locking strip inside the roof.
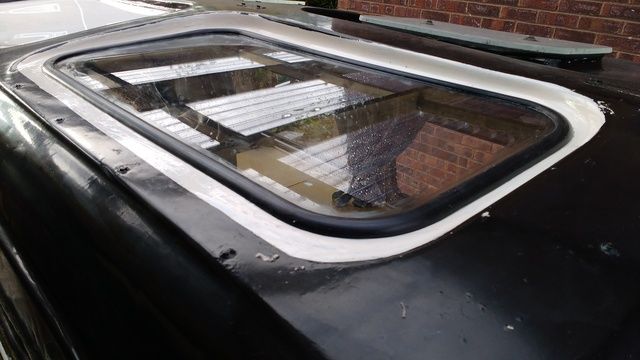
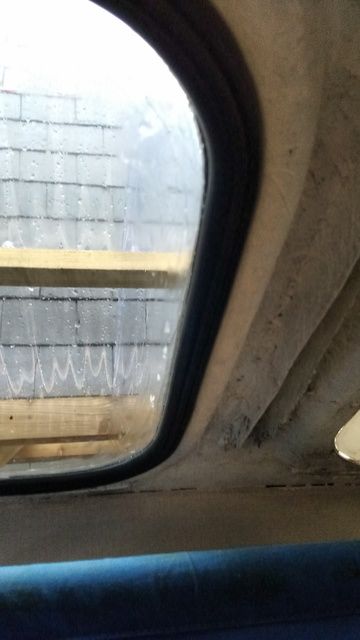
It was much easier to get the locking side to pull under the roof lip as the smooth side was very stiff, can't really see why this would cause a problem though. It was quite tricky getting & keeping the glass centred as there isn't really a defined recess in the roof, I used a guy rope from the pound shop camping section as the cord inside the seal and it worked really well.
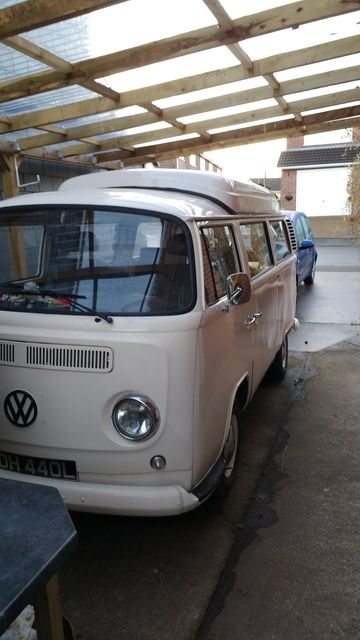
Time for an update my daughter's getting married in June and wants to use the camper as her wedding car, no pressure then, and I'd been thinking about painting the roof for some time with it being black it just gets too hot in the summer so the wedding has pushed me on.
Before
During
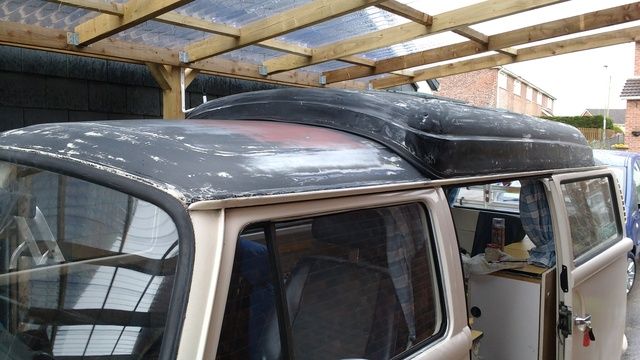
After
The carport has proved to be a real bonus :mrgreen: I don't know why it took me soo long to build one :roll:
my daughter's getting married in June and wants to use the camper as her wedding car, no pressure then, and I'd been thinking about painting the roof for some time with it being black it just gets too hot in the summer so the wedding has pushed me on.Before

During

After

The carport has proved to be a real bonus :mrgreen: I don't know why it took me soo long to build one :roll:
Started to give the bus a bit of a service, changed the oil, checked the plugs as they haven't done too many miles, first 3 were fine just broke the grip with a socket then unscrewed with fingers, nice colour so soft wire brush and back in but cylinder 3 was sticky coming out and wont go back in, 1.5 turns then it locks :evil: . I don't remember having a problem fitting the plug last either but I've got a spark plug thread chaser on it's way has anyone any tips for using it, I know I need to grease it to catch any swarf and to go gently but is there anything else I should be aware of :roll: Cheers.

Well the chaser arrived and I had a go with it this morning, having never used one of these before I was a bit wary of wrecking the head :roll: the thread has 4 vertical cut outs in it to allow room for any swarf so I made sure these were loaded with grease and gently screwed it in going back and forth.It seems to have worked and I was able to screw the spark plug back in it even started first time when I tried it after fitting.


graysummers
Well-known member
- Joined
- Jun 16, 2009
- Messages
- 470
- Reaction score
- 15
- Year of Your Van(s)
- 1972
- Van Type
- Crossover
Seems from watching YouTube and looking on Google that getting your plug out in the first place was a treat and positive. Some are stuck and immovable. Two metals and incompatibility. Not seen or read any negatives as yet about the process of grease/groove allowing swarf extracting. Some use two grooves, not four, and all state a gentle hand wound approach. Back and forth with patience. Seems like you've done it to the letter. Great result.

Fitted a klaxon horn as my standard horn was a bit too quiet
, I sited it under the passenger footwell between the chassis rail to keep it a little protected from the road spray.Then yesterday we went for a drive to Powys Castle

Quite a few others had the same idea but we were just walking in the grounds and most of the other visitors were in the Castle so no crowds for us

graysummers
Well-known member
- Joined
- Jun 16, 2009
- Messages
- 470
- Reaction score
- 15
- Year of Your Van(s)
- 1972
- Van Type
- Crossover
Looks the business. Use your satnav to get you places though. Don't want to be looking up to find your destination. Saw an old canvas wall map like this in an antique shop in Machynlleth a fair few years back. Big and useable like yours. They had an old medical human body one too. This is a genius idea Nick. Love the result.