Monty the Red Campervan

Early Bay Forum

Help Support Early Bay Forum:

This site may earn a commission from merchant affiliate links, including eBay, Amazon, and others.
0b57f60110258fbb80751042cb264aa0.jpg

995373c8935fb3c23ac7c4c8b41d1e68.jpg


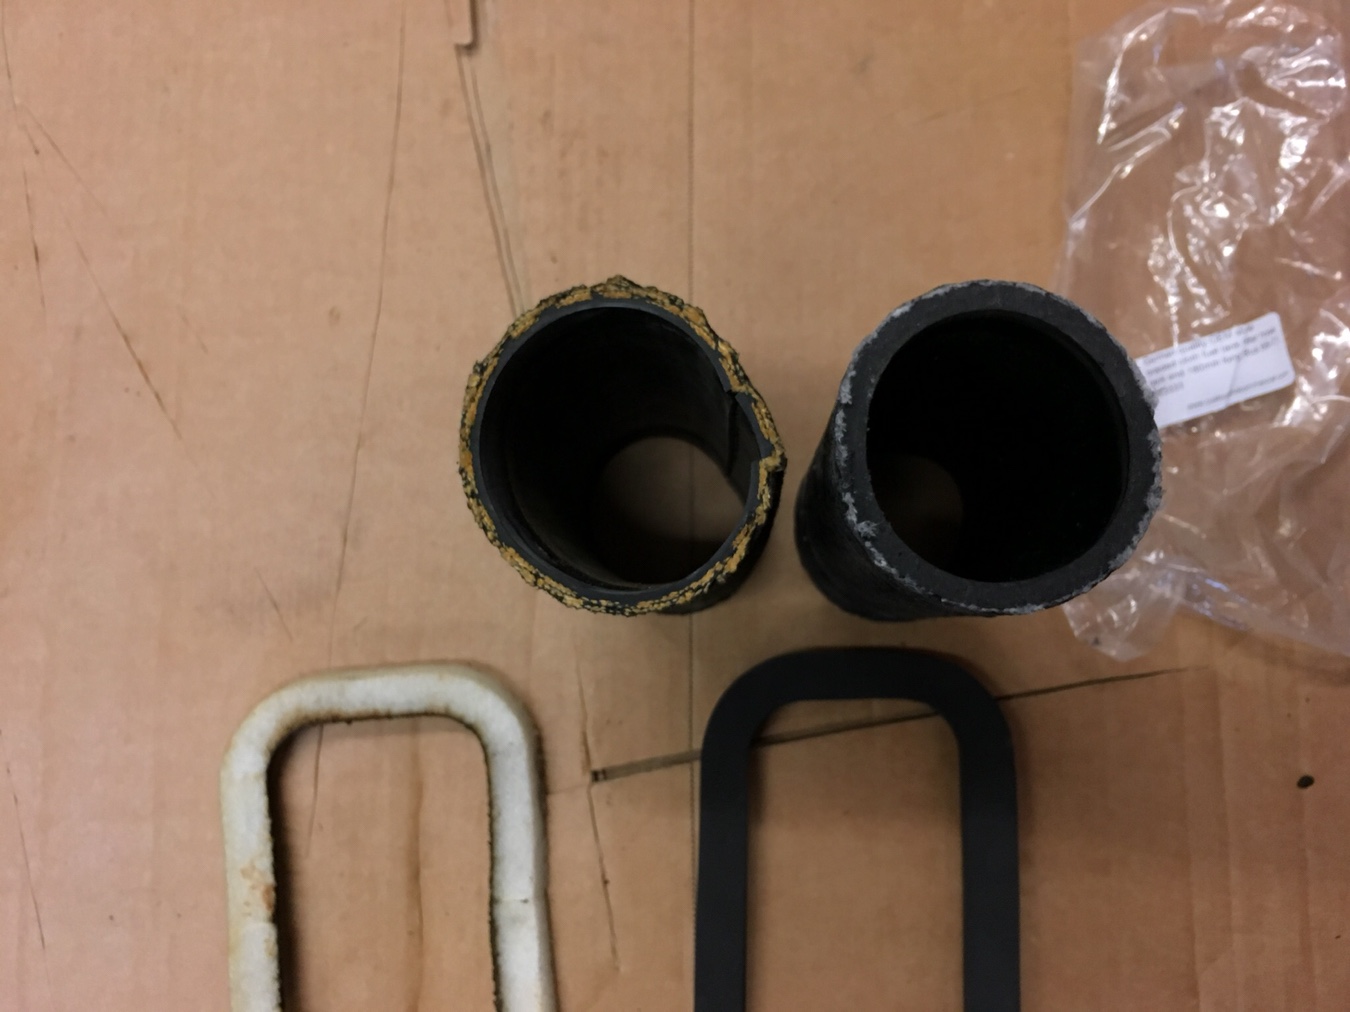
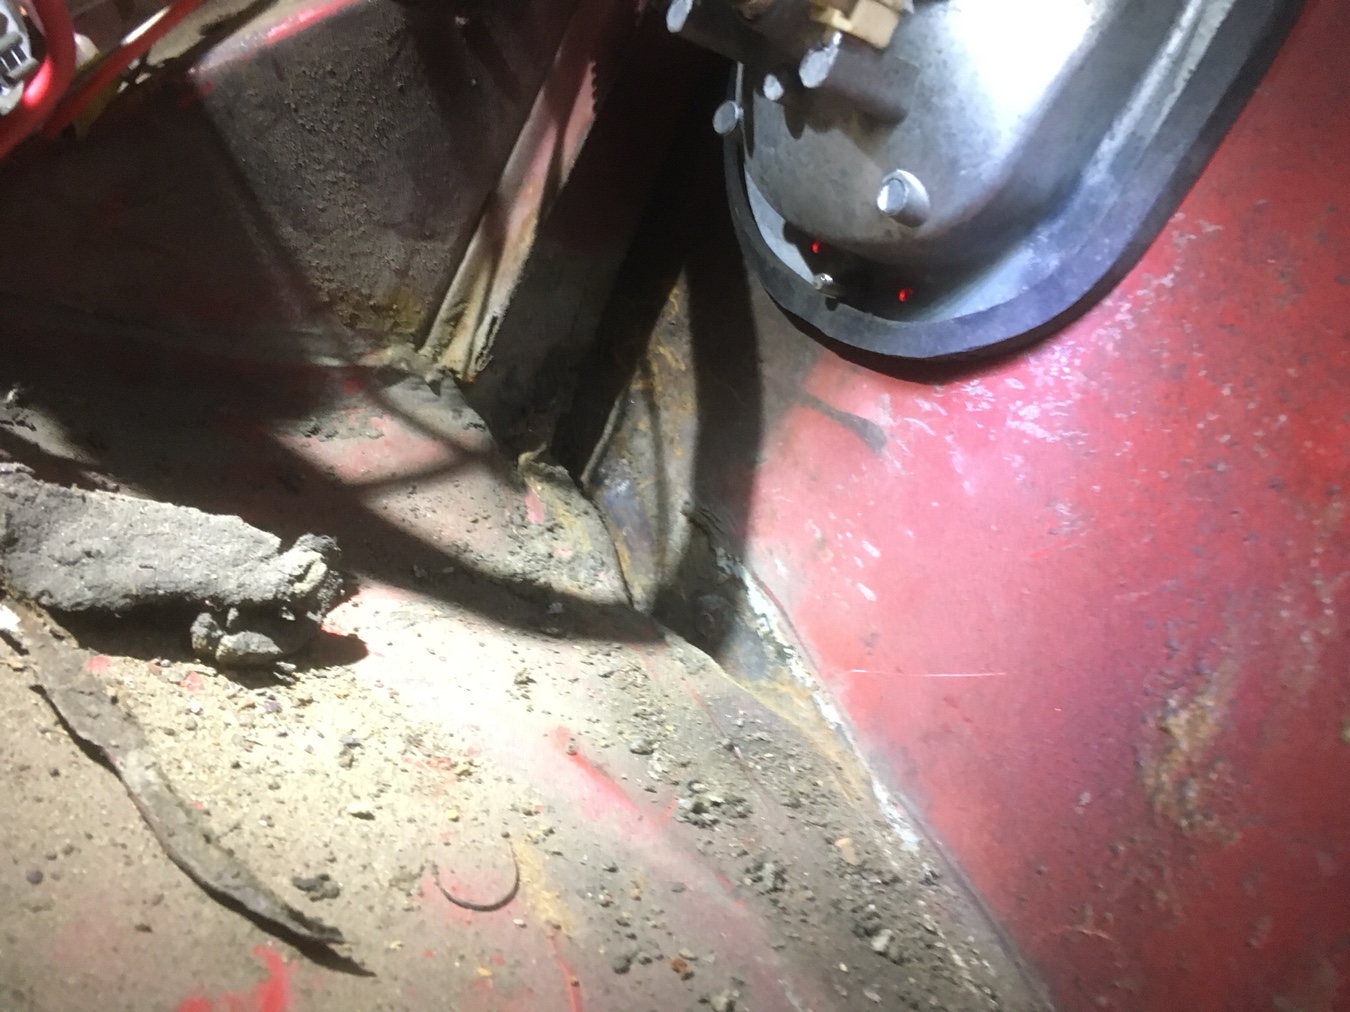
Used the Dremel to cut the bolt off problem is the bolt is welded to the strap so I will have to cut this off as well.
Then have to do the other one [emoji38]

I have ordered a long socket so will give that a try first but I suspect I will end up cutting that one off as well.

Took out the LB and the odd ply stand that was there. I want to fit a metal or plastic holder.
9b3bf0ef8e44f5eacf2209e6540443a5.jpg

93e5b37873c455c25f97ecd53dbdce64.jpg

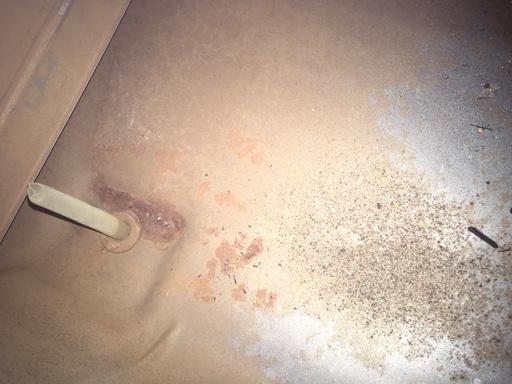
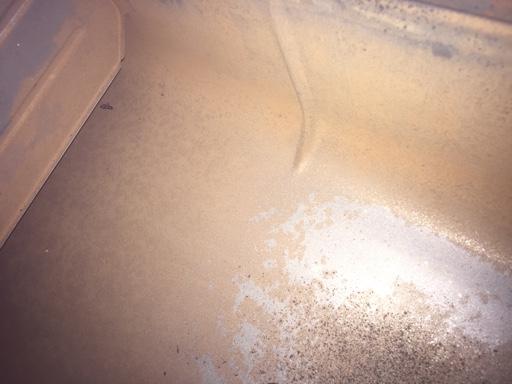
The left rear corner has been repaired at some point and the filler in the corner came away easily I want to clean all this up and re seal, before re installing the LB and clamp.

6c979977bbb7dbbf06a9c3a972e2788e.jpg


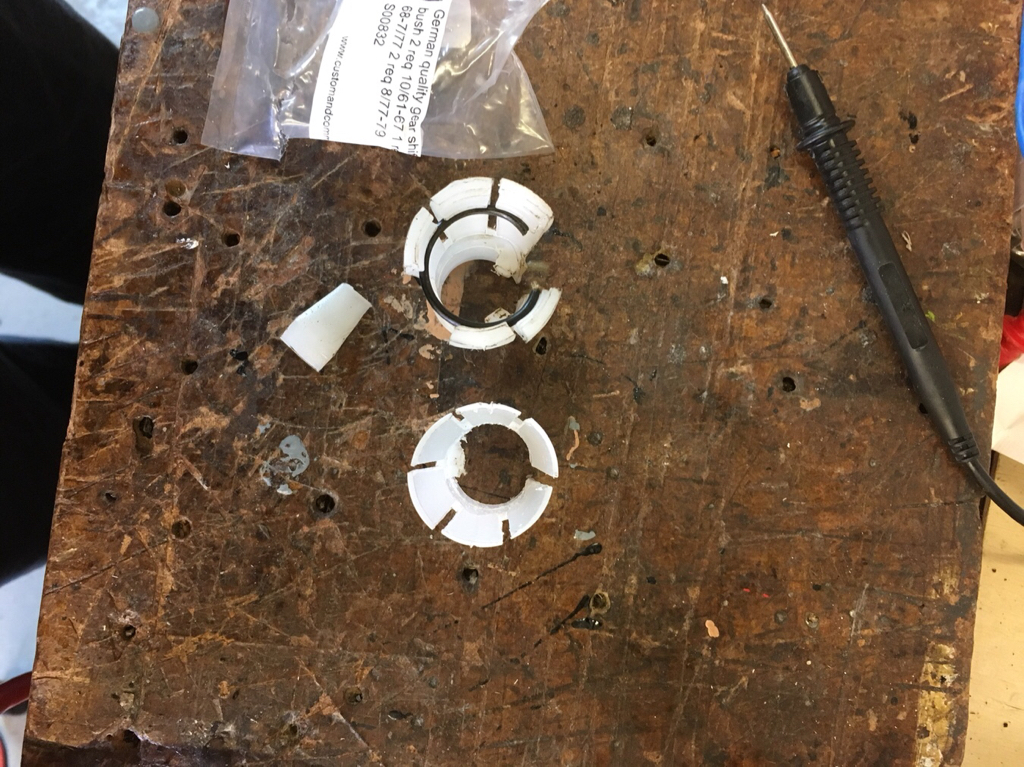
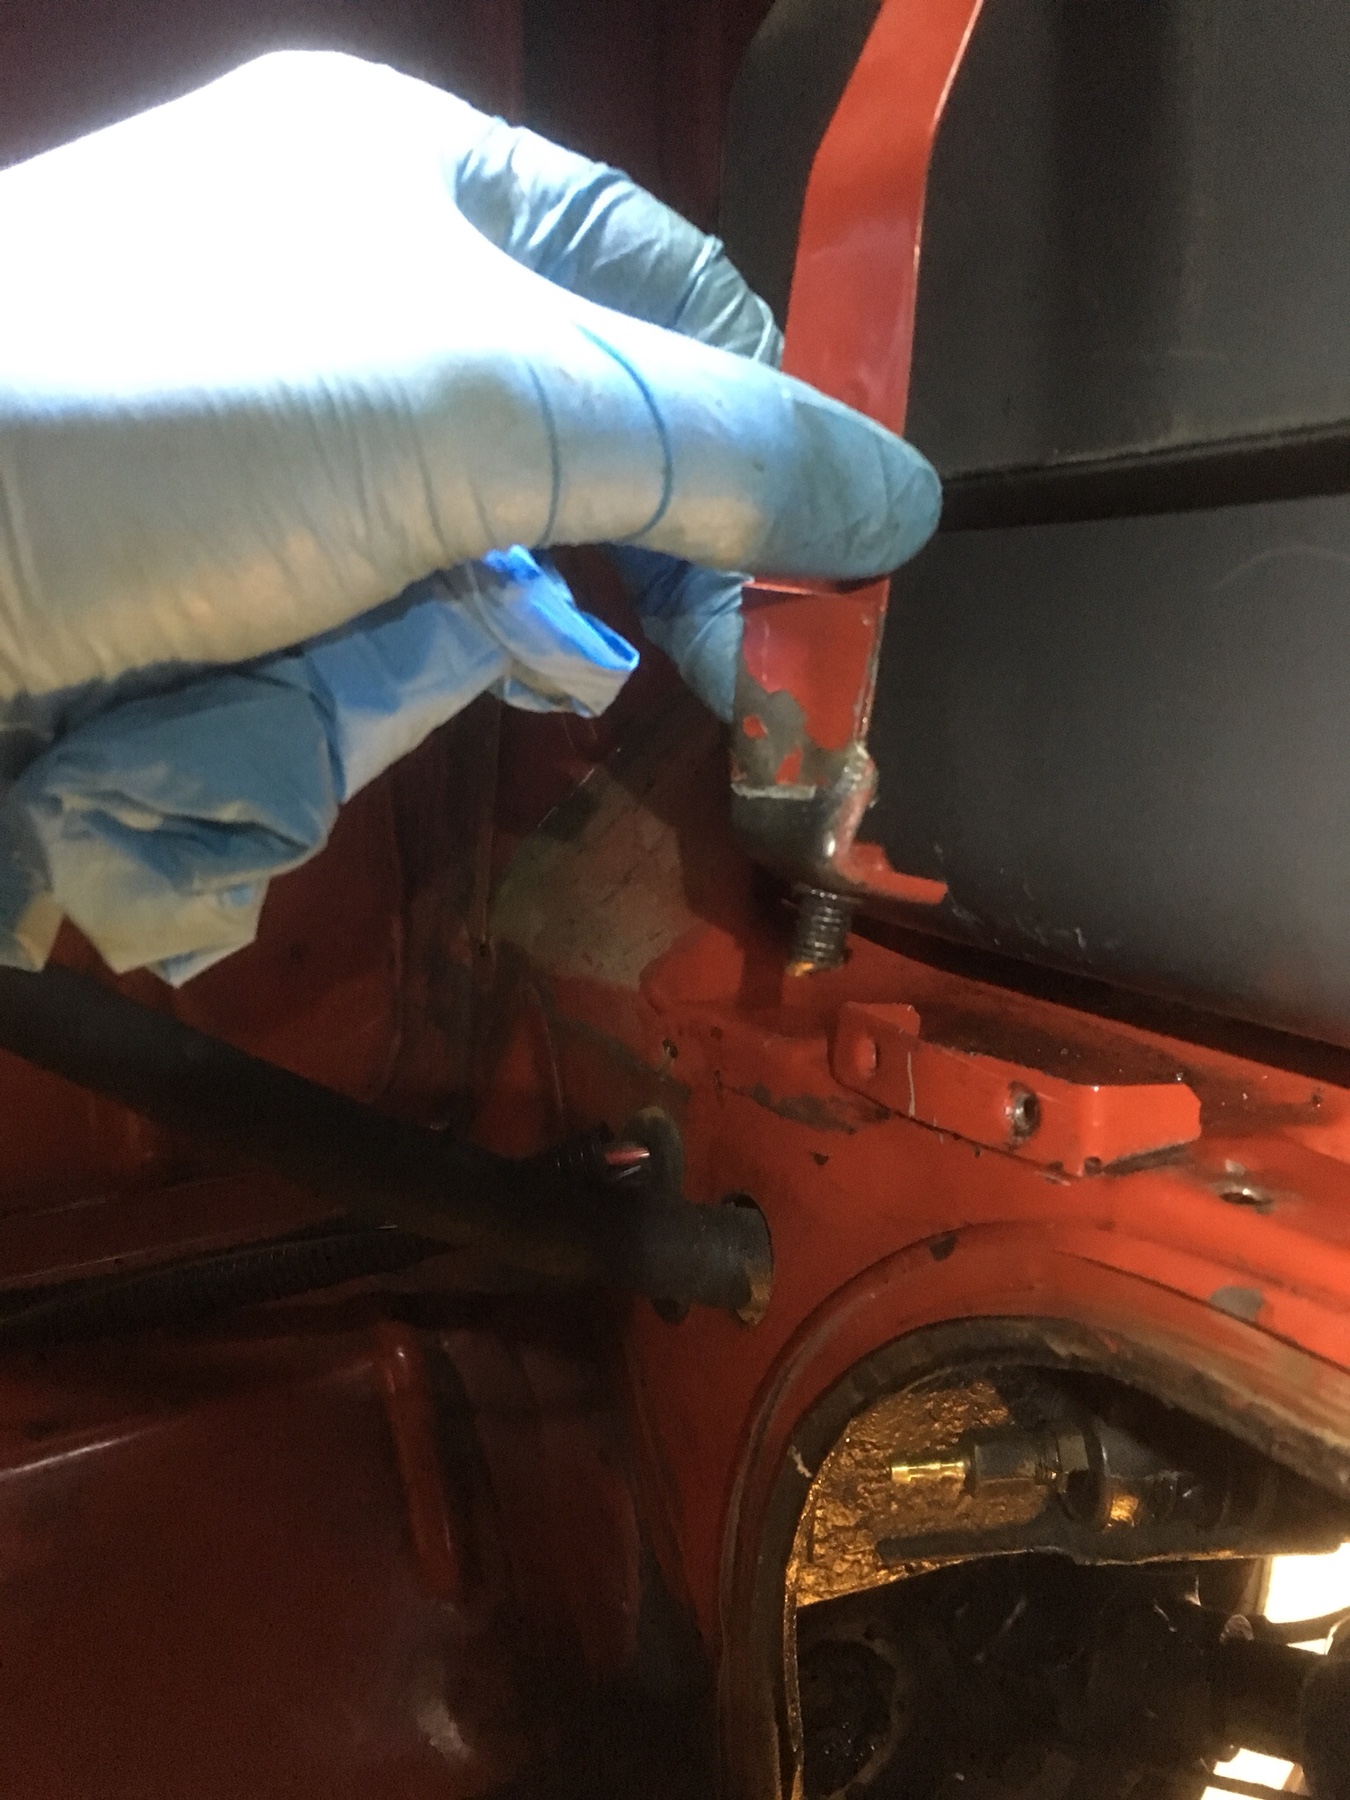
Took out this strange looking device, I think it is some sort of altitude sensor.

418623ca05b3d9280ad92ec9275ec14d.jpg

476fd5b069291ac63a83d4e20716d77e.jpg


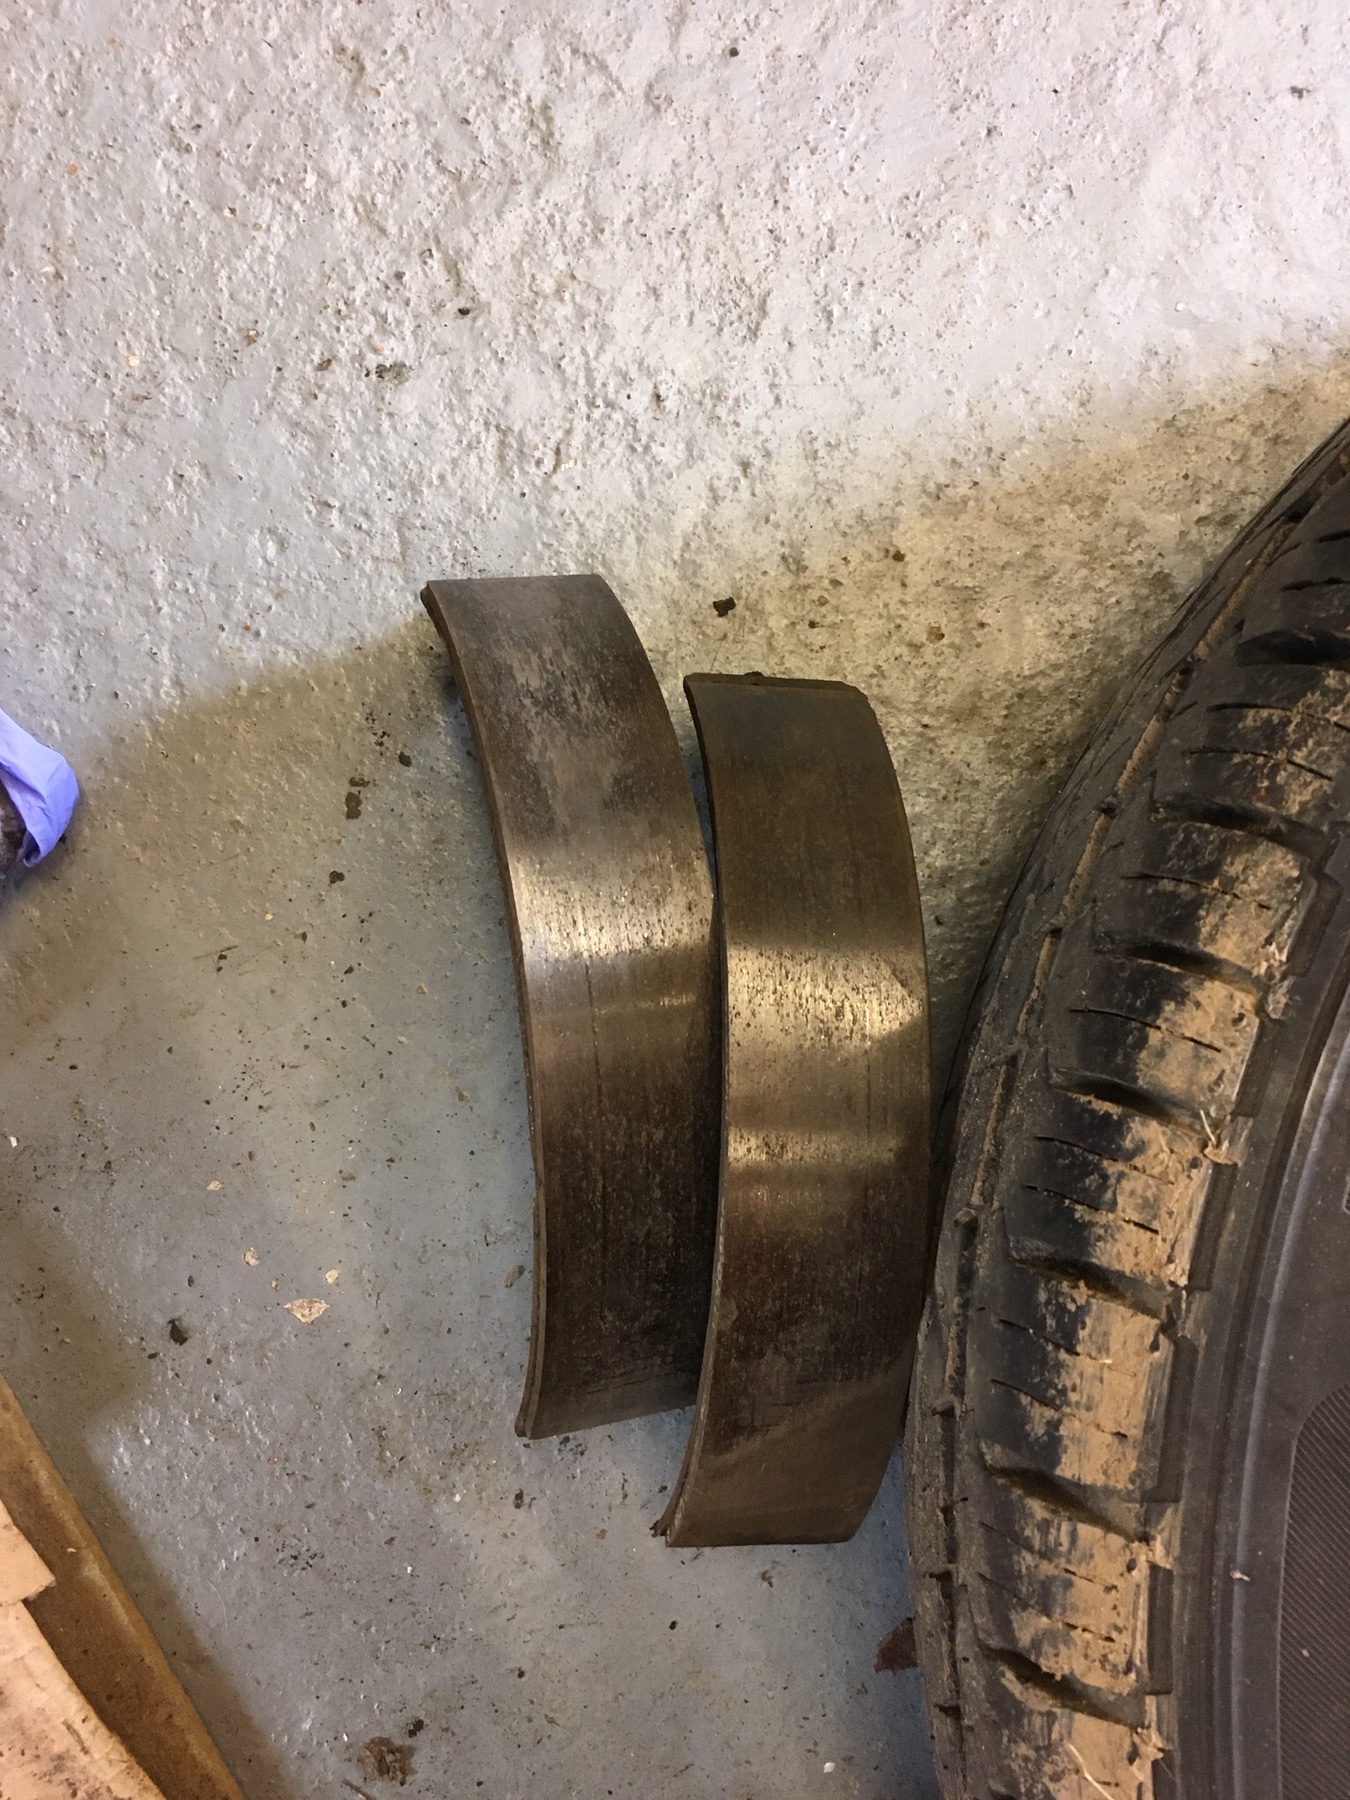
Now having these [emoji6]
40ddf47566d44e065001c16112ba81fd.jpg
 
Those BASTARD screws you were talking about , they were my problem and included a seized strap.
Found the screws but snapped the strap and had to fashion a new one from the start. :evil: :evil: :lol: :lol:

Nice job , more tea? :lol: :lol:

J & P
:D :D :D
 
Tank out !
af907ae475740cccae699a3400957b8f.jpg

e389ec7375a9b286446f6ae64409ba0d.jpg
3b6039692b454fc778f7ca1cd0a3b9df.jpg


The OG VDO fuel sender still has the full travel of the float inside the aluminium tube. My fuel gauge says the tank is empty when it’s half full though, so maybe time for a new sender ?

Inside the tank looks good small amount of rust around the outlet.
How does the sock filter thing come out as I am getting a new one ?

72f6ce887647ed8c8865d7b849a5cc28.jpg
8537ef86fbd74a8ebed71269a7046f0b.jpg
7a3a4e13506d75a66c95d655ac2c5b96.jpg


I managed to unbolt the right side strap as my 13mm long socket arrived today. Wish I had waited before cutting the left side off now [emoji13]
The thing is though that the bolts are very corroded and could do with being replaced although there doesn’t seem to be an easy solution to that problem.
 
Sock filter thing is removed from the outside. Replaceable part without removing tank.
Nice job.

J & P
:D :D :D
 
Good job Mike - knew you would get there and the tank looks good which is a bonus!
 
Took the opportunity to remove the rear part of the gear shift rod. The OG shuttlecock bushes look good. I ordered some new ones anyway to compare and or replace.
f08d0b28fc137da4ce726fa8dafe7245.jpg

dad3c2fe3ba1bb7416c2fc6a328969ab.jpg

The new ones are crapola so I just replaced the spring in the original forward bush and put it back in with lots of grease.

It was a tight fit to push the rod back in because of the new bush spring. [emoji28]
 
Found out the rear right wheel cylinder was leaking as there was a small pool of brake fluid when I moved the van forward in the garage.
The big problem is removing the hub nut if you haven’t done it before which I hadn’t. I had a 1 metre breaker bar and had bought a 46mm socket and had a go at undoing it using the jack handle over the breaker bar. Wouldn’t move, so tried a bit of heat and wd40 still no movement.

I decided to get the hub nut tool that you hit with a hammer and that worked a treat. As soon as it moves a few mm you know you’ve cracked it and then using the breaker bar again I only needed to turn it half a turn and it was then easy to turn by hand. [emoji106]

Confident now, I had a go at the other wheel and undid that one promptly enough [emoji3]

0b65d5fb030c024756ab895988a72b70.jpg

a9fc886477c70b0de1b3875255bfb63f.jpg

621ac99192edcec371c70ee65df3d5a6.jpg


Released the handbrake and backed off the adjusters to get the drum off. The whole inside was soaked with brake fluid
20b795edfefc76e756fb1ae6c2c2e933.jpg

9599cbed4460faeaf6be55477b216f9c.jpg

d6e7f03d2aeb3ace1ec0c758b22ee2fd.jpg


So new wheel cylinders and shoes ordered with fitting kit etc.
The left side cylinder looked a bit old and rusty so I thought it would be a good idea to replace both sides together.

e3566e1f2eb7e3d2995ba936bad1b611.jpg

f67a331ec8c7a96c2d69bcc57fabfa20.jpg


The drums on both sides look ok so I will just clean them up and refit.
They have 2002 stamped on them.
09fa876709d6d152a0369797db332367.jpg


The shoes on the left side look quite worn so I’m glad I am putting new one on.
c4c59ae72805d0a57cee258506b682c3.jpg


When the parts come I can refit all the new bits. [emoji3]
 
You should not be wrenching this time of year Mike but go camping instead ;)
Looking good, keep up the good work!!
 
Fitted the new cylinders and shoes with new brake hardware
Are these lower single springs ok rather than the two single springs ?
There was only two smaller springs in the kit I bought, not four so I thought these would work.

2cead00406981bed8ab5449488e1eeb2.jpg

Two lower springs

7fd0b24ad69eab5080f5407fbc4d5331.jpg


Single lower spring.

I looked at the old cylinders and they have a lot of muck inside them even the one that wasn’t leaking had this black stuff. Is it brake dust?
65766b2e71f69b7710466f8ab431f336.jpg


I think I made a mistake in trying to bleed the brakes before putting the drums back on. My helper was pressing the foot pedal and I was draining the old fluid from the rear right wheel. When the reservoir was empty, she can’t fill it, so I walk around the back of the van and at the left rear wheel find brake fluid has sprayed out all over the place (not on paint though[emoji28]) because the left cylinder has come apart with the brake fluid pressure [emoji37]

I think this must be the last job to do when the drums and wheels are back on doh!


Latest posts

Top