


Kev946
Well-known member
Buddy seat finished and ready to final fit in the van. I also fitted the bed base today with bed hinges. Getting ready to wire everything up.


matty74 said:Brilliant work, really enjoyable read ... we've also got a thetford cube under our Buddy seat, best thing we fitted ... try using it without laughing ha ha ... comedy moments guaranteed
Sent from my iPhone using Tapatalk
 D72_7566 by Kevin Saunders, on Flickr
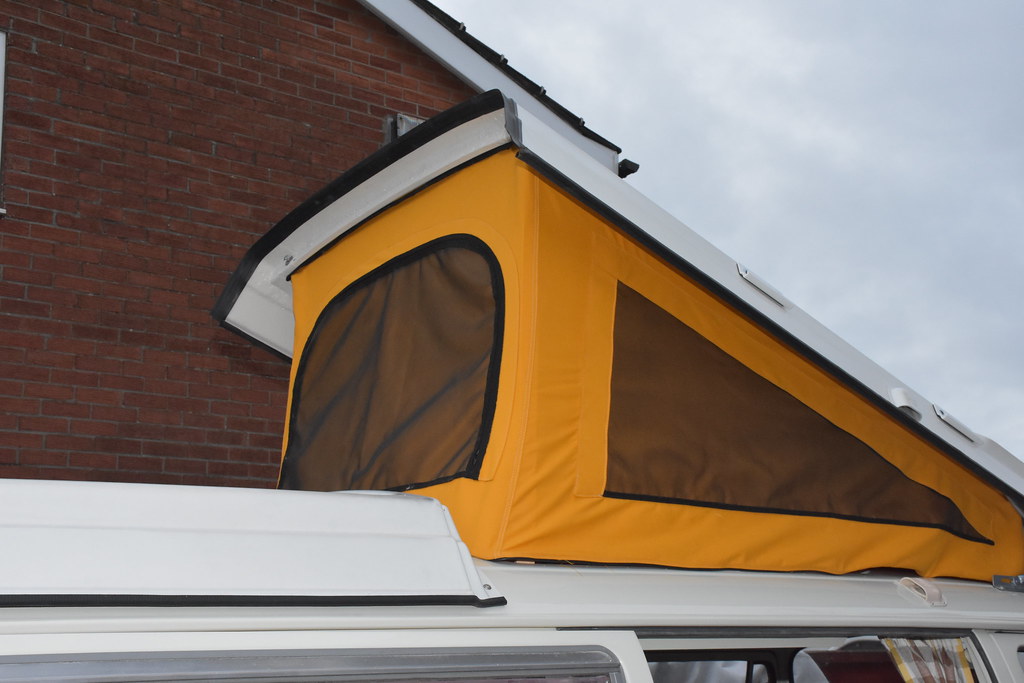 D72_7565 by Kevin Saunders, on Flickr
")
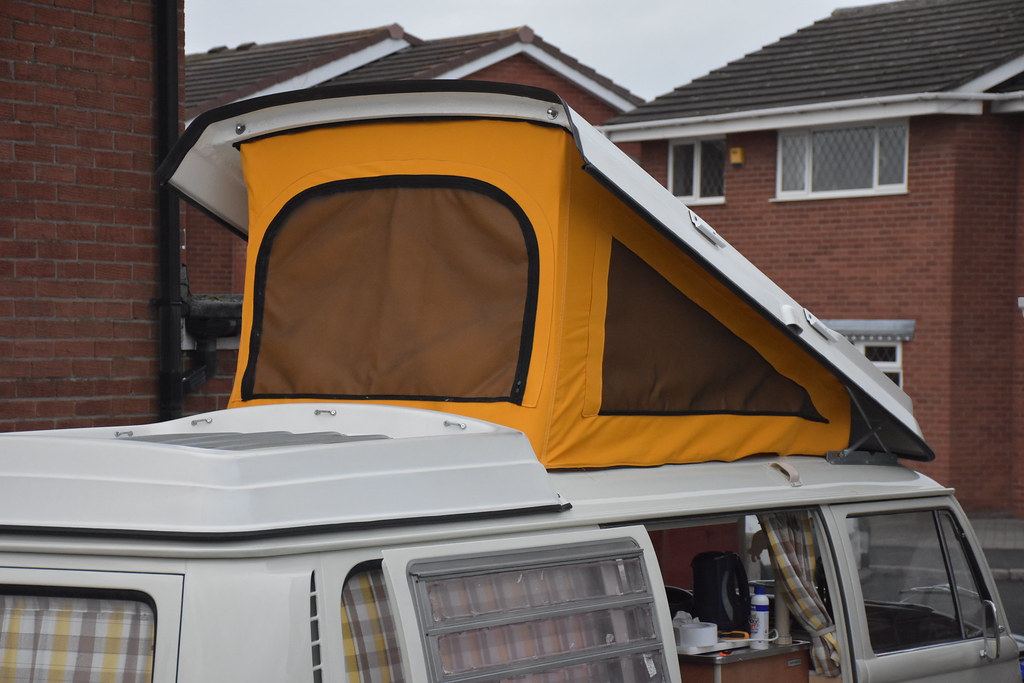
 D72_7707 by Kevin Saunders, on Flickr
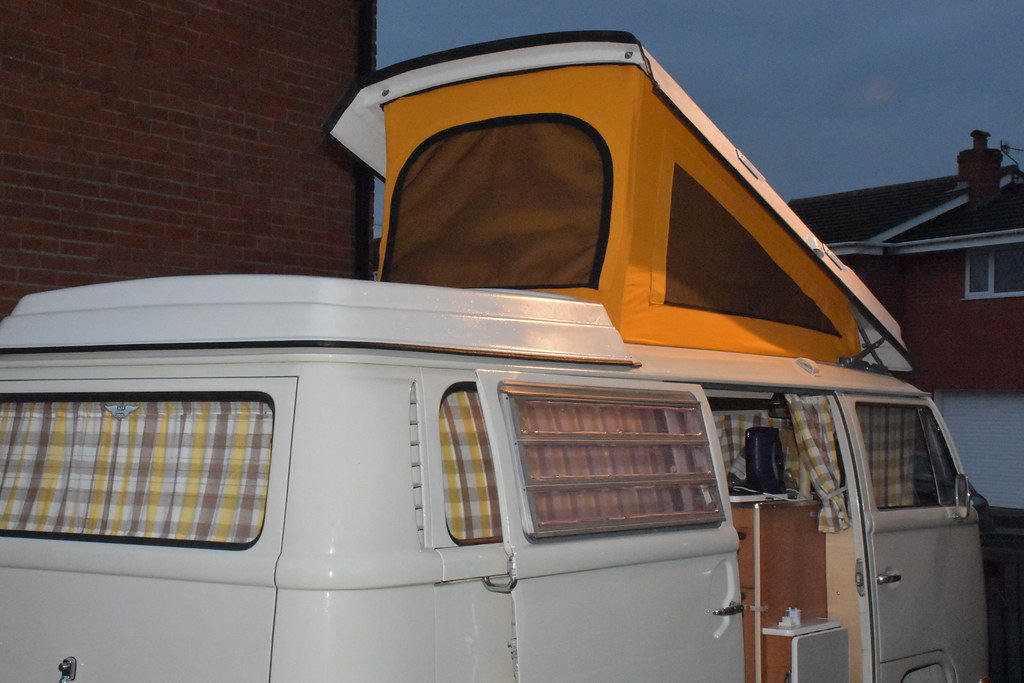 D72_7709 by Kevin Saunders, on Flickr
 D72_7712 by Kevin Saunders, on Flickr
Aircooler said:Looks very nice! Good progress! Could you tell me where you got your seatbelts from?
Best regards
Reto
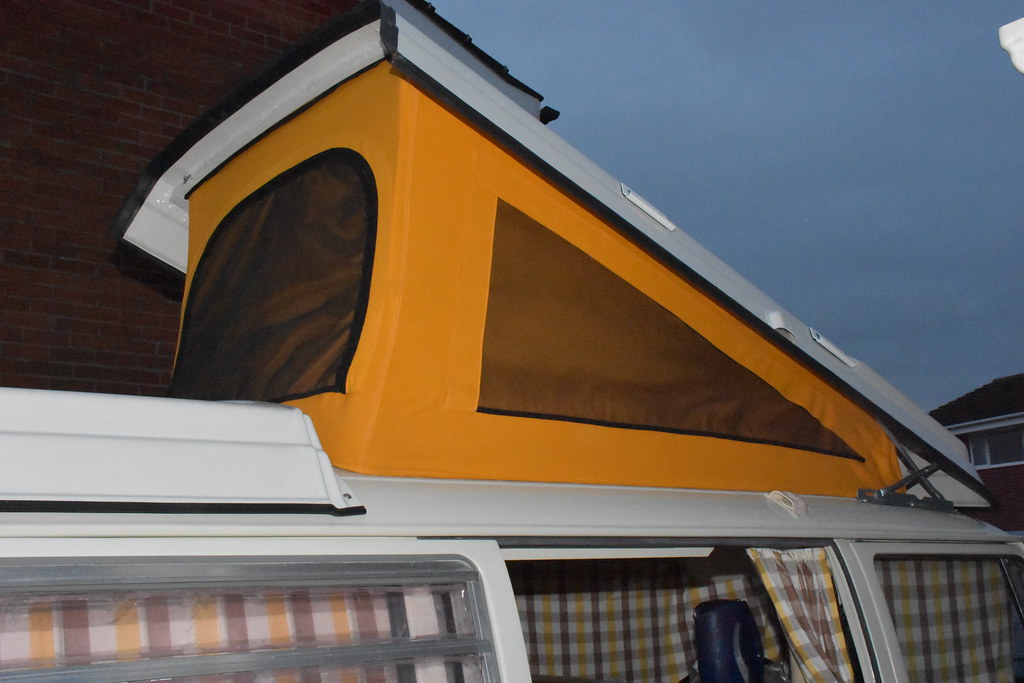
 D72_7729 by Kevin Saunders, on Flickr
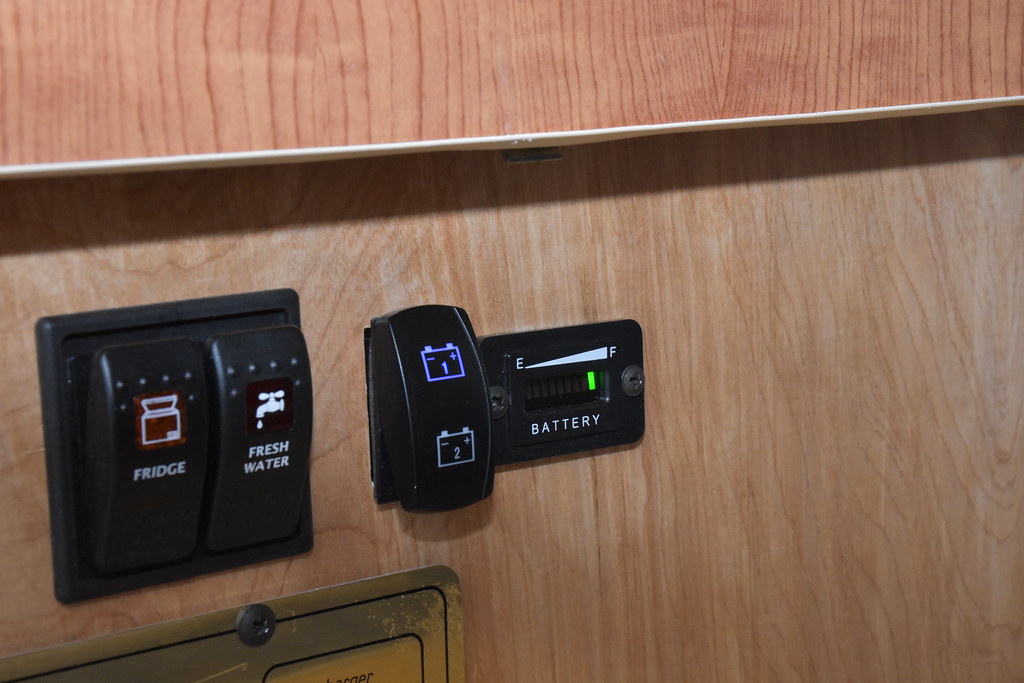 D72_7819 by Kevin Saunders, on Flickr
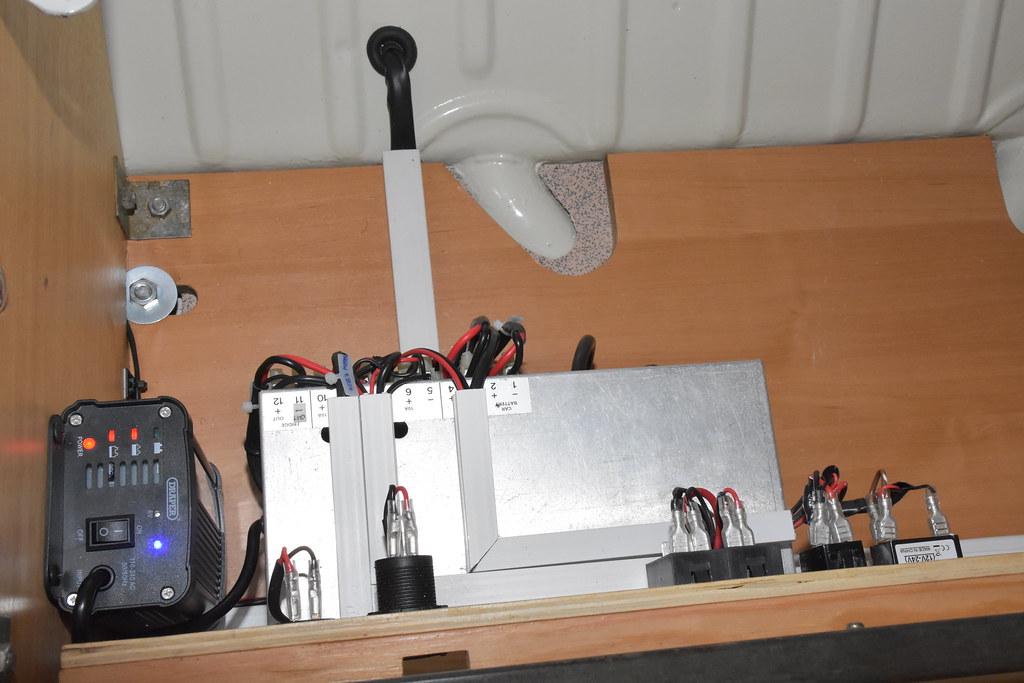 D72_7822 by Kevin Saunders, on Flickr
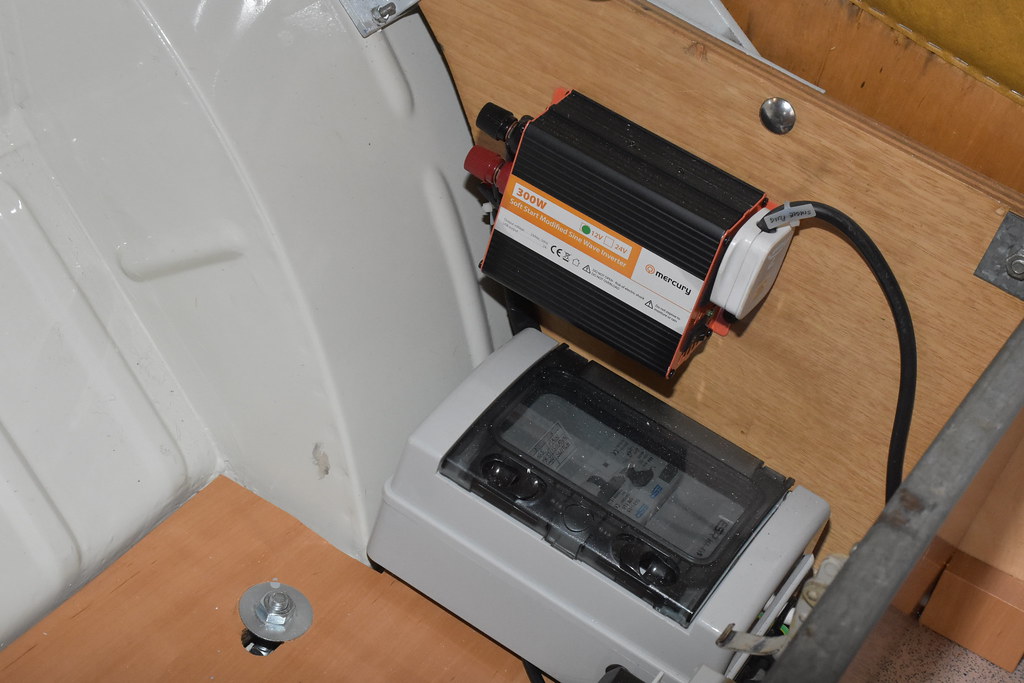 D72_7823 by Kevin Saunders, on Flickr
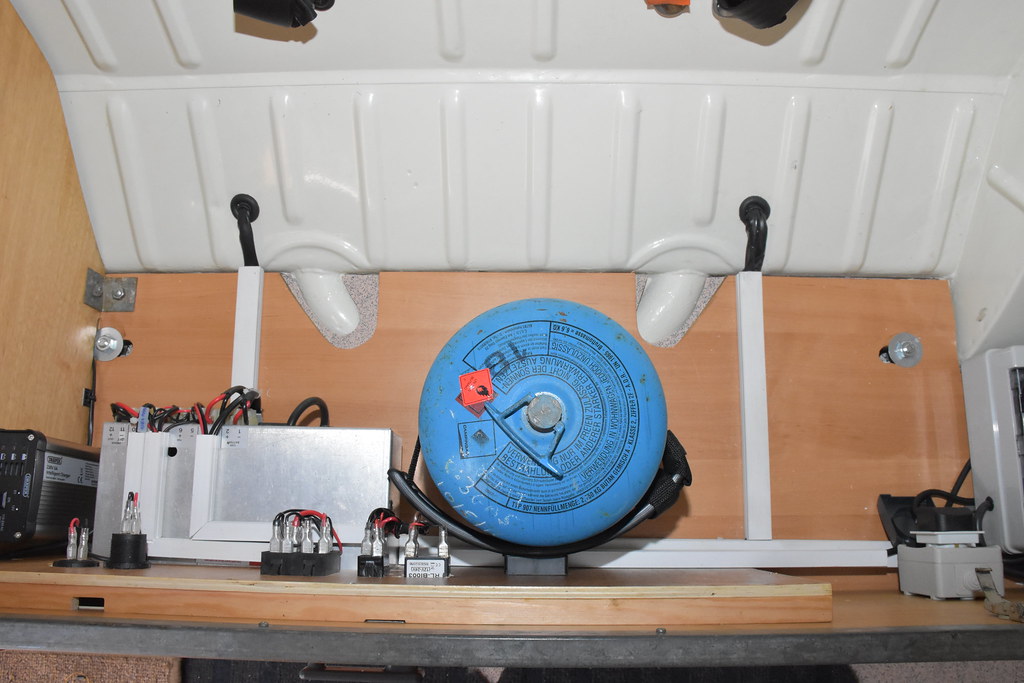 D72_7824 by Kevin Saunders, on Flickr
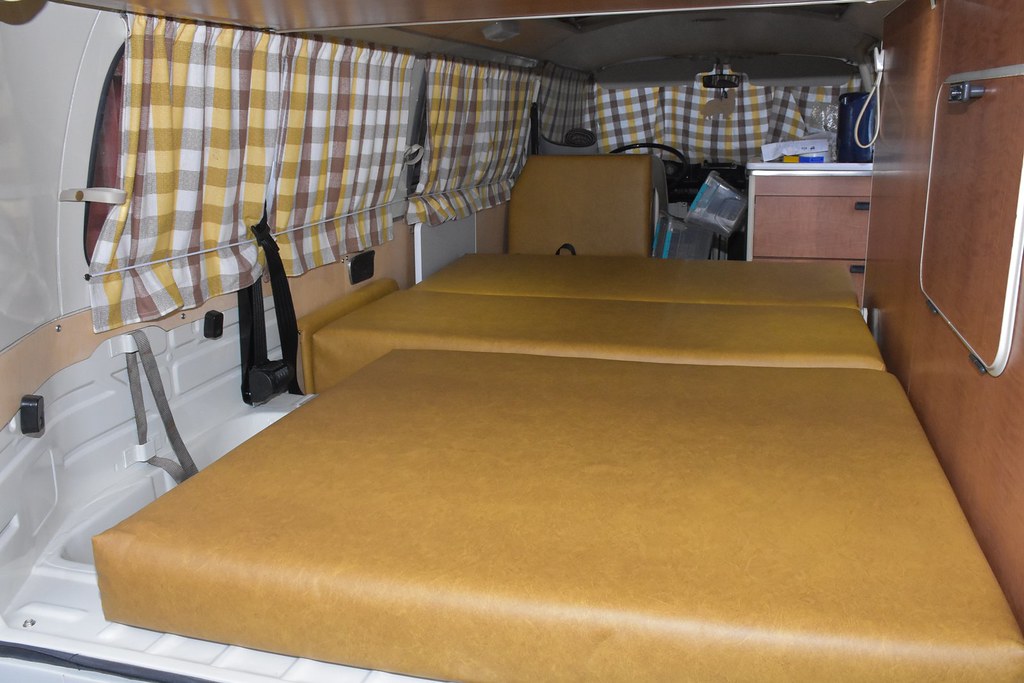 D72_7833s by Kevin Saunders, on Flickr
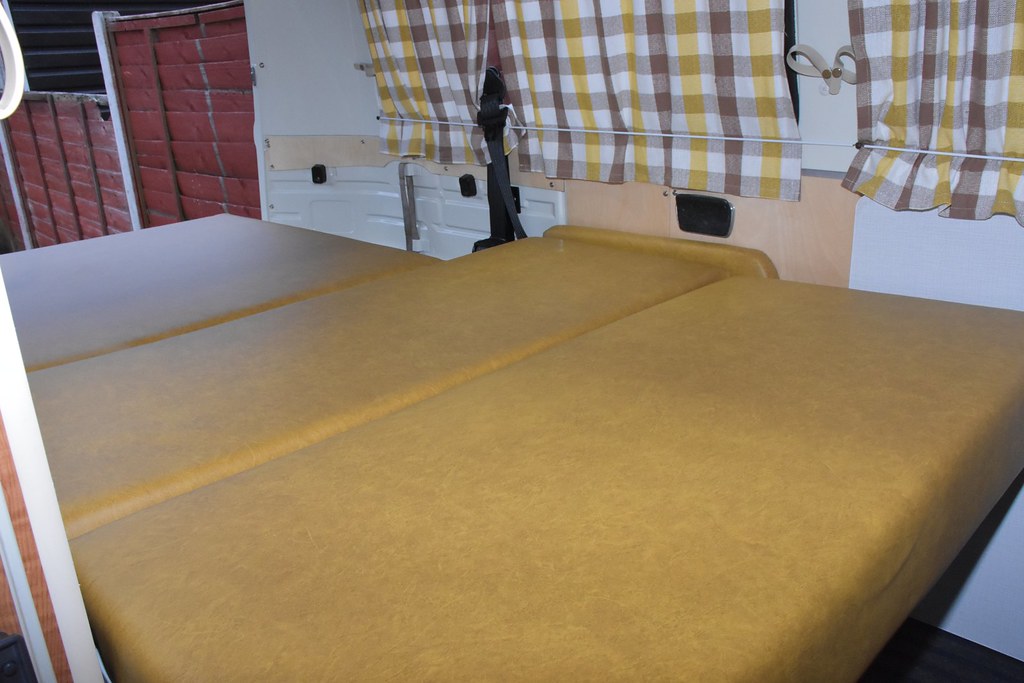 D72_7835s by Kevin Saunders, on Flickr
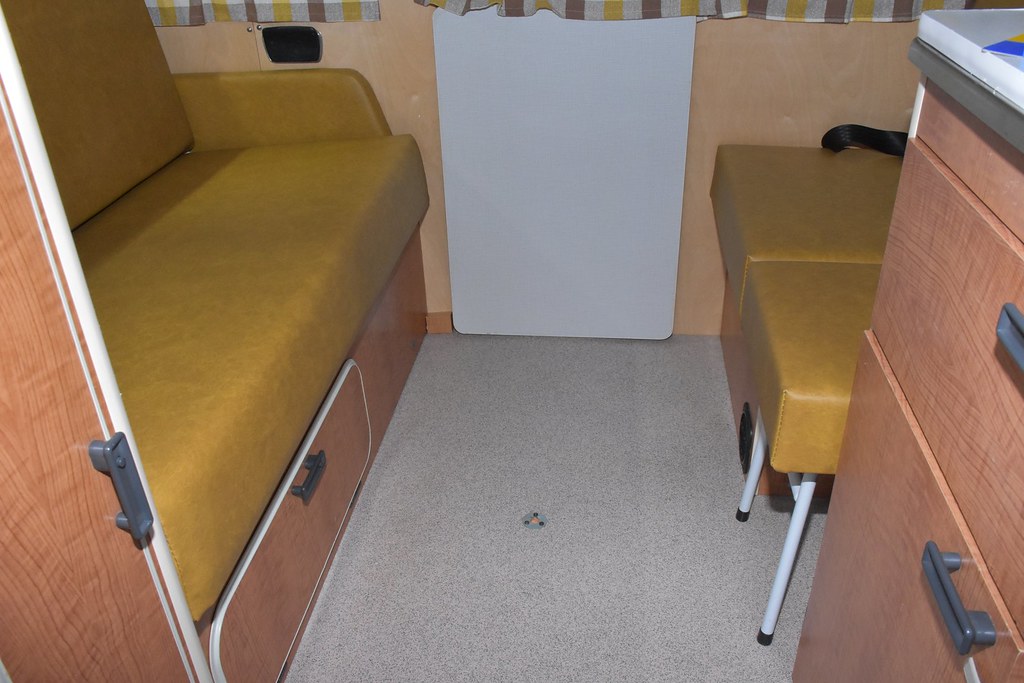 D72_7840s by Kevin Saunders, on Flickr
 D72_7853s by Kevin Saunders, on Flickr
Enter your email address to join: