1968 Campervan conversion

Early Bay Forum

Help Support Early Bay Forum:

This site may earn a commission from merchant affiliate links, including eBay, Amazon, and others.
Another one to clean: the lower sliding door bracket.
With these pictures I will be able to mount it all again.... :mrgreen:

IMG_2853.jpg


IMG_2854.jpg


IMG_2855.jpg


IMG_2856.jpg


IMG_2857.jpg
 
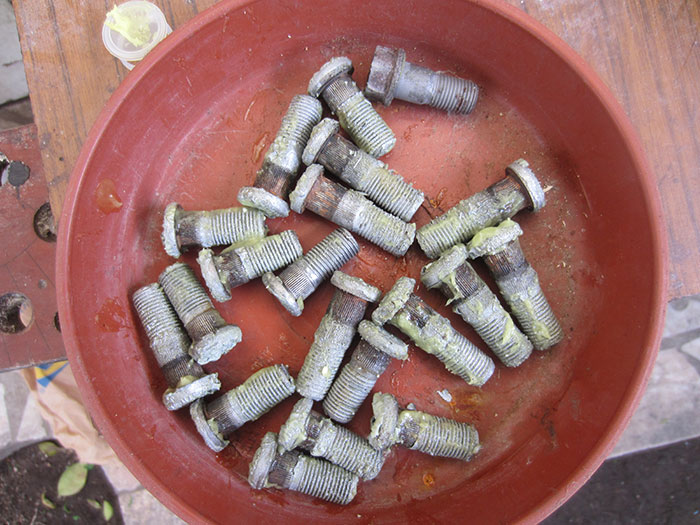
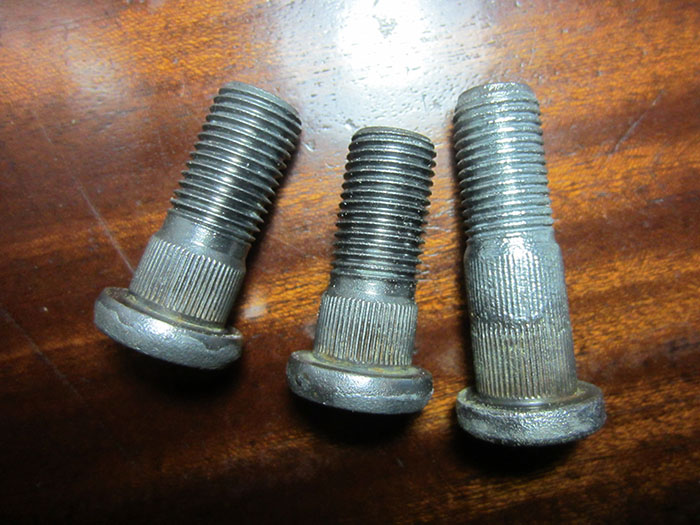
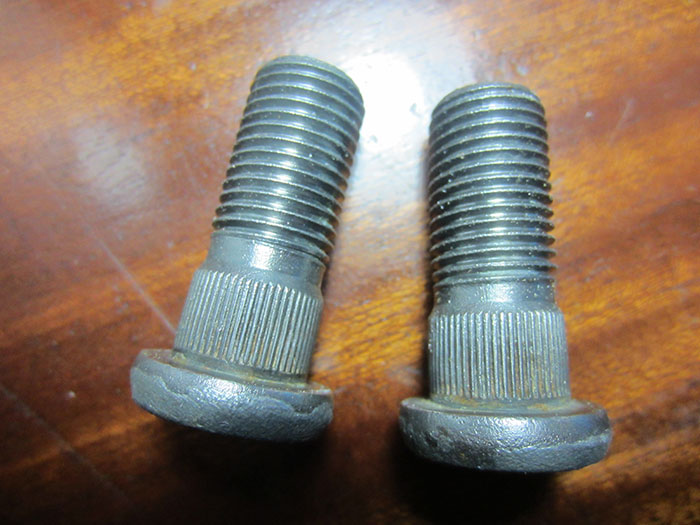
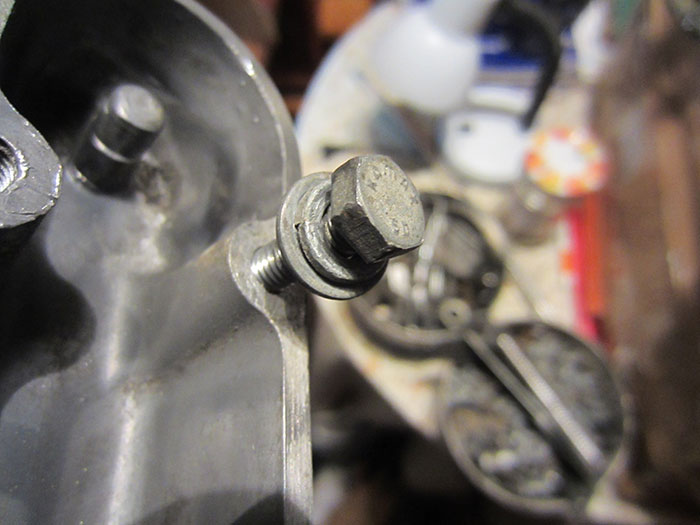
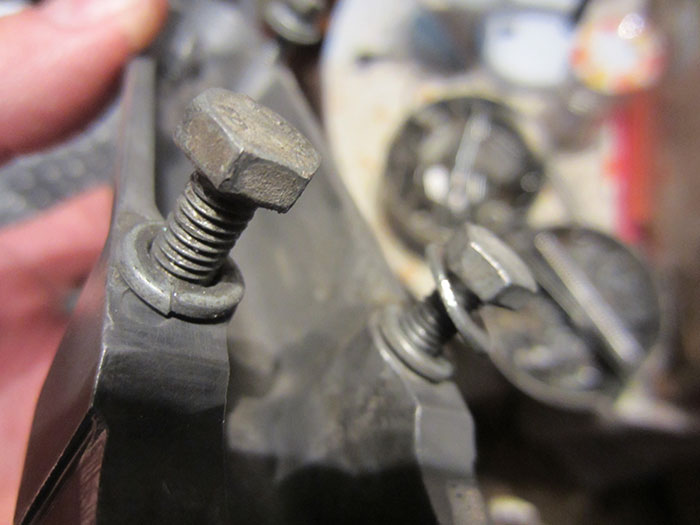
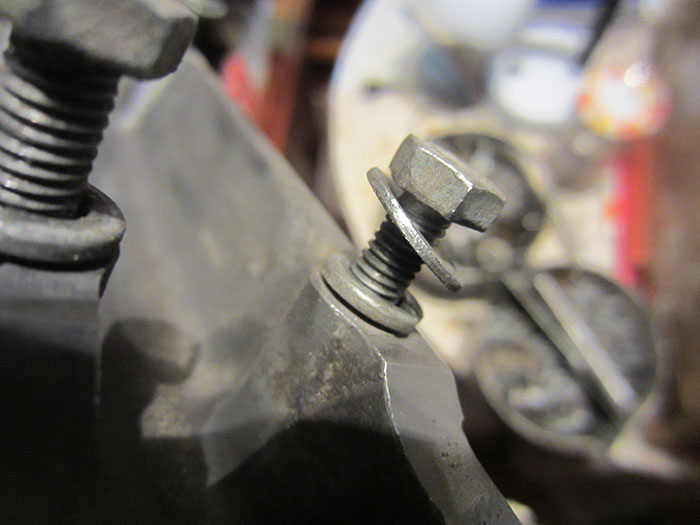
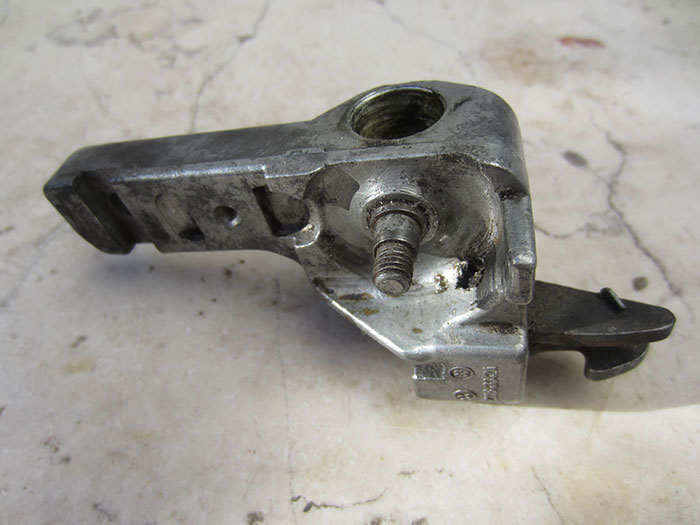
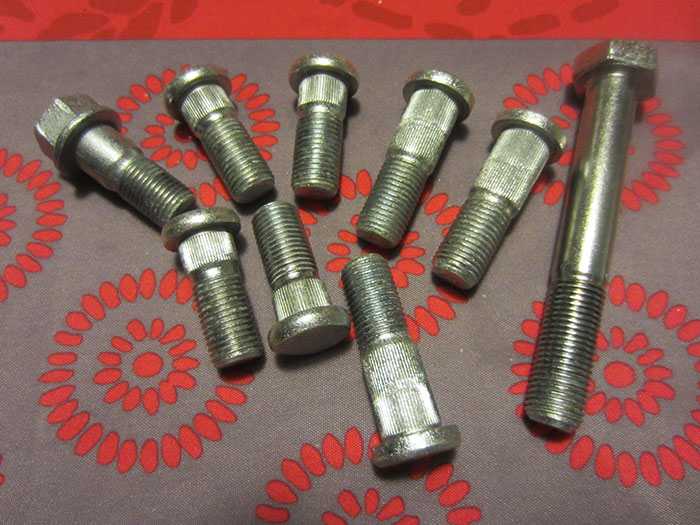
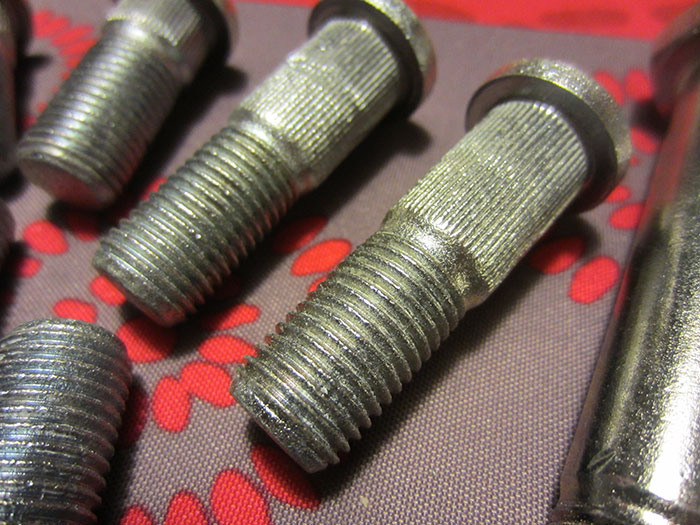
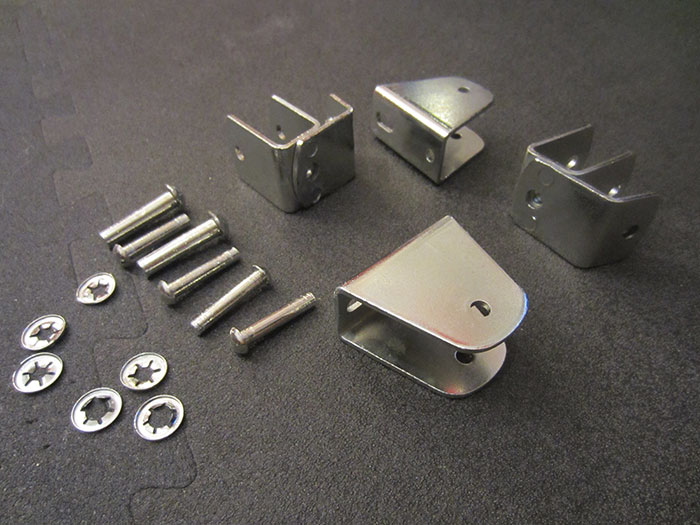
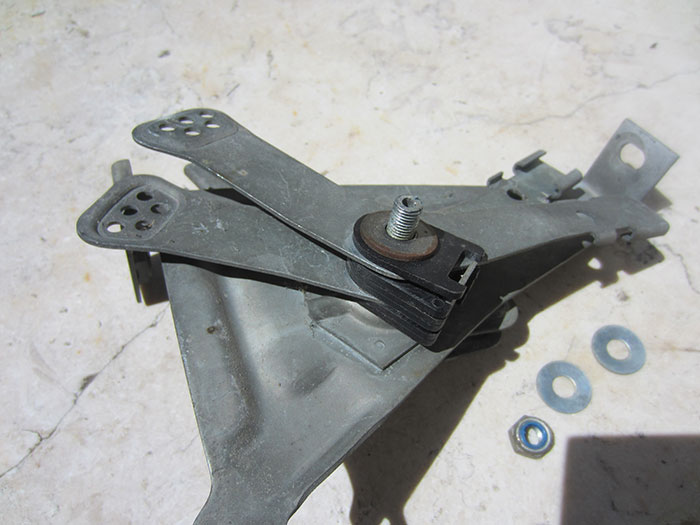
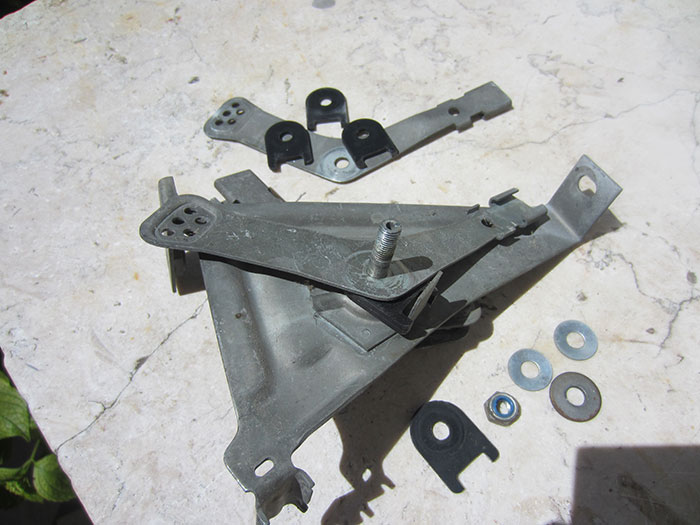
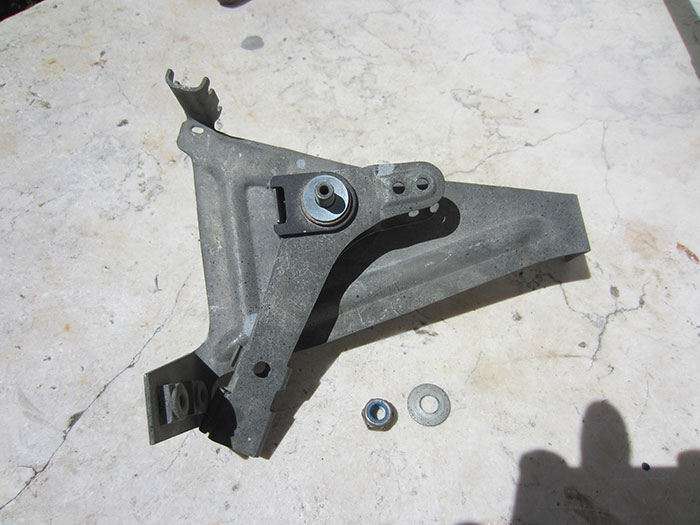
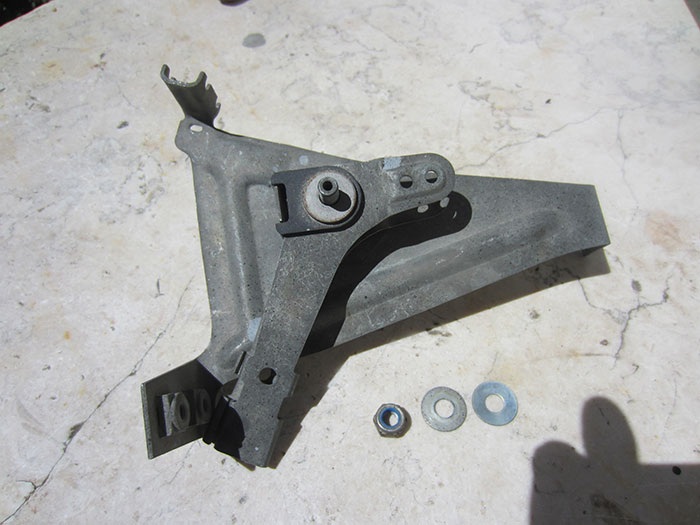
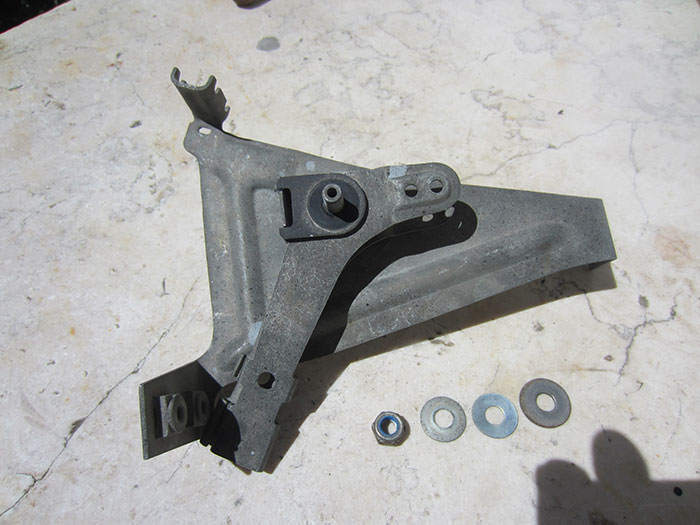
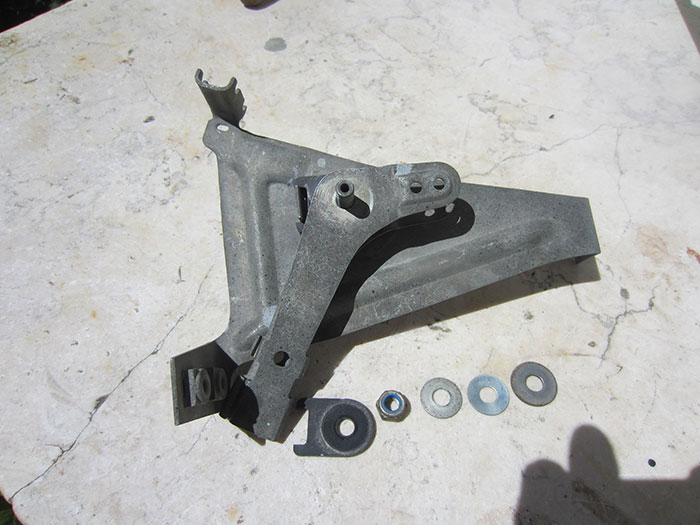
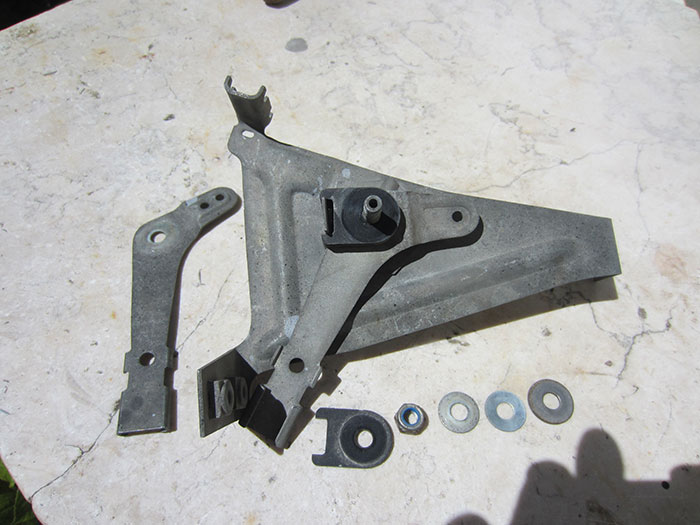
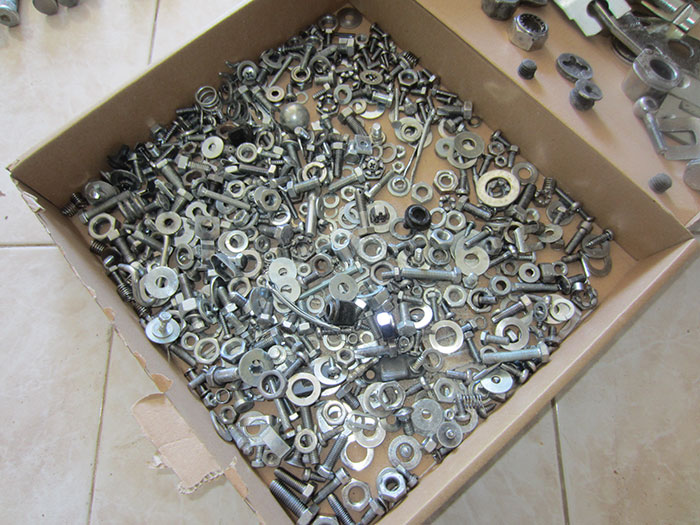
Other task to do: clean all paint and rust prevention treatment from these screws.
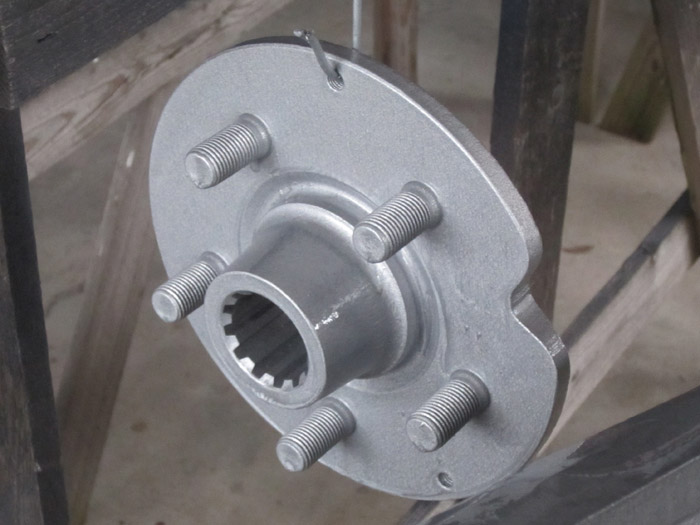
It was a stupid decision to metallize the central hub with the bolts in it. The excessive amount of metal from the anti-rust treatment and the excessive paint will make the nuts almost impossible to fasten.

In 2008 after sending some parts to metallize...
jnar said:

and after painting them, in 2012::

jnar said:

So, first I use some paint stripper:

IMG_2858.jpg


... and after using a wire wheel brush:

IMG_2864.jpg


IMG_2865.jpg


but they will not be like this in the end....
 
Some other parts to clean: my engine lid original hinges

IMG_2860.jpg


IMG_2861.jpg


and another bunch of parts, already cleaned and ready for being zinc coated:

IMG_2863.jpg


... and some more, that will be just polished or zinc coated:

IMG_2866.jpg
 
Others parts to fix: my opening quarter lights frames....

IMG_2890.jpg


IMG_2891.jpg


...and after some struggle, they came out:

IMG_2892.jpg
 
... and after a few days, some more parts were back from being zinc coated:

(the tailgate lock)

IMG_2895.jpg


IMG_2896.jpg


IMG_2898.jpg


IMG_2899.jpg


IMG_2900.jpg
 
Another part I decided to clean was all the heater system that is behind the dashboard:

IMG_2913.jpg


IMG_2914.jpg


IMG_2917.jpg


And the best thing to do is to take as much pictures as need to be able to assemble it back again :mrgreen: :

IMG_2920.jpg


IMG_2921.jpg


IMG_2922.jpg


IMG_2923.jpg


IMG_2924.jpg


IMG_2925.jpg
 
a couple of days later, assembling time:

IMG_2970.jpg


IMG_2972.jpg


... is it going to be seen? No... but at least is cleaned and now I know how it works 8)
 
Again at Viseu, I went to Hugo's bodyshop and I started disassembling the windshield wiper mechanism:

IMG_2946.jpg


IMG_2947.jpg


IMG_2948.jpg


... and with some other parts, I decided it was best to clean them all using the sandblaster.

IMG_2957.jpg
 
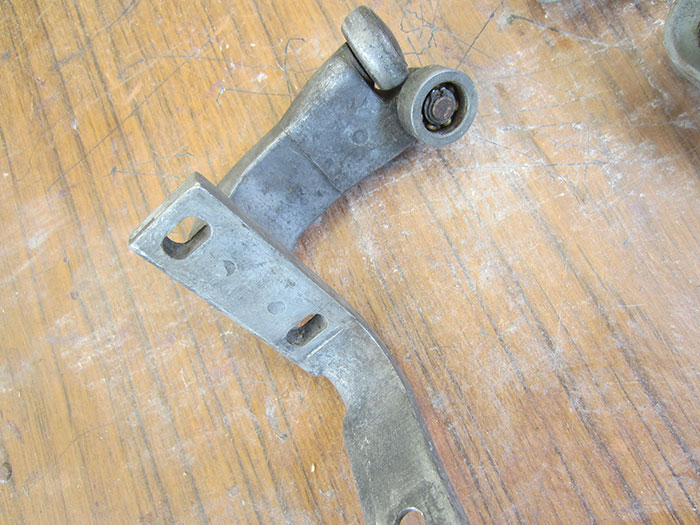
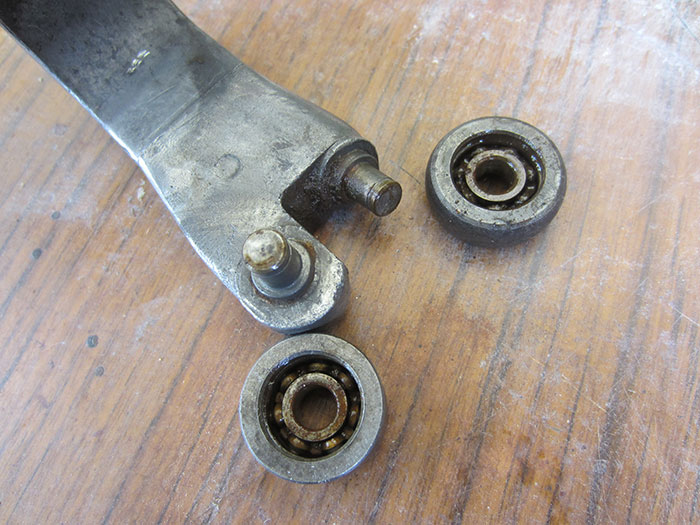
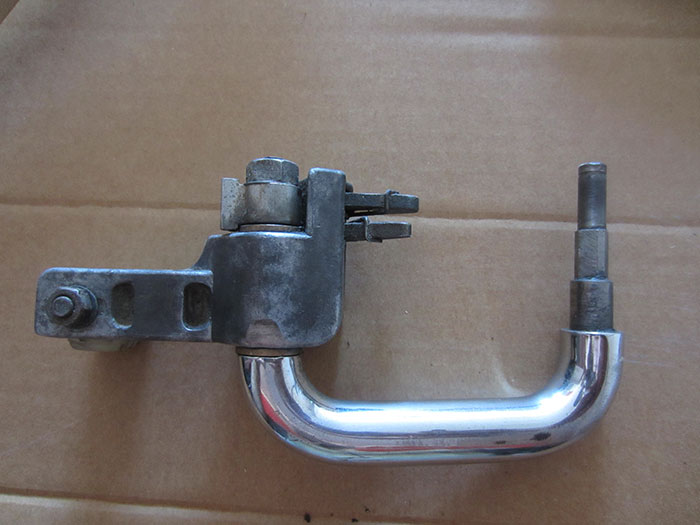
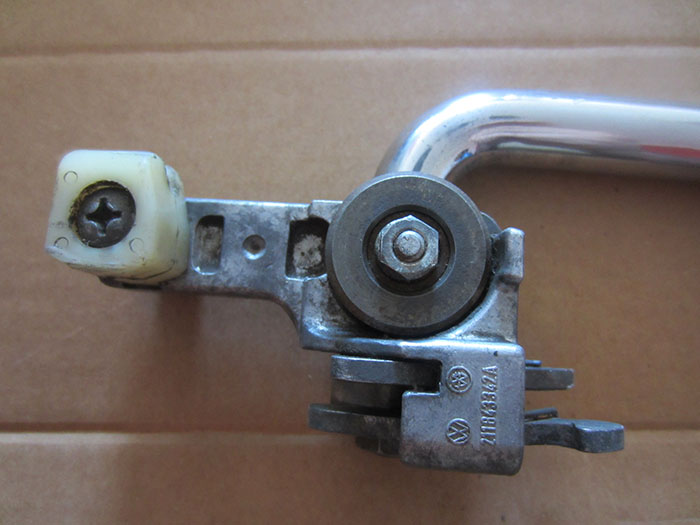
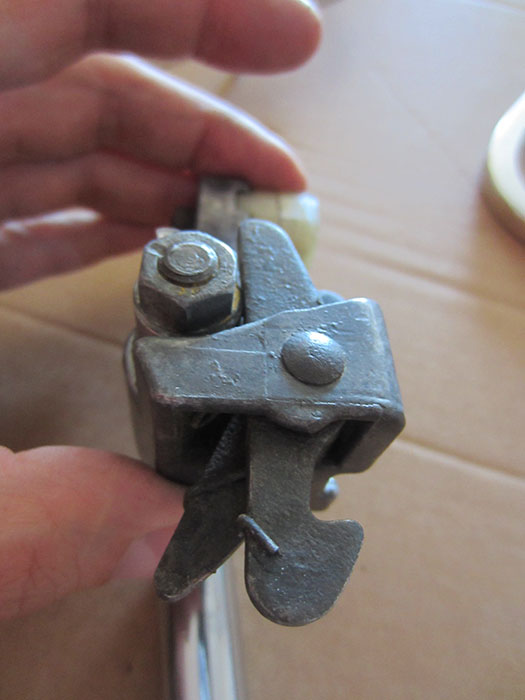
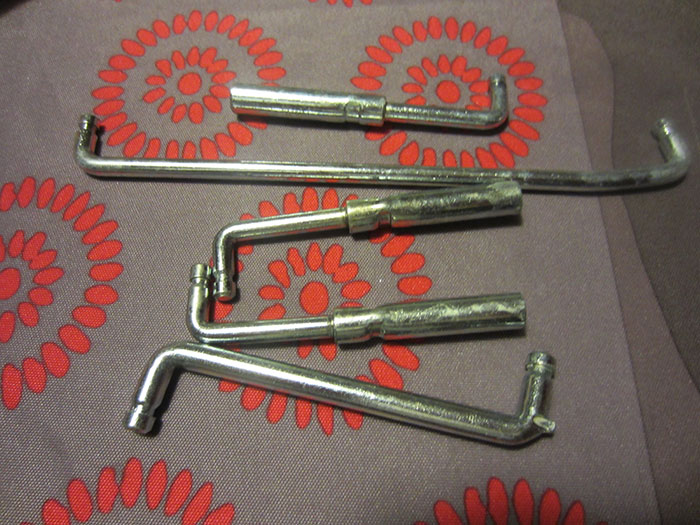
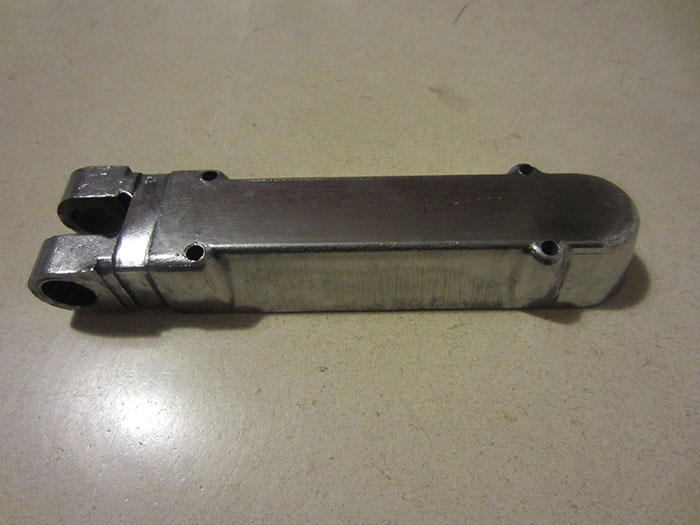
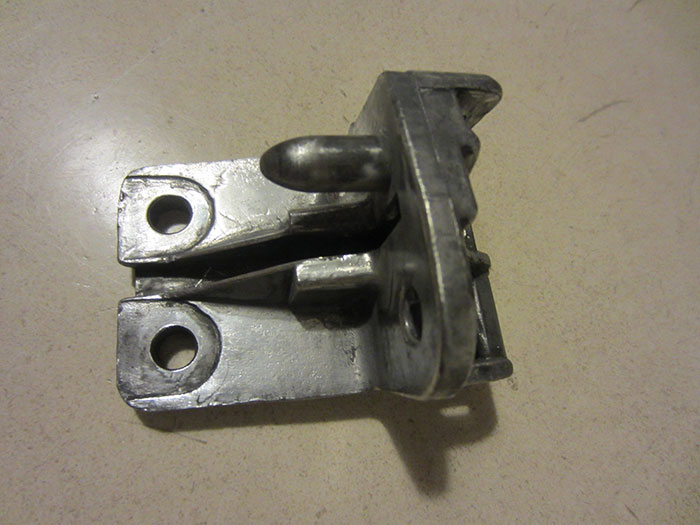
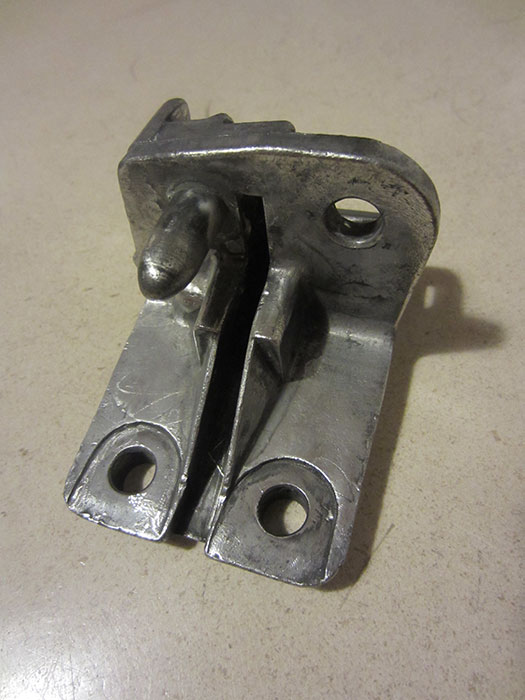
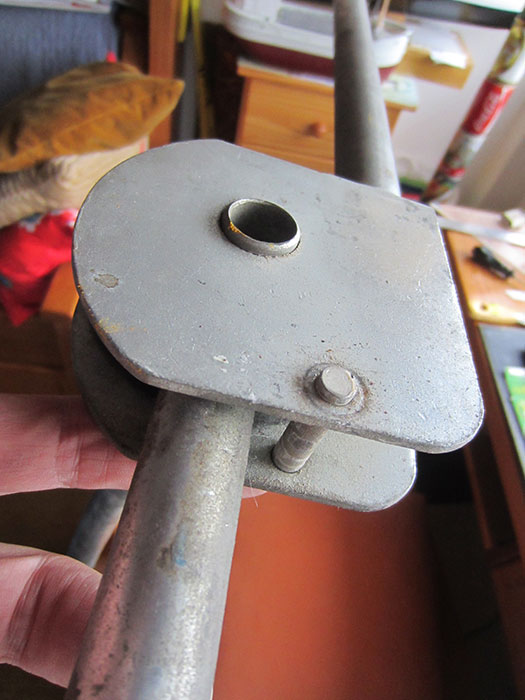
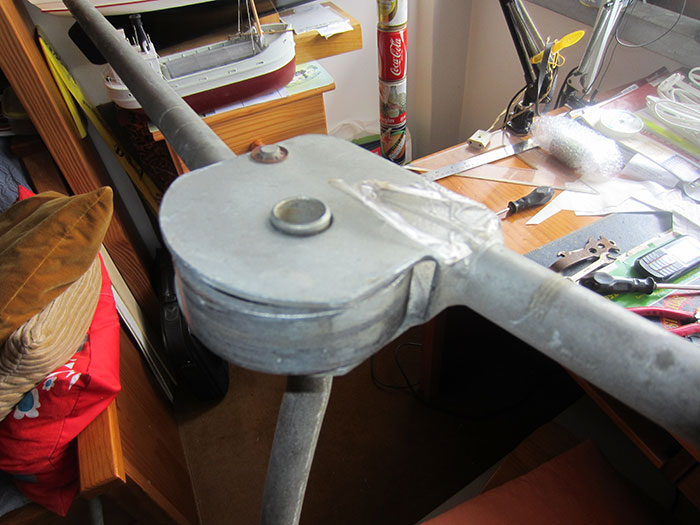
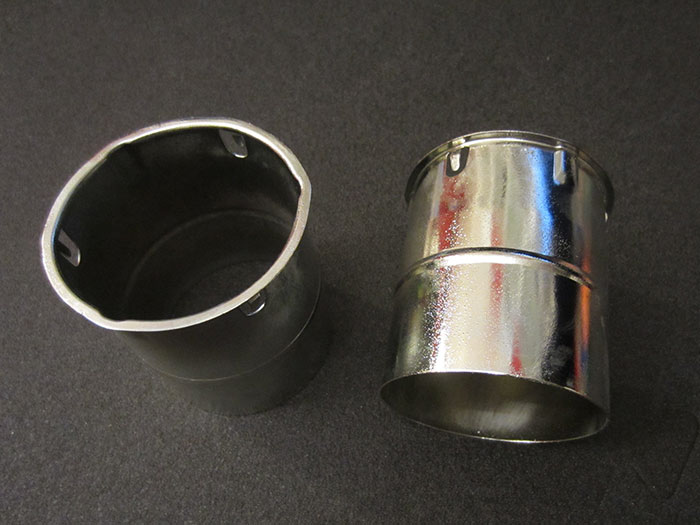
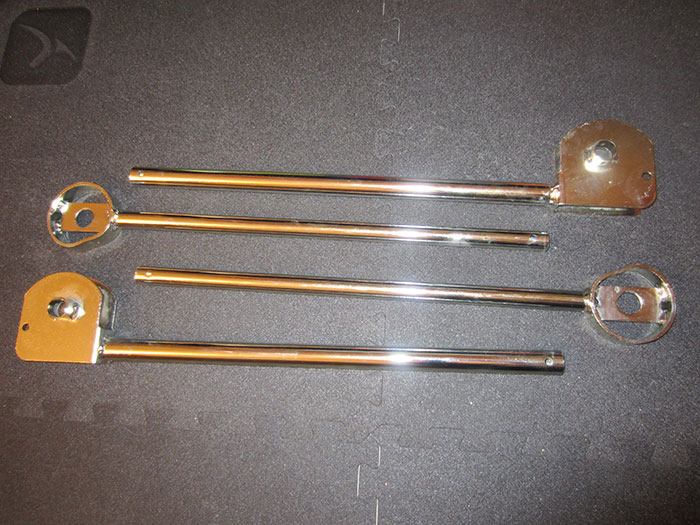
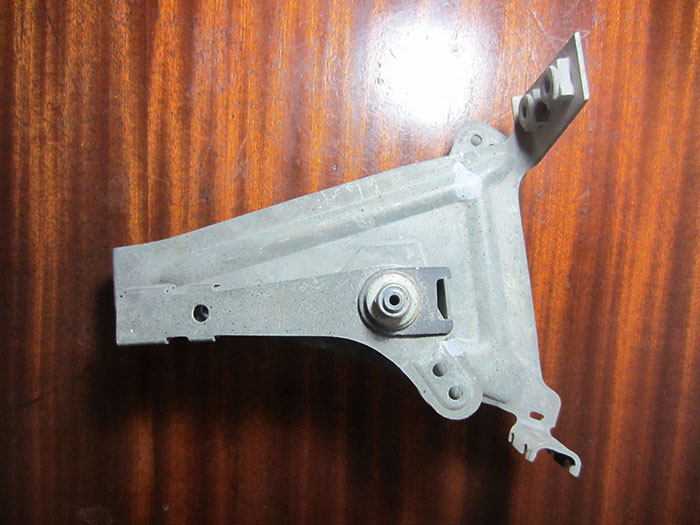
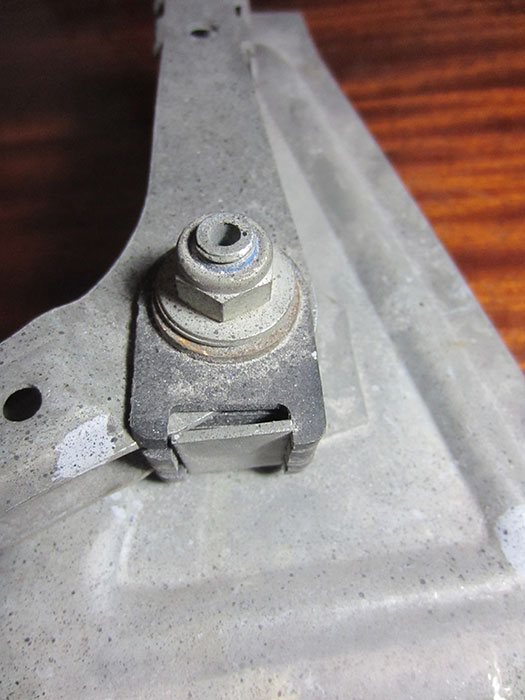
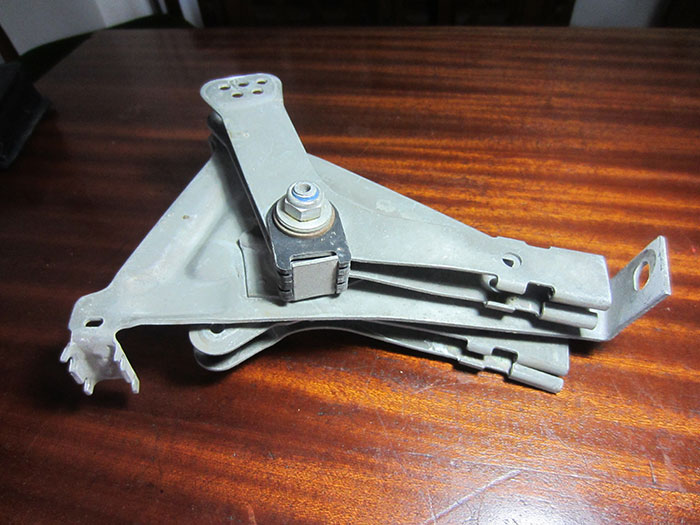
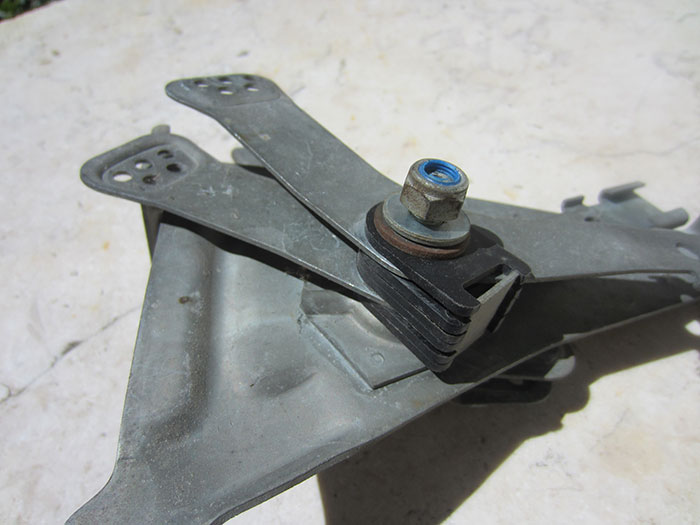
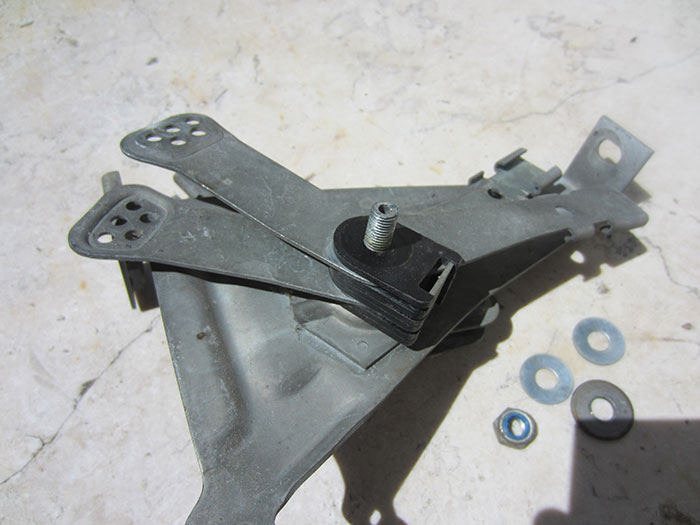
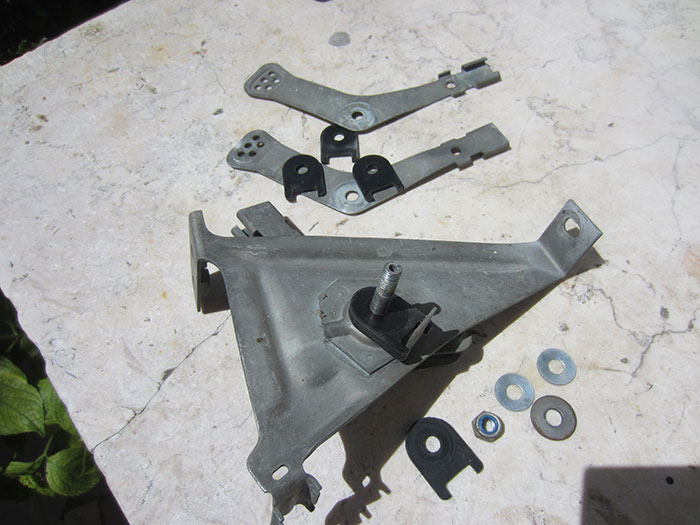
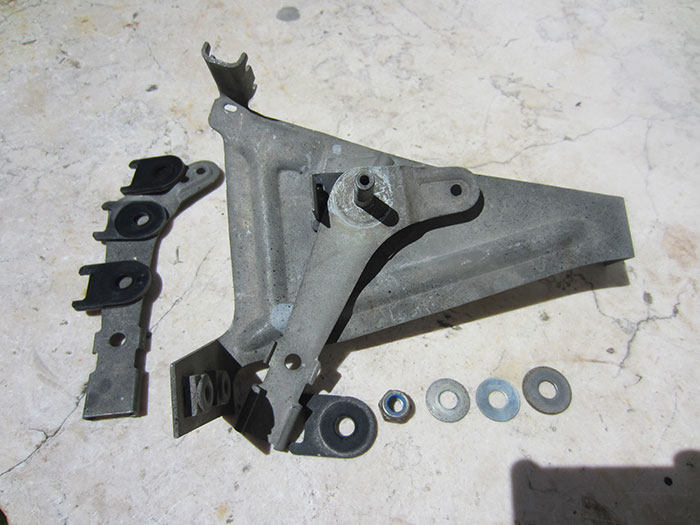
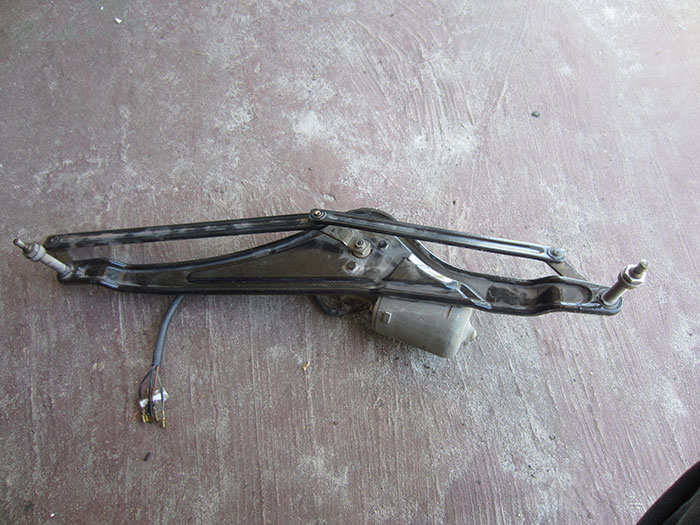
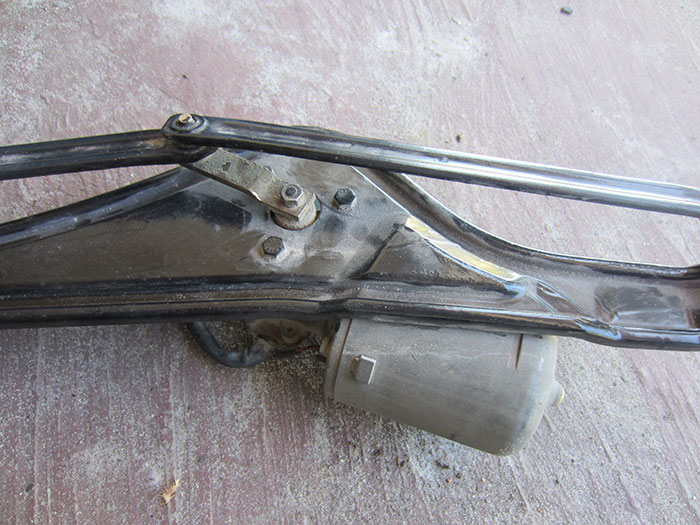
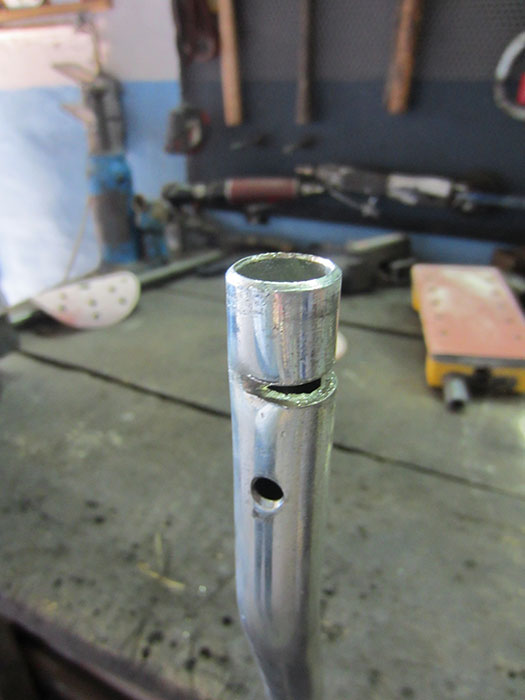
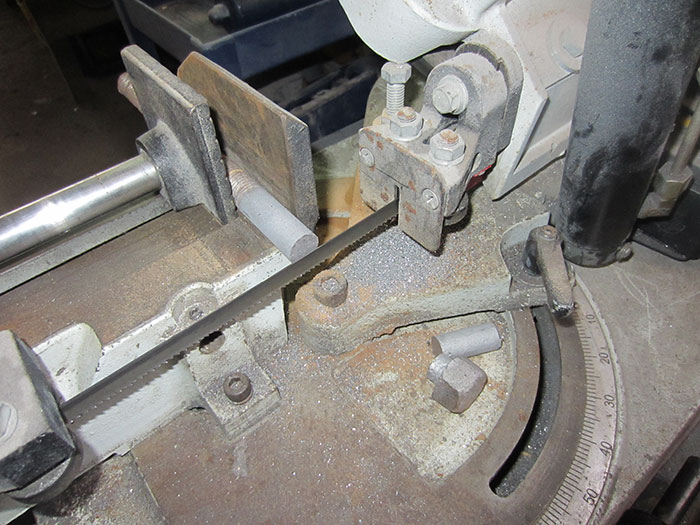
... while inside the bodyshop, Hugo was fixing this part from the poptop roof inner support. After several years of use, the central tube was starting to be cuted by another part from the support itself.... literally cuted! :shock:

IMG_2952.jpg


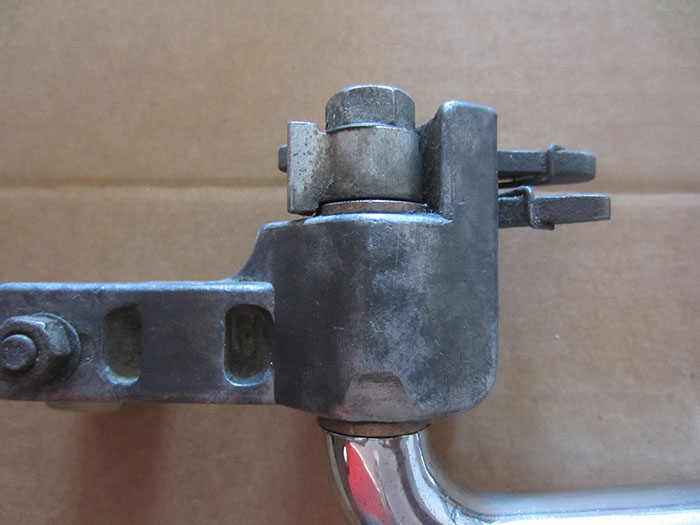
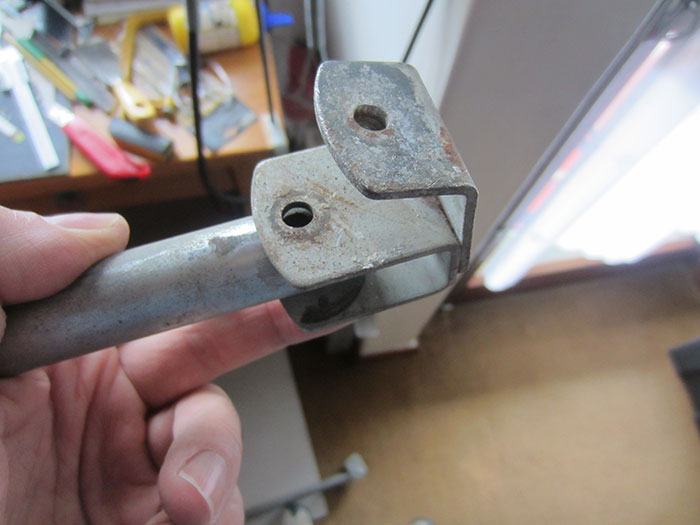
However, witth all the tubes cleaned, this structural flaw became noticed. When I assembled it again I realized that this cut was getting really deep, so I had to fix it before all the support would break in the future and while in use.

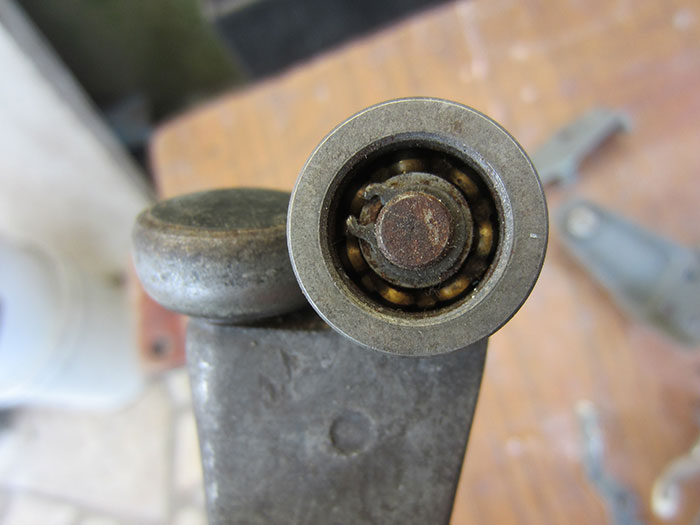
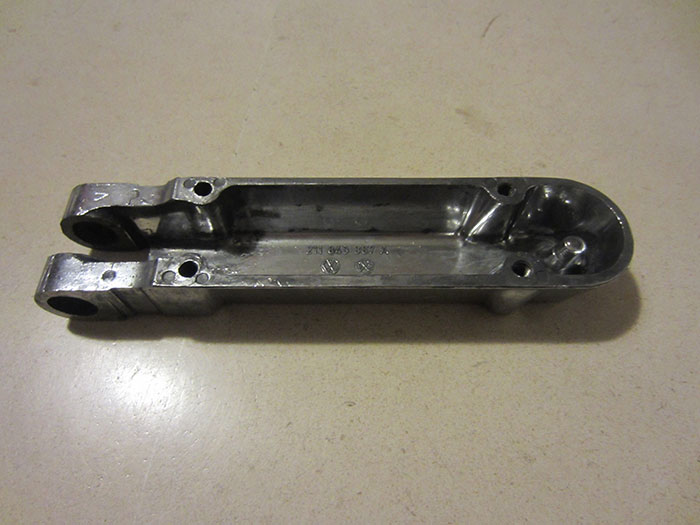
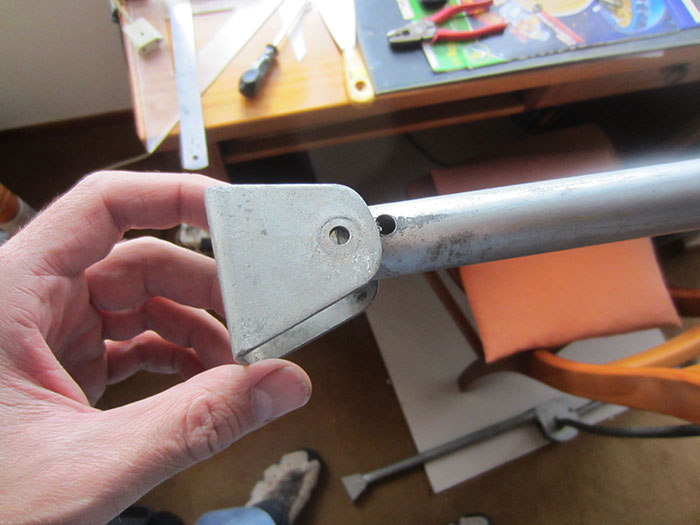
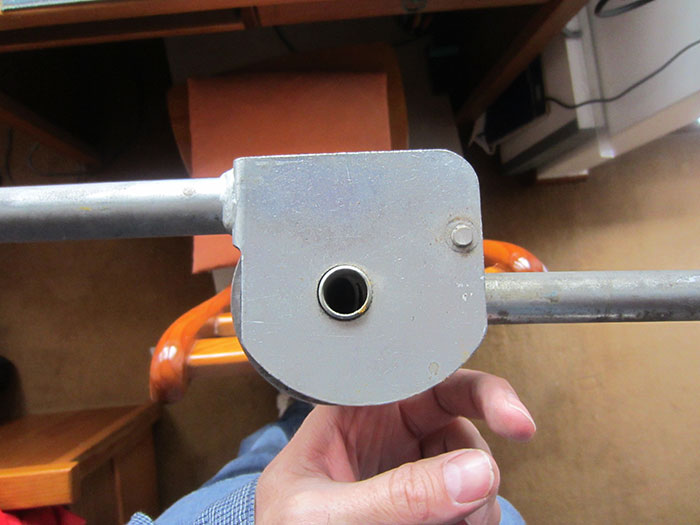
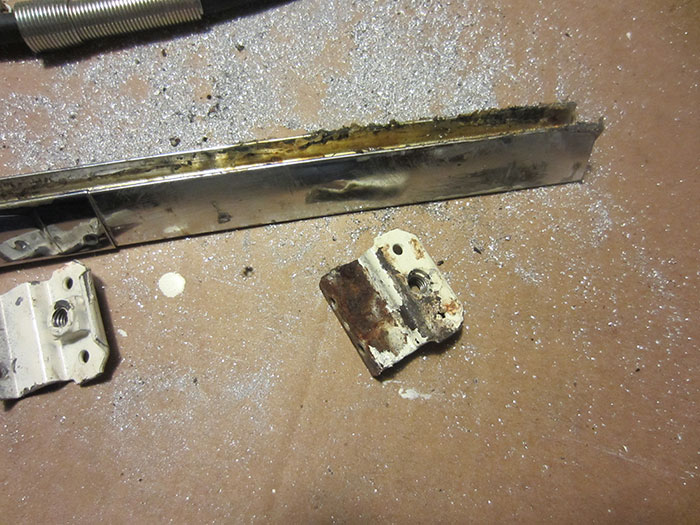
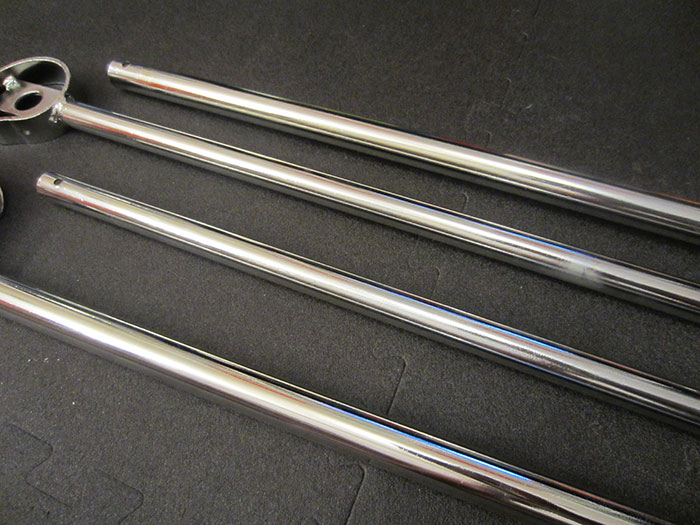
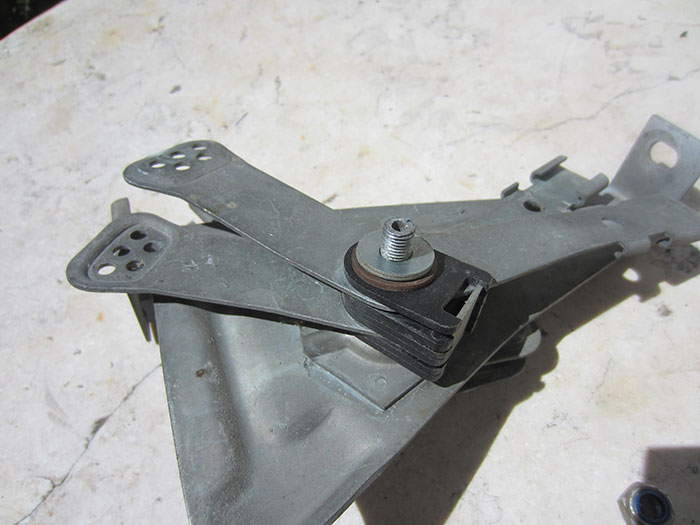
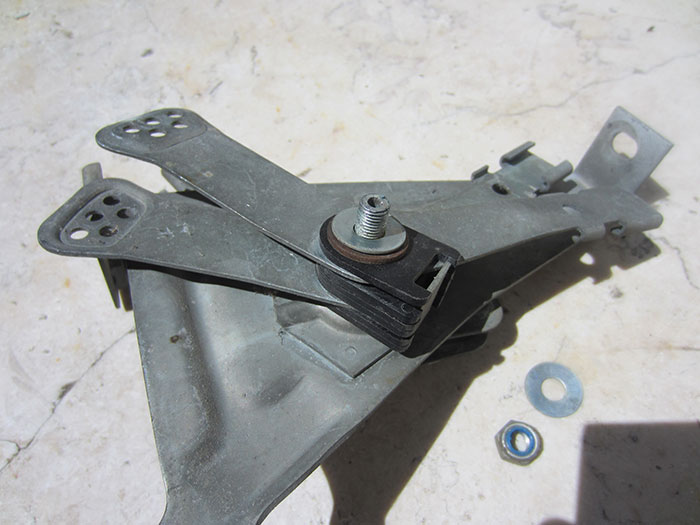
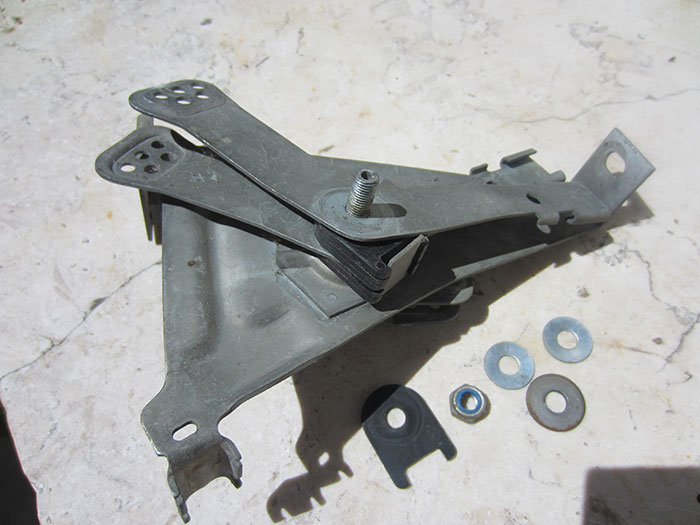
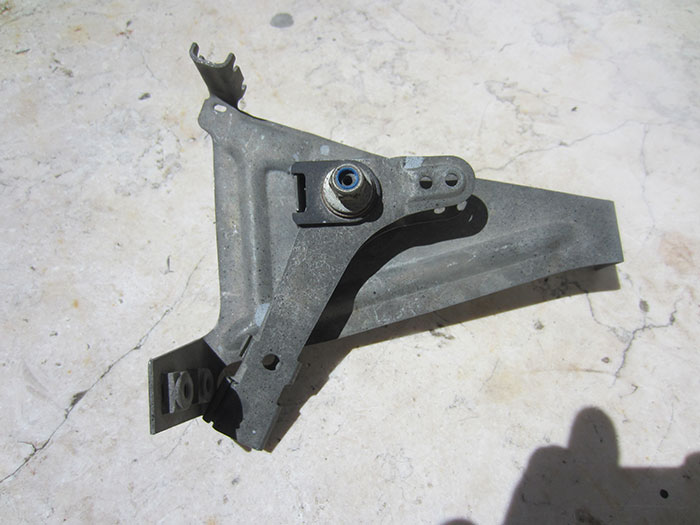
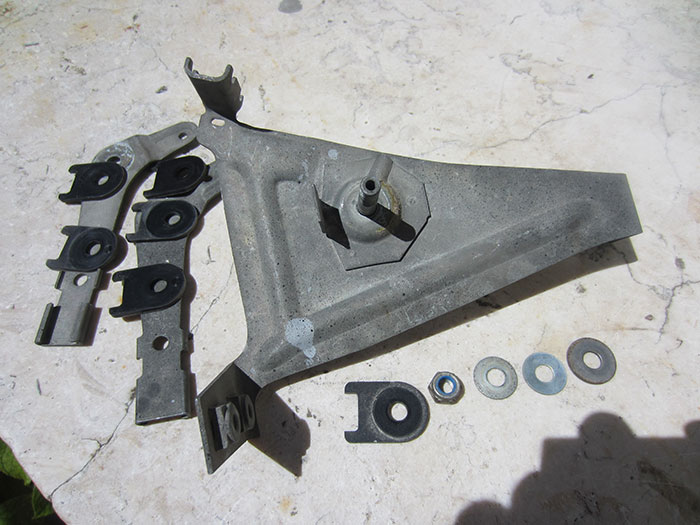
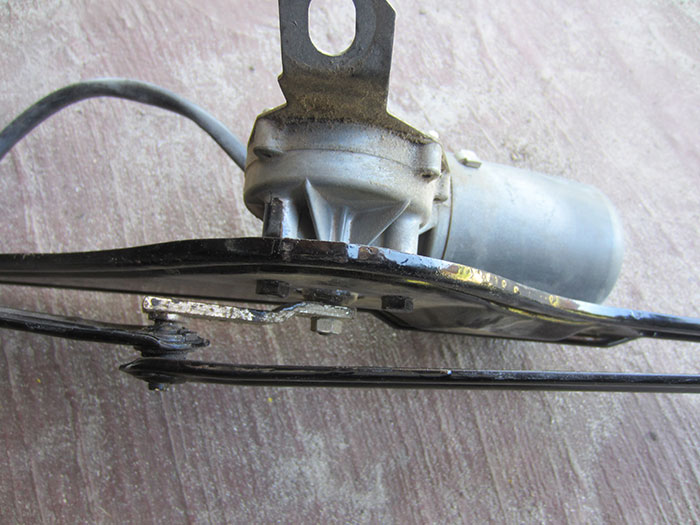
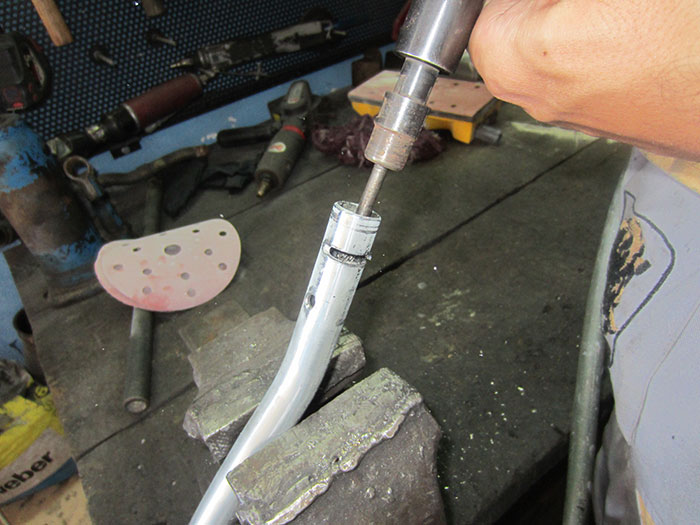
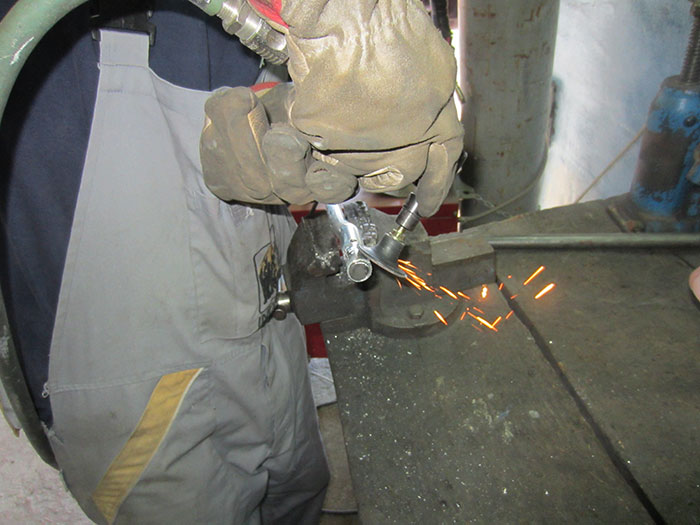
First, Hugo needed to clean the inside of the tube:

IMG_2953.jpg


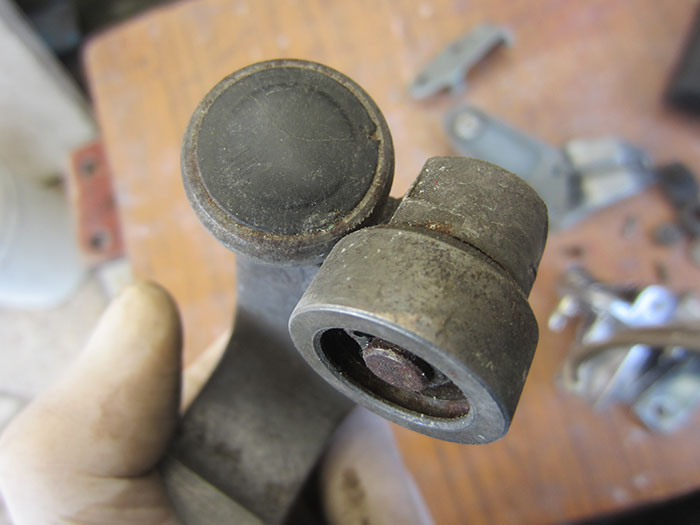
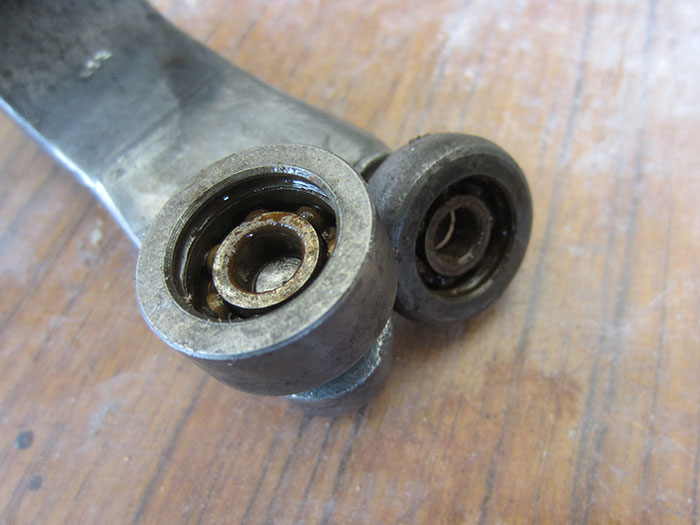
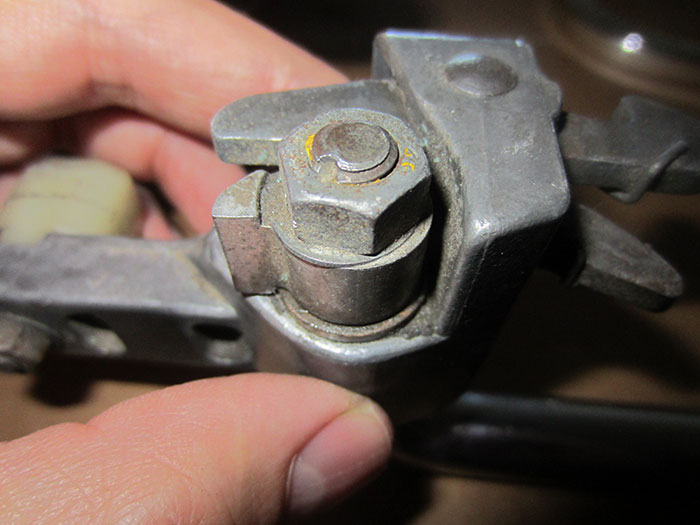
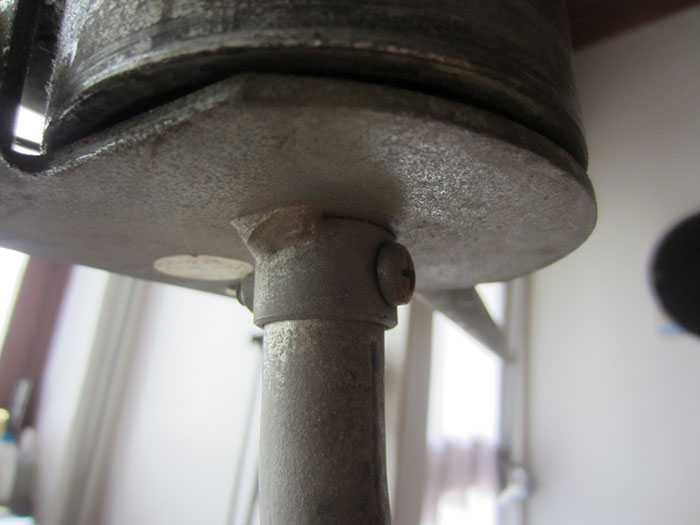
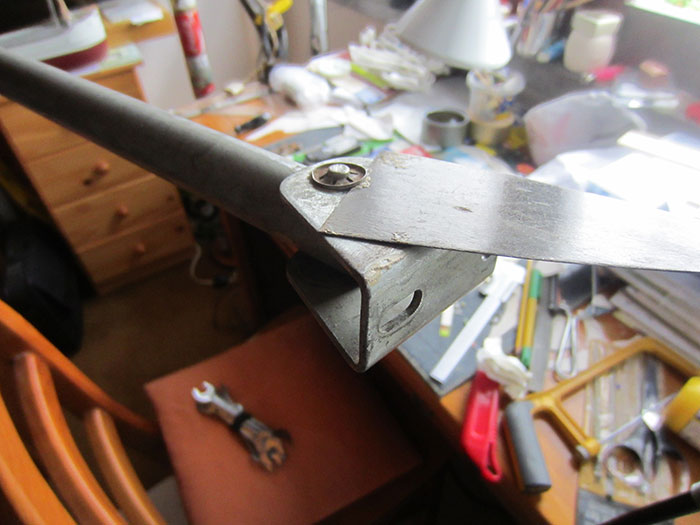
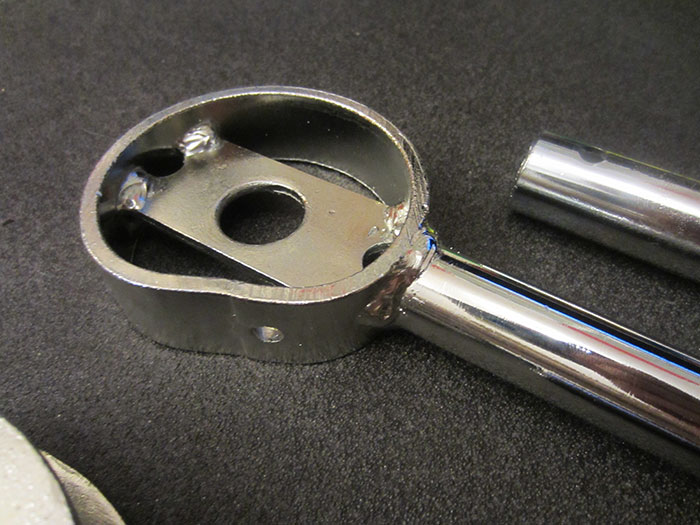
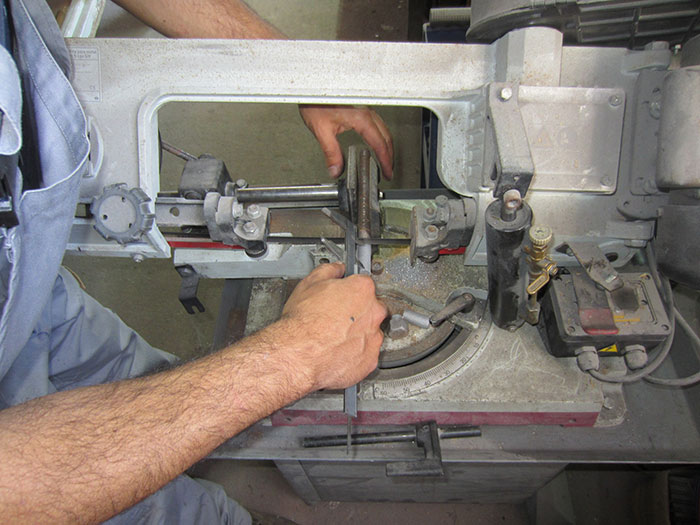
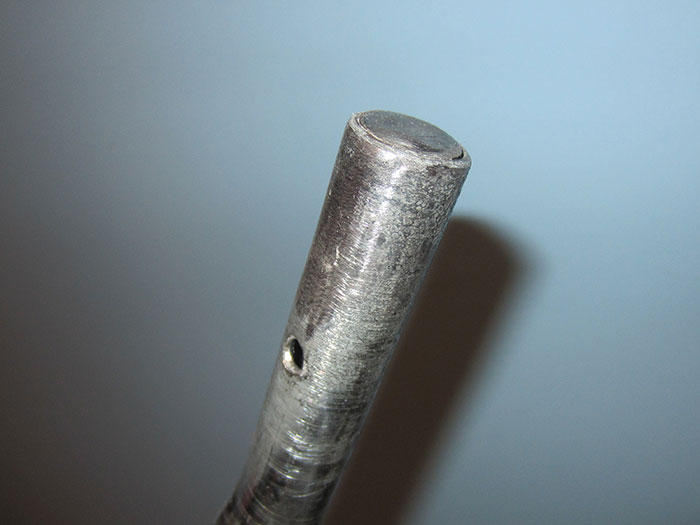
... and then, using a rod with the same diameter as the inner side from the original tube, he cuted two small pieces, one for each side of it:

IMG_2950.jpg


IMG_2951.jpg


IMG_2949.jpg
 
and finally, it was time to weld them in place:

IMG_2954.jpg


After Hugo had weld the small rod pieces it was time to grind the welding excess:

IMG_2955.jpg


Perfect!:

IMG_3003.jpg


ready for another 40 years.... :mrgreen:
 
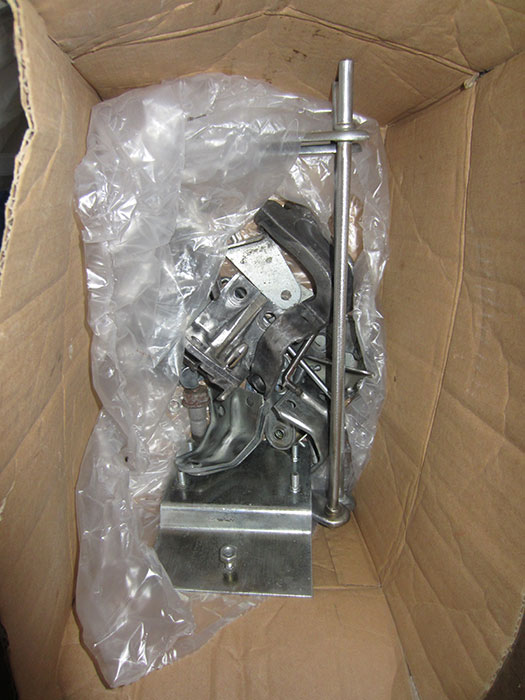
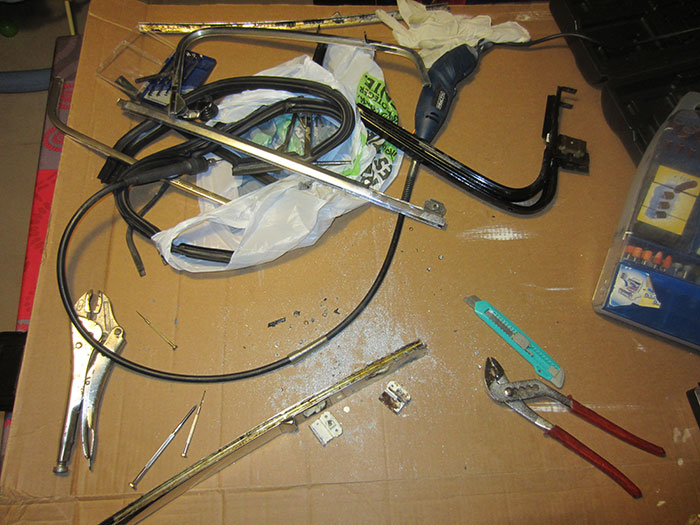
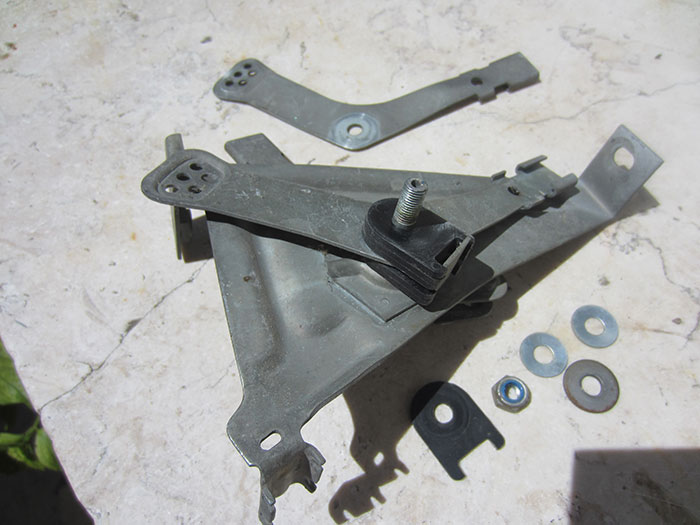
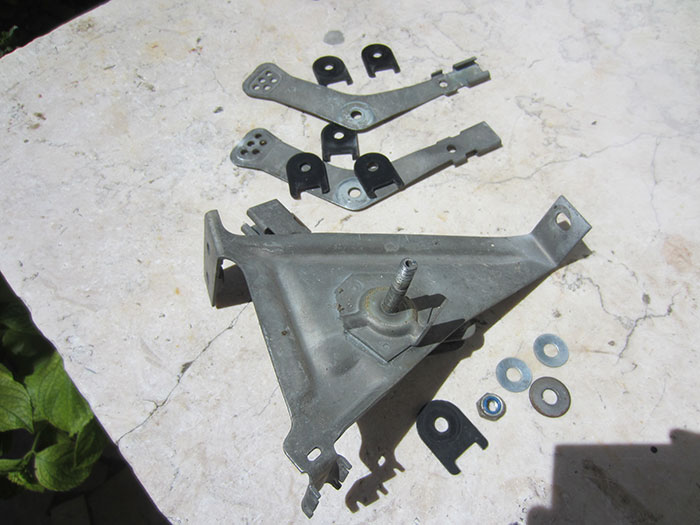
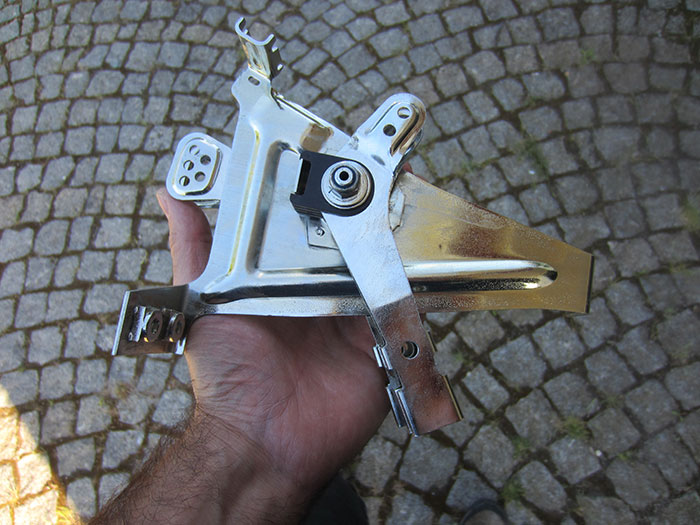
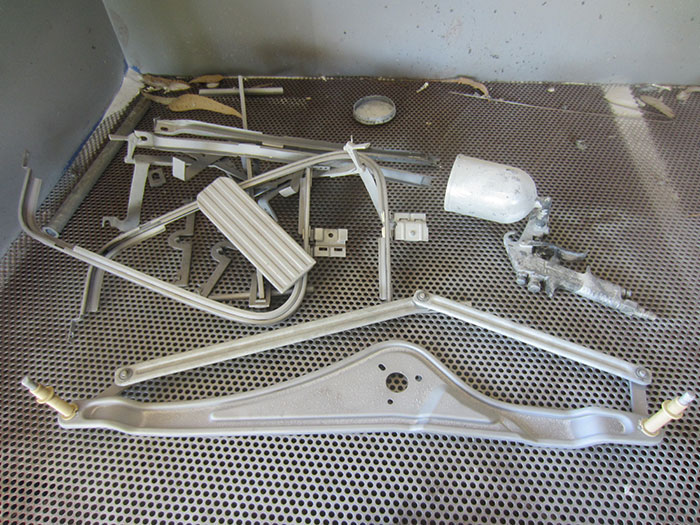
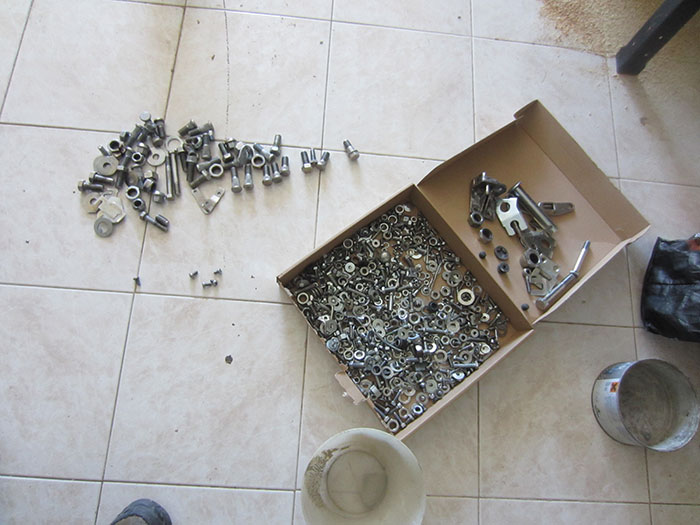
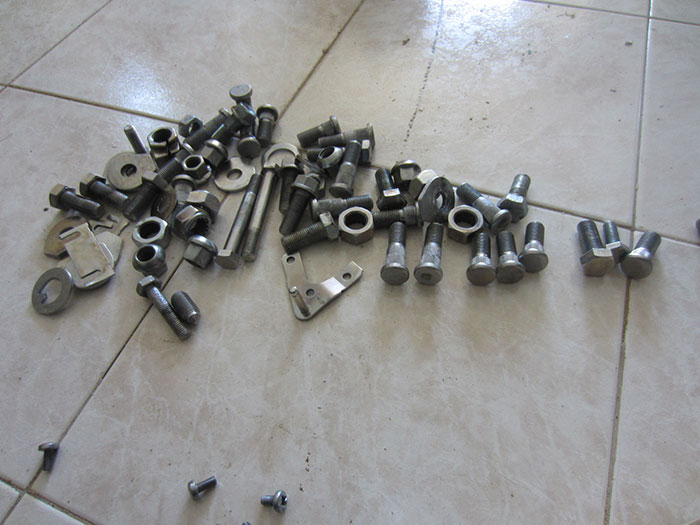
Once again at the place where the bus is, it was LEGO time. It's a very satisfying task but at the same time it can be a really desperate one. This is because it feels good to assemble cleaned and almost new parts in a bus painted fresh but trying to find the correct bolts and nuts can be a really desperate task :mrgreen: :

IMG_2960.jpg


IMG_2961.jpg


IMG_2962.jpg


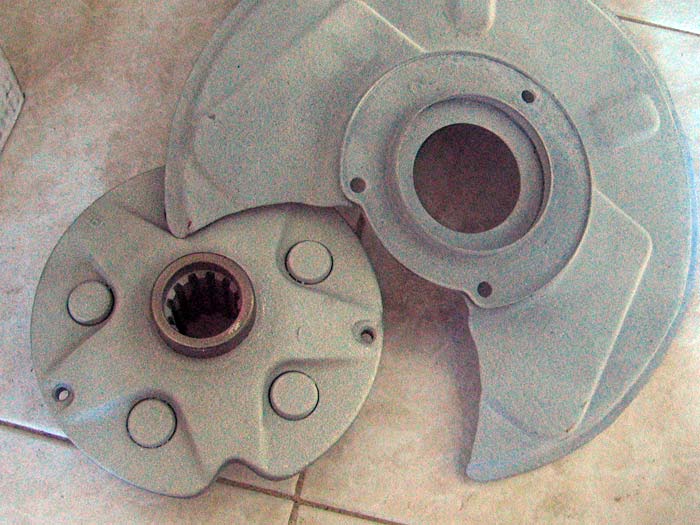
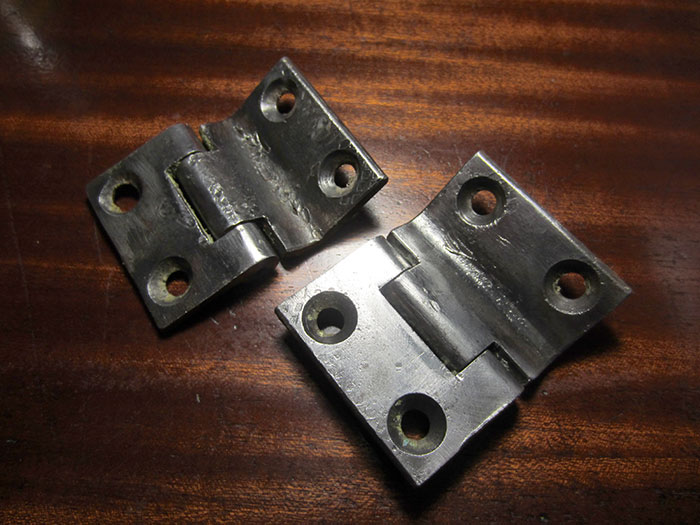
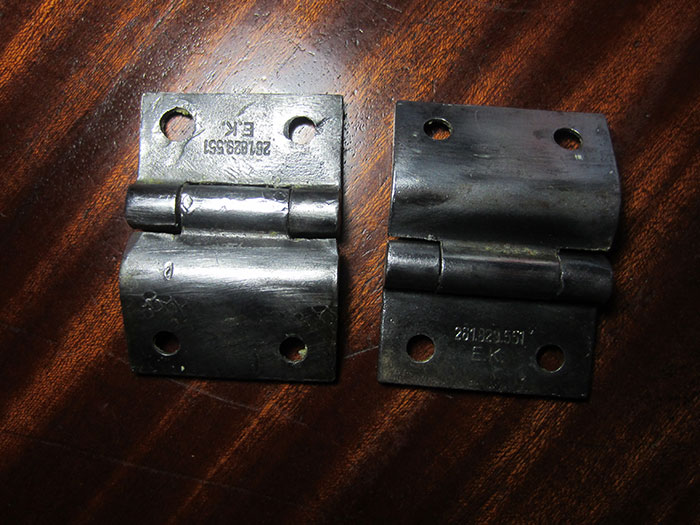
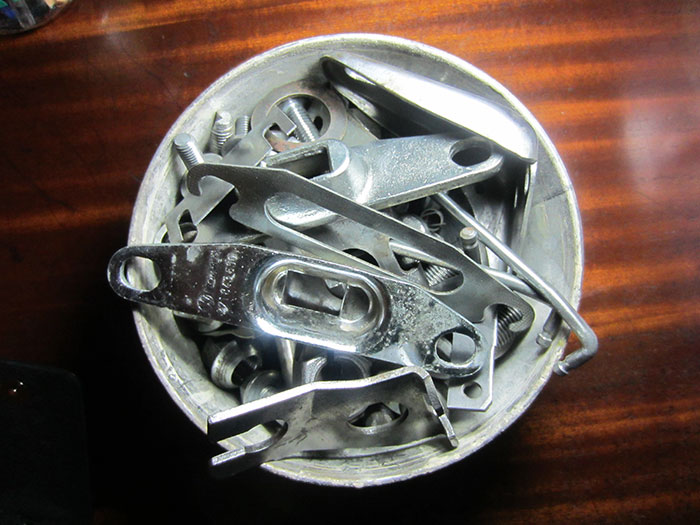
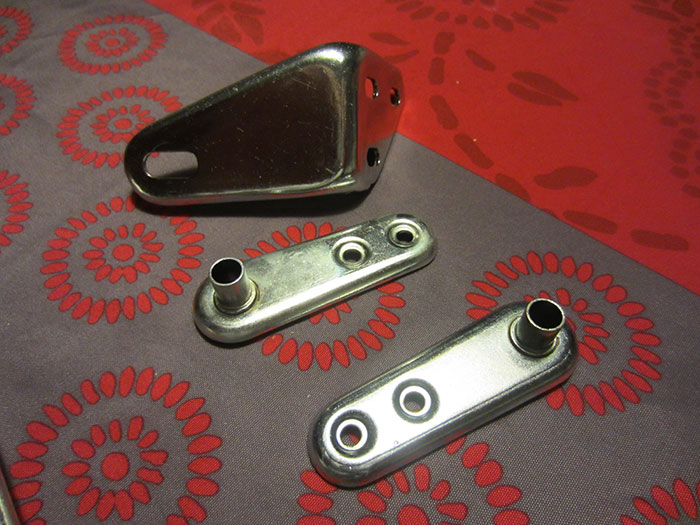
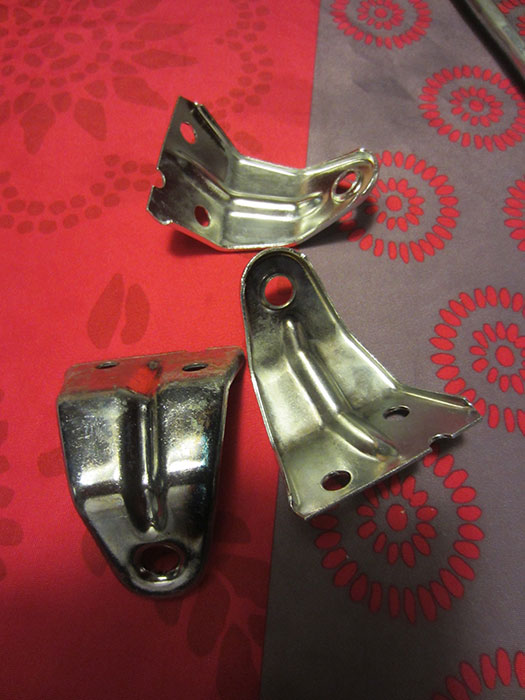
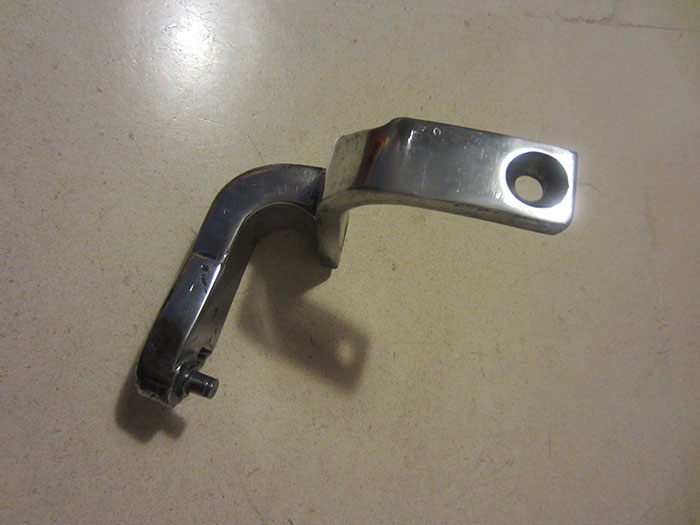
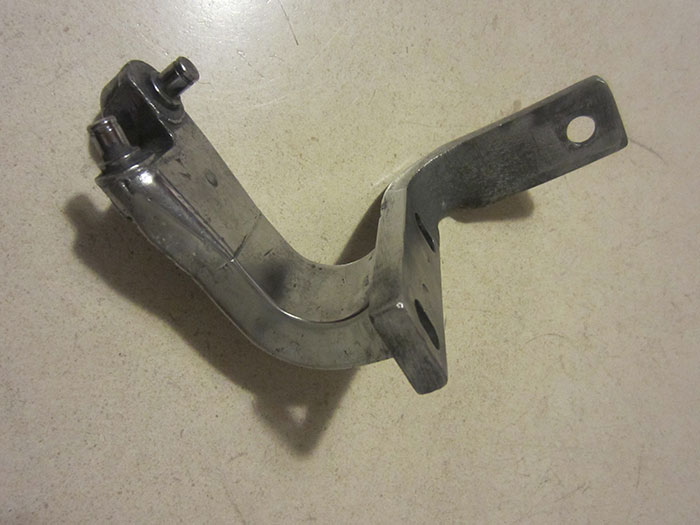
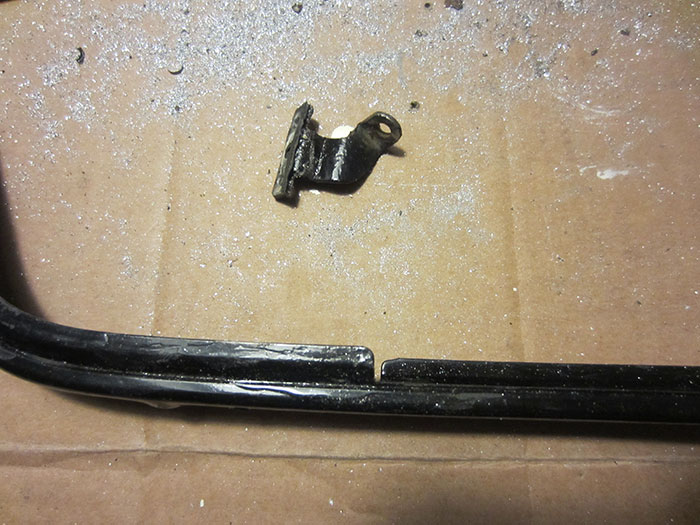
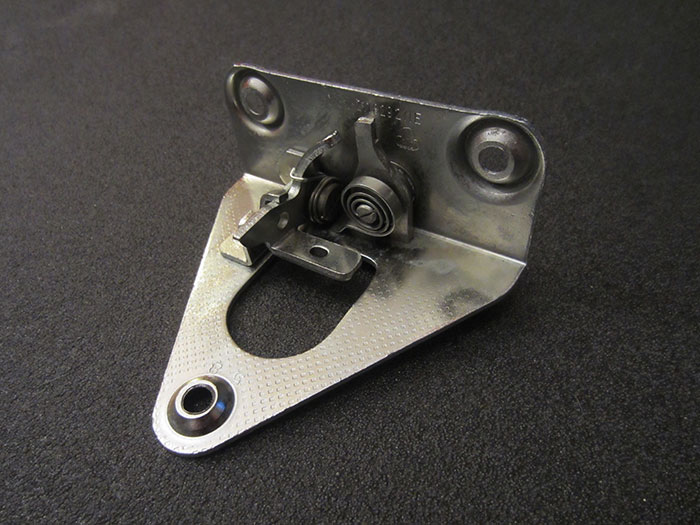
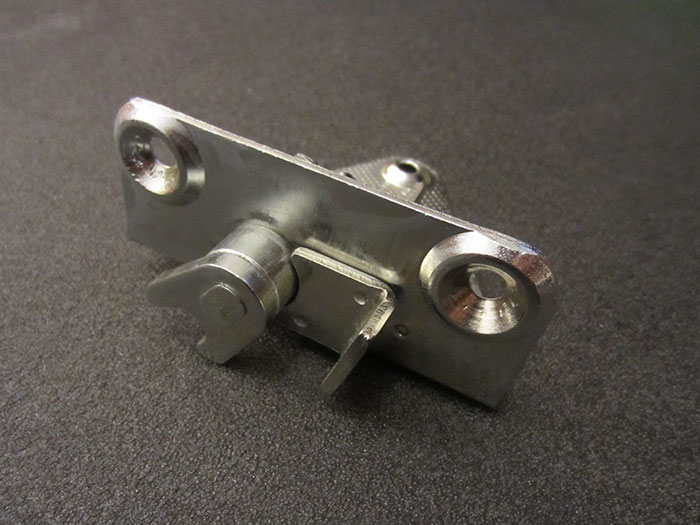
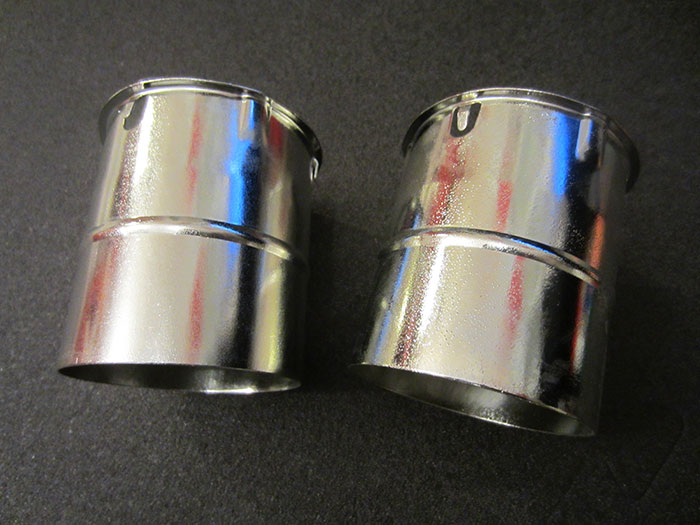
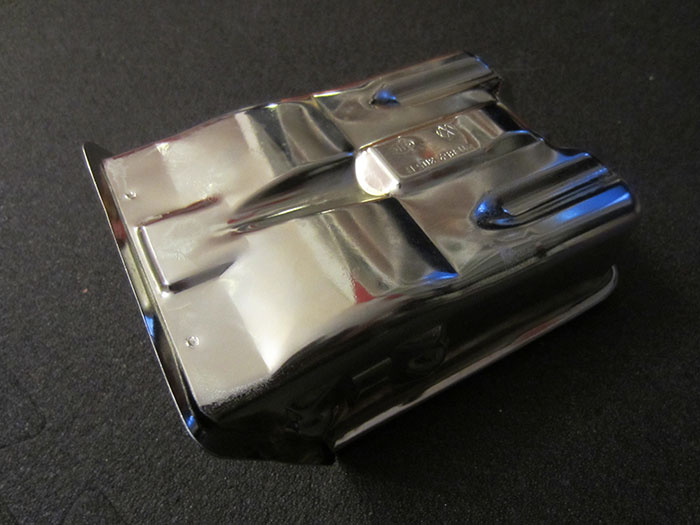
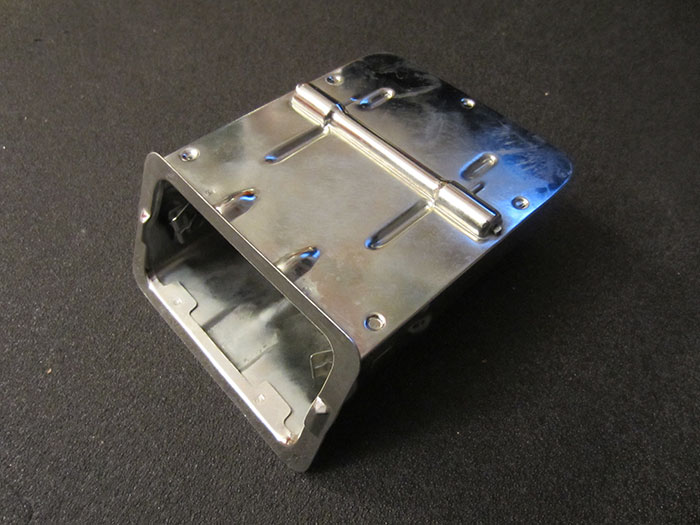
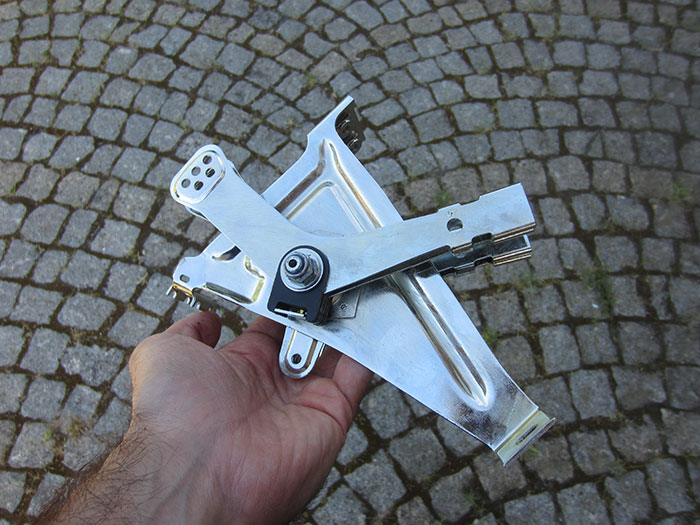
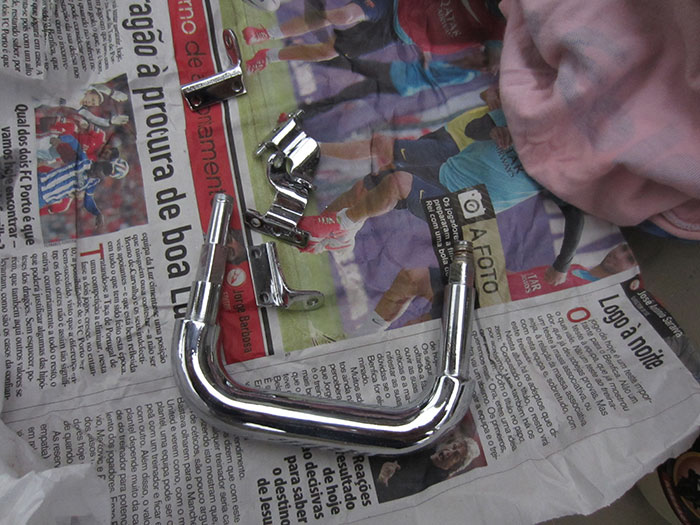
Meanwhile, these parts had been chromed and were waiting to be mounted in the right place:

IMG_2963.jpg
 

Latest posts

Top