1968 Campervan conversion

Early Bay Forum

Help Support Early Bay Forum:

This site may earn a commission from merchant affiliate links, including eBay, Amazon, and others.
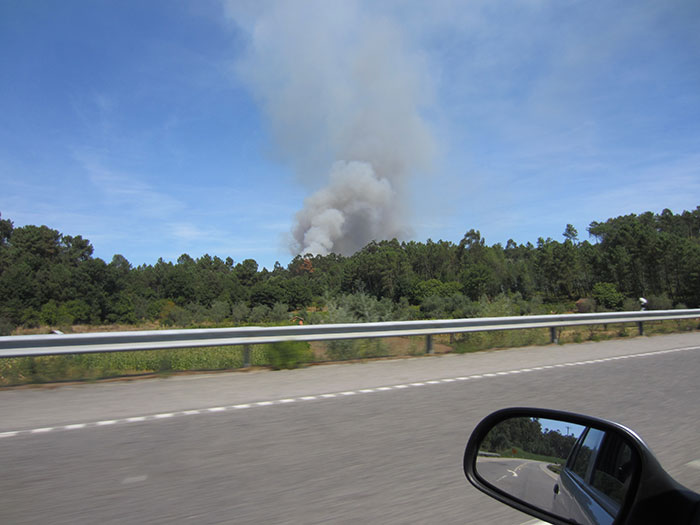
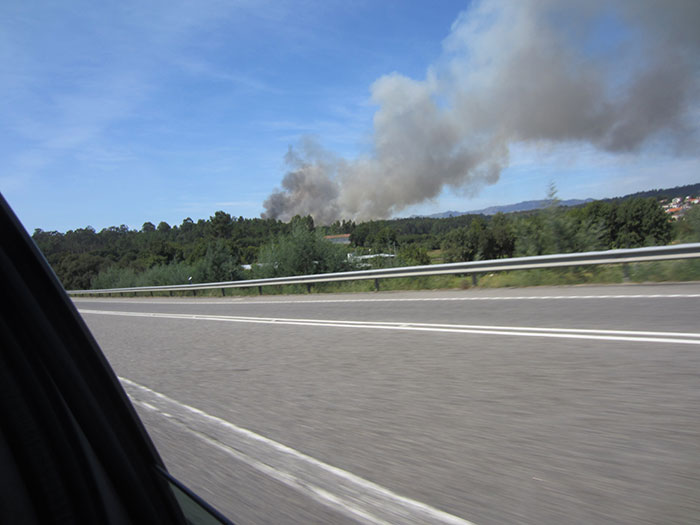
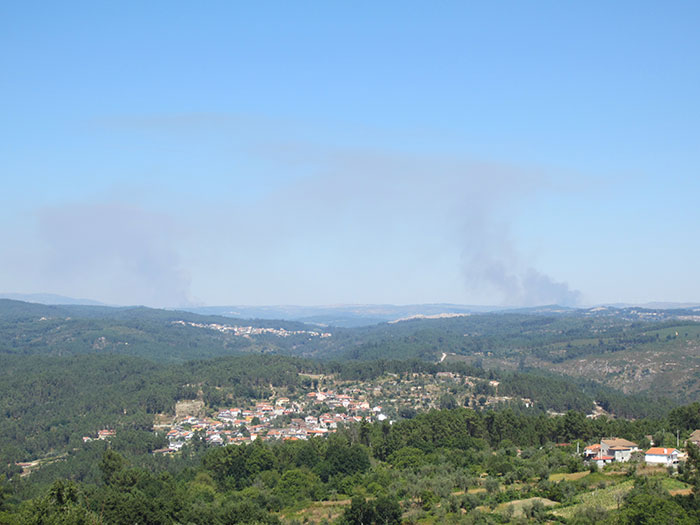
I spent a couple of hours inside the garage but when I went outside and looked north, there were two forest fires starting at the same time, in the same mountain but again, pretty far one from the other:

IMG_2379.jpg


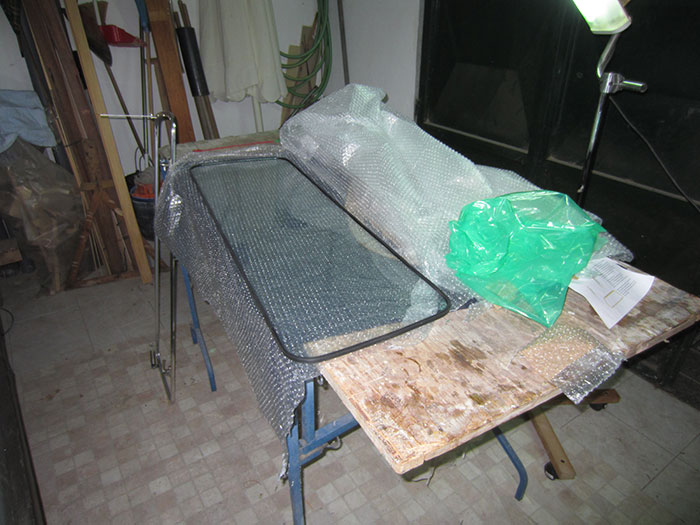
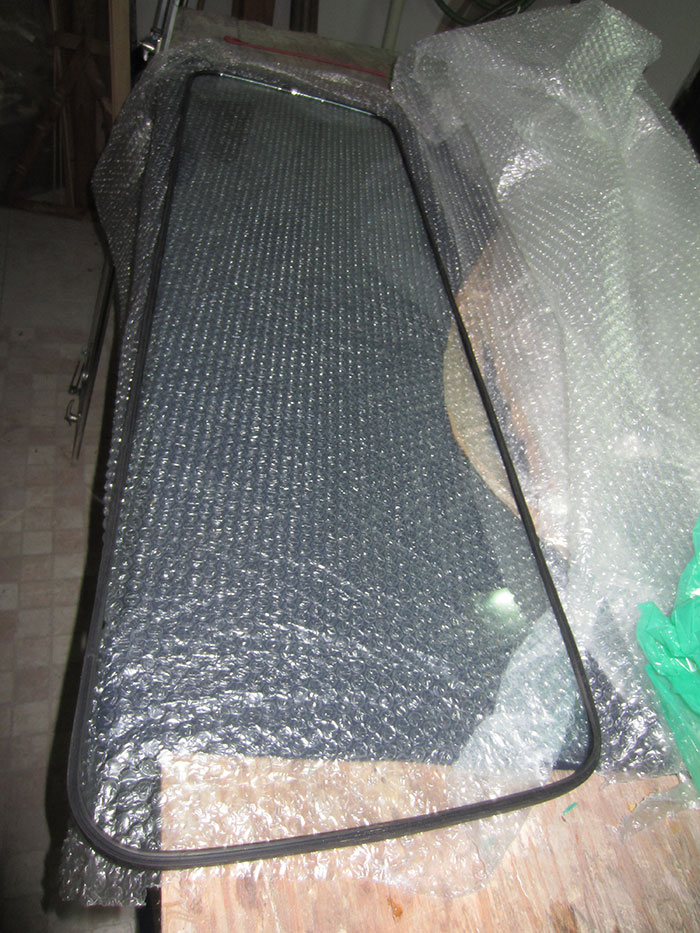
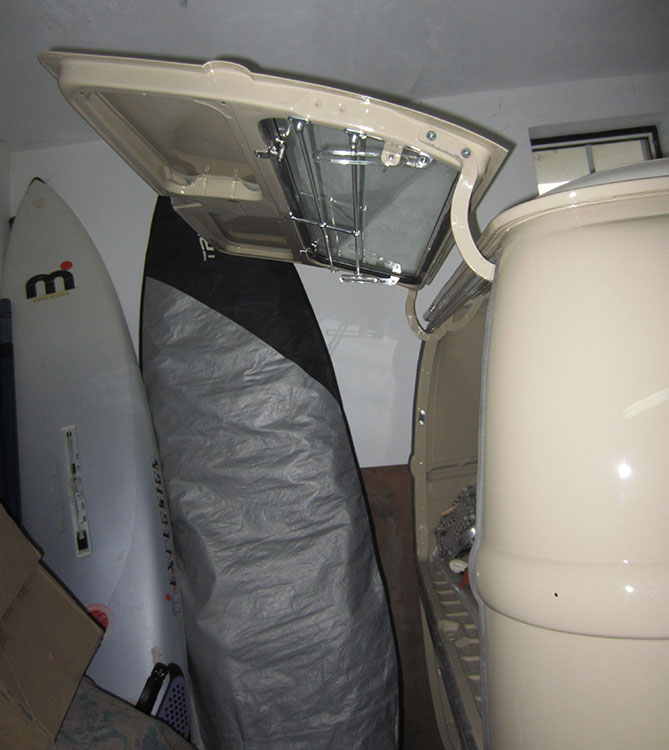
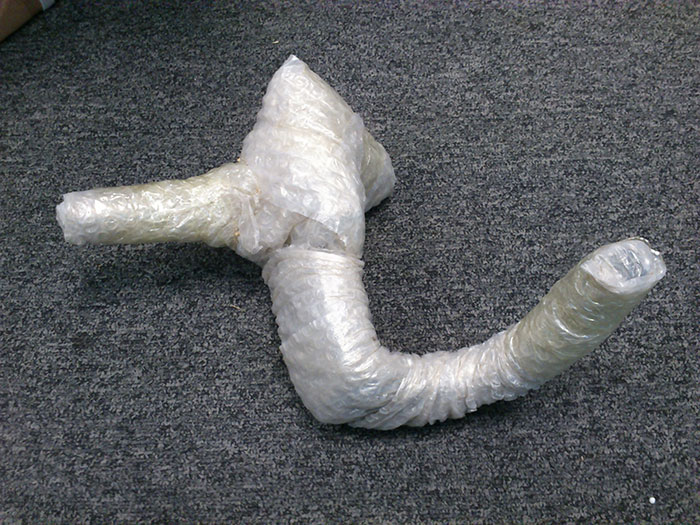
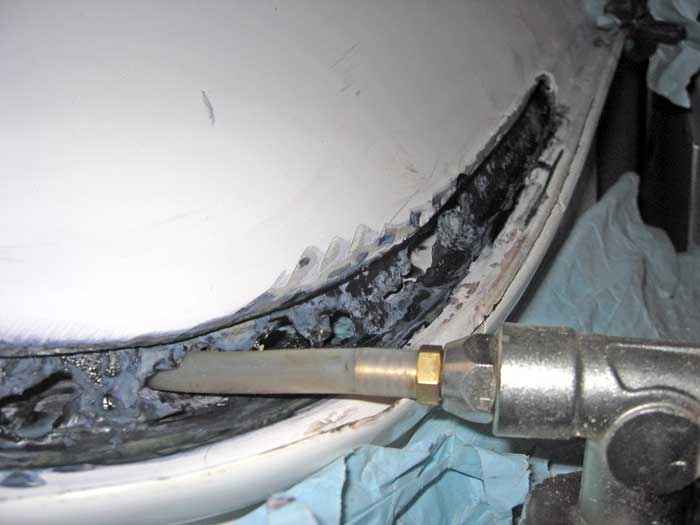
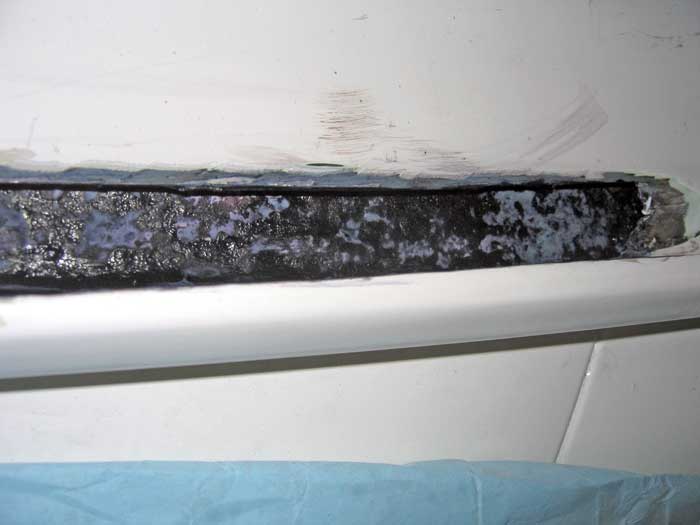
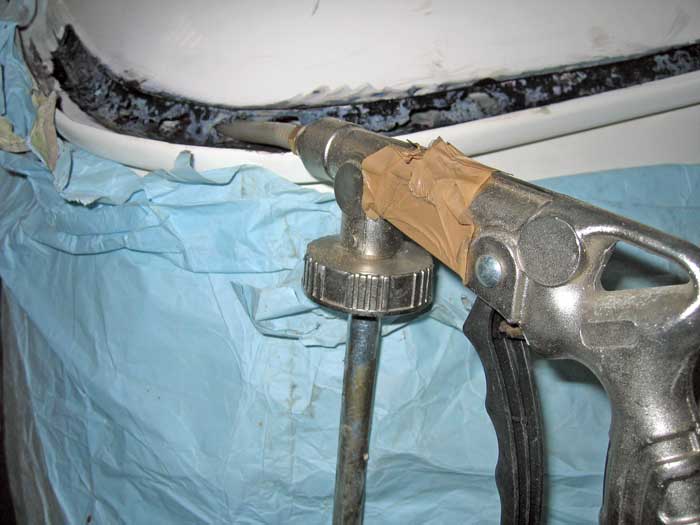
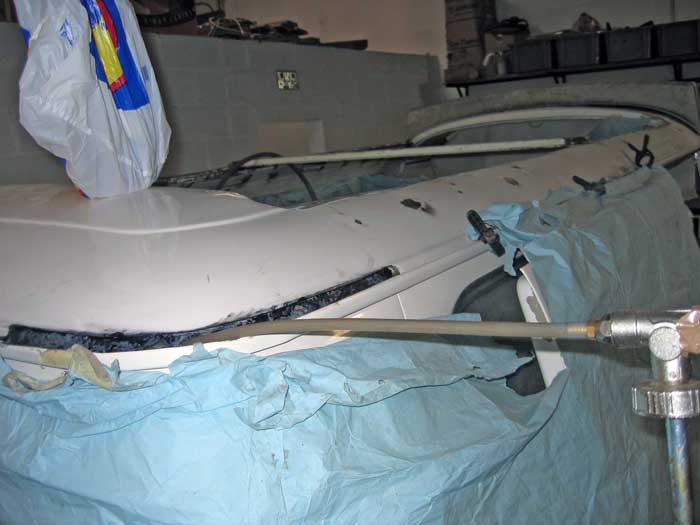
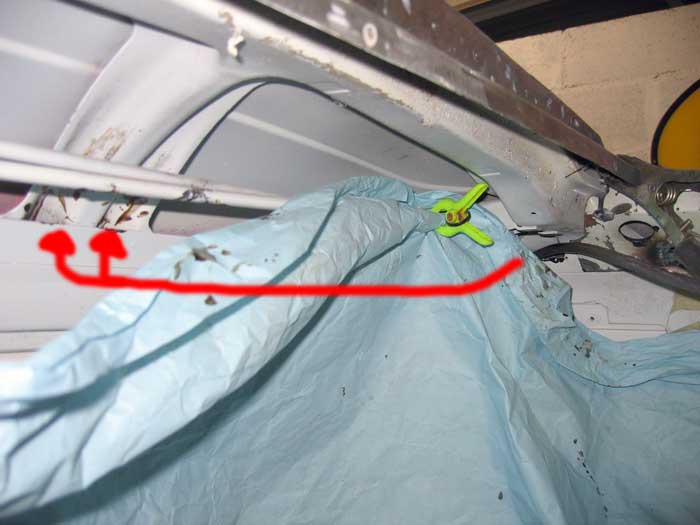
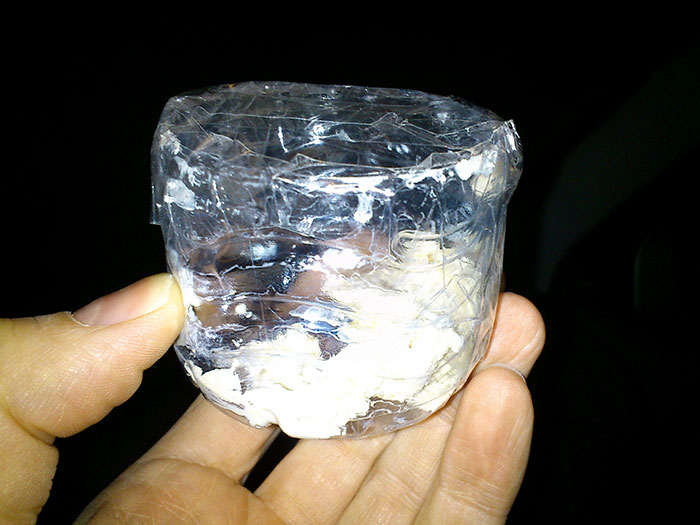
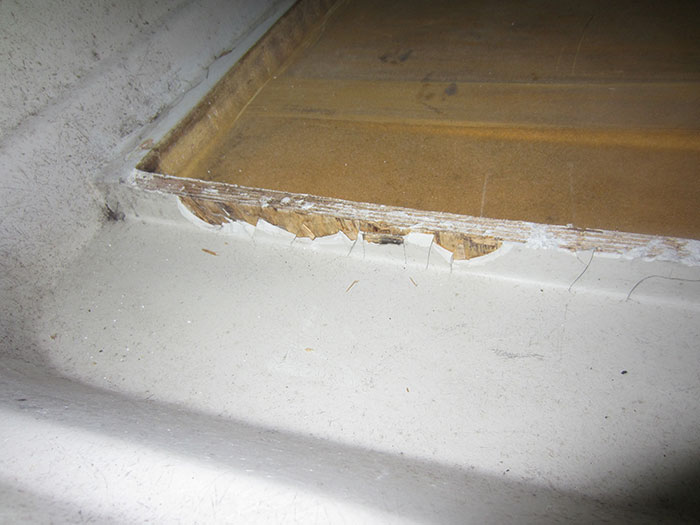
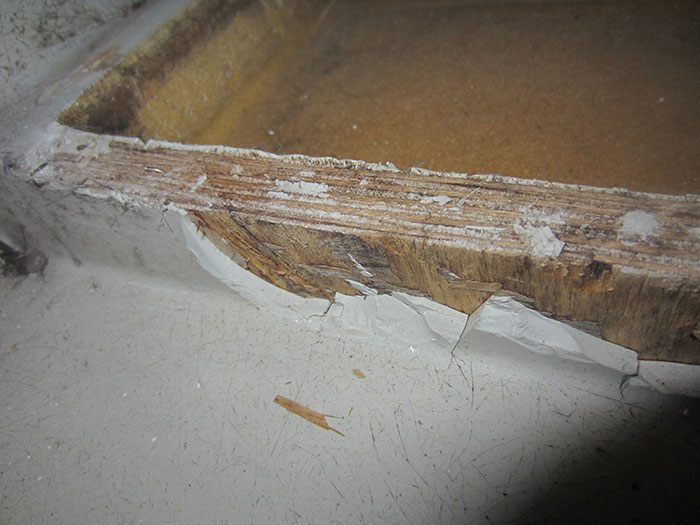
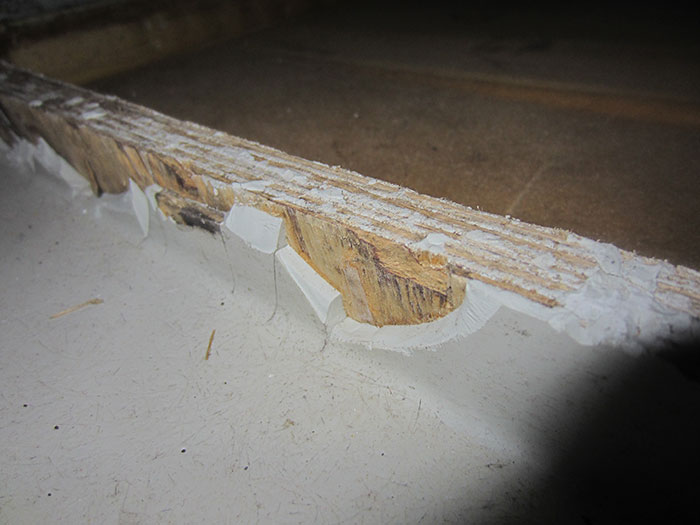
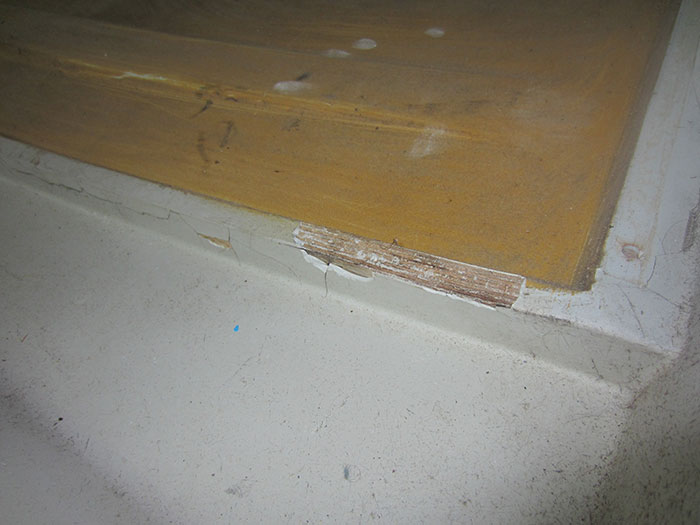
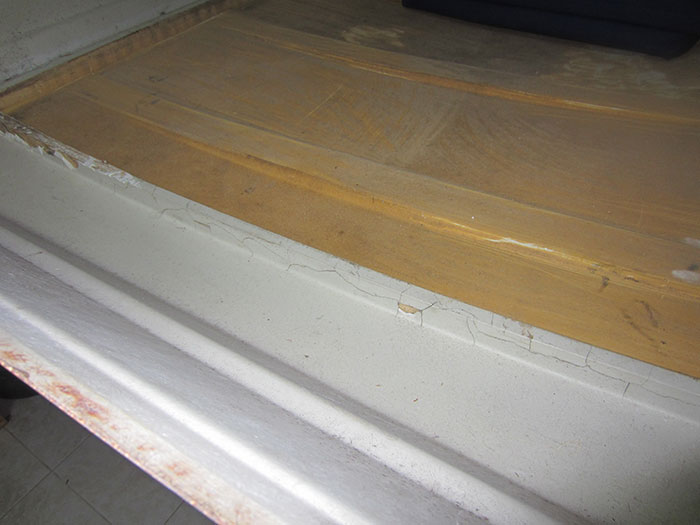
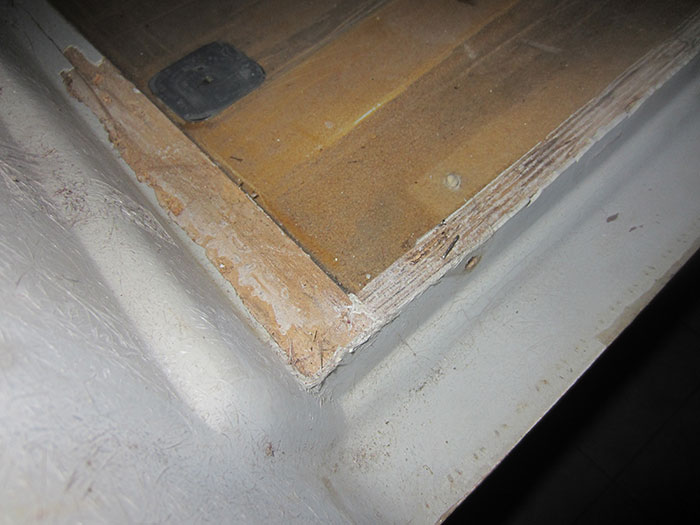
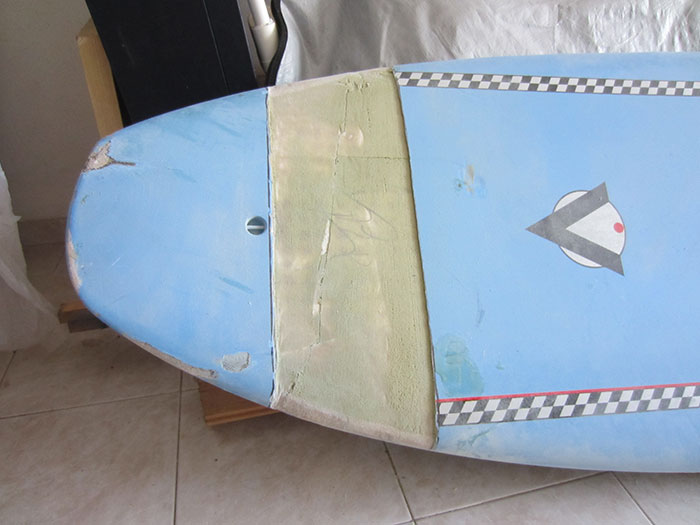
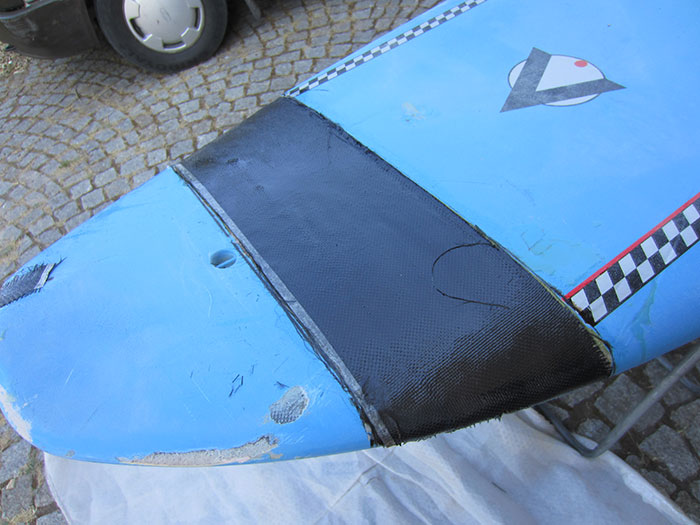
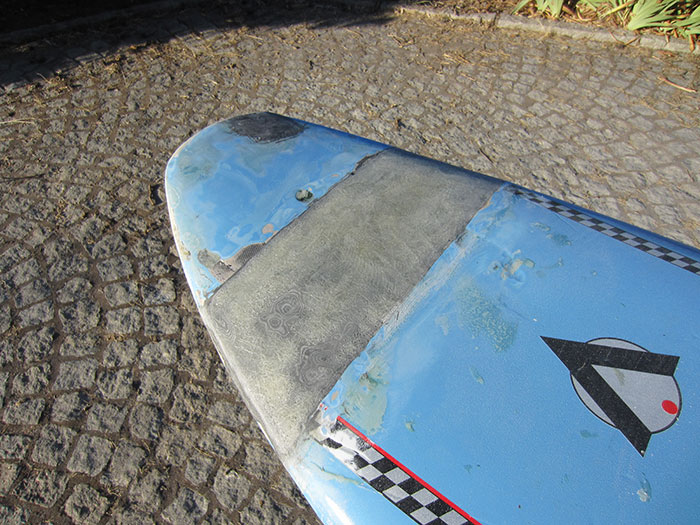
Meanwhile and although I had never made an repair like this or even worked with carbon fiber, I ended the repair on the windsurf board:

IMG_2374.jpg


IMG_2380.jpg


IMG_2383.jpg


IMG_2386.jpg


IMG_2387.jpg
 
So, 15 days later I went again to Viseu to do something more on the bus.
On the road, in the same place as 15 days earlier and after the huge fires in Caramulo, someone decided that the best thing to do, was to start all over again:

IMG_2432.jpg


IMG_2433.jpg


......

One of the tasks I decided to do, was to mount my rear safari window.
Seeing the box with it inside and always thinking that the glass could be broken or the frame could be bent by accident, I thought it would be safer to the window if I mounted her in place.
First thing to do: put the seal around the glass.

IMG_2440.jpg


IMG_2441.jpg
 
The seal should be smaller. Being so loose, it makes the task of putting the glass (and seal) inside the frame a litle to hard. I had to use a lot of vaseline to help them get inside the alummium frame.
And the round corners of the glass could be better cuted. This would definetly made this task easier....
After this, I had to put the seal around the window aperture on the tailgate:

IMG_2444.jpg


however this seal is a little bigger so we had to cut it:

IMG_2446.jpg


But to be able to screw the bolts from the safari window in place, we had to remove a small section of the seal:

IMG_2447.jpg
 
Meanwhile I was so excited with how things were going and by seeing the safari window in place, finnaly, that I got pretty shocked when I realized that something was wrong because the window brackets were going to conflict with the jail bars tubes. Something was pretty wrong:

IMG_2448.jpg


IMG_2453.jpg


When I closed the window, I could see that I had a problem to solve.

IMG_2451.jpg


IMG_2452.jpg
 
However, the first time I closed the window, I made a very small tear on the seal and this happened because the screws on the brackets were mounted the wrong way. The screw head should have been on the outer side instead of being in the inner side.
This was done the first time we mount the window in place, still at Hugo's bodyshop in 2012:

IMG_1420.jpg


The screws need to be mounted with the head on the outer side. This way, even if they scrape the seal, since there are no rough edges, they will not damage it:

IMG_2454.jpg


But after looking at the problem from another perspective, we decided to bent a litle the small pieces that me and Hugo welded on the tailgate. No one can tell that they are slightly bent and this way, the window works fine:

IMG_2455.jpg


... and the brackets don't hit the jailbars anymore:

IMG_2456.jpg
 
After some struggle with this section of the bus (much of this struggle unnecessary), the end result was fine:

IMG_2457.jpg


Meanwhile, we started to think about the interior. This was the old one and it's going to be the same way but with new materials:

IMG_2458.jpg


... and beneath the unfolded seats that turn into beds, we are going to keep these drawers:

IMG_2459.jpg


Regarding the work on the windsurf board, which I shared here, the learning curve will serve me to make a light rail around the bus and some speaker cases.
 
A few months later I went back to Viseu and started doing something else. As planned, I bought some sound deadening material to apply on the inner side of the bus. However, since I arrived late that weekend and had a lot to do on the field surrounding the house, I ended up by applying it in just a small section of the bus:

DSC_0314.jpg


DSC_0313.jpg
 
Months had passed and my spare time (and money :mrgreen: ) was spent with my daughter. Even so and although I had no time for the bus, I was collecting parts that I would need and getting them sent to my work place whenever was possible:

DSC_0320.jpg


DSC_0319.jpg


DSC_0321.jpg


DSC_0348.jpg


and also some small parts that I brought with me to Lisbon (to clean or apply some other type of anti-corrosion treatment), as my original front badge, this time chromed

DSC_0322.jpg


.... as well as this box with some parts that I decided to zinc coat:

DSC_0324.jpg
 
A few years ago, during the first restoration attempt, as it can be seen on the first pages of this topic, we found that the roof of the bus was pretty rusty from inside. One of the corners was in a really bad shape and it could be already seen from the outsid. That was one of the reasons I started all of this long story....
So, once in Vladimir's bodyshop, we cuted a small section of the roof and took a look inside.....

[...]
IMG_2547.jpg


IMG_2548.jpg


IMG_2549.jpg


IMG_2550.jpg


IMG_2551.jpg


IMG_2552.jpg


IMG_2553.jpg


after realizing that the tube could get in without any obstacle, I started pumping wax in to the interior....

IMG_2555.jpg


IMG_2556.jpg


after a while I thought that it would be better to go look for any places where the wax could be popping out:

IMG_2557.jpg


.... and so, I sticked the tube on these holes and pumped a little more through them:

IMG_2558.jpg


IMG_2568.jpg


... and also through this one:

IMG_2569.jpg


IMG_2571.jpg


and here we can see how they connect:

IMG_2571_b.jpg


... I also pumped some more wax in here:

IMG_2566.jpg

and after a couple of years, already at Hugo's bodyshop, we realized that there were no traces what so ever of Dinitrol's wax:

(...)
.... the end result was none.
The rust converter didn't show any result at all. There was no traces of it as also there were no traces of wax. They simply did nothing at all and vanished in time...

It's just an awful sight:

IMG_1528.jpg


IMG_1528GP.jpg

but already with an acquisition in mind, I asked Hugo to drill some extra holes in strategic places around the bus:

(...)

... and later in time, I want to apply cavity wax. So I asked Hugo to drill some extra holes on the bus:

IMG_0215.jpg


IMG_0216.jpg


IMG_0217.jpg


IMG_0218.jpg


IMG_0219.jpg


IMG_0220.jpg


IMG_0221.jpg


IMG_0222.jpg


IMG_0223.jpg


... an a few holes latel:

IMG_0224.jpg


(among others....)

... and although we had already applied some 3M cavity wax on the new roof section:

(...)

After all in place and before Hugo started welding it, we applied some cavity wax inside the new roof frame:

IMG_2285.jpg


IMG_2286.jpg


IMG_2287.jpg


... and after a few minutes, one could see wax being pulverized all over the frame:

IMG_2288.jpg


IMG_2289.jpg


IMG_2290.jpg


(...)

After this experience, I decided to buy some cavity wax from Mike Sanders:

DSC_0368.jpg


DSC_0369.jpg


DSC_0370.jpg


DSC_0372.jpg
 
a few months later I went back to Viseu. After a rough winter the ceiling of the garage was like this:

DSC_0385.jpg


DSC_0386.jpg


The outcome?

DSC_0387.jpg


DSC_0374.jpg


DSC_0375.jpg


I was not sure If I could salvage the safari window frame....
 
Meanwhile, I almost finished applying my sound damping material. It's a very tedious task because we need to make sure it's really glued to the metal ... and because those areas are made of corrugated metal sheets this turns the task even more difficult:

DSC_0380.jpg


DSC_0383.jpg


DSC_0384.jpg


I will end this task in a few days:

DSC_0382.jpg


DSC_0381.jpg


For now, it's like this:

DSC_0379.jpg
 
A couple of day later, I ended the task I was doing earlier. But on top of this sound damping material, I'm going to apply some layers of another material:

IMG_2772.jpg


I applied it also to all doors:

IMG_2787.jpg


I did something else. I decided to mount the aluminium step the correct way after a small accident. While I was getting in and out of the bus, the brackets from the step started falling slowlly from the jack mounts, each time I puted a foot in it. Sudenlly, when I was getting into the bus, the step came off and I hit with the shin, on the entrance of the bus, making a big wound. I can tell you all, that tears were rolling down my face....
I didn't bolt the brackets at the time I put the step in place, because being the jack mounts OEM new chassis parts, they didn't have the holes necessary for this (like the original ones had).
So, to prevent this from happening again, I decided to drill them and after applying a lot of grease I bolted it in place.

IMG_2791.jpg


IMG_2790.jpg
 
Thanks for the extra info - not nice at all - especially as some of the fires are started by someone :(
 
A couple of weeks later, I asked Hugo for help. There was a slight mistake to be fixed in my Unity spotlights:

IMG_2774.jpg


IMG_2775.jpg


And finnaly, something else I was able to fix: my rear safari window is like new.
After asking for help from another friend that works in detailing cars, he gave me a small amount of polish paste. So, with a piece of cloth and a lot of patience, I was able to bring back that shiny look:

DSC_0397B.jpg


IMG_2783.jpg


... and it worked perfectly:

IMG_2785.jpg


IMG_2786.jpg
 
Meanwhile I brought some other parts with me to Lisbon to clean from dust, paint and rust. One was the sliding door hinge that keeps the door in the open position.

IMG_2849.jpg


IMG_2850.jpg


IMG_2851.jpg


IMG_2852.jpg
 

Latest posts

Top