1968 Campervan conversion

Early Bay Forum

Help Support Early Bay Forum:

This site may earn a commission from merchant affiliate links, including eBay, Amazon, and others.
Truly one of the greatest bus stories ever told.
You sure did a nice job restoring your family heritage!
Please, please keep the pics coming!
 
gninnam said:

:lol:

T2-Nate: Thank you so very much.
I also thought the same ... and all these photographs that I showed also demonstrate this. I knew nothing about restoring cars at the time and so I always thought that what was done was correct.
But what I learned through various restoration online forums and through restoration books, helped me see that was not ideal.
Additionally, over time, some areas arranged by my father in law began to show what had actually been done.
These "restoration" was made in the summer because he was going to move to the north of Portugal. So, it had to be "take it or leave it"....
He will never know what is being done right now. He will always think that what he did was well done ... and frankly, as he did it with the greatest good will, not knowing will not hurt him.
8)
 
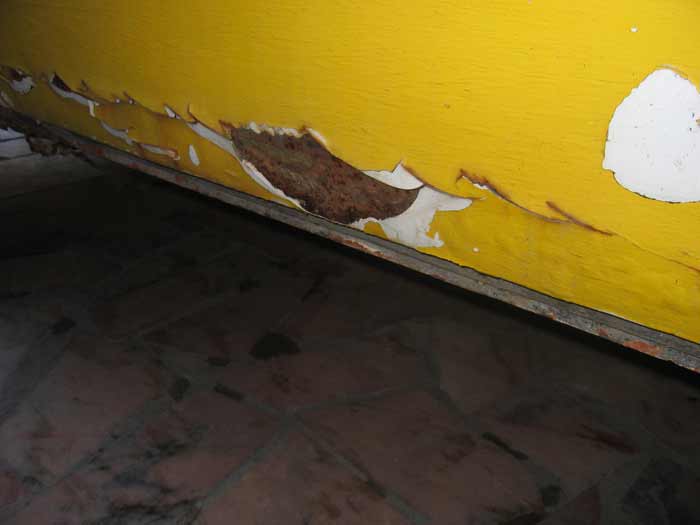
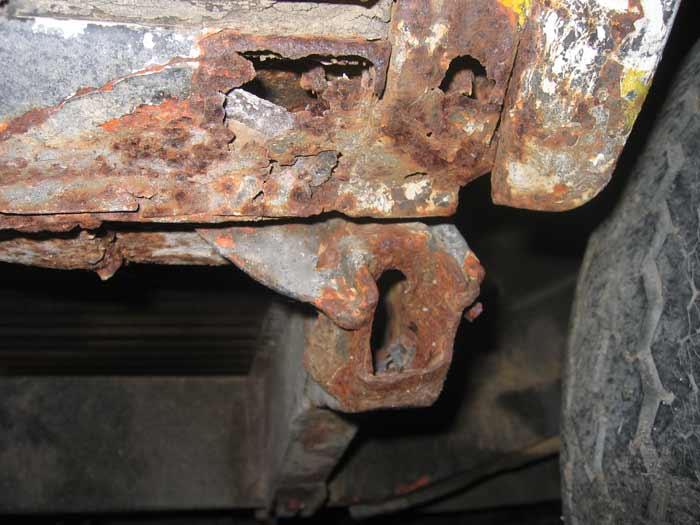
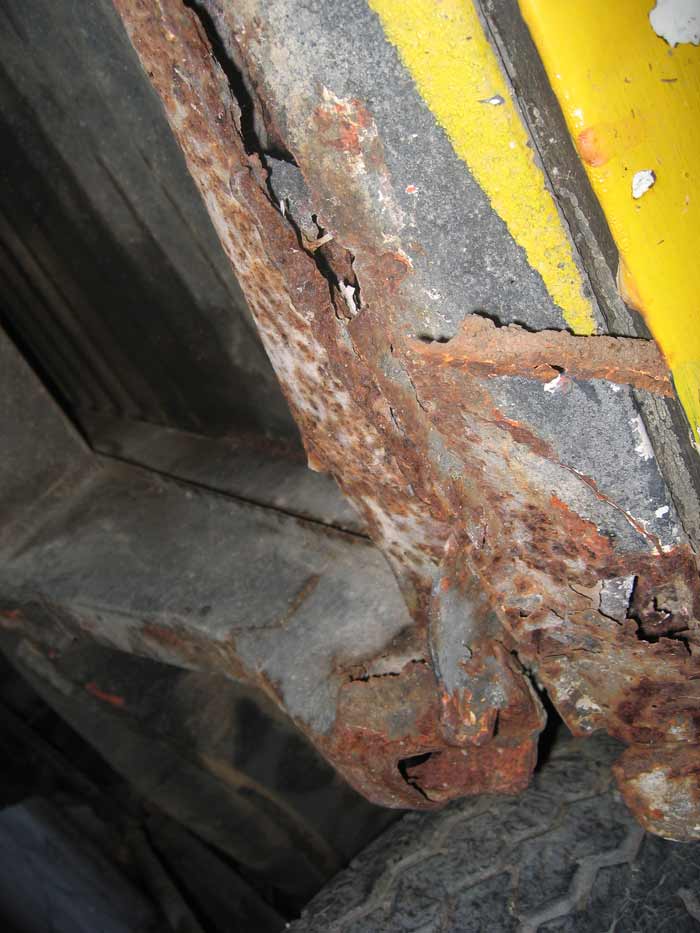
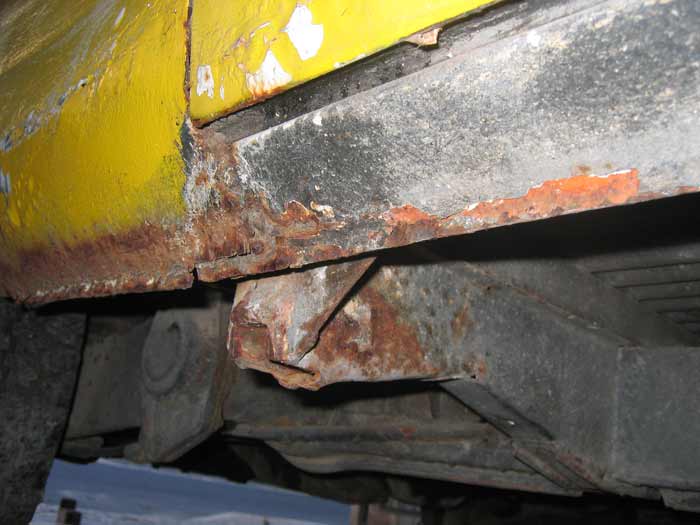
As I wrote in a previous post, in recent years this truck has become, again, a freight van when necessary more than a peoples carrier. But due to corrosion problems that I have shown and for having petrol engine instead of something more economical as an diesel engine, in 2003 was set aside by a Diesel Ford Transit.
This Ford van, faster and with a more economical engine began to do what VW had been doing so far.
This was trully the main reason for me to park the van vw to restore it.

foto_viseu_290.jpg


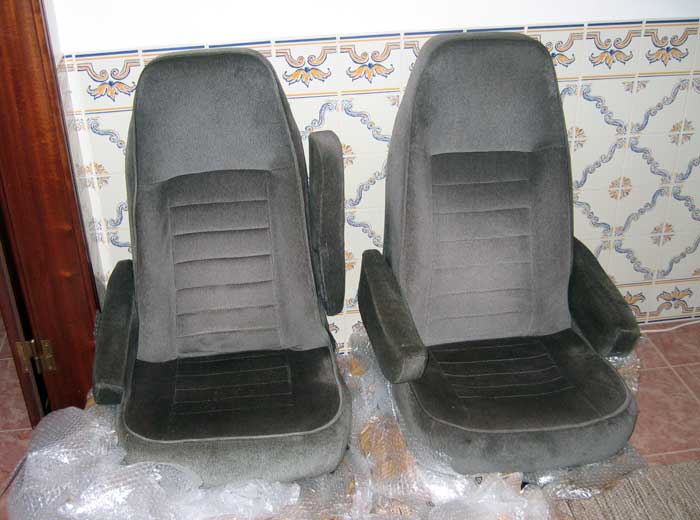
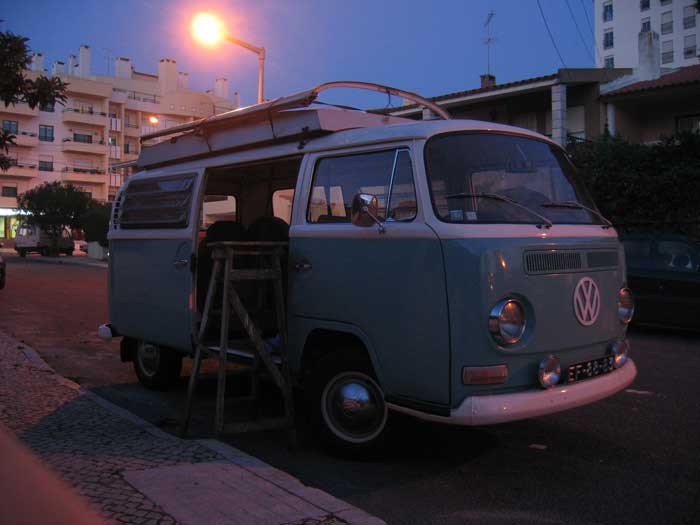
Once there was a new diesel van, which could be used to carry stuff or just people from one place to another, the VW bus could then return to being a campervan, this time with a better interior with better materials and finishes, and mainly, attached to the her permanently.
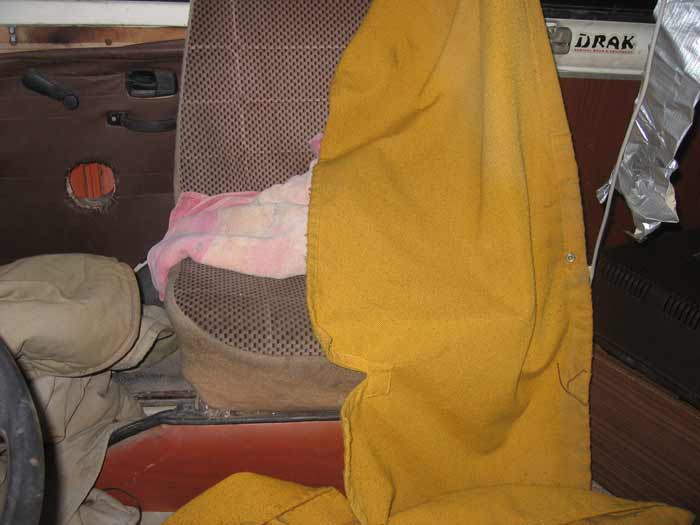
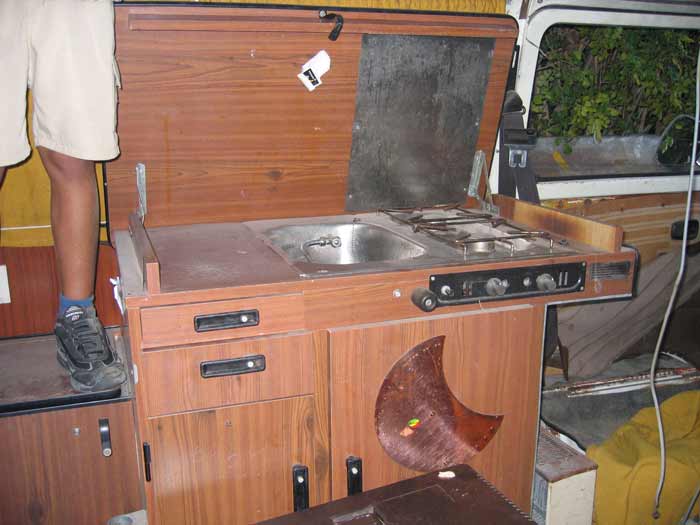
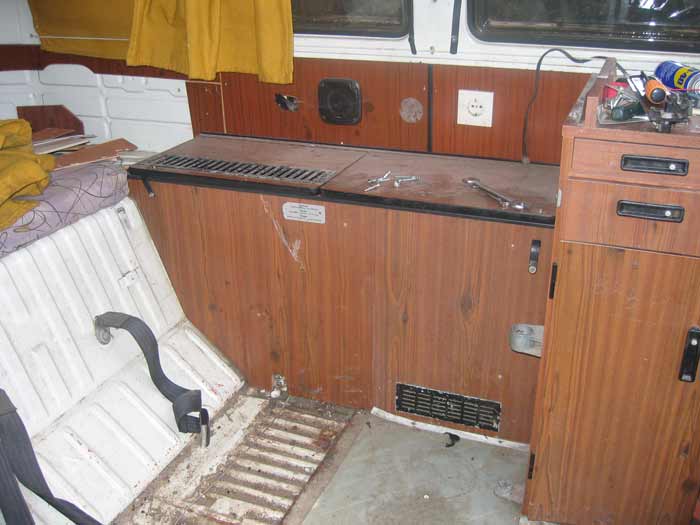
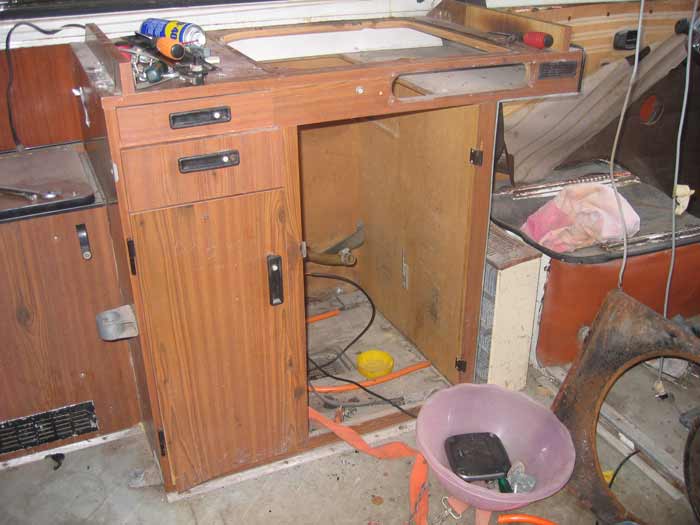
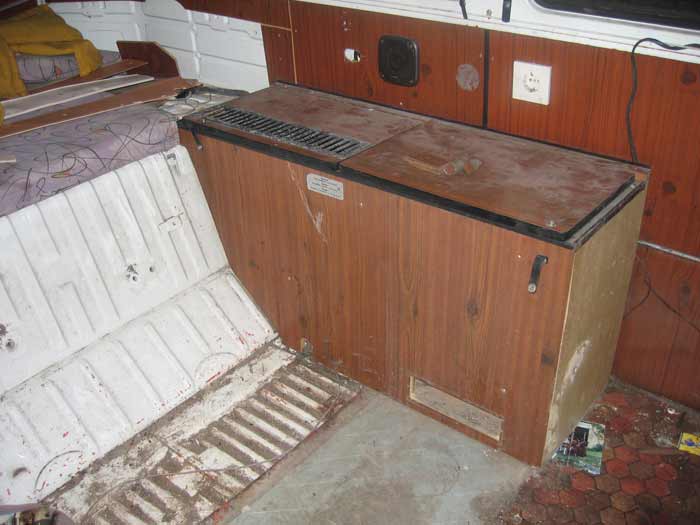
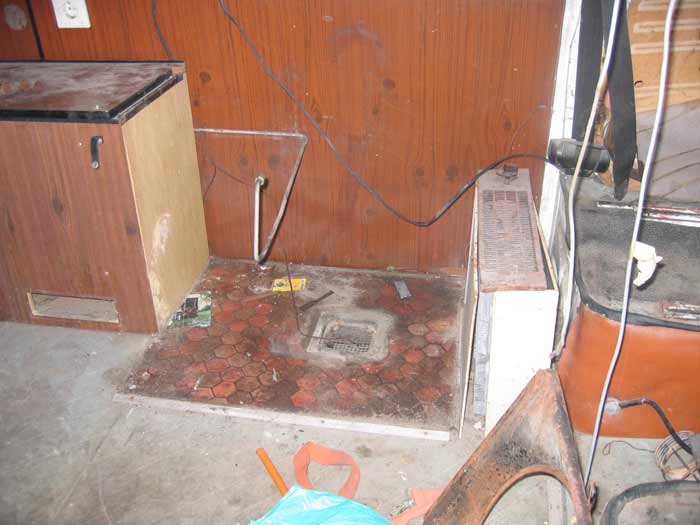
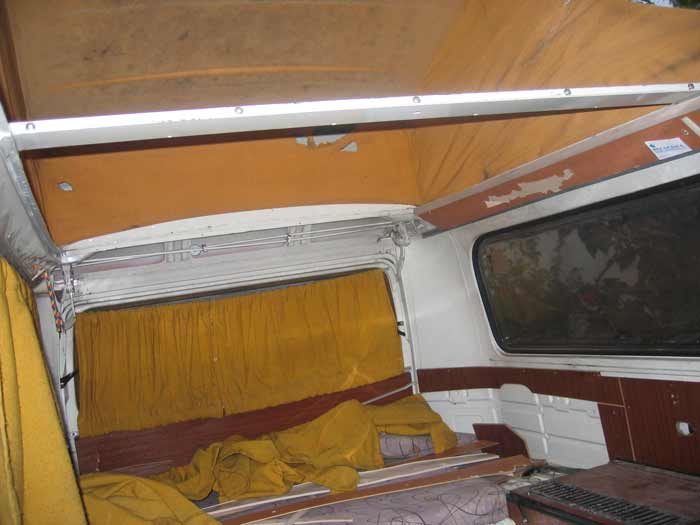
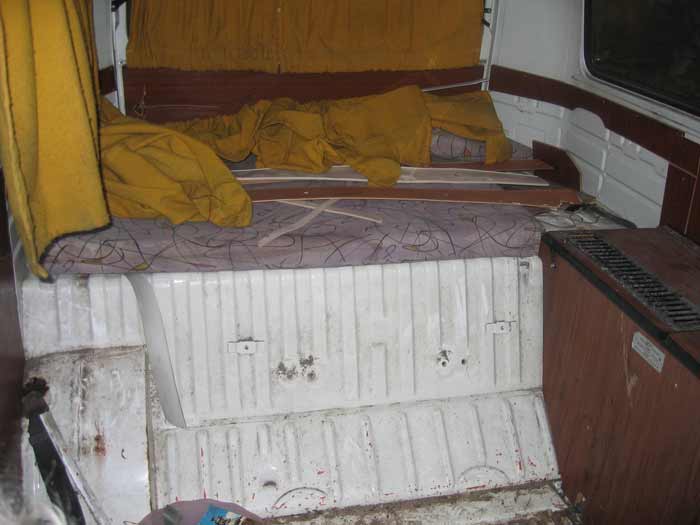
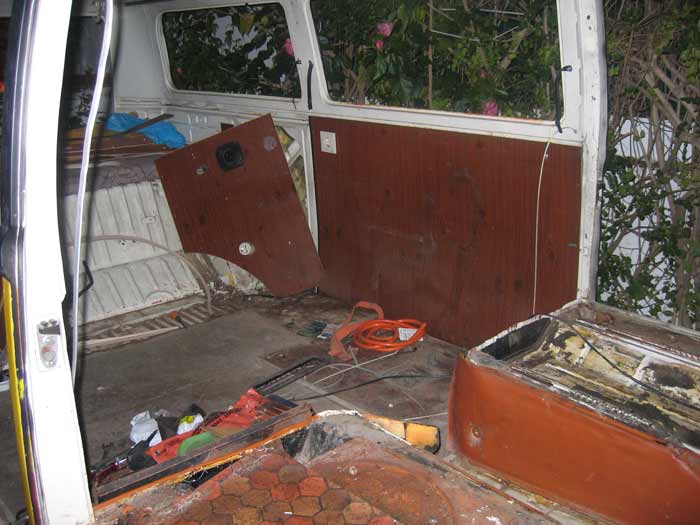
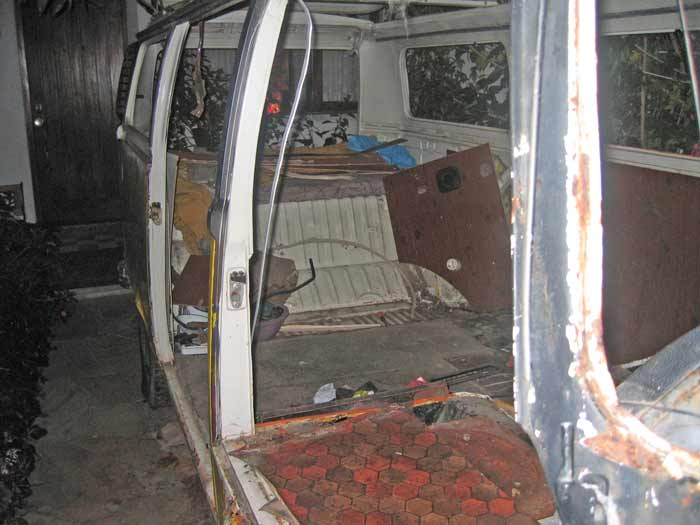
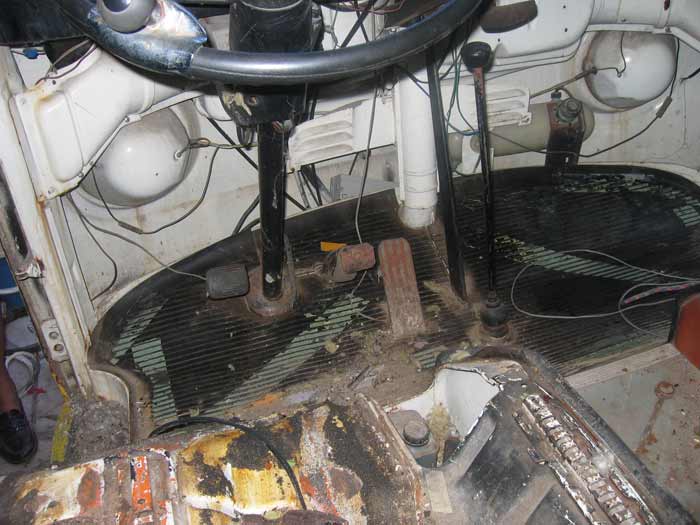
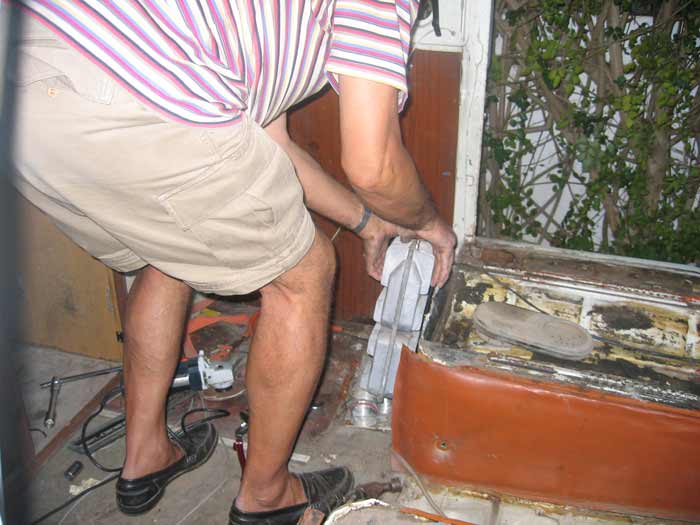
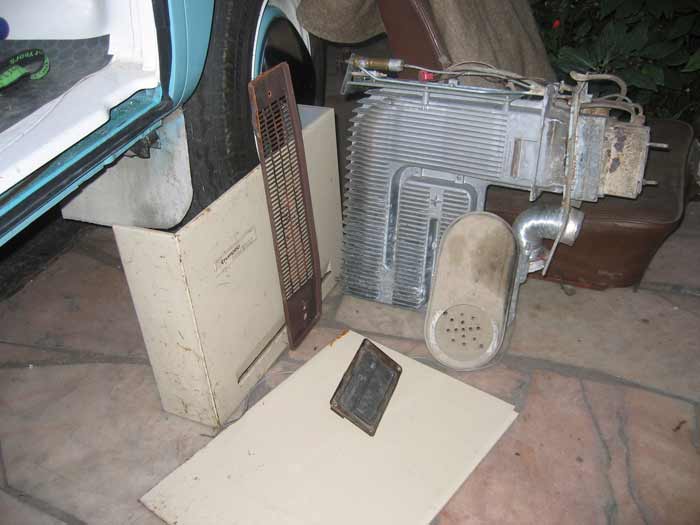
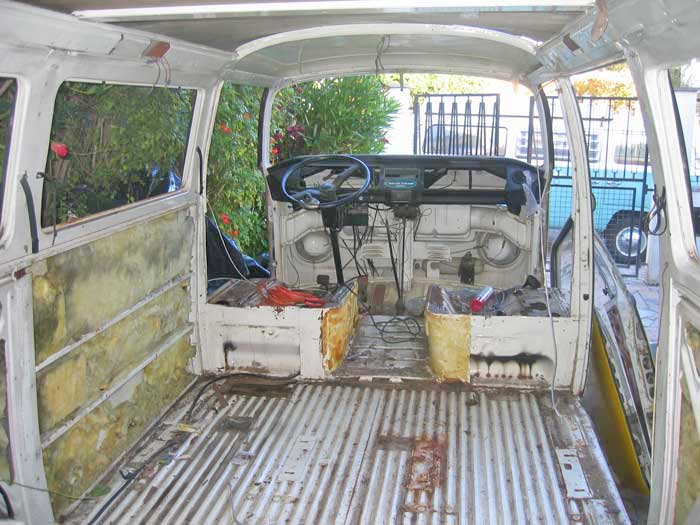
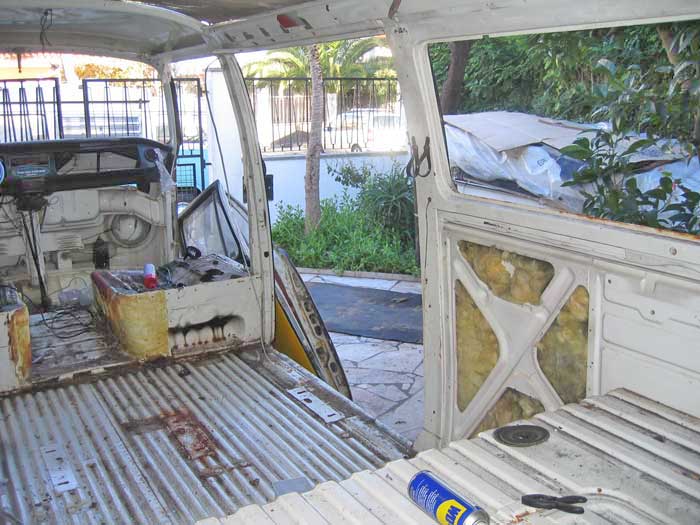
So, while she was in my father-in-law hands and inside the paintshop, I bought the fridge and prepare to build the new interior. But one of the most important parts of the van was making me think seriously of making about doing a significant change: the wooden poptop.
This was not an easy decison for me... afterall the old but still fully functional wooden poptop was already there and the bus was already painted and prepared for the completely new interior... So, what should I do??

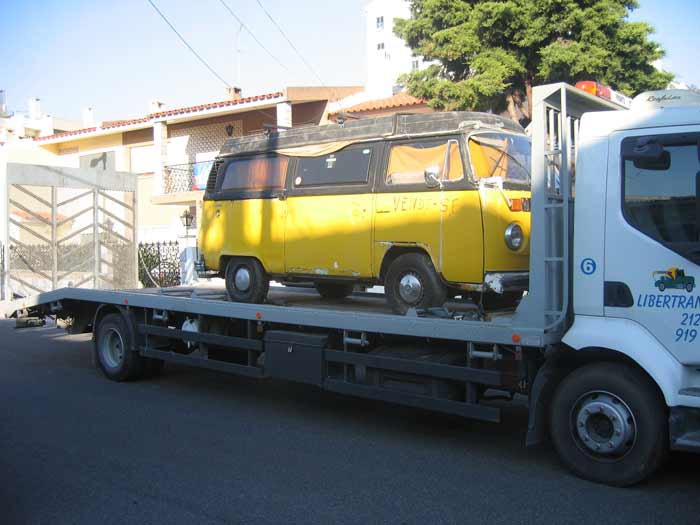
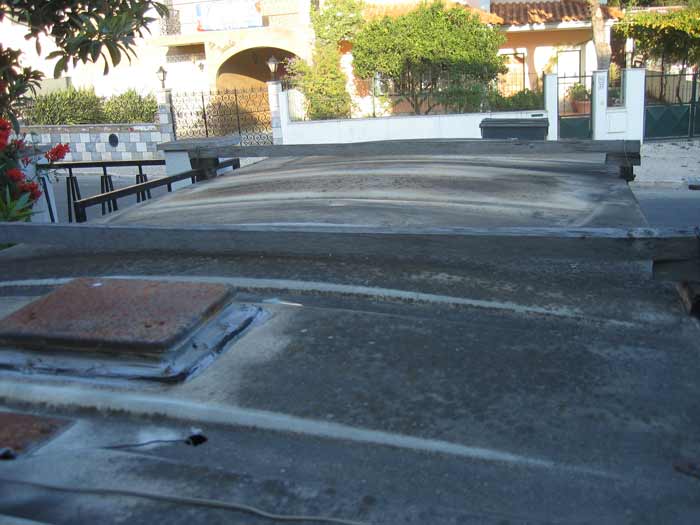
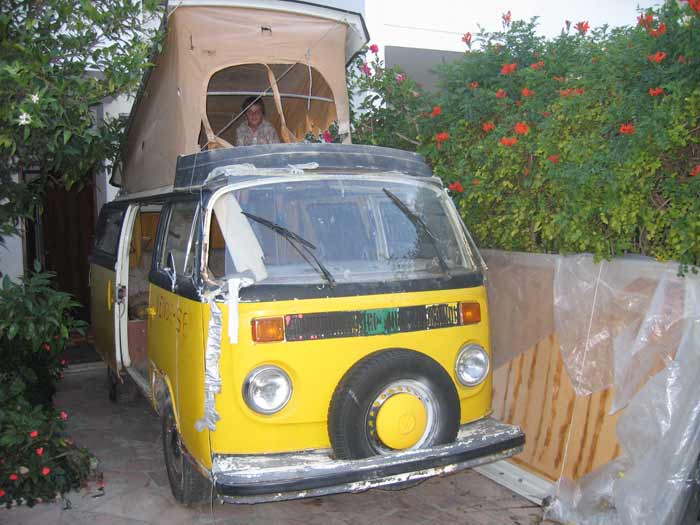
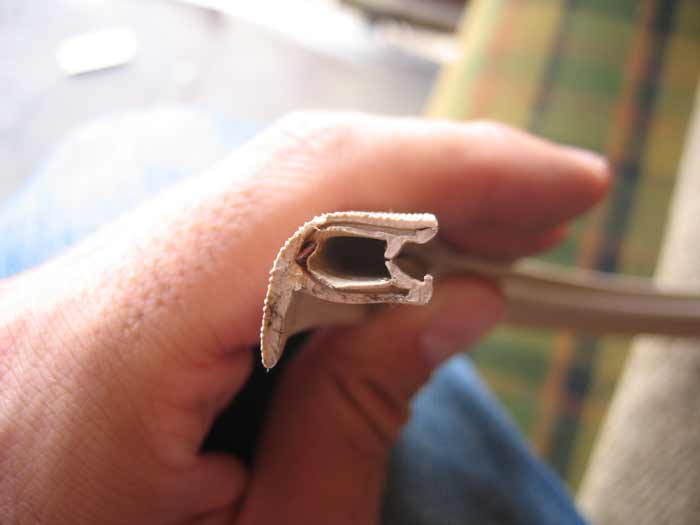
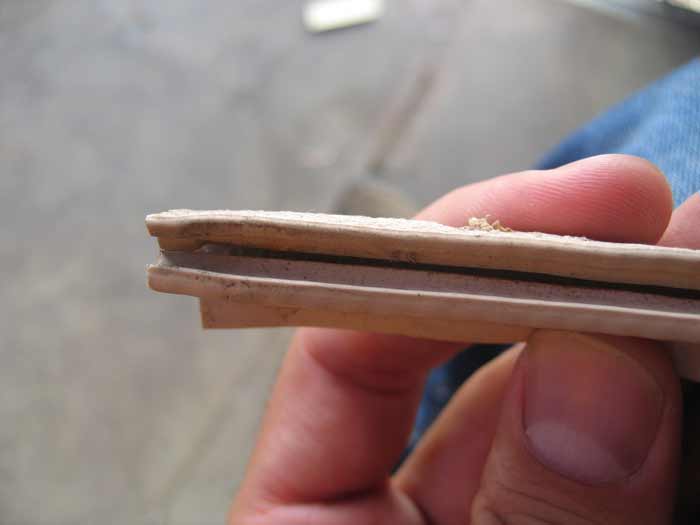
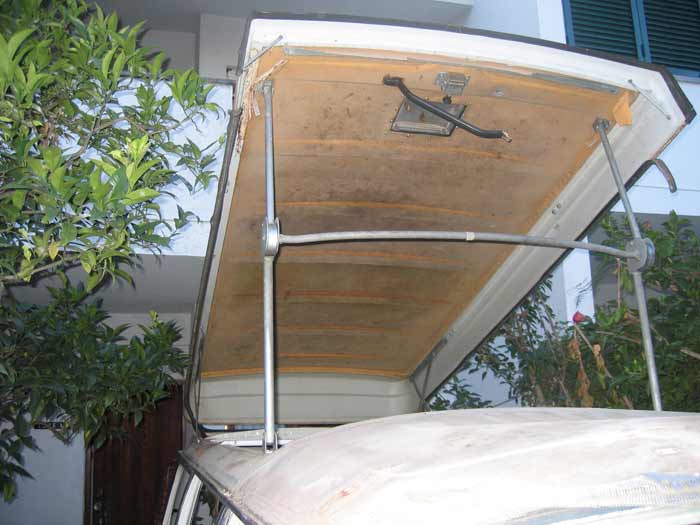
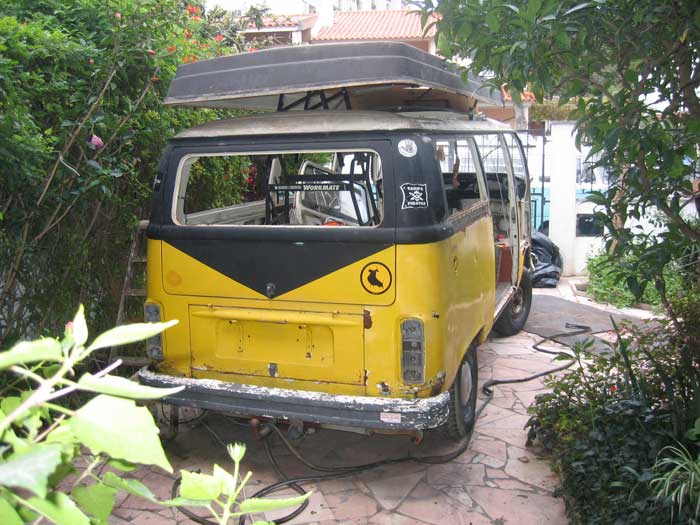
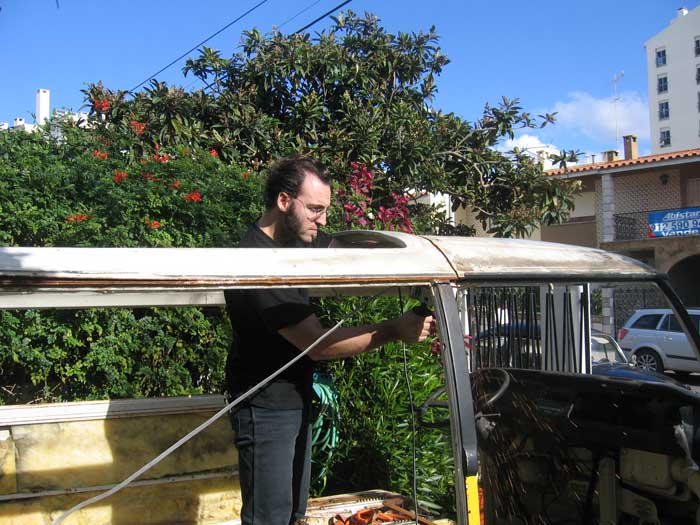
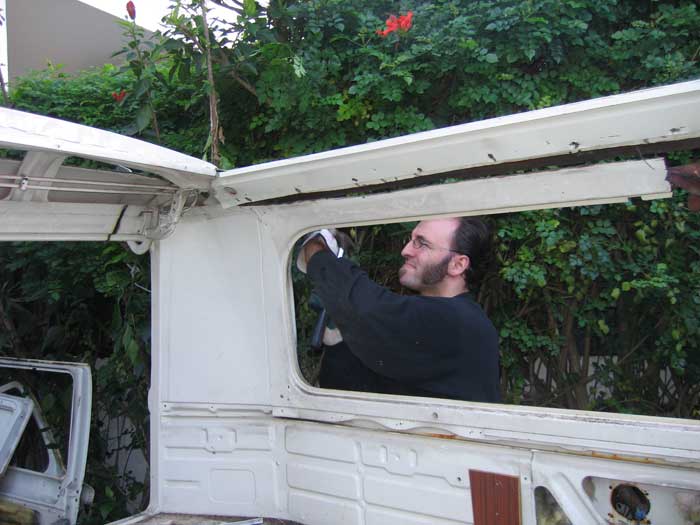
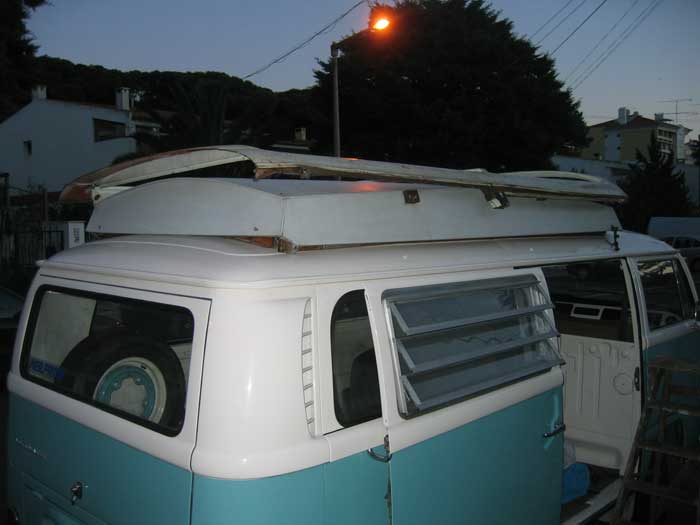
Well, after my first small trip with her to meet face-to-face some members of a Portuguese VW forum, I decided to change the wooden poptop for a original Westfalia poptop. The only issue important, was to maintain the 2 beds on top, so it had to be a latebay poptop.
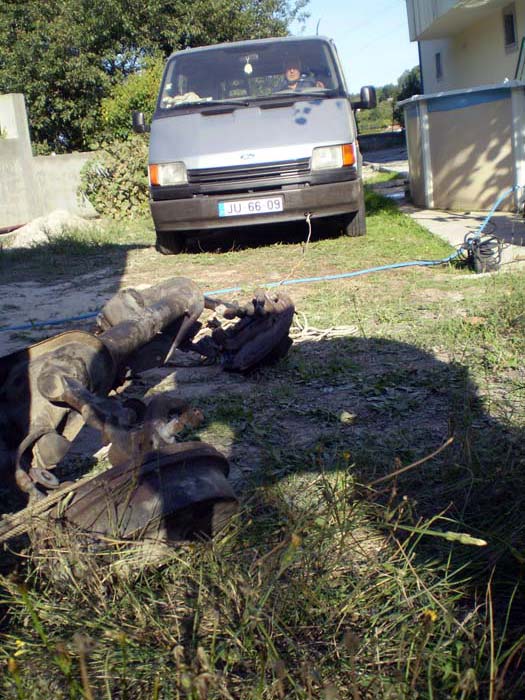
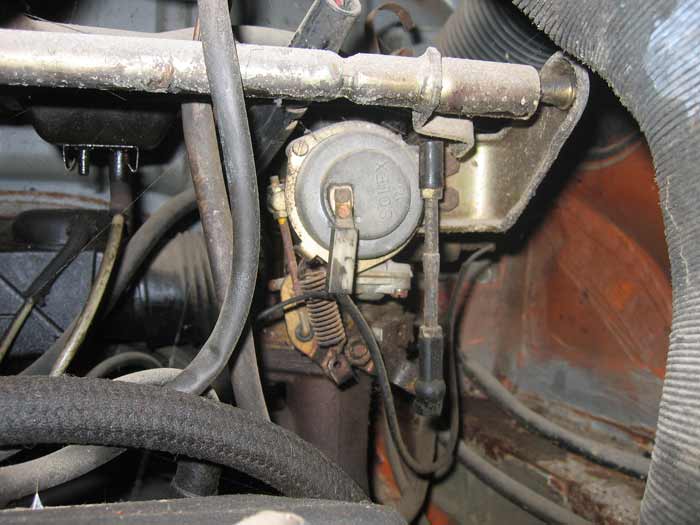
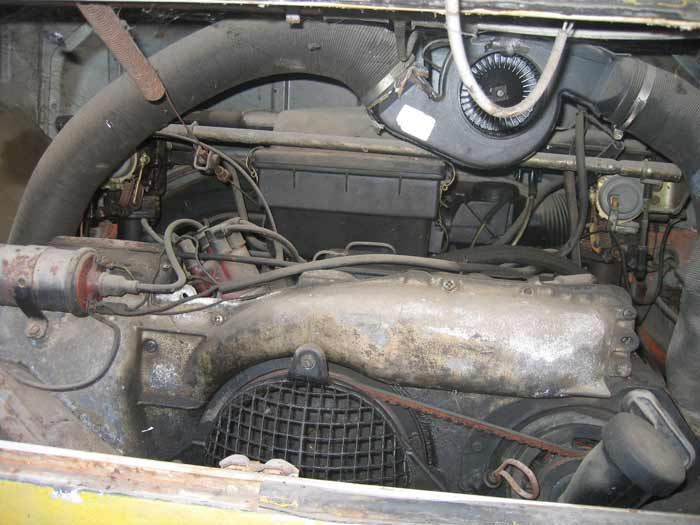
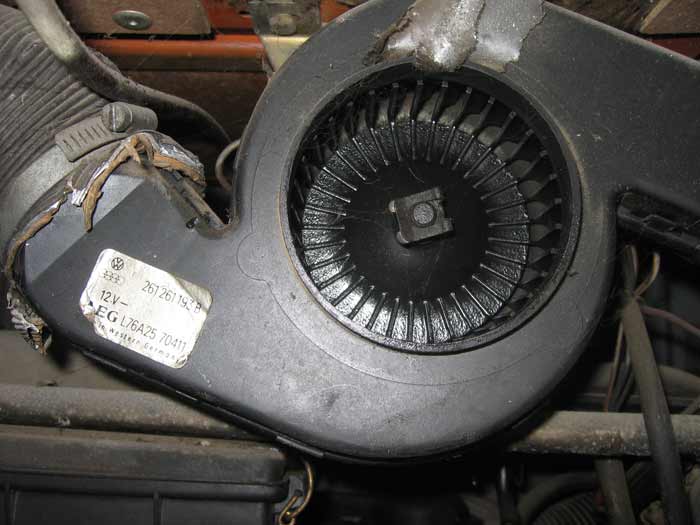
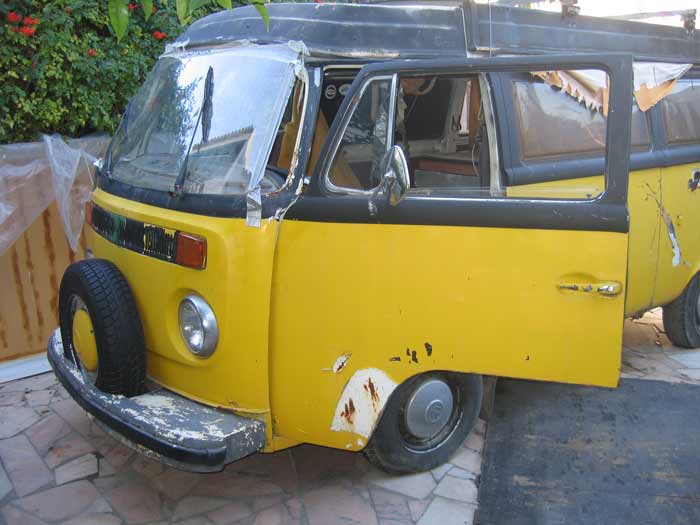
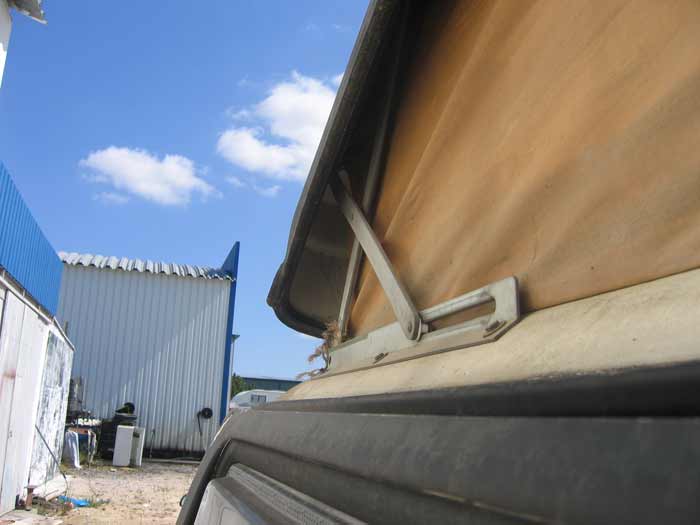
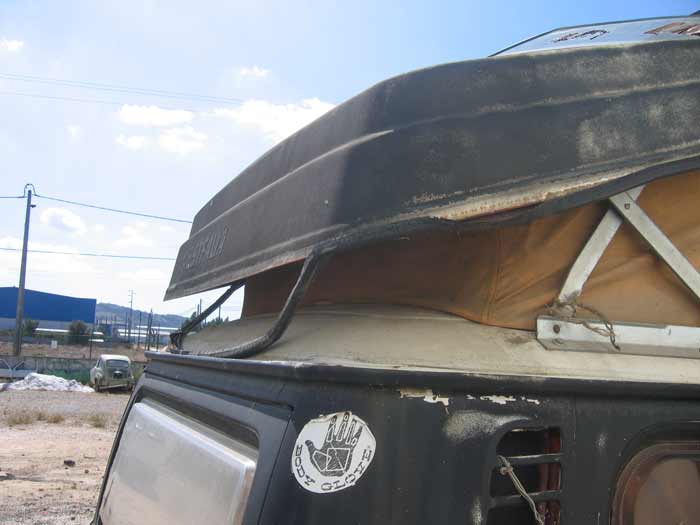
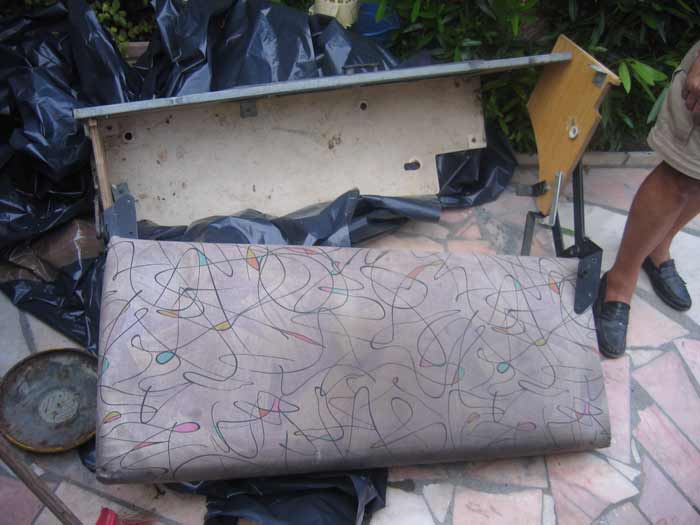
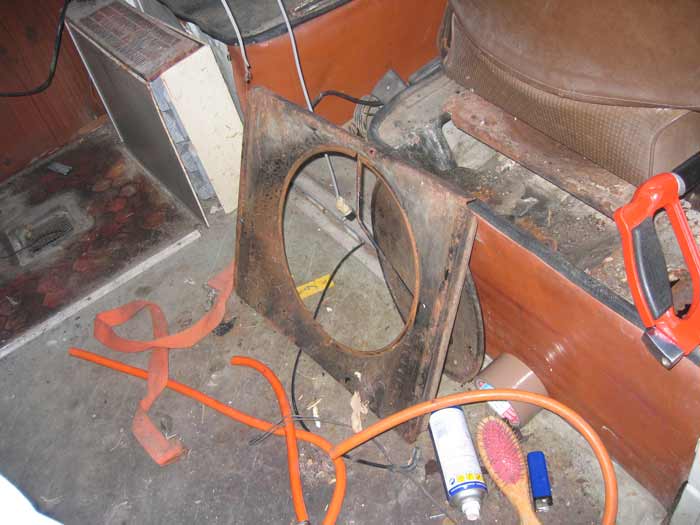
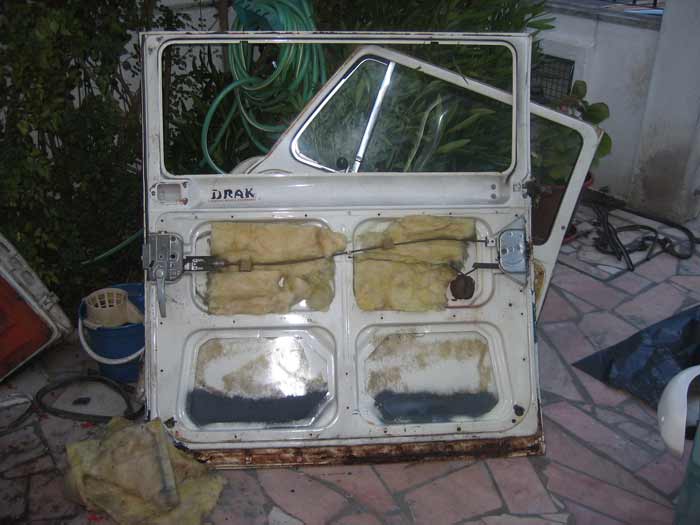
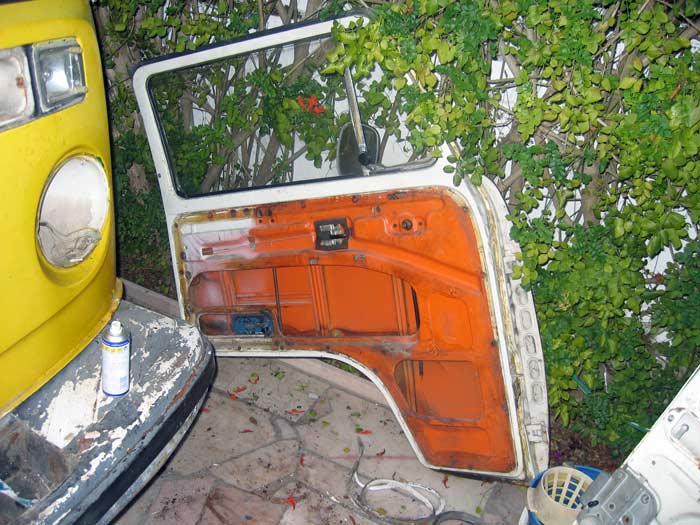
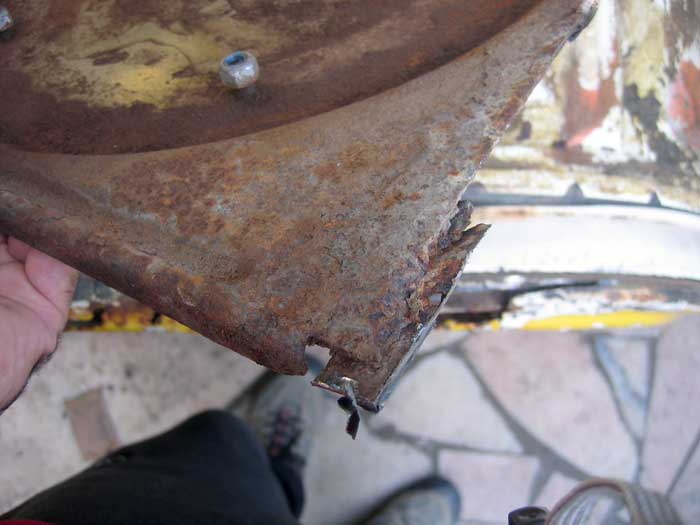
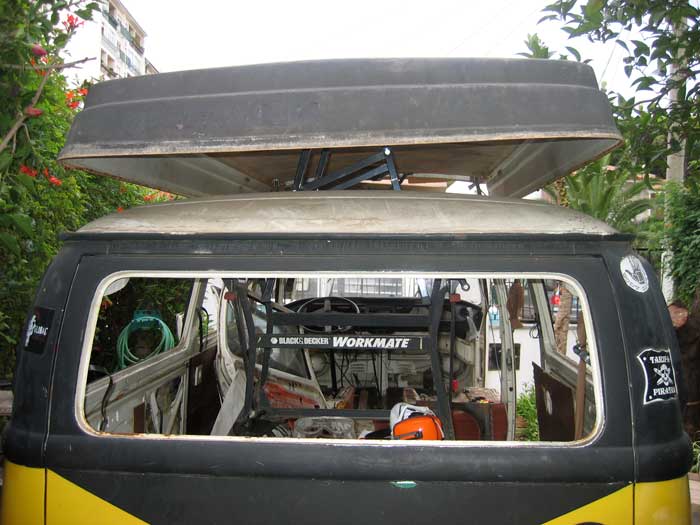
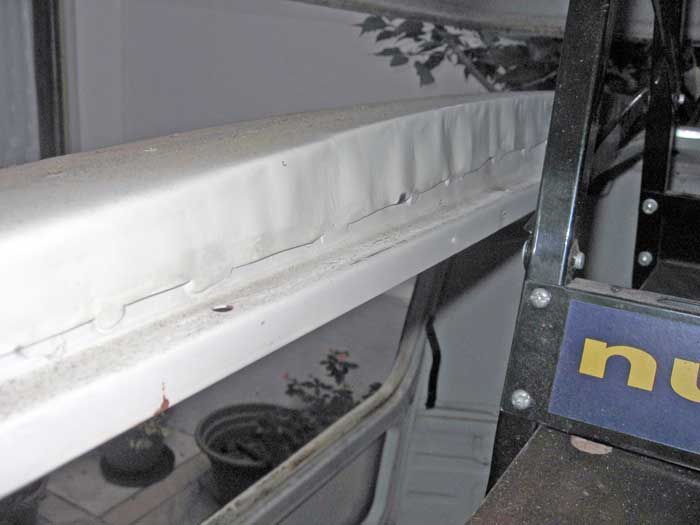
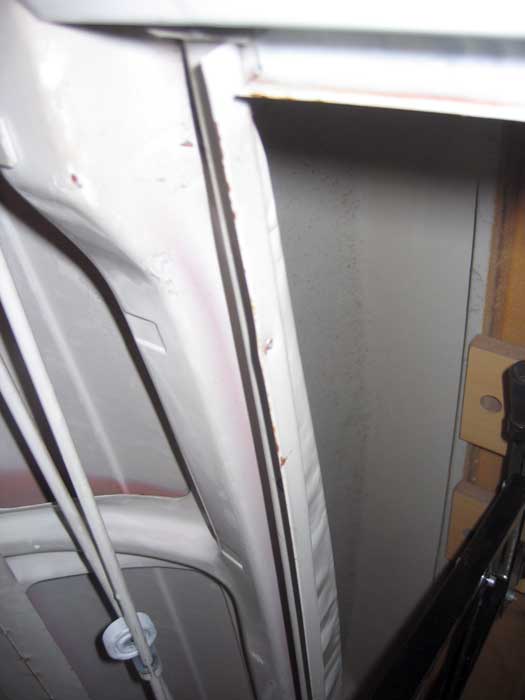
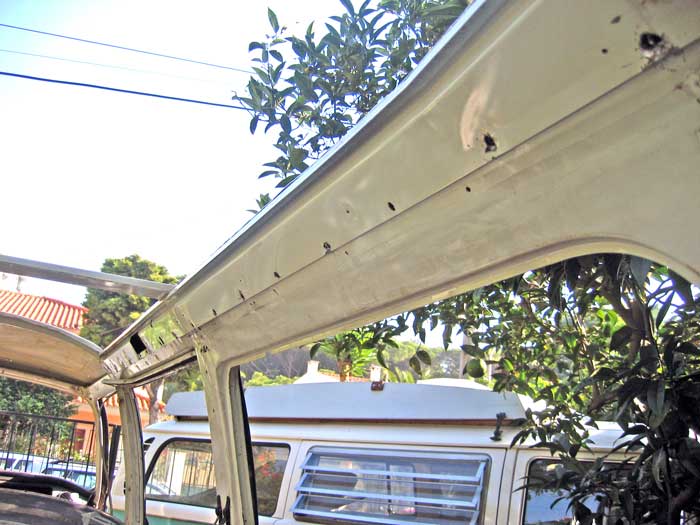
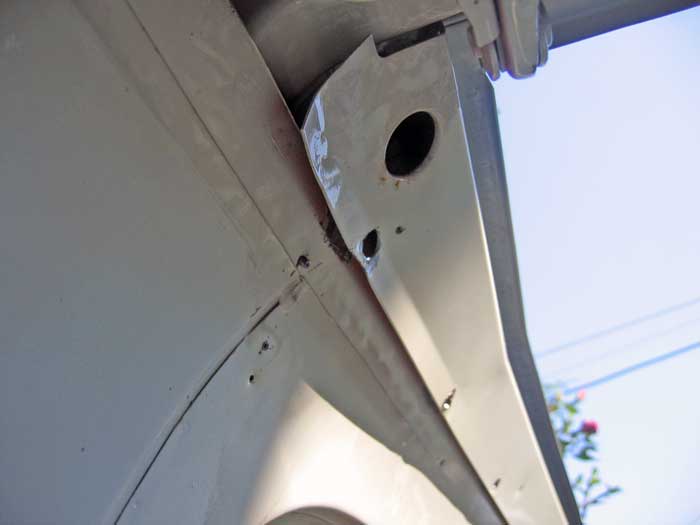
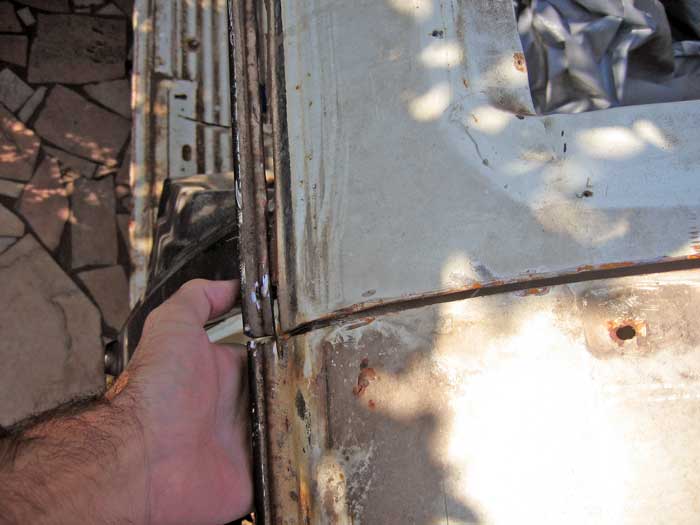
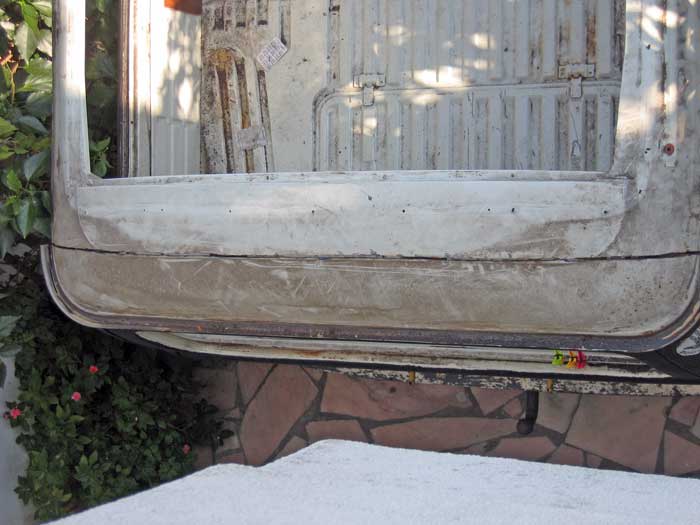
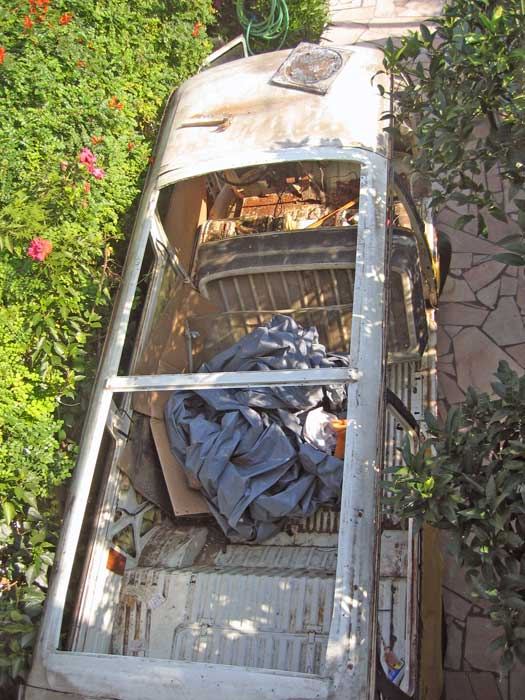
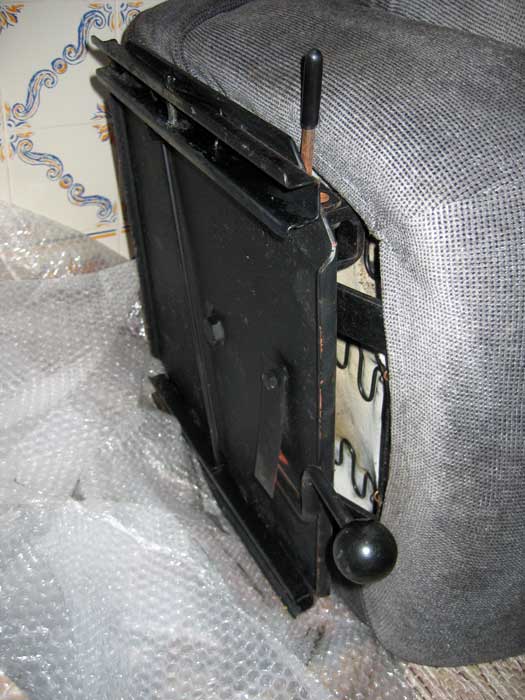
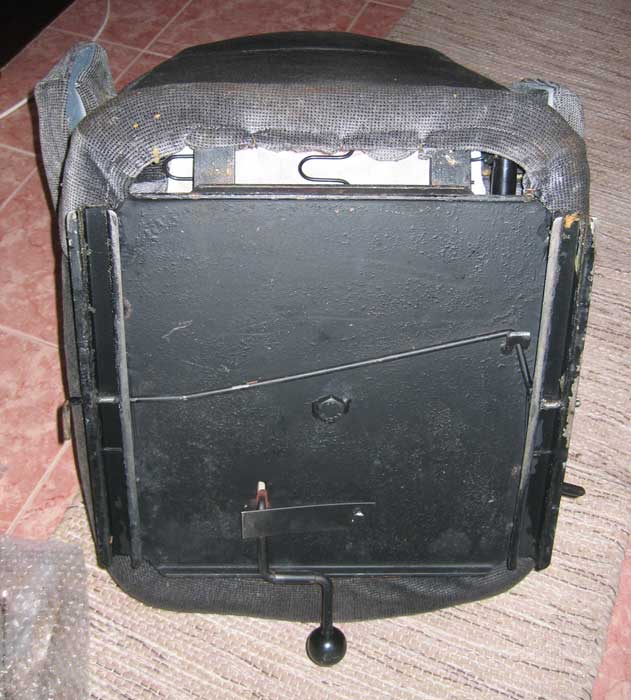
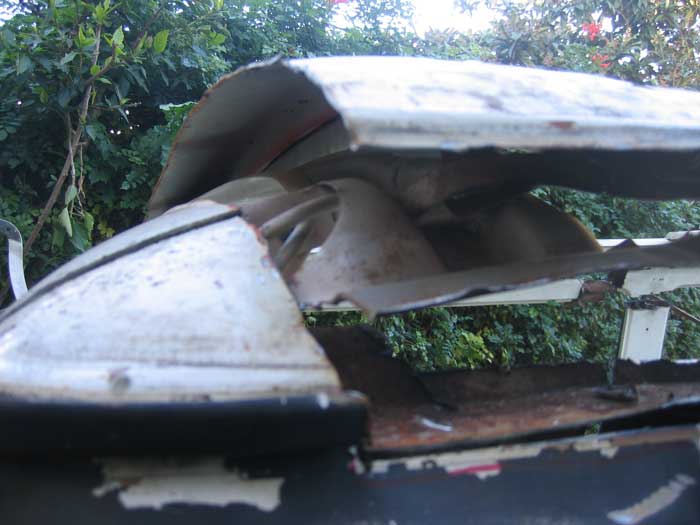
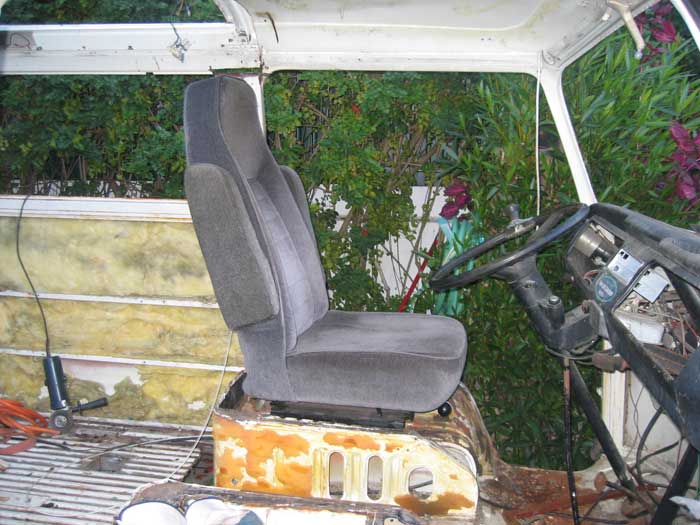
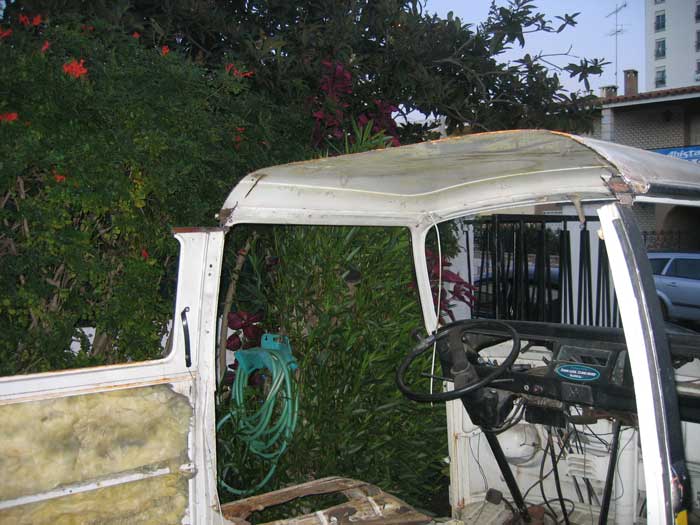
So, here it is, directly from a junkyard:

20068414249_IMG_1748.jpg


20068414435_IMG_1750.jpg


2006841569_IMG_1760.jpg


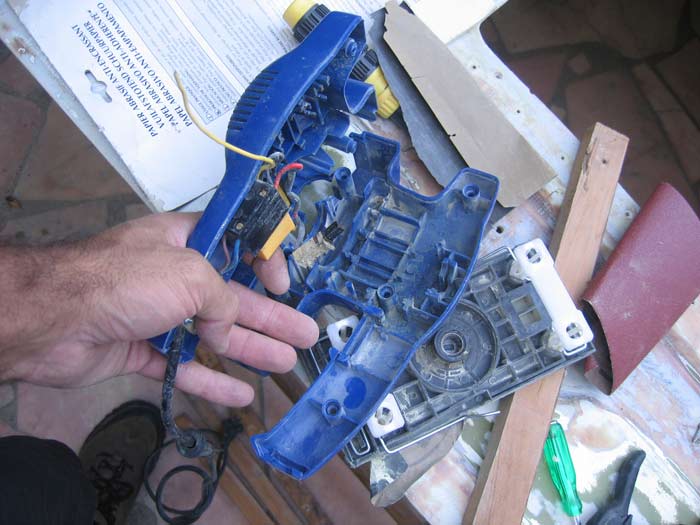
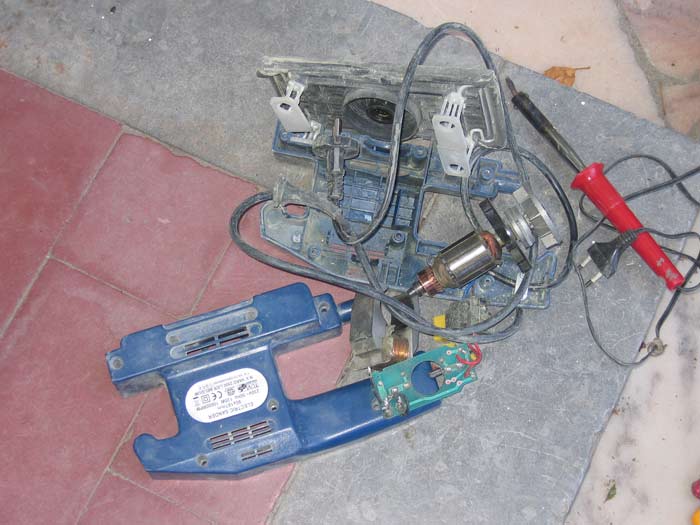
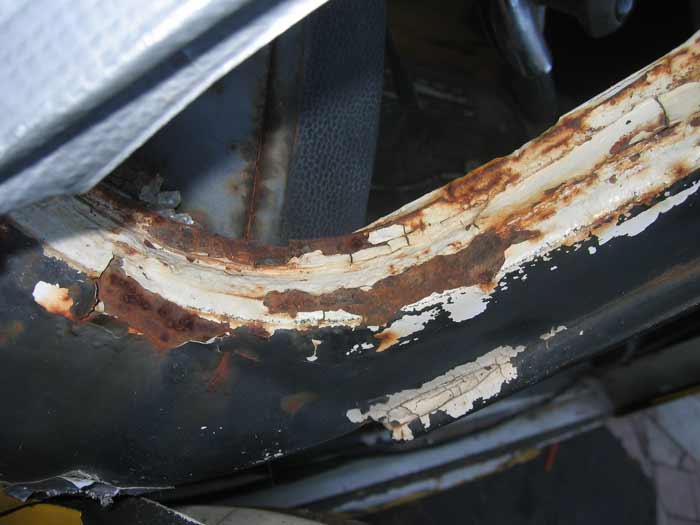
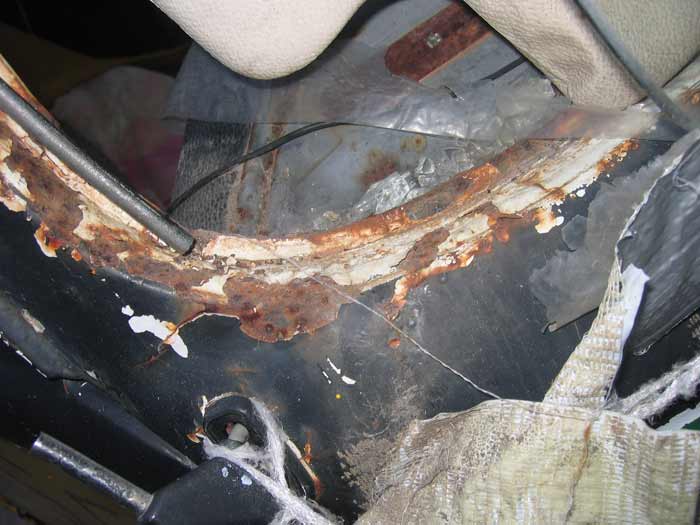
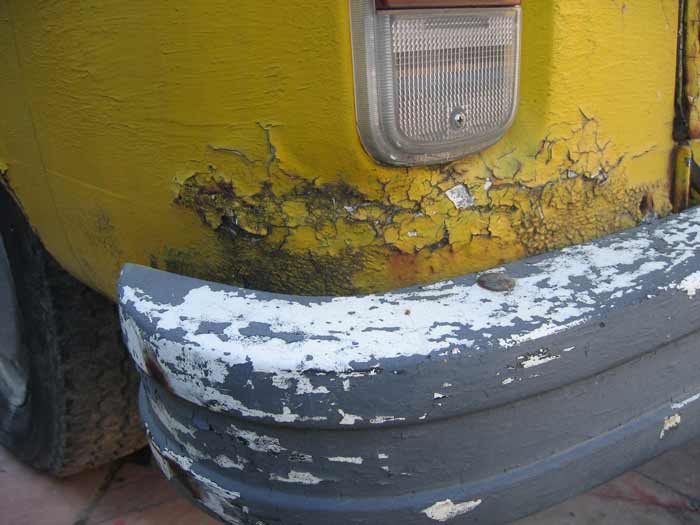
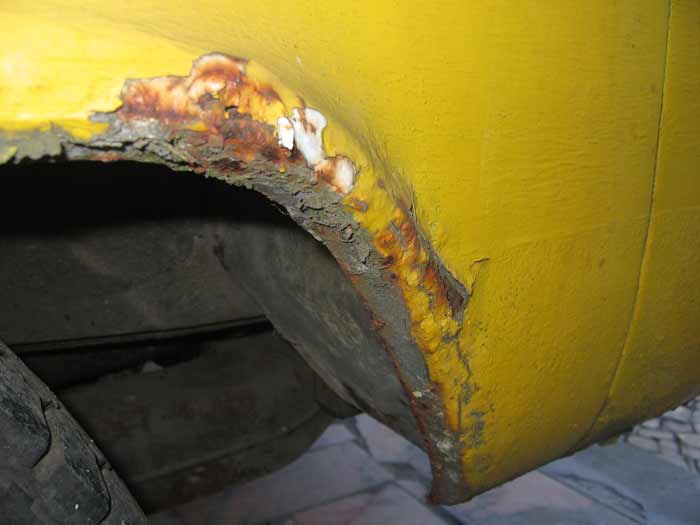
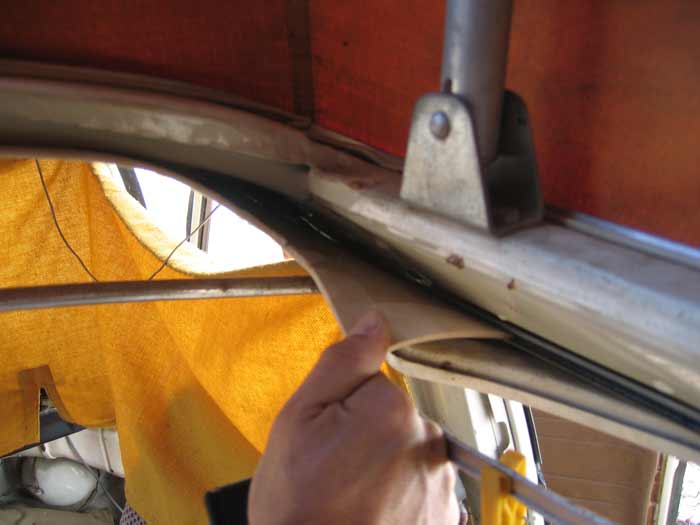
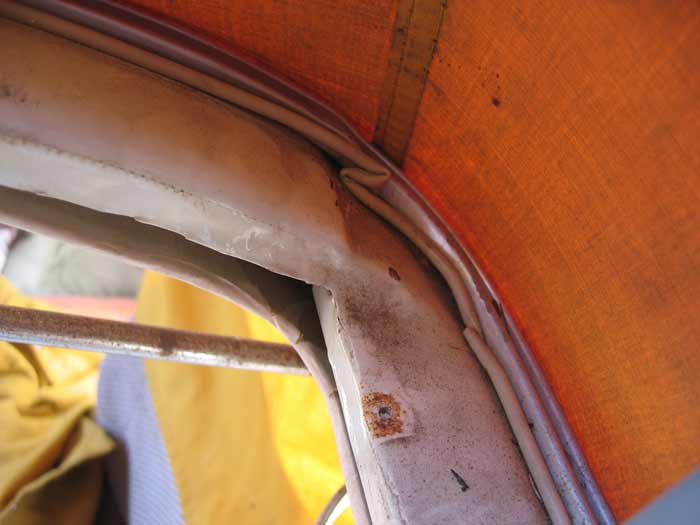
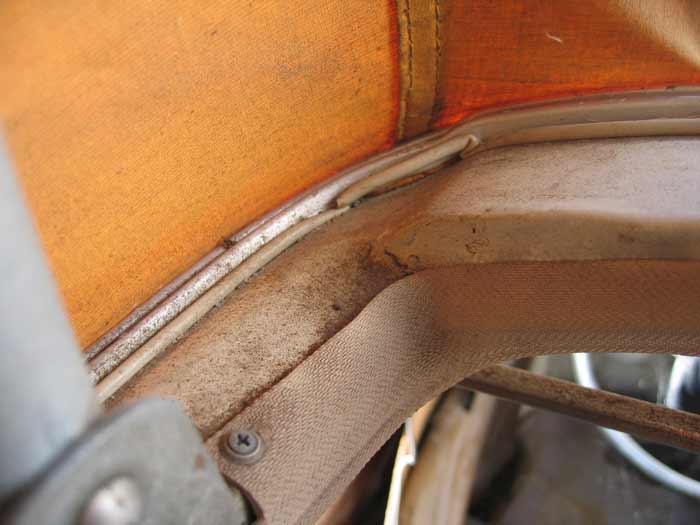
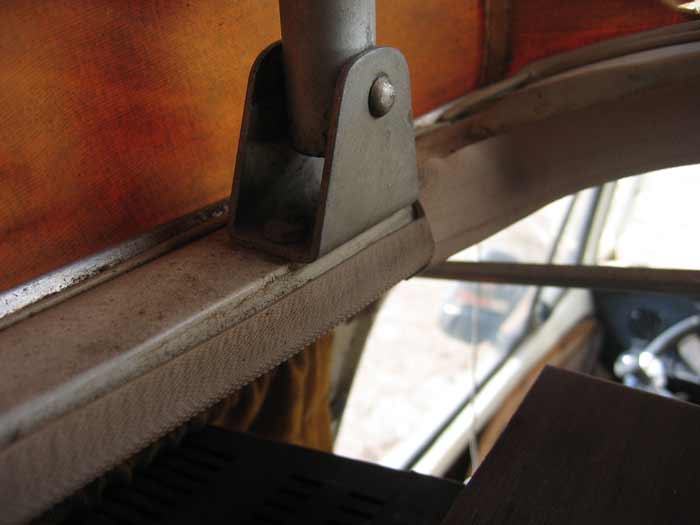
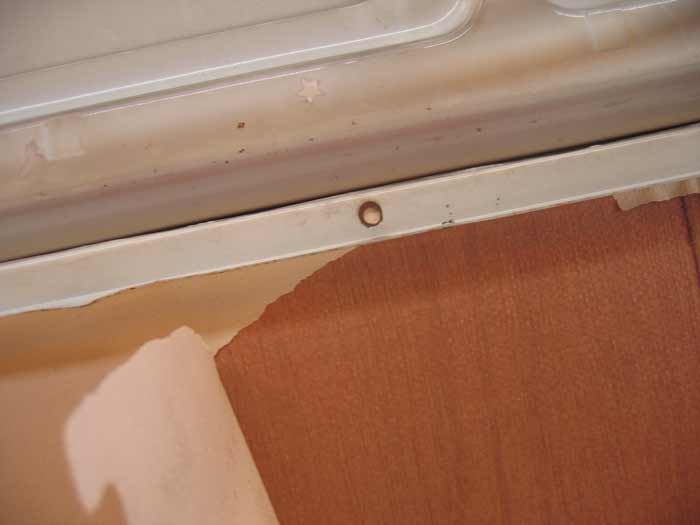
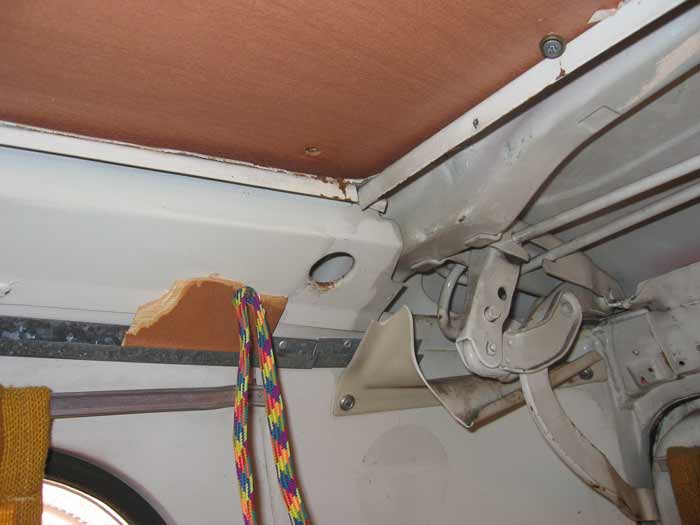
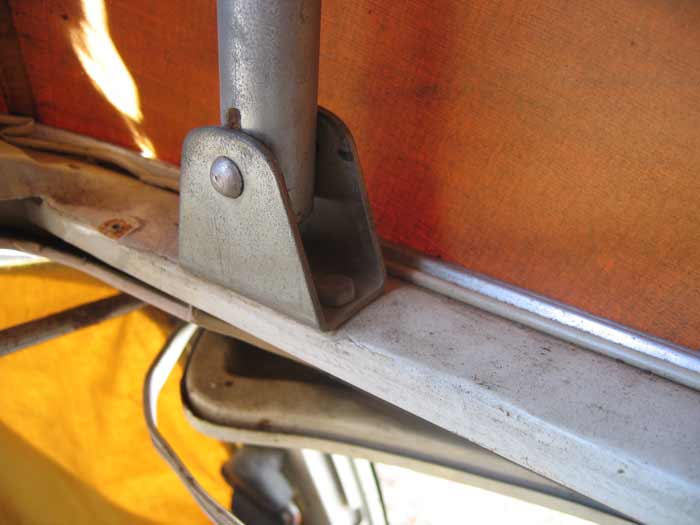
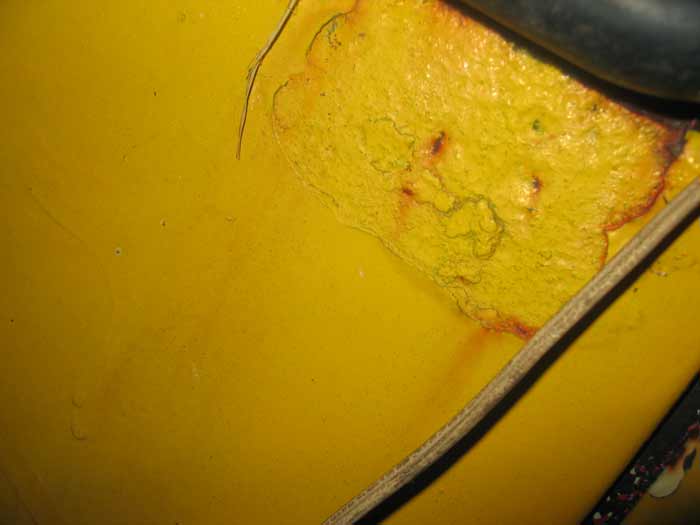
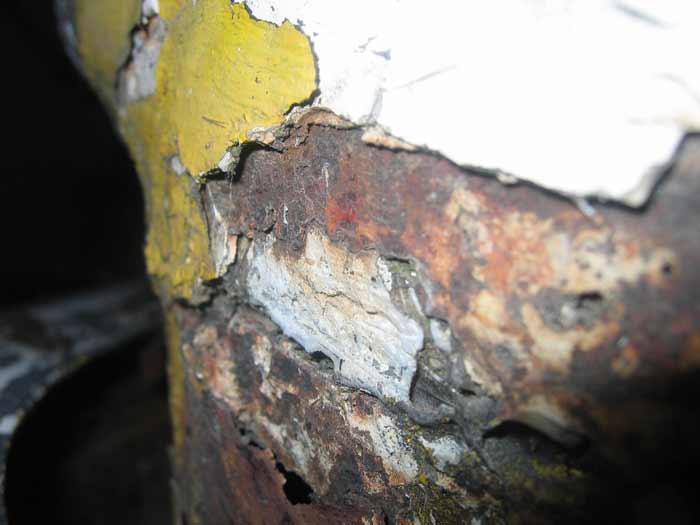
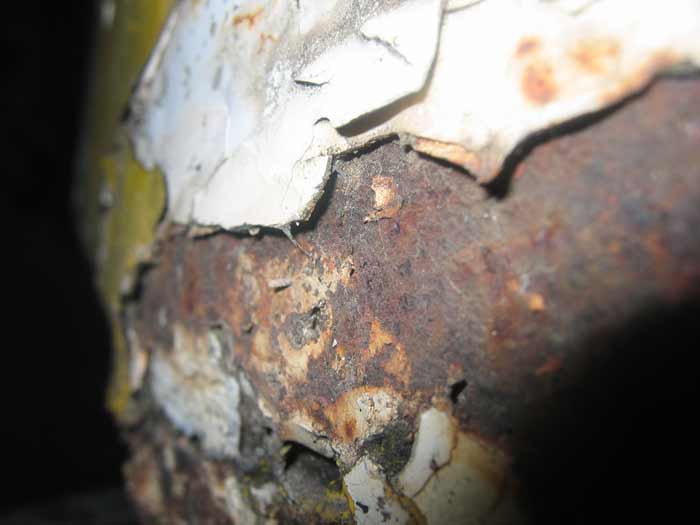
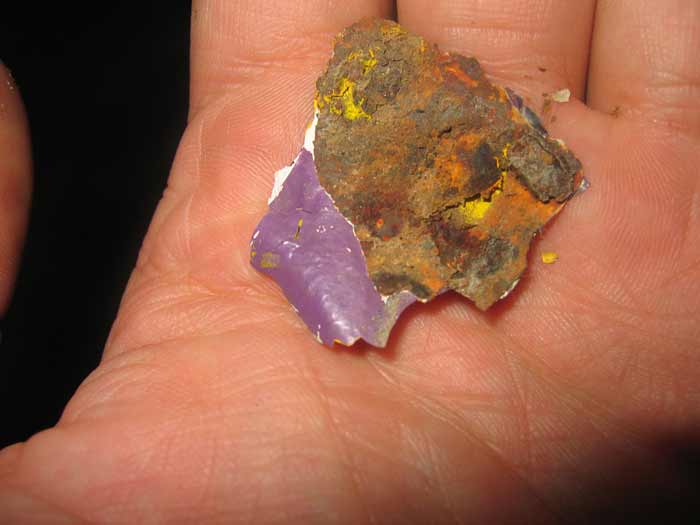
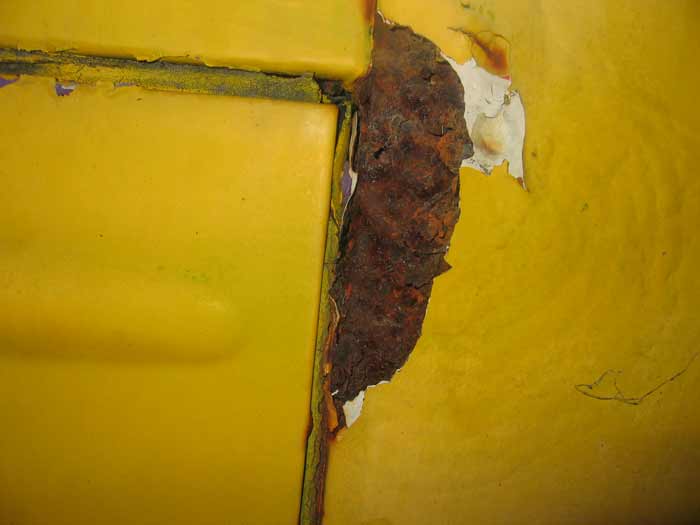
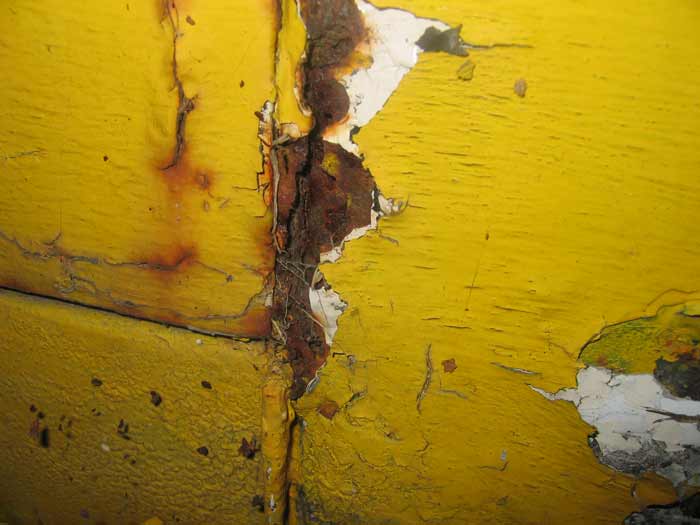
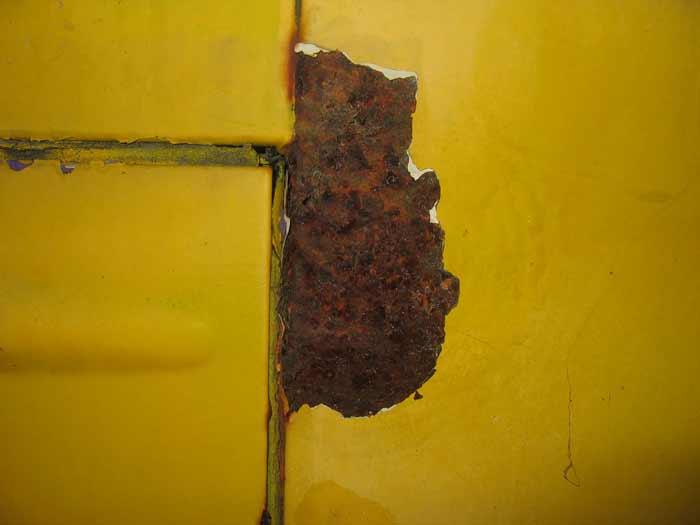
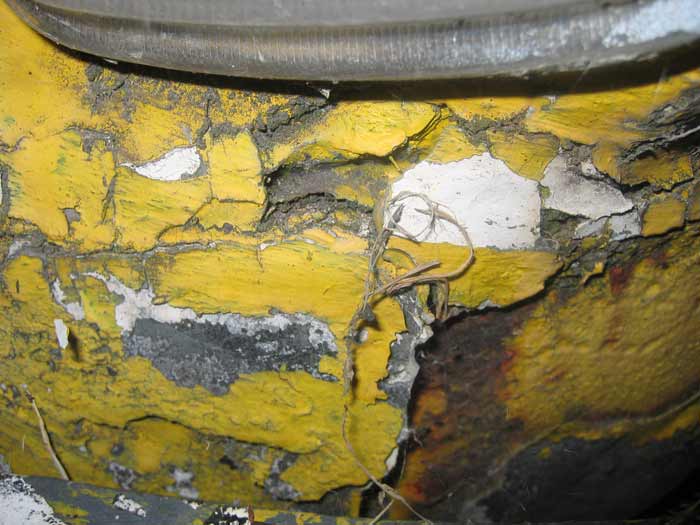
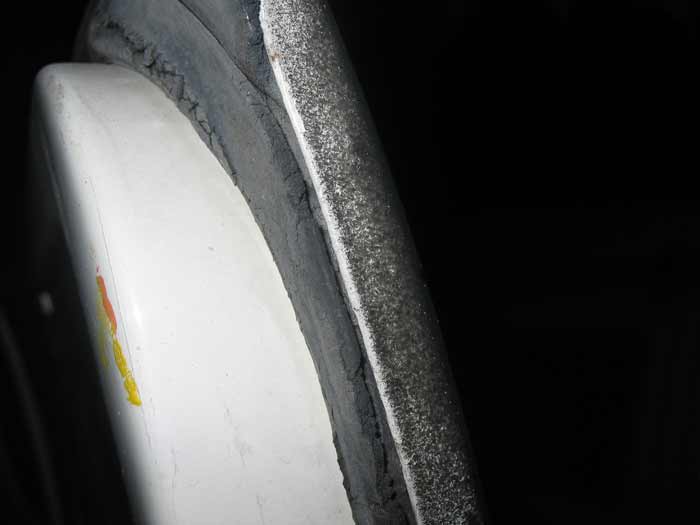
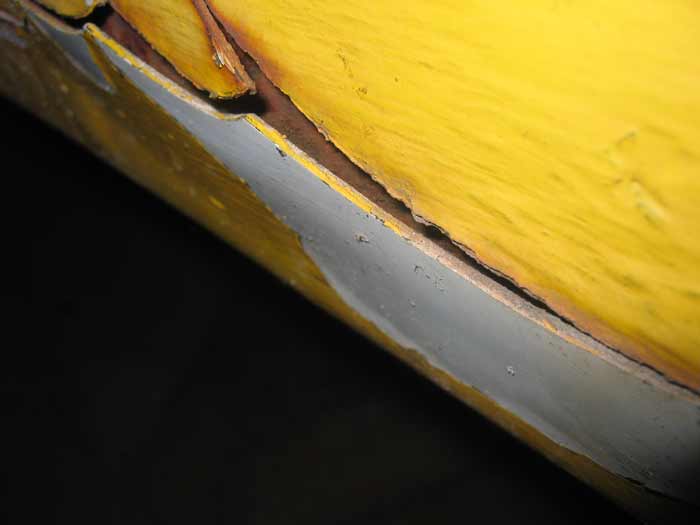
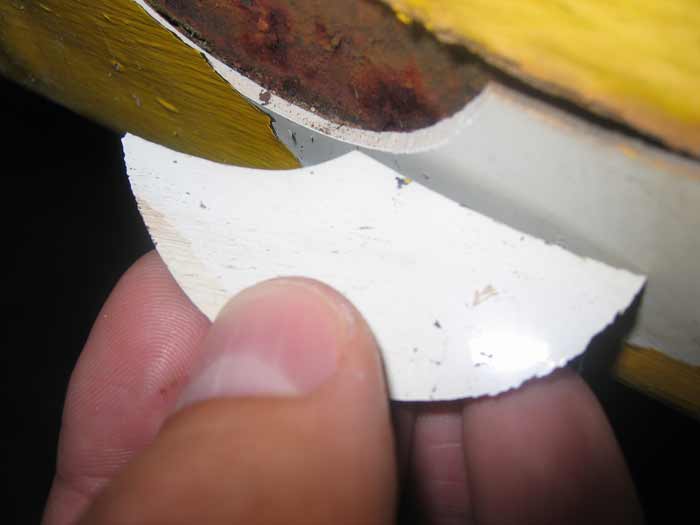
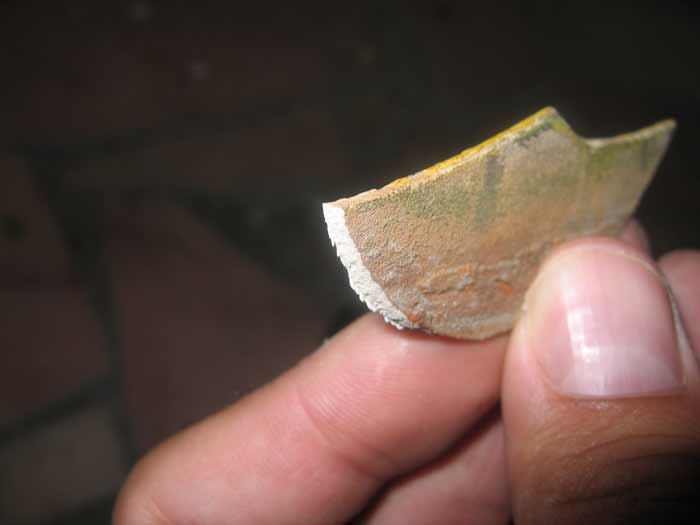
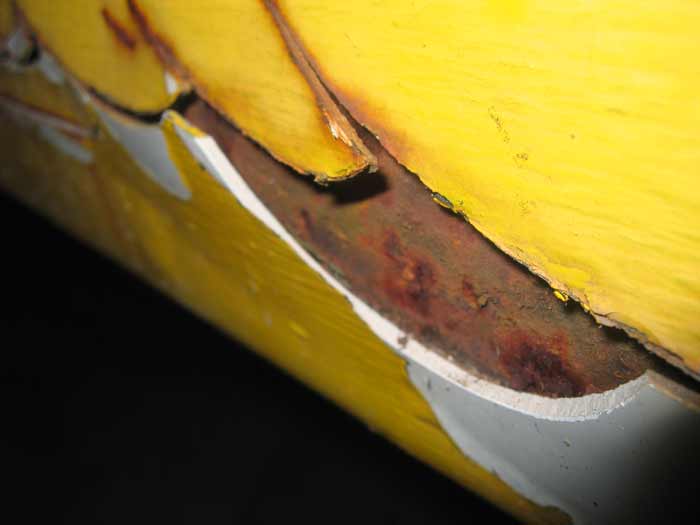
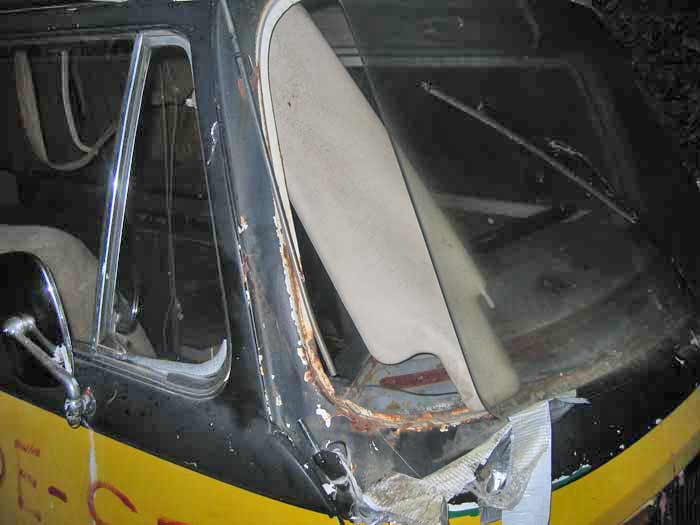
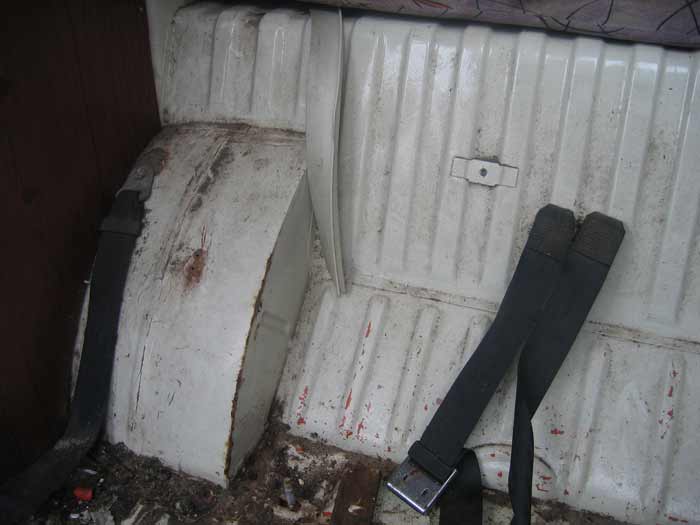
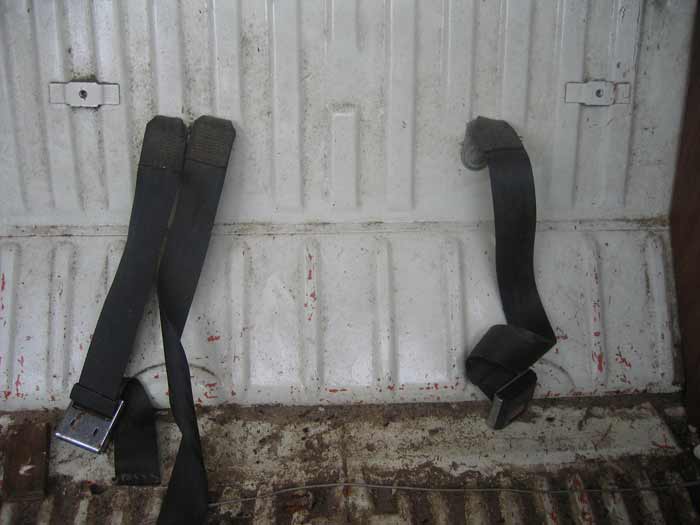
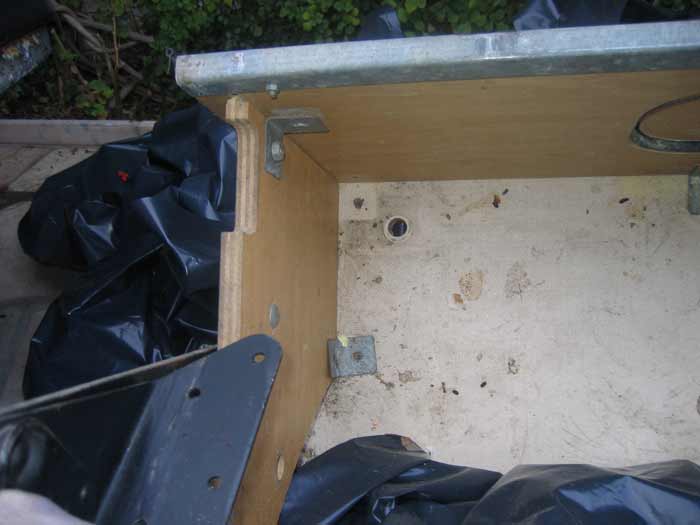
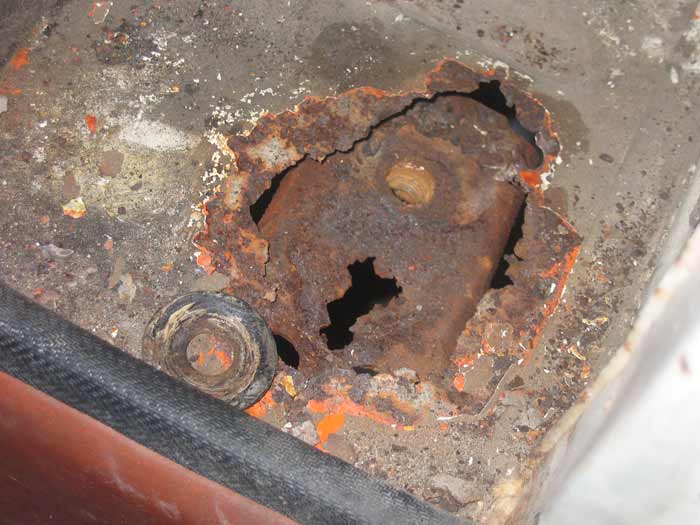
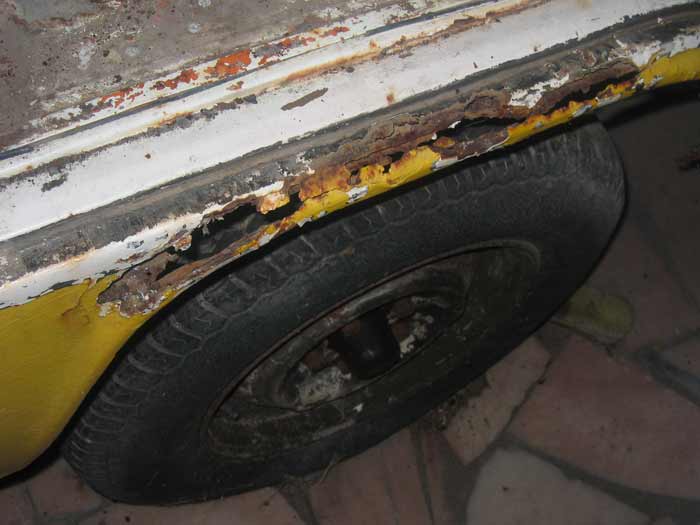
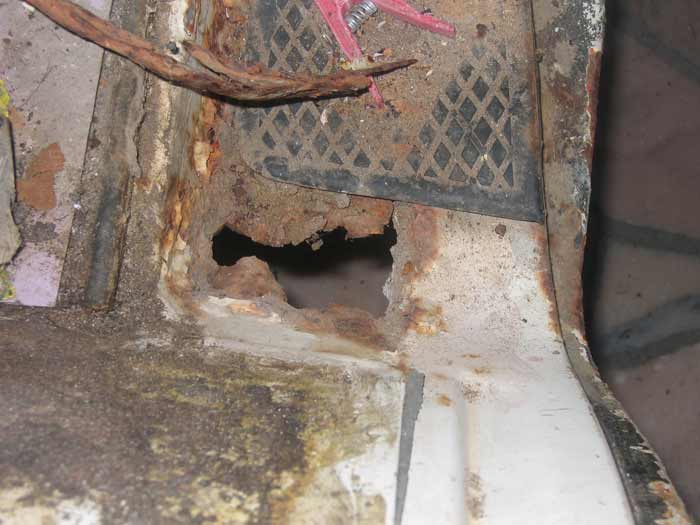
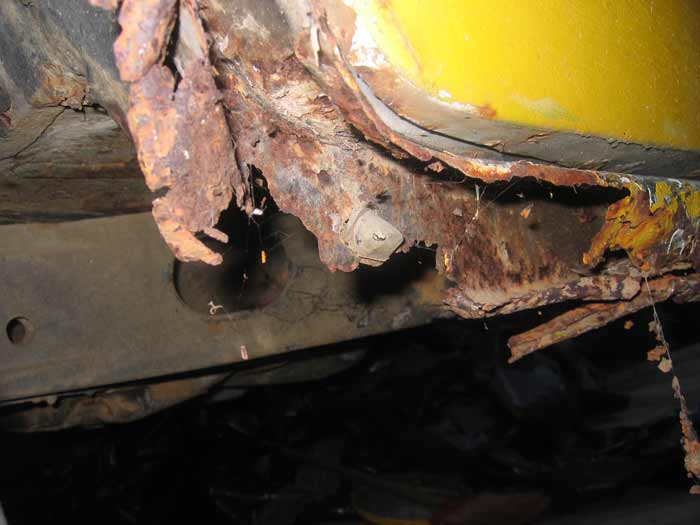
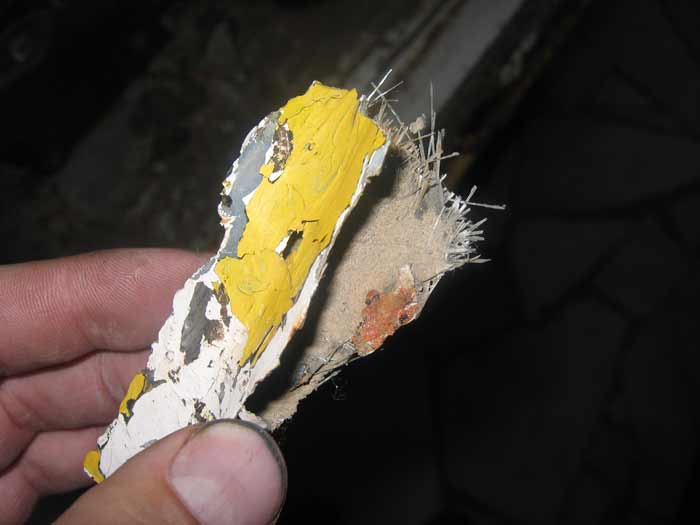
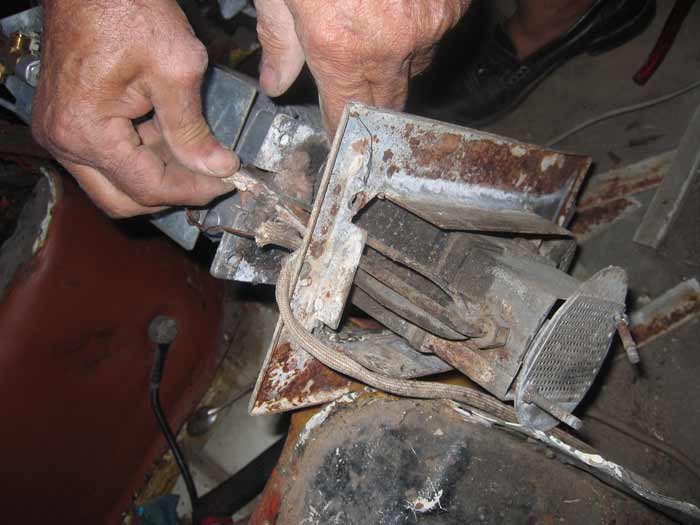
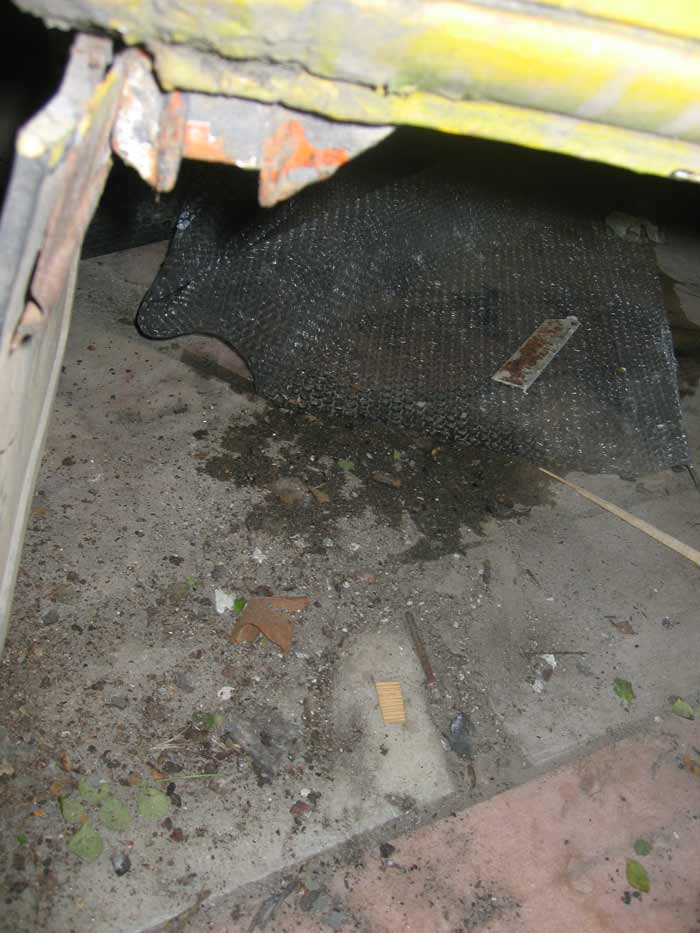
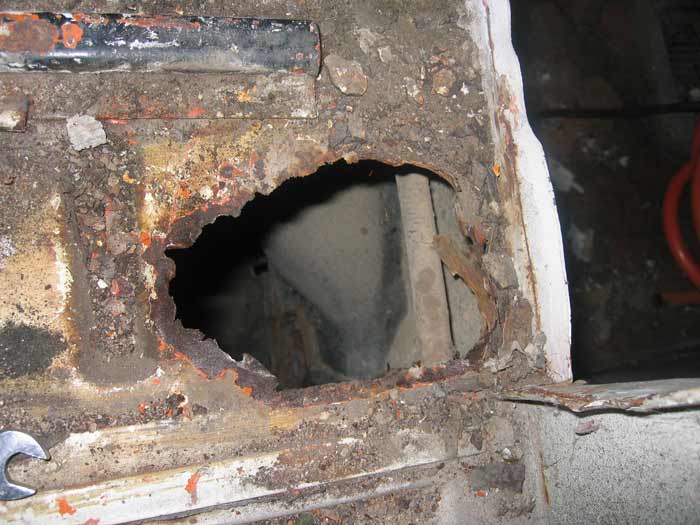
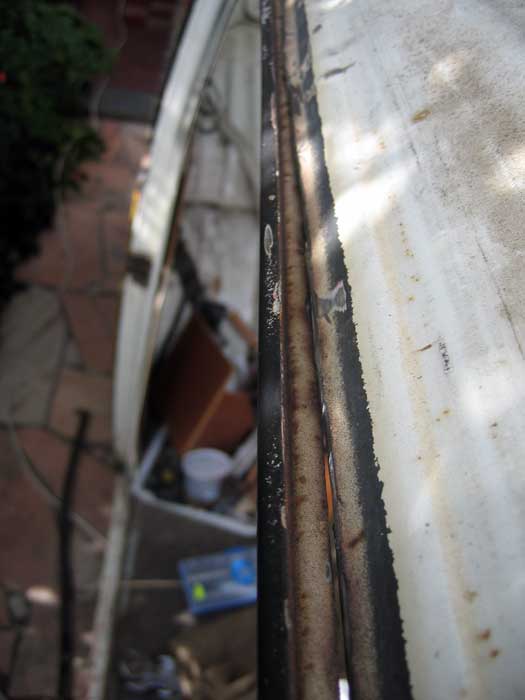
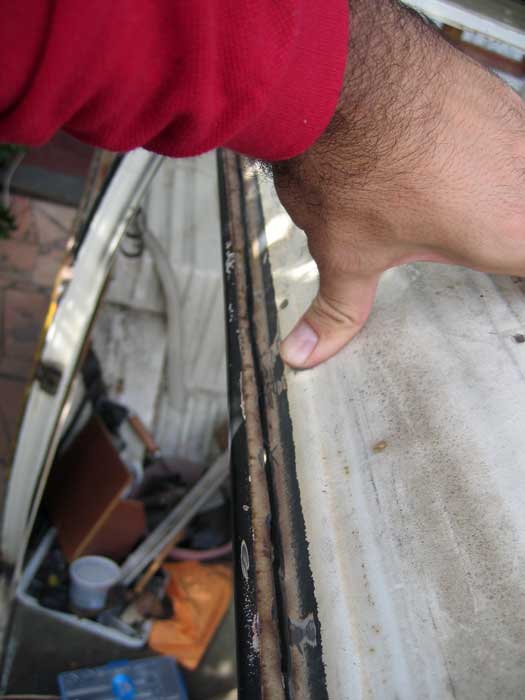
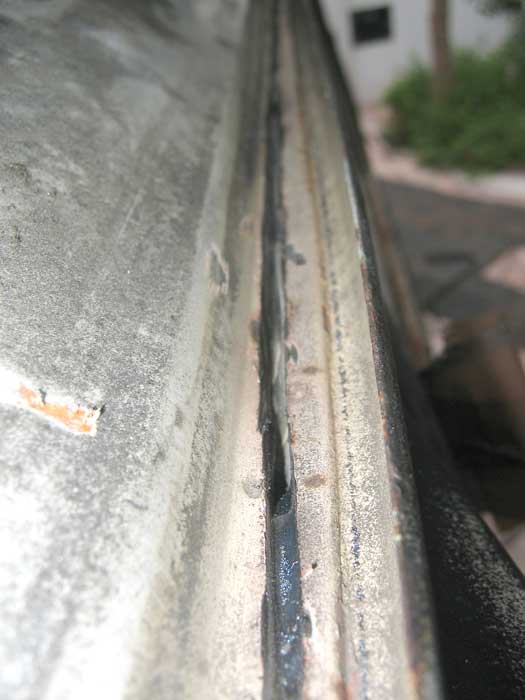
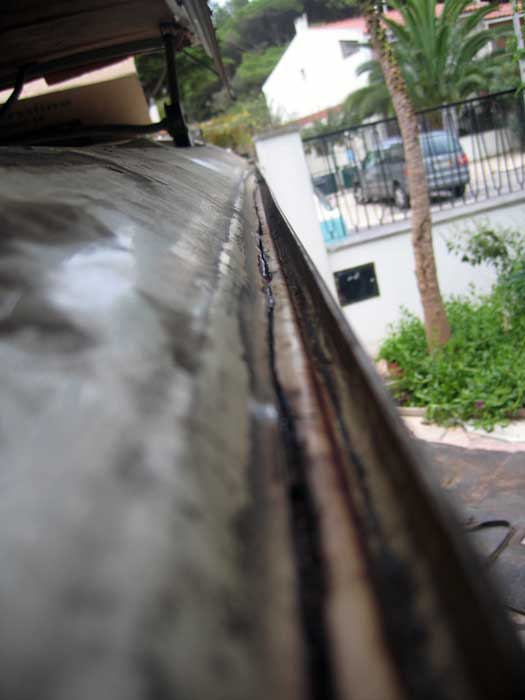
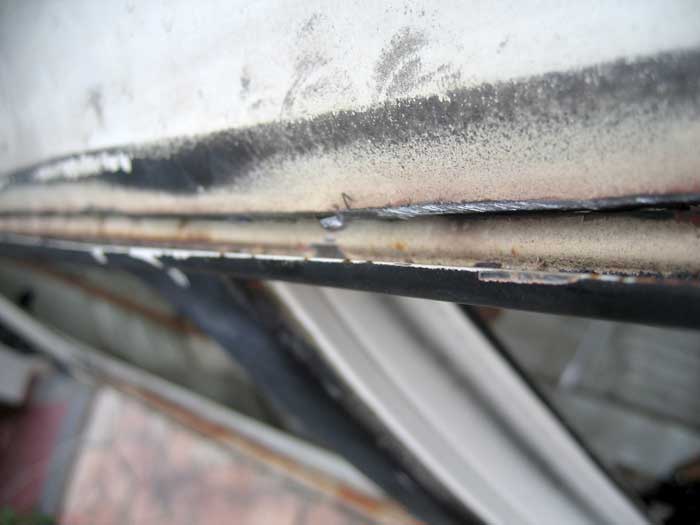
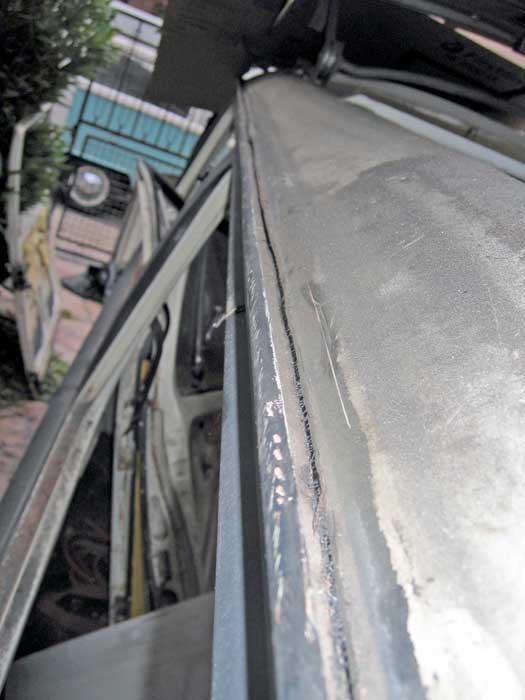
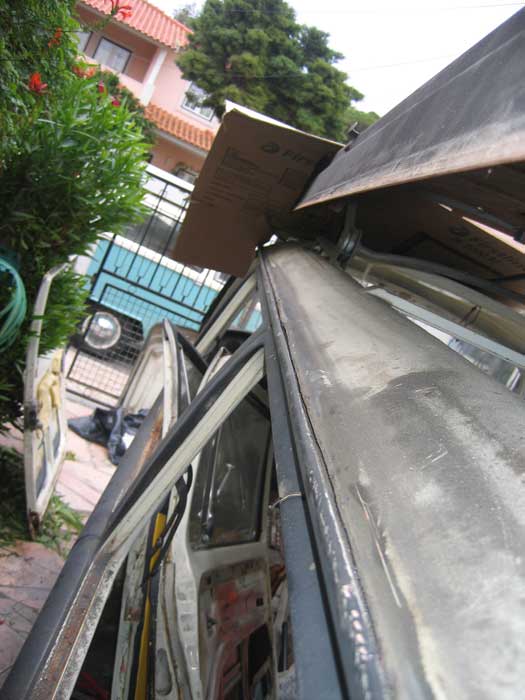
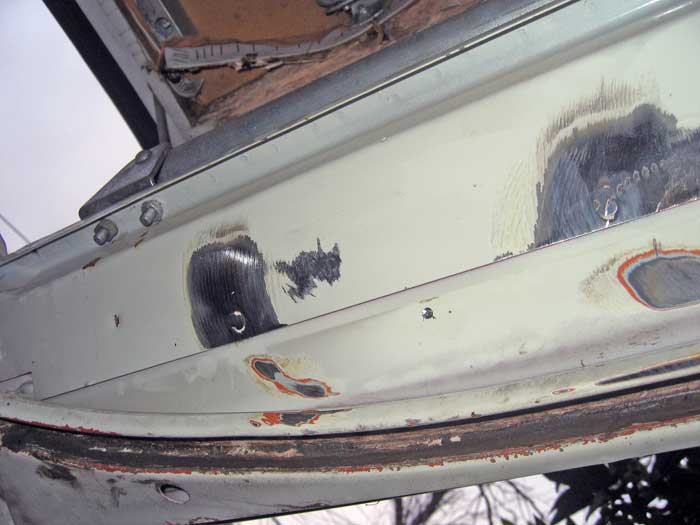
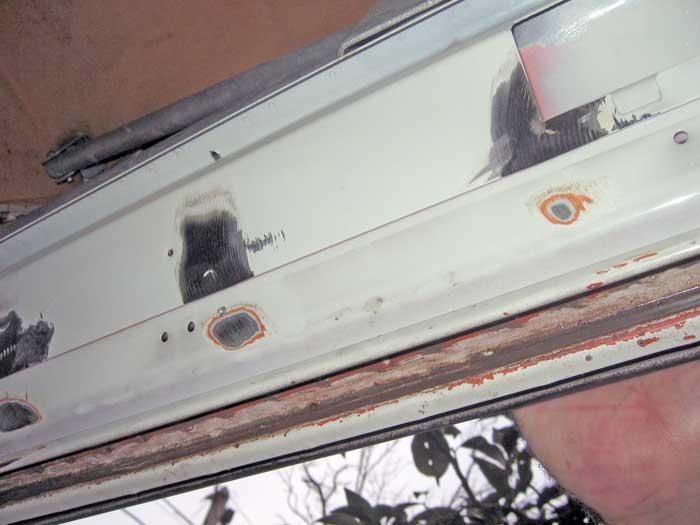
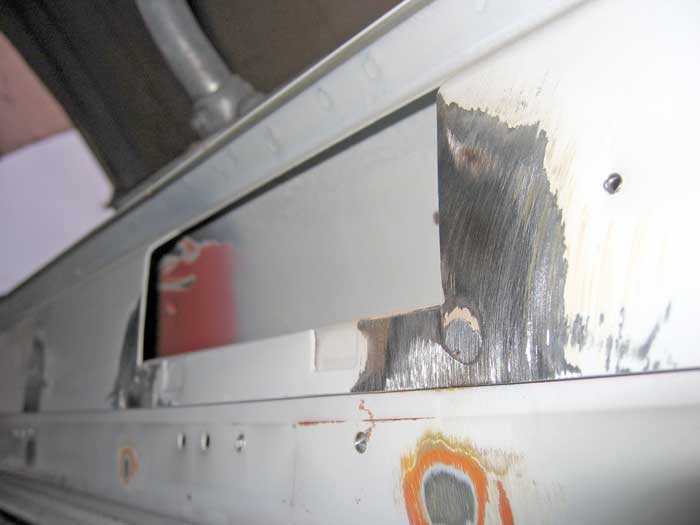
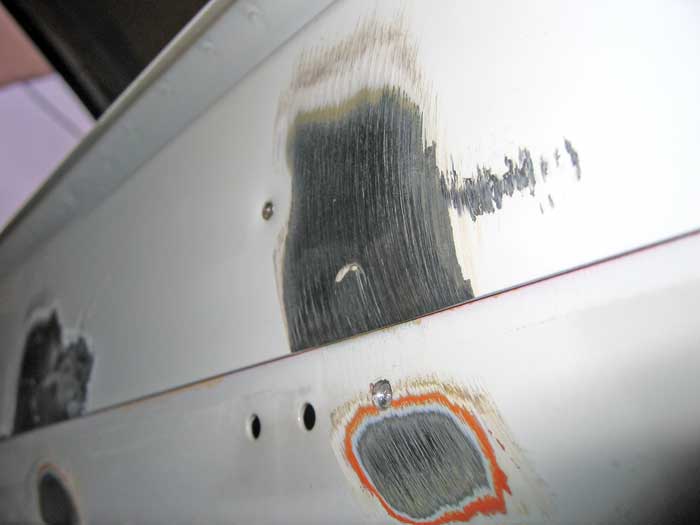
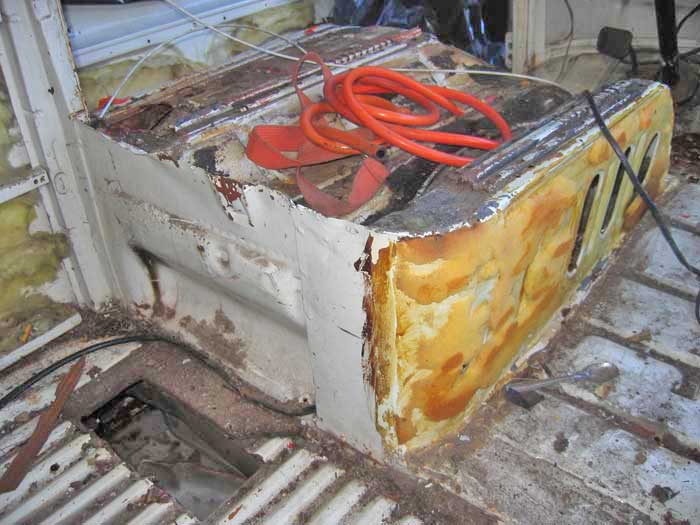
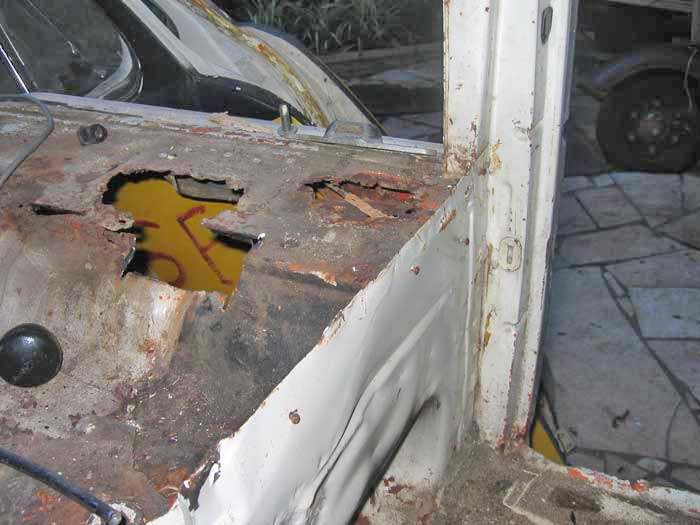
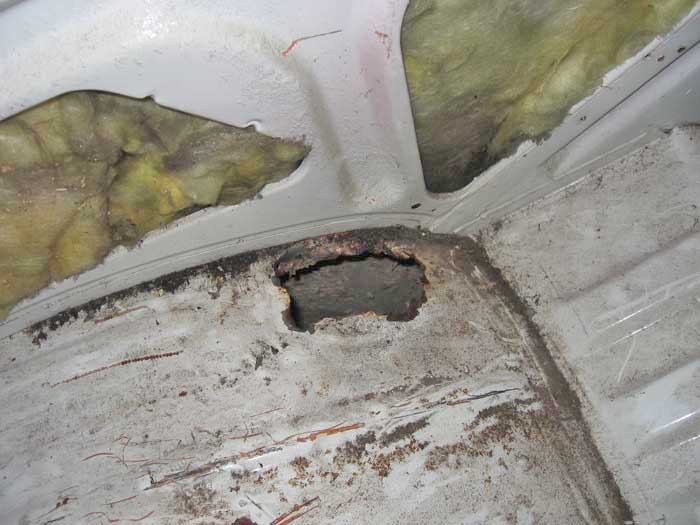
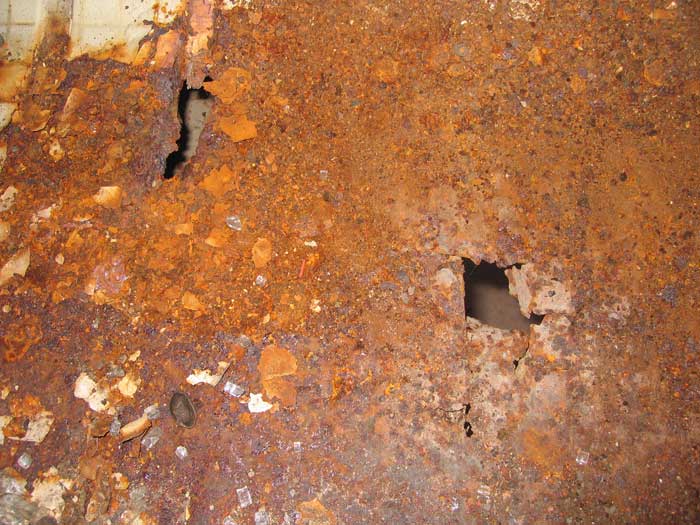
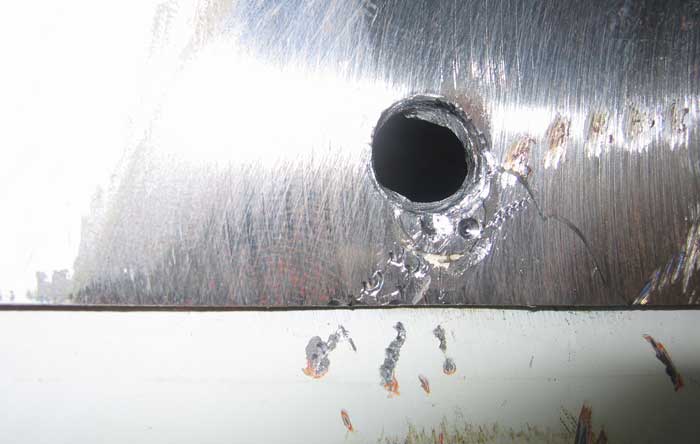
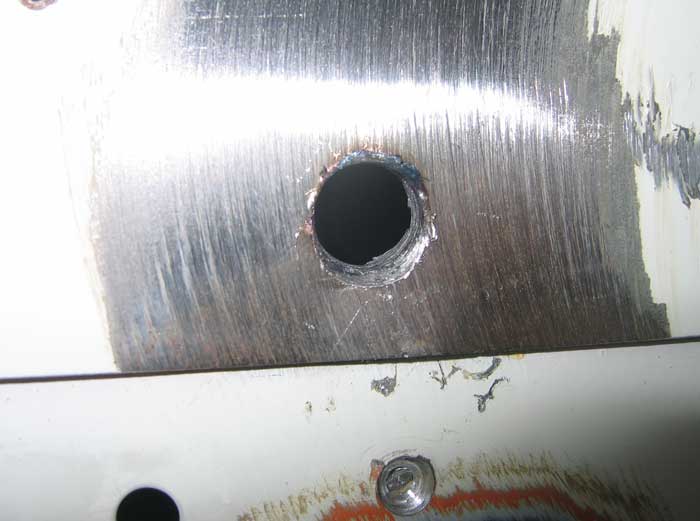
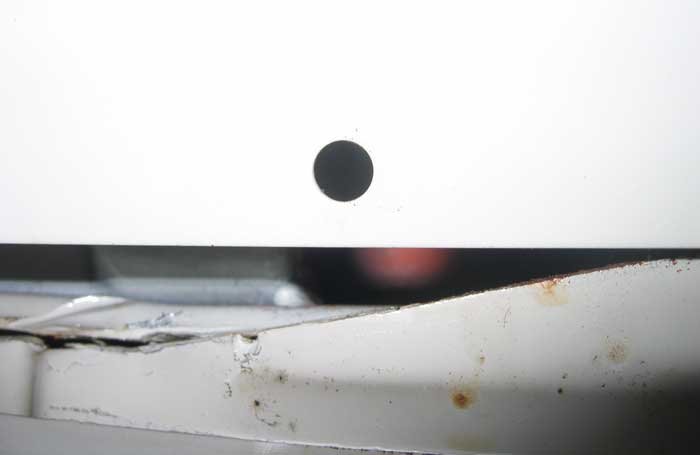
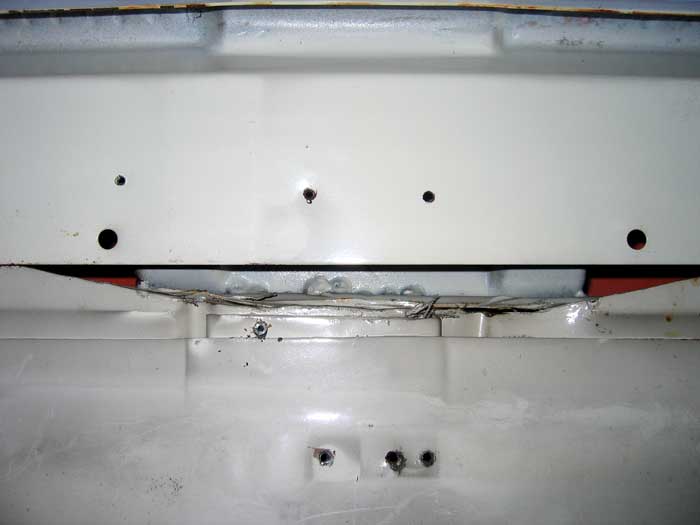
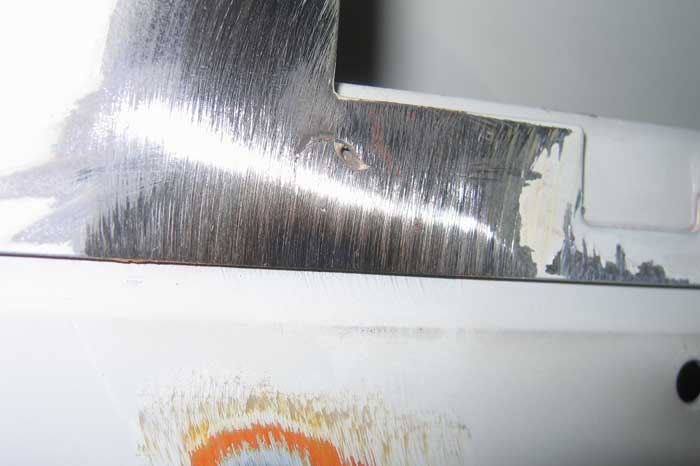
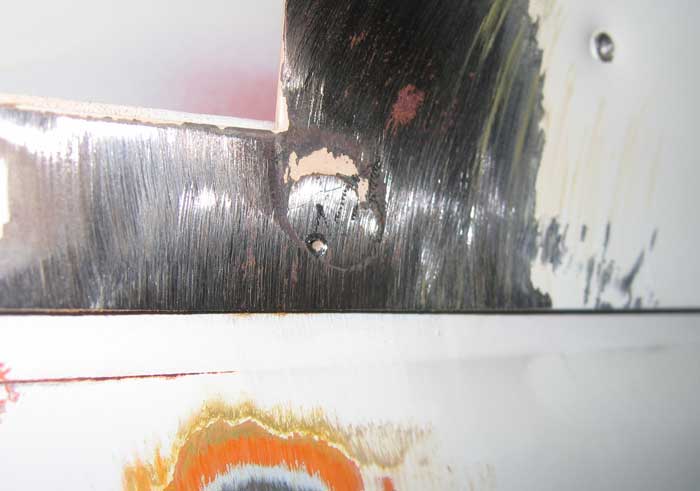
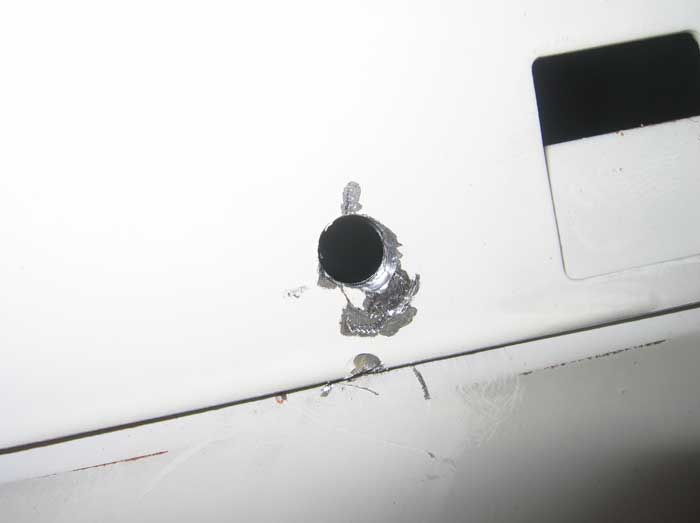
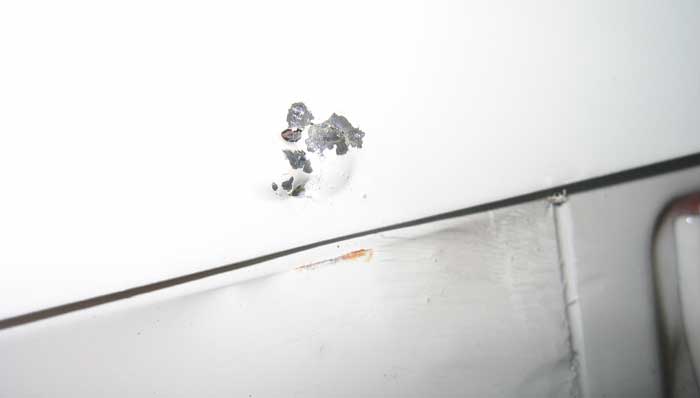
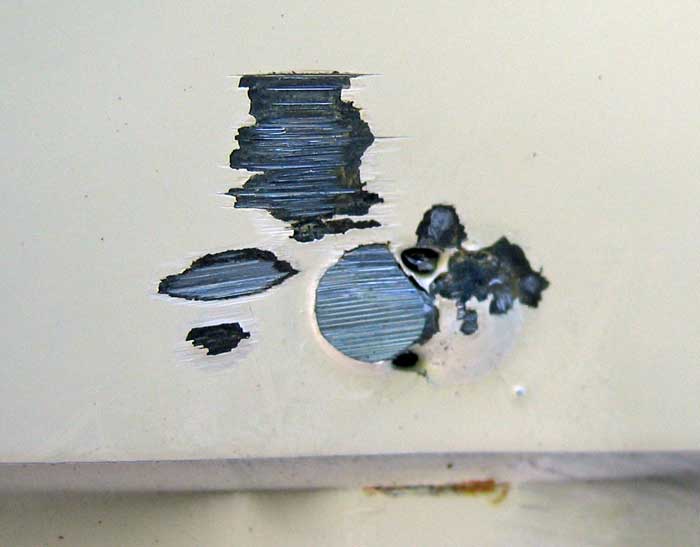
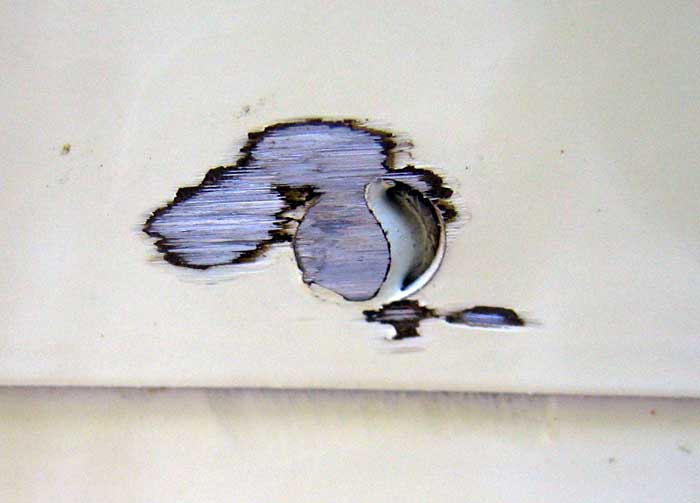
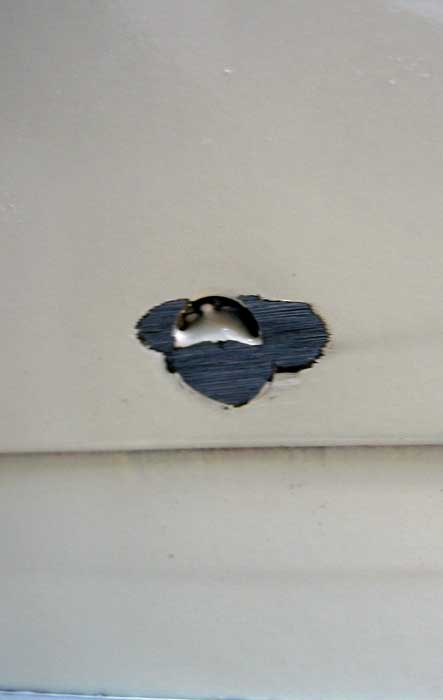
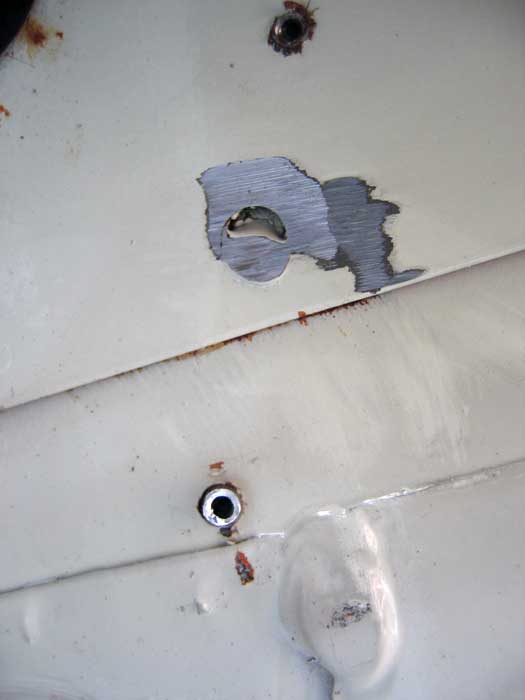
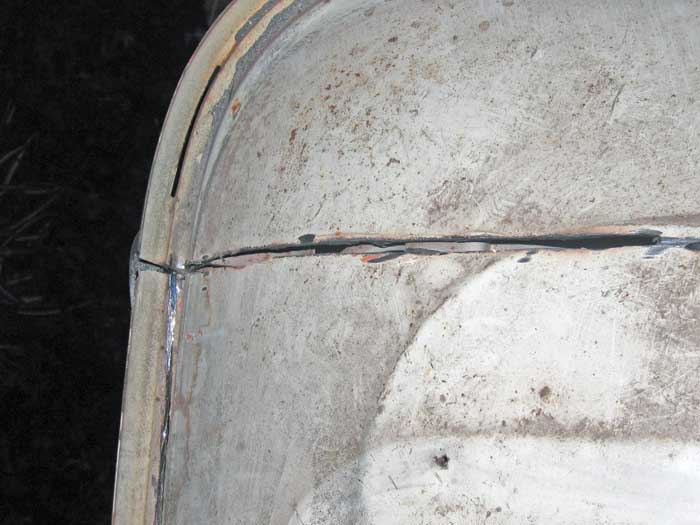
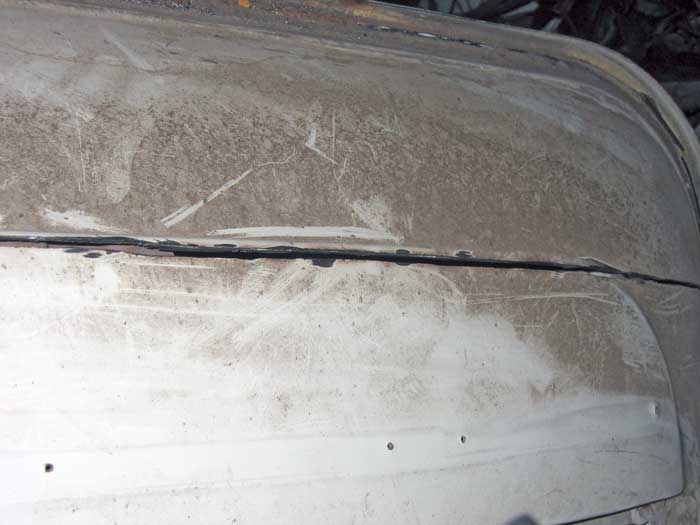
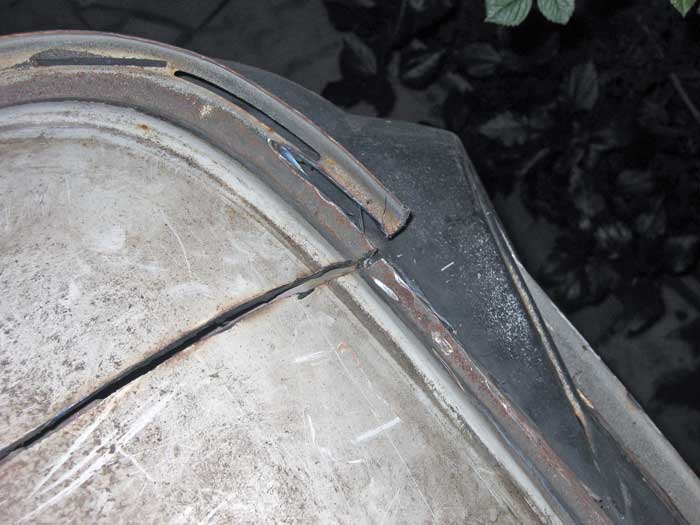
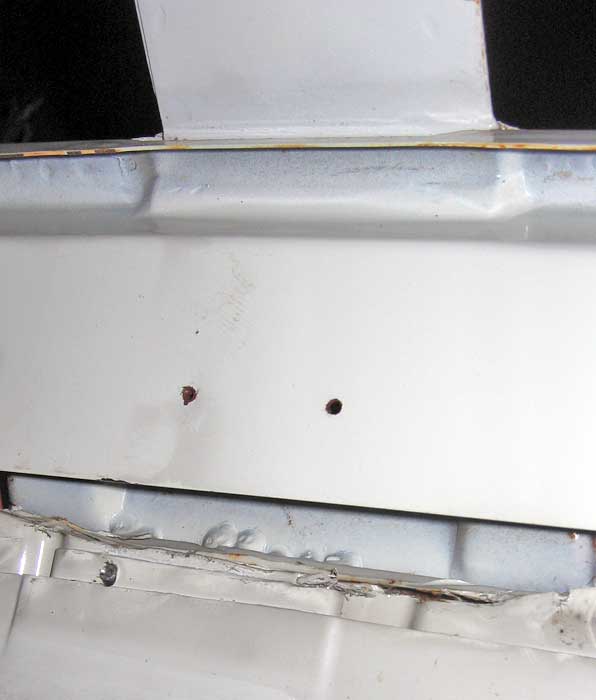
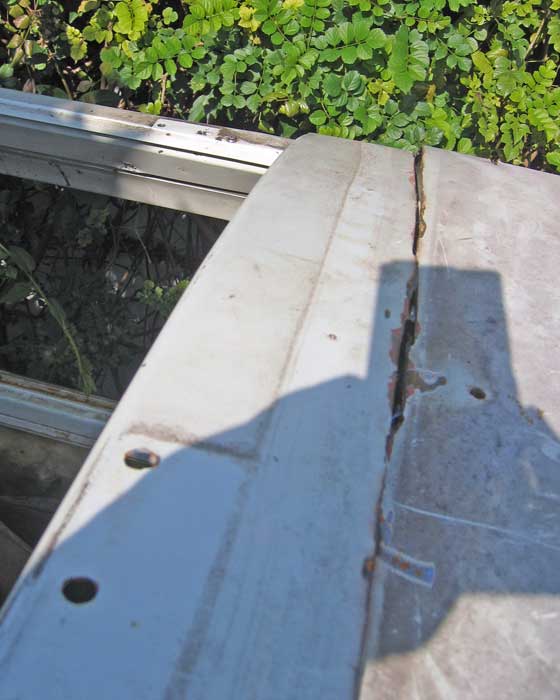
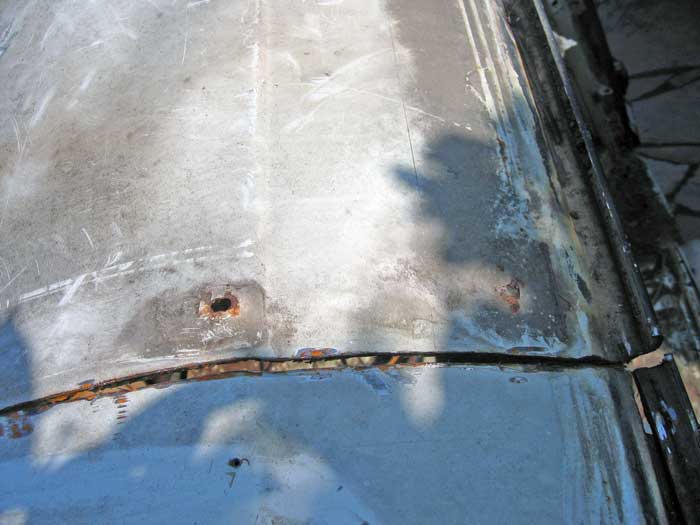
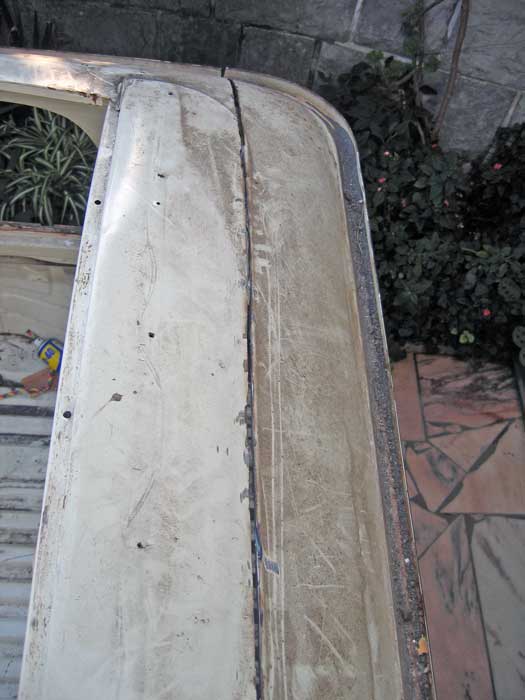
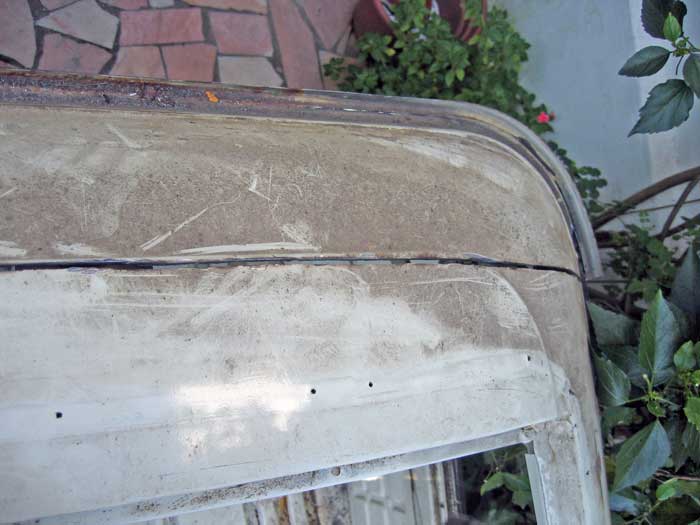
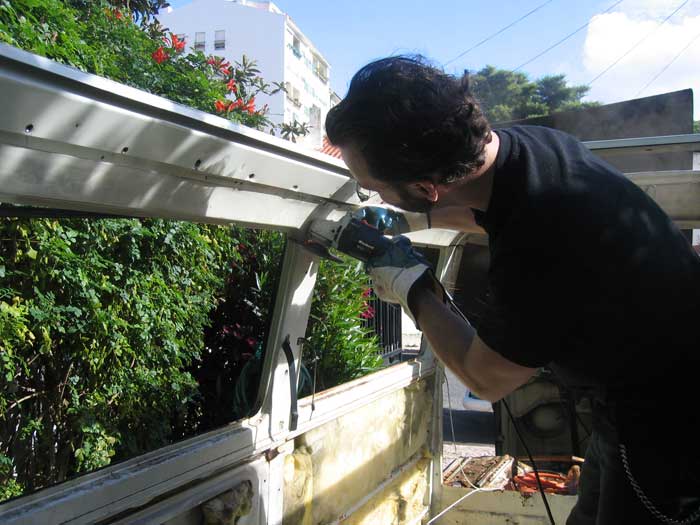
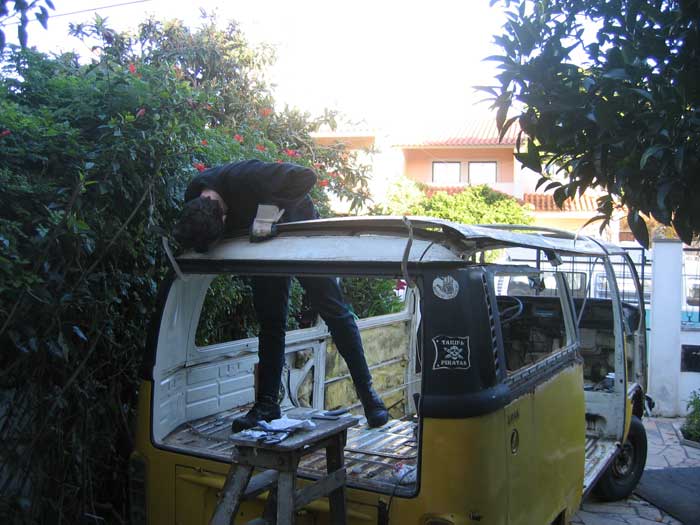
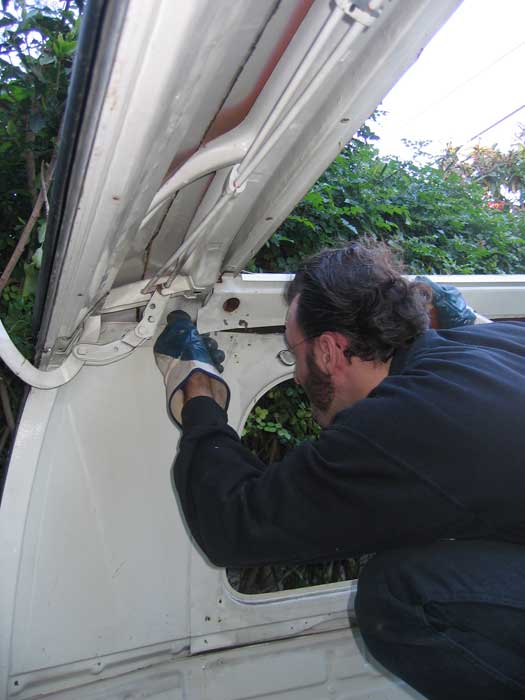
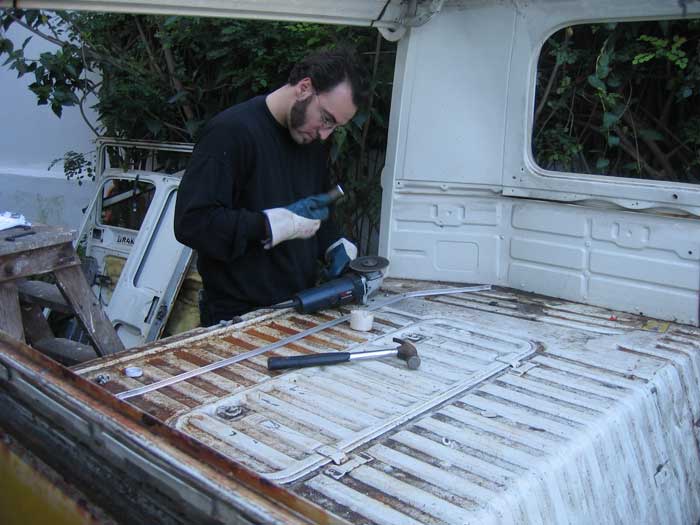
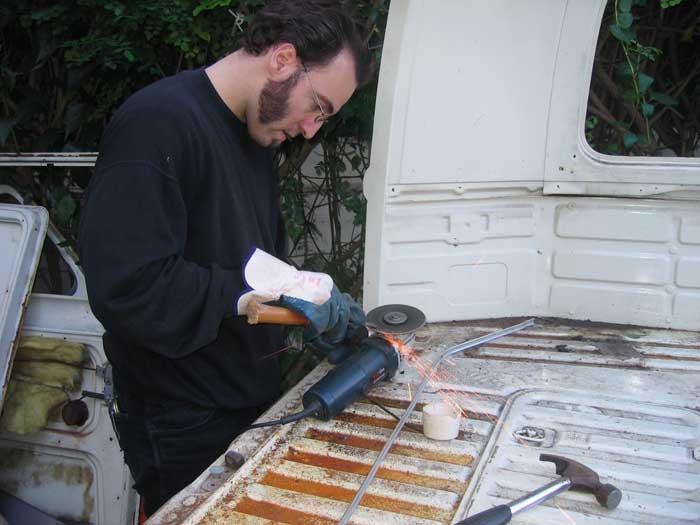
with some issues to get fixed:

2006842543_IMG_1746.jpg


2006842628_IMG_1749.jpg


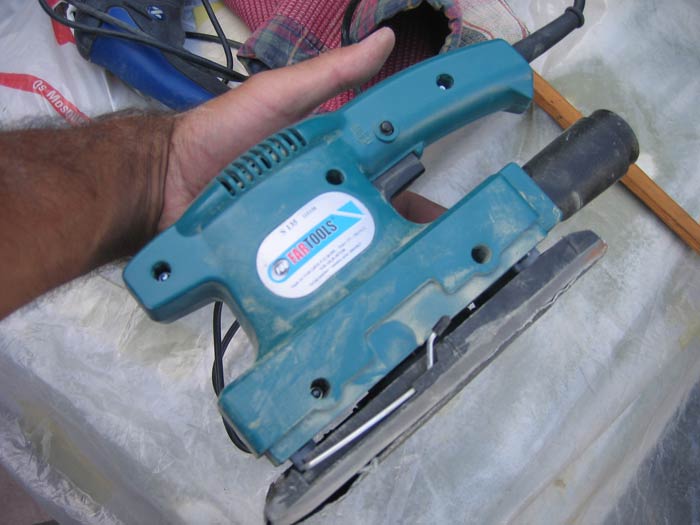
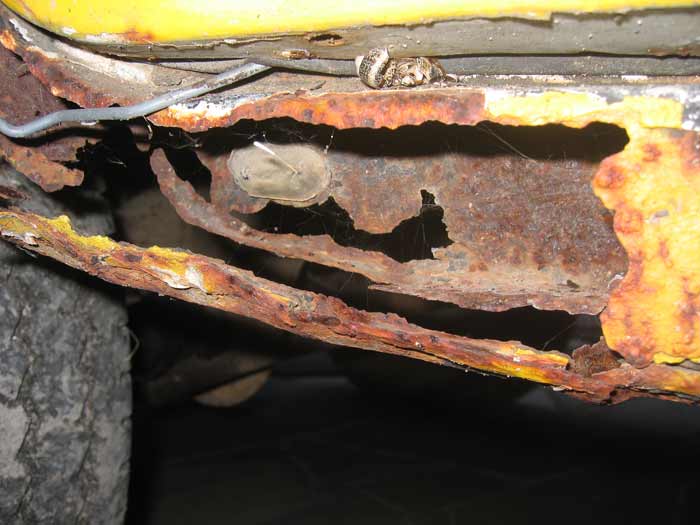
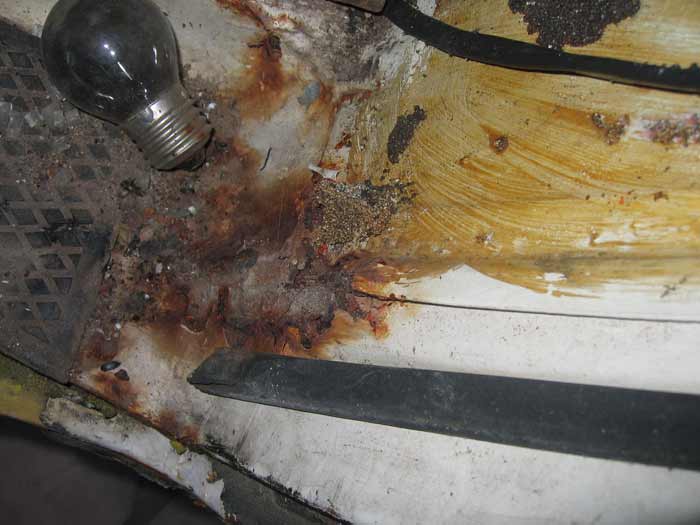
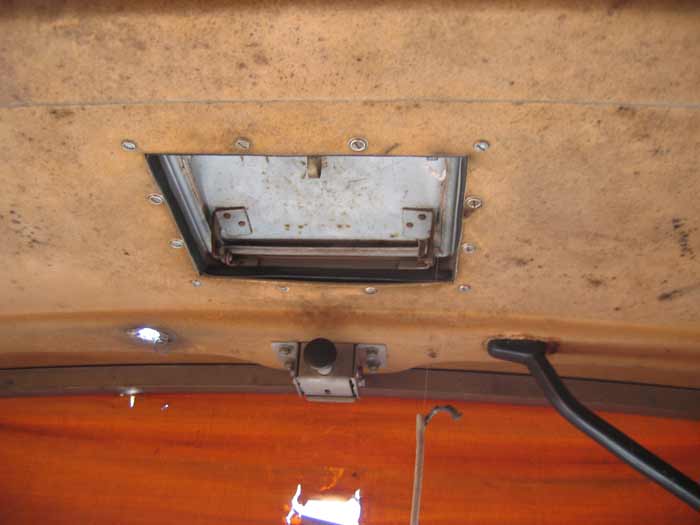
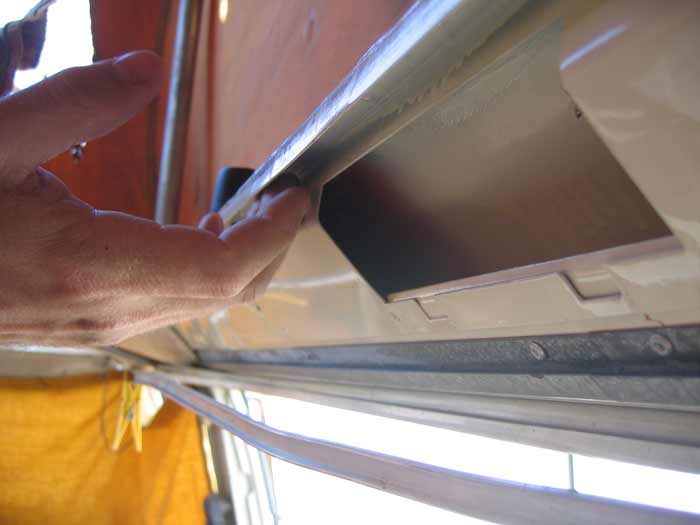
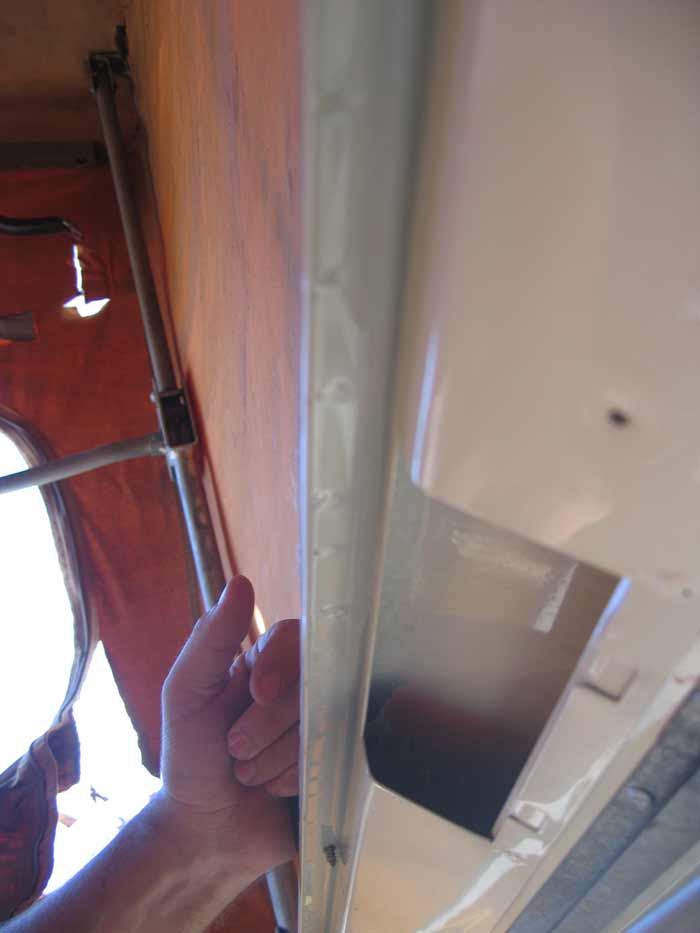
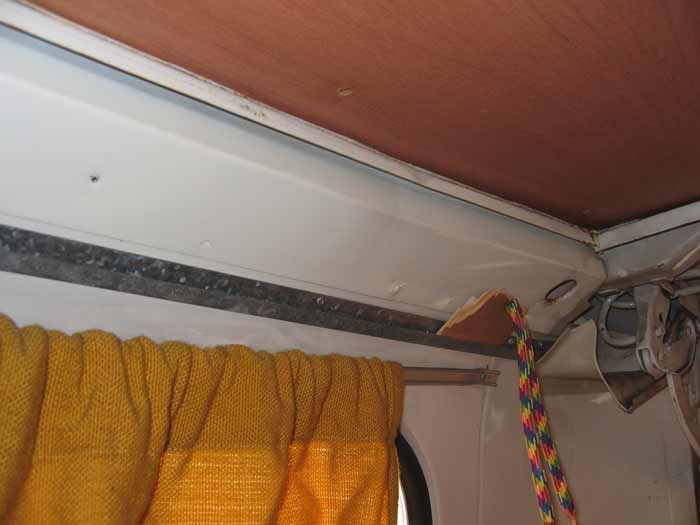
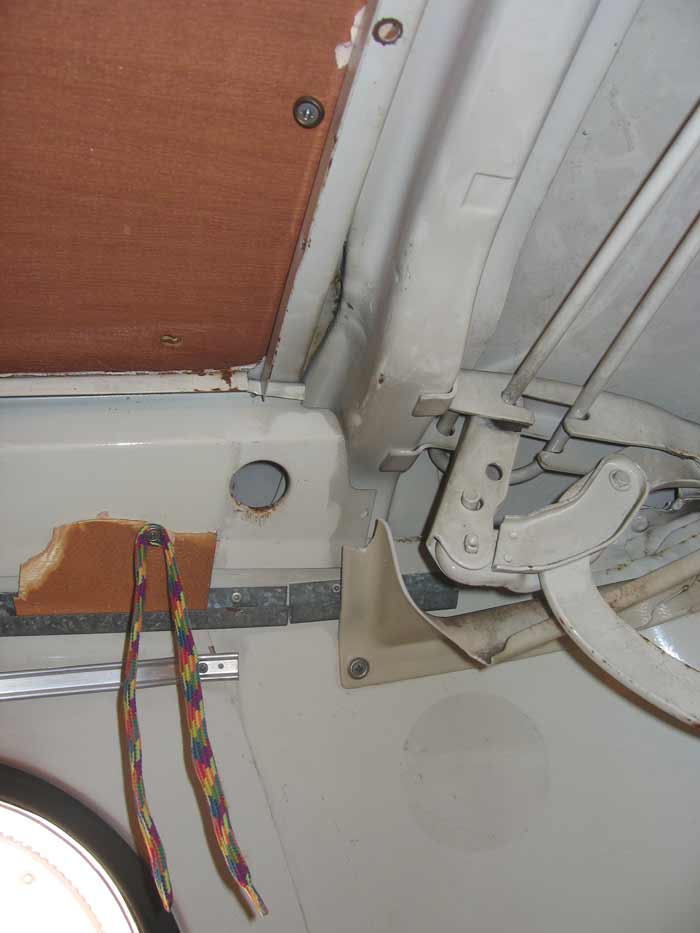
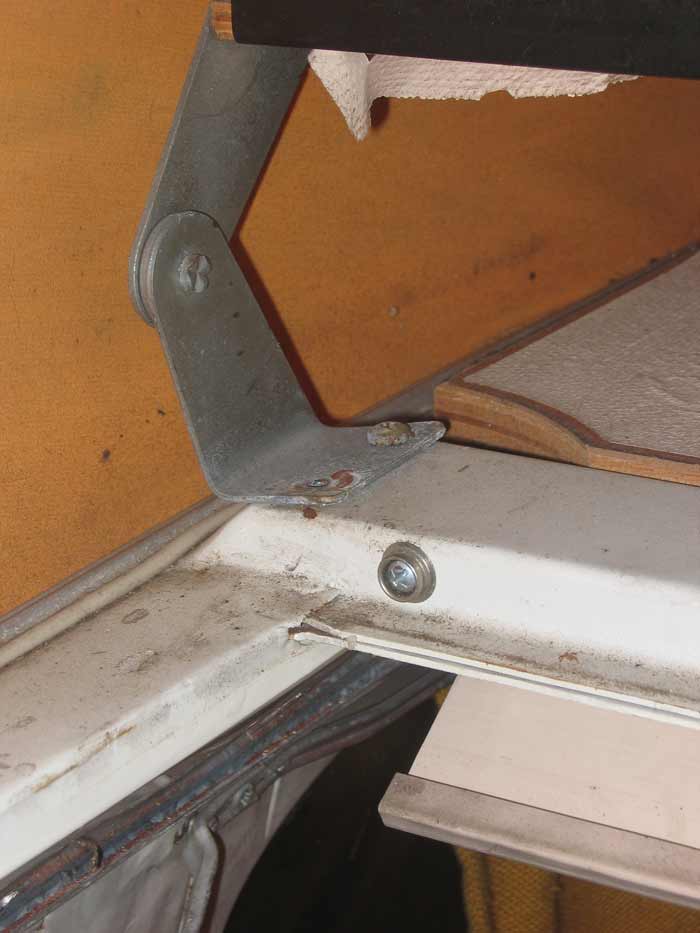
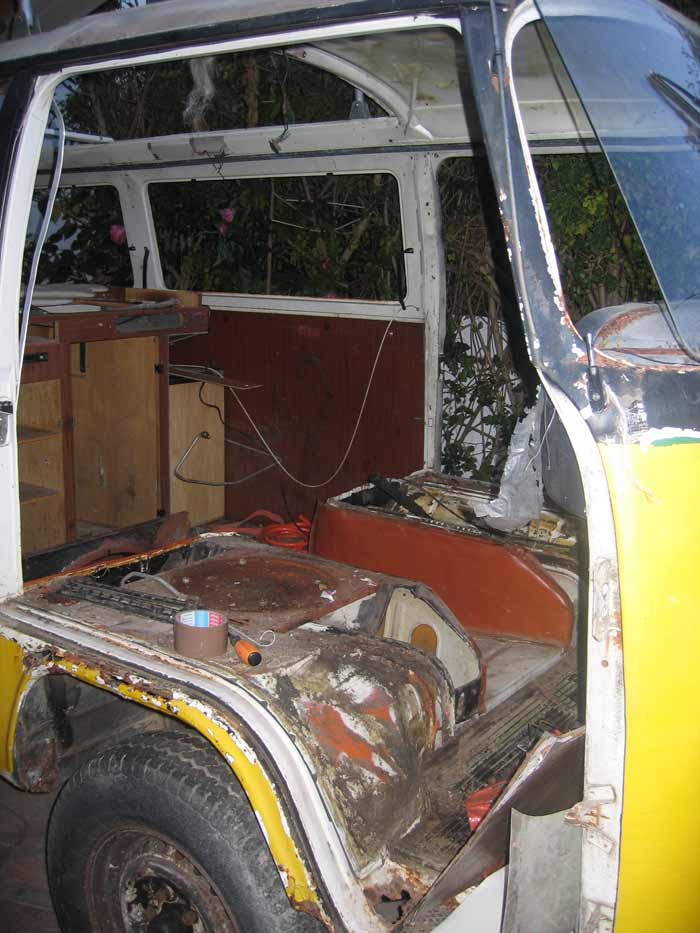
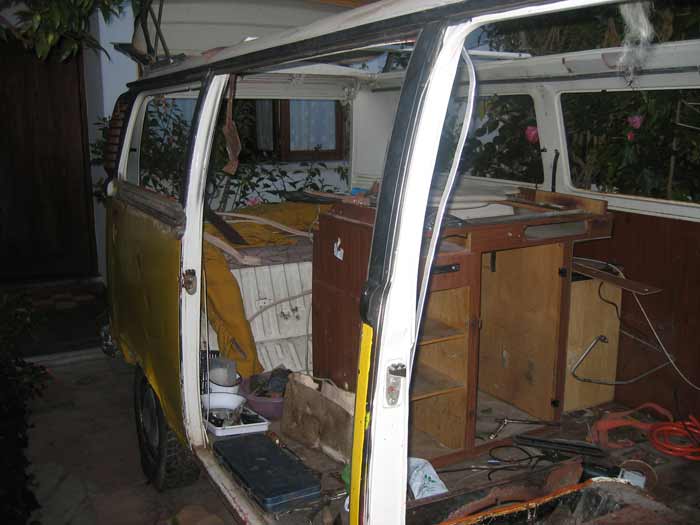
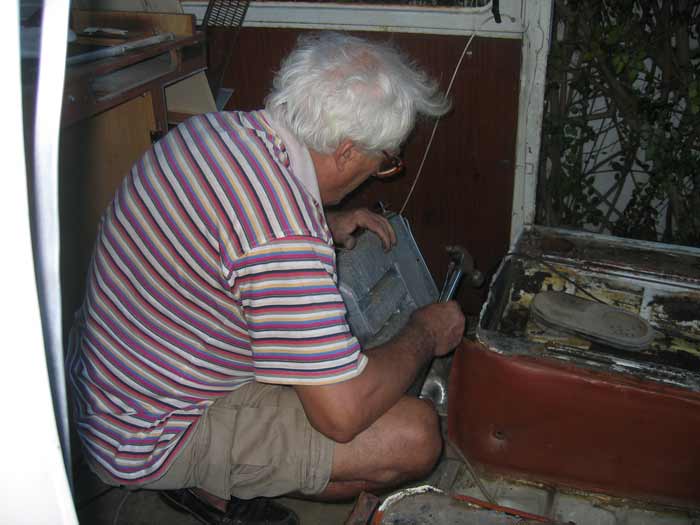
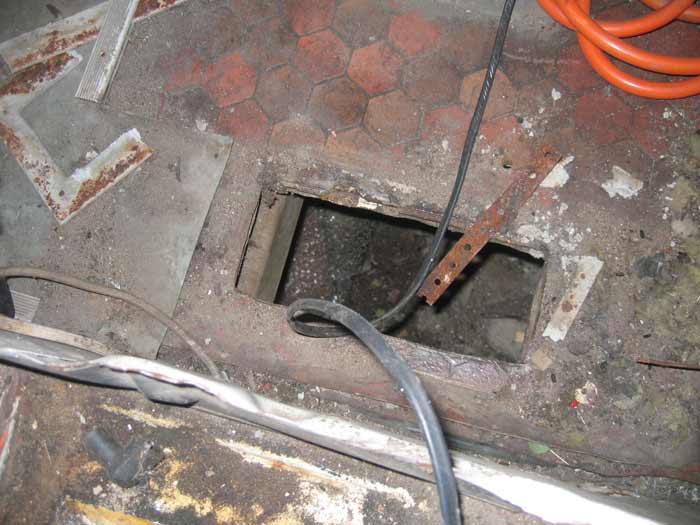
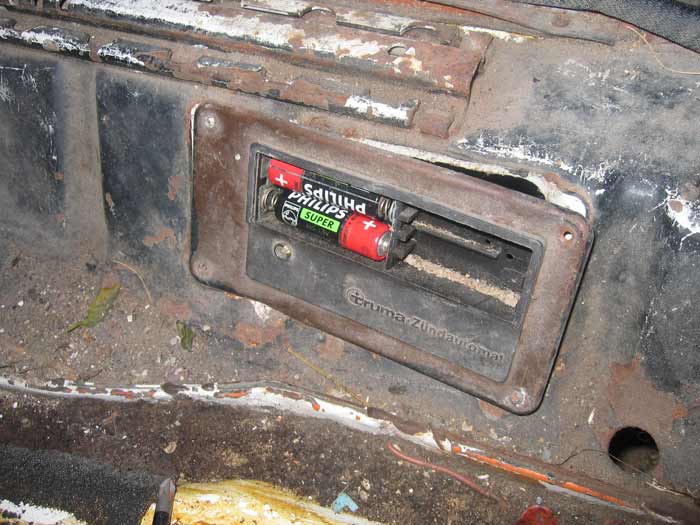
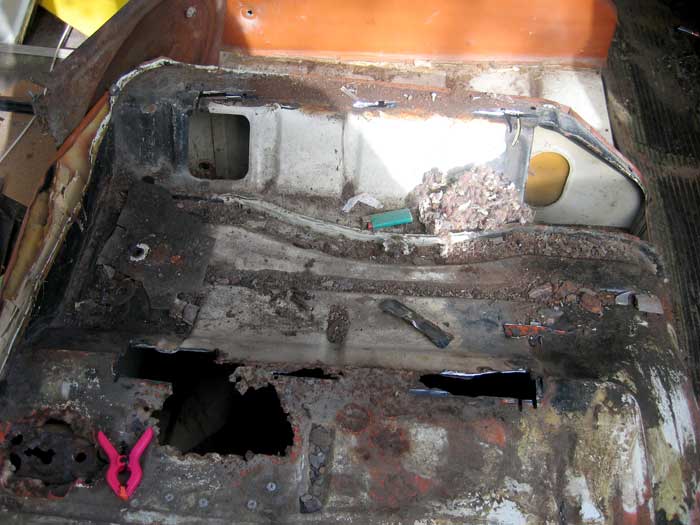
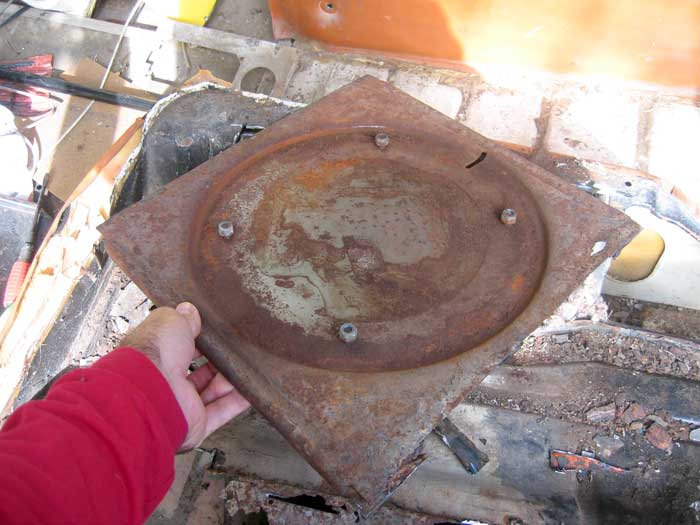
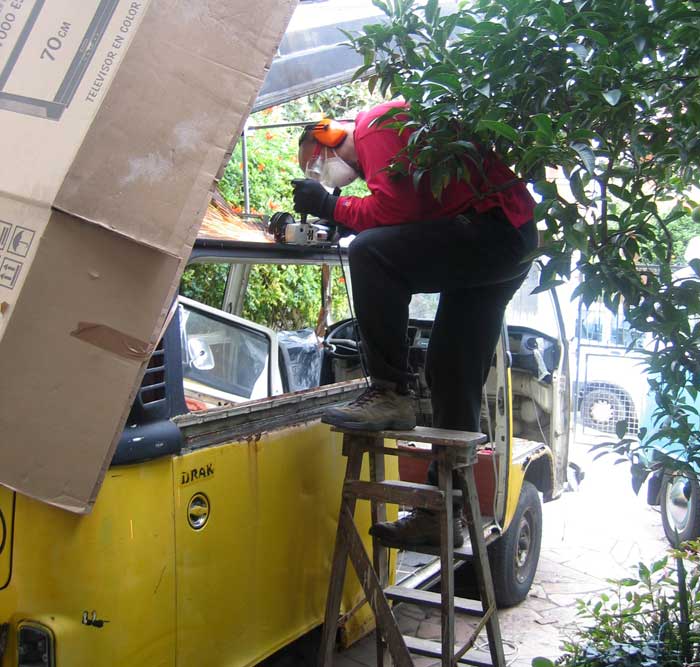
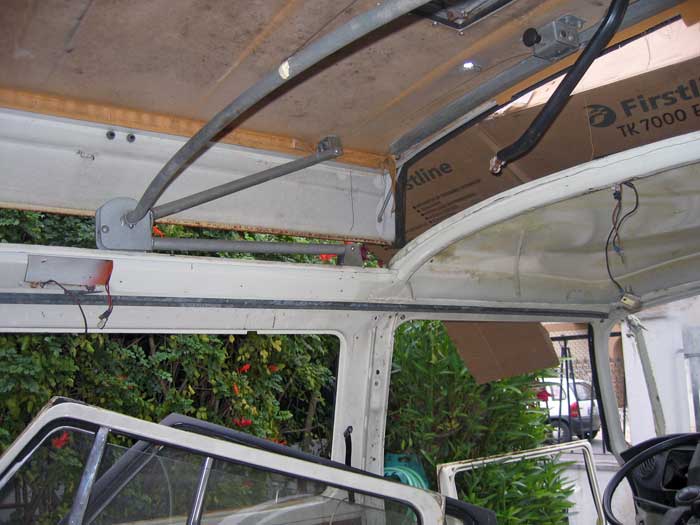
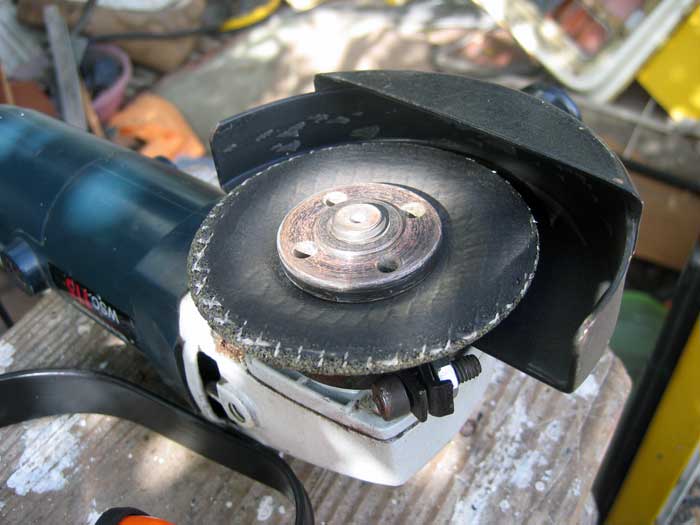
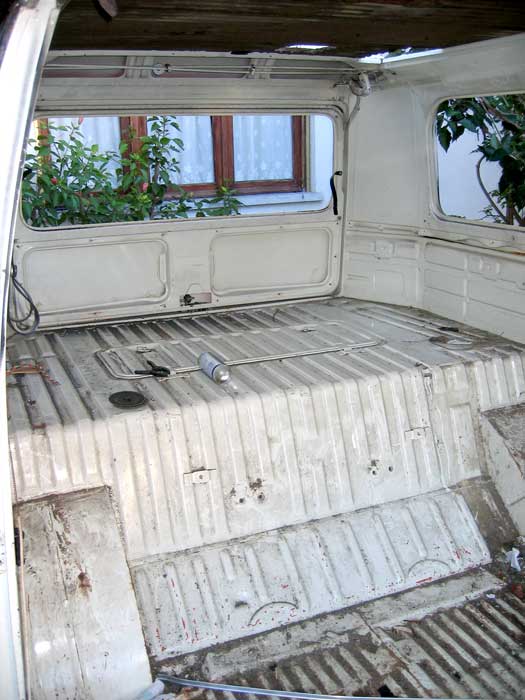
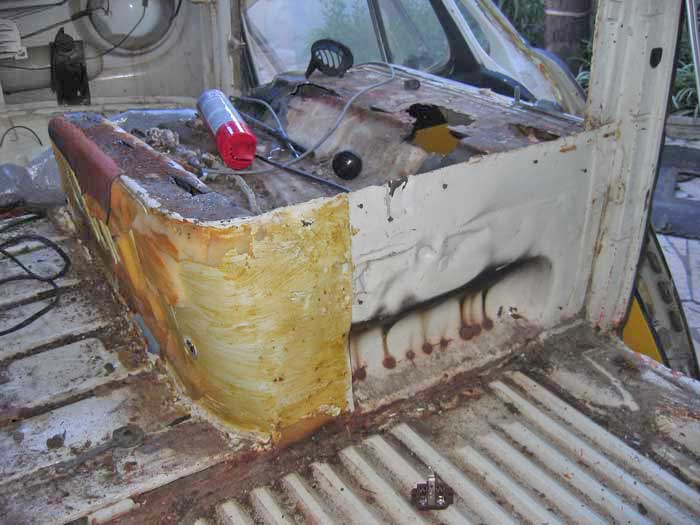
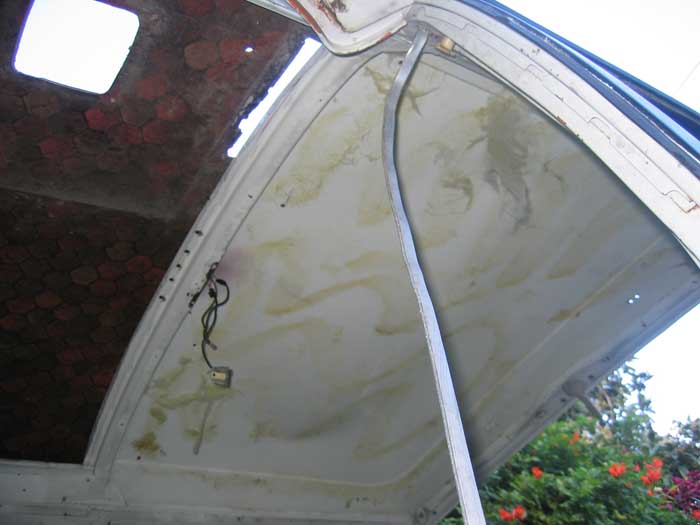
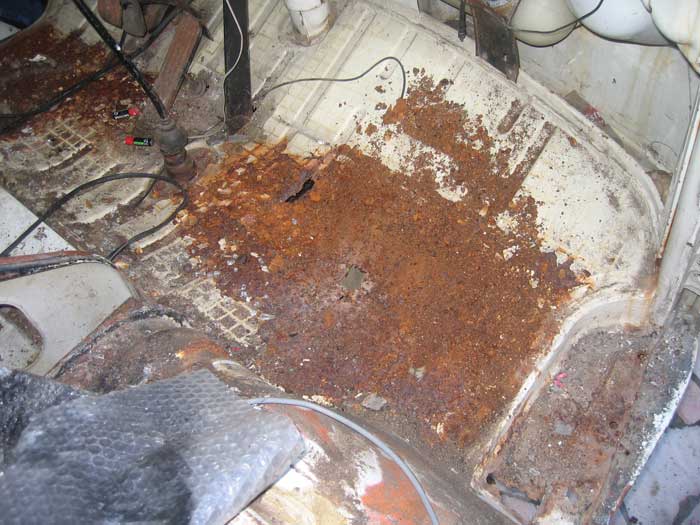
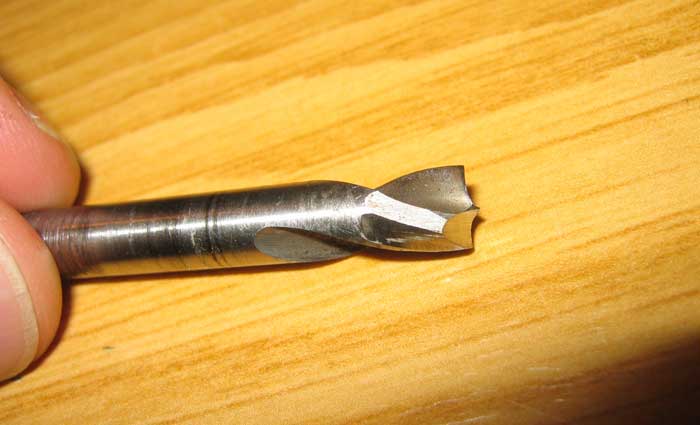
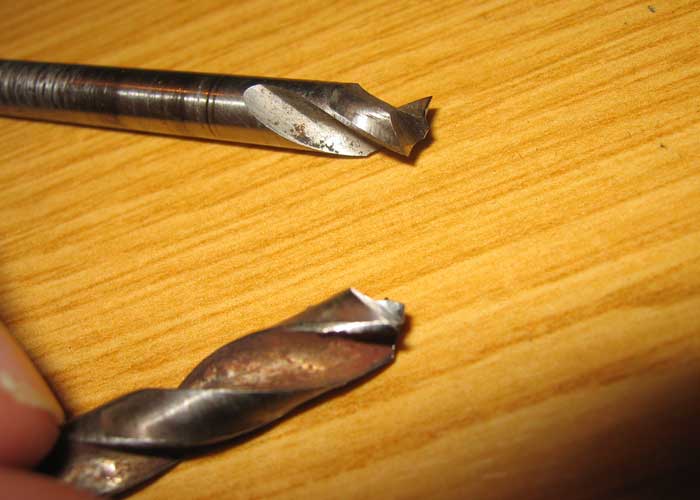
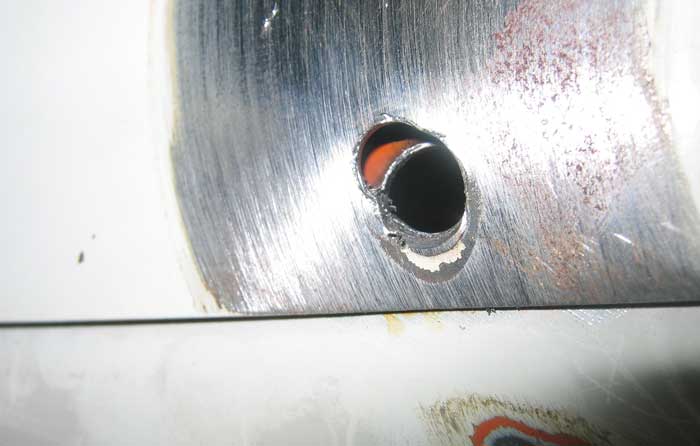
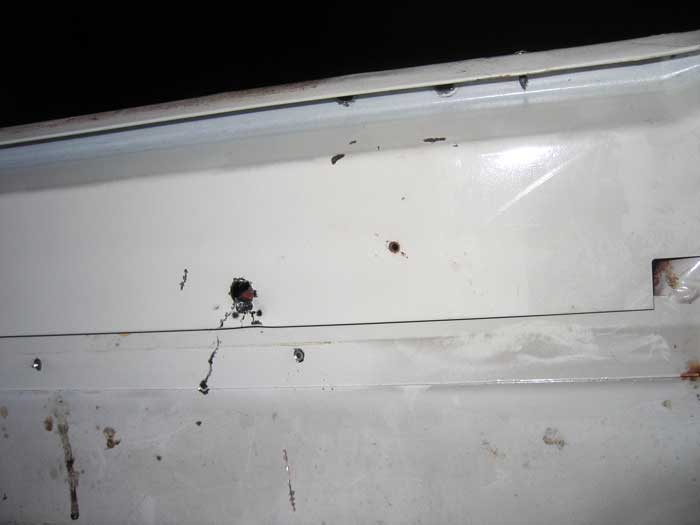
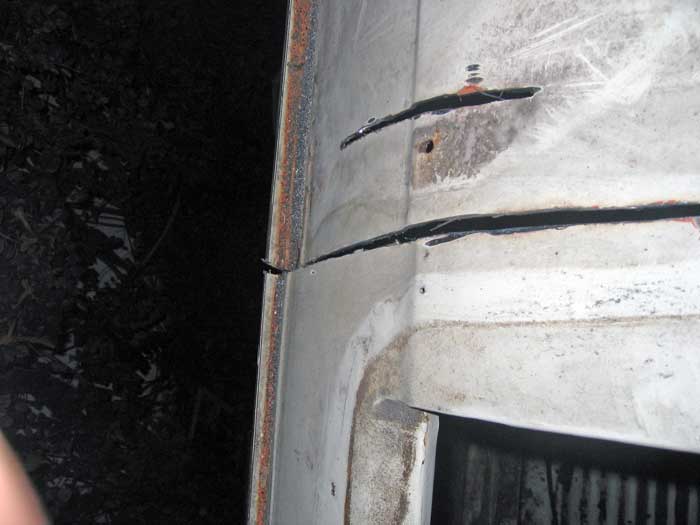
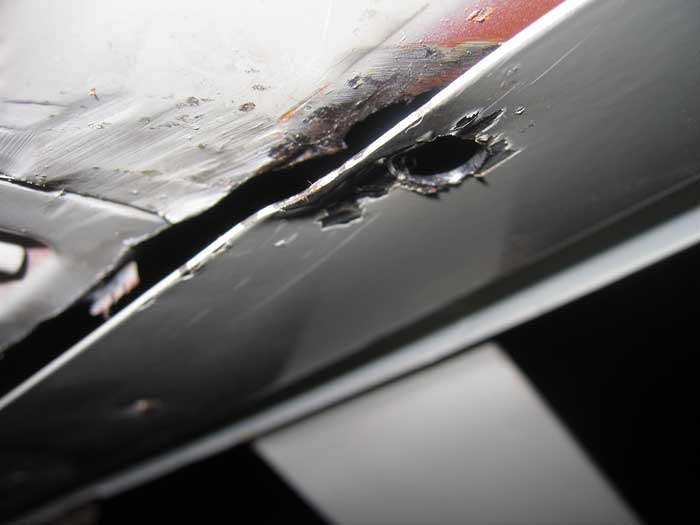
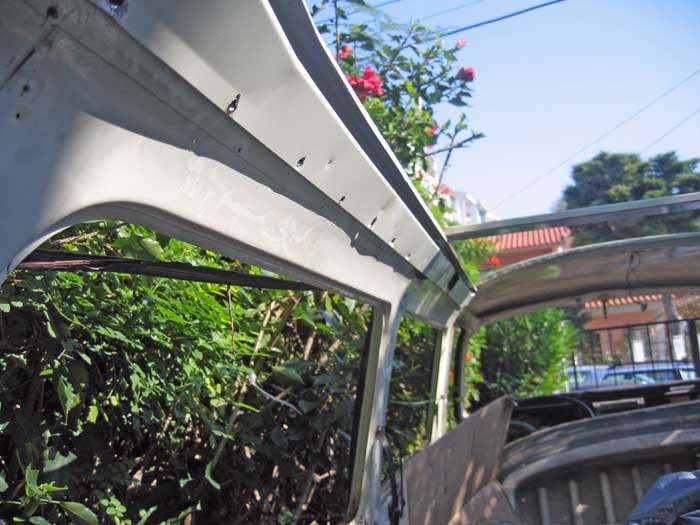
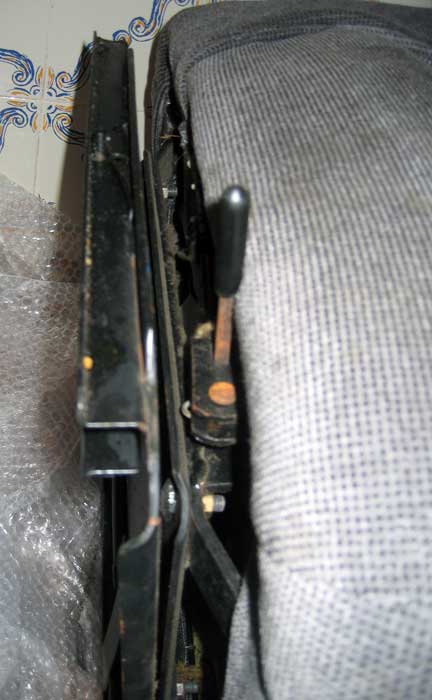
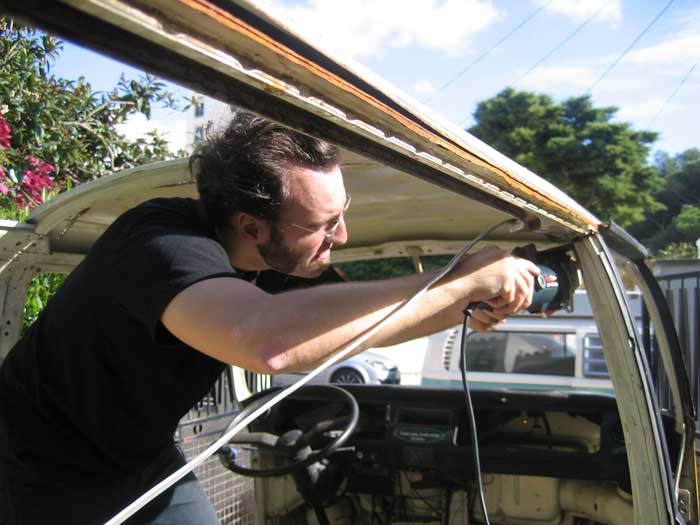
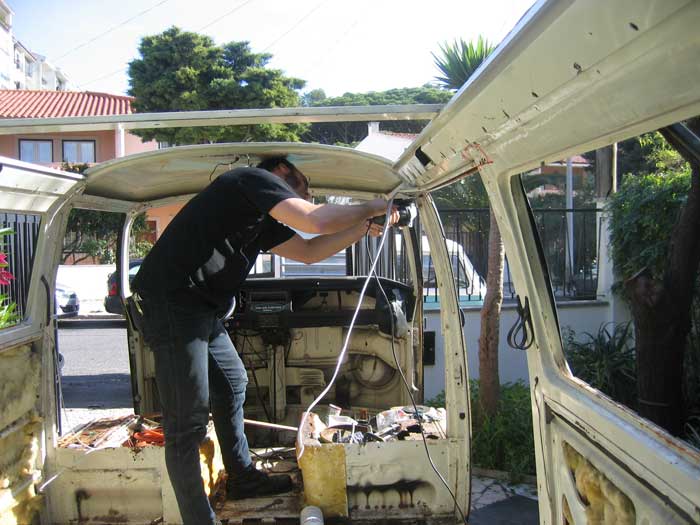
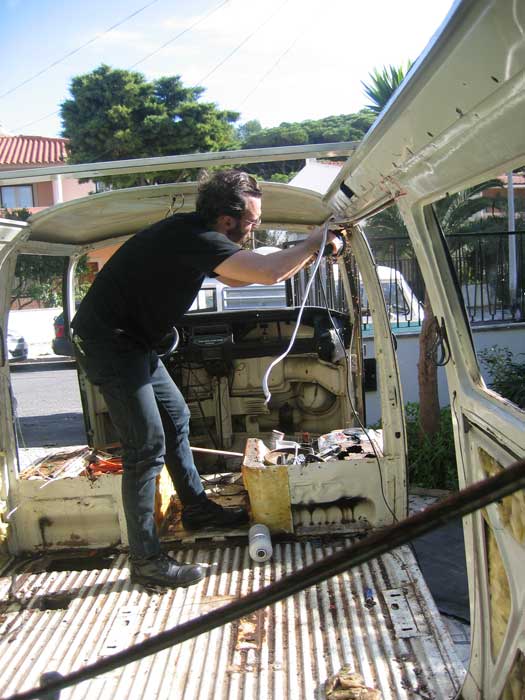
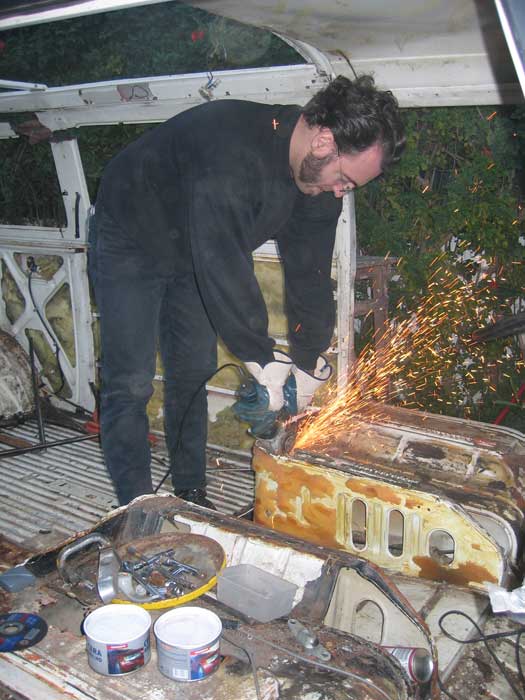
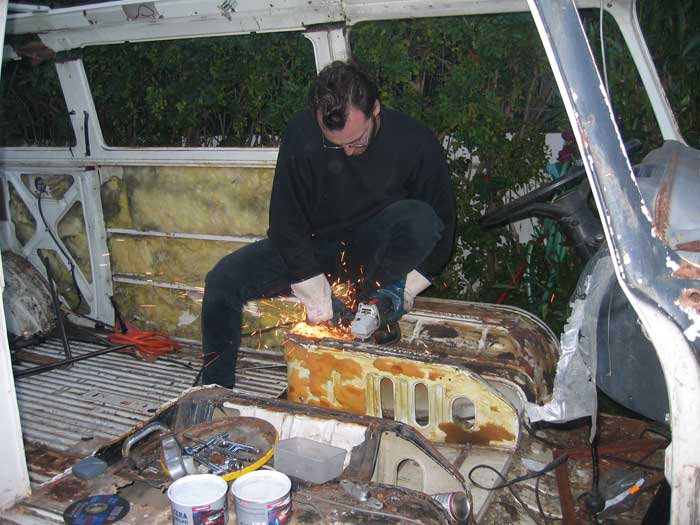
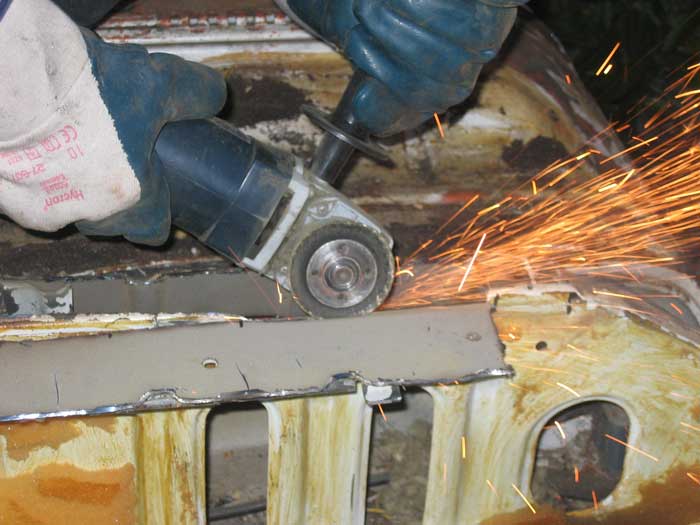
and when I started the restoration process:

20068414939_IMG_1753.jpg


20068414744_IMG_1754.jpg


20068414859_IMG_1755.jpg


20068415126_IMG_1756.jpg


2006841528_IMG_1757.jpg


20068415310_IMG_1758.jpg


20068415351_IMG_1759.jpg


20068415459_IMG_1761.jpg


200684214_IMG_1763.jpg


2006842154_IMG_1762.jpg


2006842243_IMG_1764.jpg


2006842337_IMG_1765.jpg


2006842421_IMG_1766.jpg
 
so, while I was braking apart low cost sanders due to huge amount of paint and fiberglass dust....

the first one,
IMG_1908.jpg


and the second,
IMG_1909.jpg


and one more....
IMG_1910.jpg


a member from a portuguese online forum, send me a phone number. I called and a few days later, I had my mounting problem solved:

IMG_1980.jpg


completely ruined...

IMG_1982.jpg


IMG_1983.jpg


IMG_1984.jpg


IMG_1985.jpg


IMG_1986.jpg


IMG_1987.jpg


IMG_1988.jpg


IMG_1989.jpg


IMG_1990.jpg


IMG_1991.jpg


IMG_1992.jpg


IMG_1993.jpg


IMG_1994.jpg


IMG_1995.jpg


IMG_1996.jpg


a second poptop... :roll:

IMG_1998.jpg


some usefull interior parts ;)

IMG_2006.jpg


and a ruined 2000 cc's type IV engine:

IMG_1999.jpg


IMG_2000.jpg


IMG_2003.jpg


IMG_2001.jpg


all I needed was here:

IMG_1981.jpg


IMG_2008.jpg
 
The sheet metal broke of literally in our hands.
She was so rotten and rusty that I honestly did not care about dismantle it :roll: .

IMG_2010.jpg


IMG_2011.jpg


IMG_2012.jpg


IMG_2013.jpg


IMG_2014.jpg


IMG_2015.jpg


IMG_2016.jpg


IMG_2017.jpg


IMG_2018.jpg


IMG_2019.jpg


IMG_2020.jpg


IMG_2021.jpg


IMG_2022.jpg


IMG_2023.jpg


IMG_2024.jpg
 
let's start cuting :roll:

IMG_2109.jpg


IMG_2110.jpg


IMG_2111.jpg


IMG_2113.jpg


IMG_2114.jpg


some protection....

IMG_2116.jpg


IMG_2121.jpg


IMG_2122.jpg


IMG_2123.jpg


IMG_2124.jpg


IMG_2120.jpg


IMG_2126.jpg


IMG_2125.jpg


IMG_2128.jpg


IMG_2130.jpg


IMG_2131.jpg


IMG_2129.jpg


IMG_2112.jpg


welding spots... a there was a lot of work still to be done....

IMG_2132.jpg


IMG_2133.jpg


IMG_2134.jpg


IMG_2135.jpg


IMG_2136.jpg
 
and my first big scare of the day. Fortunately, the disc only cuted the glove and did not reached my hand :roll:

IMG_2203.jpg


And with a new and rigid disc im my grinder the task become more easier.

IMG_2205.jpg


IMG_2206.jpg


IMG_2209.jpg


IMG_2210.jpg


Done!

IMG_2213.jpg


and the final cuts....

IMG_2212.jpg


IMG_2217.jpg


IMG_2218.jpg


IMG_2219.jpg


and to finish this I had to asked for a professional help

IMG_2214.jpg


IMG_2216.jpg
 
and the seat rails accepted the new seats and so we cuted them off:

IMG_2291.jpg


IMG_2292.jpg


IMG_2293.jpg


IMG_2294.jpg


and the end result of this work around this VW bus :|

IMG_2295.jpg


IMG_2296.jpg


And ready to go to Vlad's bodyshop 8)

IMG_2297.jpg


IMG_2299.jpg
 

Latest posts

Top