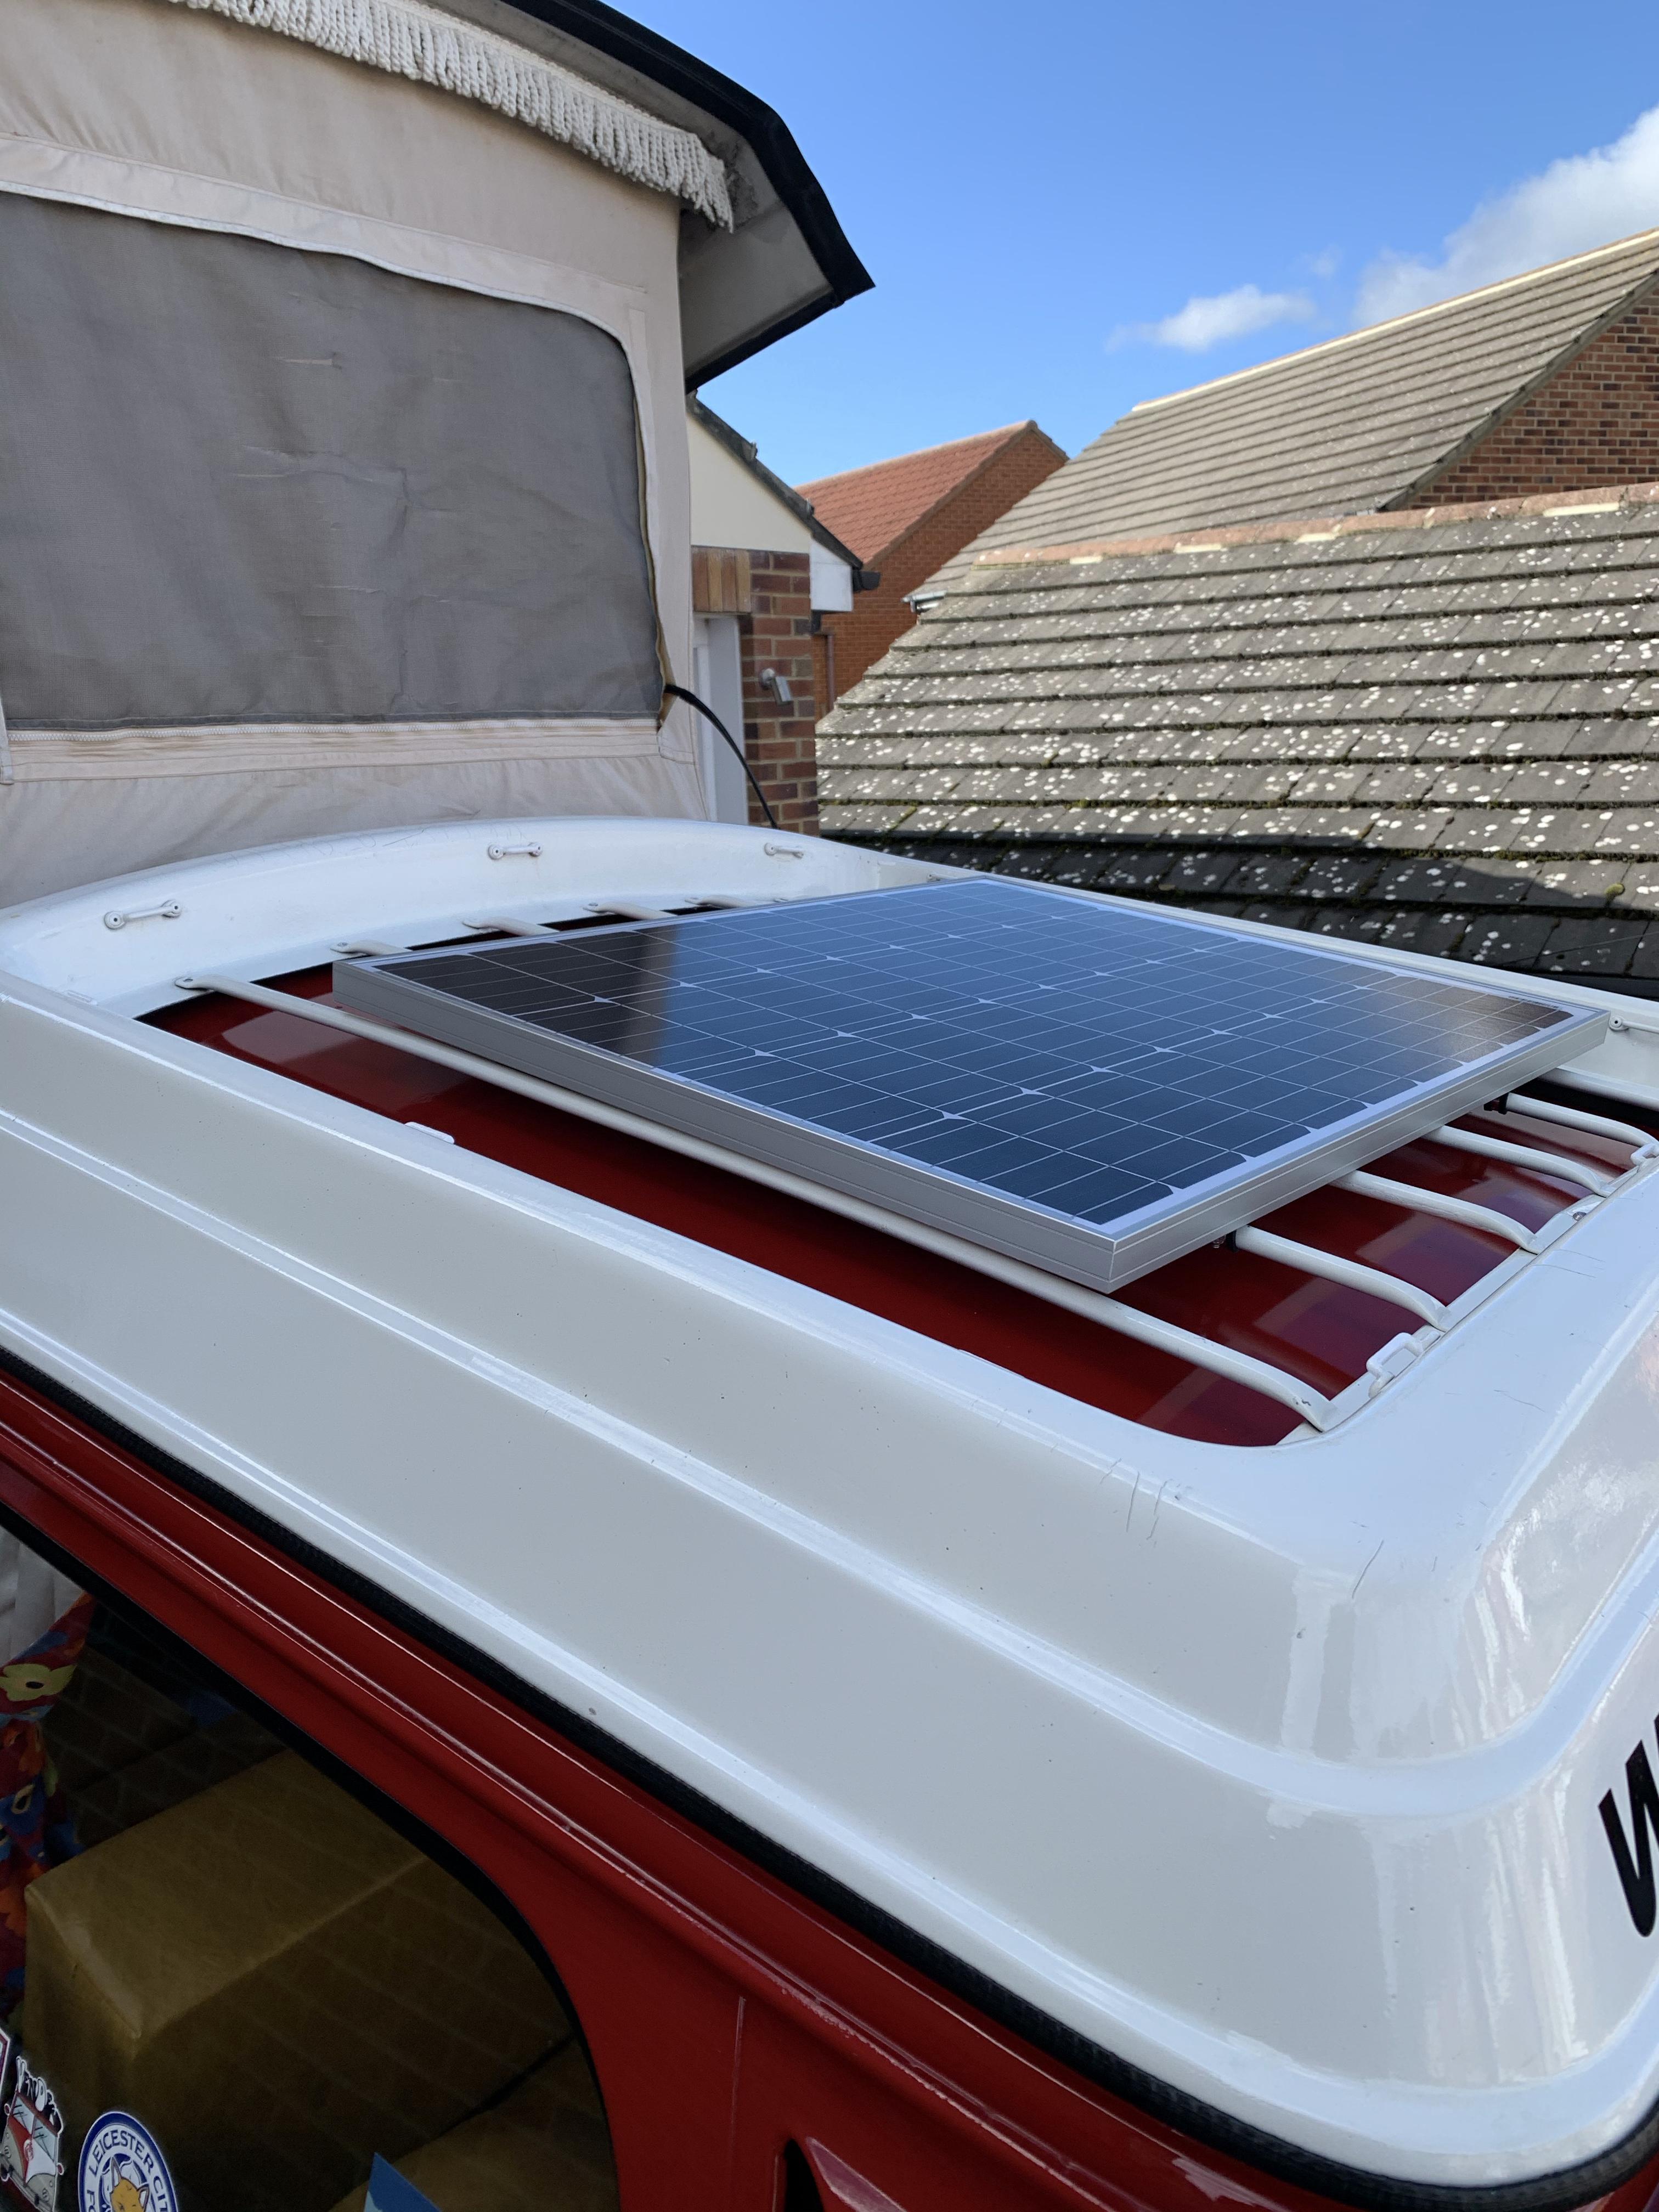
Monty the Red Campervan

Early Bay Forum

Help Support Early Bay Forum:

This site may earn a commission from merchant affiliate links, including eBay, Amazon, and others.
mike202 said:
67westy said:
Hi Mike, just had another thought on a simple change for when you are off grid. Swapping the light bulbs in the westy interior light saves quite a bit of power. We have two of them and when they were both on it pulled 3.88a swapping to LED versions dropped it to 0.55a

Sent from my Pixel 4 using Tapatalk

Adam, you’re right, and I did this in 2015. [emoji1690]

I changed the three table light bulbs and cab interior light from 10 watts trad style, to 1 watt LED. [emoji3]
I had a feeling you might have done :)

Sent from my Pixel 4 using Tapatalk

 
Finished the fixed solar panel install. I decided to go for this option as I don’t use the roof rack for anything else so a panel mounted there is no problem for me. I went for a 100watt mono crystalline panel from photonics universe and a Victron charge controller that has Bluetooth so you can easily see how much the panel is doing.
I used 14mm p clips to mount the panel to the roof bars. I had to re-profile some of the bars to make the panel sit level over them and re rivet them on.
I used 6mm cable to go from the charge controller to LB. I had some spare from the fridge install.
I didn’t want to drill the roof so the wires from the panel are routed through the pop top canvas and between the double roof panels through a factory hole at the back and then into the back locker, where the Victron unit is. Went on a test drive in the afternoon sunshine and was getting 20 watts or more as you can see on the screenshot from my phone.
Thanks to Adam 67Westy for the advice.
37a93ac803b8f5447b375343efe365f1.jpg

7f8e0f23438be3044949b7f09ecc5e4a.jpg
007b0a6503bb49638780bb9d22e85710.jpg
23ca565836df30fb62ff1517419e670a.jpg
2ef08e46eef264dbd37c6160fe3f0e81.jpg
6f4d2224f3633ebd96d410a011adc758.jpg
26ba03305fe06f5f1c1a0813c1a77ab1.jpg
b94488d1c7ce17910905a22547b34e2d.jpg
d332a9b7e819a1df45a201a61bbcd66d.jpg
2850d0f264294390df841ab91cc61af8.jpg
 
I refurbed all the rack fixings as they were looking a bit tired after 50 years. [emoji38]
I used rubber bungs from eBay size 31 at the back with some sikaflex to ensure no rainwater leaks.

5da2c1c6e7d7441db727644f61bcd32e.jpg
6a8f9c78de661e577313be1237a03b32.jpg
d079e2ee5968a659b0b39688bdc70a72.jpg
 
Looking good Mike, you should see those numbers jump up when the sun comes back next year :D

Sent from my Pixel 4 using Tapatalk

 
Put some proper plug lead holders in place, that hold them but keep them apart. I suppose a current could be induced if they are too close together.
03584f82f14960d39a6b4d76a4d6852e.jpg
065346844bdd6e5d6b25c9b6109dd77d.jpg


I also re routed the incoming wires on the LHS around the outside of the carb rather than between the carb and fan shroud. The wires interfered with a lever on the lower part of the carb, maybe called the accelerator valve ? (Edit it maybe called the pump actually)
I just have the hard fuel line coming through there now which doesn’t foul anything.

Since I added the solar panel, I have quite a few wires leading to the LB terminals. There is also the split charger, webasto heater, auxiliary fuse box (for radio and fridge etc), and CTEK lead.
On the neg terminal similar and also the fridge earth lead which I decided was better option for the fridge than just earthing to the body of the van.
So I bought some new terminals off eBay
 
Having some problems posting pics with new privacy settings on my iPad [emoji57]

e70a8086545d0a81a27dcd1d21588029.jpg


There it is!

Makes it easier adding different wires instead of stacking them up on just one terminal. [emoji851]
 
Loverly pics and liking the mods to the battery terminals - great idea.
Plus, the solar panel install looks very professional :)
 

Latest posts

Top