Huey - RHD Single Cab

Early Bay Forum

Help Support Early Bay Forum:

This site may earn a commission from merchant affiliate links, including eBay, Amazon, and others.

ProfessorWheeto

Well-known member
Joined
Mar 12, 2007
Messages
1,638
Reaction score
0
Location
Lincoln
Well he finally turned up :D Chassis number starts 260 so I'm guessing that makes him a 70?
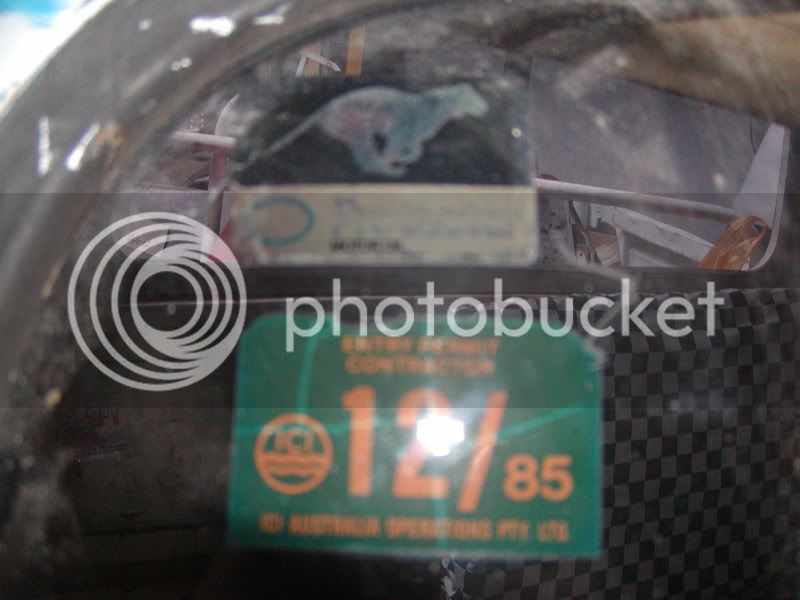
Looking at the sticker thats been painted over on the cab door, when he was out in Oz he was used by an engineering firm.
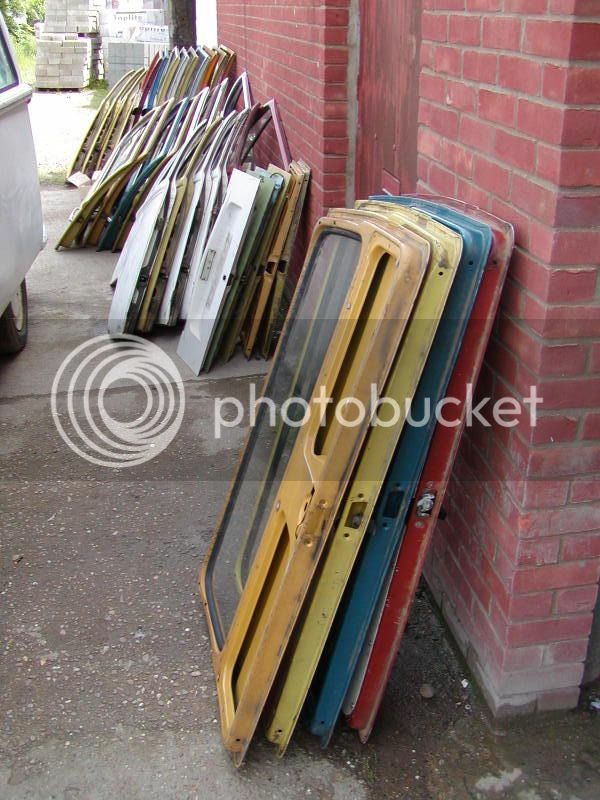
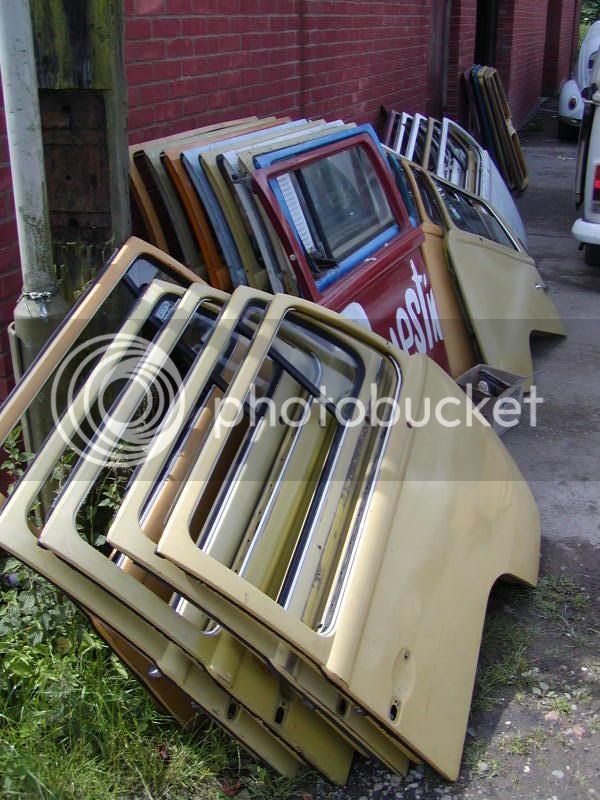
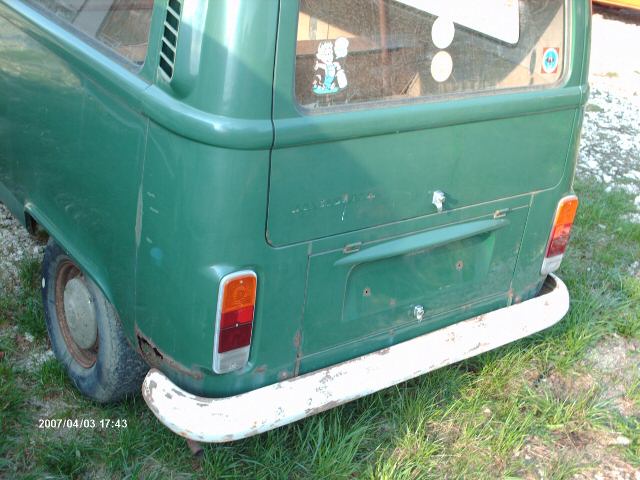
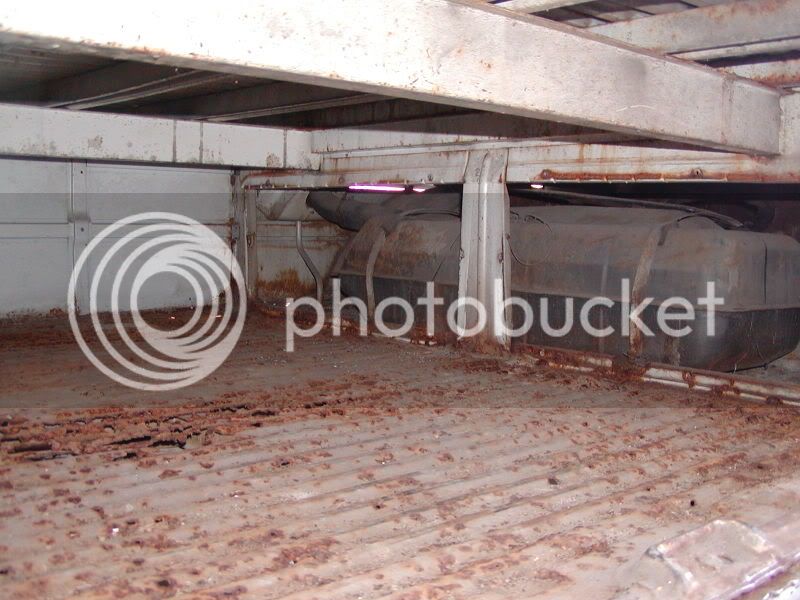
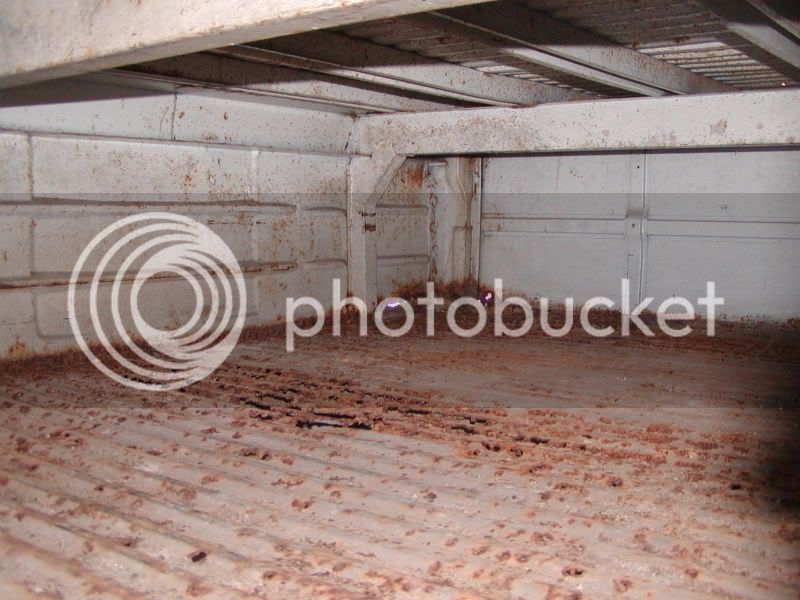
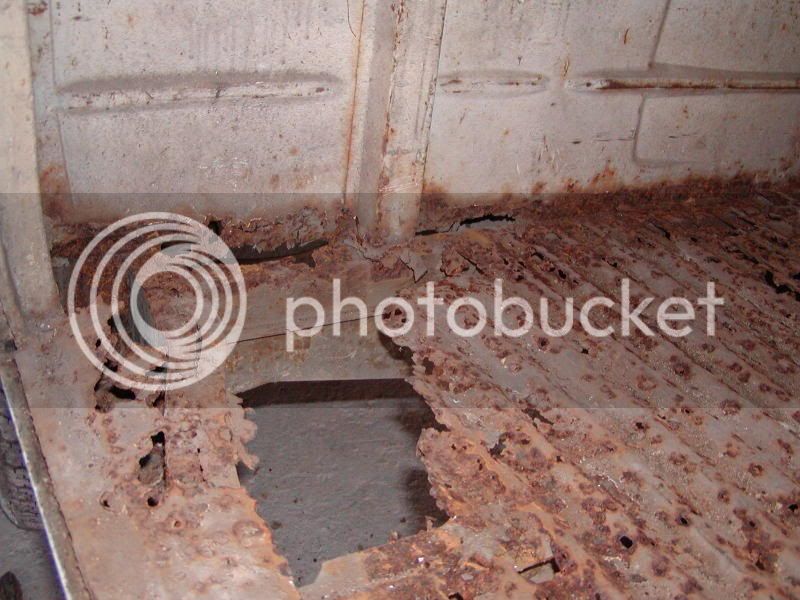
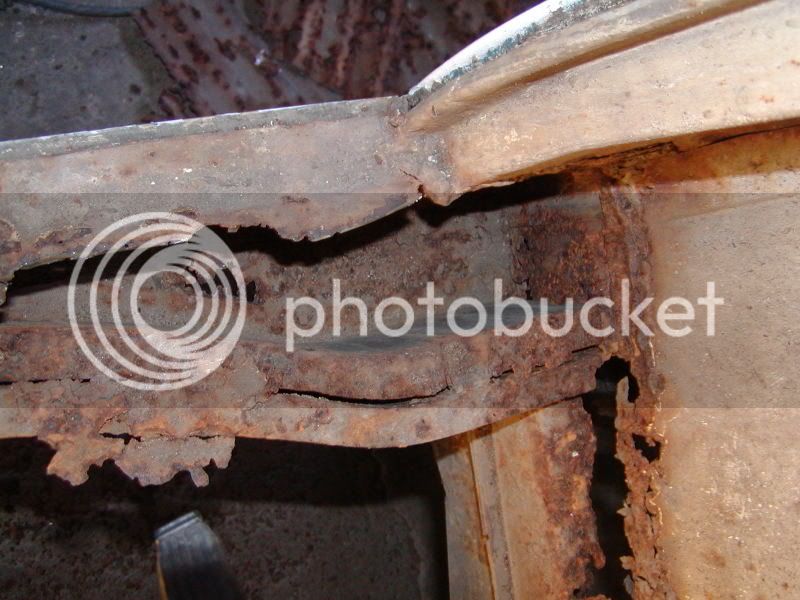
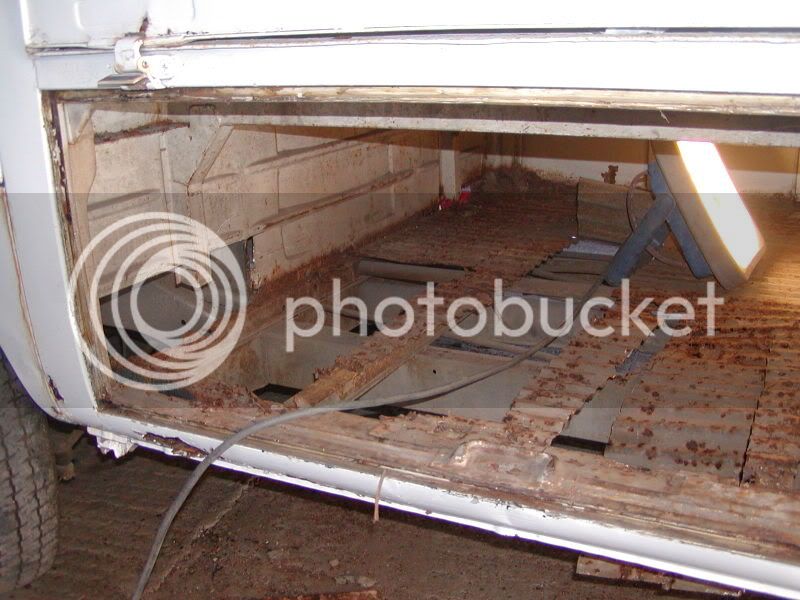
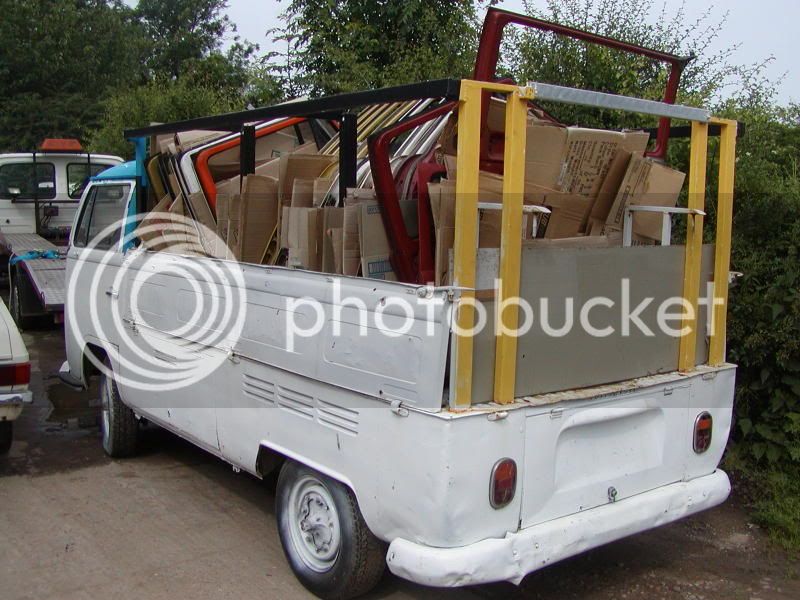
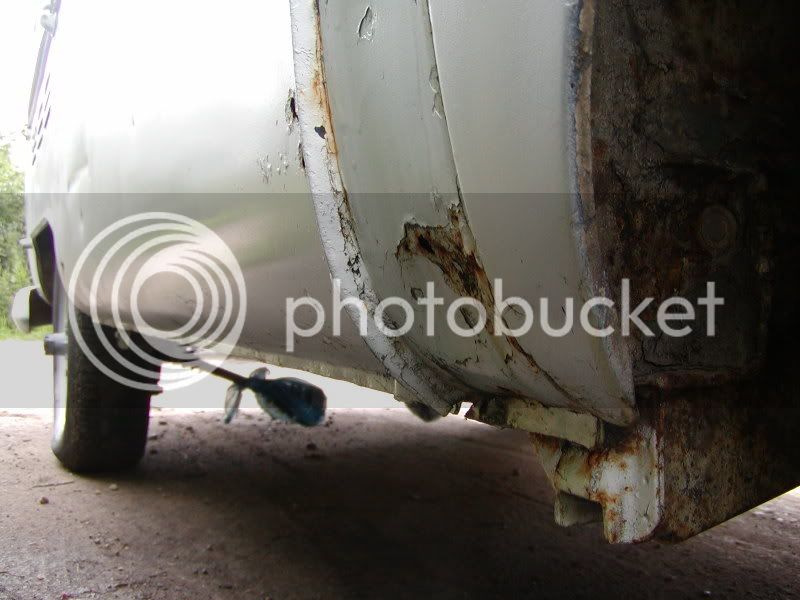
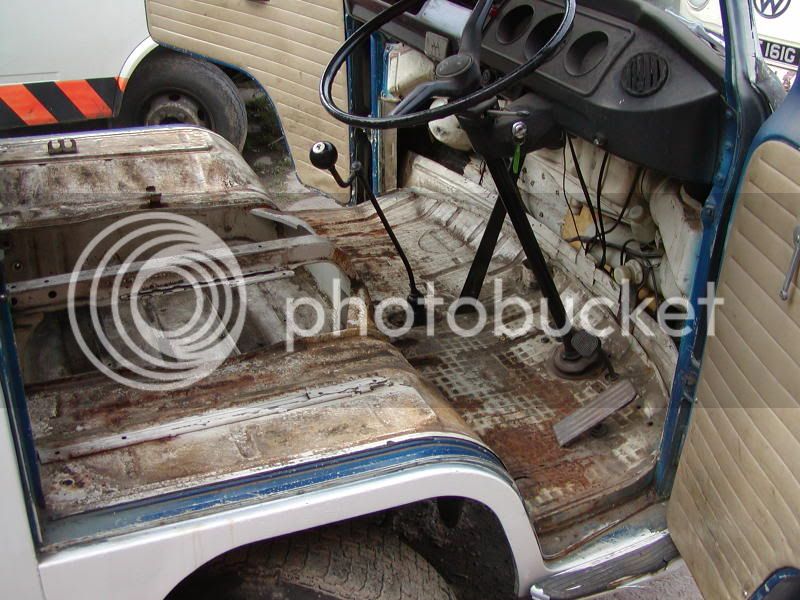
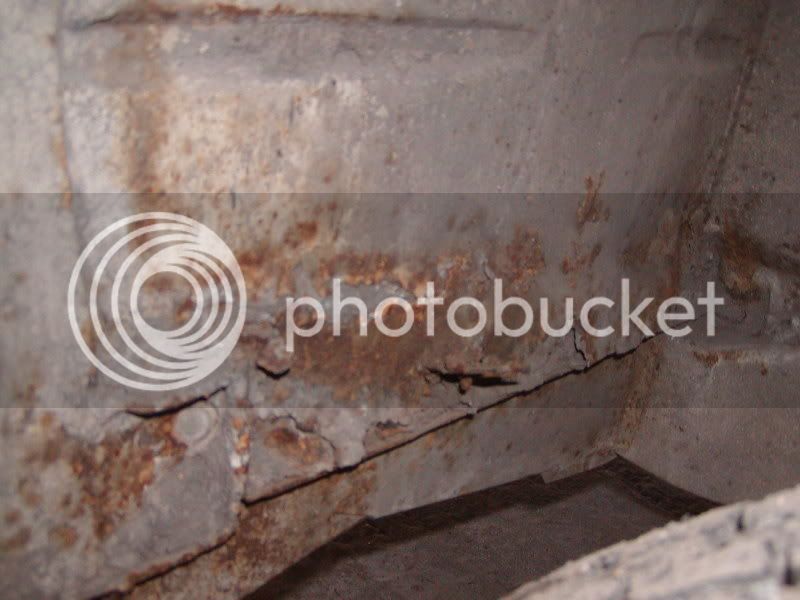
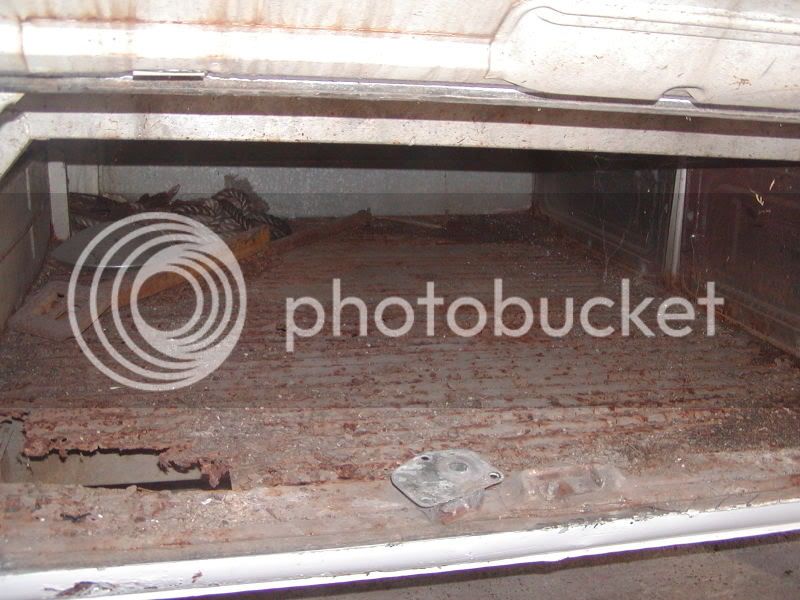
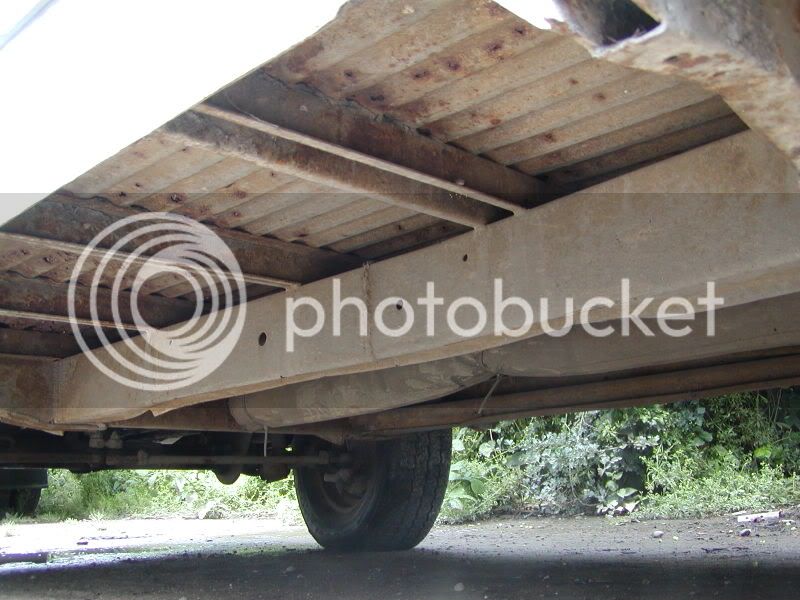
Bodywise he's been well worked so its showing a few dents and scrapes. Just needs a few bit of welding on the body to get rid of some small holes. Load bed is perfect, cab floor needs a bit of repair, Chassis is perfect, needs some top hat section putting in behind one of the front arches, and the treasure chest floor is peppered with tiny holes with one large hole near the door, so the plan is to rip the whole lot out and put in checkerplate (buggered if I'm paying £350 for a cargo floor that I'll have to modify anyway)
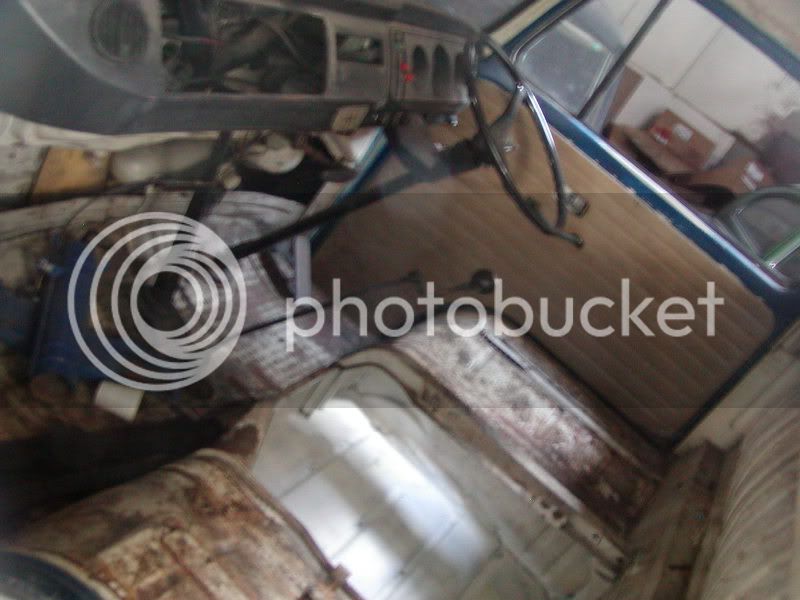
The gearbox was in the van.... just happened to be in the passenger footwell rather than in the right place, so the plan is to get that and the engine in to get it running and then sort the welding and then I'll do a rolling resto as and when I get the cash/bits. Have got lots of plans for it, but for the moment they are secret :lol:
P1010046-4.jpg

P1010031-2.jpg

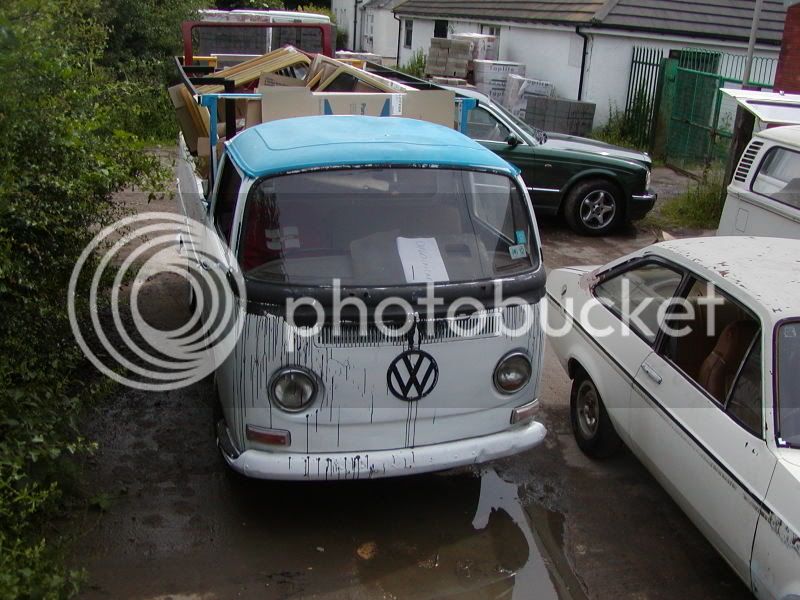
he arrived still doing what she was made to do
P1010054-1.jpg

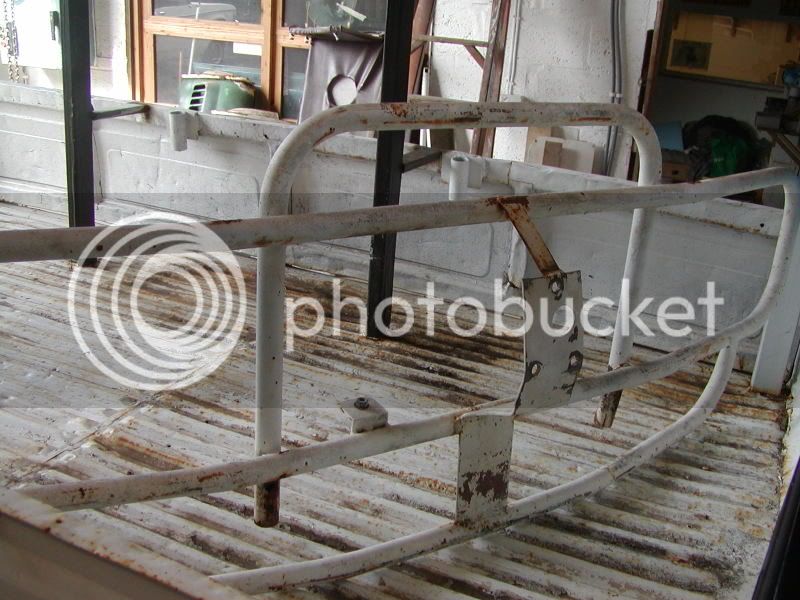
The steps were a nice bonus, they are definately staying
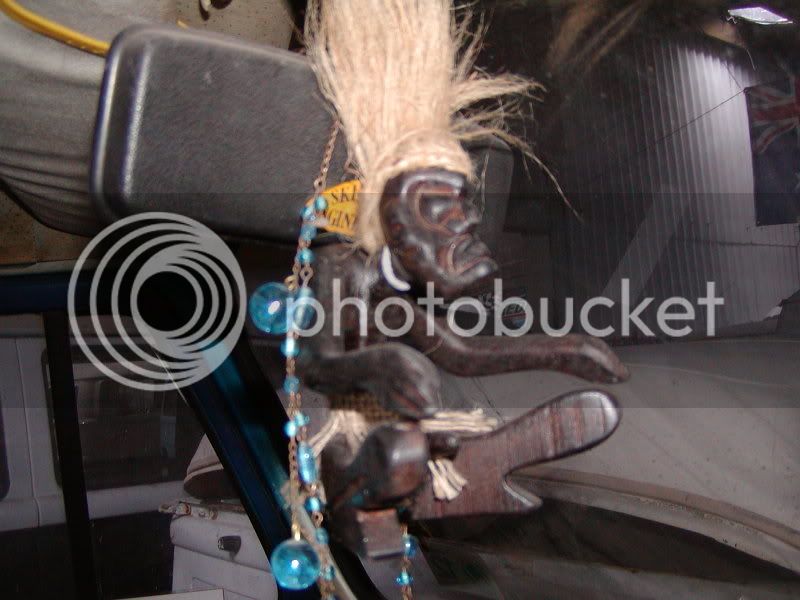
P1010043-1.jpg

P1010078.jpg

P1010069-2.jpg

P1010045-3.jpg

P1010070-4.jpg

P1010041-1.jpg

P1010062-2.jpg

Huey the surf god
P1010063-3.jpg

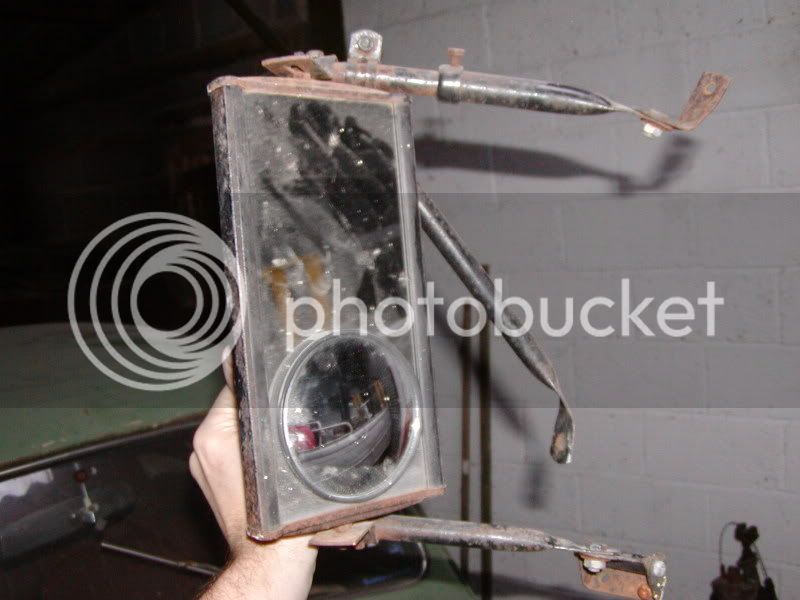
Got some dirty great roo bars as well :twisted:
 
That looks a beast fella, loving that, will be way cool at shows for getting up on the back and spotting thos beer tents :wink:
 
Thats the plan, I've got no patience anyway so shove in the engine and box, register and mot, tart the cab up, tarp over the frame on the back and jobs a job!
(for the moment anyway)
 
nice van mate, more interested in the cargo it came with though...... need a pair of doors if you got any going spare :eek:
 
:lol: Well we do have them for sale at work http://www.ravw.co.uk
Got loads of sliders as well, and a couple of tail gates and engine lids.
 
Not much progress made cause the car I'm borrowing is broken so not been able to stay late and crack on, however..
P1010107.jpg

Started to clean and tart up the cab
P1010049-4.jpg

Some aussie stickers, theres another one on the screen thats some kind of site pass for an ICI plant
P1010106.jpg

And got me a proper ASBO exhaust and gave it a wire brush and quick squib with VHT paint
 
Yes, it´s amodel 1970 pick up/single cab

A word to the spare parts you have:

The white engine flap/bonnet (or what ever it´s called in English), the first part of the line, that´s a rare part for T2ab from August 1971 up to December 1971!

;-)
 
Really? Is it different to a regular engine lid then?

The only engine lid we have that caught my eye is an ex-military one because its got some information plates on the back of it.
 
Hi,

yes the engine lids are different.

Up to 12.71 the bulb above the place for the number plate is shorter!
Have a look here: This is an up to 12.71 type 23 with its original engine lid ...

drr-3v.jpg


This is an engine lid from a post 12.71 model ´72 T2ab

drr-3w.jpg


Sorry for the bad picture, haven´t found better one in hurry.

It´s a detail, not everyone knows about ;-)
 
Yeah went in and had a look at it this morning and realised, not the kind of think you notice straight away. You must have eagle eyes to spot that :lol:

Thanks for the info dude :D
 
Did a bit on the van today, first job was to free the brakes off and put some wind in the tyres so its easier to push.
Then we decided to start with the biggest job and began to tackle the treasure chest area. As usual the screws holding the treasure chest lid were apparently made of cheese so quick bit of drilling and off it came (being careful to not get a whack on the head when I drilled the last screw)
Then whipped off that bit of galvo and the two petrol tank covers.
P1010152.jpg

P1010153-1.jpg

Think this is the scaryest looking part of the floor
P1010154.jpg

Inner sill looks like it could do with a bit of a tickle, the outer is getting completely replaced
p1010156.jpg

Then it was time to bust out the trusty angle grinder
P1010159.jpg

Also decided it was a good time to shift the fuel tank as there is some rust underneath that. The vans are meant to be drained at the docks so I pulled off the fuel line and instead of a dribble I got soaked. Ended up getting 15 litre container, which promptly filled up and I had to get another! There must have been about 20 - 25 litres in there, just a shame its completely crap fuel. Old and the red colour suggests its been mixed with diesel :?

Dug the gearbox out the workshop as well, will run it down to the mechanics tomorrow for a quick check, should be removing and collecting my engine as well whilst I'm down there. :)
 
Looks like lots of work there mate ,but hey worth it son . Love commercial V Dubs so can`t wait to see it on the road mate . Keep up the good work 8) 8)
 
Just removed and picked up my new engine, think I've found a winner.
Gearbox seems to be all good as well, think I'll be making some calls tomorrow to get some mounts etc ordered. Just need to get an adaptor plate for the engine as its come out a bug and doesn't have the bits to bolt the engine bar to.
 
More progress:
Got rear valence and bumper off, petrol tank is out, cleaned out the engine bay, liberated a hot air pipe with the vents on for the cab because that was missing, took the flaps out the fanhousing, took the bug exhaust off, fitted the asbo exhaust although it needs to come back off, degunked the gearbox, mated the gearbox and engine, fitted the starter motor and a few other odds and sods...
 
Bit more progress tonight, fitted the engine bar adaptor plate thing cause its a bug engine that I'm fitting, started to swap the carb manifold but the new one doesnt seem to be the right size so need to double check what carb ive got, fitted the new rubber seal to the rear valence, fitted the rubber mounts to the engine bar and a few other little jobs

Also I noticed when I first got the van that the doors looked like they had been signwritten so I used to 800 grit wet and dry to test and uncovered a letter :D Just need to do the whole logo on both doors now, it looks like I'm going to uncover the same logo thats on my rear view mirror which is from the engineering company that used to own the van. Being a huge van of the jiffy bus and other sign written commercials this has made my week! Will post some pics soon as well
 
More progress, swapped the alternator stand because my one was cracked, liberated a 34pict3 from a donor van, will rebuild it before it goes on though, and replaced the fuel pump intermediate flange because it was cracked, easier said than done though as when i removed it half of it was left inside the case. Couldn't get any purchase with pliers as it just snapped more off so ended up drilling it and luckily have a powerful hoover to hand to suck out the swarf. Also got the carb manifold bolted down.
And remembered my camera....
P1010184.jpg

P1010179-3.jpg

P1010181.jpg

P1010182.jpg

P1010187.jpg

and the worlds ugliest mirror :lol:
P1010185.jpg
 

Latest posts

Top