Huey - RHD Single Cab

Early Bay Forum

Help Support Early Bay Forum:

This site may earn a commission from merchant affiliate links, including eBay, Amazon, and others.
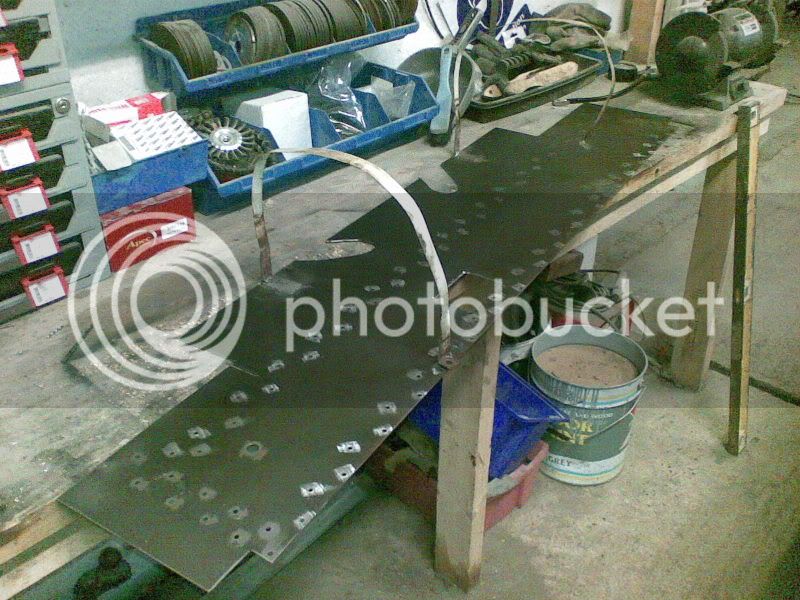
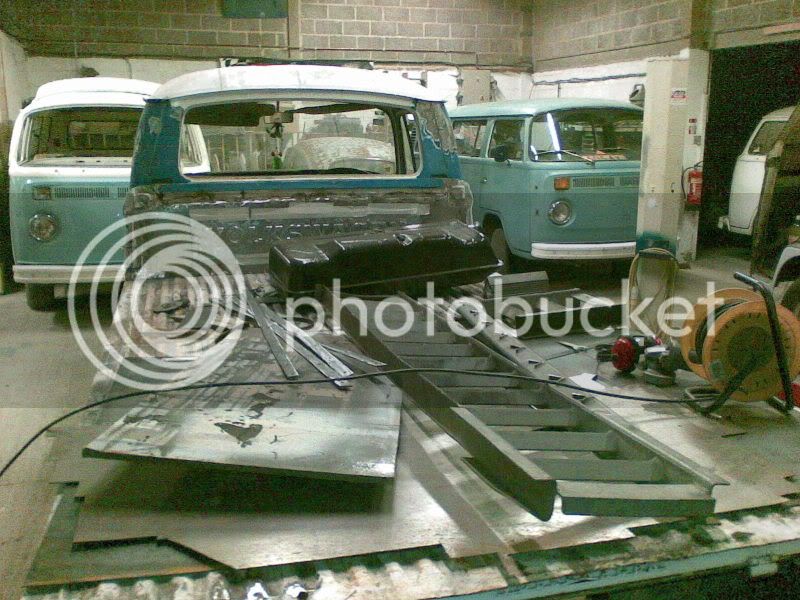
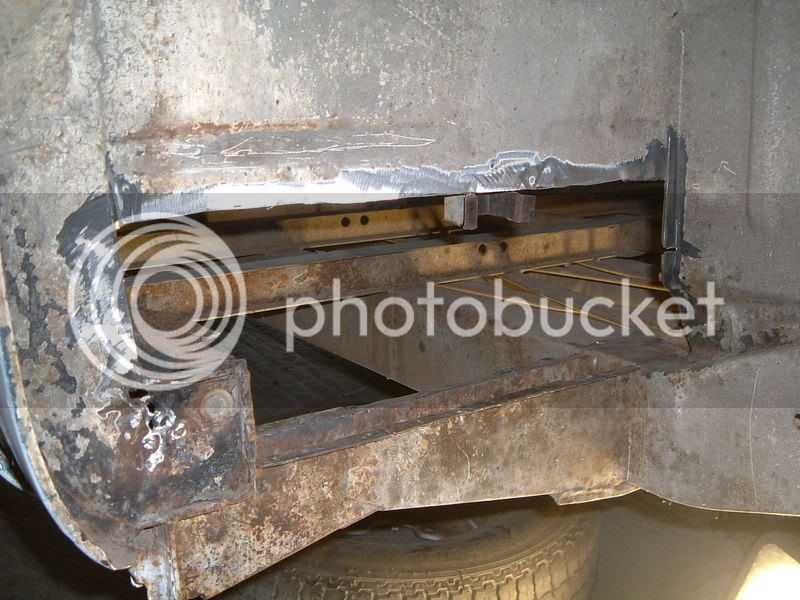
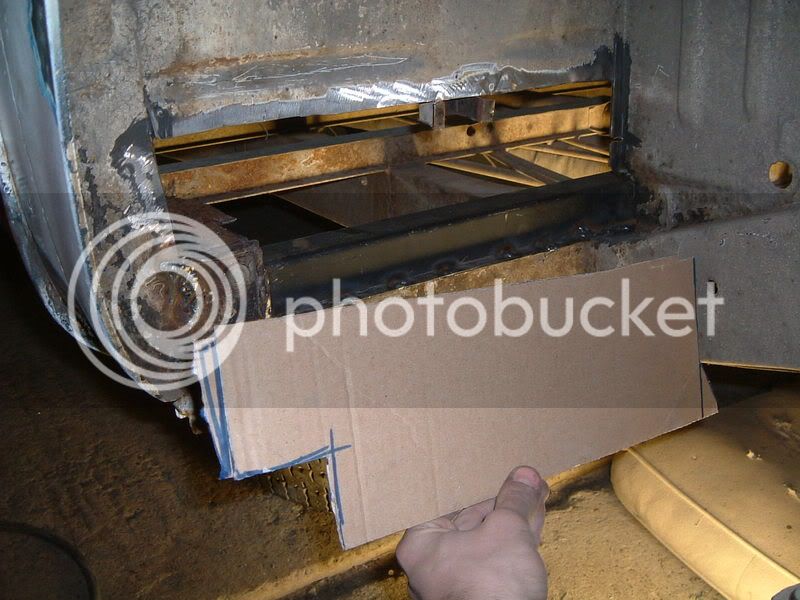
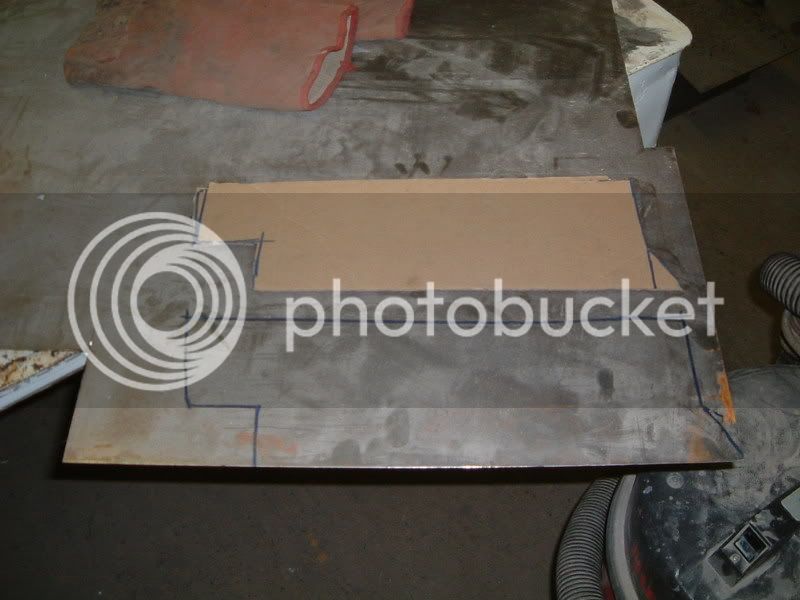
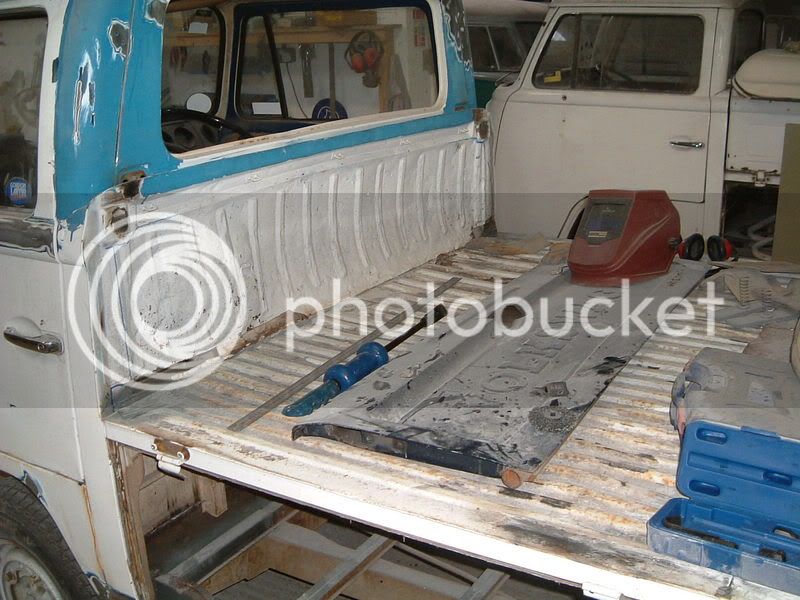
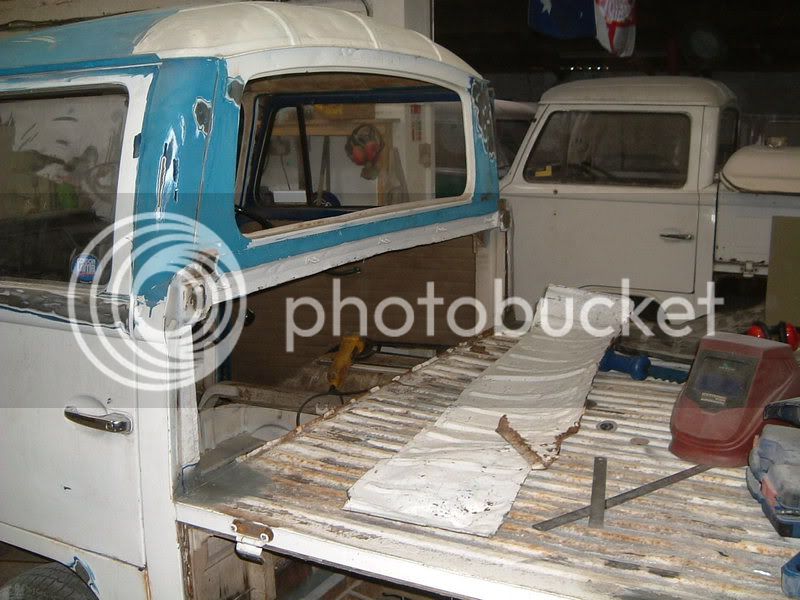
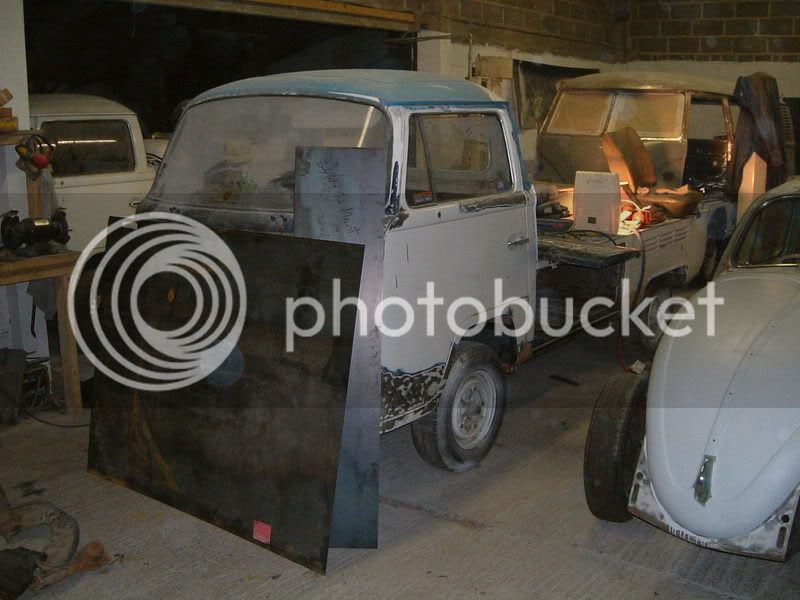
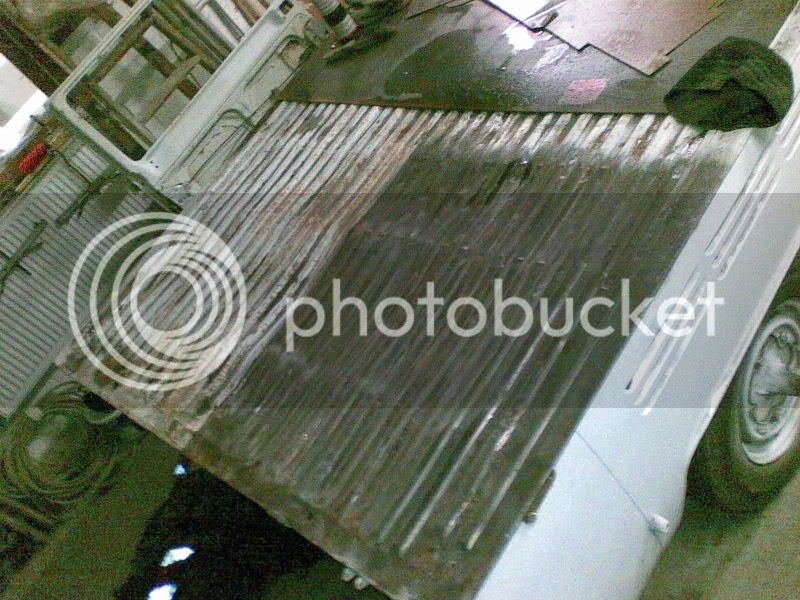
Beginning to mark and cut the rear cargo floor
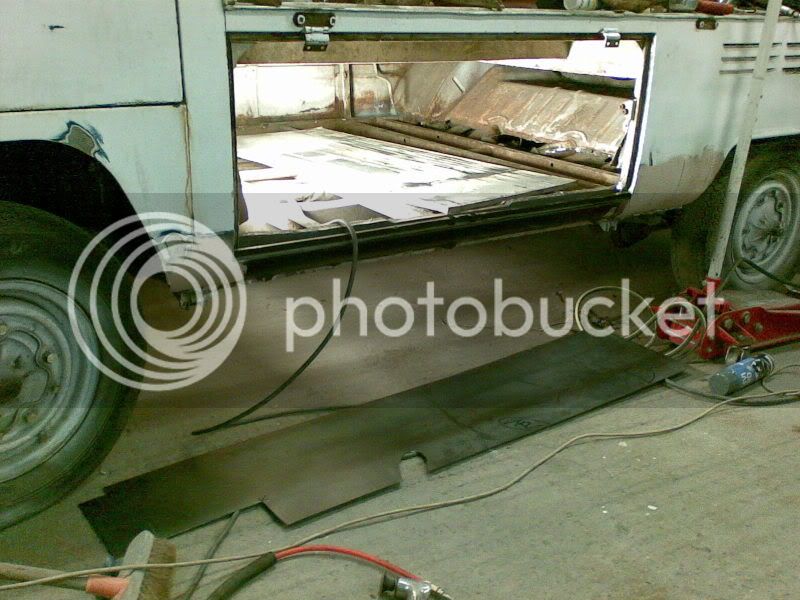
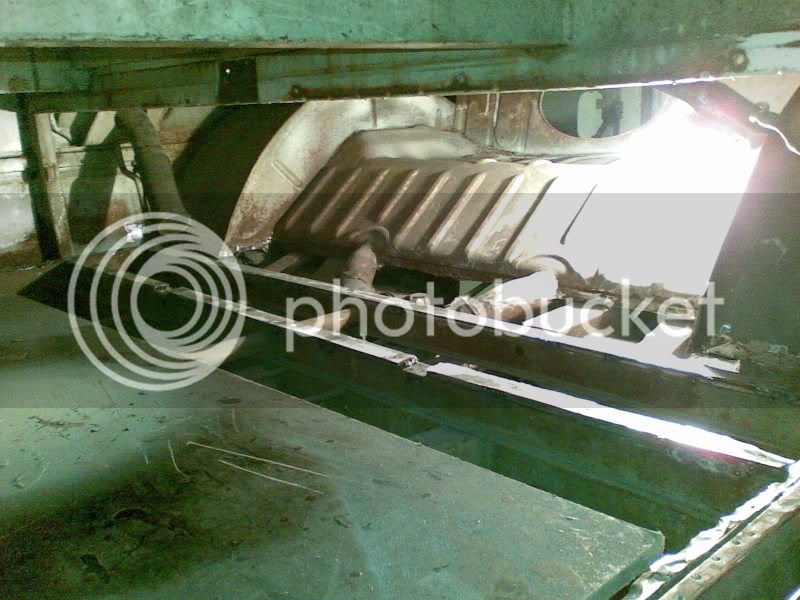
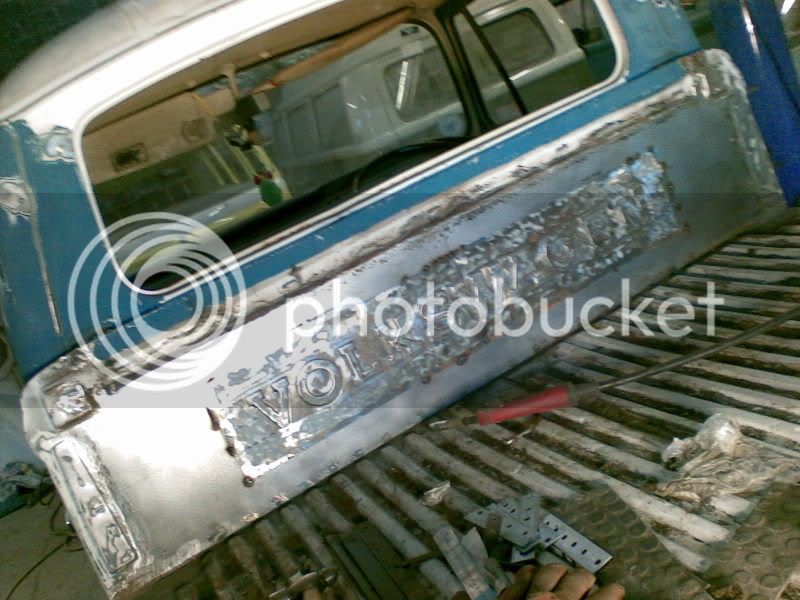
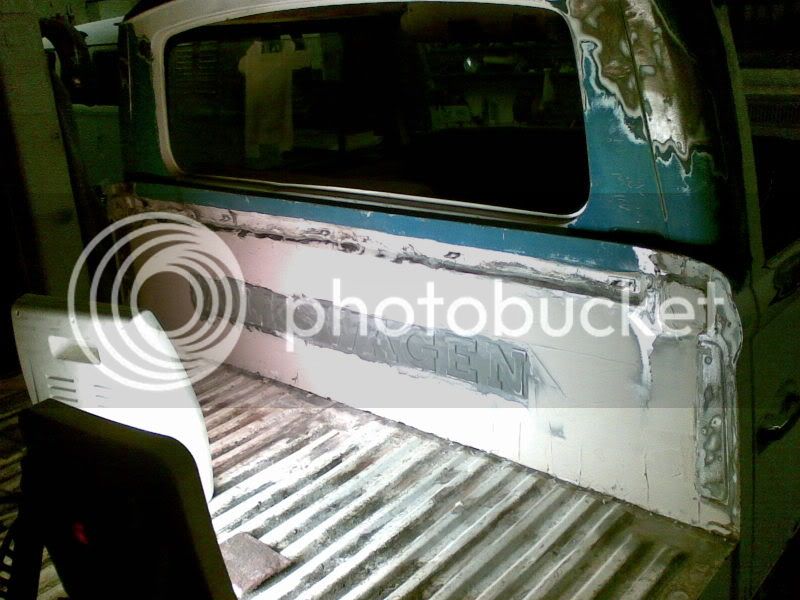
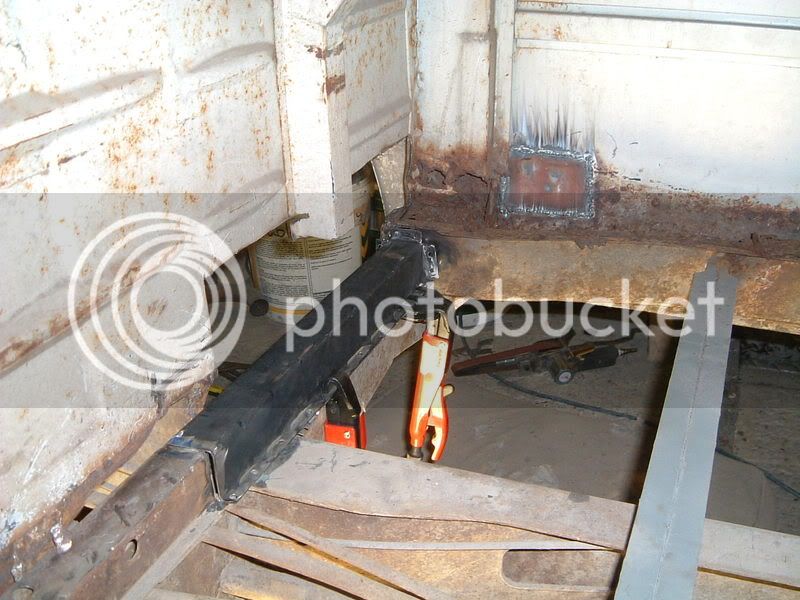
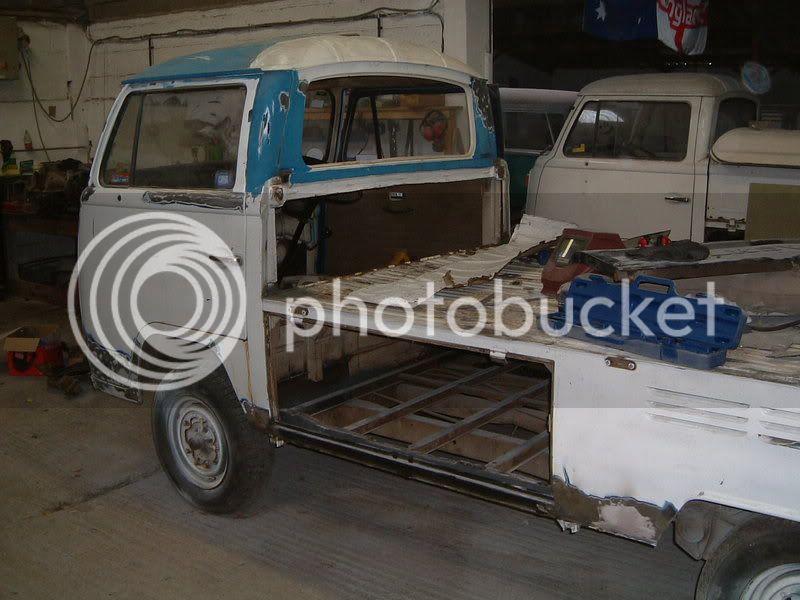
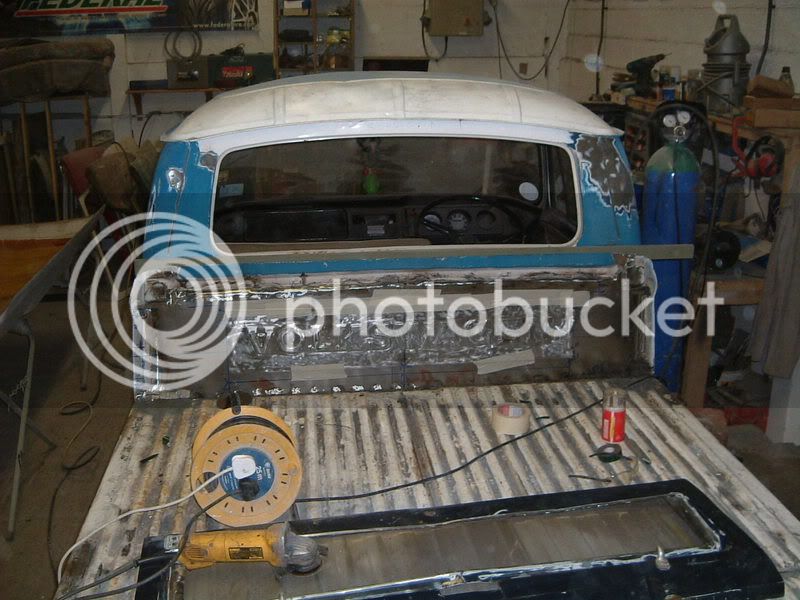
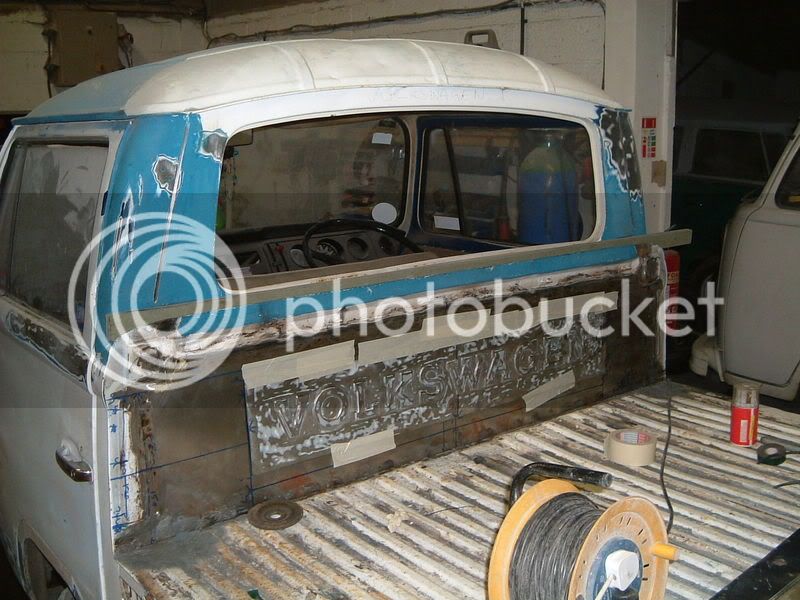
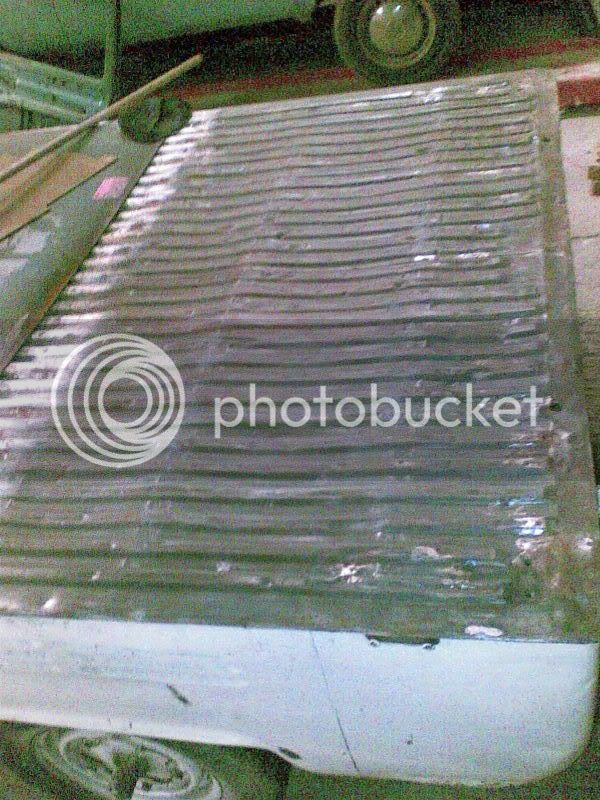
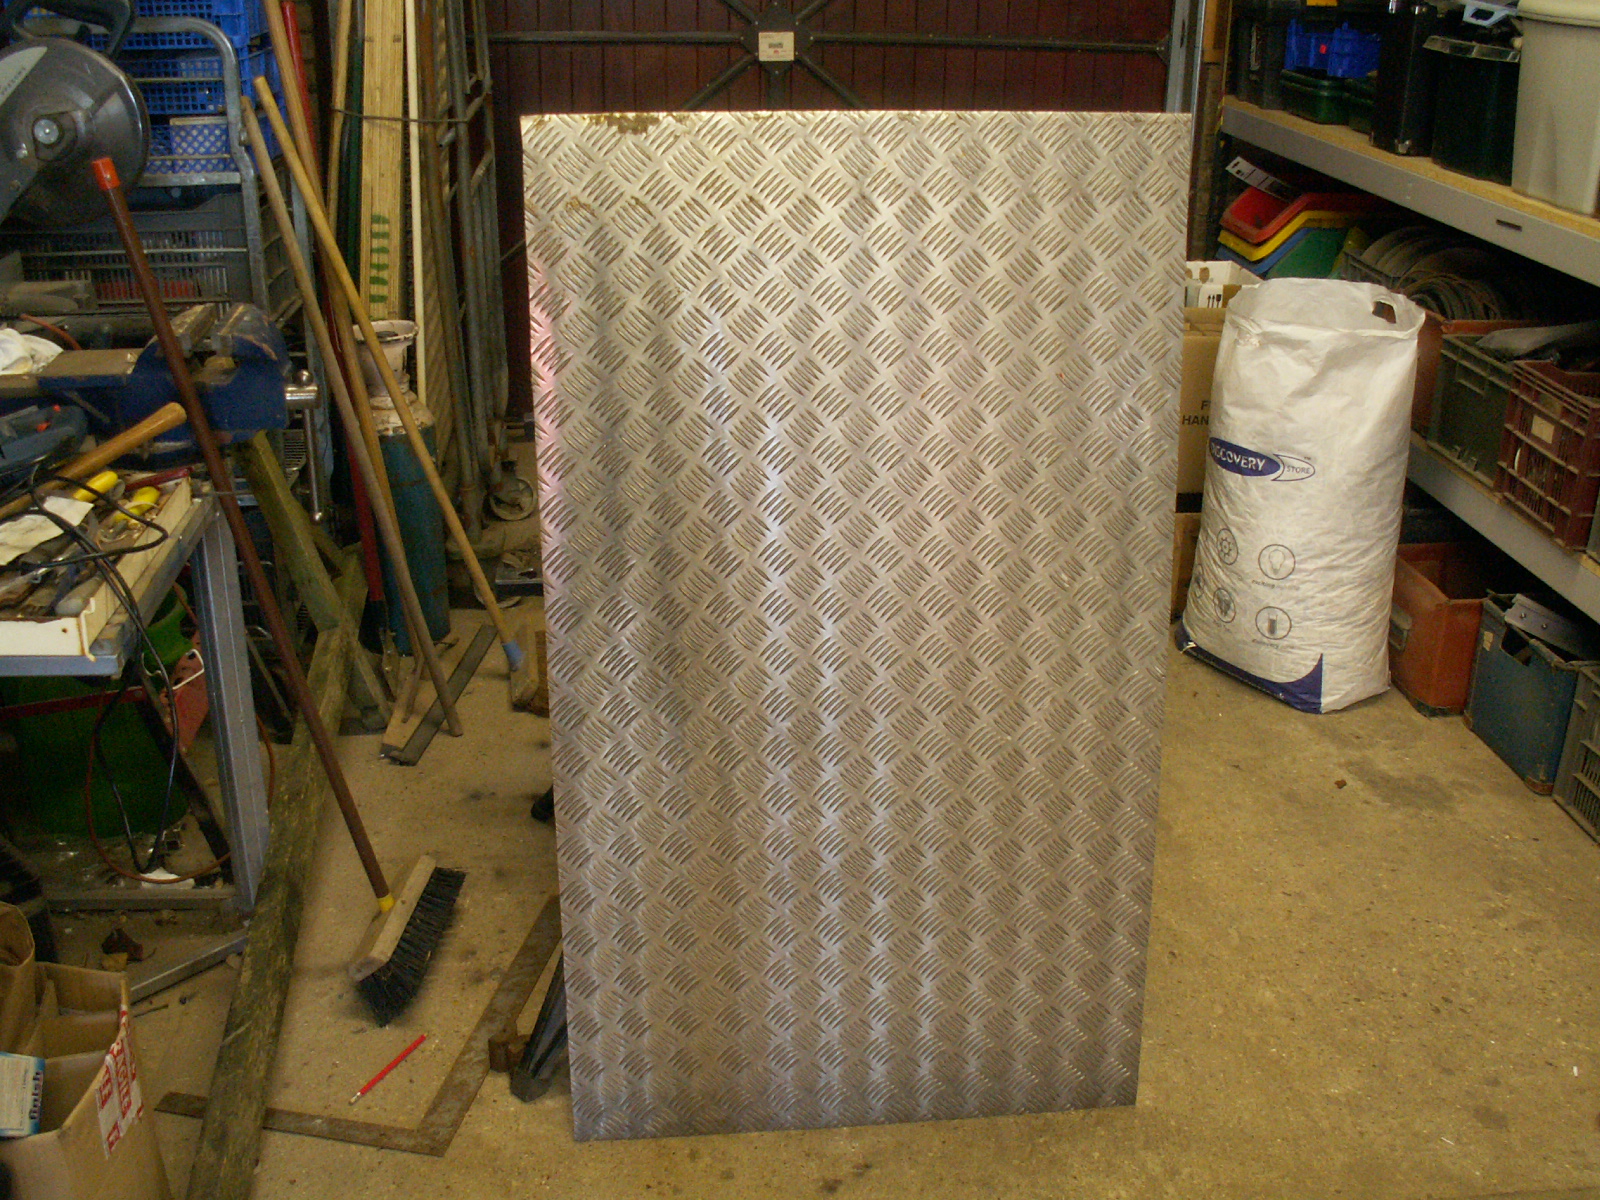
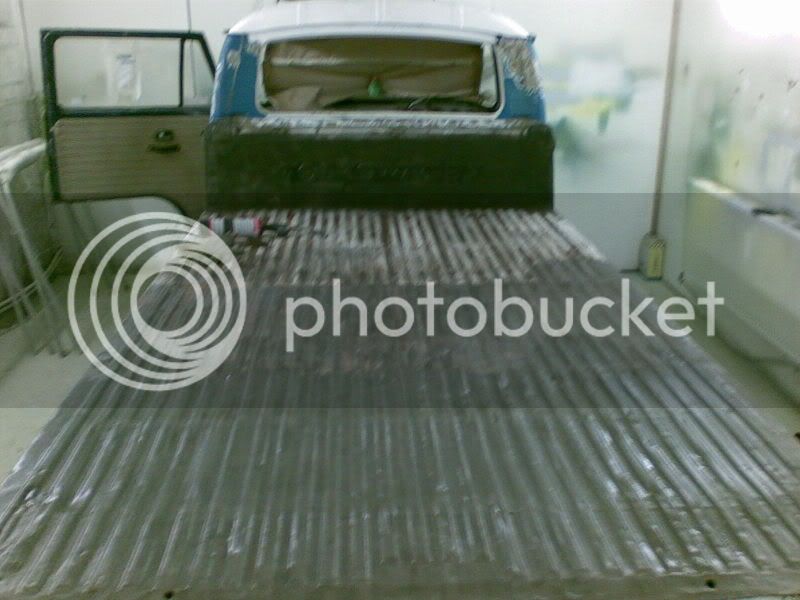
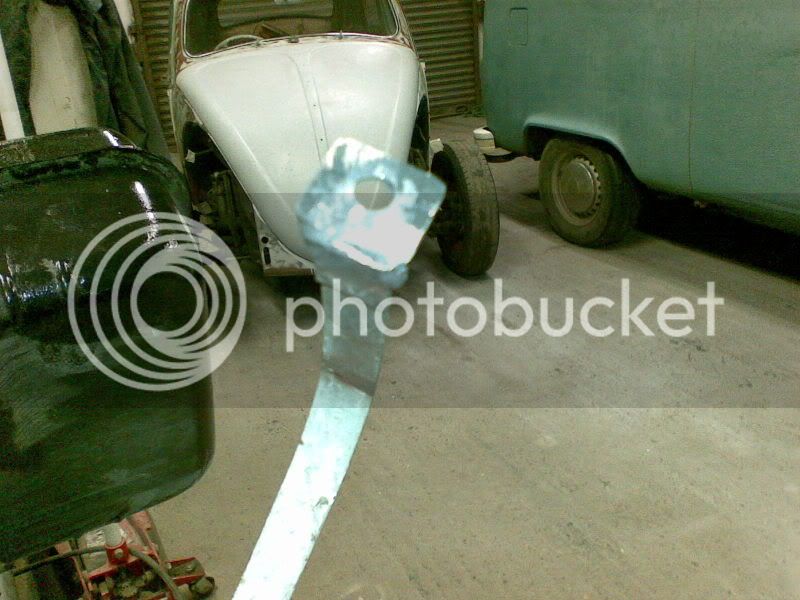
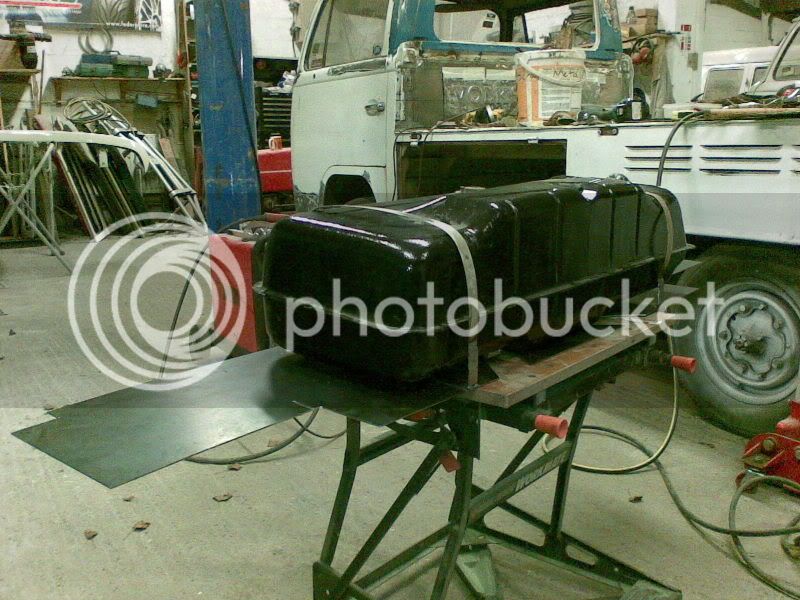
03122007.jpg

Trial fitting
03122007001.jpg

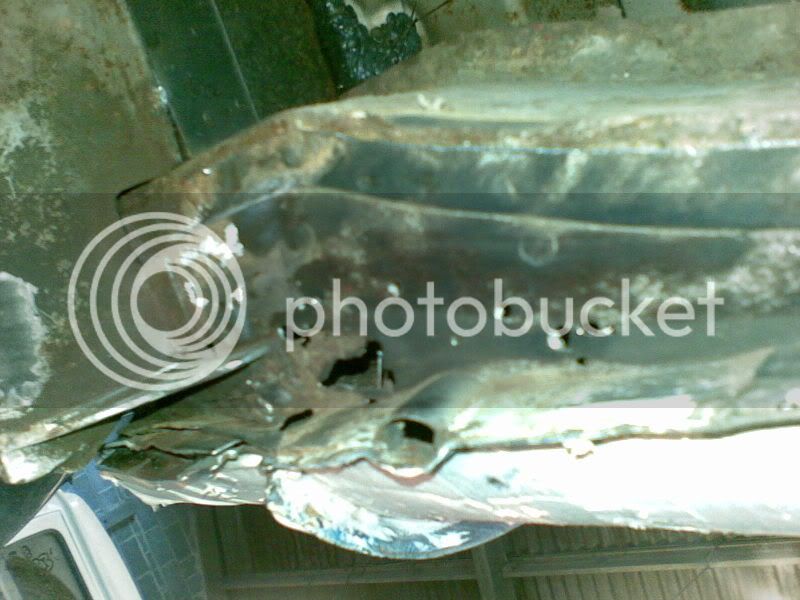
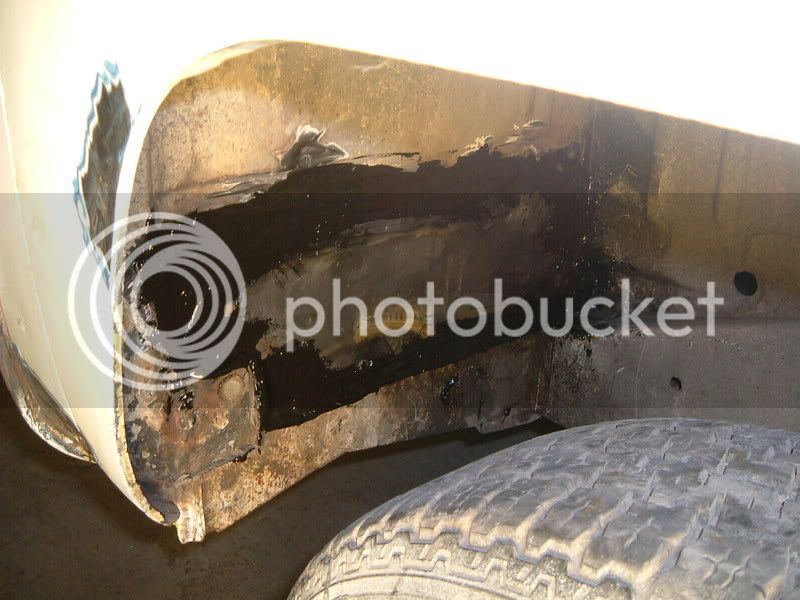
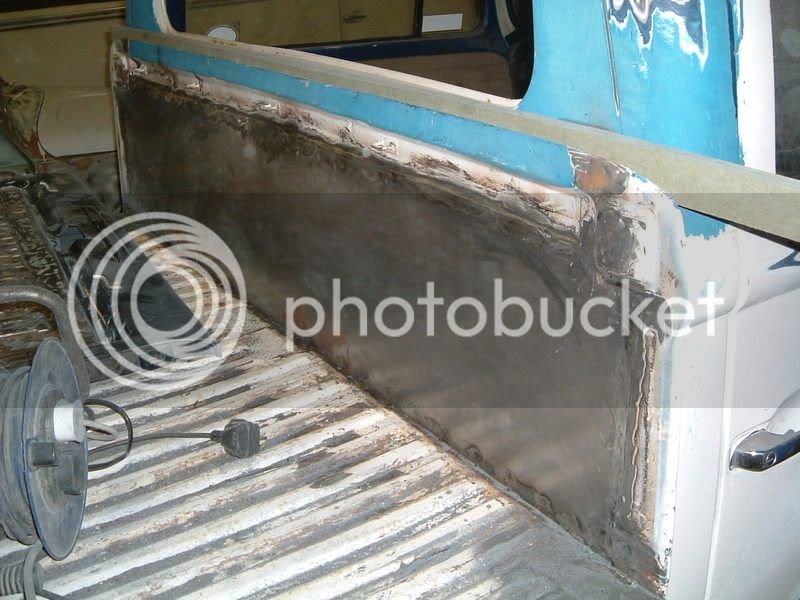
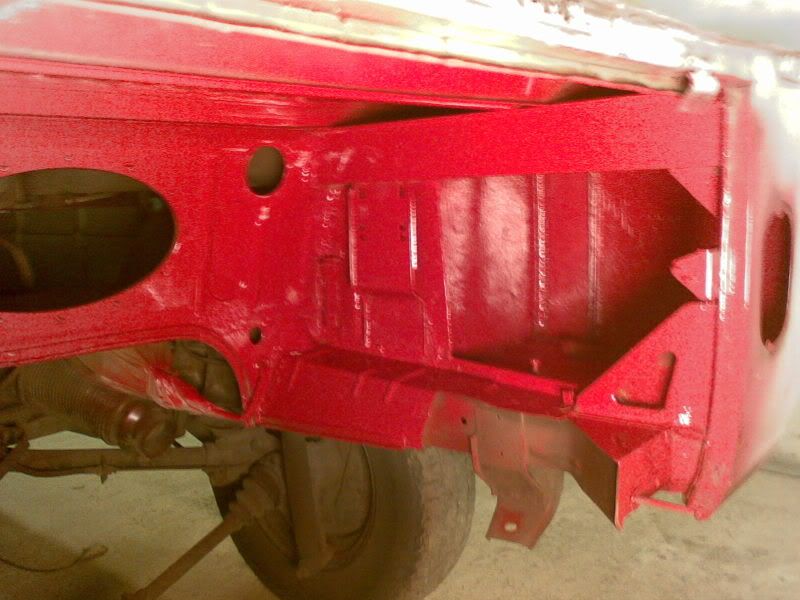
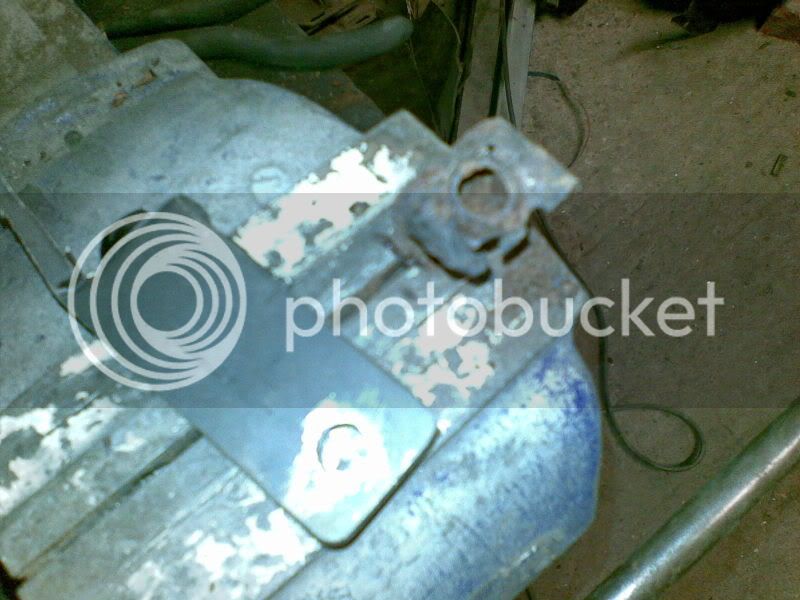
One of the straps that holds the fuel tank down was rusty at one end so it needed to be repaired..
04122007.jpg

04122007001.jpg

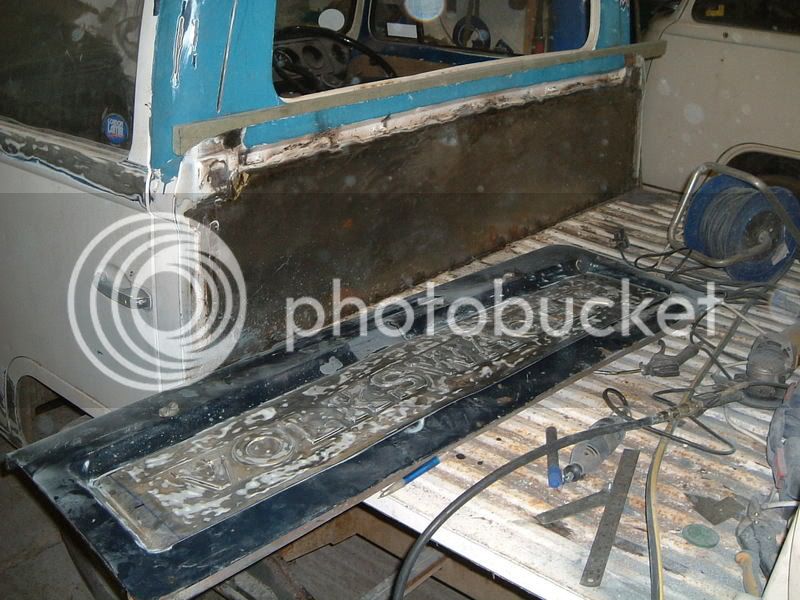
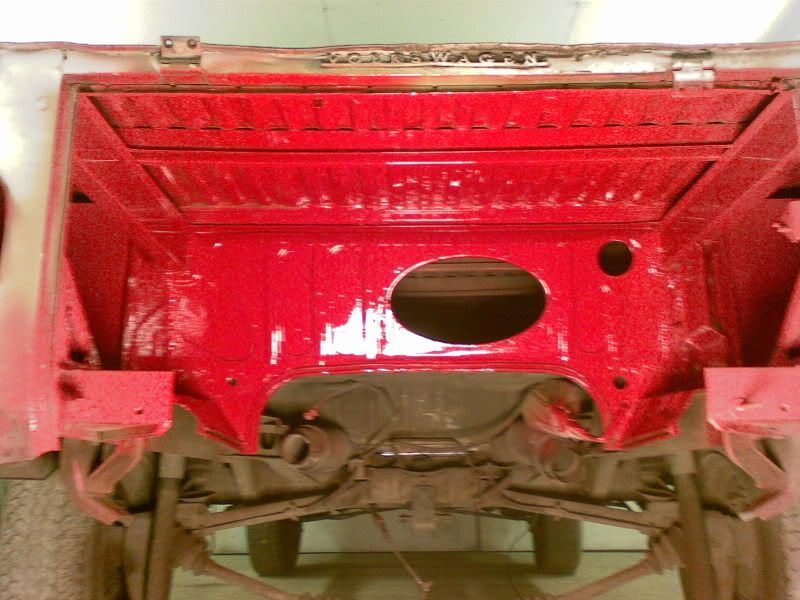
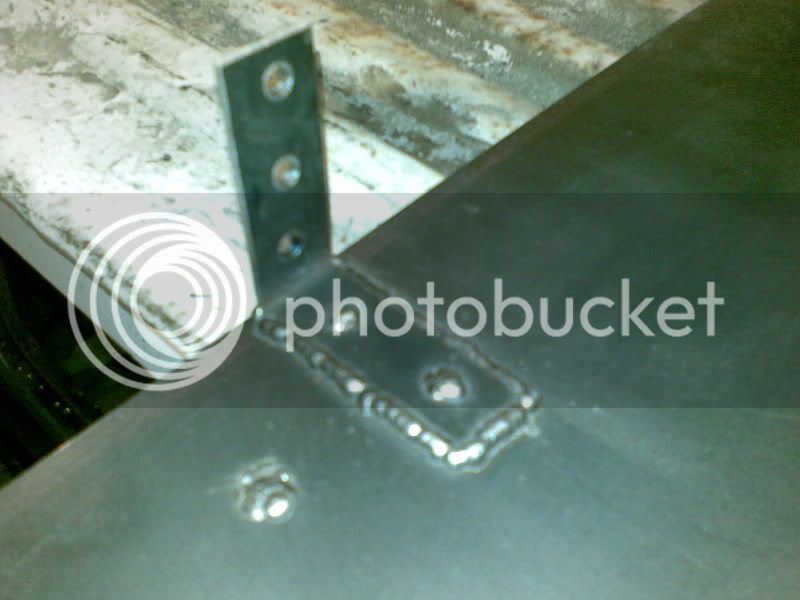
Make some brackets to hold the tank straps, I think my welding is improving, just a shame I had a concentration lapse and welded this on the opposite side that it needed to be on ::)
05122007.jpg

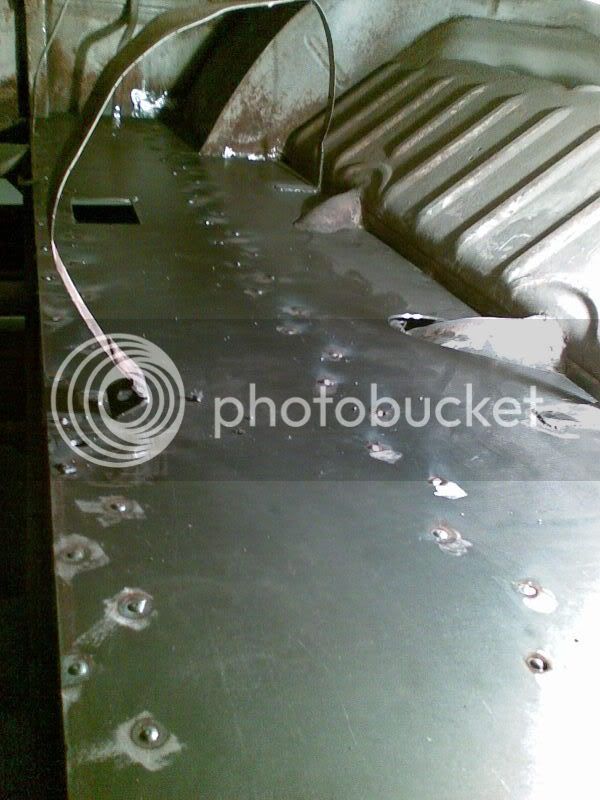
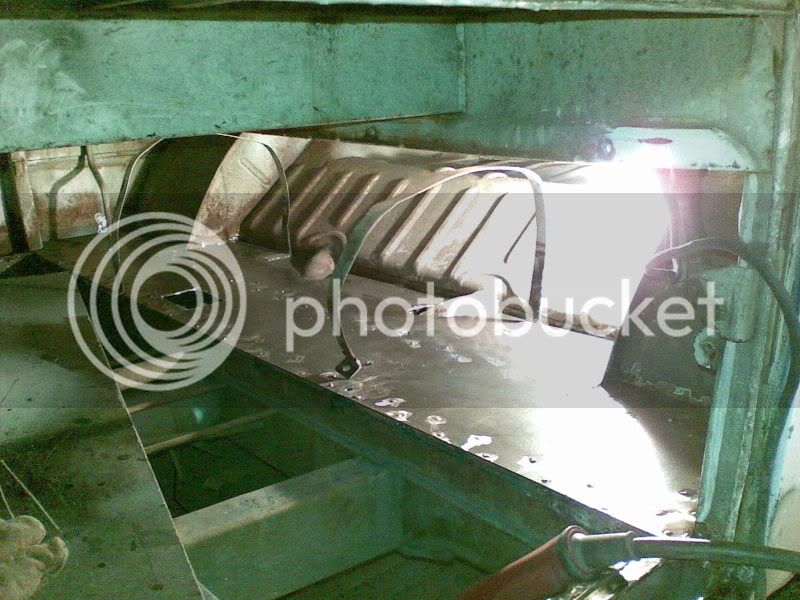
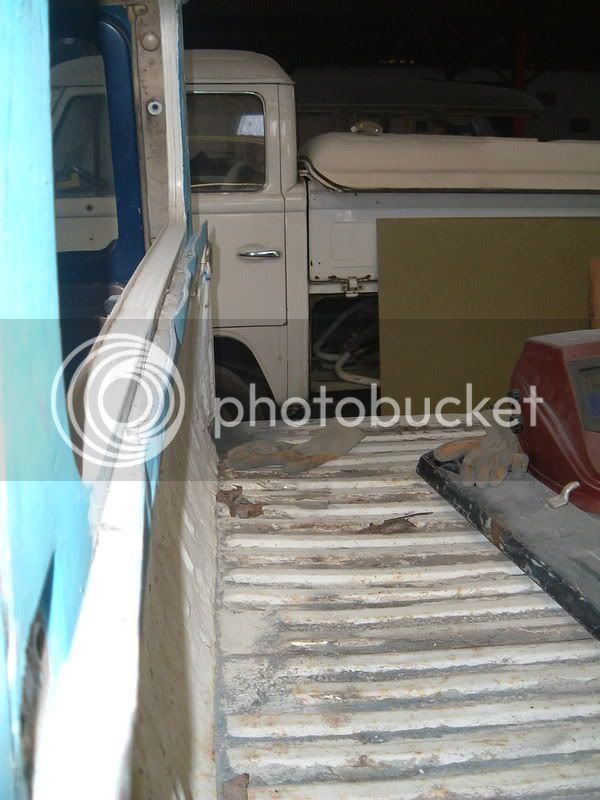
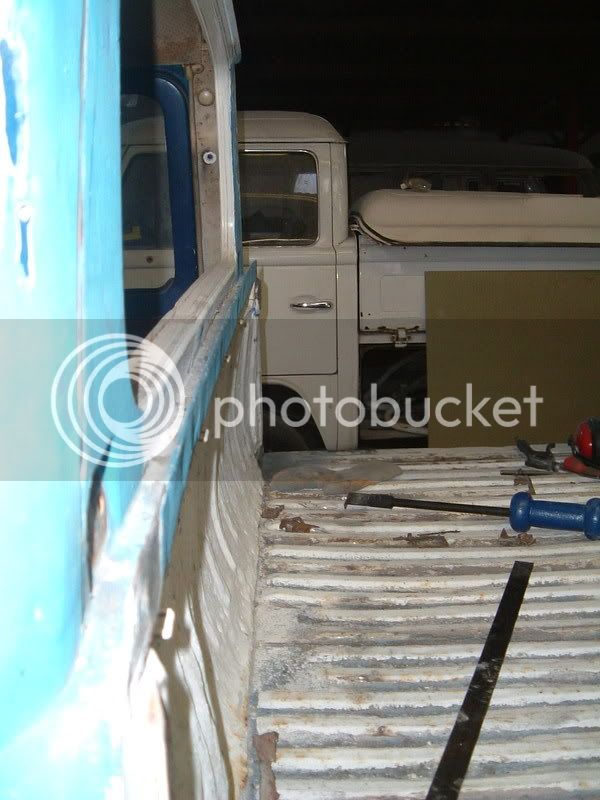
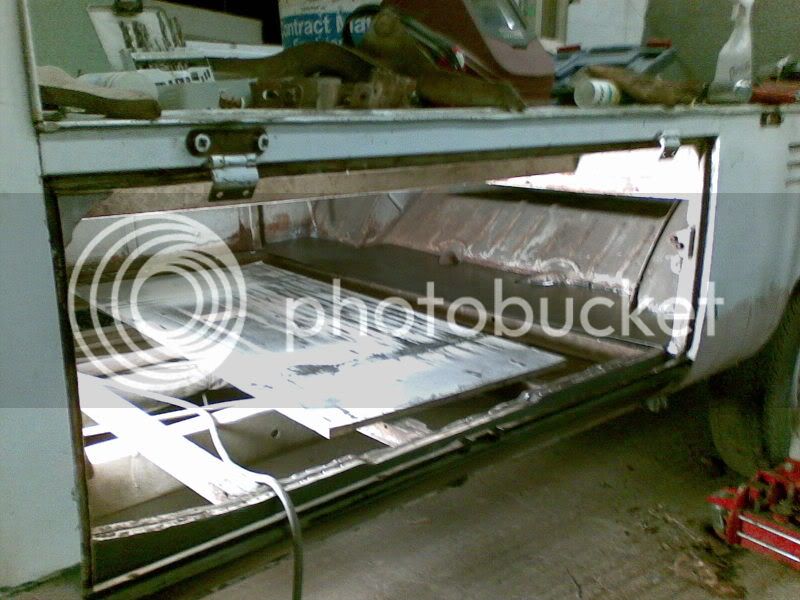
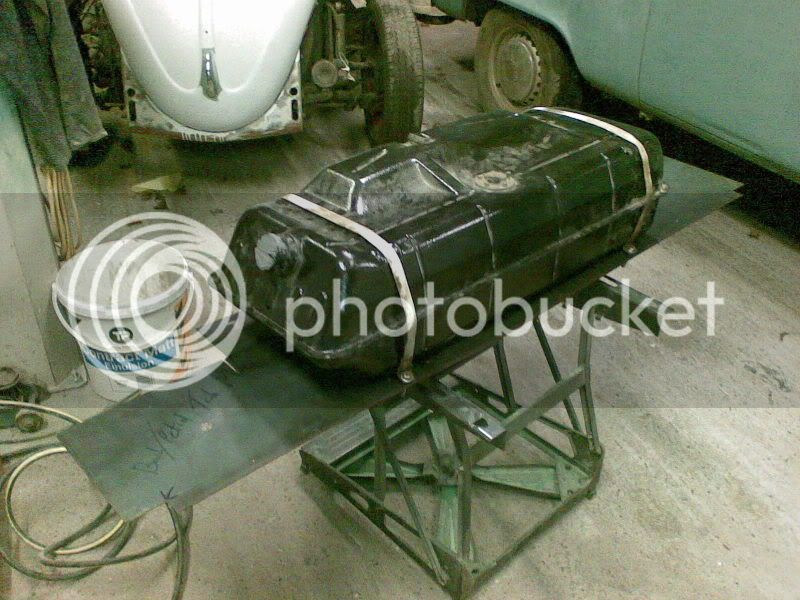
Took two goes at getting it in the right place, but the straps are on and I drilled the floor and welded some captive nuts on
05122007001.jpg

05122007002.jpg


Hoping to get more done at the weekend
 
WHS^^^

Doing a superb job on the cab - wish I had your workshop and current skills :wink:
 
Well I couldn't really think of anything else, the bulkhead was well gone, would have been a nightmare to try and beat it out without mashing all the pressings, and just plain flat plate would have looked a bit crap. Was lucky to get hold of the tailgate, just mentioned my idea in passing to our paint supplier at which point he told me he'd owned a string of caddys, still has a couple now and has loads of spares. Which was lucky as the tailgates seem to be fetching decent money on ebay.

I know I'm lucky to have the workshop and have people to give me help, I've certainly learnt alot from doing this van! :D
 
Floor all ready to go in
08122007.jpg

Cills sit alot higher to had to get the floor level with some extra steel
08122007001.jpg

Got the floor in and did all the plug welds
08122007003.jpg

08122007002.jpg

Going to get the main floor in now and then do all the edges in one go
 
Been chopping up ramps for steel to raise the floor supports. It's been a very long boring job! Just need to cut four more and clean them up and drill them,
11122007.jpg

Out in the cold...
10122007.jpg

I really wanted the floor done by christmas, but the steel for the floor supports has taken much longer to do than I thought, and I still need to make a repair to the drivers side inner cill and a few other bits inside the tresure chest. Have got another week of college as well, but will hopefully have the floor sorted in the first week of next year.
 
Update from today includes graphic images of bondage and a good filling,

05012008.jpg

Cleaned up the drivers side inner cill and patched it up.

05012008001.jpg

Brought out the bondage equipment!

05012008003.jpg

Glued the caddy tailgate script to the bulkhead, and just put a few tacks on the edges to hold it

05012008004.jpg

Started to bang some filler on it to lose the edge
 
The glue?
Strong enough, goes off completely in ten minutes, when I first stuck the script on it was a few mm low on one side "oh bollocks" I thought as i tried to even it up, but luckily there was just enough give for me to slide it round. Seems to grip pretty well to be honest. I whacked a couple of tacks just to pin the edges down. Pretty sure its not going anywhere now. It's taken all the pop out of that panel as well which is nice otherwise I'd have had to reenforce the back which would have looked ugly and added more distortion problems.

From what I've learnt there are a lot of modern cars about with bonded panels, apparently the entire roof on the Merc Sprinter is glued on so it must be good enough stuff!
 
Finally got the photos off the boss' camera so these are from october/november

Driver's side front arch repair...
DSCF0014.jpg

DSCF0015.jpg

Underneath the cab
DSCF0017.jpg

Top Hat going in
DSCF0018.jpg

Making a template
DSCF0020.jpg

Marking out
DSCF0021.jpg

Welded in and snotted over with sealant
DSCF0027.jpg


Cab Bulkhead Repair...
DSCF0058.jpg

Looking a bit wavey..
DSCF0056.jpg

After some careful slide hammer action...
DSCF0060.jpg


Out came the angle grinder
DSCF0061.jpg

DSCF0062.jpg


Flat plate cut to size and welded in, caddy tailgate cleaned up...
DSCF0075.jpg

DSCF0072.jpg

Inside the cab
DSCF0076.jpg

Steel for cargo floor turned up
DSCF0073.jpg

Lining up the tailgate script
DSCF0078.jpg

DSCF0077.jpg
 
are you keeping the floor flat or adding wood slats or something? looks good so far
 
Cargo Floor will just be kept flat, I'll probably end up covering it with lino or something anyway.
Won't be seen once I've filled it full of crap anyway :lol:
 
Been told I need to shift my engine and gearbox as its taking up space so I've started to burn the paint off the loadbed so I can spray the engine bay.
Half way....
09012008.jpg

09012008001.jpg

Done all the bit over the engine bay
09012008002.jpg

09012008003.jpg


I know I should probably try and sort the loadbed out, but to be honest its going to be my daily and I'm going to be slinging bikes and all other kinds of crap in the back so can't really see any point as its only going to get trashed again.
 
Well I orignally planned to have that as my cargo floor, but the thinnest the steel came in was 4mm or summat daft and I wasn't looking to armour plate the the floor :lol:

Not sure about cladding over the load bed, I'd be concerned about moisure being trapped between to chequerplate and the load bed, I'll probably just end up slinging some lino on it as well as on the cargo floor. Just thought it would give the paint from protection from scratching and its easy to lift up to see if anything naughty is happening underneath.

Have seen pickups in the past with chequer plate on the bed though, would be interested to hear how they have lasted if anyone has done it?
 
15012008.jpg

Had my first proper go at paint spraying tonight :D

First I sprayed isolator (barcoat) over the hammerite to prevent reactions
15012008005.jpg


Then sprayed the topcoat
15012008008.jpg

15012008007.jpg

15012008009.jpg

Wasn't sure about the colour when it was in the tin, but when its sprayed on it looks a lot more like what I wanted
 

Latest posts

Top