You are using an out of date browser. It may not display this or other websites correctly.
You should upgrade or use an alternative browser.
You should upgrade or use an alternative browser.
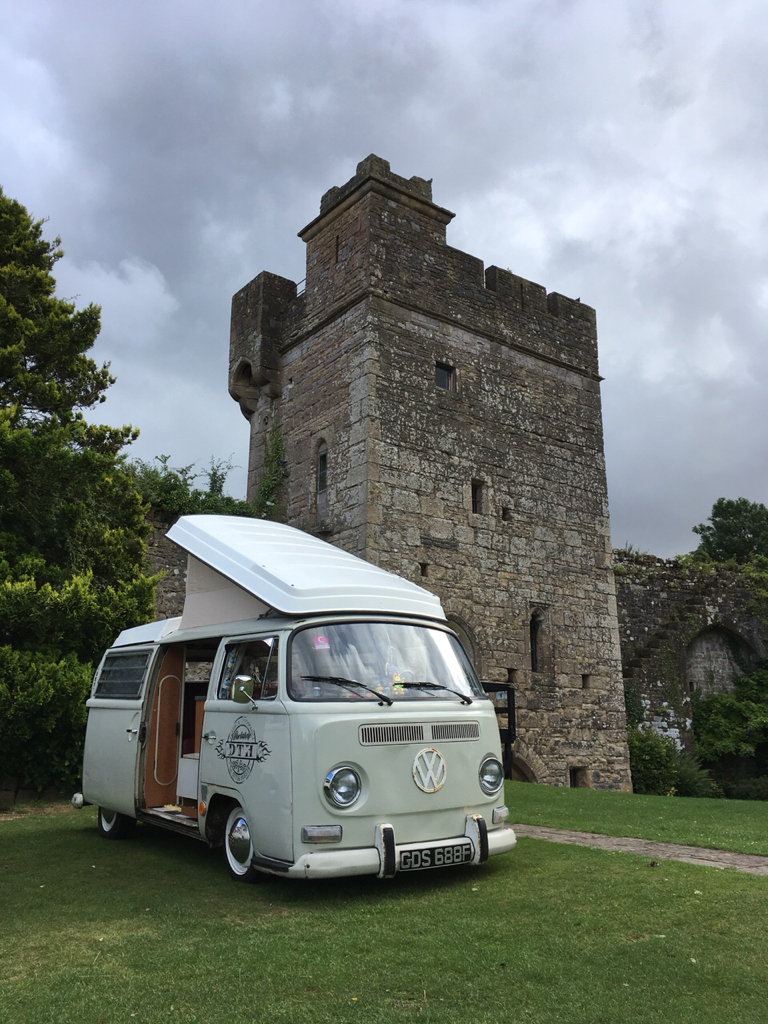
The white Westy we call Steve
- Thread starter Moseley
- Start date

Help Support Early Bay Forum:
This site may earn a commission from merchant affiliate
links, including eBay, Amazon, and others.

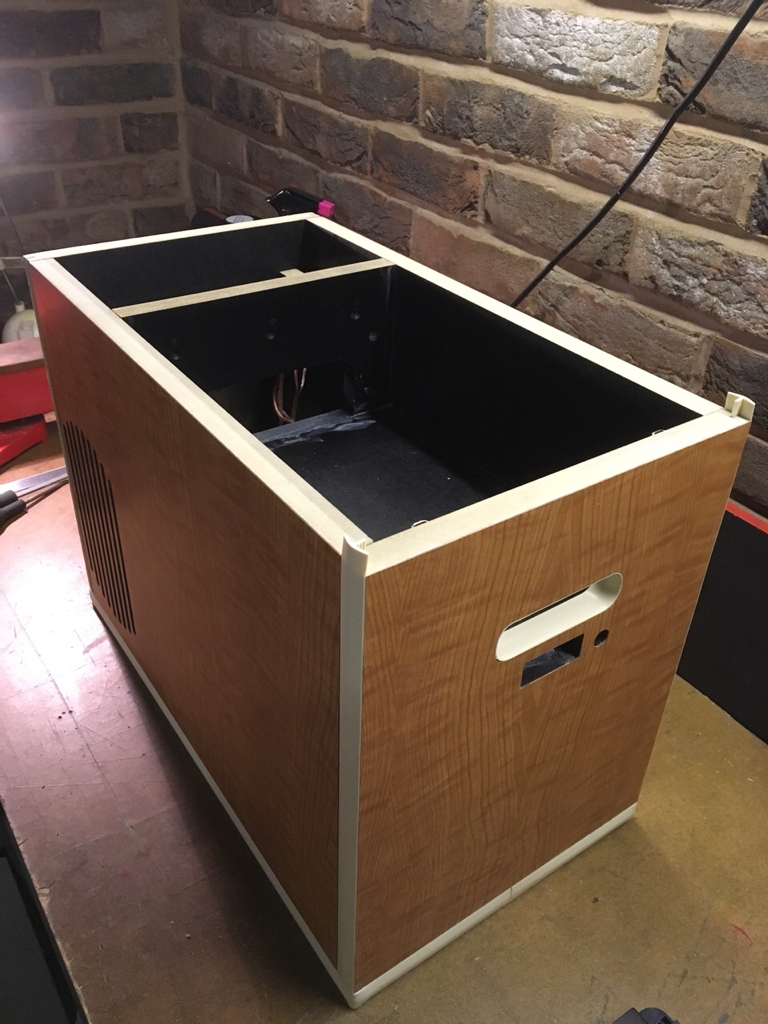

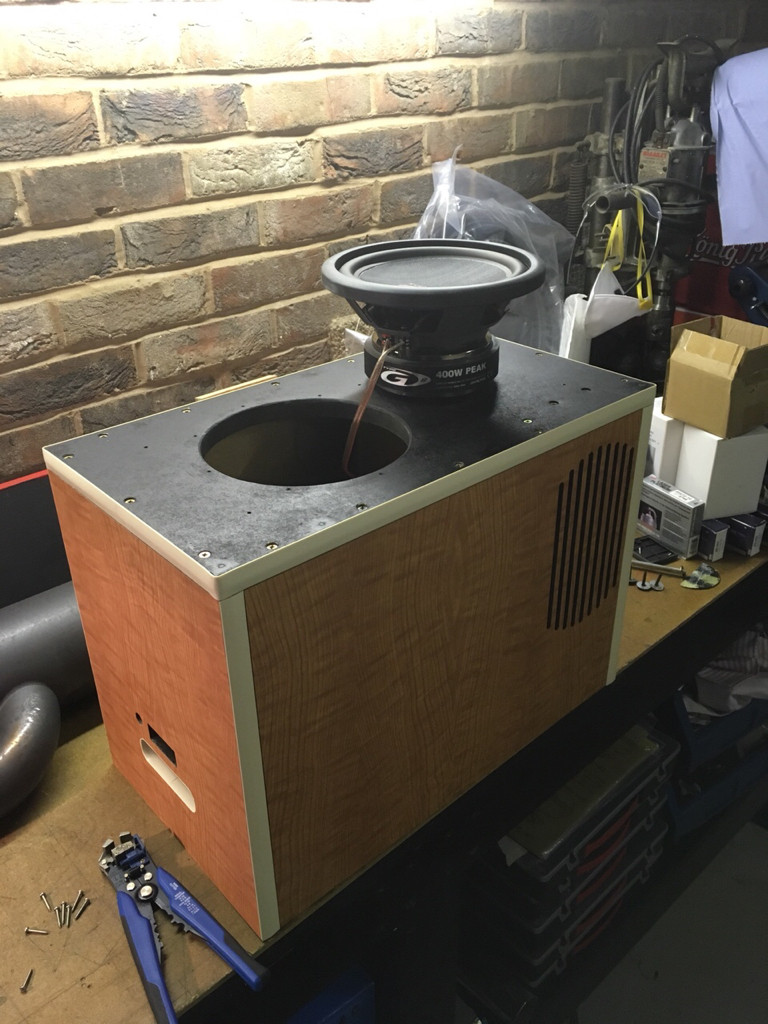
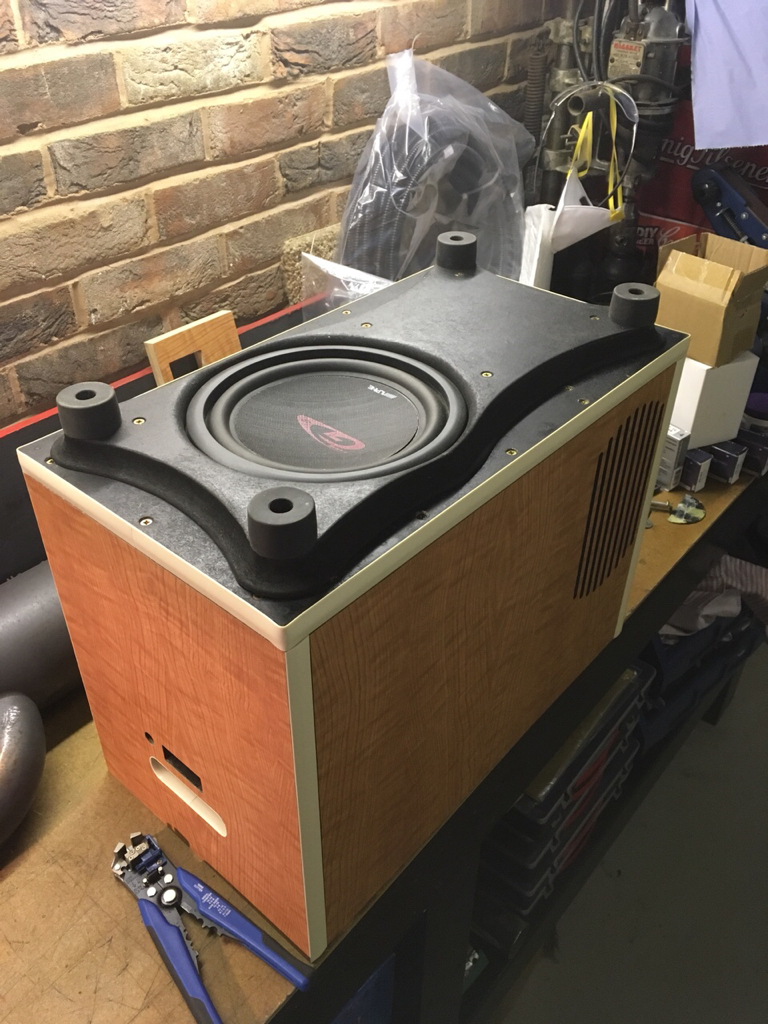
Sub being mounted, and a trim piece around it that the feet are attached to to allow it enough free-air to move. I went with an 8” as this suits the size of the gap between the front seats, and also the volume required for it to be effective means the overall box won’t be enormous!

Sent from my iPhone using Tapatalk
Sent from my iPhone using Tapatalk
Amp mounted on what is effectively the top of the sealed subwoofer compartment. And a rats nest of wiring between the power inlet, head unit, amplifier and speakers / sub.... starting to get heavy now

Sent from my iPhone using Tapatalk
Sent from my iPhone using Tapatalk


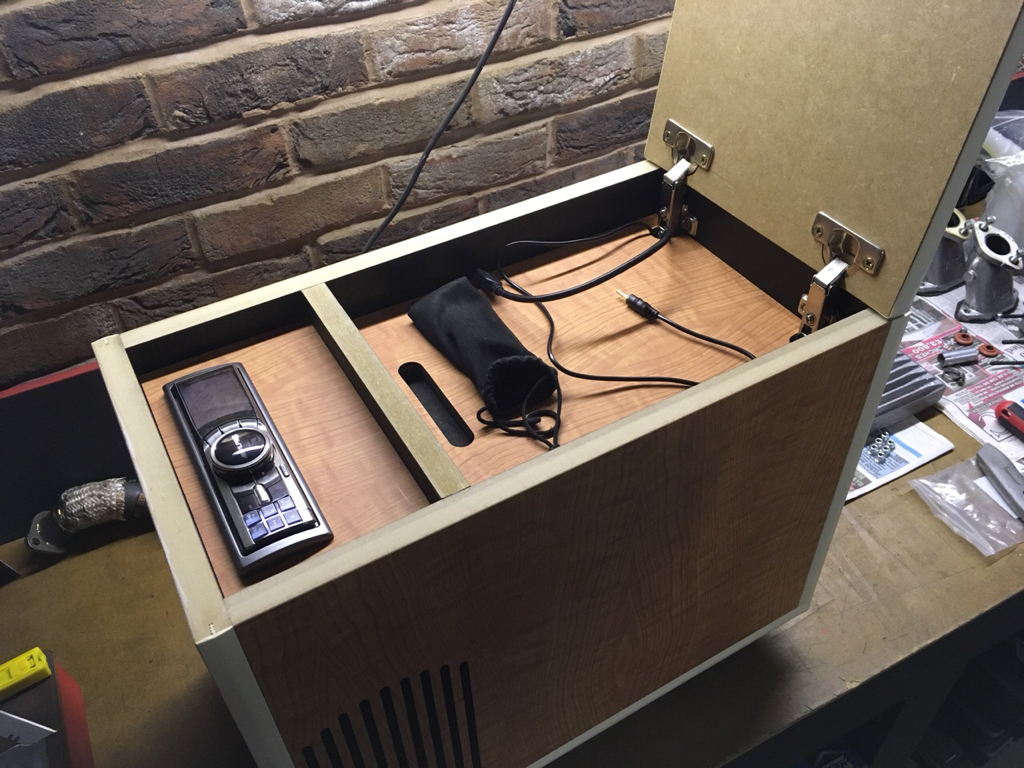
And finally complete! Connections on the bank are a Vibe Fastplug and a radio antenna, so it can easily be removed from the van or dragged into the awning for some camp fire tunes. The storage area isn’t quite as deep as we probably need, but will happily fit phones / wallets and iPods for the connection to the headunit.
The handles were definitely needed front and back as it weighs a ton! They also double up as cooling vents as the amp does tend to get a bit warm when it is driving hard to drown out the sound of the engine.


Sent from my iPhone using Tapatalk
The handles were definitely needed front and back as it weighs a ton! They also double up as cooling vents as the amp does tend to get a bit warm when it is driving hard to drown out the sound of the engine.
Sent from my iPhone using Tapatalk
Myvanway
Well-known member
That my friend is awesome. 8)
Paul.
Paul.
Matthew_leech
Member
Great looking bus, the buddy box is a real tidy build. I have speakers under the rock and roll bed and with all the sound coming from the rear, its not ideal!
I am after a ride height similar to yours, but the expense to get a narrow beam and drop spindles, means it hasn't made it up the priority list yet!!
Matt
I am after a ride height similar to yours, but the expense to get a narrow beam and drop spindles, means it hasn't made it up the priority list yet!!
Matt
joneastwood
Well-known member
nice, turned out great
Matthew_leech said:Great looking bus, the buddy box is a real tidy build. I have speakers under the rock and roll bed and with all the sound coming from the rear, its not ideal!
I am after a ride height similar to yours, but the expense to get a narrow beam and drop spindles, means it hasn't made it up the priority list yet!!
Matt
Thanks - it sounds good with the sub firing down, although I'm not sure if this is the effect of it being very close to the ears that enhances the sound, or the reverberating floor underneath it! [emoji23]
I've not gotten around to updating this thread with new stance pics yet, but all the pics you see so far are on a standard beam and spindles, with just weld-in adjusters. However, at this height, unless you're running King and link pin, the ball joints are pretty much maxed out. It made for a horrible ride, let alone dangerous if the BJ's failed.
Will get around to updating with new pics now that the 4" beam and dropped spindles are in.
Sent from my iPad using Tapatalk
")
Definitely got a bit of a gap in my photos and have missed out a few shows since the last update! We all like photos of work actually being done on our vans, and where I left off was around the time I chucked a 4” narrowed beam on to cure the lack of front suspension that we’d been suffering. Unfortunately, I had issues with weld distortion of the beam, meaning the arms would not fit on one side. So the night before Camperjam 2017, I was up until 3am trying to fit a replacement beam, and everything that then has to be bolted on once the beam is in place!
Needless to say, tiredness very much ruined that weekend for me, but here was the (rushed) stance for the weekend.


And some words of encouragement from my neighbour to congratulate me on all the hard work I’d put into getting the van Camperjam ready:

Needless to say, tiredness very much ruined that weekend for me, but here was the (rushed) stance for the weekend.
And some words of encouragement from my neighbour to congratulate me on all the hard work I’d put into getting the van Camperjam ready:
And here was the view on one of the nights whilst the Mrs was helping with some late-night brake bleeding! The dog was not going to be left alone!

And subsequently a happy dog at Camperjam.

And a massive headache for me after too many beers and jumping on this:

Sent from my iPhone using Tapatalk
And subsequently a happy dog at Camperjam.
And a massive headache for me after too many beers and jumping on this:
Sent from my iPhone using Tapatalk


And soon enough it was winter, and there began my first partial engine strip-down, and in fact, my first air cooled engine removal. The reason for whipping it out is because I had been getting a slight burning clutch smell when going up hills at speed. There was no obvious signs of slipping (revs increasing quicker than speed) but I was fairly sure the bigger engine was putting too much strain on the standard clutch.
First things first, draining the oil:
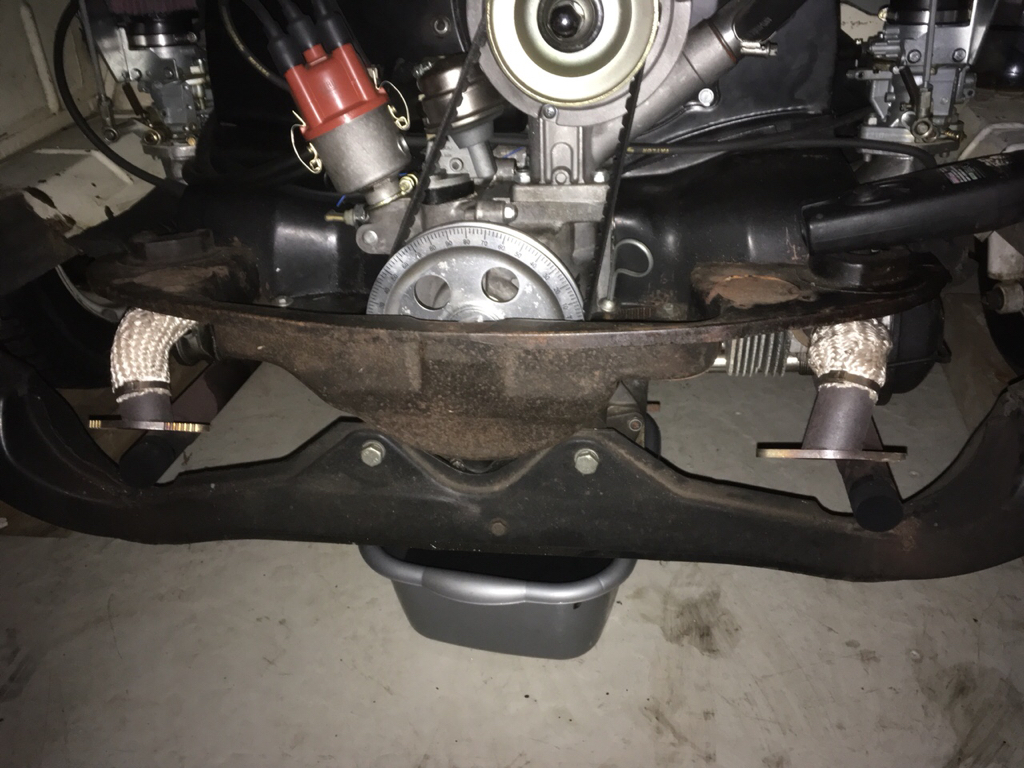
And engine out and clutch inspection.
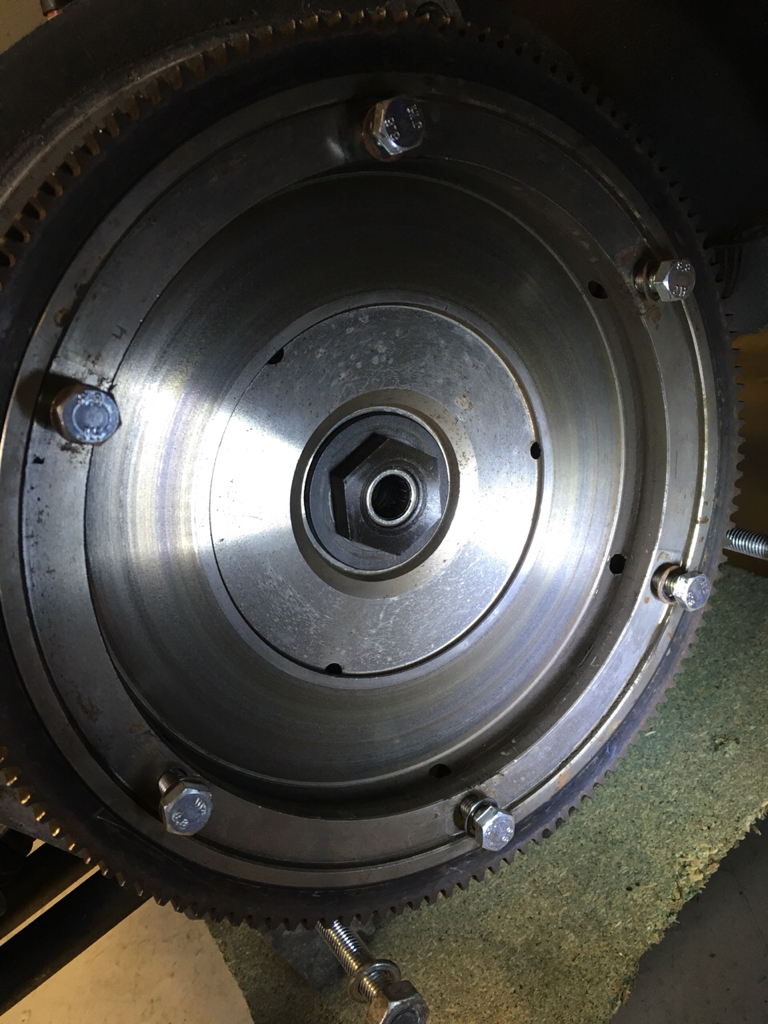


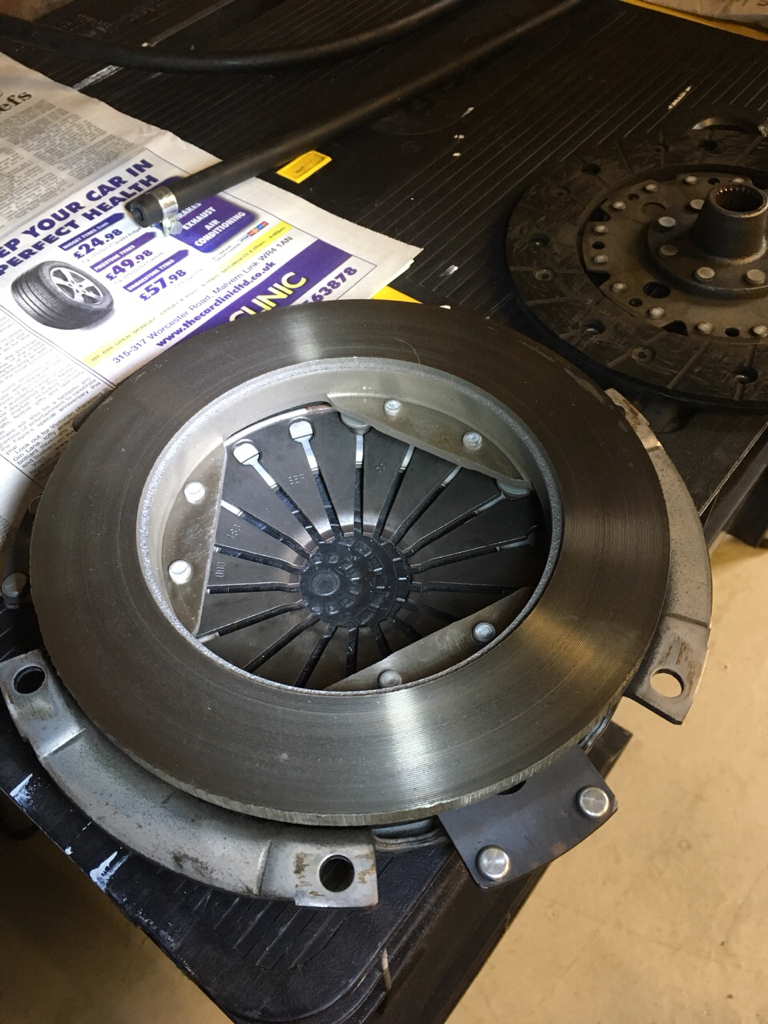
Definitely some signs of blue-ing apparent, so hopefully a stage 1 Kennedy would sort it.
Sent from my iPhone using Tapatalk
First things first, draining the oil:
And engine out and clutch inspection.
Definitely some signs of blue-ing apparent, so hopefully a stage 1 Kennedy would sort it.
Sent from my iPhone using Tapatalk
Whilst the engine was out, I figured it’d be a good time to sort out some oil weeps that were coming from a variety of places, so began stripping it all down in preparation for some new seals and gaskets.


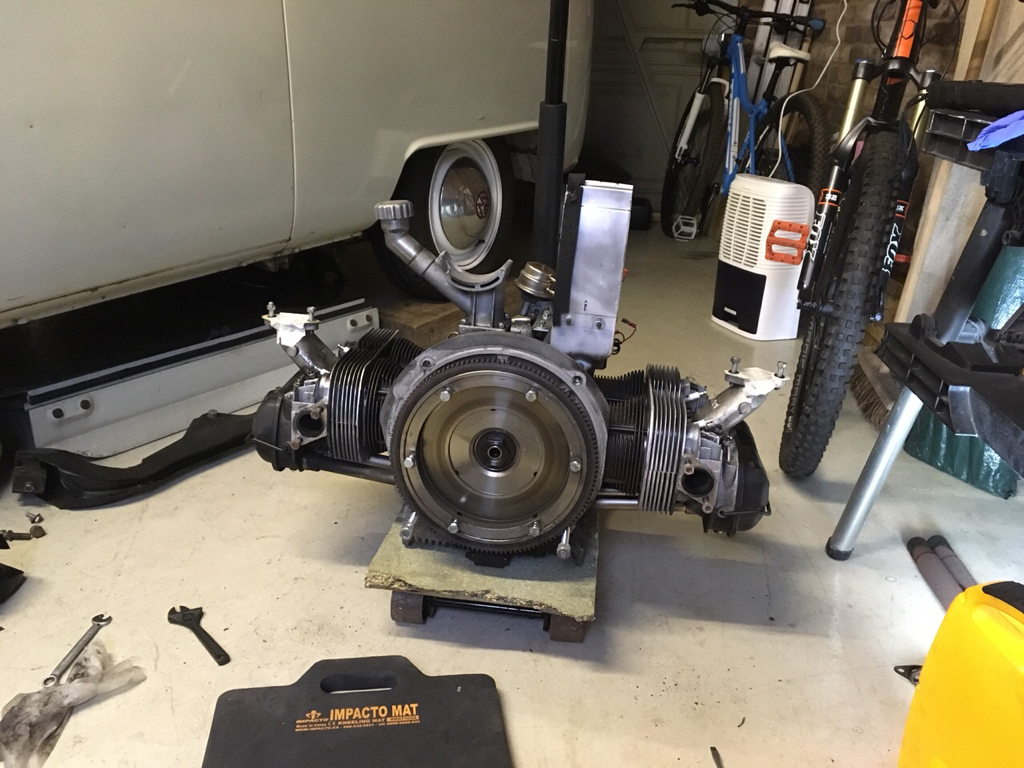
And after doing all this on my garage floor with the engine balanced on a trolley jack, I bought an engine stand and one of those eBay adapters to mount to it so that I could work at a normal height!
Sent from my iPhone using Tapatalk
And after doing all this on my garage floor with the engine balanced on a trolley jack, I bought an engine stand and one of those eBay adapters to mount to it so that I could work at a normal height!
Sent from my iPhone using Tapatalk
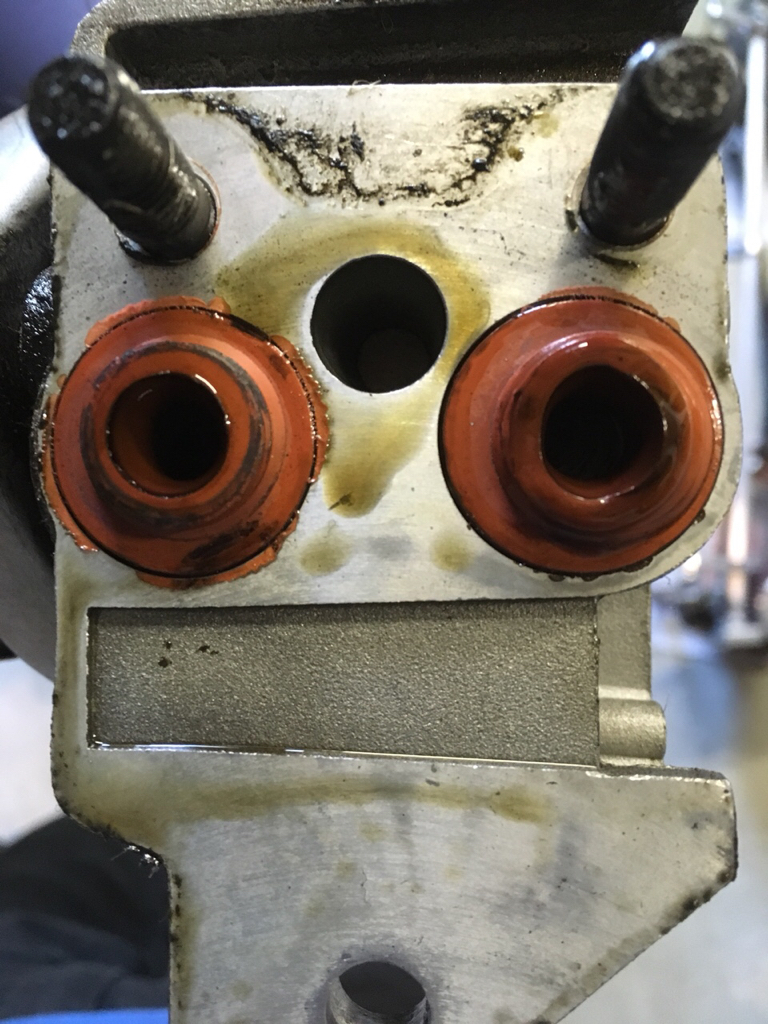
As suspected, a lot of oil had originated from the oil cooler seals.

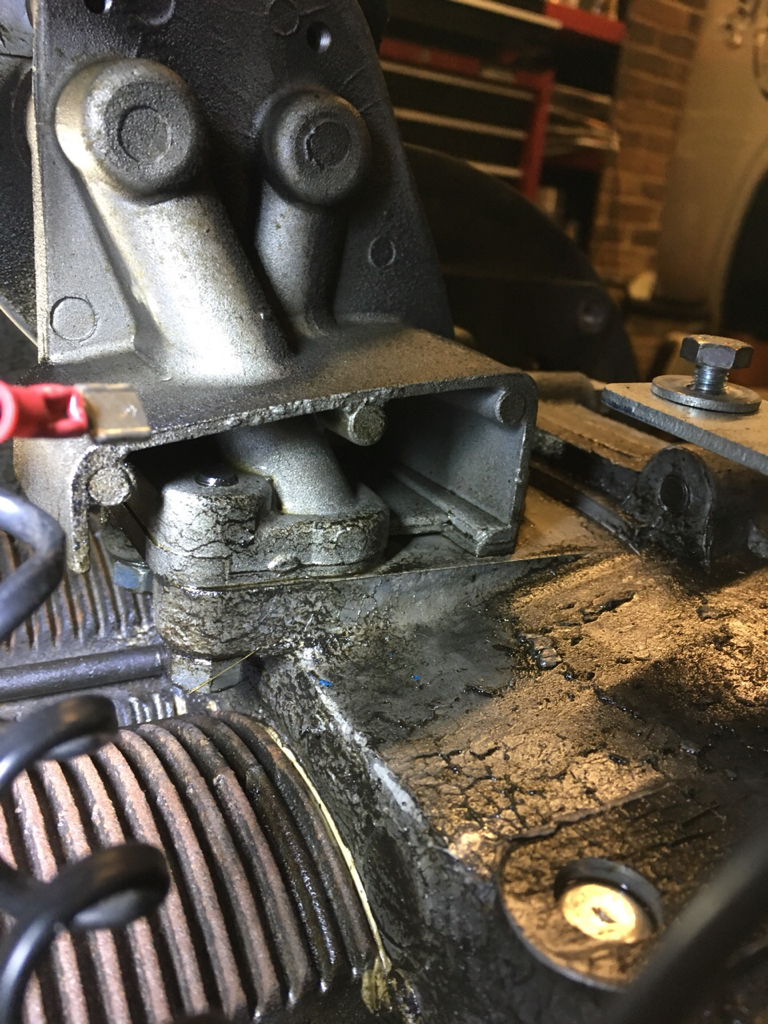
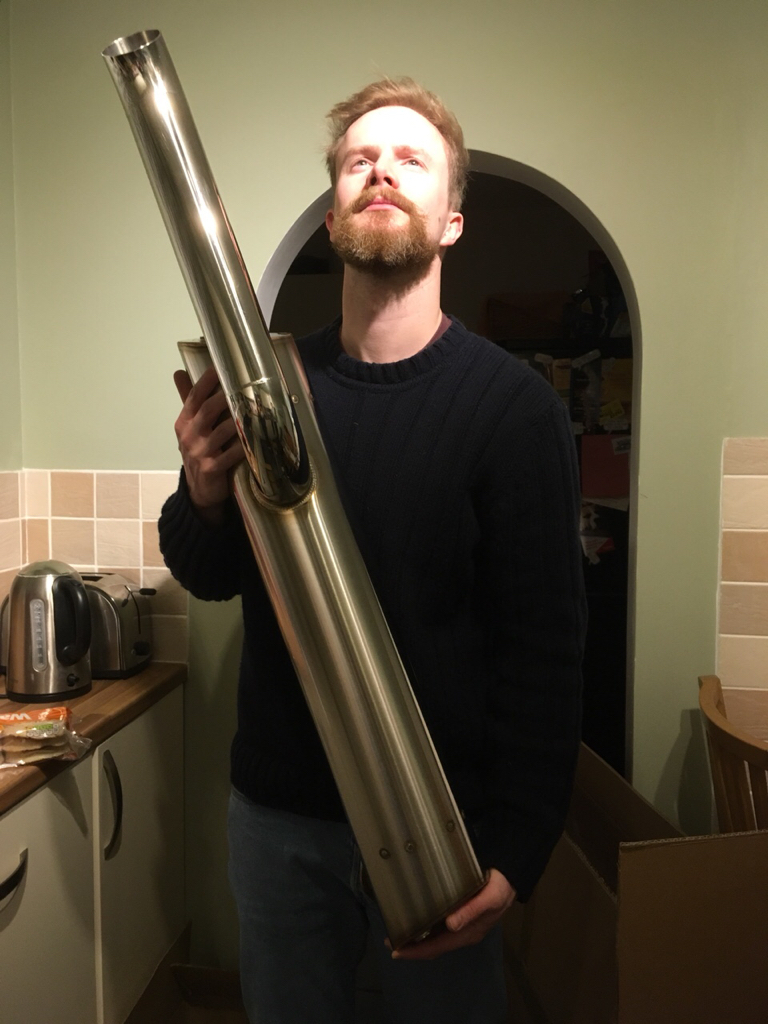
In the process of all this, I planned to get my Gadget Boy Westy tow bar installed when the time came to build it back up. Also, I was fed up with getting showered with rust every time I crawled under the back of the van due to having mild steel J pipes. So whilst purchasing some new SS ones, I unfortunately found out that the VS exhaust that had been previously installed was actually off a split screen - that explained why it hung so low and the flanges were touching the moustache bar! Only one thing for it...
Sent from my iPhone using Tapatalk


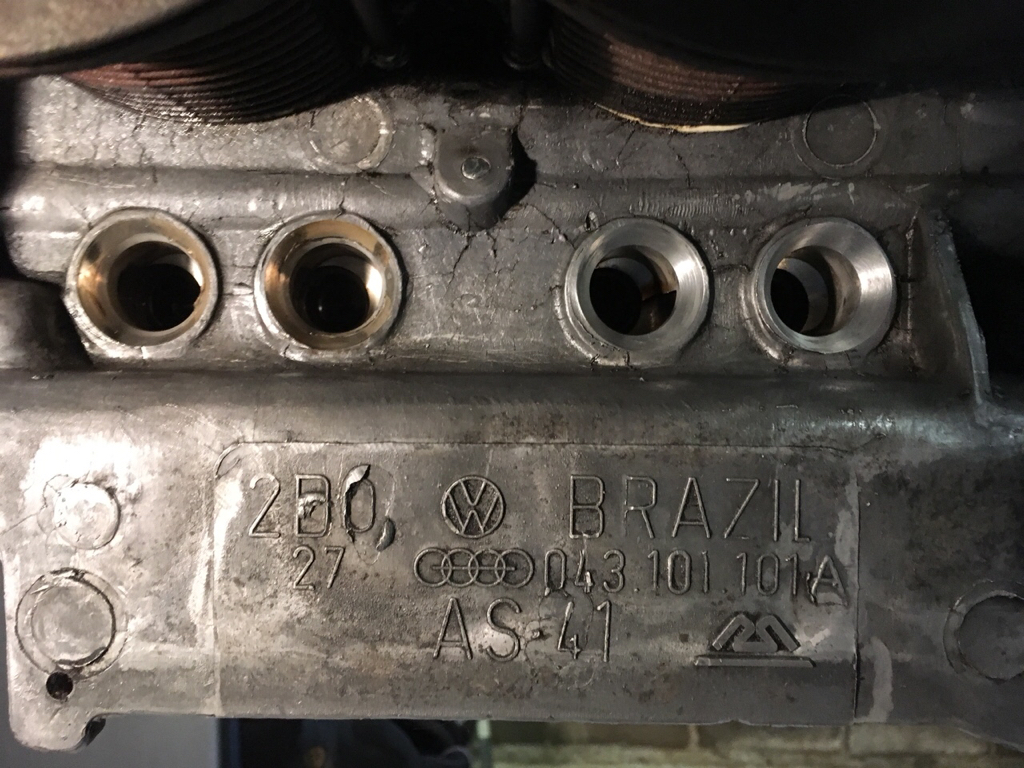
Then back on with the engine work. Heads pulled ready for new spring-loaded push-rod tubes (time will tell how well they function) and the sealing faces being cleaned of old sealant with a Scotch pad.


And found this push rod damage whilst
I was at it, so a new set from CB performance was purchased.

Sent from my iPhone using Tapatalk
And found this push rod damage whilst
I was at it, so a new set from CB performance was purchased.
Sent from my iPhone using Tapatalk
Similar threads
Vehicle For Sale
Early Bay Deluxe 1971
- Replies
- 5
- Views
- 1K
Vehicle For Sale
1969 VW T2 Early bay - UK RHD - £13,750 ono
- Replies
- 2
- Views
- 1K
- Replies
- 7
- Views
- 2K