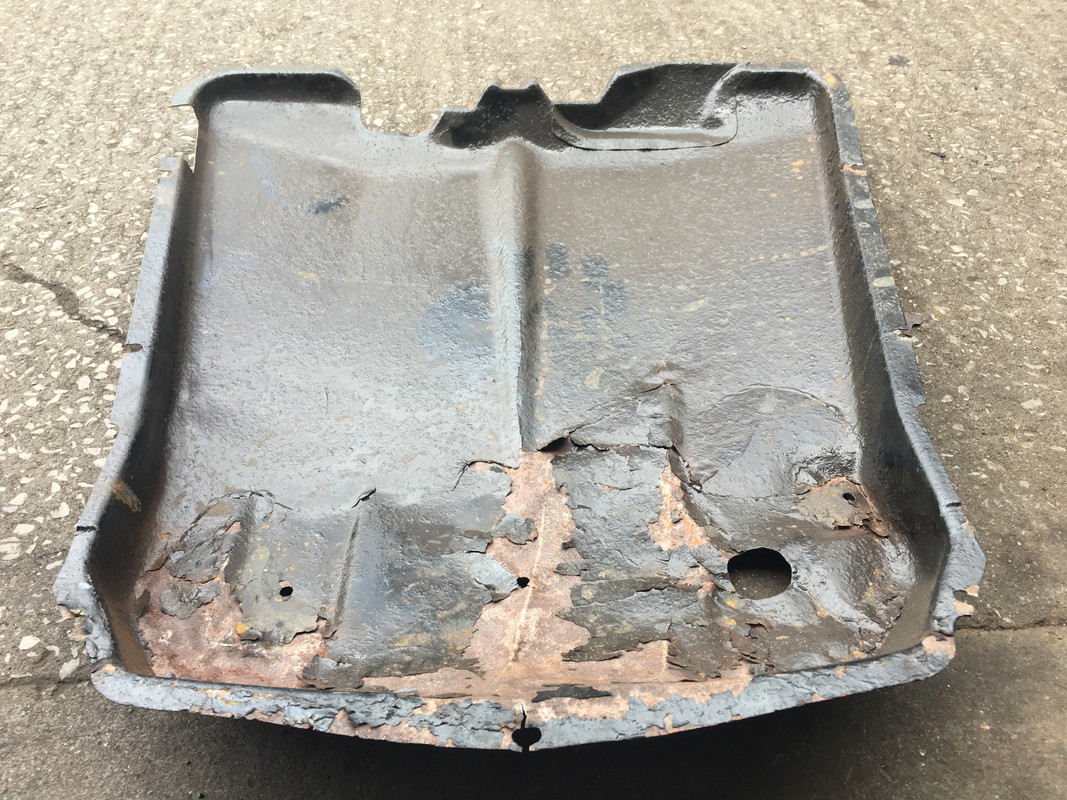
Ok cheers (I could be wrong, but yours looks like a late bay bellypan?)
I think I'll just carve a bit out to fit, it'll protect the front bits.
Having said that I've been driving about without one for about a year!
Sent from my SM-G9600 using Tapatalk
I think I'll just carve a bit out to fit, it'll protect the front bits.
Having said that I've been driving about without one for about a year!
Sent from my SM-G9600 using Tapatalk


 ) Looks like I might have to keep my eyes open for another one at some point