My '72 devon....

Early Bay Forum

Help Support Early Bay Forum:

This site may earn a commission from merchant affiliate links, including eBay, Amazon, and others.
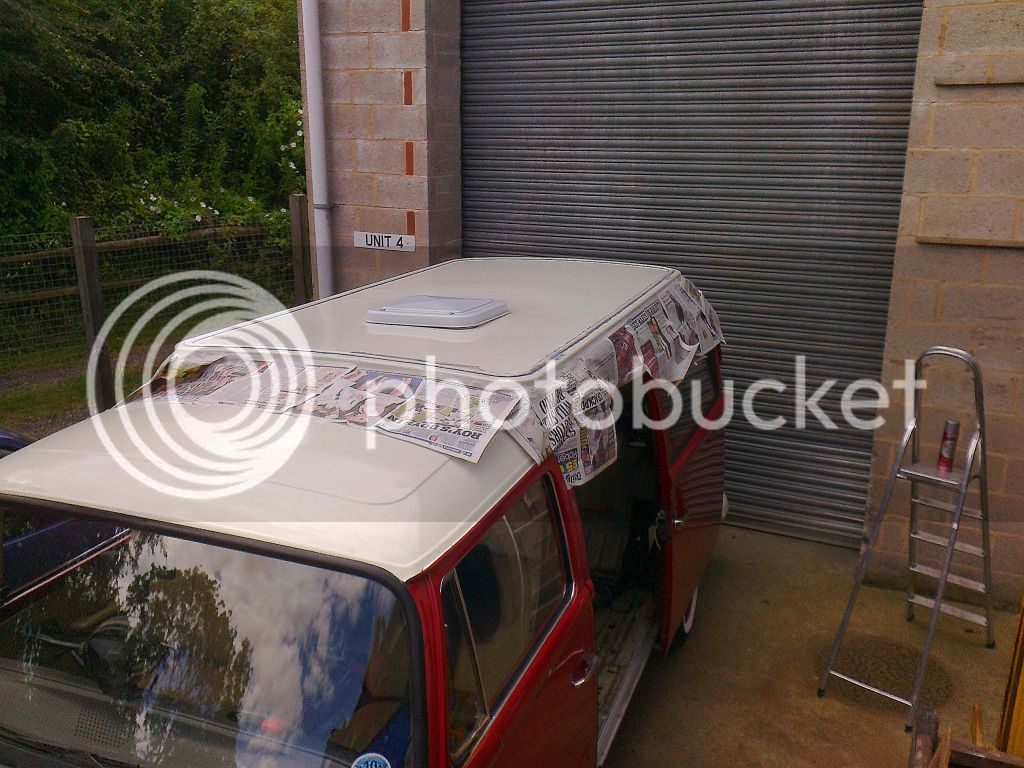
Well thought it was time for me to tackle the inner roof seal...!! :shock:

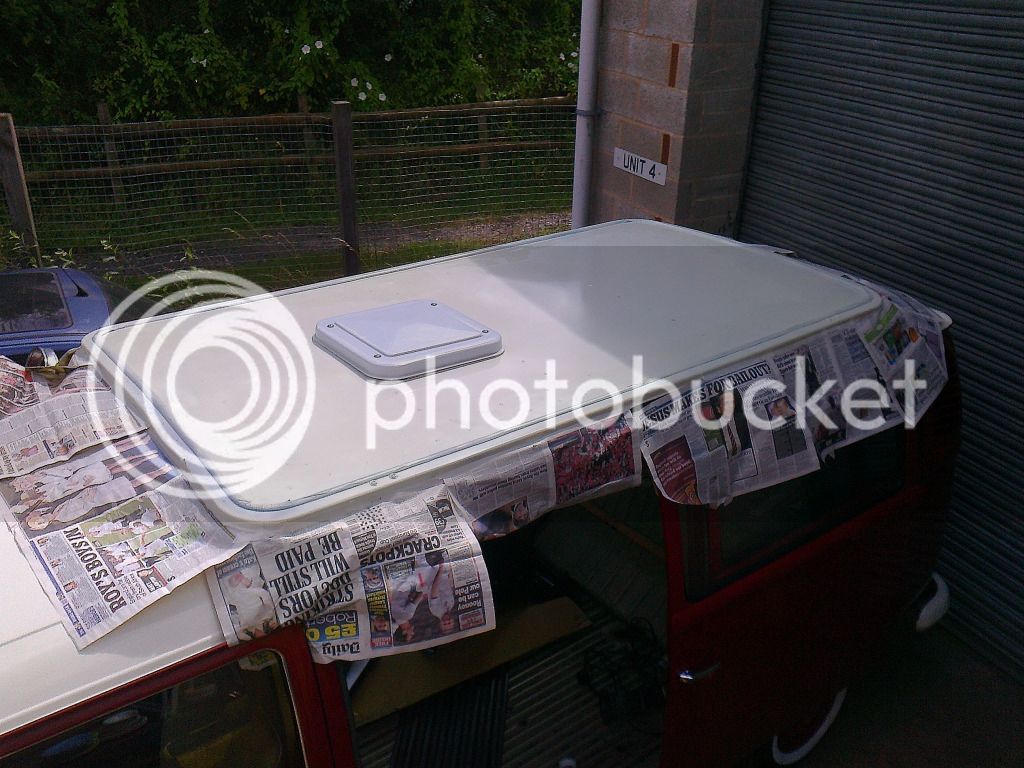
The best way i could see to take out the old and put in the new was by doing a metre section at a time. So that the middle roof panel was held in place firmly. :)

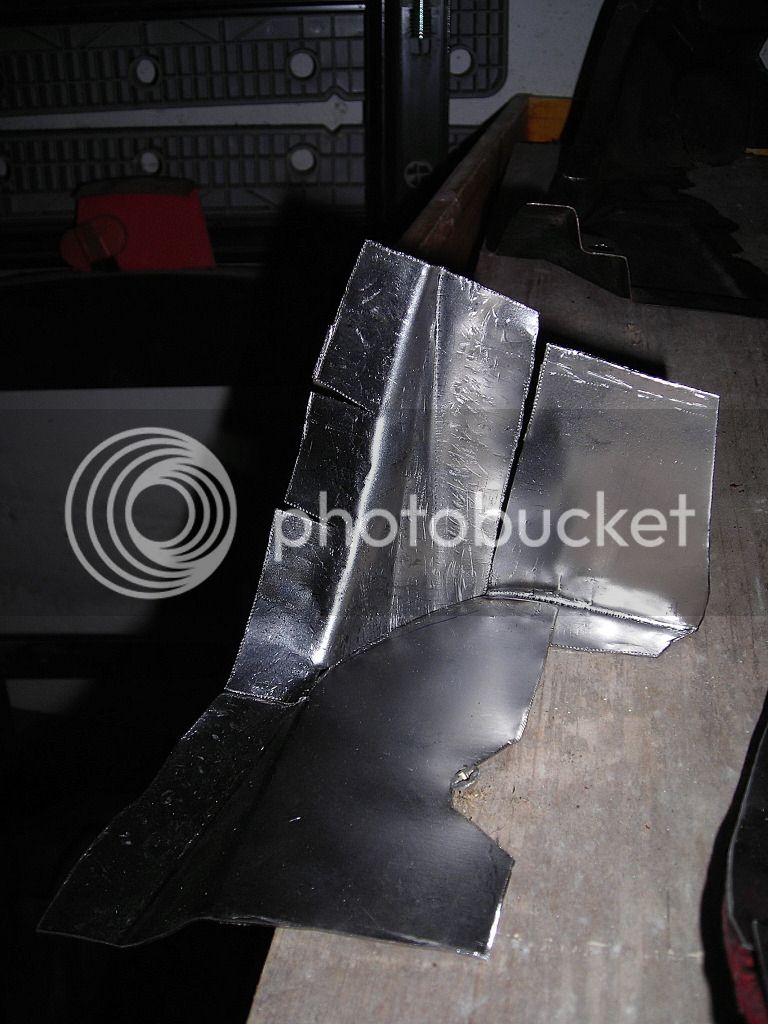
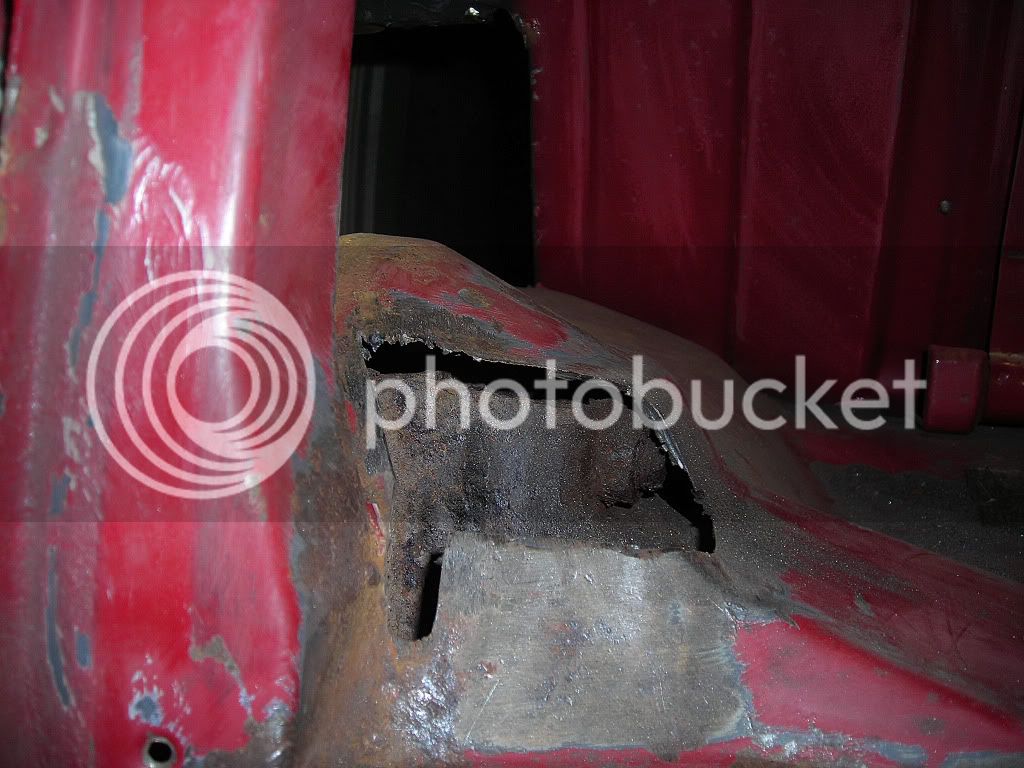
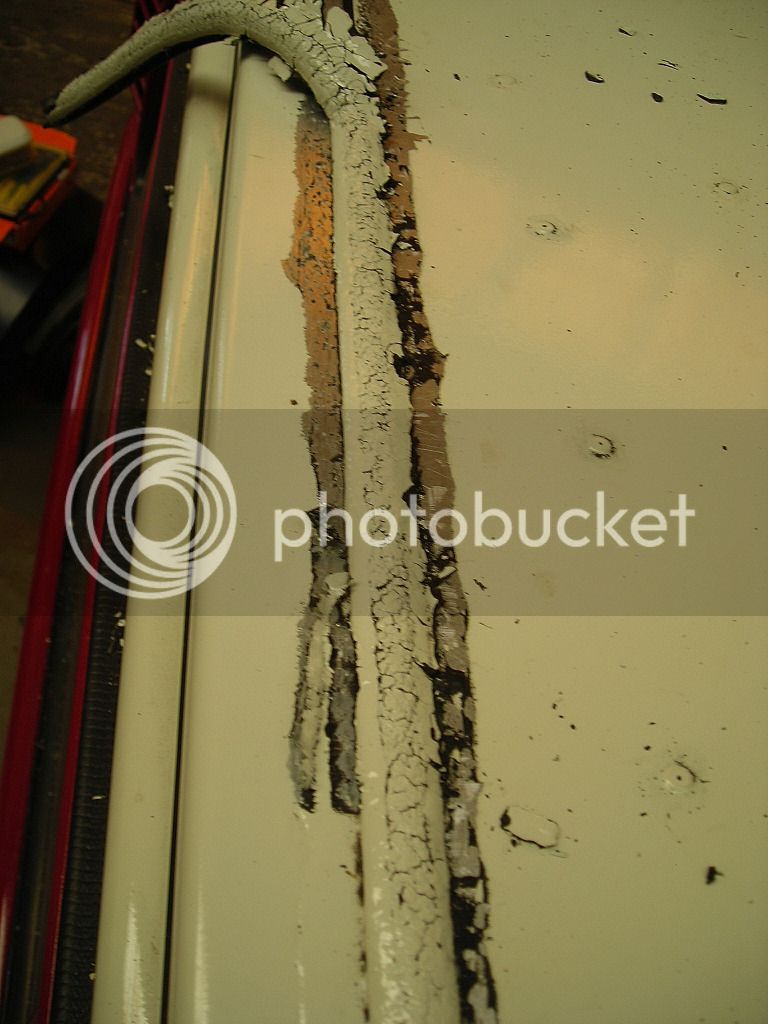
Started by scraping out the sealent from the sides of the old seal then pulled out the holding centre strip from underneath and just pulled out the old a metre at a time.....

DSCN3864.jpg


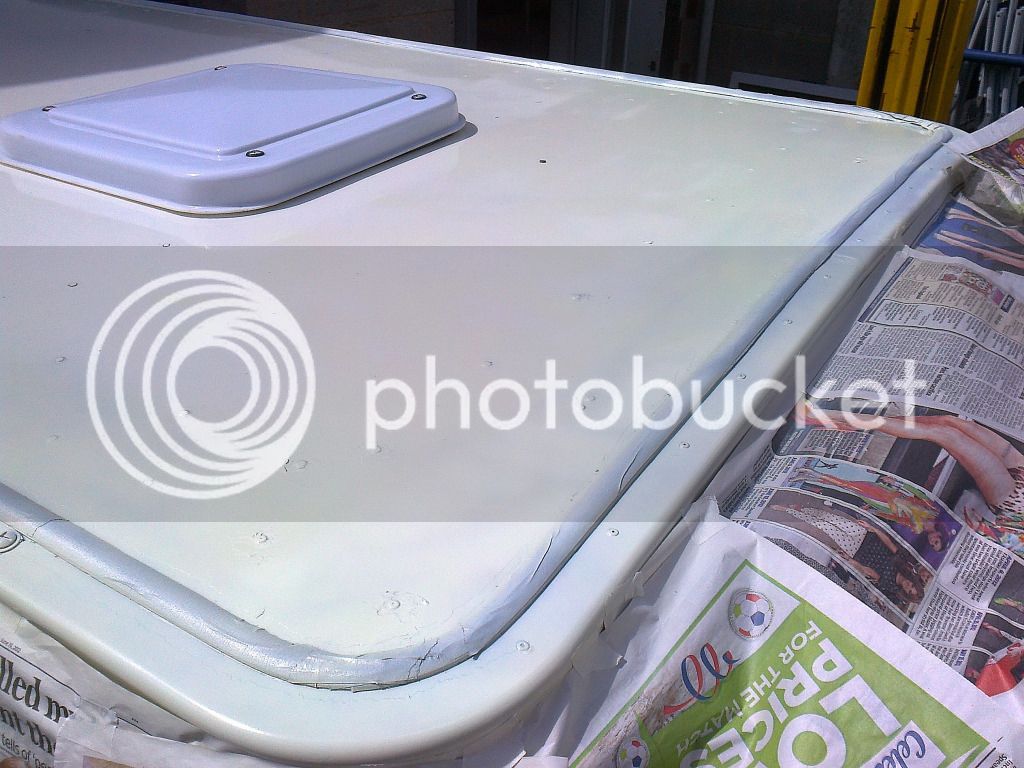
Then started to feed in new seal...

DSCN3860.jpg


Pushing it onto the main flat roof 1st...(hard to see in photo)

DSCN3867.jpg


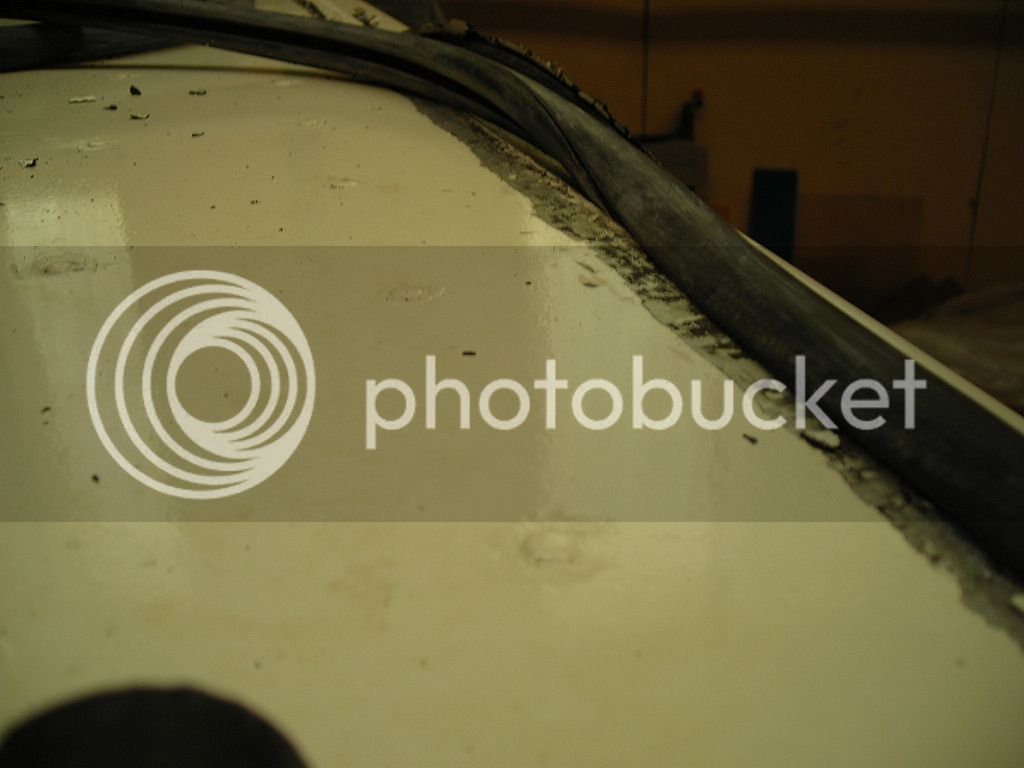
Then using a flat screwdriver push the the lip into the groove/gap and push flat....

DSCN3868.jpg


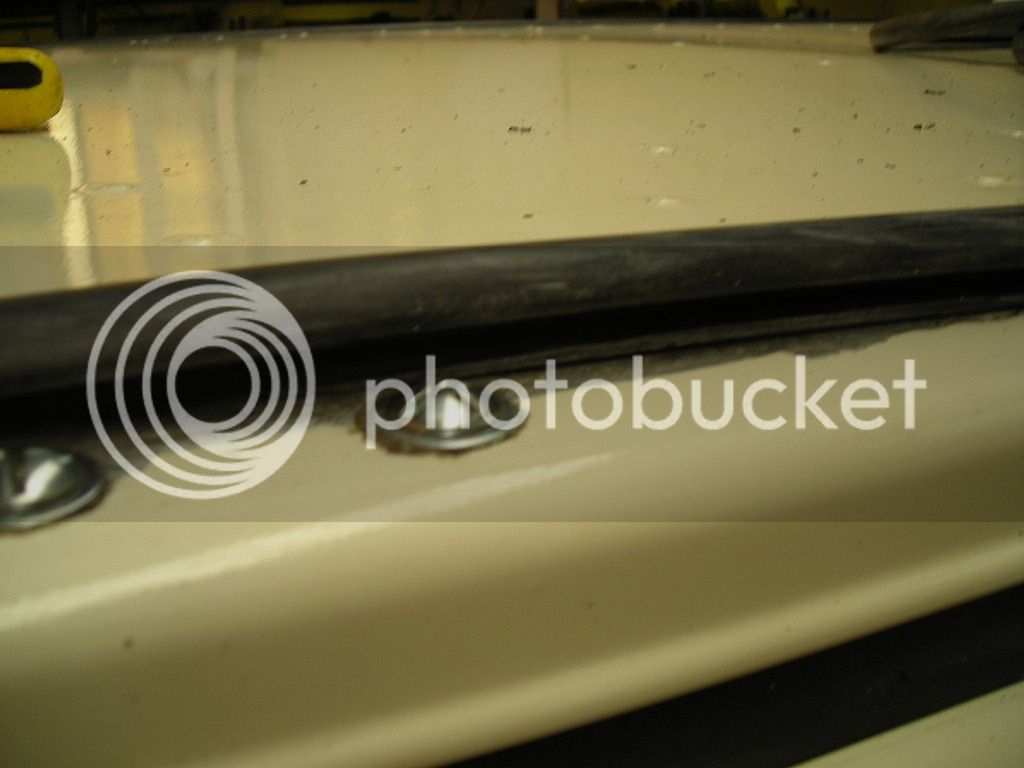
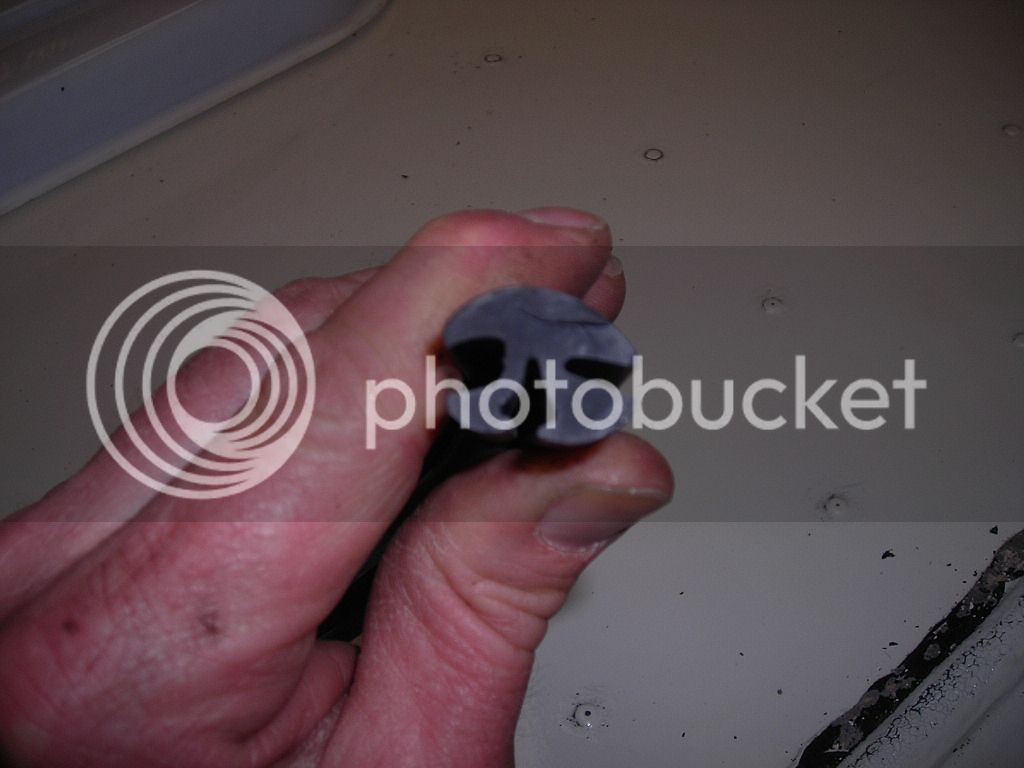
As you can see the seal has 2 horizontal slits for the roof to slip into and the V notch is for the inner strip to push into (forgot to take photo of this..!!)....
TOP TIP... Lube the V notch with washing-up liquid to aid installation..!!
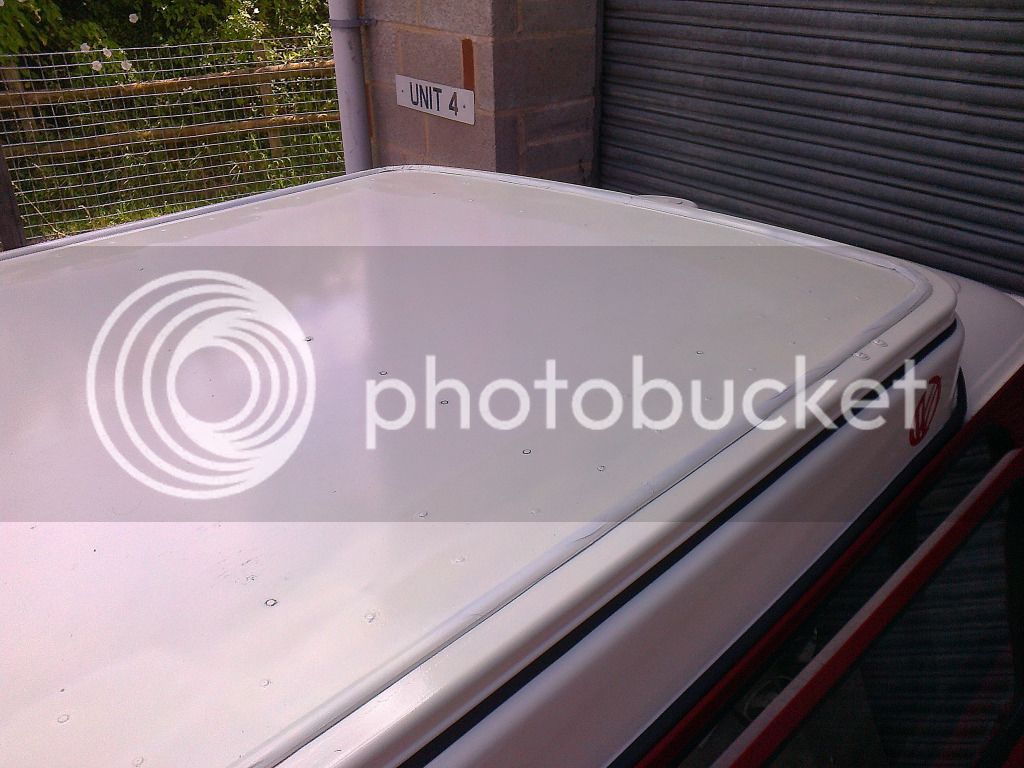
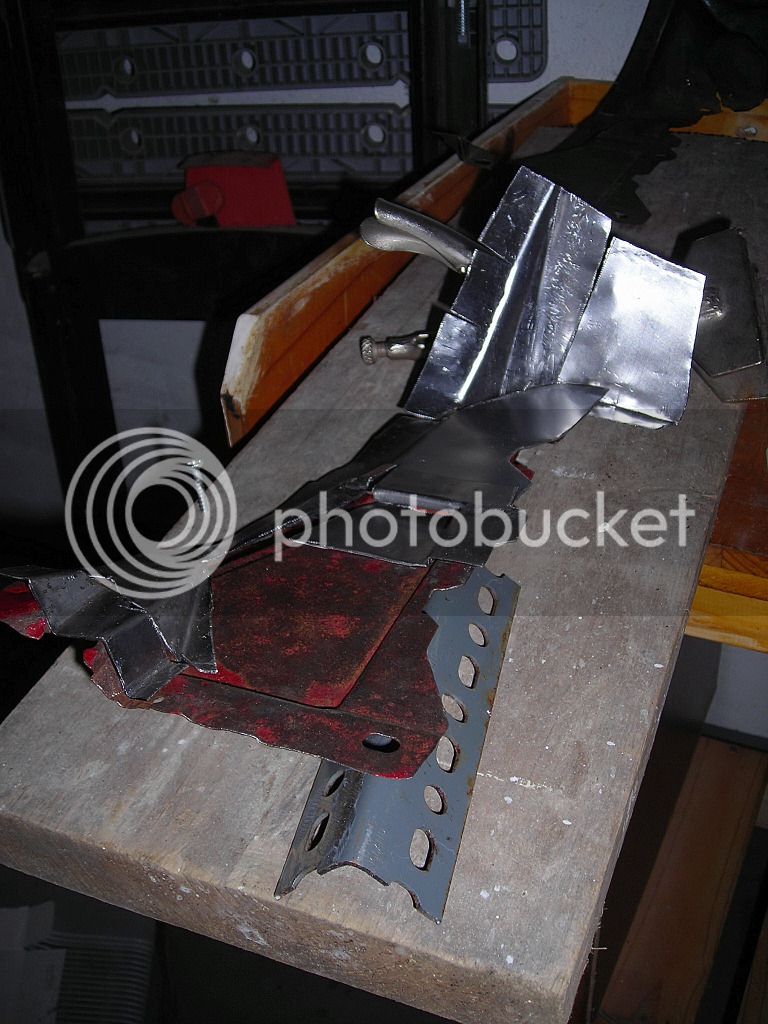
AND you may have to drill out the rivets on the end of each bellows top strips in the corners so you can fit the seal properly 3.5mm drill and 3.5mm by 15mm rivets to replace....
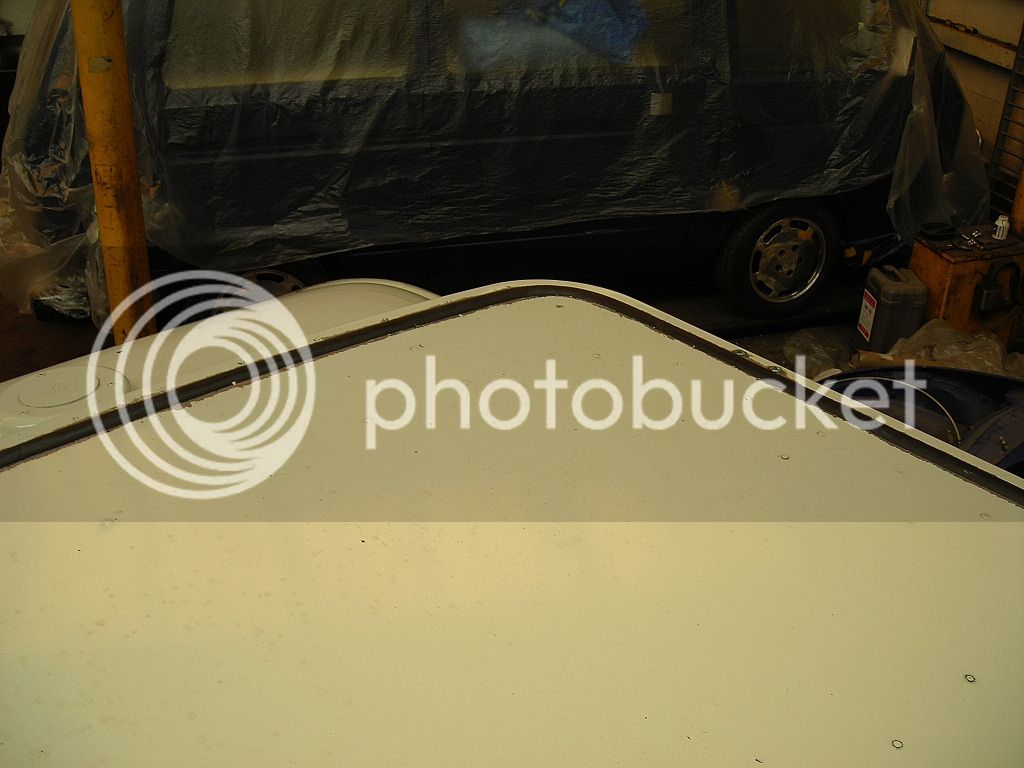
DSCN3866.jpg


New seal in...
Now i need to find out from the Campershop.co.uk (where the seal was originally from) wheather i need to seal with sealent or not..??

DSCN3863.jpg


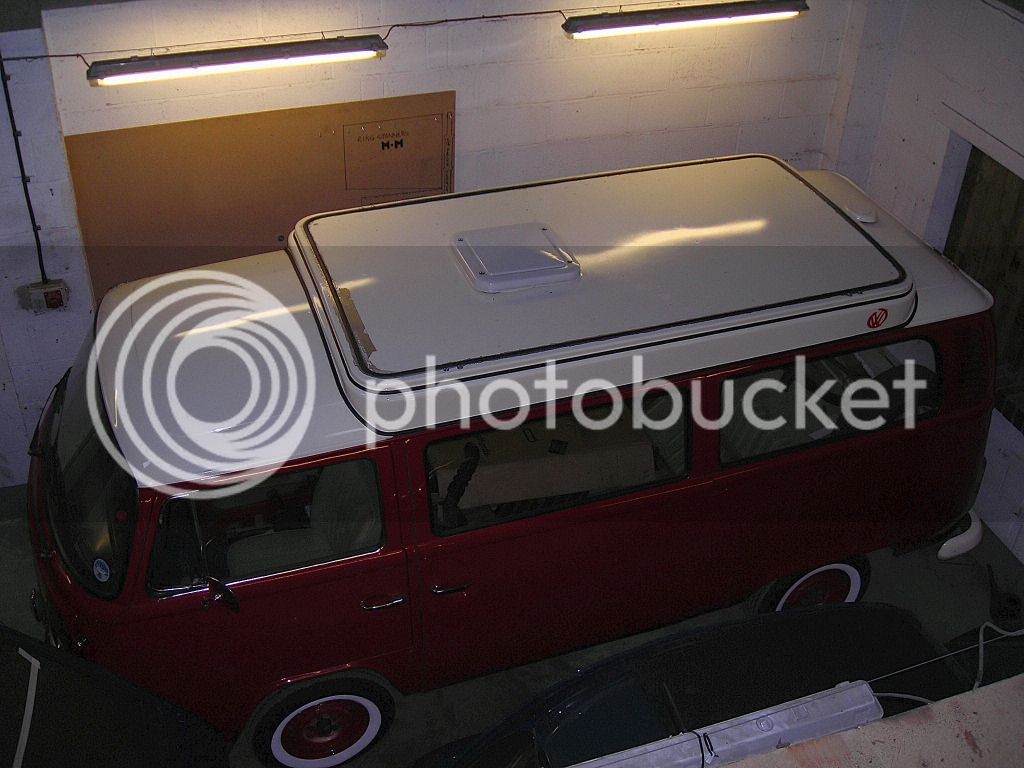
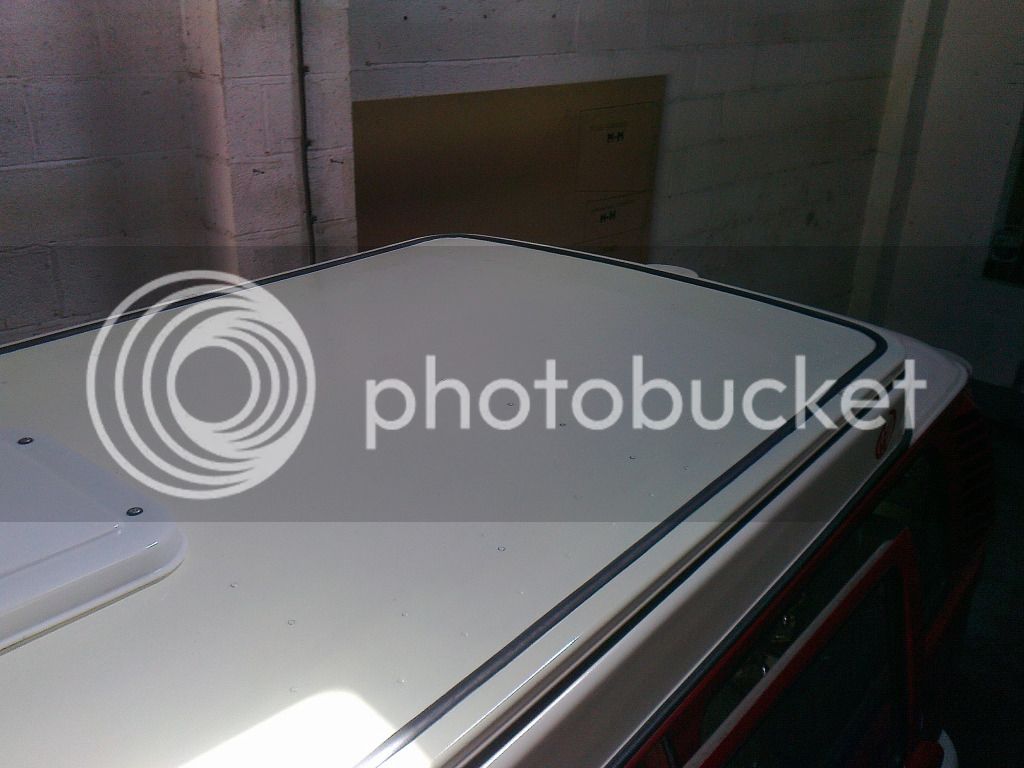
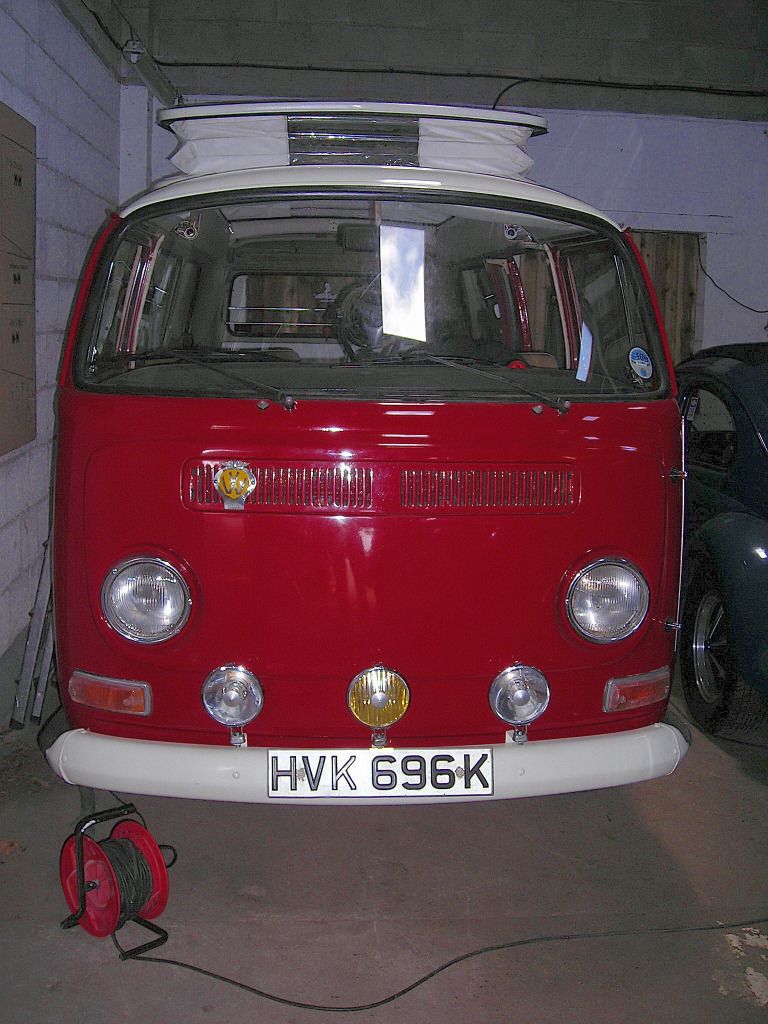
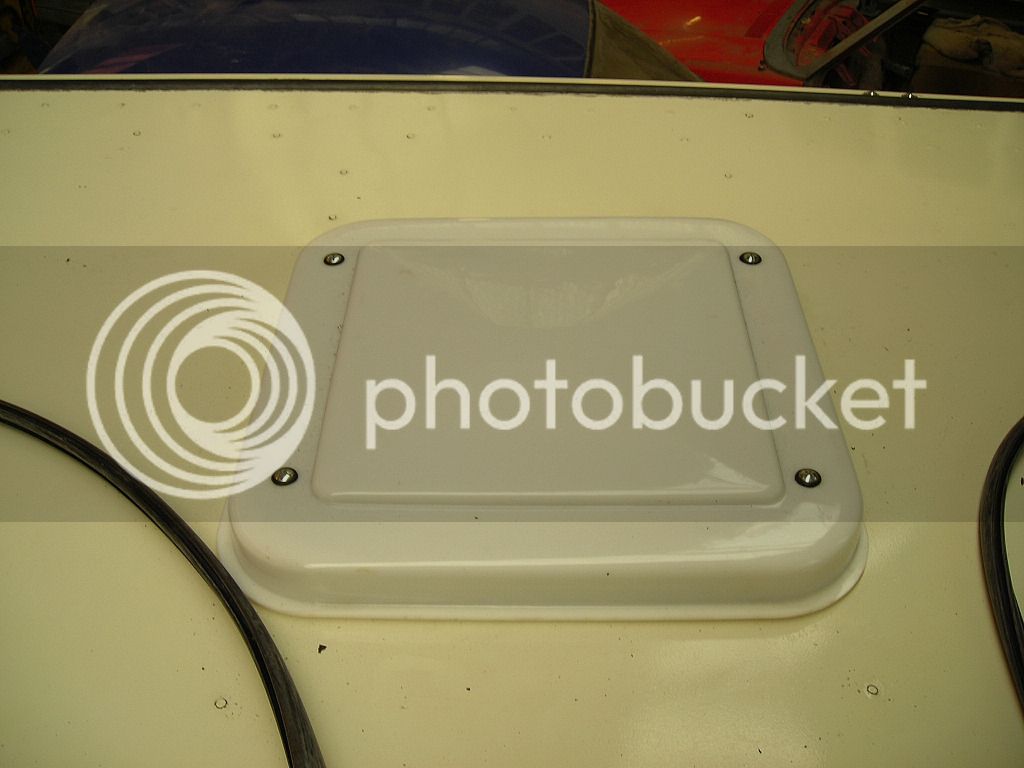
Top picture of the new skylight that i did last month...

DSCN3862.jpg


8) :D 8)
 
On the move too our stop gap unit till we can get into our new unit..!! 8)

DSCN3870.jpg

DSCN3876.jpg
 
Two front headlight spots and one fog spot fitted, now just need to wire them up..!! :D

DSCN3963.jpg
 
Haven't had much time or space in the unit to do anything for over a month..!! But this weekend i had the time and space in the unit (one of my fellow unit van's was off being MOT)..!! And of course it was dry outside too on Saturday so manage to prime and paint around the new roof rubber..!! 8)

Before
DSCN3952.jpg


Outside masked up ready for primer...
Photo0019.jpg

Photo0021.jpg


Topcoat of VW pastel white.... :D
Photo0022.jpg

Photo0026.jpg


And Finished job.... Will T cut roof once washed to blend in new to old paint....
Photo0027.jpg

Photo0029.jpg


And on Sunday the van was getting some prep for welding..!! 8)

Photo0030.jpg
 
Well did a little bit more last week. Started to sand down the engine bay and locate all the little repair areas to be welded up.
DSCN4092.jpg

Arch to come out still on left side...
DSCN4093.jpg

Right arch is totally out now...
DSCN4091.jpg


Arch's not in yet but getting there..!! Stu custom made a top section to go in..

DSCN4096.jpg

DSCN4098.jpg


Then i got going at making a nice little jigsaw puzzle welding project to repair my front tinware..!! :) :!:

DSCN4102.jpg

DSCN4100.jpg

DSCN4103.jpg
 
Nice work. You've done well to remove the interior. I was to scared to do that I case it fell to bits haha. Subscribed to this thread. Keep it up! :)
 
Cheers..!! :D I just hope i can remember how it all goes back together..!!?? :lol:
 
Well, Dad helped me wire in the fronts spots last weekend. We wired in the spots to come on when head lights are flashed and also on when high beam lights are on. 8) Also wired in the fog spot and added a new pull switch to dash (wired to come on only when lights are on) :D

DSCN3970.jpg

DSCN4256.jpg

DSCN4257.jpg


And while i had the front pan off started to give it a rub down and refurb...!! :)

DSCN4253.jpg

DSCN4258.jpg

DSCN4254.jpg

DSCN4259.jpg


:) :) :)
 
Got a little bit more done..!! :)
Top hat section gone in..!! We had to cut more out than 1st thought.
Photo0144_zps8fddb525.jpg

Photo0146_zpsb2e574d9.jpg


Cut out a new piece for going under the rear draw unit over engine bay..!! :D

Photo0049_zps3d98f343.jpg

Photo0050_zps76c0d6b6.jpg

Photo0052_zps1e258ffa.jpg


Old one above the new. Used 3.6mm hardwood ply. Just got to paint it black now...

Photo0053_zps1fcc28ef.jpg


Had a go at my 1st welding..!! Had to grind the pigeon shit back but not bad me thinks for 1st go..!! :D
2 new corner bits welded in.
Photo0148_zps402caa28.jpg

Photo0147_zpsd5670267.jpg
 
Ryanmck1984 said:
Looking good. I'm replacing the roof seals this weekend. Are they a pain to do?

Cheers. :D

They are fiddly but not a pain..!! You'll need some lube (Fairy liquid or other brands will do..!!) and do a section at a time by taking out old and sliding in new, this way the middle roof is supported. Oh, i had to drill out the corner rivets (1st one on each length) that hold the top skirt of the bellow to the roof, as the seal goes under them and couldn't get the access in the corners. :)

Forgot to mention in the thread that i then used some Sikaflex 291 Fast Cure Marine Adhesive Sealant - BLACK under the seal to give it extra sealent.
 
Nice one cheers! That's good to know as I was just gonna take out the whole seal in one piece! Haha ill let you know how I get on. :D
 
Finished off the panel to go under draw unit. Painted it with black exterior paint to finish off.

DSCN4536.jpg


Then we went to a vw scrap yard to get some original floor cuts from a late bay, it was a Devon to..!! Sad to see one in that state :( but the cuts will be put to good use..!! :D

Photo0176.jpg

Photo0177.jpg


Also did some more work on the tinware, cutting out and welding..!! photo's to follow as i didn't have camera with me..!? :roll:
 
Well quickly popped up the unit last night and snatched some photo's of the welding i did last time. For only my 2nd proper attempt at welding it's come out not so bad..!!! :D Looking less like pigeon shite..!! :lol:

Photo0190.jpg

Photo0192.jpg


More marked out reading to cut out next time..!

Photo0191.jpg
 
Then we went to a vw scrap yard to get some original floor cuts from a late bay, it was a Devon to..!! Sad to see one in that state :( but the cuts will be put to good use..!! :D

Photo0176.jpg

Photo0177.jpg


Also did some more work on the tinware, cutting out and welding..!! photo's to follow as i didn't have camera with me..!? :roll:[/quote]


Hi,
Looking good fella :D :D :D
can you please tell me where the scrap yard is?? i need a few cuts.
cheers matt :D
 
Well had the week off last week so spent some time up the unit...!! :D

Did more work on the front tinware....

DSCN4606.jpg

DSCN4617.jpg

DSCN4616.jpg


Welding is improving so i'm well happy and less grinding to....!!! :D :lol:

DSCN4625.jpg

DSCN4626.jpg

DSCN4627.jpg
 
Then we moved onto the right hand side of the engine bay by the oil bath...

DSCN4607.jpg


Then put in some new metal.....

DSCN4608.jpg


but then found more rust/holes so out comes stand....

DSCN4610.jpg


gave the stand a clean up ready to go back in...

DSCN4615.jpg


Then the rot comes out...!!! :shock:

DSCN4622.jpg


Moved onto taking out the left inner arch...

DSCN4609.jpg

DSCN4612.jpg


back inside left hand side of the engine bay lookin at the bodge patch...!?

DSCN4613.jpg


Then on removing a patch on the inside of arch on other side of the bodge patch we found some nice waffer rust...!!!

DSCN4611.jpg

DSCN4618.jpg


Out comes arch...

DSCN4621.jpg


Exposing the rot...!! :?

DSCN4628.jpg
 
Then got a look at the top fixing of the left rear shock. ( asked a Q a while back on how this was fixed as mine just pulled out as it was loose) So found that the top bolt had sheared off by the captive nut so a bodge had been done by cutting the head off a new bolt, sticking it in backwards and welding it in the tube and using a nut to hold shock on...!!! And then after the weld failing becoming loose as it is now...!!! :evil:

DSCN4620.jpg


So cleaned off weld around tube....

DSCN4624.jpg


All done that side so now have to get at and work out how to get remaining bolt shaft out or to cut captive nut off and welding in new one..!? As seen in pic below access is impossible to this nut unless you have already cut some rust out....!!!!???? :lol:

DSCN4623.jpg
 

Latest posts

Top