Gwar72
Well-known member
- Joined
- Oct 21, 2011
- Messages
- 723
- Reaction score
- 0
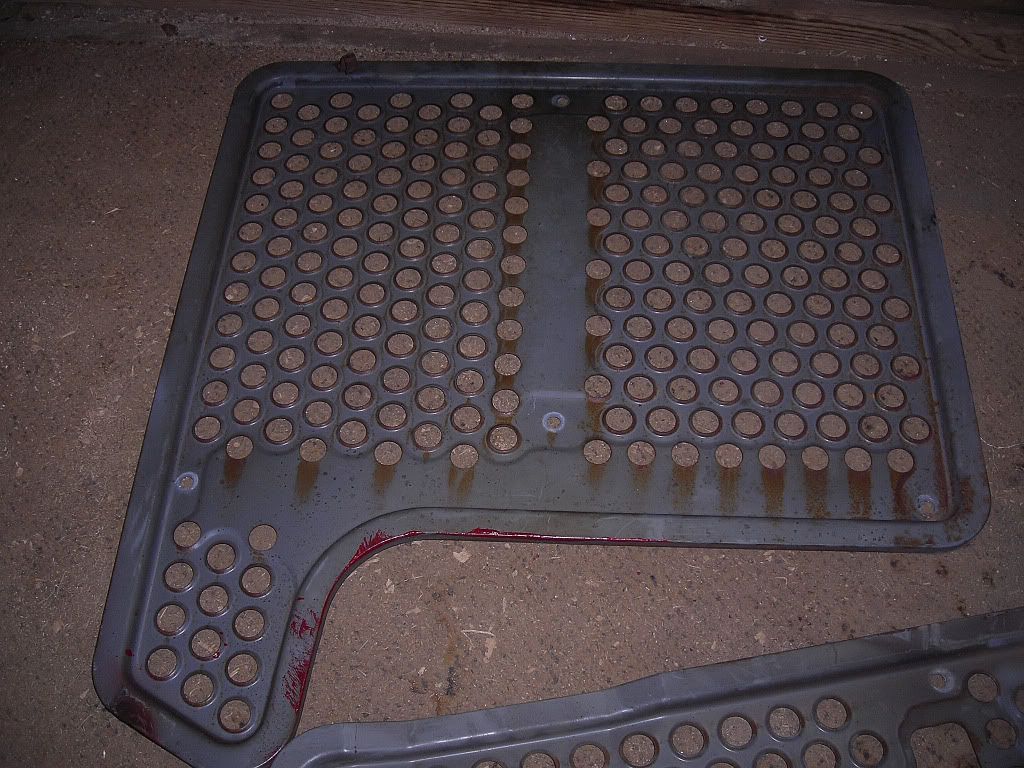
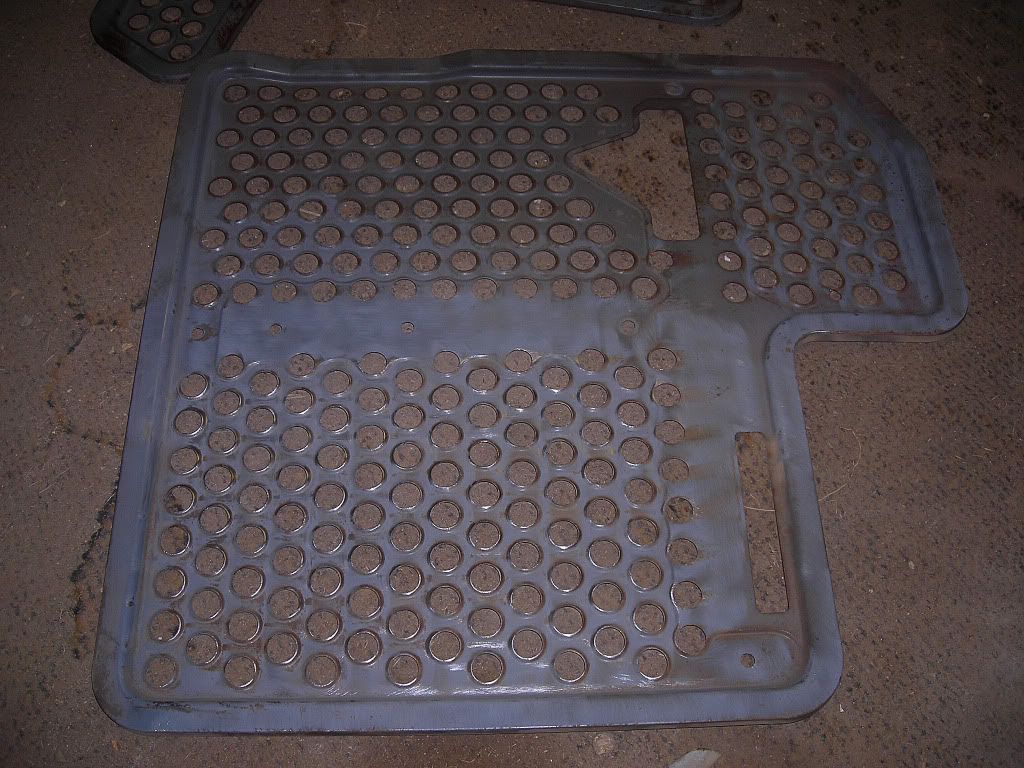
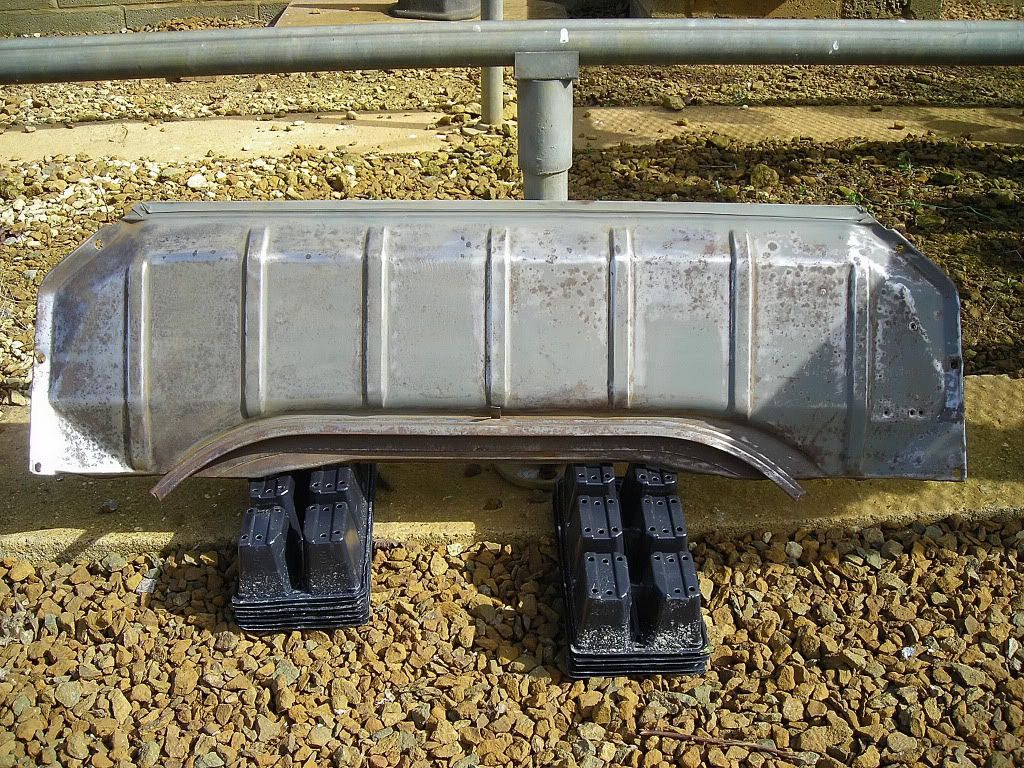
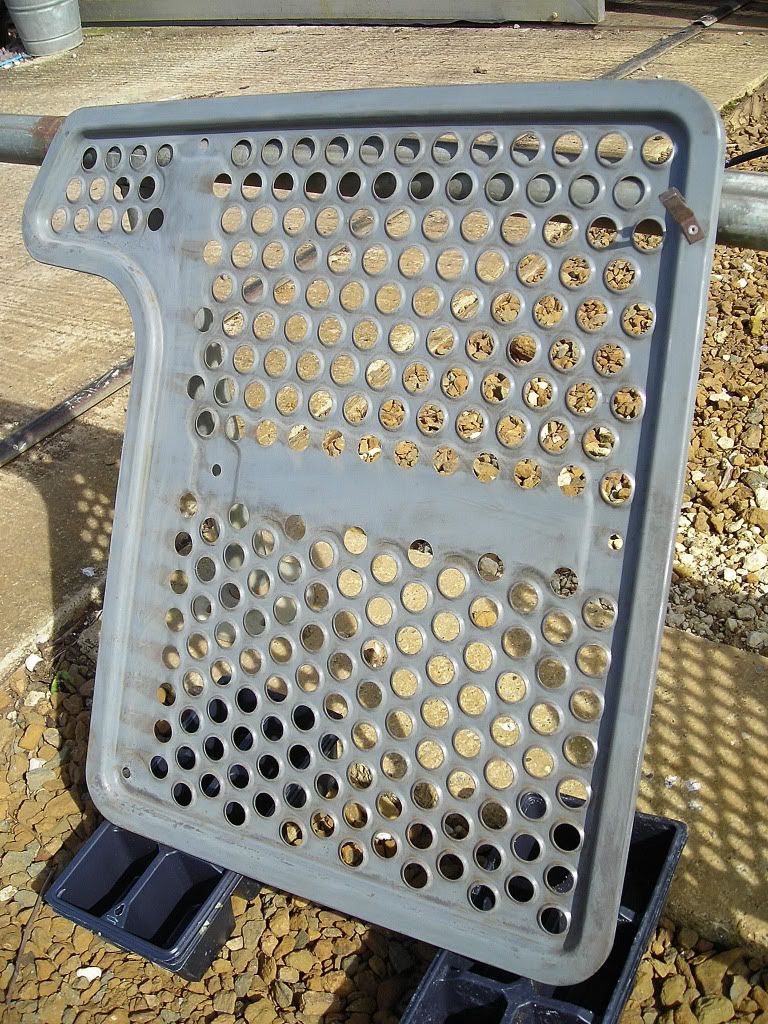
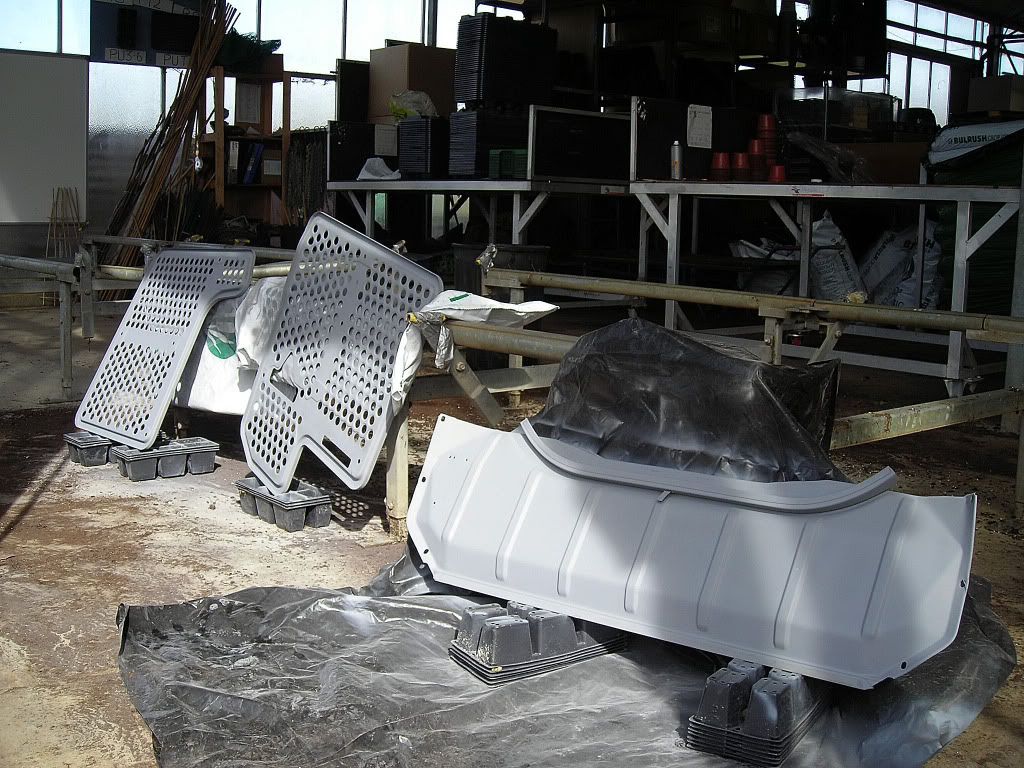
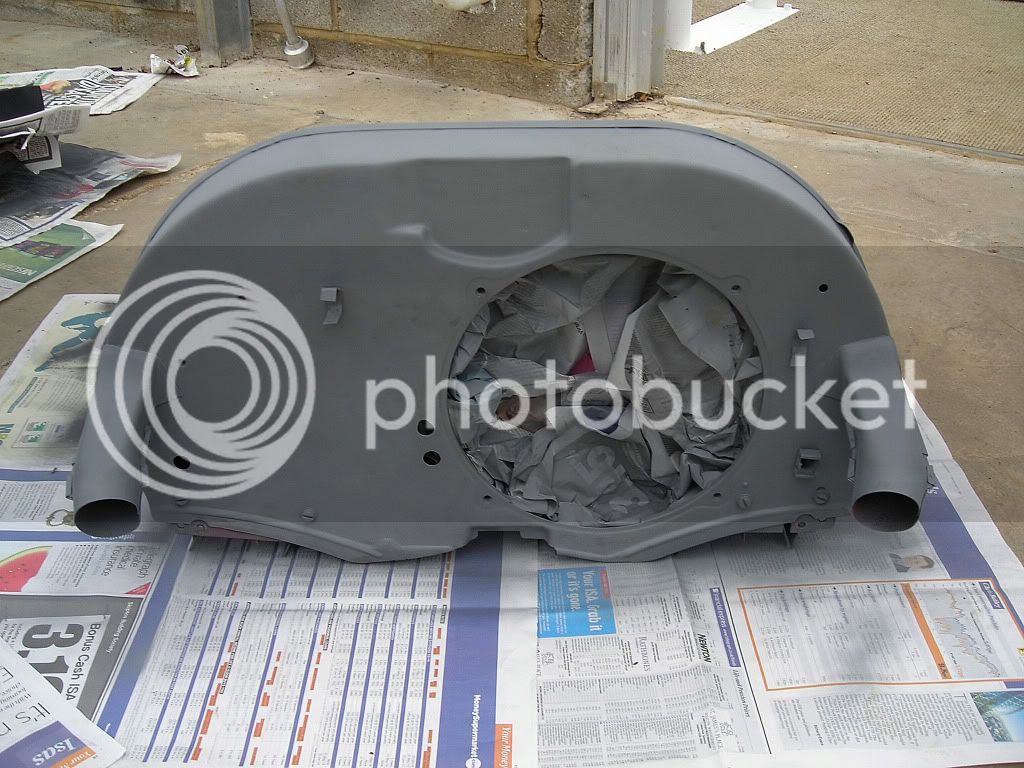
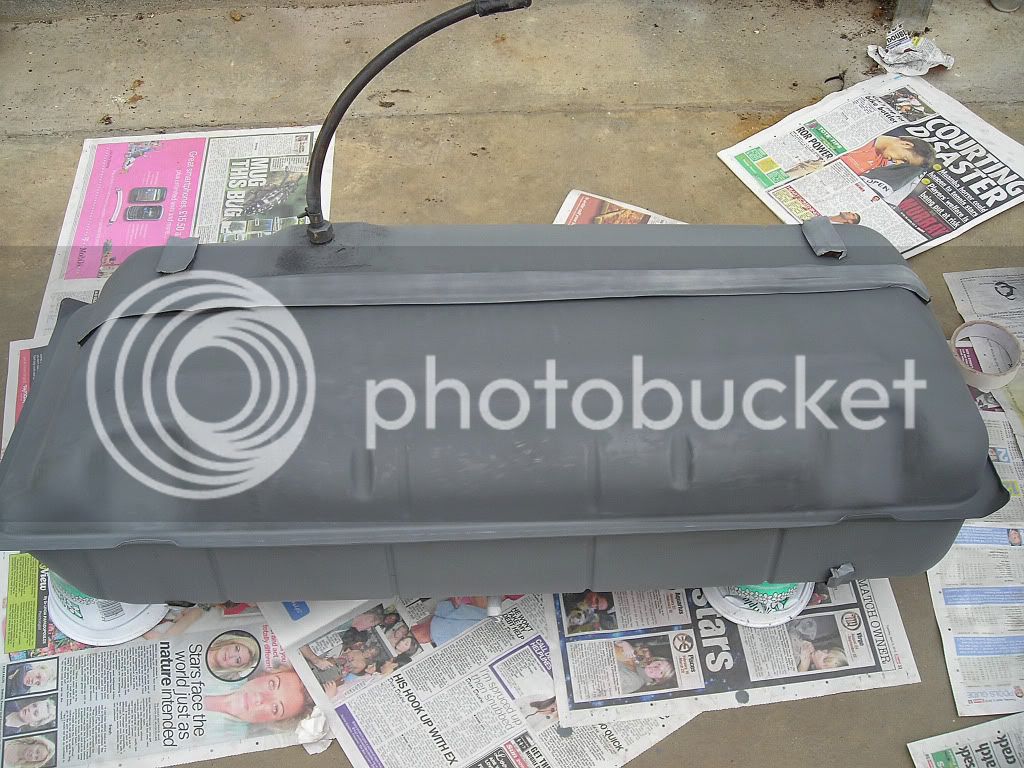
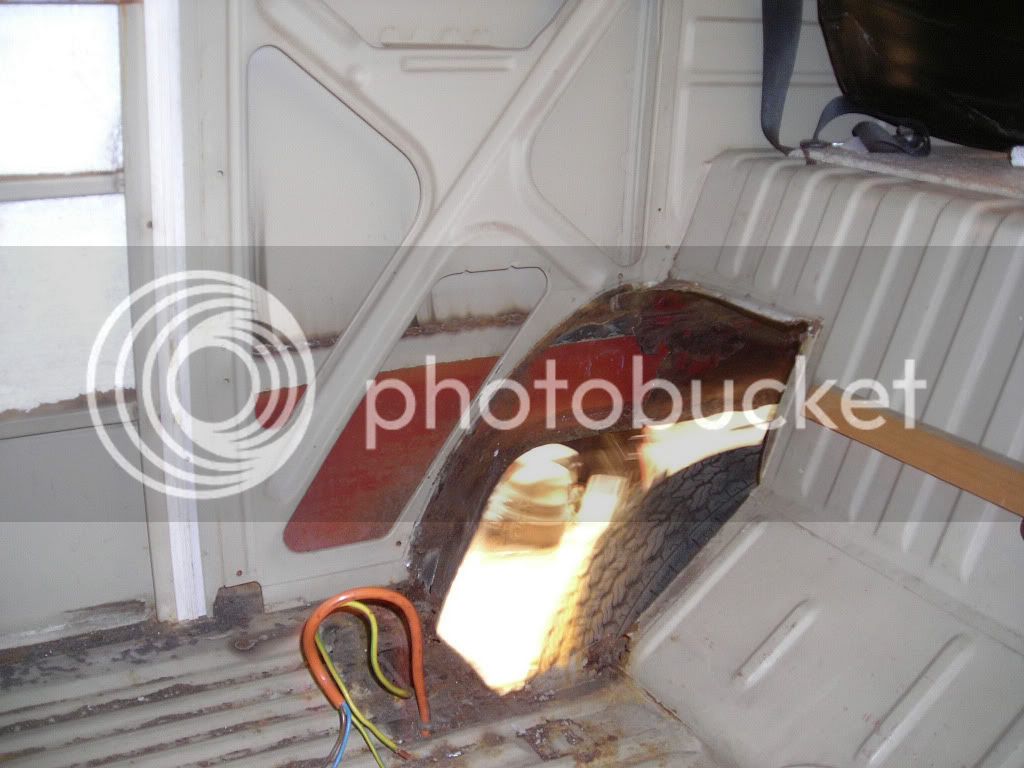
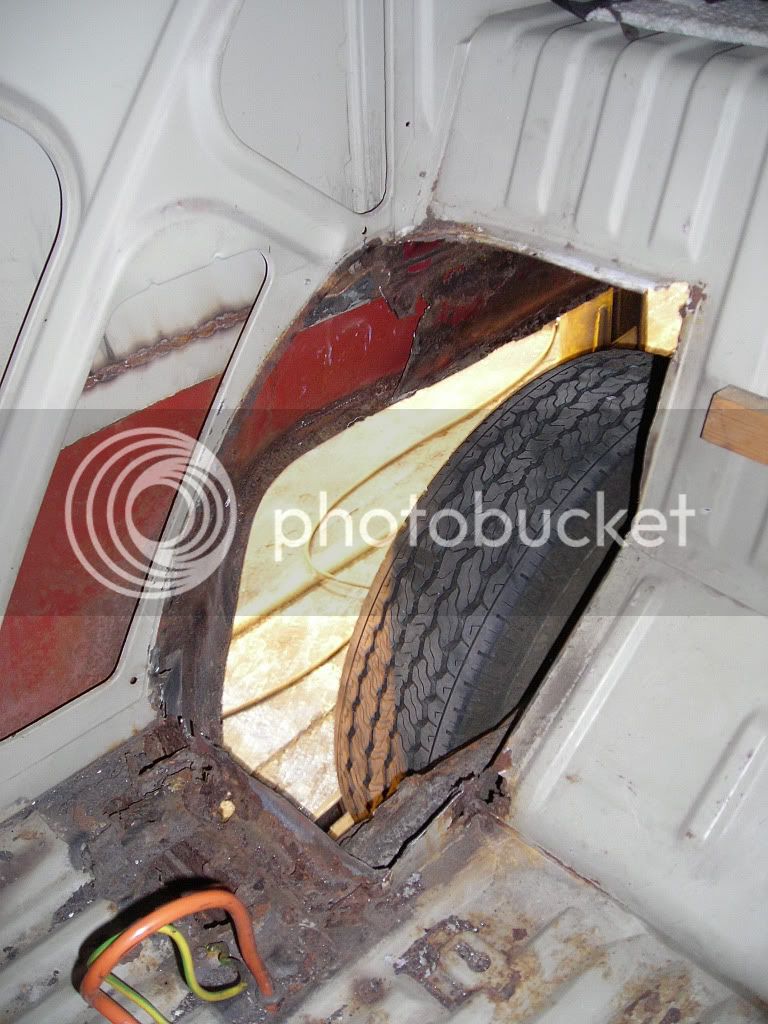
sparkywig said:Gwar72 said:Any ideas on what colour code the interior is as once welding is done i want to re-paint to match new..!!?? Any ideas appreciated :?:
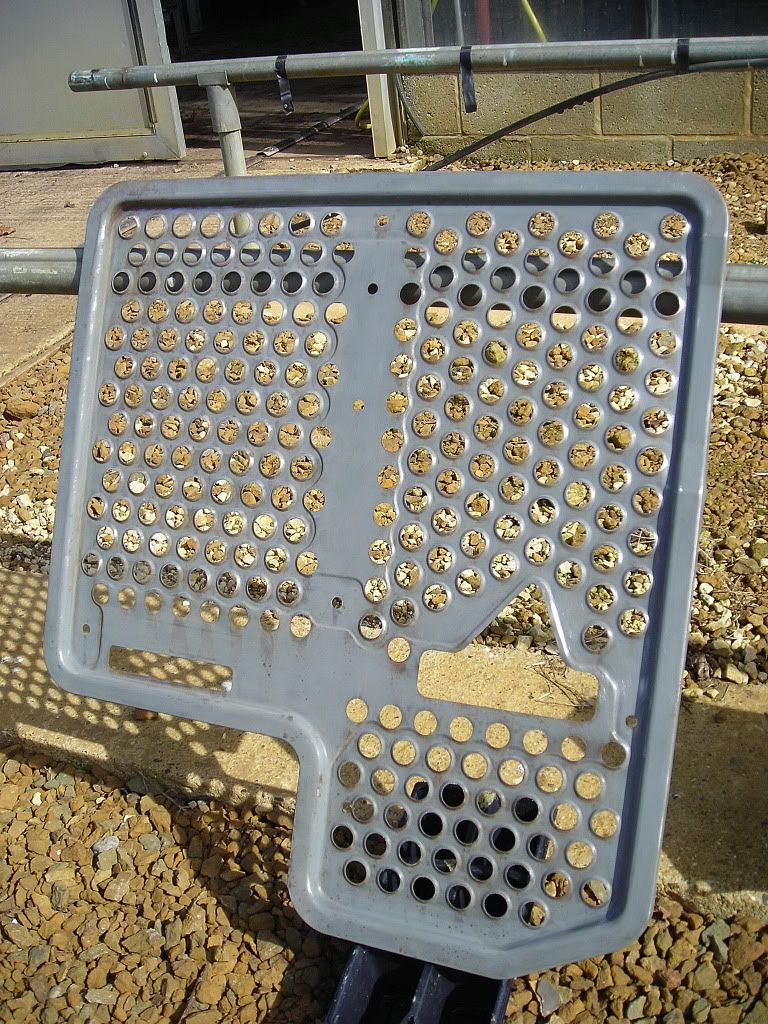
Should be Light Beige L275.
Cheers Sparkywig..!! 8) Someone said you can get a good match with the VW light beige from Halfords.!?