cheers scampi.... while im not feeling to bad im really cracking on with it and her indoors has booked a week off at the end of the month to give me a hand... april is when we would like to get it finished....
wanted to get some work done today but my main car decided it didnt want to go anymore so spent the day trying to diagnose an elecrical fault... found to be a dodgy ignition switch i hope... so gonna get somw work done on the bus tomorrow while i wait for a new ignition to be delivered...will post pics and progress report tomorrow...
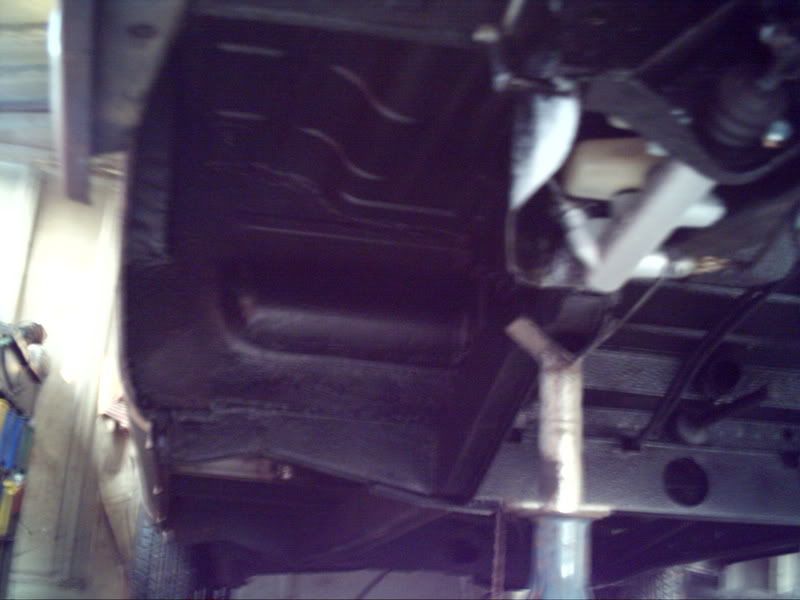
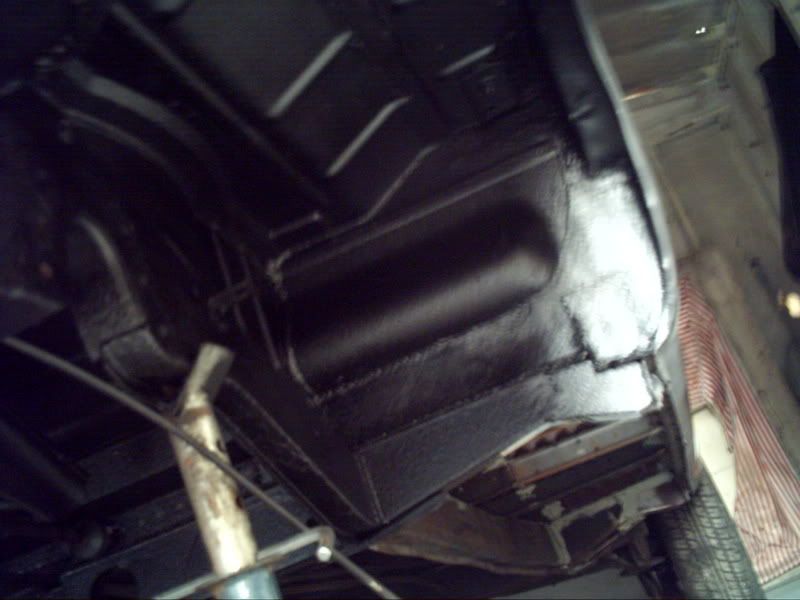
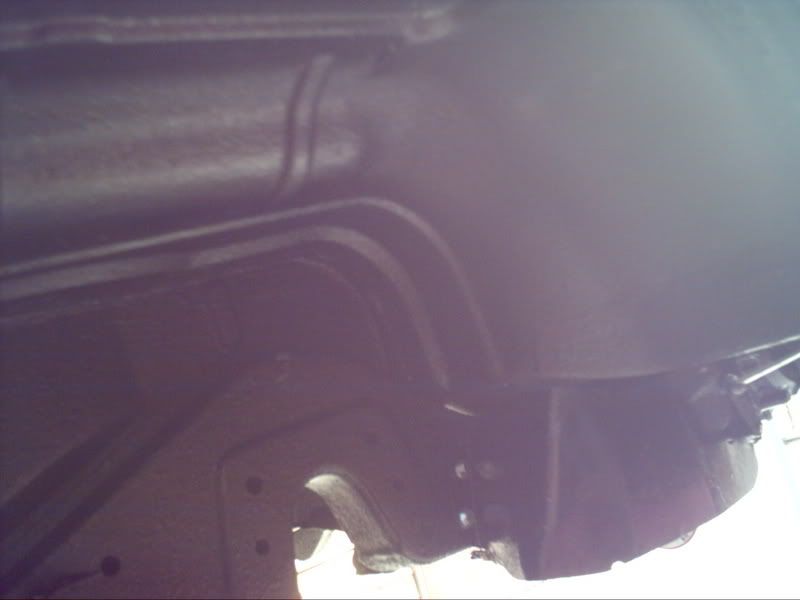
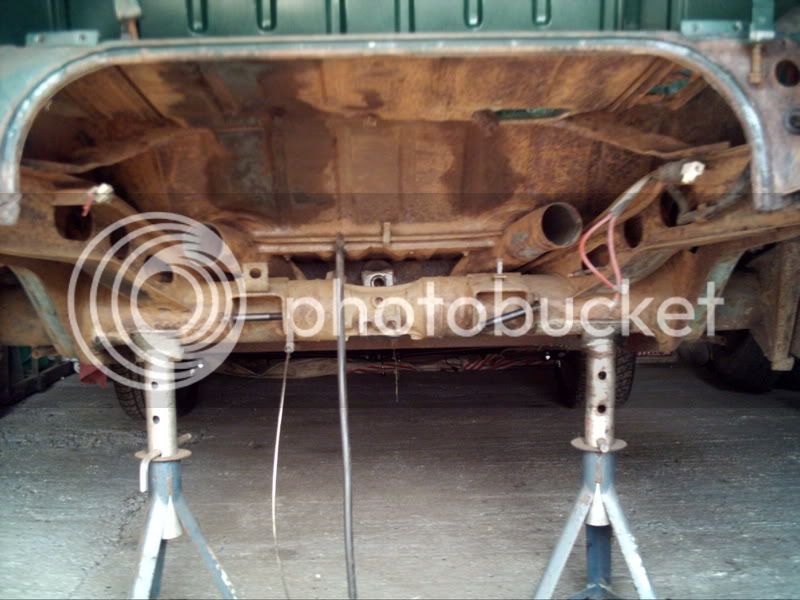
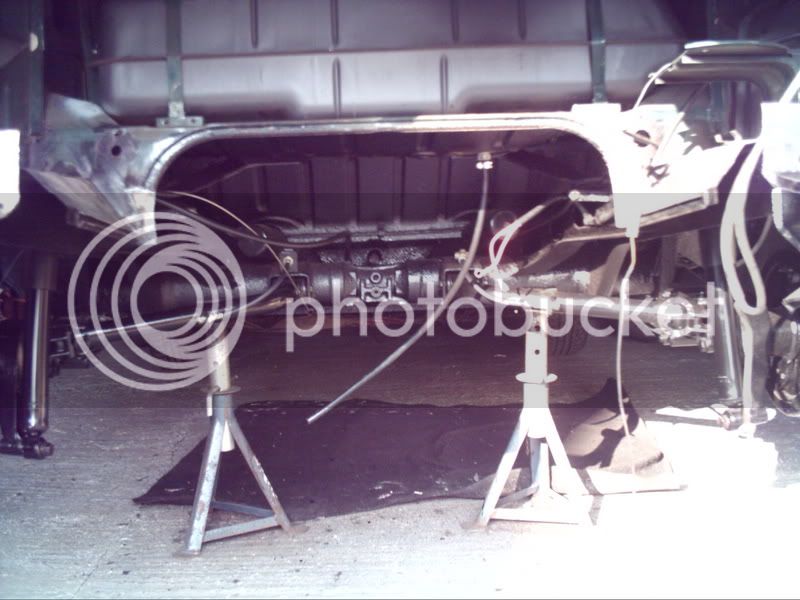
first ive done all the undersealing under the cab area with schutz and well chuffed with the results... heres a few pics... i also removed all bits that could be removed from under there so everything could get a lick of paint and refurbed where needed...
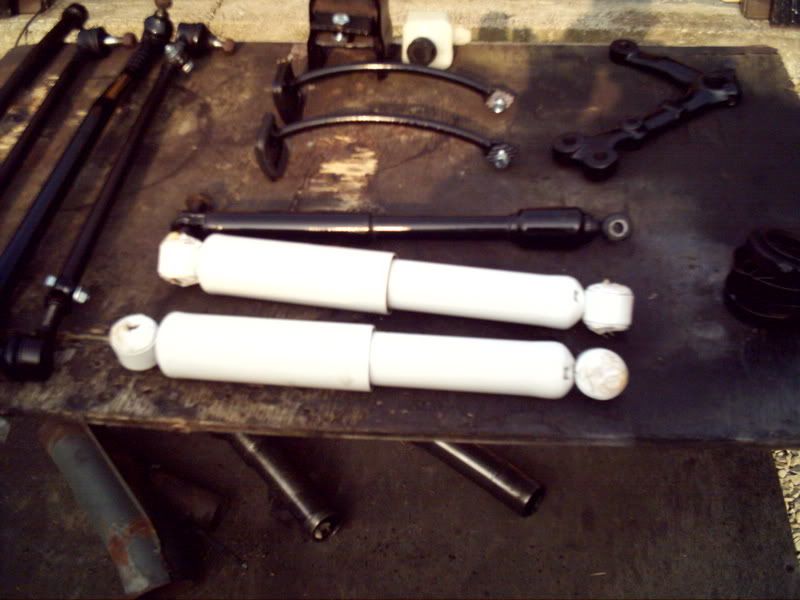
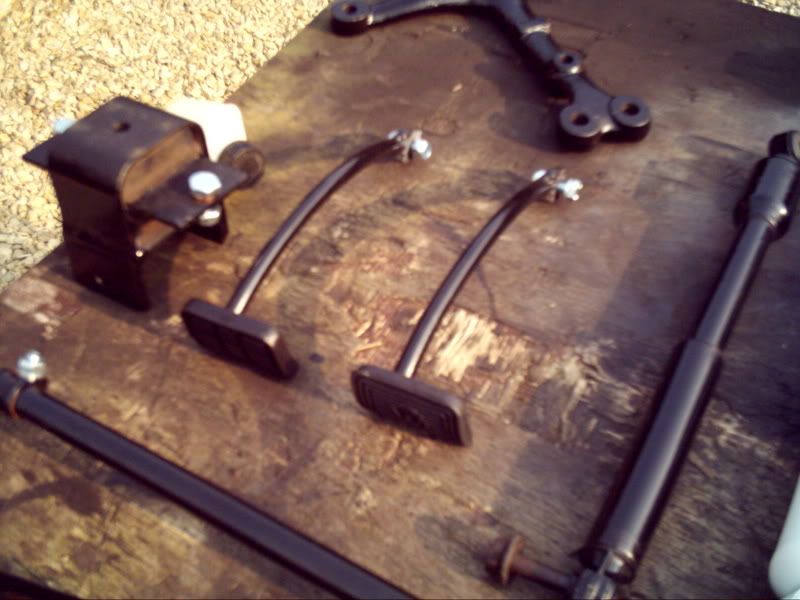
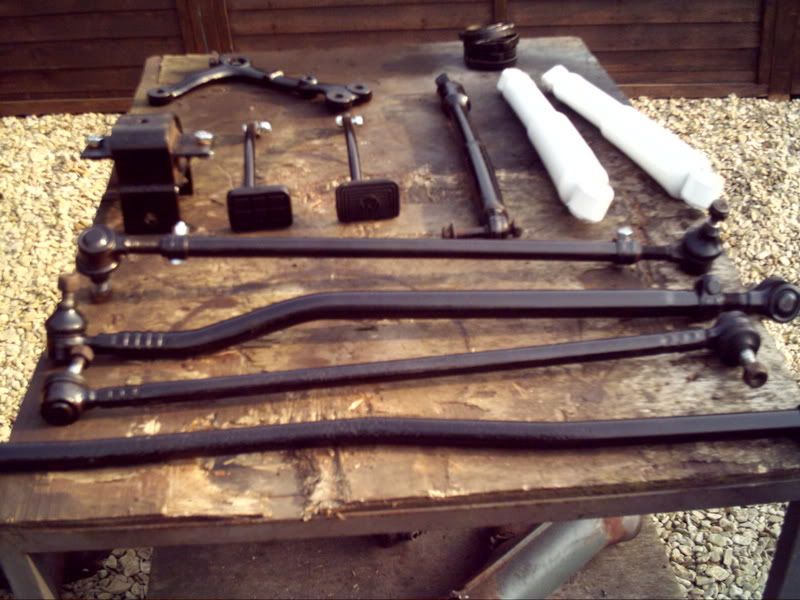
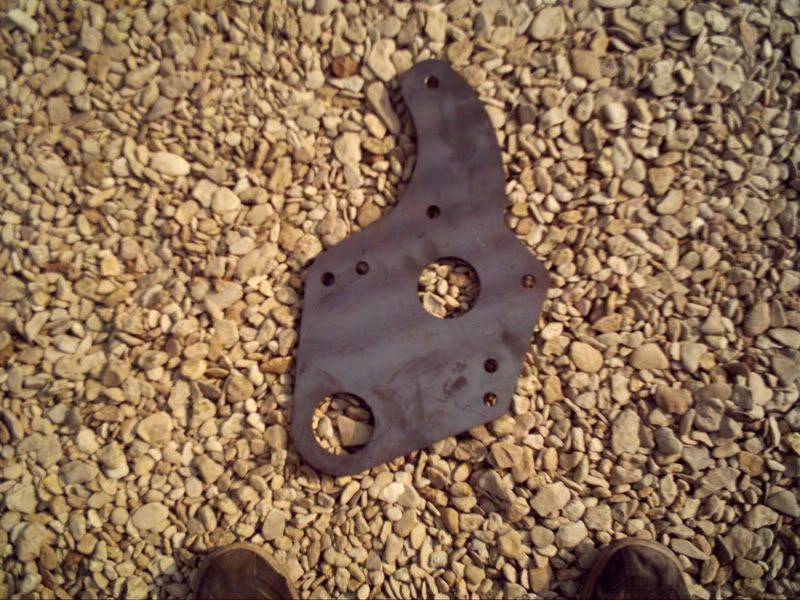
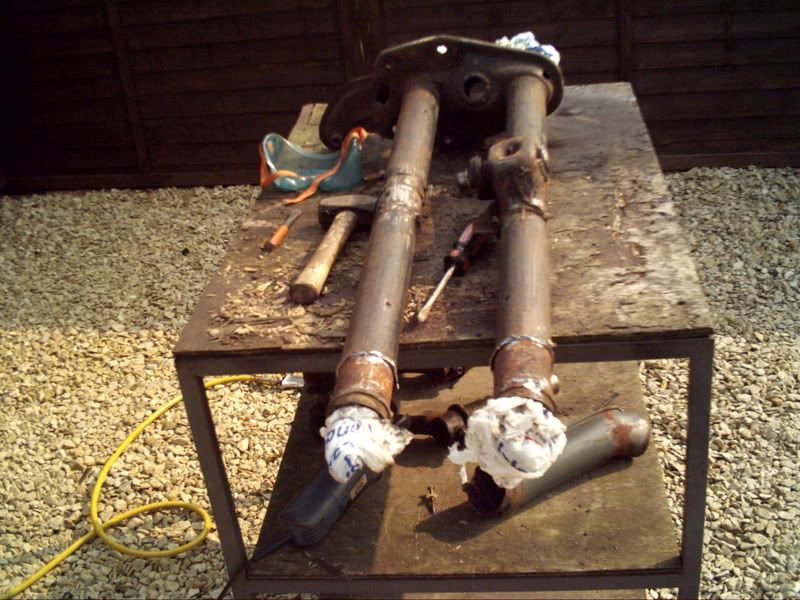
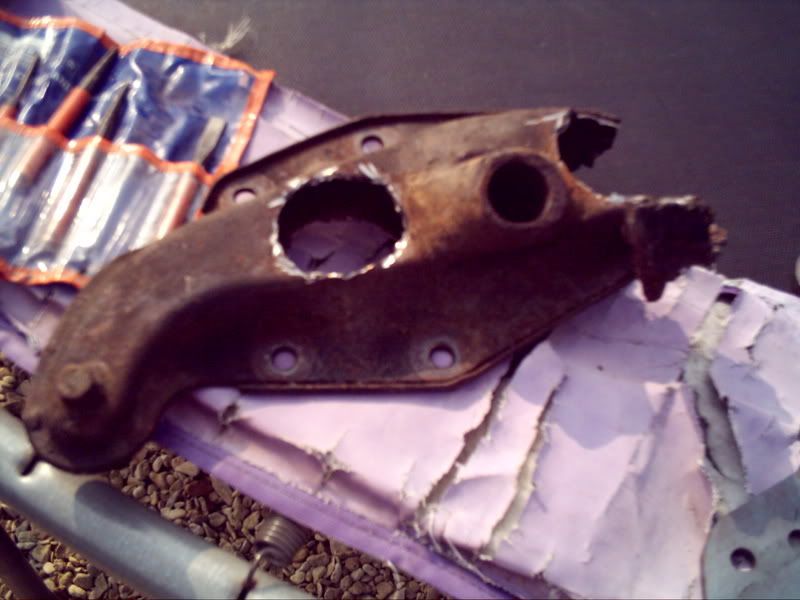
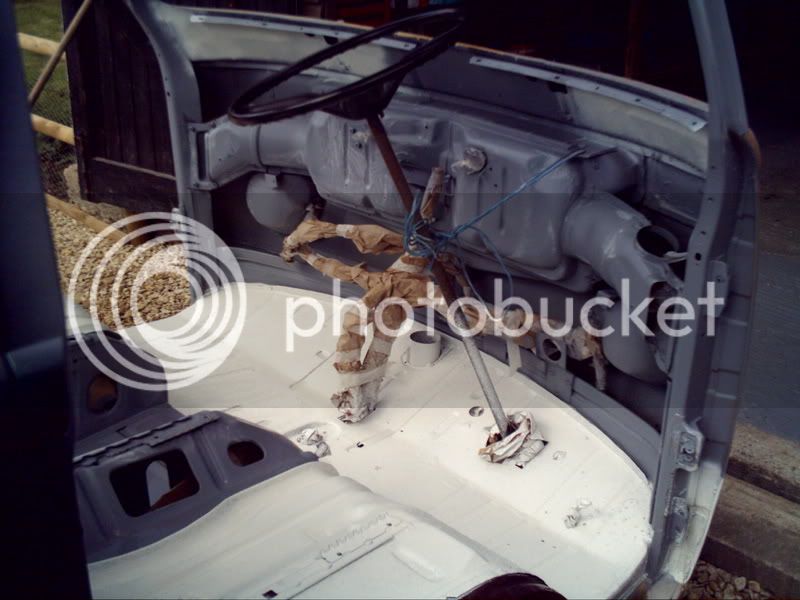
i stripped and painted all pedal assemblys and master cylinder....come up better than i thought,,, alfie was chuffed as much as i was when he popped over to have a look... as you can see i fitted my klaxon aswell... every nut and bolt has been replaced with new as all rubbers etc .....also my front beam had rotton towers so ive cut them off and replacing them with 10mm end plates as used for narrowing as this worked out alot cheaper than buying another beam... i will post some pics of the beam as soon as i have finished it....also repainted my front shocks as these were still in good order and there empi ones aswell....what do you think so far? heres some pics.....
Wow :shock: Dave what a smashing job you have done there 8)
Couldnt believe how good your bus looks underneath. Cant wait to see what you do with the top half, If its anything like underneath it will be amazing 8).
Cutting off the endplates then welding on the 10mm jobbies - how
did you find this as I need to replace my beam as my end plates are
knackered - would work out cheaper I suppose but how hard to do - never
welded etc before :?:
its not to bad a job really and wont have to worry about the tinworm again.... if you remove one tower and refit bare beam again with the new end plate on loosly then spot weld into position then do the same again for the other side and what im doing is taking the beam to a local welder to do the finishing weld which has cost me £25.... atleast i know it will be strong then.... im going to be doing alfies beam so will do a better write up and more pics....
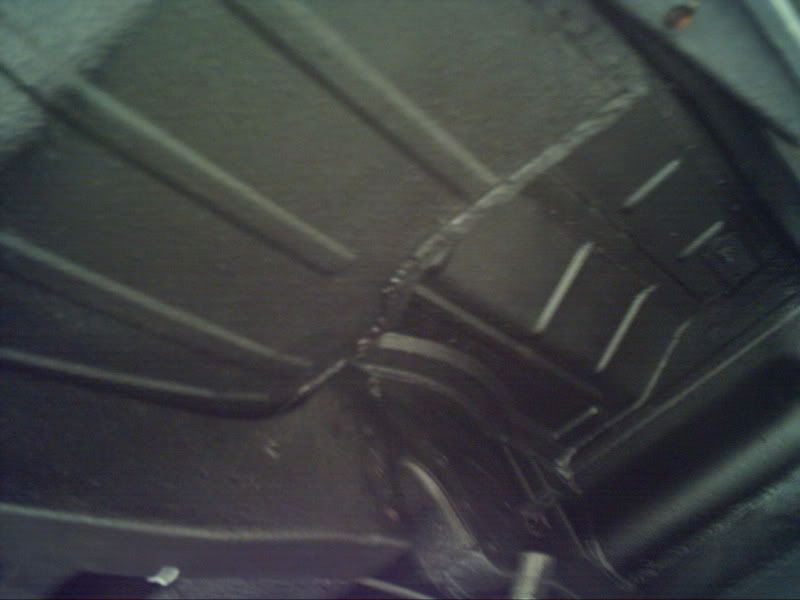
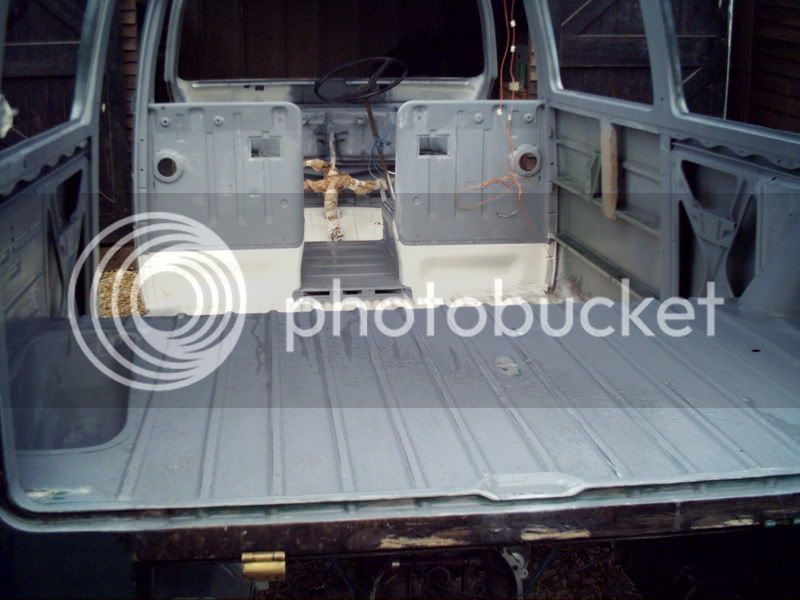
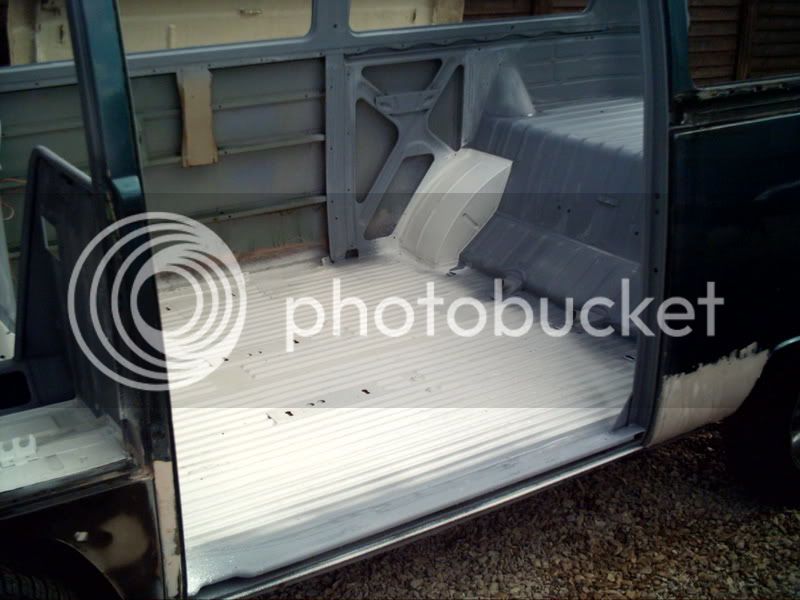
ive prepped and primered the inside of the bus and the white is stonechip so get a nice wrinckled finish... will paint with topcoat as soon as the sun comes out again....
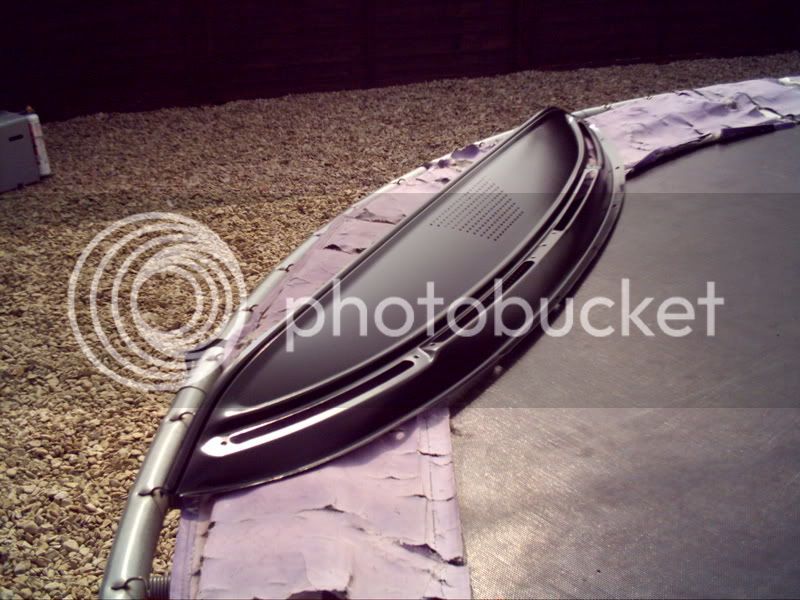
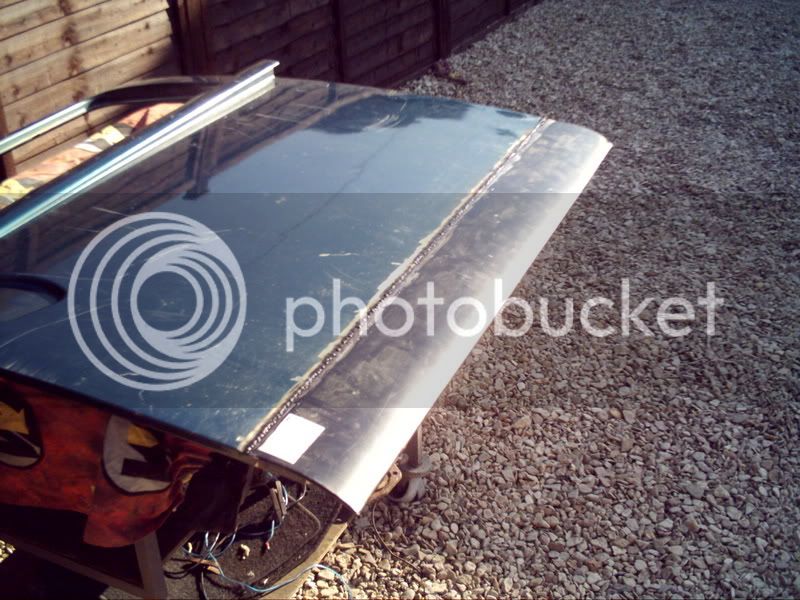
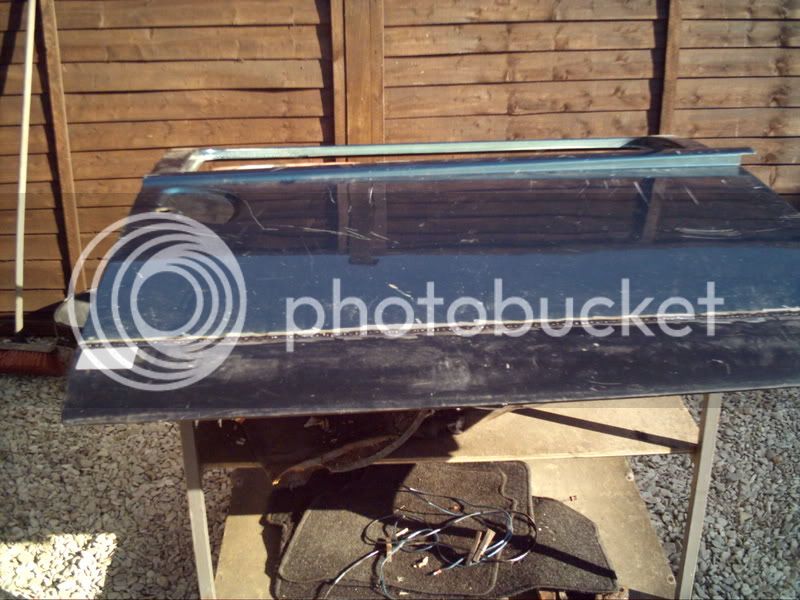
heres a crap pic of the dashtop after i baremetalled it then painted satin black.... chuffed with it as it came up mint until the dog stood on it and put 3 claw marks on it..... will redo it when im bored enough...
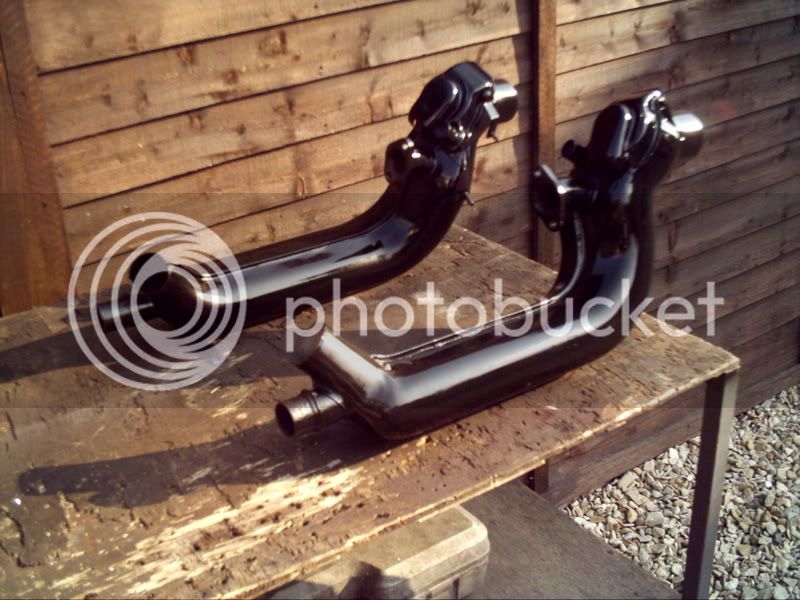
this is a pair of genuine vw heat exchangers i found in the shed all rusty but when stripped and repainted they came up a treat and will hopefully give a bit of heat up front ....
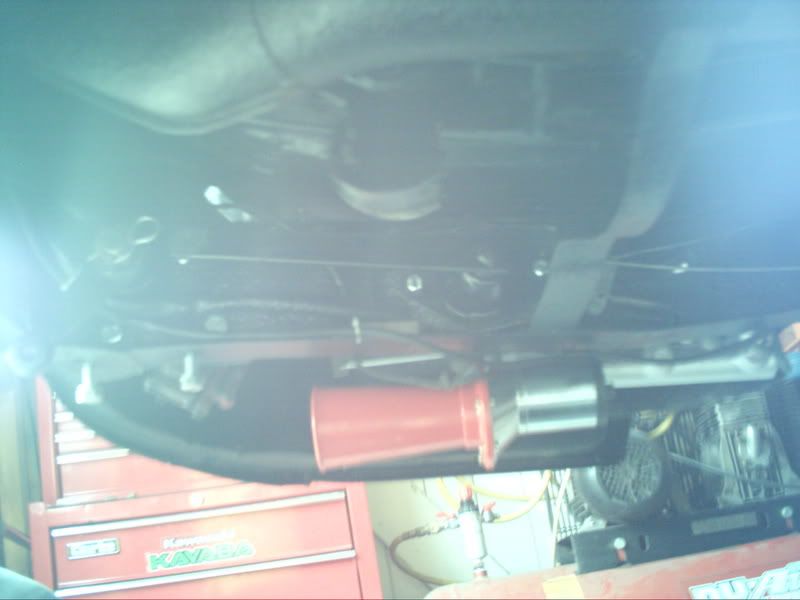
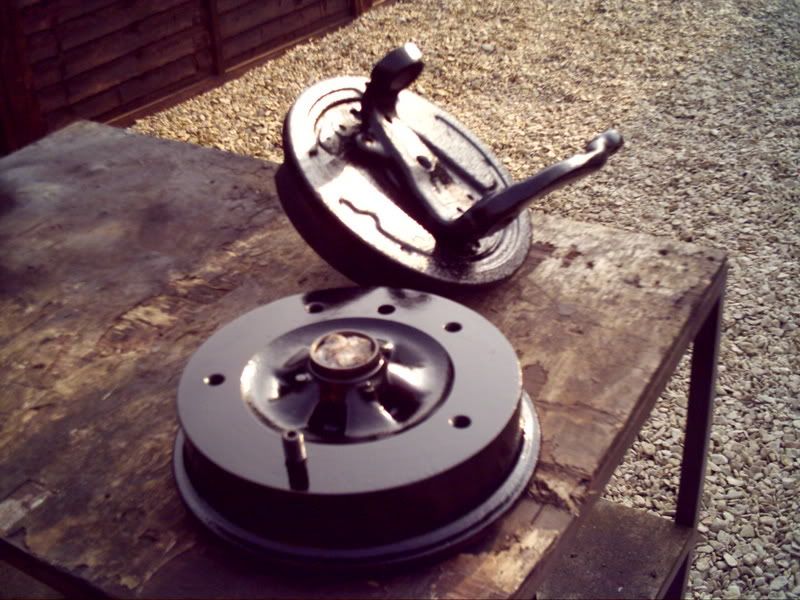
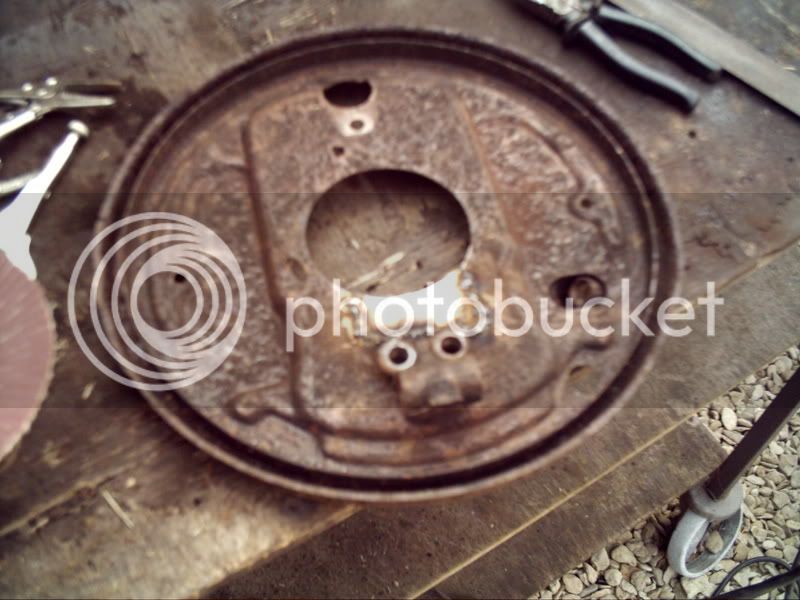
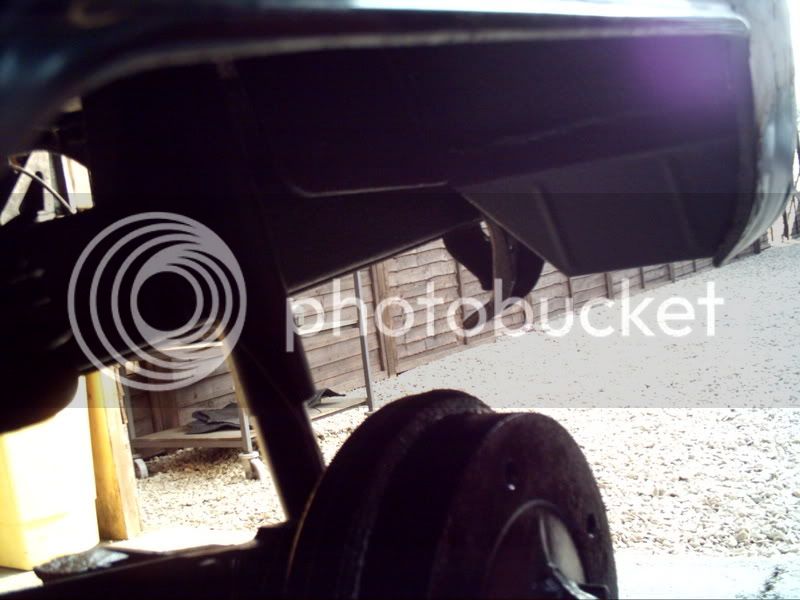
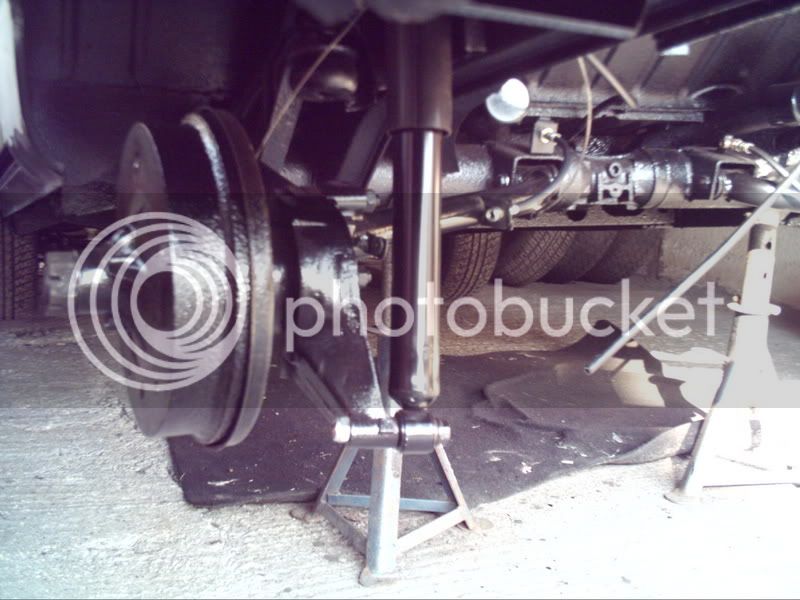
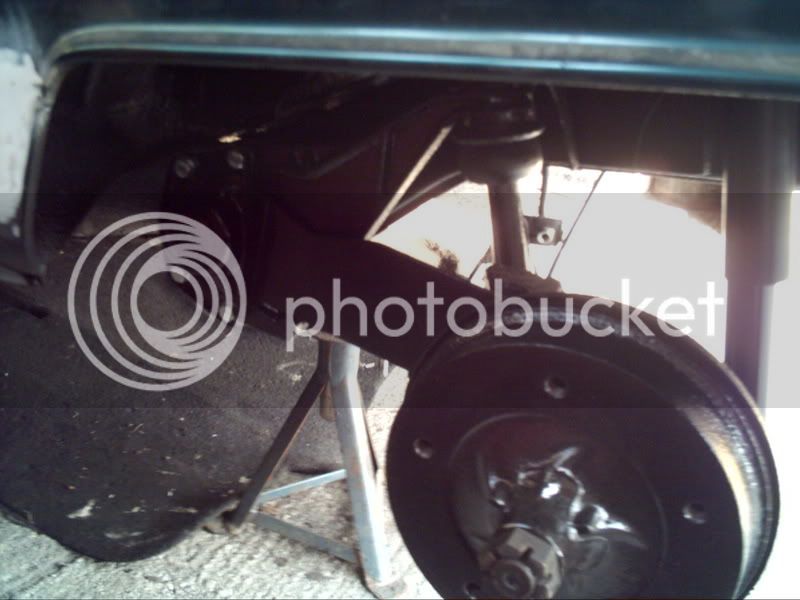
heres a pic of the rear again after it was rust proofed and painted... trailing arms were stripped and painted and new rear brakes fitted and shocks and all cables and new brake pipes.....