'71 ex Firebus resto

Early Bay Forum

Help Support Early Bay Forum:

This site may earn a commission from merchant affiliate links, including eBay, Amazon, and others.

adey71

Active member
Joined
Apr 25, 2012
Messages
34
Reaction score
0
Hi all,

I am fairly new to earlybay but a seasoned user of VZi.

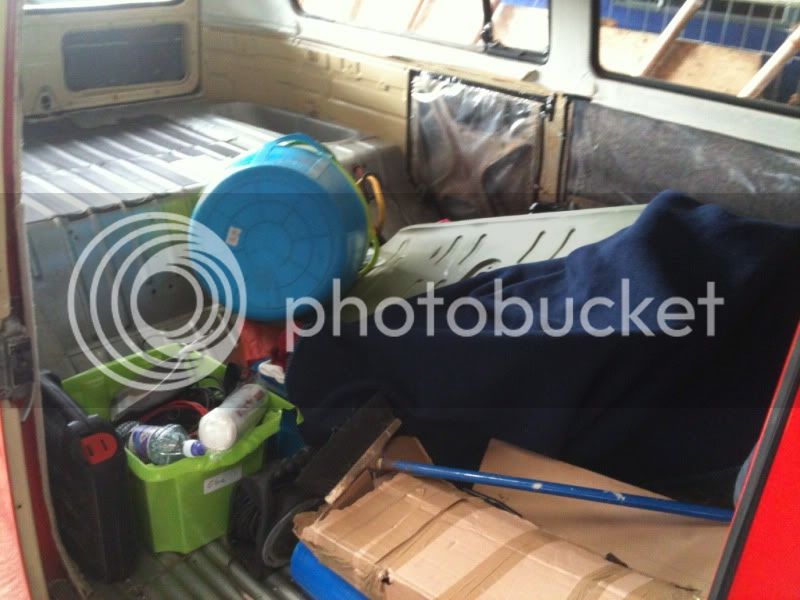
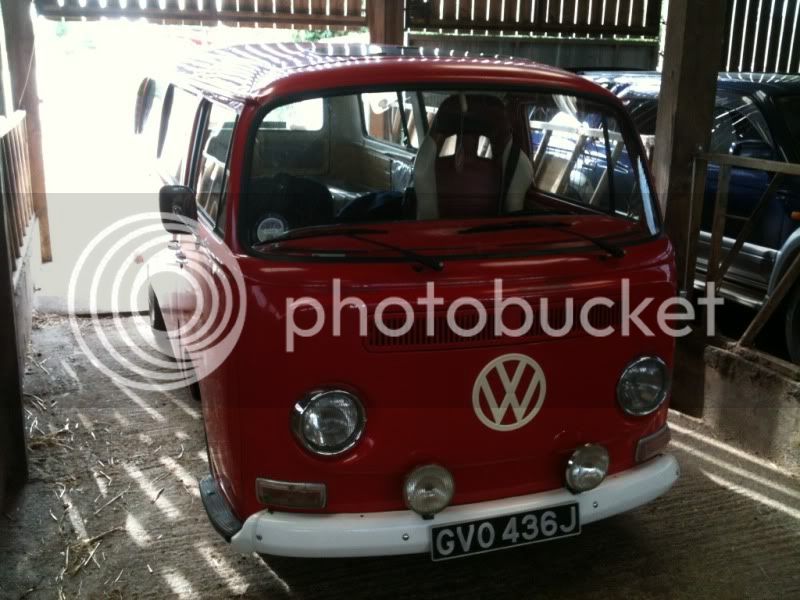
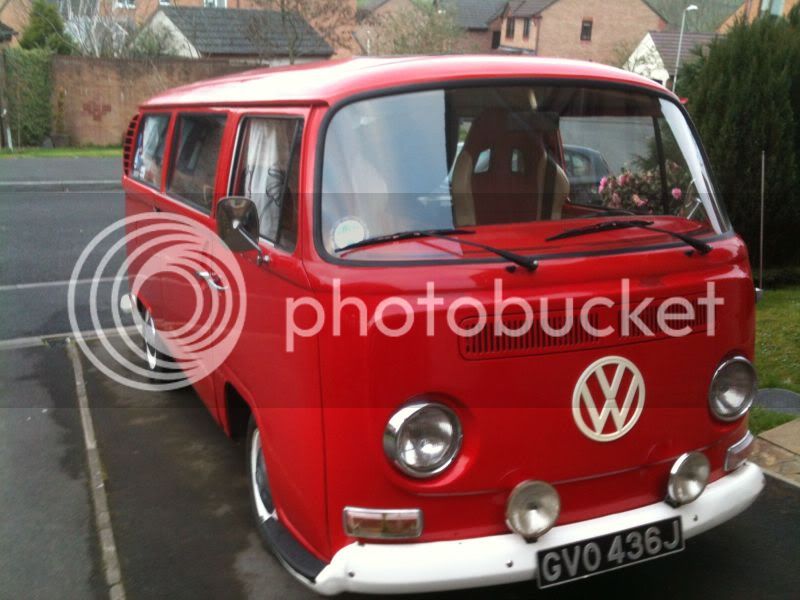
This is our '71 bay, imported in 2004, we put a camping interior in, took it around Europe and used it for many years as a weekend bus and day surf bus. The old 1600 died a death so I built a 1955cc for it (Build thread here on VZi http://www.volkszone.com/VZi/showthread.php?t=494122" onclick="window.open(this.href);return false;)

IMG_0003.jpg


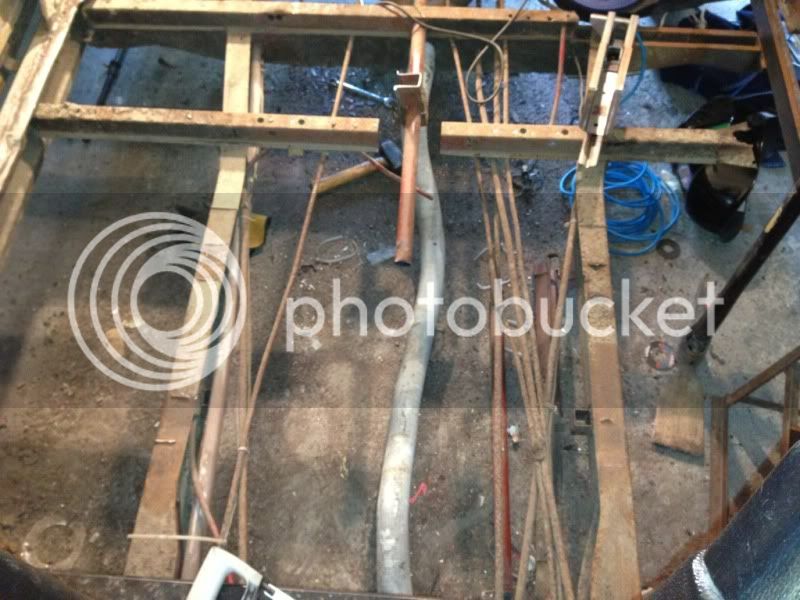
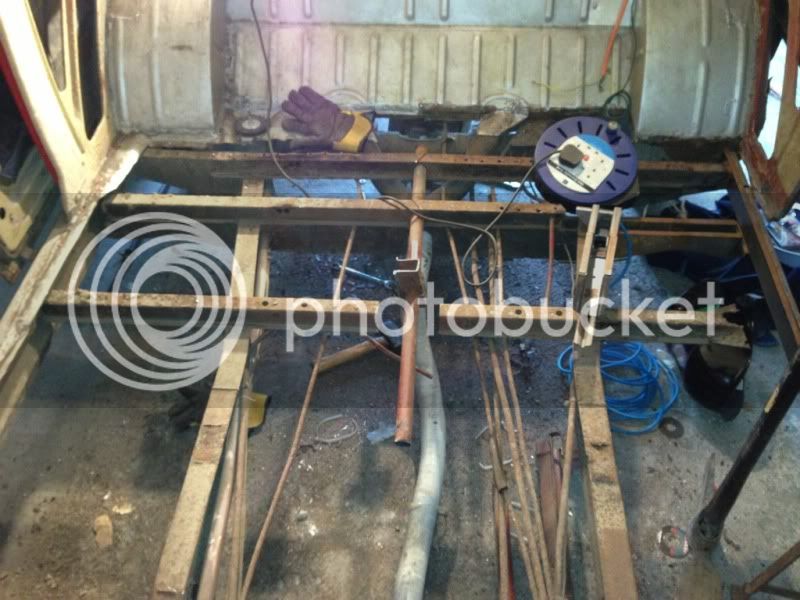
The last few years has taken its toll on the bodywork so we have decided it is time to sort it. The plan is to bare metal the bus and respray (in red of course) after returning the bus to as original condition as possible. Show standard??? Maybe.... we shall see.

So... The issues (from initial observations):

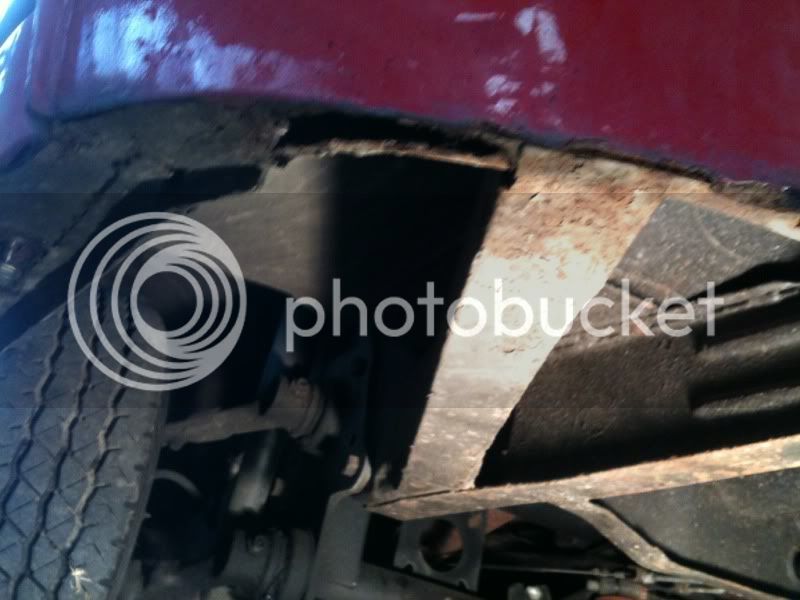
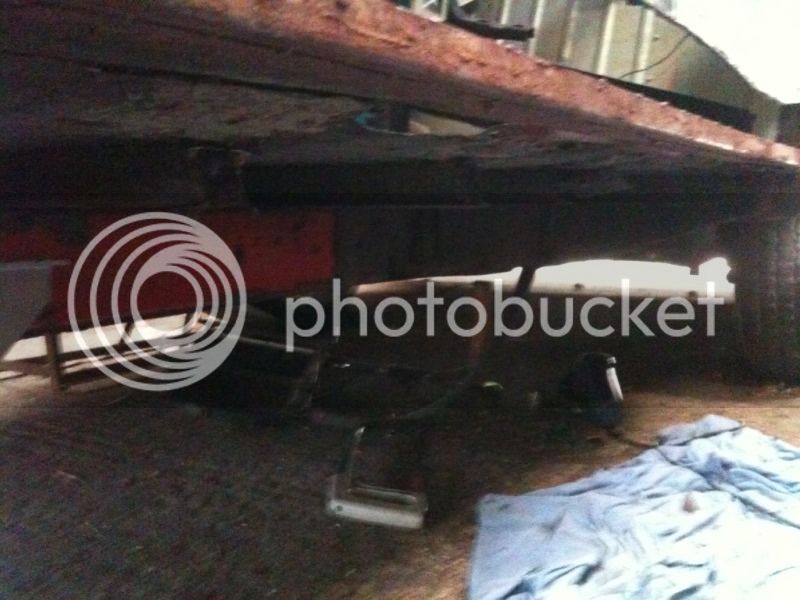
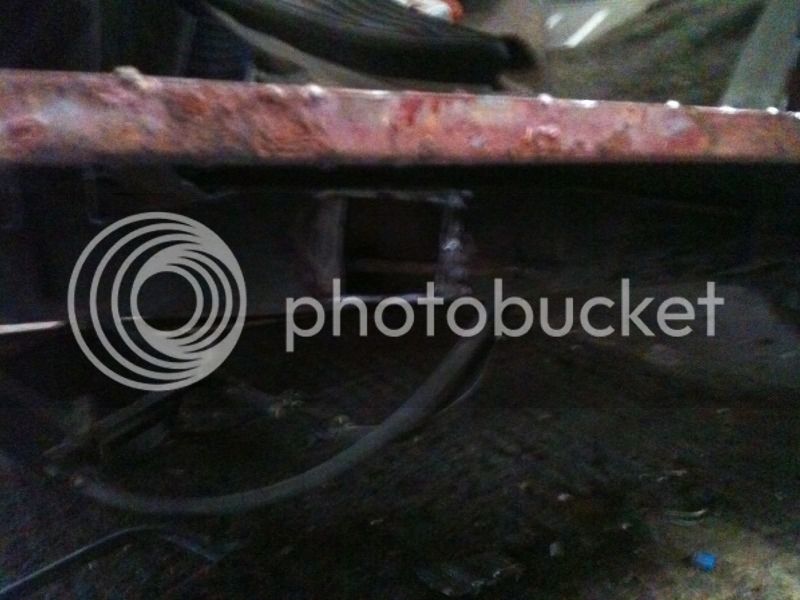
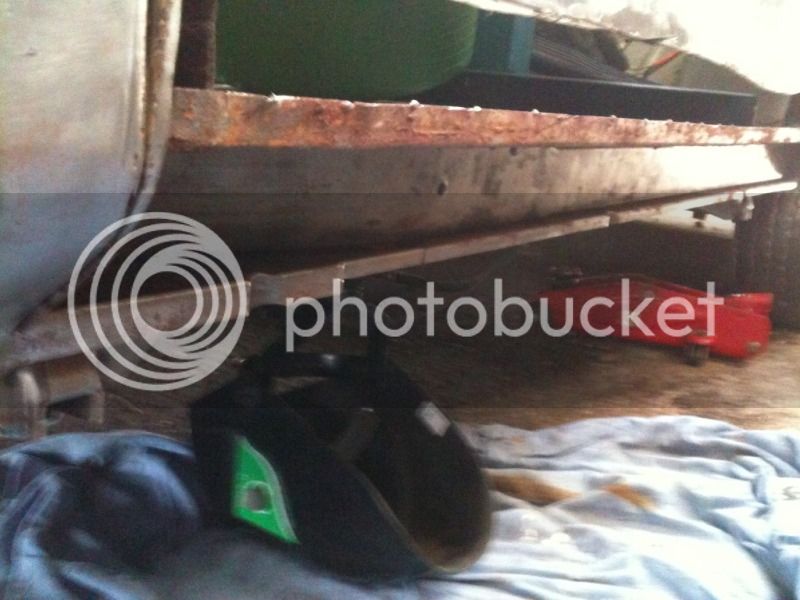
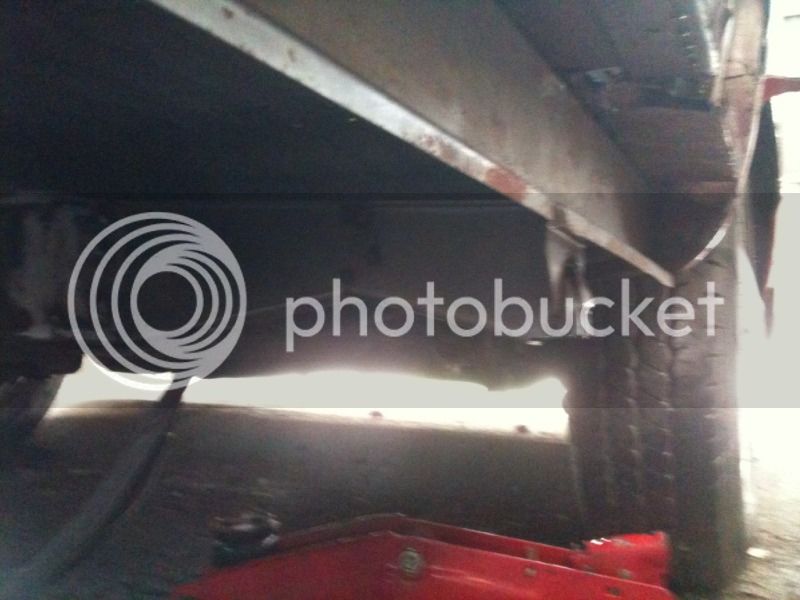
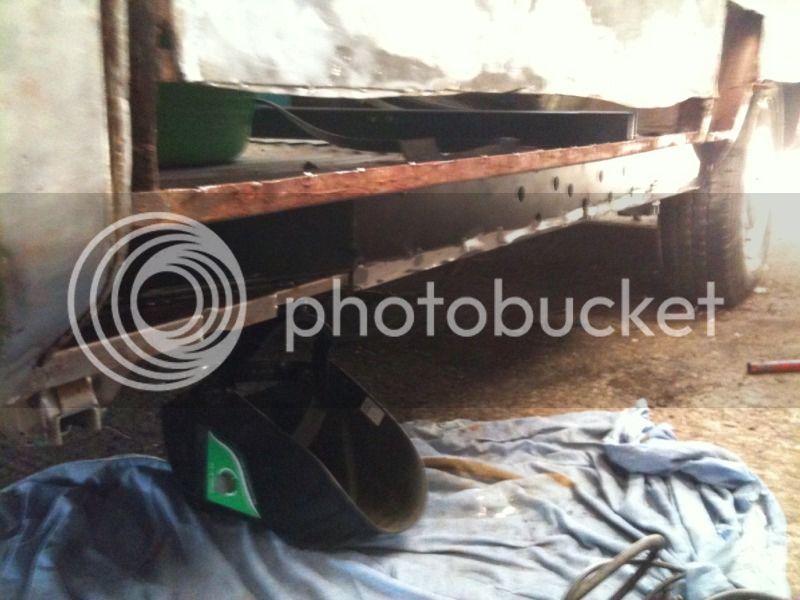
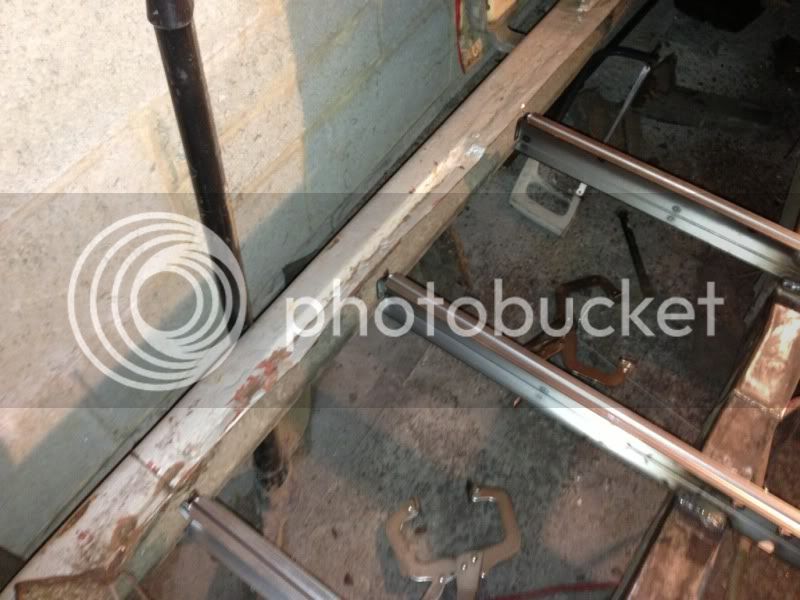
Several outriggers are rotton along with part of the cargo floor and at least one top hat.

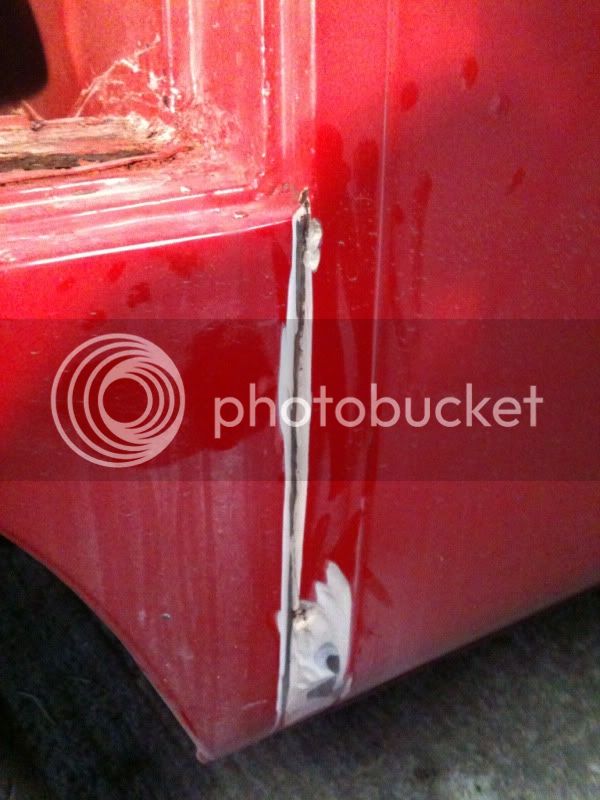
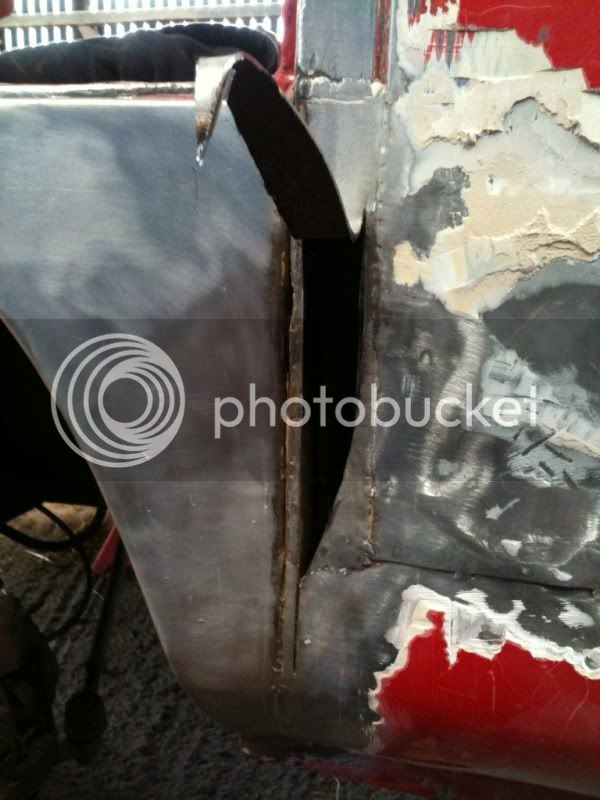
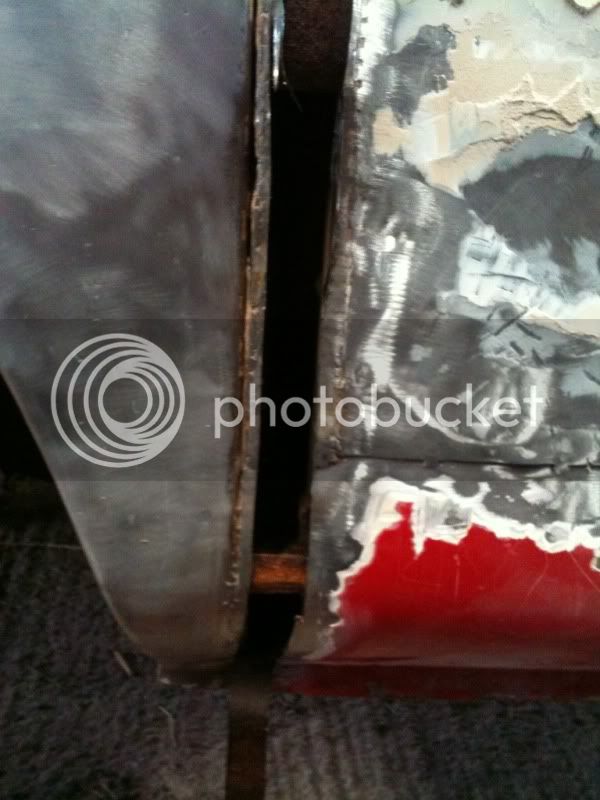
A previous owners attempt are repairing the fron arch has left the passenger door our of alignment

IMG_0067.jpg


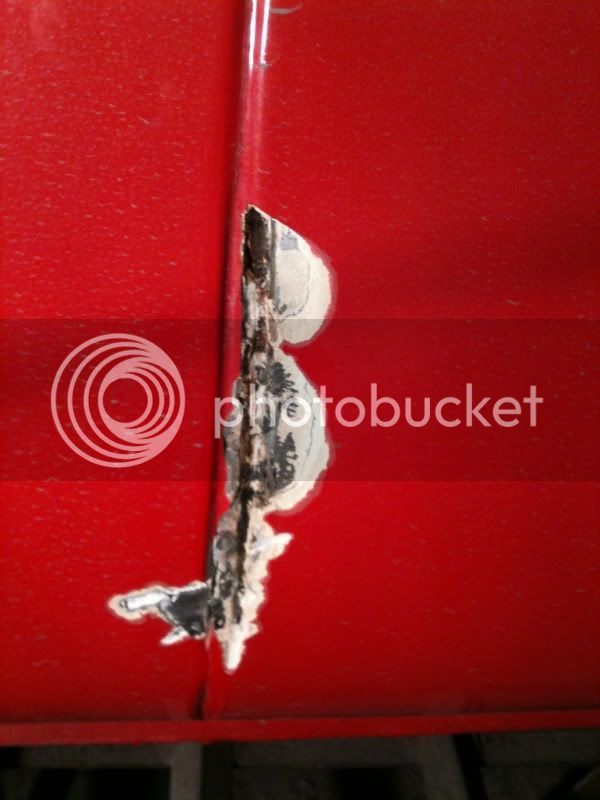
The sliding door has also had a poor repair from a previous owner

IMG_0066.jpg


Cab Floor has been repaired with lots of plating

IMG_0069-1.jpg


IMG_0071.jpg


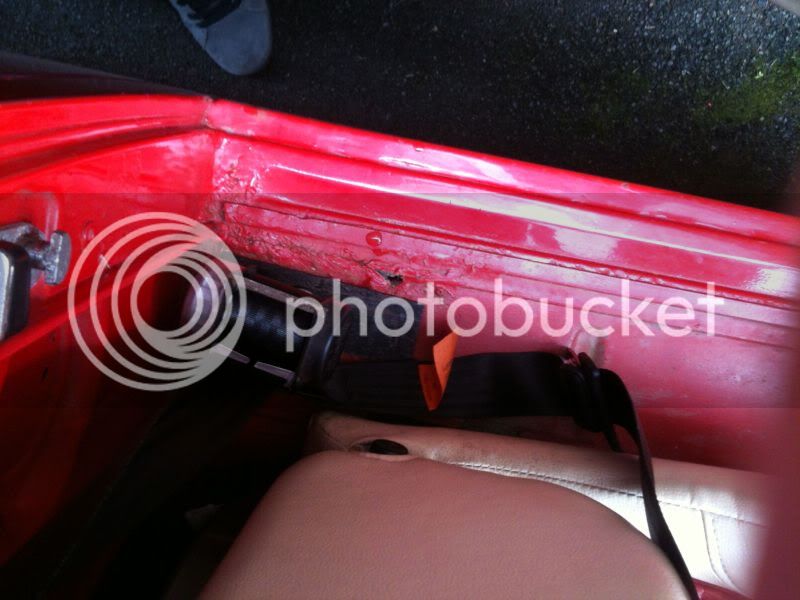
Seat belt mounts are rotton

IMG_0070.jpg


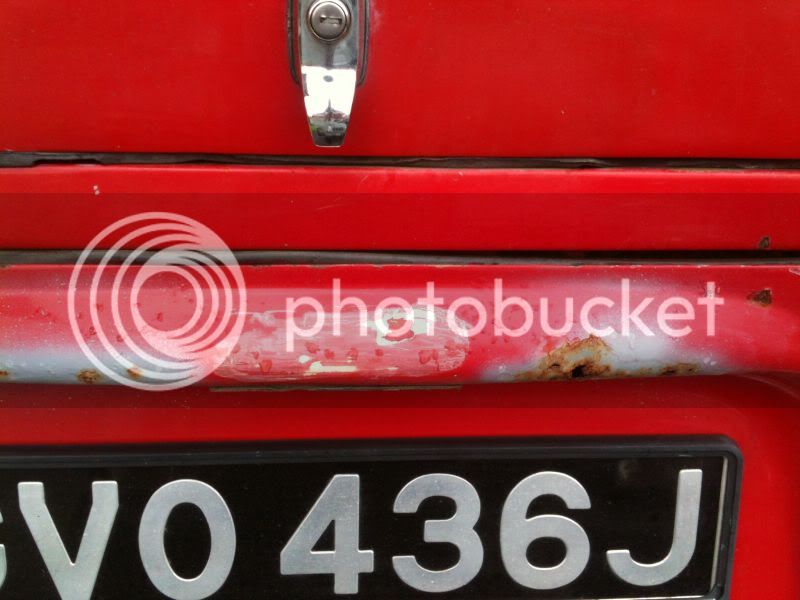
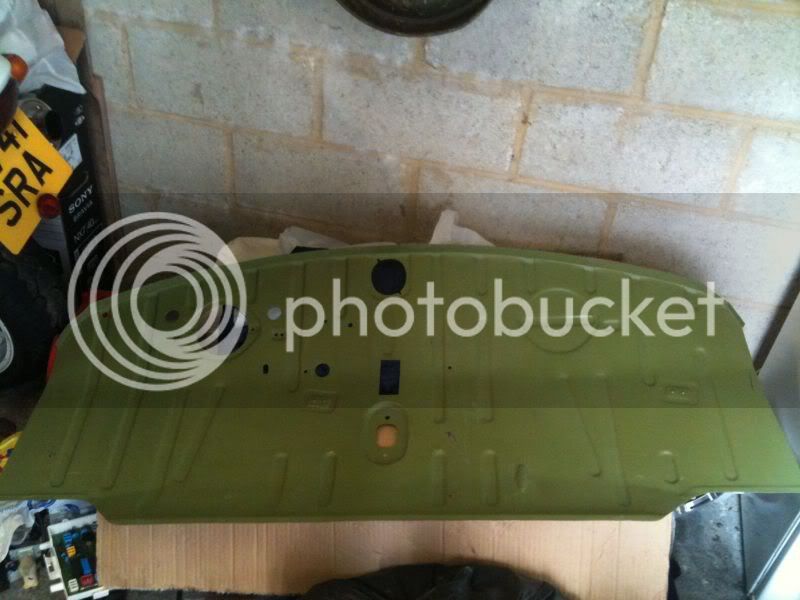
Rear engine hatch is rotton

IMG_0065.jpg


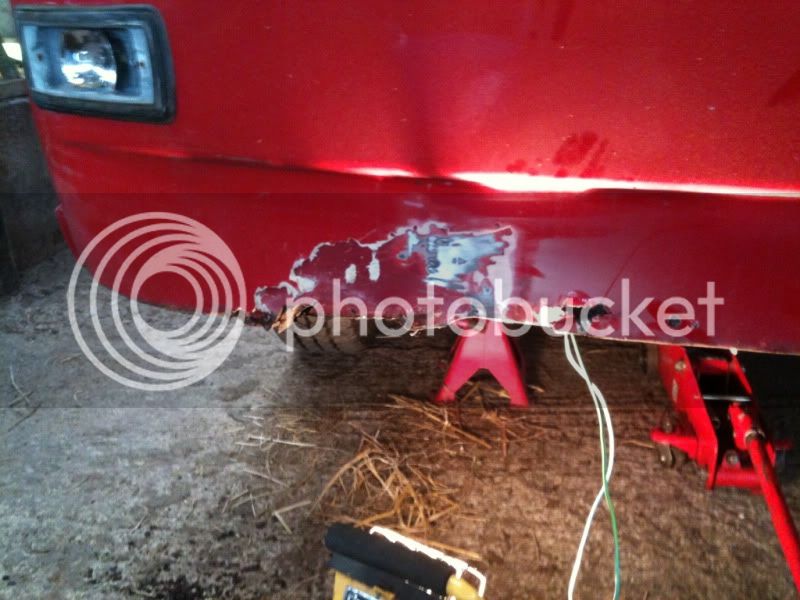
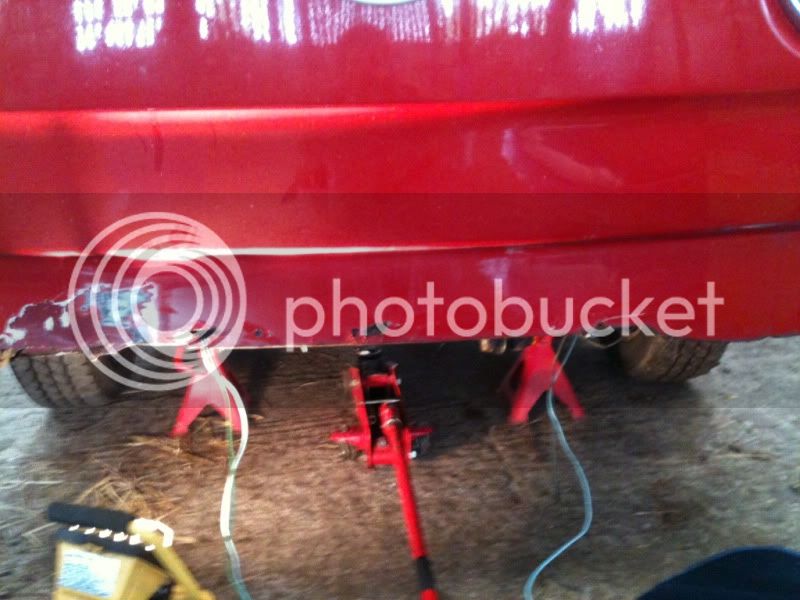
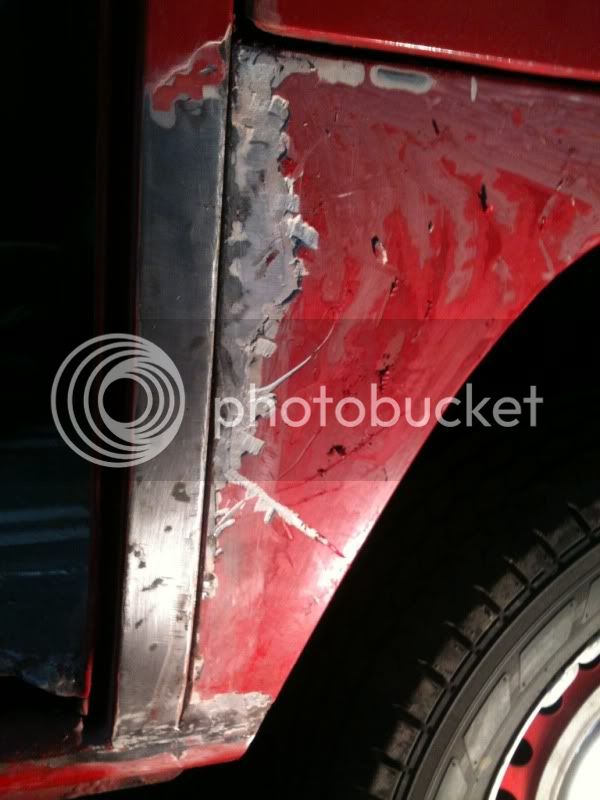
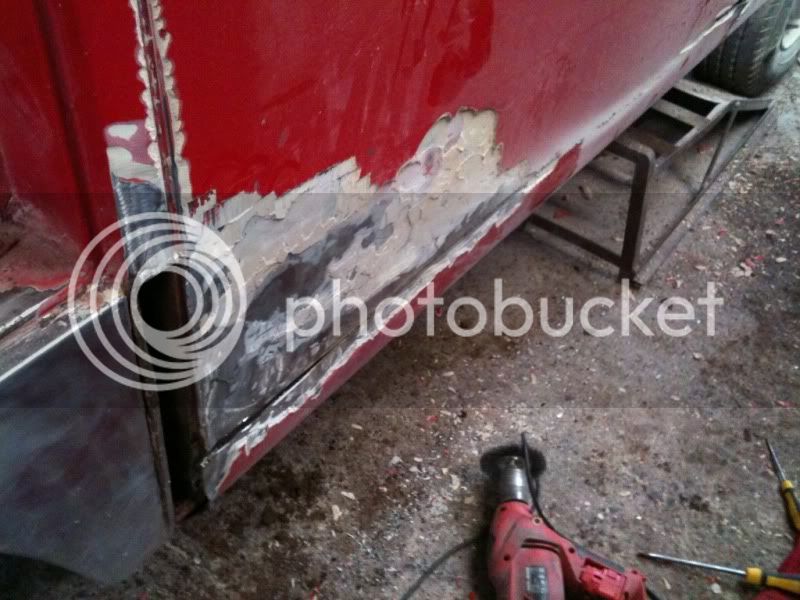
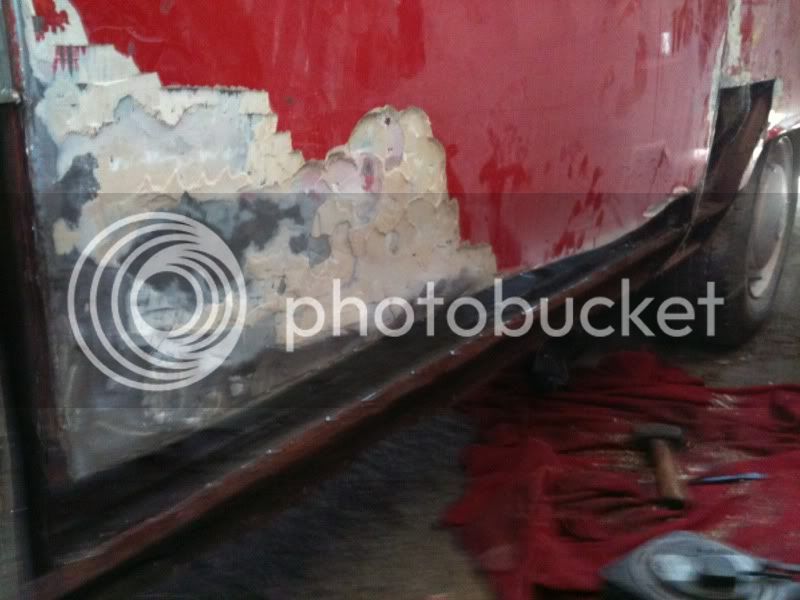
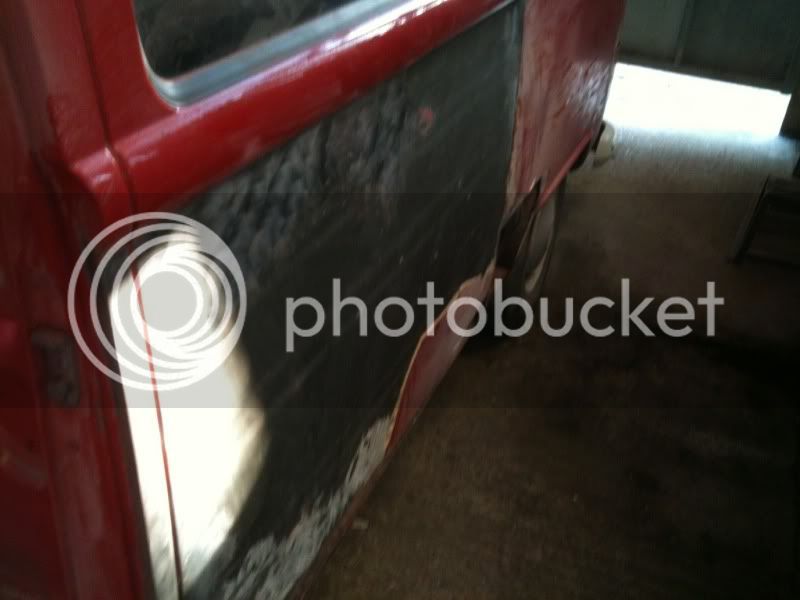
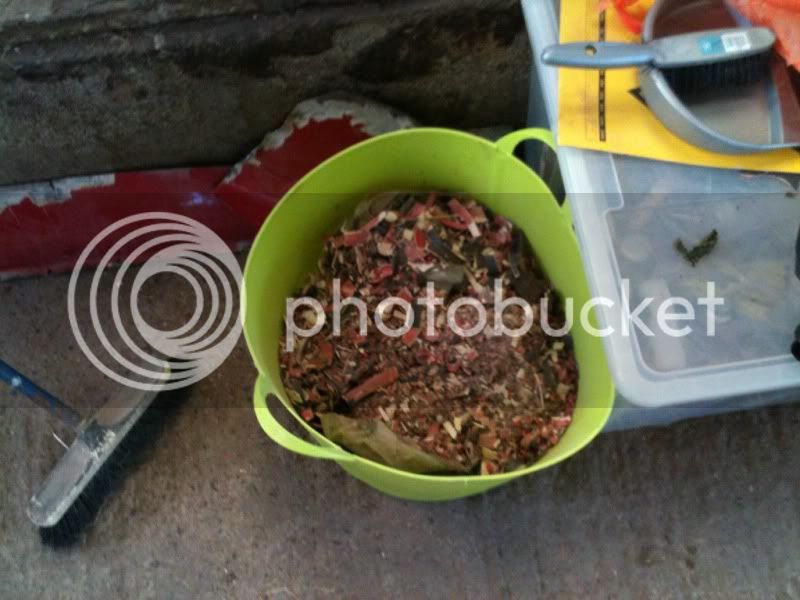
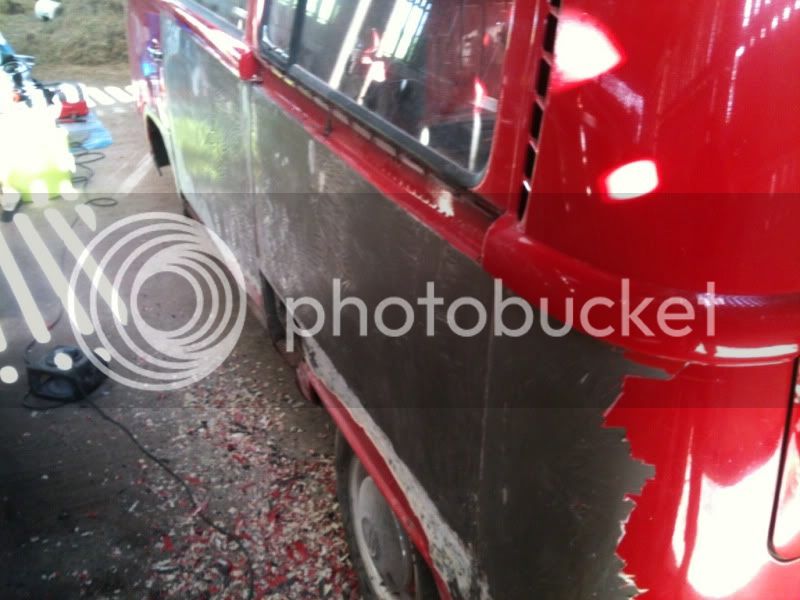
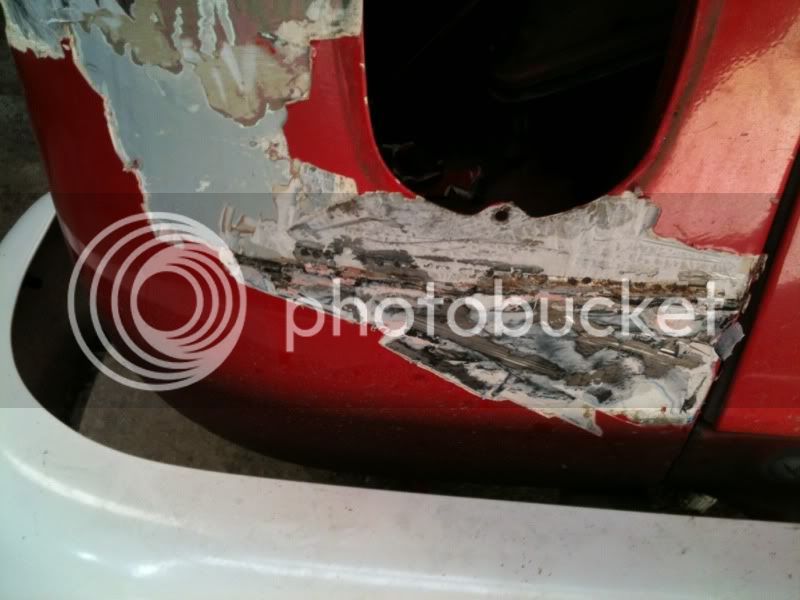
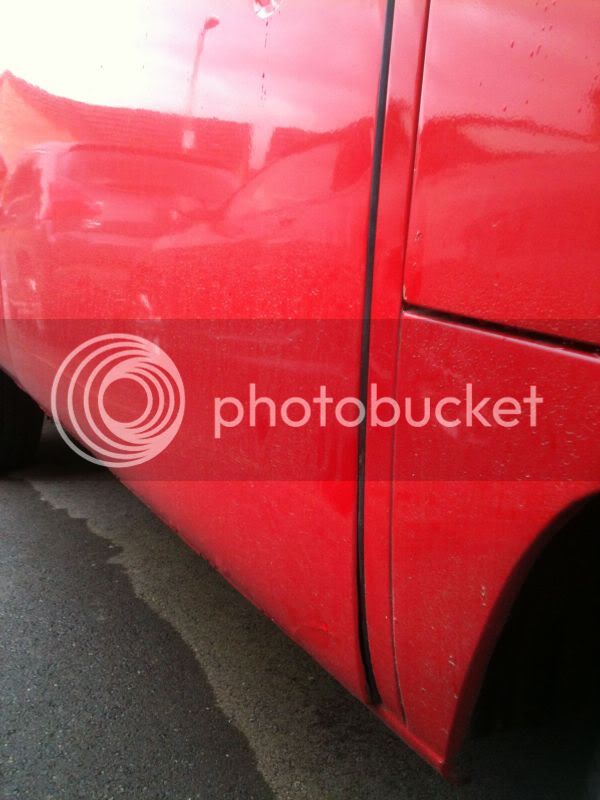
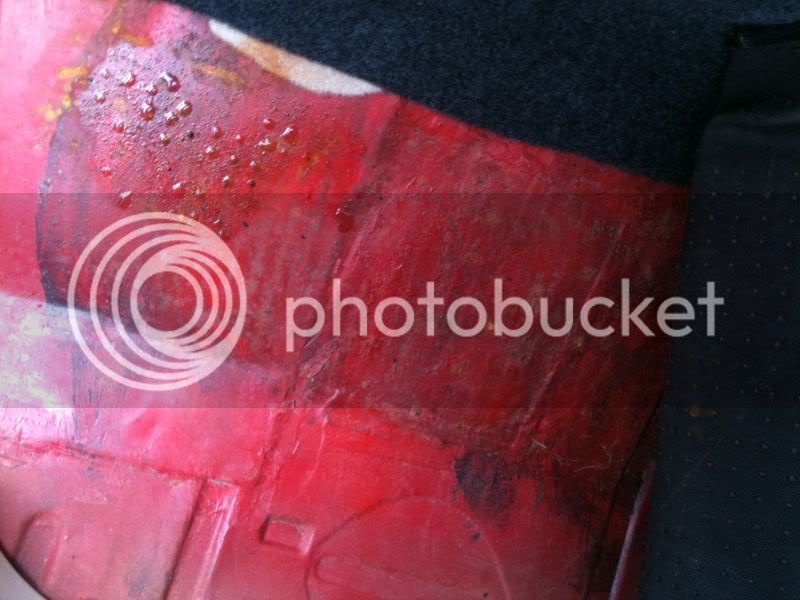
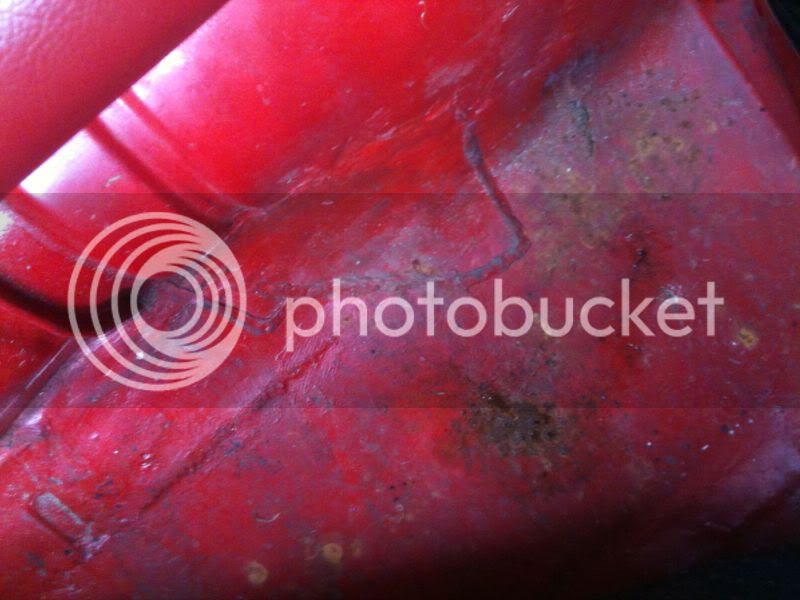
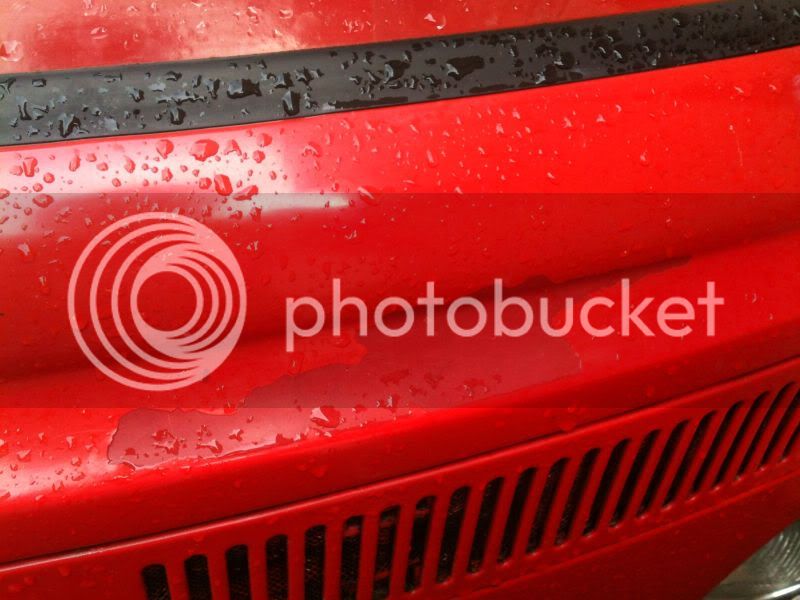
Paint is flaking all over the place from a poor quality "blow over" from a previous owner, the seams between panels are cracking all over the place

IMG_0068.jpg


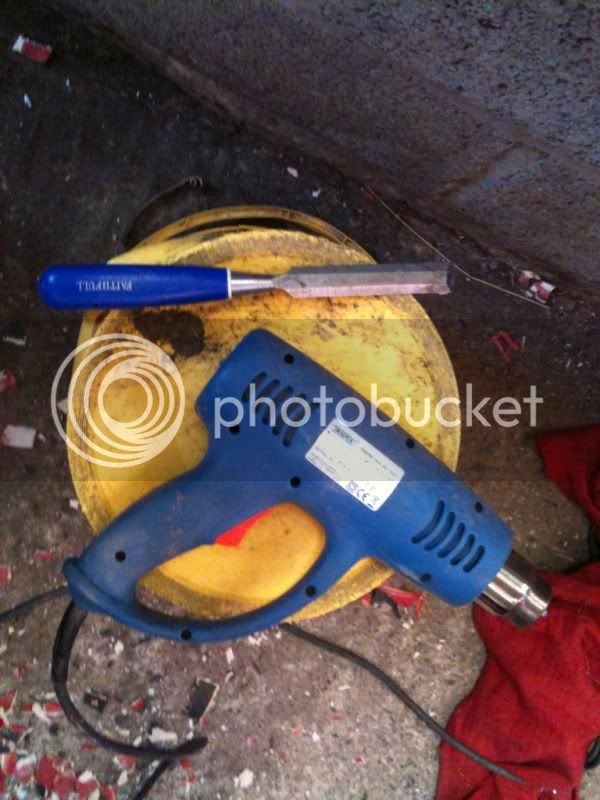
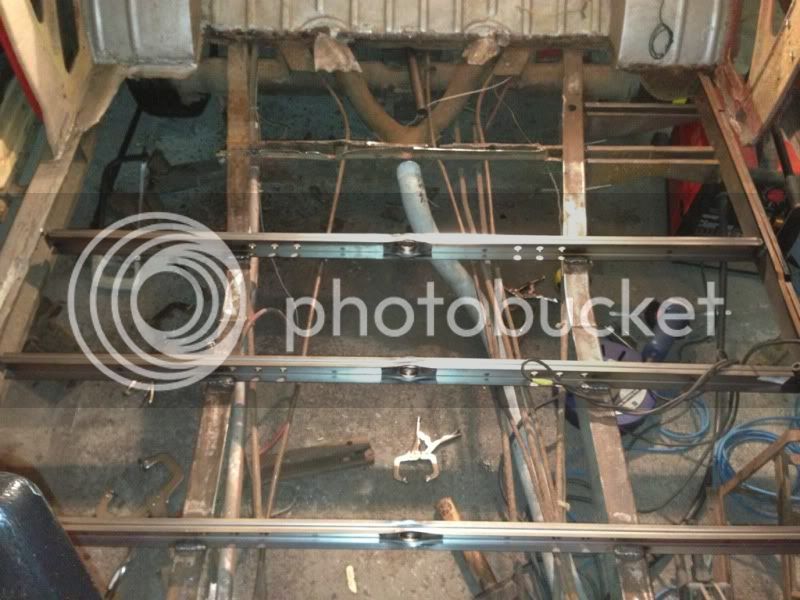
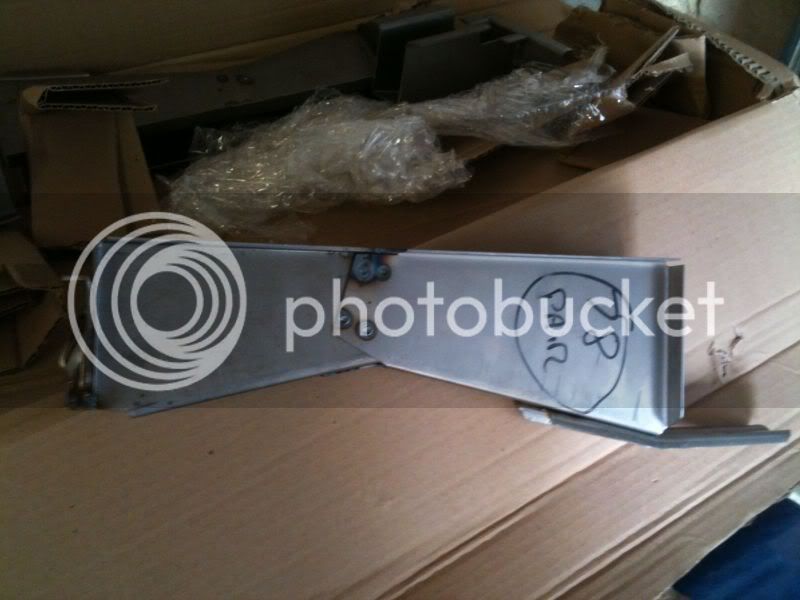
So on saturday I picked up this courtesy of musclebus

IMG_0062.jpg


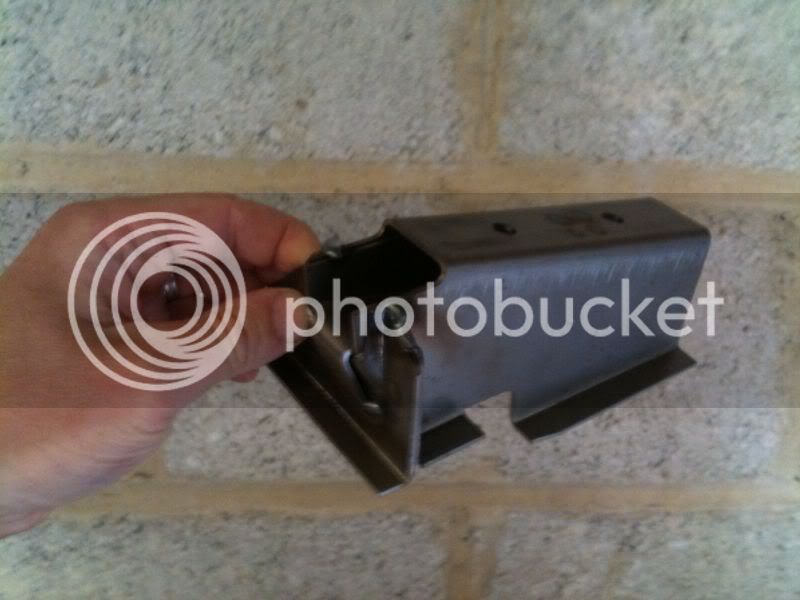
These also arrived courtesy of Aurocraft

IMG_0063.jpg


IMG_0064.jpg


The van goes into the Barn on Wednesday when I'll strip him down and start the work. The downside is that I only have the barn until November then the cows need it back so I need to get it ready for the paint shop by then!! Better get a shift on.

Updates to follow.

Adey
 
I love firebuses and this is the first EB one I have seen for ages. Good look with the resto!
 
Thanks for the comments :)

Today I managed to get the interior stripped out and all my gear in ready to head to the barn,

E4BEFD95-0E4D-4636-8860-E745BEE92A32-2214-000003359C38E05C.jpg


New home for the next few months

4EF4D2BE-3475-43FF-8ACC-43A8BA9F33F6-2214-00000334F1EBFF19.jpg


More investigation with the screwdriver and I think I will need the inner panel replacing as well.

B716D86A-8AD2-430D-A301-22442AE5874B-2214-00000334E3074371.jpg


8B57BD93-8A9D-4DE6-ABB1-3ADB6B09C77A-2214-00000334D52F1E49.jpg


B1CFF97A-FB7D-4CAB-846F-EC8380BCFE2A-2214-00000334C8EA6BA9.jpg


Can't believe all this rot around the drivers seatbelt mount was covered with seam sealer !!

Also started taking the paint off around the edges of the cab floor ready to drill out the spot welds.

More updates on Friday when I get back in there.

Adey
 
Kool bus, love the colour..!! 8) Look forward to following this thread, keep them pic's coming.!! :D
 
Only got a few hours on the bus this afternoon but decided to investigate the rather interesting seam lines between the panels. I was reading a resto thread on a classic car forum about a bus that had literally inches of filler on it and had the seams carved out of filler to look semi original.

That couldn't possibly happen on my bus could it........

Oh yes! Not quite inches but enough filler to cover up some rough repairs in the past.

Nearside B pillar

866E7B84-1F07-406A-8B5C-0FB7B9D4AF57-134-00000040B31BAB87.jpg


Offside B Pillar

16D95198-DA17-4745-A25D-F96B2A648782-134-00000040AA4FA36C.jpg


Seam near the rear Arch nearside

AA8B1ECA-11D0-4EFD-86FA-0D3C1D6513FD-134-00000040A1E8CEE4.jpg


The filler was hiding some seriously shoddy repair sections on the nearside, new B pillar bottom section is definitely needed along with lower section of the side panel all the way to the rear arch.

Should be able to get most of the filler off tomorrow when I have more time.

Adey.
 
So after spending the morning helping a friend with his T4, I managed to get down to the barn for the afternoon.

It is safe to say the filler is driving me mad. Sanding it off creates way too much dust so I have resorted to chipping it off with a chisel and mallet - Slow work !!!

I stripped both front arches and was surprised to find them intact and solid. The nearside is a little dented but nothing some lead loading can't sort out. The offside looks original which is odd as the offside door is the one that doesn't sit square on the bus despite all manner of adjustment.

I cut the nearside B pillar outer off, it is pretty shot inside so a new lower B pillar is first on the list. Then I started taking off the poor previous repair panel on the side.

Going to order some bits from AH and Autocraft ready for a welding session sometime next week.

E1A082CE-C7DF-443D-893C-27DC75DFE073-134-000001448F7AF9D6.jpg


BD90D1D2-665A-4748-86AF-06A08F36E5E5-134-0000014485212D45.jpg


4D04DED1-5AF0-4247-93CA-45CD0EAD6E4A-134-000001447B054CEE.jpg


Order list so far:-

New lower front inner panel
New lower front outer repair

Nearside Sill inner
12" nearside repair panel
Pair of Autocraft rear outer arches
Both rear corner lower sections

Adey
 
Chopped out the dodgy repairs to reveal the state of the sill. Just ordering new sills and panels.

0274AECD-2C01-47D4-B5C2-3F06DBE311C2-1004-00000108ADDC04E0.jpg


After a little research, this has proved to be the best method to remove the filler.

82C343C4-FA58-4228-B409-A3691440F112-1004-00000108B9D4D174.jpg


Resulting in this

608B8CAE-046E-4D88-A257-2C74AE0F698B-1004-00000108CD9D31EB.jpg


and this

85959917-6D4D-4FBB-BF4C-9FE4F4BBCFD0-1004-00000108C7B490DF.jpg


Making progress, if a little slowly

Adey
 
All that filler just because the previous owner couldn't be bothered to weld the repair panels properly. Thankfully the body panels are rot free and super straight above the repairs.

I am banking on that top speed increasing !!
Adey
 
A quick couple of hours this afternoon.

Ready to weld in some new metal now.

9966FF20-7FC3-4F08-8A34-2C3C5B0444FB-1004-00000230FECFD05A.jpg


8E9EE2DA-67A1-46E7-9677-366F8A6CF592-1004-0000023106787FC7.jpg


Adey
 
Loads of metal arrived today.

Lots of welding to do tomorrow, will update asap.

Adey
 
Got the rest of the old pseudo sill off the bus along with cutting back the top hats and removing the old outriggers. I have to say Autocraft really do make some nice parts. The outriggers and inner sill fitted like a glove. Just tacked in at the moment until I get back down there to check a few things.

No photos as I dropped my iPhone (bust the screen) and then the battery went flat.

Bugger.

Adey
 
Had a break for a week as work got in the way of the bus. I spent Sunday on it.

I cut out the old back outrigger and found I needed to make a patch for the chassis rail.

4E7190F2-4402-4FE6-A58C-2E12848A2889-5333-0000063AC15F5BAC.jpg


DE09BDB4-23C0-4B5A-A36F-18BED0B3E270-5333-0000063AD3312E15.jpg


New outrigger and inner sill fitted.

E6533E64-9D66-42DA-934F-A0725EFA98DC-5333-0000063AE59DD77F.jpg


FFF7CEC9-6224-4D7D-A27D-40CE782E07BF-5333-0000063AEBD598F4.jpg


Middle strengthener fitted and spot welded in place.

3A447C4B-A6A4-42CD-BE6F-9308AE3E16F0-5333-0000063AF20734B9.jpg


Next job is middle panel a b pillar repair.


Hopefully next weekend.

Adey.
 
Sorry for the lack of updates, work has got in the way and added to that the cows need the barn back. So, tomorrows job was going to be to take out the cargo floor, cut out all the top hats and finish off the outriggers and fit new tophats. Unfortunately it is now clearing my single garage out and getting the van back over to my place on a trailer.

The extra space was fun while it lasted :)

Managed to find some space to store all the stuff in the garage and the neighbour is kindly looking after my motorbike in his.

On the plus side another big box of panels arrived from AH Schofiled this week :p

Adey.
 
Time for a long needed update.

Work got in the way last part of 2012 and I had to move out the barn so got everything back to my garage (after distributing the contents of my garage amongst many friends).

Took up the cargo floor and go to work on the tophats and non existant I beams. Some parts had been previously botched, some were homemade, all had holes and rot.

E0900E70-BAD3-47F0-80F8-285D09A243D8-7922-000003A3976E435C_zpscb117450.jpg


EE56A580-DD11-45C8-97B5-FD63D3DB7DA8-7922-000003A39F84BB6E_zps467295bc.jpg


6C0B18A1-5D2F-43CF-B2CA-4510D41EA25F-7922-000003A3B23CC76B_zps39dc86cb.jpg


No inner sill on the sliding door side, just some homemade both of a track, no wonder it never shut properly, look at the gap between the old sill and new I beams

AF4CE399-45E3-4D29-BD88-E480D381AD1D-7922-000003A3C10C9064_zps43be80e2.jpg
 

Latest posts

Top