You are using an out of date browser. It may not display this or other websites correctly.
You should upgrade or use an alternative browser.
You should upgrade or use an alternative browser.
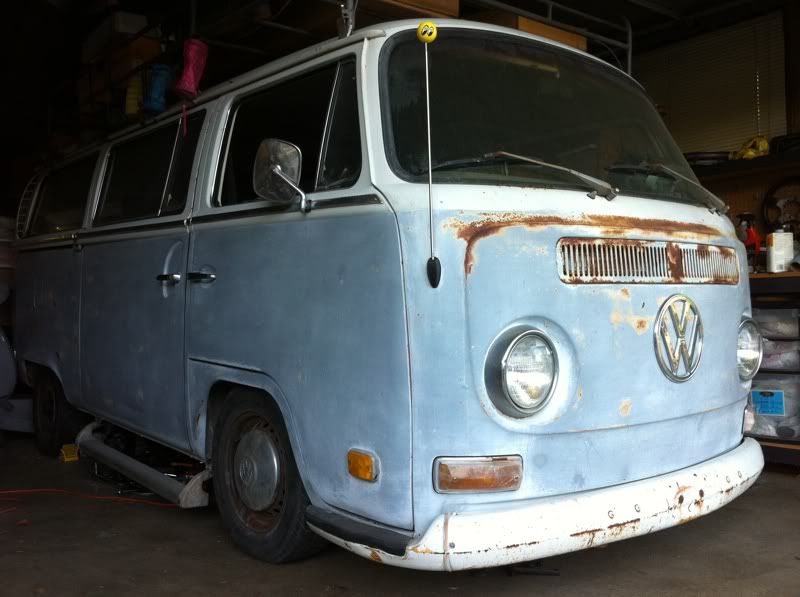
'71 Deluxe - Now with Super Secret Subaru Swap!
- Thread starter DadWagens
- Start date


Help Support Early Bay Forum:
This site may earn a commission from merchant affiliate
links, including eBay, Amazon, and others.

LEEP said:I liked this one...
I like this one too!
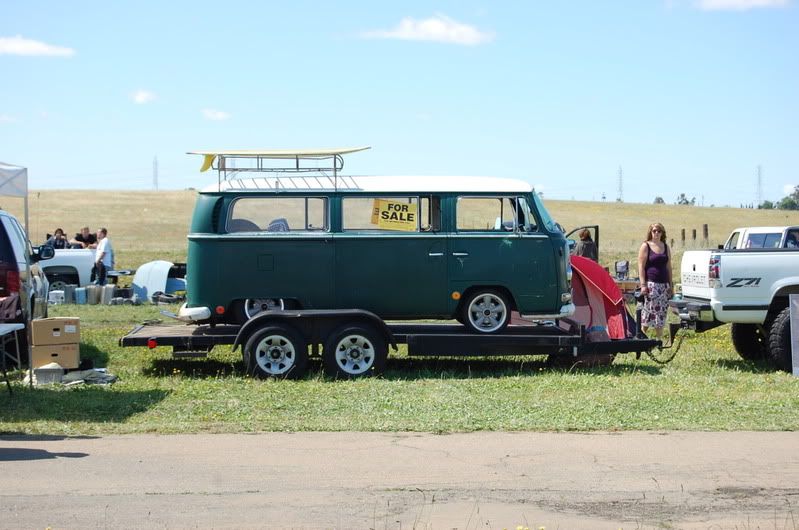
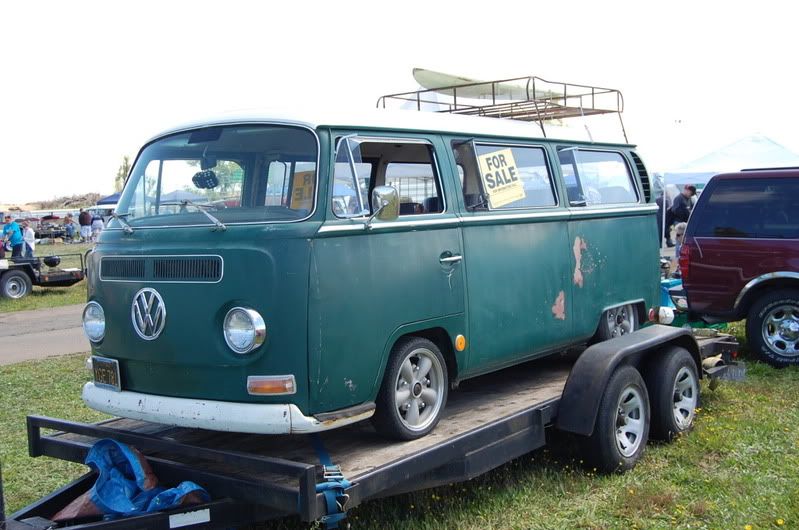
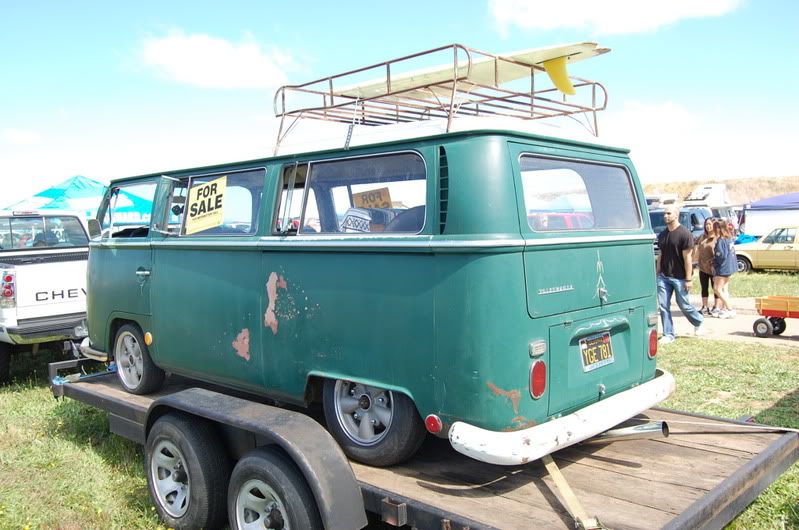
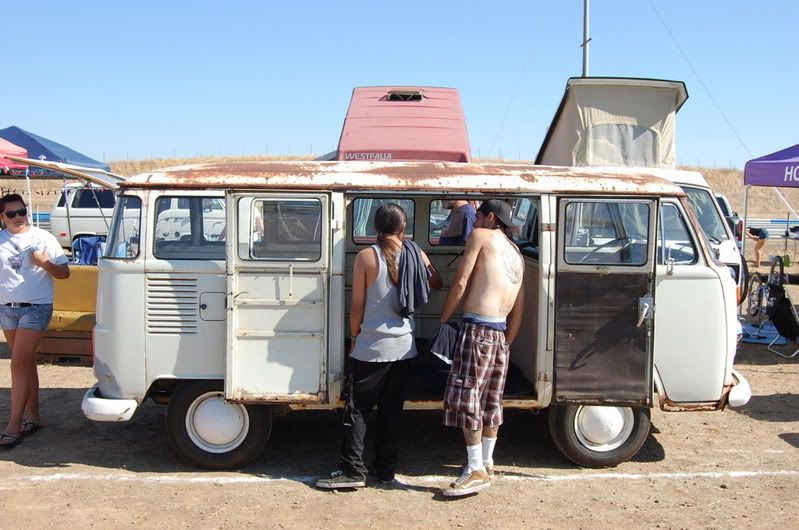
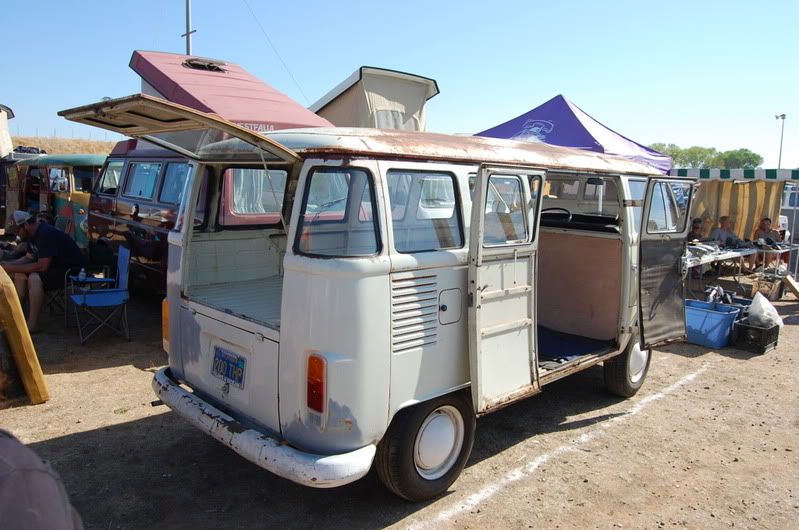
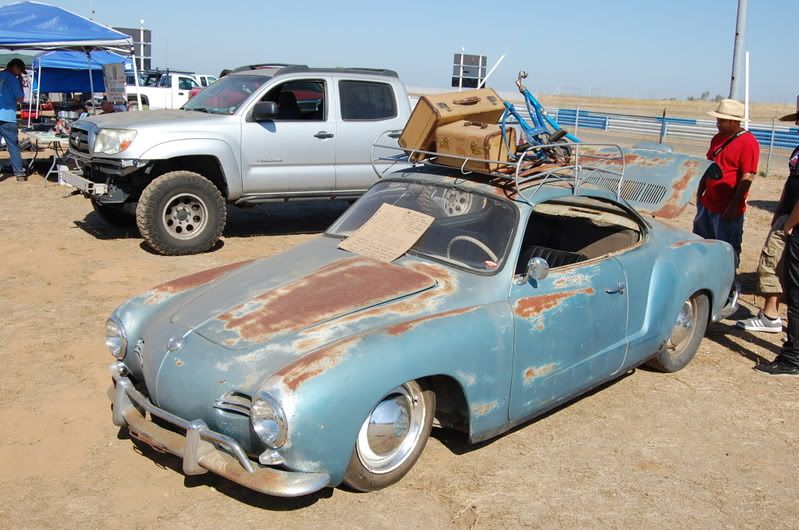
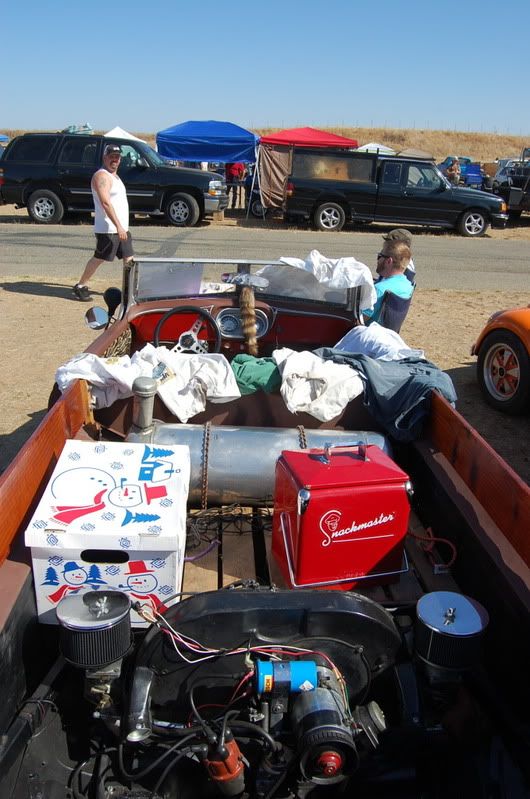
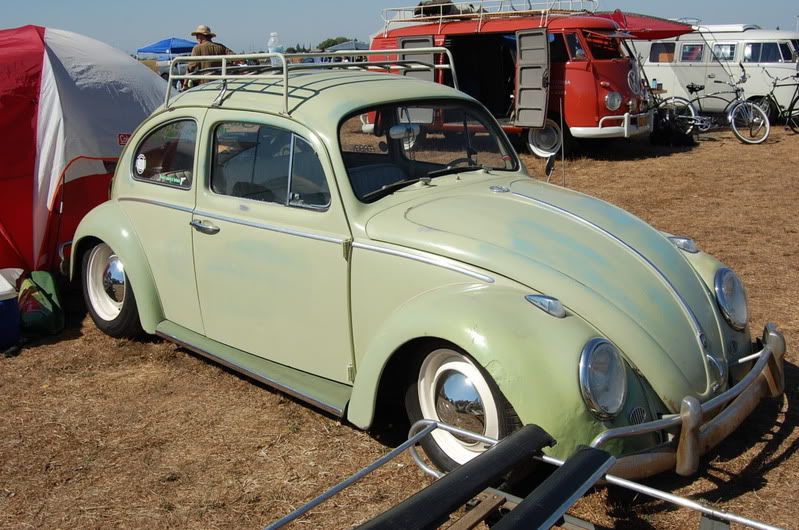
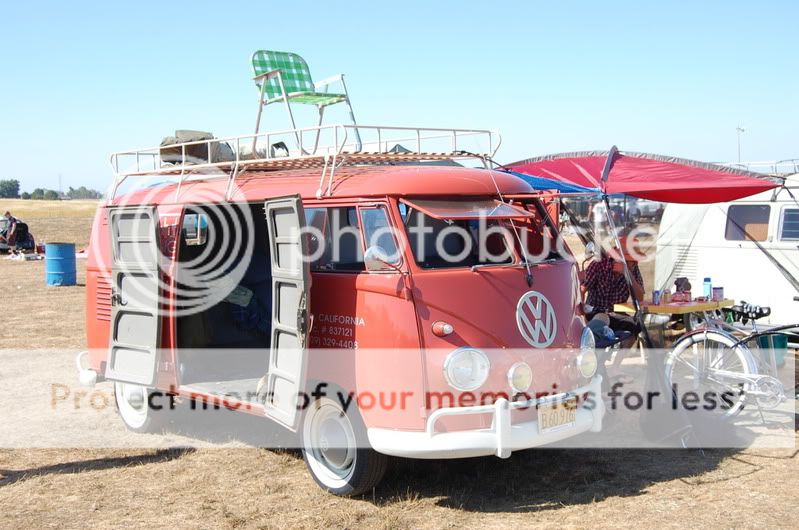
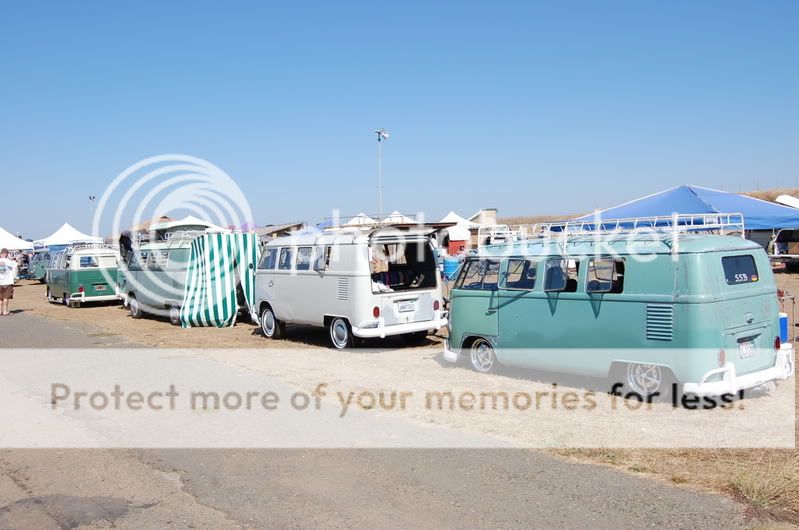
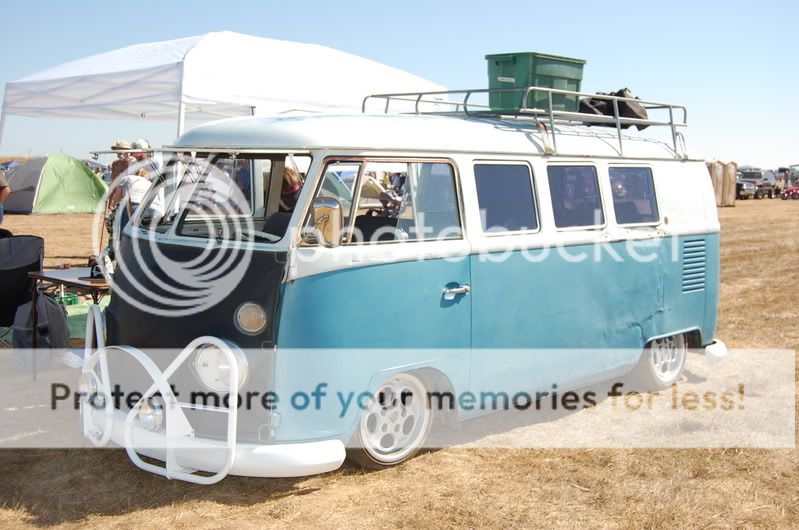
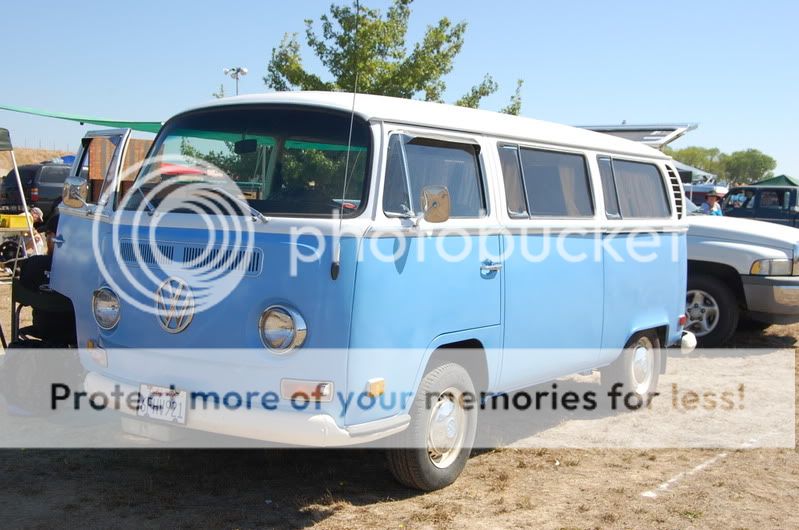
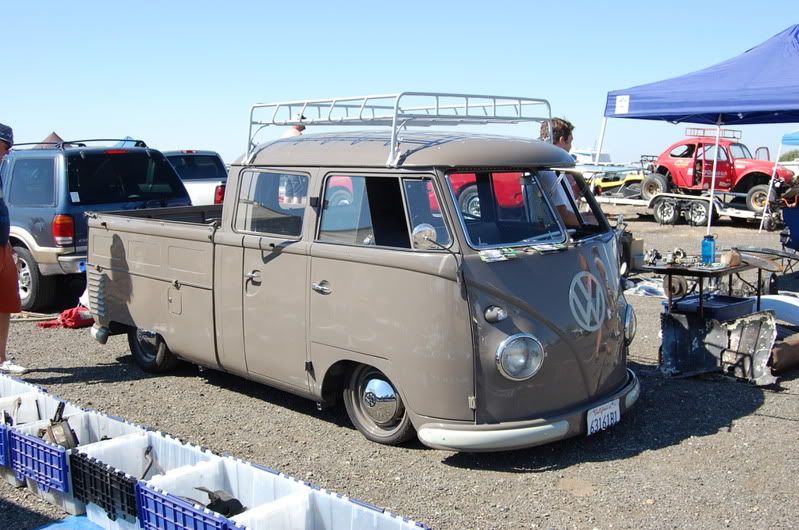
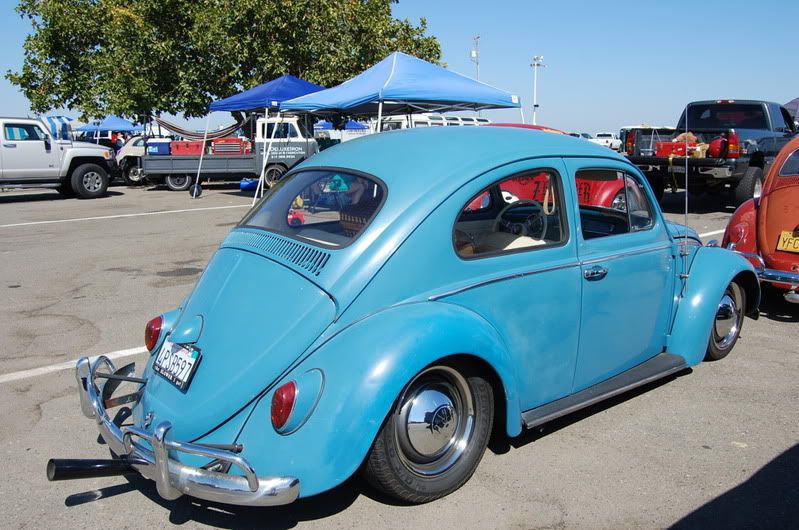
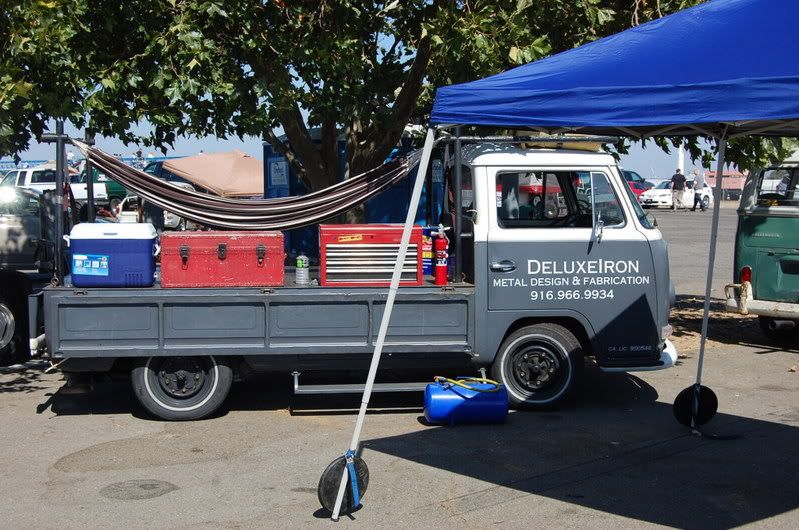
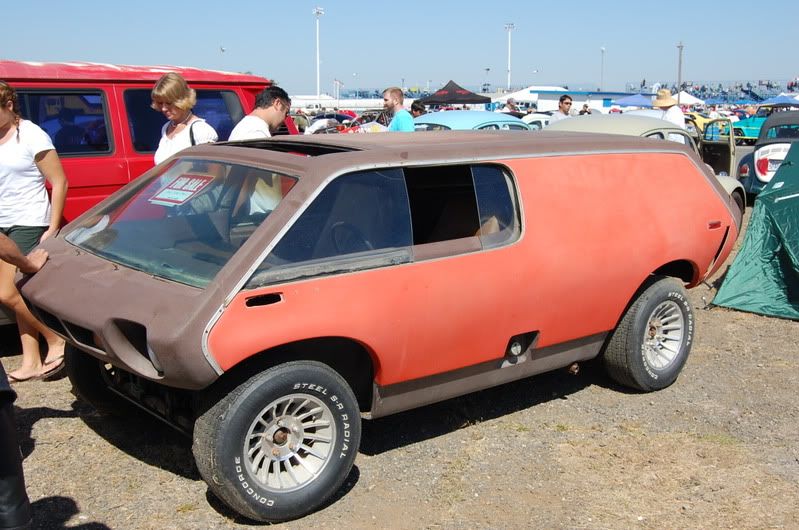
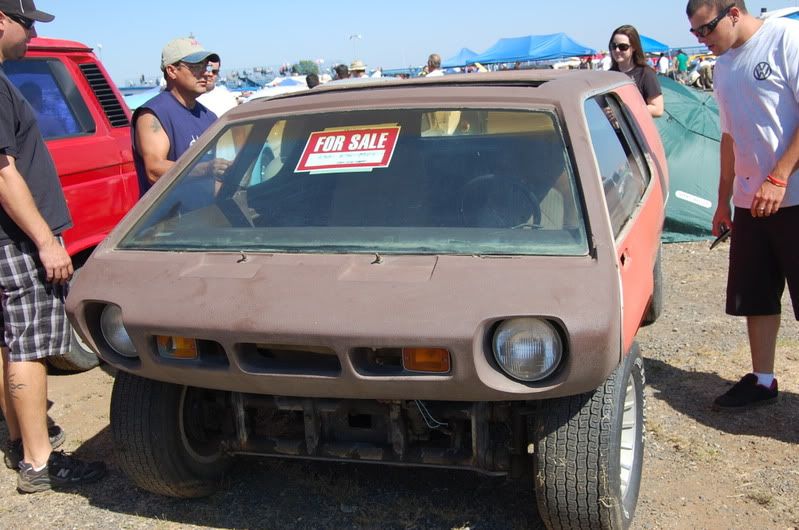
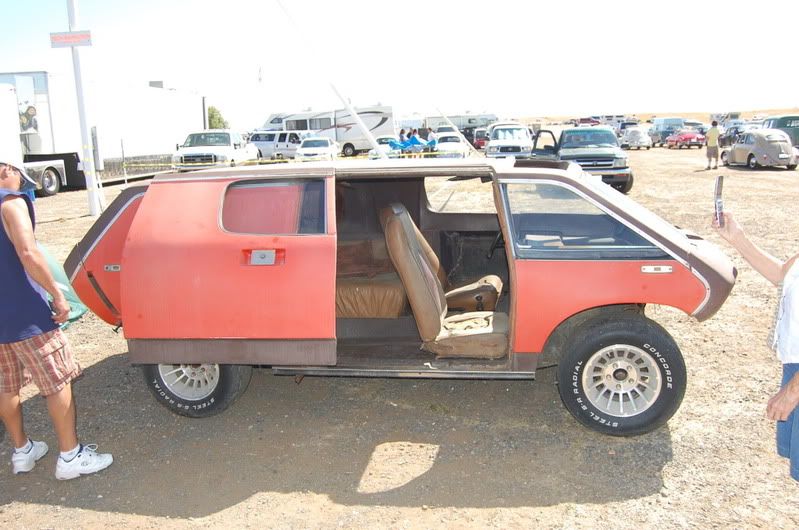
Doing my online community service by providing you guys with more Bug-O-Rama pics.
I've been working on my '64 vert lately but now it's back on the road I just bought more front end parts to install. I hope to have the bus on the ground by the end of the year.
Here we gooooooooo
Brazillian Bay!
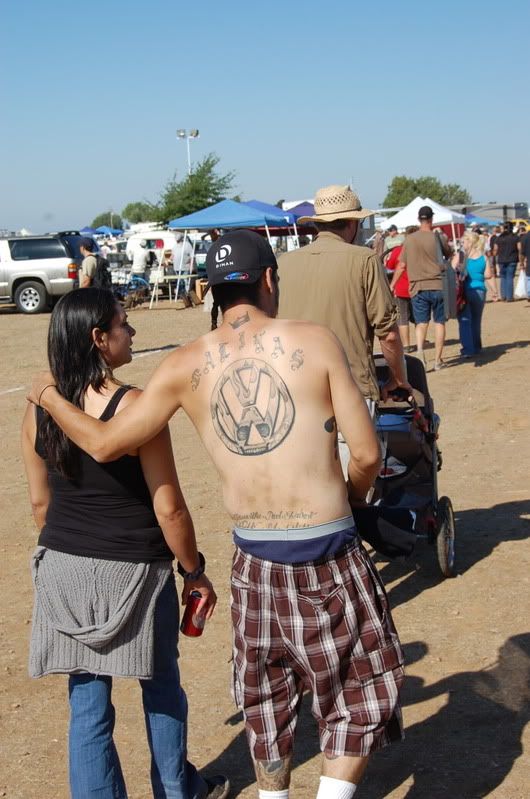
Had to get one of this dude's tattoo.
I've been working on my '64 vert lately but now it's back on the road I just bought more front end parts to install. I hope to have the bus on the ground by the end of the year.
Here we gooooooooo
Brazillian Bay!
Had to get one of this dude's tattoo.


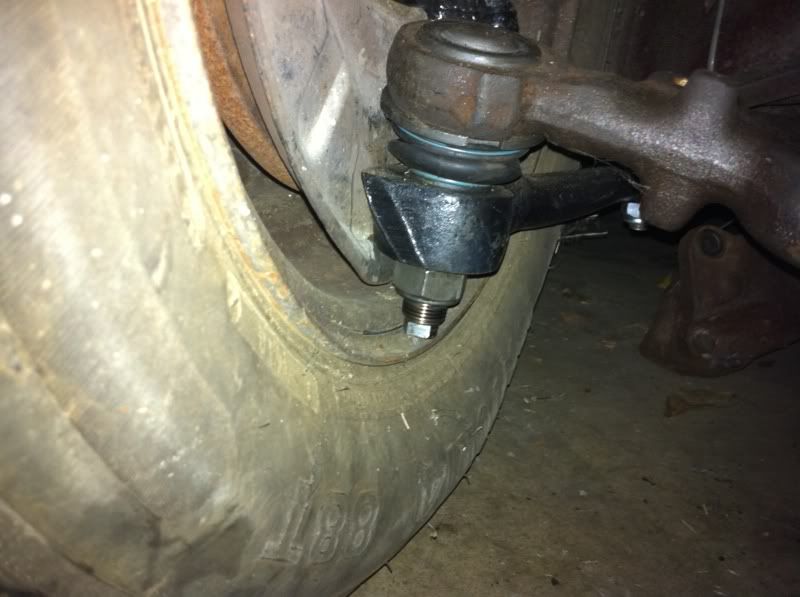
Okay so I got some hours in on the bus this weekend. The beam is back in, spindles are on, and the new tie rods are on. There's a strange interference between the drag link and the body so I'll need to figure that out. Also I thnk I'll have to bend the disc brake dust shields- they don't sit flush on the spindles.
Next I am sending my brake booster out for a rebuild and replacing my master cylinder and all rubber hoses. Hopefully I'll get some more garage time soon.
Cool photo's P. Good to see you got some garage time. Look forward to seeing more progress in the coming months. How's your little helper?
Thanks Chris. My little helper is doing awesome, after BugOrama he learned the word "bus" and now he's pointing out all the buses on the road. He's going to turn two in November. How's it going with the clan and your bus? Hit up any shows this year?
This weekend I got some more time to work on the bus. I just installed the discs and then ran into a problem with the caliper bolt threads on the spindles being bad so I had to stop there. I also had to whack the shit out of the lower part of my dust shields to get them to fit flush to the spindle.
I couldn't resist bolting up the wheels and putting the bus down to see how the ride height looks. There is an interference between the stock wheel and the stud on the lower balljoint which I already knew about before I bought the OldSpeed spindles. Next I have to trim the balljoint studs and then run a tap through the caliper bolt holes.
See...
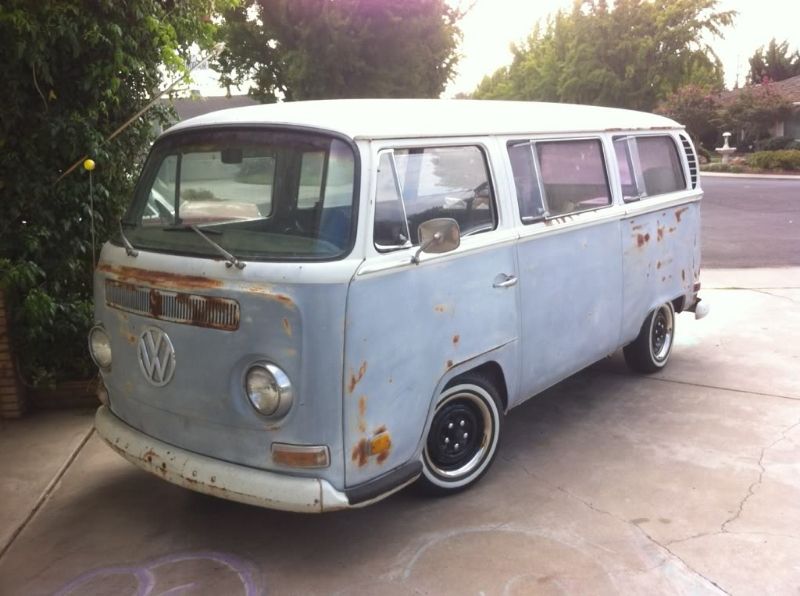
The bus looks good on the ground with 185/70R14s. I haven't decided what tire size to run, but I'm considering just 185/60's all around or maybe just up front, depending on how the rear suspension ends up looking.
I have adjustable springplates on the way from Bus Boys and they were taking forever to machine up their boomerangs so I gave up and ordered a set of horseshoes from Wagenswest which are also on the way. So the rear suspension is about to get some attention. Getting much closer...
This weekend I got some more time to work on the bus. I just installed the discs and then ran into a problem with the caliper bolt threads on the spindles being bad so I had to stop there. I also had to whack the shit out of the lower part of my dust shields to get them to fit flush to the spindle.
I couldn't resist bolting up the wheels and putting the bus down to see how the ride height looks. There is an interference between the stock wheel and the stud on the lower balljoint which I already knew about before I bought the OldSpeed spindles. Next I have to trim the balljoint studs and then run a tap through the caliper bolt holes.
See...
The bus looks good on the ground with 185/70R14s. I haven't decided what tire size to run, but I'm considering just 185/60's all around or maybe just up front, depending on how the rear suspension ends up looking.
I have adjustable springplates on the way from Bus Boys and they were taking forever to machine up their boomerangs so I gave up and ordered a set of horseshoes from Wagenswest which are also on the way. So the rear suspension is about to get some attention. Getting much closer...
Oh hey... remember me? Do they shut down build threads due to inactivity? lol
So over two years have passed since I last updated this thread. I have been driving the bus daily now for a few months. I figure since I took pictures of everything as I went along I may as well post the whole story, which includes a few plot twists. We have a lot of catching up to do, so I'm going to try to get this thread all the way up to date with a couple of huge posts. Here we go:
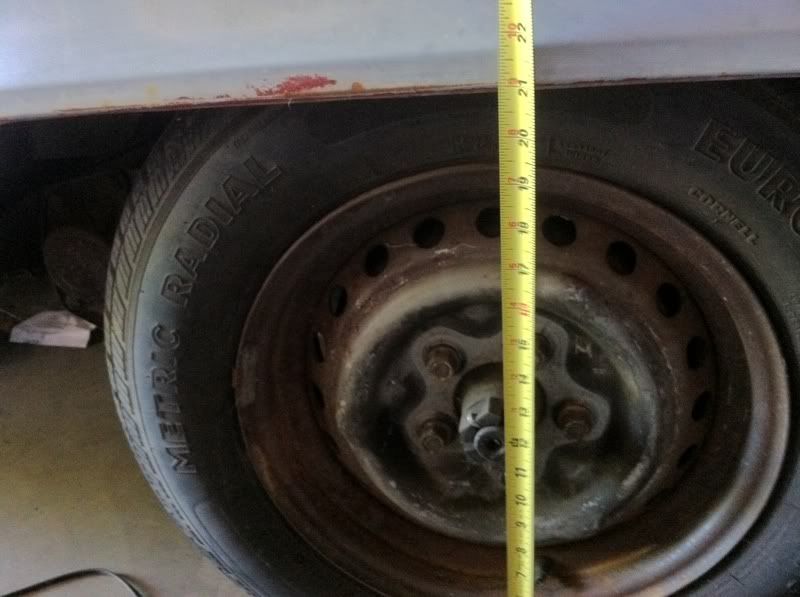
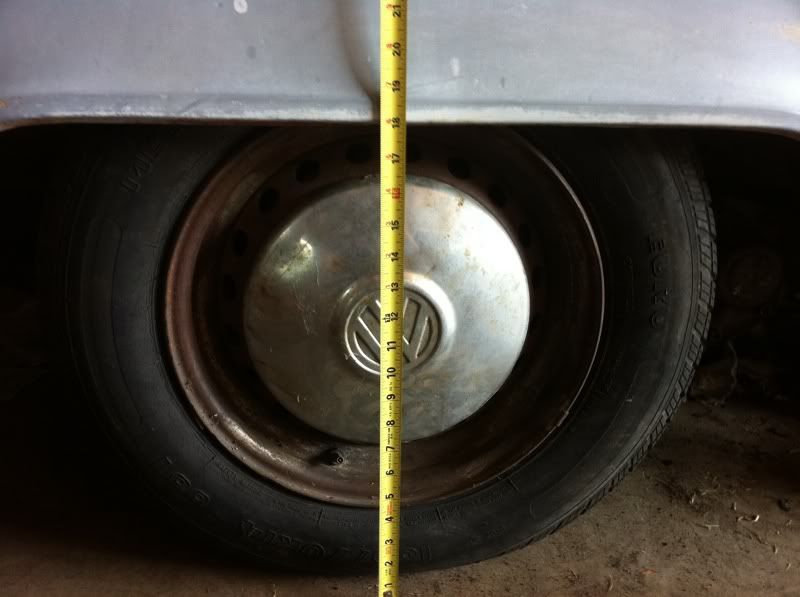
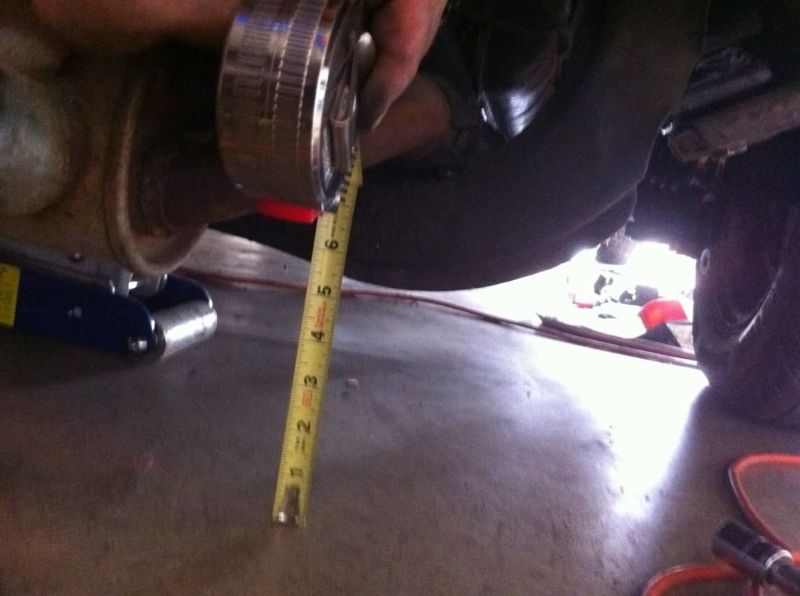
For my rear suspension setup I'm running Wagenswest Horseshoes and Bus Boys adjustable spring plates. I decided to run the adjustables to make it easier to remove the rear wheels and so I could easily raise the bus if I am carrying a heavy load. Before lowering the rear measured 21" to the fender lip.
When I first put everything on I had planned on drilling the spring plates with a hand drill for the hand brake cables but I couldn't get through them, even with cobalt bits. The Bus Boys Spring plates are super thick.
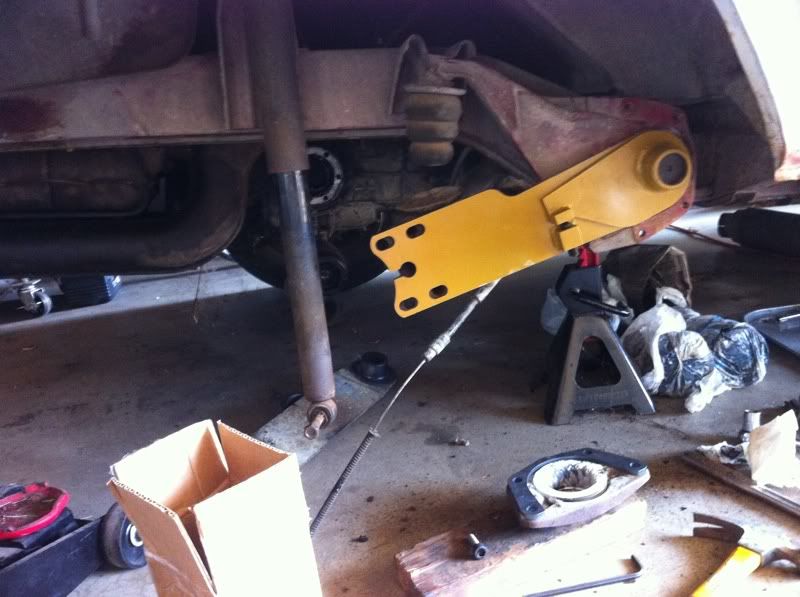
So I had to take the into the shop at work to get them slotted using a milling machine. I also chamfered the edge of the horseshoes around the notch for the handbrake cable so the cable could lay flatter against it. I had to do this because I am running stock 14" wheels and there is very little clearance between the lip of the wheel and the brake cable.
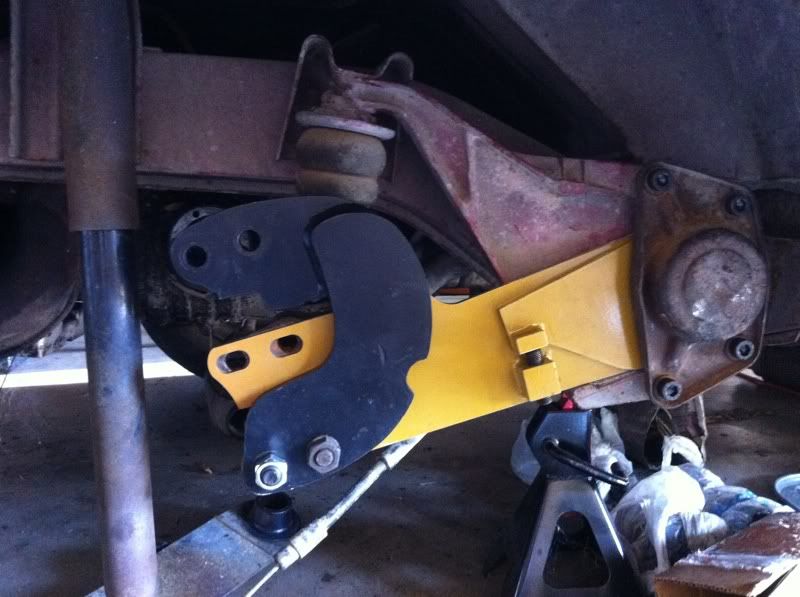
Here's how it looked with everything back together and a bare wheel installed to check clearance:
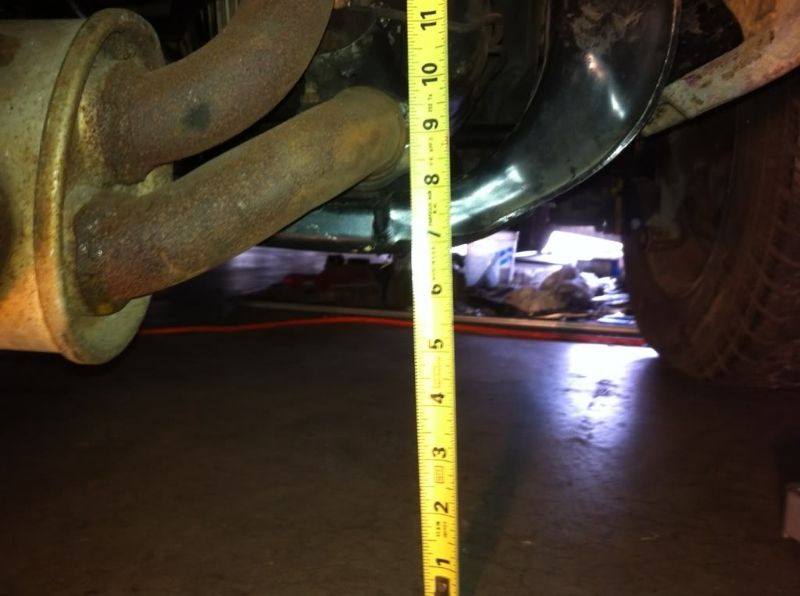
After I did both sides I discovered that the BB spring plate splines are not oriented precisely the same as stock. One side was lower than the other by about an inch. Having torn it apart enough times already I decided to just level it out side to side with the adjusters for now so I could concentrate on getting the bus on the road. I plan to come back and dial in the final ride height later.
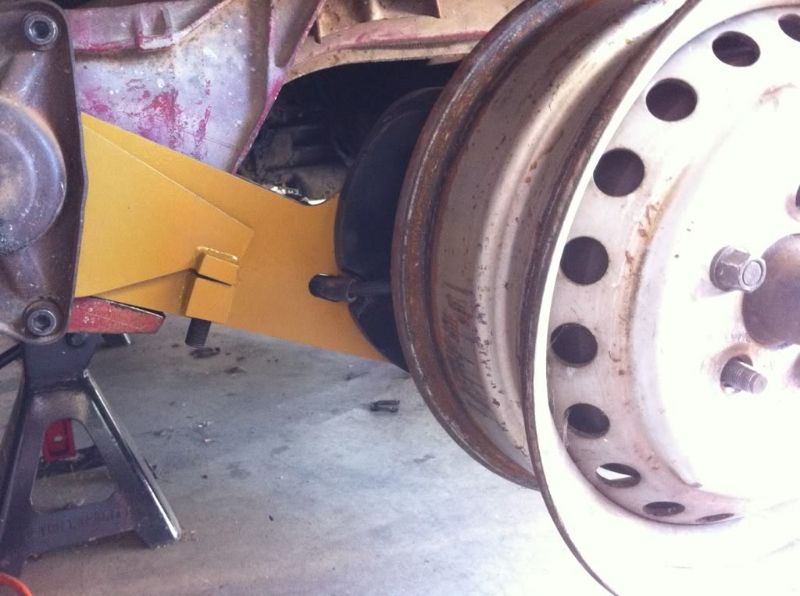
Other notes about the suspension setup: I trimmed the lower ball joint studs up front so they clear the wheels now. I also had to trim off the little boss on the lower spring plate stop on the body of the bus to allow the spring plate to fall down far enough to remove the wheel and tire without having to do any weird tricks. The above picture shows the trimmed lower springplate stop. Here's the lower of the two sides before I leveled it out. The final ride height will probably about like this.
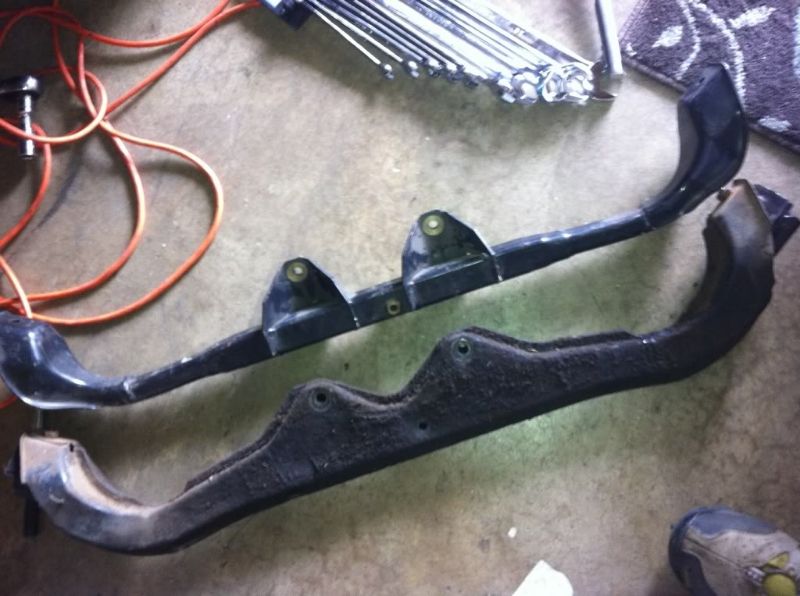
The next thing I did in preparation for lowering the bus more was to swap out the mustache bar with this square tube style one.
I gained about 1.25" but it didn't matter since the aftermarket exhaust hung down so low. I bought a stock exhaust to replace it later.
Before:
After:
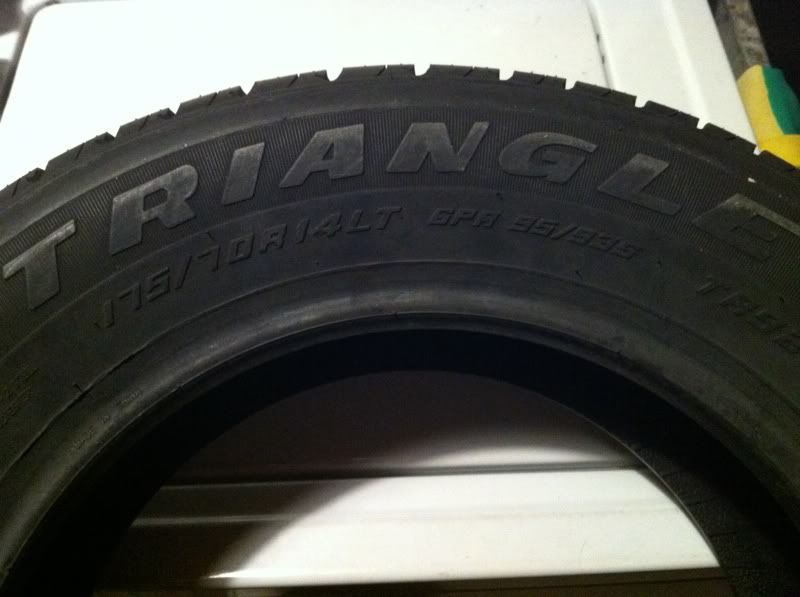
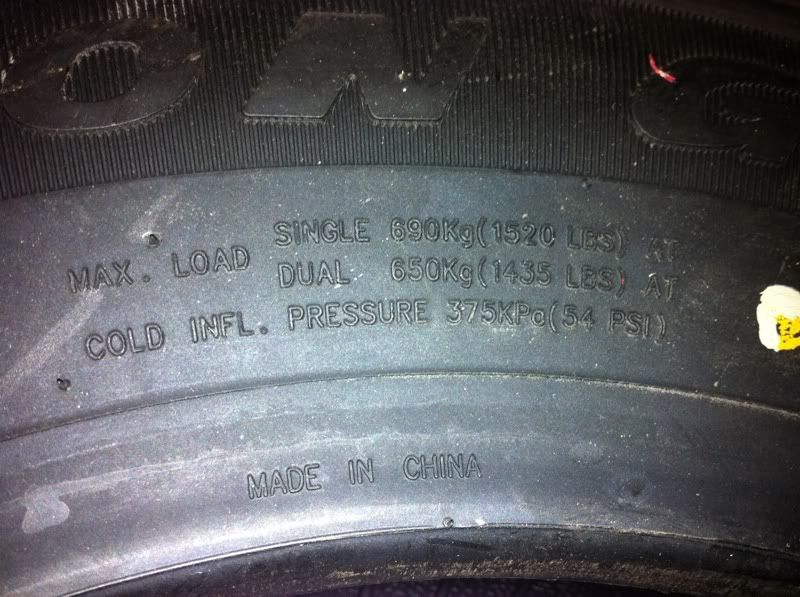
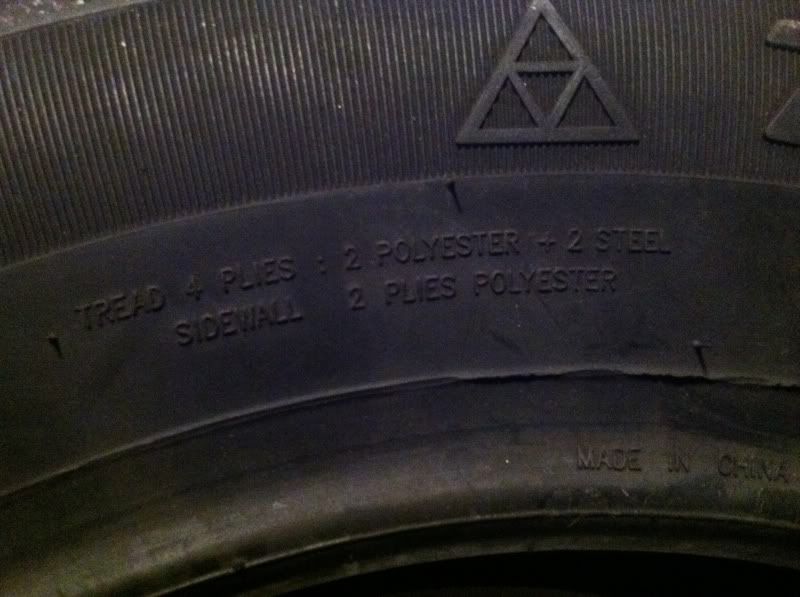
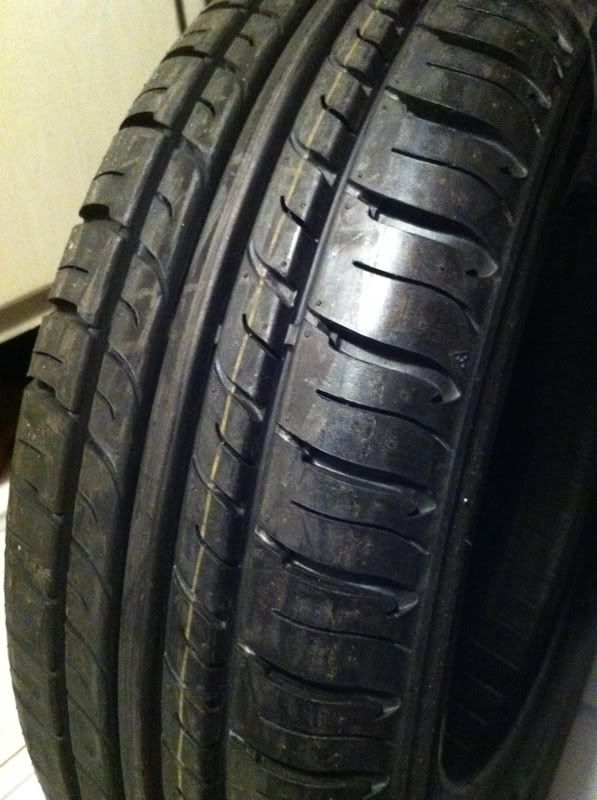
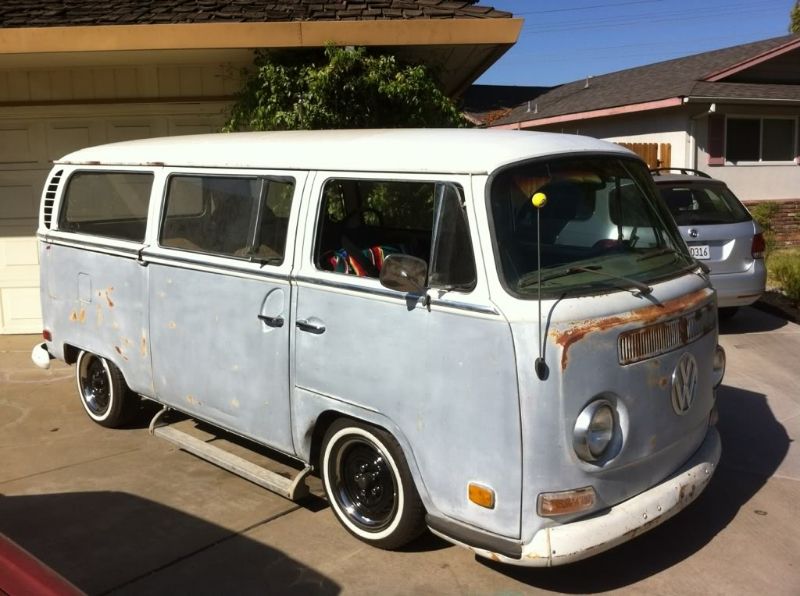
For my wheel and tire setup I tried to find some smaller than stock tires that were still properly load rated for the bus. I ended up with these Triangle TR928 175/70 R14 95/93S 6PR BSW. This tire size is a popular old school lowrider size, which fits the theme.
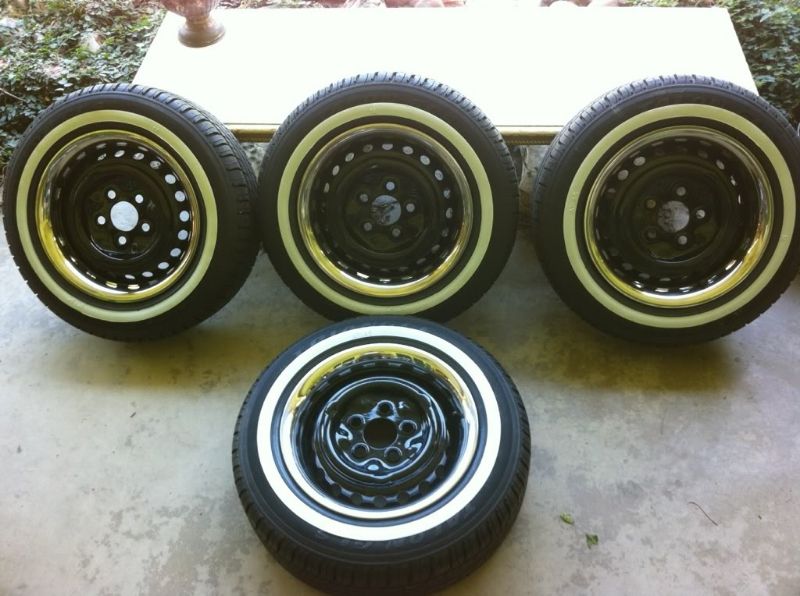
I scuffed my wheels and painted them gloss black, then mounted the tires with skinny ww portawalls and installed stainless steel trim rings. This step is crucial to making portawalls look convincing: I had to work on them with a rubber mallet with the tire deflated to get them to lie flat. They turned out better than expected.

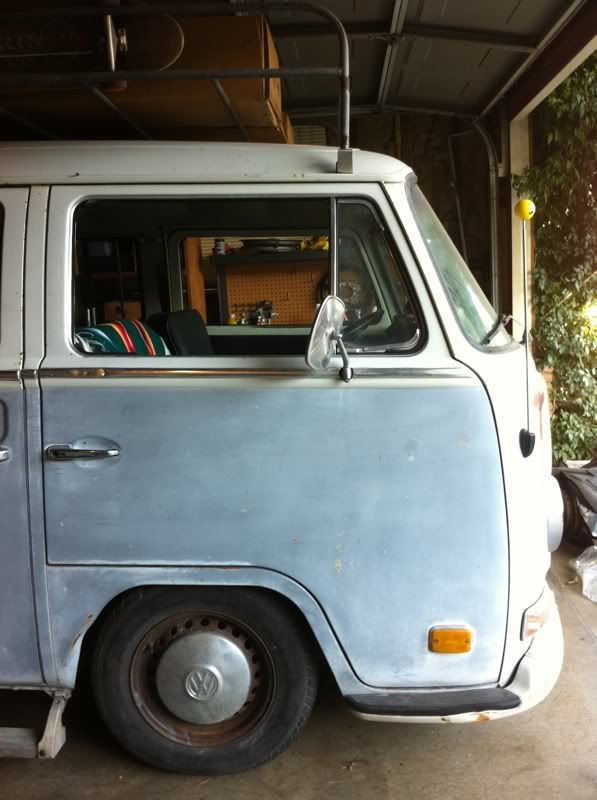
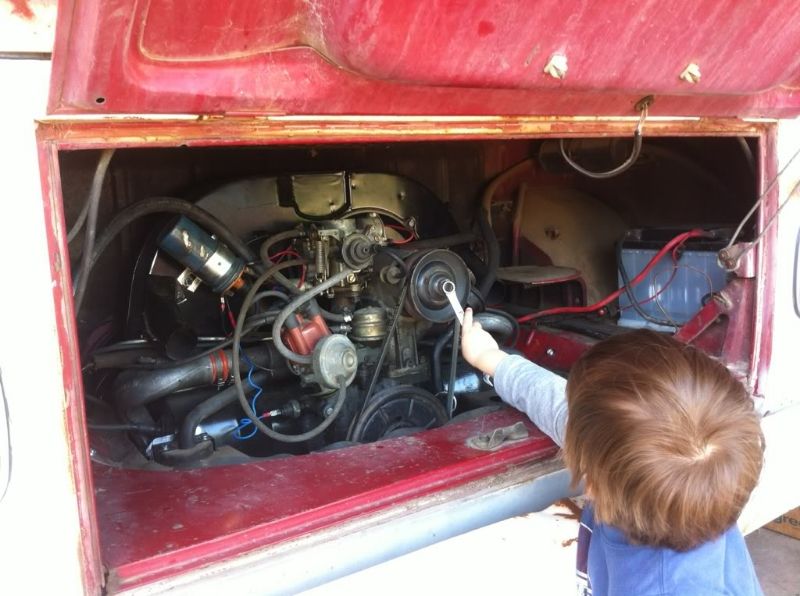
My son got the bus running again, so I was able to start driving it.
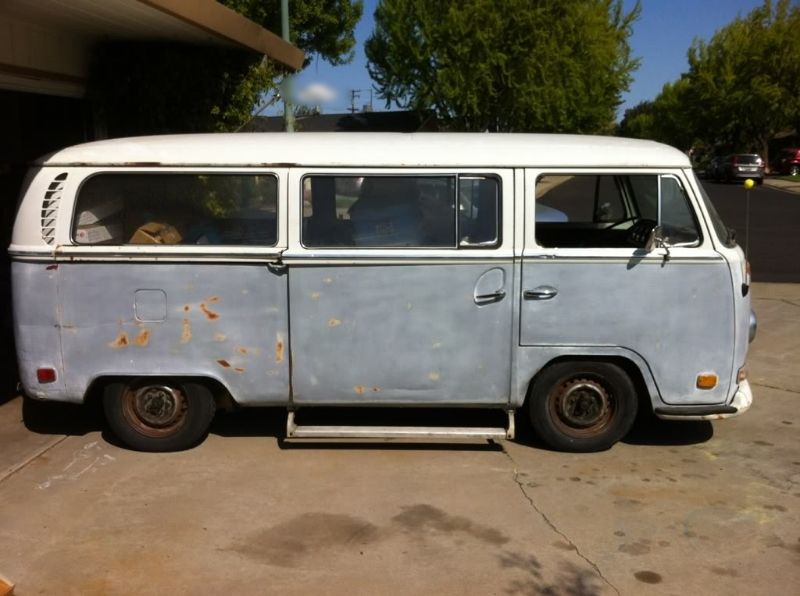
Some snaps of the raked stance. Also added chrome lug nut covers for some pop. I think they communicate that the no hubcap look is intentional.
Drove it to work a few times. Took some pictures with my friend's raised '60 Double Door Panel.
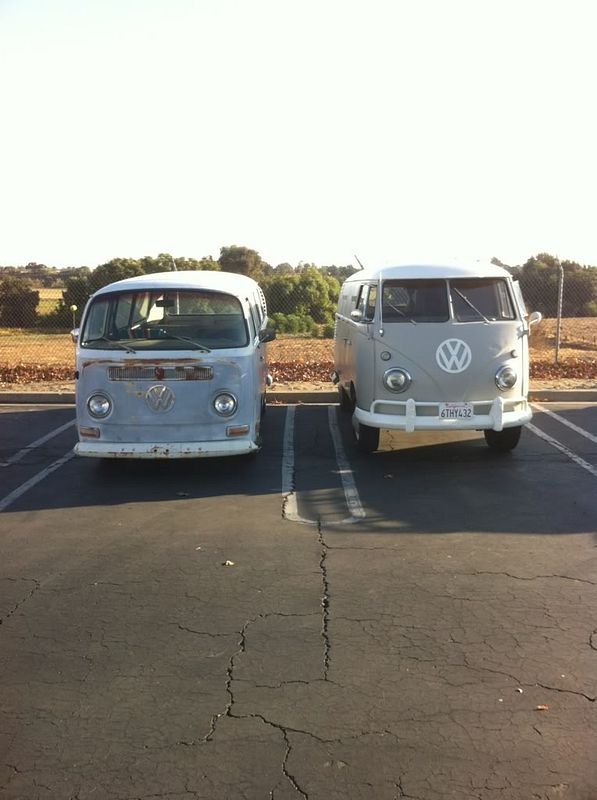
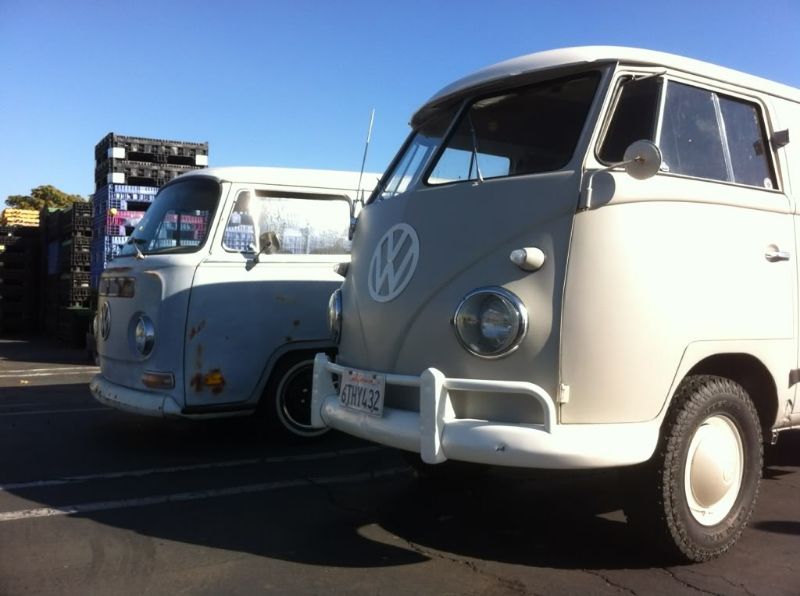
This next picture is kind of funny, my buddy's bus has a bit of a saggy rear compared to the the front and since my bus is raked the bumpers are almost the same height:
After about two weeks driving it, this happened:
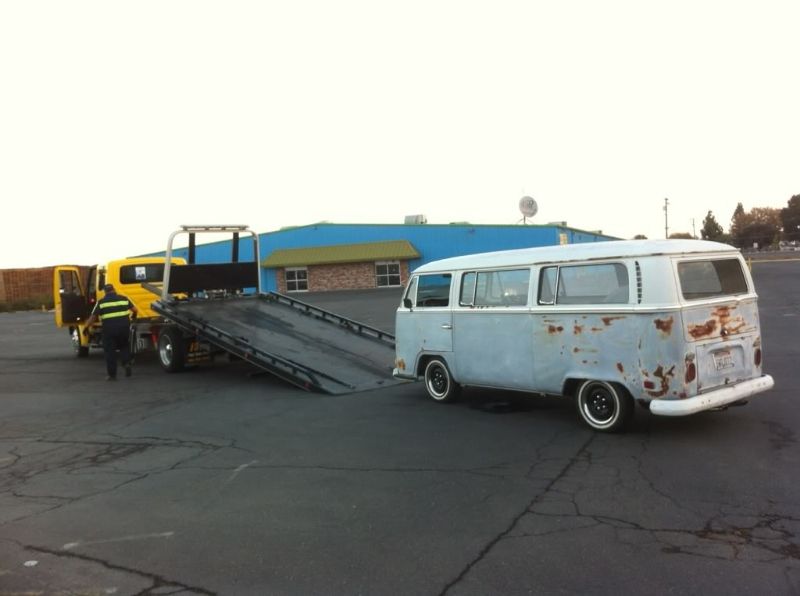
I think it sucked a valve seat. I never opened up the engine to find out exactly what happened but it was definitely seized.
I immediately found a "running" engine on Craigslist and hauled it home.
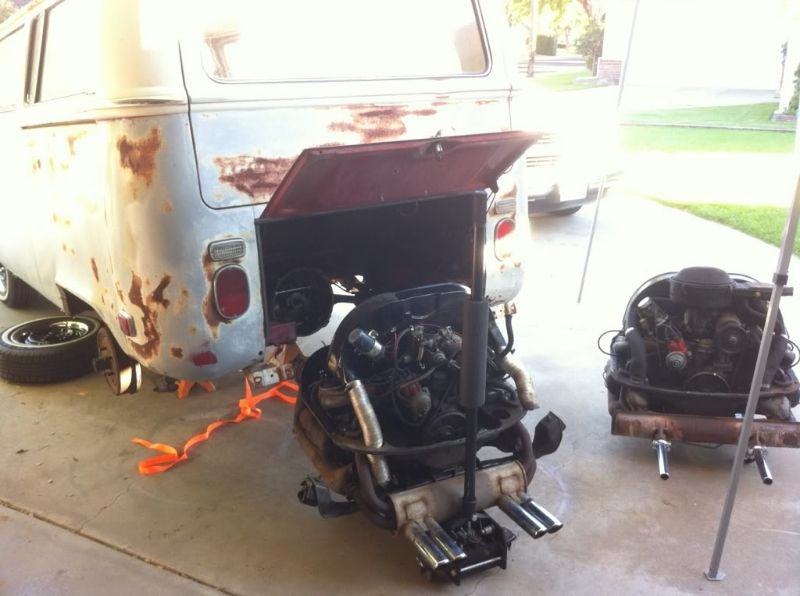
When swapping intake I found this in one of the heads on the new engine:
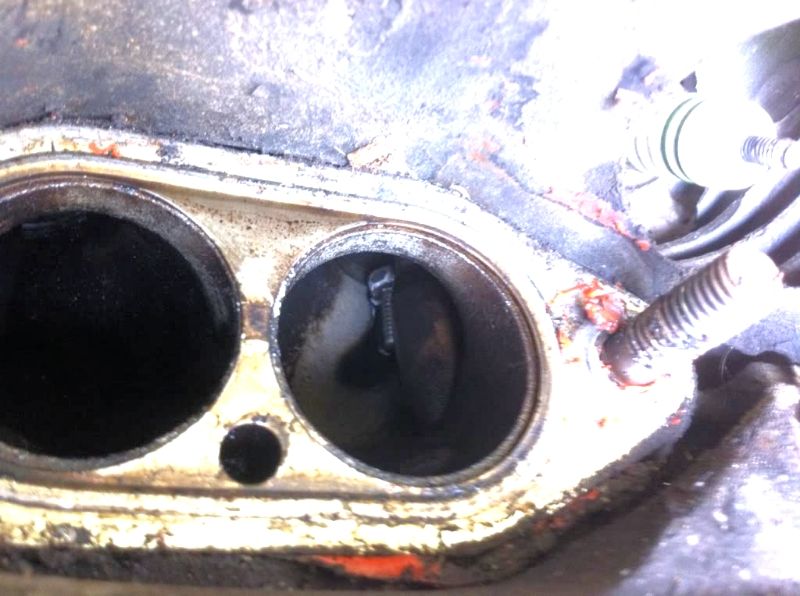
Yikes! I decided to pull the head to check everything out:
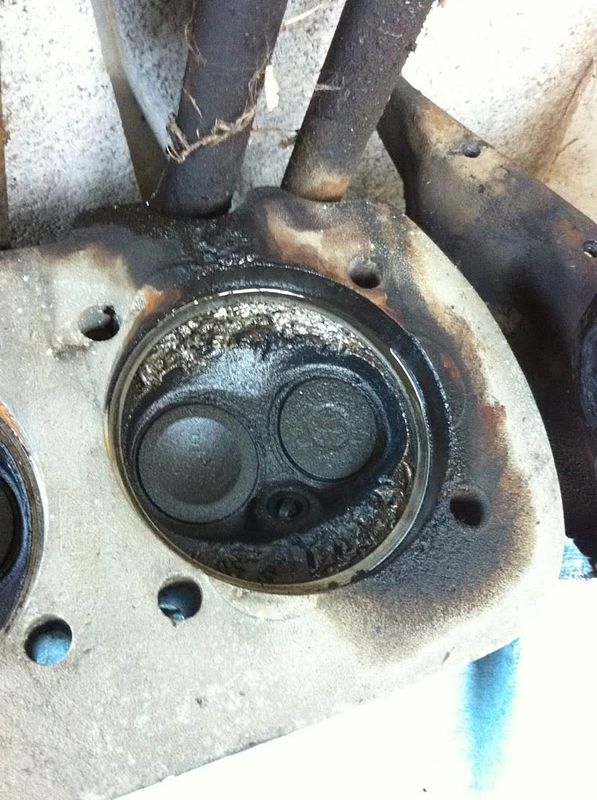
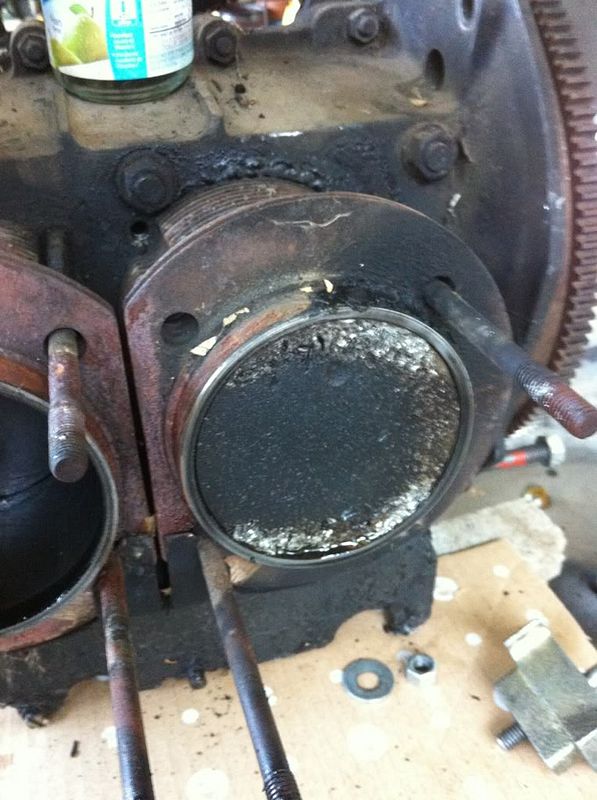
Sheeeeit.
Don't worry, there's a happy ending. Stay tuned...
So over two years have passed since I last updated this thread. I have been driving the bus daily now for a few months. I figure since I took pictures of everything as I went along I may as well post the whole story, which includes a few plot twists. We have a lot of catching up to do, so I'm going to try to get this thread all the way up to date with a couple of huge posts. Here we go:
For my rear suspension setup I'm running Wagenswest Horseshoes and Bus Boys adjustable spring plates. I decided to run the adjustables to make it easier to remove the rear wheels and so I could easily raise the bus if I am carrying a heavy load. Before lowering the rear measured 21" to the fender lip.
When I first put everything on I had planned on drilling the spring plates with a hand drill for the hand brake cables but I couldn't get through them, even with cobalt bits. The Bus Boys Spring plates are super thick.
So I had to take the into the shop at work to get them slotted using a milling machine. I also chamfered the edge of the horseshoes around the notch for the handbrake cable so the cable could lay flatter against it. I had to do this because I am running stock 14" wheels and there is very little clearance between the lip of the wheel and the brake cable.
Here's how it looked with everything back together and a bare wheel installed to check clearance:
After I did both sides I discovered that the BB spring plate splines are not oriented precisely the same as stock. One side was lower than the other by about an inch. Having torn it apart enough times already I decided to just level it out side to side with the adjusters for now so I could concentrate on getting the bus on the road. I plan to come back and dial in the final ride height later.
Other notes about the suspension setup: I trimmed the lower ball joint studs up front so they clear the wheels now. I also had to trim off the little boss on the lower spring plate stop on the body of the bus to allow the spring plate to fall down far enough to remove the wheel and tire without having to do any weird tricks. The above picture shows the trimmed lower springplate stop. Here's the lower of the two sides before I leveled it out. The final ride height will probably about like this.
The next thing I did in preparation for lowering the bus more was to swap out the mustache bar with this square tube style one.
I gained about 1.25" but it didn't matter since the aftermarket exhaust hung down so low. I bought a stock exhaust to replace it later.
Before:
After:
For my wheel and tire setup I tried to find some smaller than stock tires that were still properly load rated for the bus. I ended up with these Triangle TR928 175/70 R14 95/93S 6PR BSW. This tire size is a popular old school lowrider size, which fits the theme.
I scuffed my wheels and painted them gloss black, then mounted the tires with skinny ww portawalls and installed stainless steel trim rings. This step is crucial to making portawalls look convincing: I had to work on them with a rubber mallet with the tire deflated to get them to lie flat. They turned out better than expected.
My son got the bus running again, so I was able to start driving it.
Some snaps of the raked stance. Also added chrome lug nut covers for some pop. I think they communicate that the no hubcap look is intentional.
Drove it to work a few times. Took some pictures with my friend's raised '60 Double Door Panel.
This next picture is kind of funny, my buddy's bus has a bit of a saggy rear compared to the the front and since my bus is raked the bumpers are almost the same height:
After about two weeks driving it, this happened:
I think it sucked a valve seat. I never opened up the engine to find out exactly what happened but it was definitely seized.
I immediately found a "running" engine on Craigslist and hauled it home.
When swapping intake I found this in one of the heads on the new engine:
Yikes! I decided to pull the head to check everything out:
Sheeeeit.
Don't worry, there's a happy ending. Stay tuned...
Caboose
Well-known member
- Joined
- Aug 8, 2011
- Messages
- 194
- Reaction score
- 1
LEEP said:[youtube]http://youtu.be/6GfA5D0A95Q[/youtube]
:msn4:
If only!!!! :mrgreen: mine would do that :lol:
Yeah it's kind of ridiculous.Caboose said:If only!!!! :mrgreen: mine would do that :lol:
Now that you've seen the madness, check out the method.
When I started this build it was my intention to keep the bus 100% stock. But after costing out the parts for building a stock engine plus the time required to build and maintain it, I just wasn't happy with what the end result would be. 50-ish hp isn't worth that kind of money to me. Then looking at building a bigger engine for more money and requiring more time investment messing with dual carbs and stuff, I just was not stoked on the idea.
Then I rode in my friend's Subaru swapped '58 ragtop.

He had been suggesting a Subaru engine for my bus ever since he started his conversion. I was really resistant to the idea for the same reasons any air cooled guy resists water cooled conversions. But his car was so smooth running, powerful, and pretty much maintenance free, I had to consider it. One day I helped him put his engine back in the car after he did some upgrades and I was astonished at how similar to a VW longblock it was and how well it fit in the bug. Coupling that with a really nice radiator packaging idea I found on the aussieveedubbers forum, I SERIOUSLY started considering the swap.
Shortly thereafter, this popped up on Craigslist:
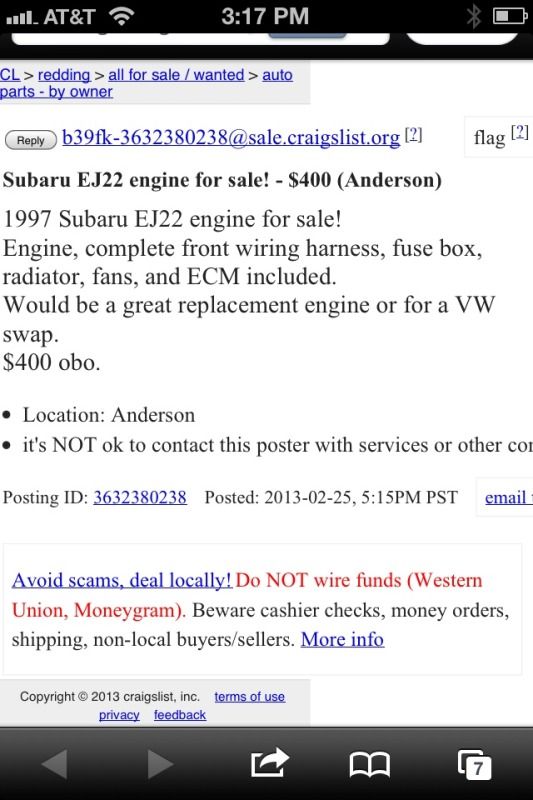
I sent the seller the money sight unseen and picked it up the next weekend. The EJ22 was from a wrecked '97 Legacy with 111k miles on it. I have heard that these engines will go 250k+ miles so I was really happy with the reasonably low mileage. Plus the engine still had the factory A/C compressor mounted and that was the only thing missing from my VWOA under dash A/C unit. A bus with maintenance free 130+hp and Air Conditioning? At that point I was fully committed.
I wanted to do the swap so that it was as undetectable as possible. No vulnerable scooped radiator box hanging down underneath the bus and no funky radiator grille on the nose. Dual engine bay mounted radiators was the only configuration that I was really interested in. I had seen it done on late bays down in OZ without issue, and it's a fairly hot environment down there (it can get to 38+ deg. C during the summer here in the Central Valley). So I took the risk and tried it on my early bay, even though the intake vents are considerably smaller and I knew I would need to trim some sheet metal in the engine bay to let the heat out the bottom of the bus. I was cool with it as long as the bus still looked stock on the outside.
Through my friend with the '58 rag I met this really talented fabricator who had built several Subaru swapped Vws. This dude had some serious vision and the skills to pull off his ideas so cleanly that in most cases the cars looked like the installs were from the factory. When they didn't look OEM, they looked like high end race built stuff. He had done a carbureted suby swap in a bug that looked clean and worked really well but he really stepped it up when he built a turbo WRX 914 running Megasquirt EFI with a Subaru transmission. That shit was crazy to ride in. His name is Jeff and he goes by 55Superbeetle on thesamba and on shoptalkforums. Most recently he built a turbo V8 Volvo 242 that ran a 10.7sec 1/4 mile, and he drove that thing to and from the track! (http://oppositelock.jalopnik.com/this-unassuming-volvo-242-is-a-10-second-drag-strip-ter-1459510608).
You can see where I'm going with this, I wanted Jeff to do my swap for me, since I really didn't have the time or skill to pull off this swap the way I had envisioned.
So basically I had already bought my engine, and I ordered a KEP engine adapter, a stage 1 pressure plate and a stock HD clutch disc. When everything came in I dropped it off at 40thirteen (Jeff's shop).
In process build pics are up next, hang in there...