1970 Michigan Missile.

Early Bay Forum

Help Support Early Bay Forum:

This site may earn a commission from merchant affiliate links, including eBay, Amazon, and others.
*Sam* said:
Whilst I was in the engine bay with thinners it was rude not to reveal some more original paint.

Not much of the white left now. It's a grim job and much more than an hour gets my head aching a bit.
Sam the bus is looking great, how much does the electric hook up, leisure battery's cost
 
Great thread Sam some great info on here.

1 question l, did I miss what you did with the rear set up? I take it you have air on the back also?

Cheers
Andy
 
Campmobile70 said:
*Sam* said:
Whilst I was in the engine bay with thinners it was rude not to reveal some more original paint.

Not much of the white left now. It's a grim job and much more than an hour gets my head aching a bit.
Sam the bus is looking great, how much does the electric hook up, leisure battery's cost

Cheers Simon,
I picked up a Zig unit from e-bay can't recall how much exactly but under £100 then the wire, battery, and mini RCD as I use the OG westy hook up on the van.
 
Cookie said:
Great thread Sam some great info on here.

1 question l, did I miss what you did with the rear set up? I take it you have air on the back also?

Cheers
Andy


Hi Andy,
I probably brushed over it, I used the shocks I originally ran on the front Gabriel hi-jacket 49230 from memory.
I'm messing around with rear at the moment (go slightly lower) not sure if this will result in needing shorter shocks or not.
I also had to slightly mod the shock mount but will post some images etc up once finished.
 
Hi

How you getting on with the rear air shock set up?

I have an almost identical set up on front and was considering the same for the rear but a few forums say it doesn't work with just air shocks due to the weight?

Cheers

Cookie.
 
Hi Cookie.
It works a treat, the van rides very nice now. Prior to have the rear on air, I used to struggle when it was fully loaded as I don't have not chassis notches. Now I jut put a few more psi in and perfect, also it enable me to level up at camp sites without ramps.
The ride is not soft not to firm. Darius has the same and agrees the ride very good.
 
Yes they did but you do have to mod a few things. Shave the shock mount webbing where is mounts onto the chassis and some spacer and longer bolts to get the damper vertical
 
Thanks for the info mate much appreciated.

One final question,
What model Gabriel's did you go for on the front in the end?

Cheers
Cookie.
 
Hi Cookie,
No problems, I used 49307 are you looking at importing some ?
 
I found Michigan truck spring to be the best I think Darius found them originally.
The cheapest way to do it is order 4 pairs.
I have a mate who might need a pair and I will be up for trying some shorter ones on the rear so that would make 3 pairs unless you need front and rear.
 
Hi

Yes I would be interested in fronts and rears but if you are selling the ones on the back of your bus I could buy them from you if you change?

Cheers.
 
I will probably hang on to them as its a bit of an experiment
 
I have neglected this thread a bit so lets see if i can detail what i have been up to.

When i fitted the engine following on from having the tin powder coated i couldn't get my hands on a front tin at a reasonable price so i had a think and then decided i would use a late bay foam engine seal, after all i guess VW changed to it for a reason. The seal is in the shape of a H so i used double sided tape to secure to the front tin slipping the edge of the front tin into the seal. I then ensured that the foam sat under the rubber early bay seal. It worked a treat and made a better seal that the original front tin that had previously.


some months later.......

I had a slight problem with the lighting circuit in that someone in the states had put the incorrect fuse in unfortunately for me i didn't notice and further more it was of a much high rating so when the number plate light circuit decided to fail and short out the fuse didn't blow and it burnt out almost all of the loom :-( .
I decided it was best to replace the entire loom and order a bespoke loom, i had a few issues with it but these were mostly resolved by the supplier and the items that weren't i was able to sort with the help of my dad. I also sourced a mint 1970 fuse board from VWED on this forum and some german quality relays from Ron.

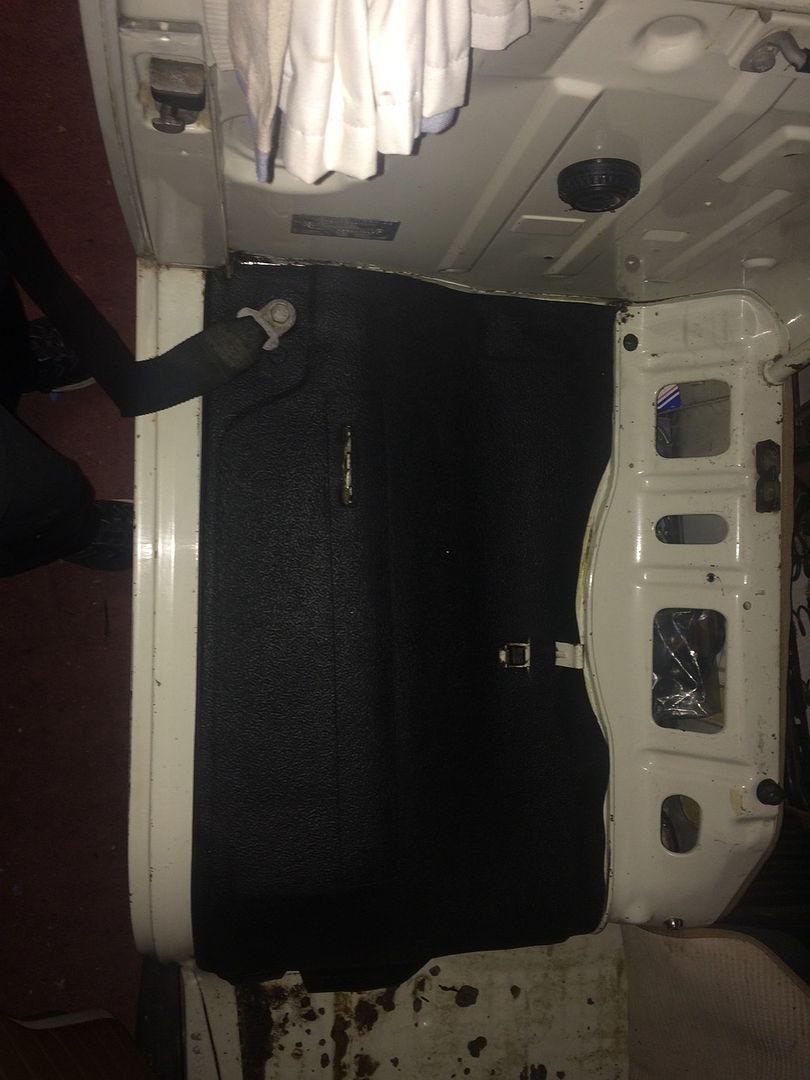
the first job was to remove the old loom, which i have gone through now and saved all the decent wore from should i need some correct colour trace wire at a later date, i then removed the dash and gave it a thorough clean as it was pretty grotty.


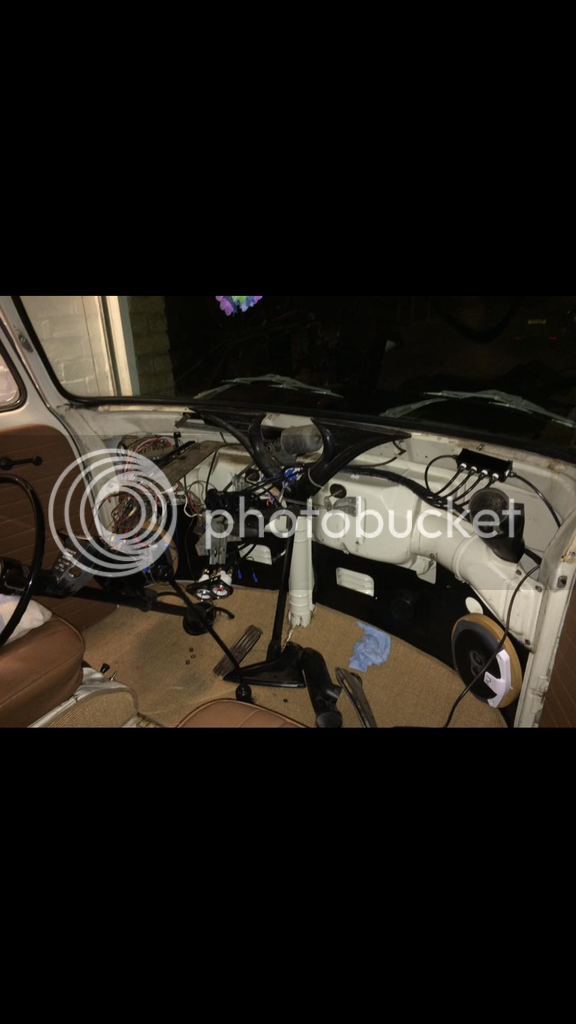
I seem to have stopped taking photos after this point, i can only assume that this where i ran into to problems and to be honest it was such a head ache at times that taking photos was certainly not at the forefront of my mind, any way the end result was a new main loom with extra wires for my air gauges, tacho and oil temp at a later date. i also replaced all of the dash loom, brake master cylinder loom, front and rear lights.
When we got it all fitted we found that the brake warning light had hoped the diode, so i sourced a replacement from maplins and fitted it, a satisfying job.


I now just need to fit the year correct NOS master cylinder i have.

Decided to go back to rubber mats in the cab, what a difference ! far less noise in the cab.


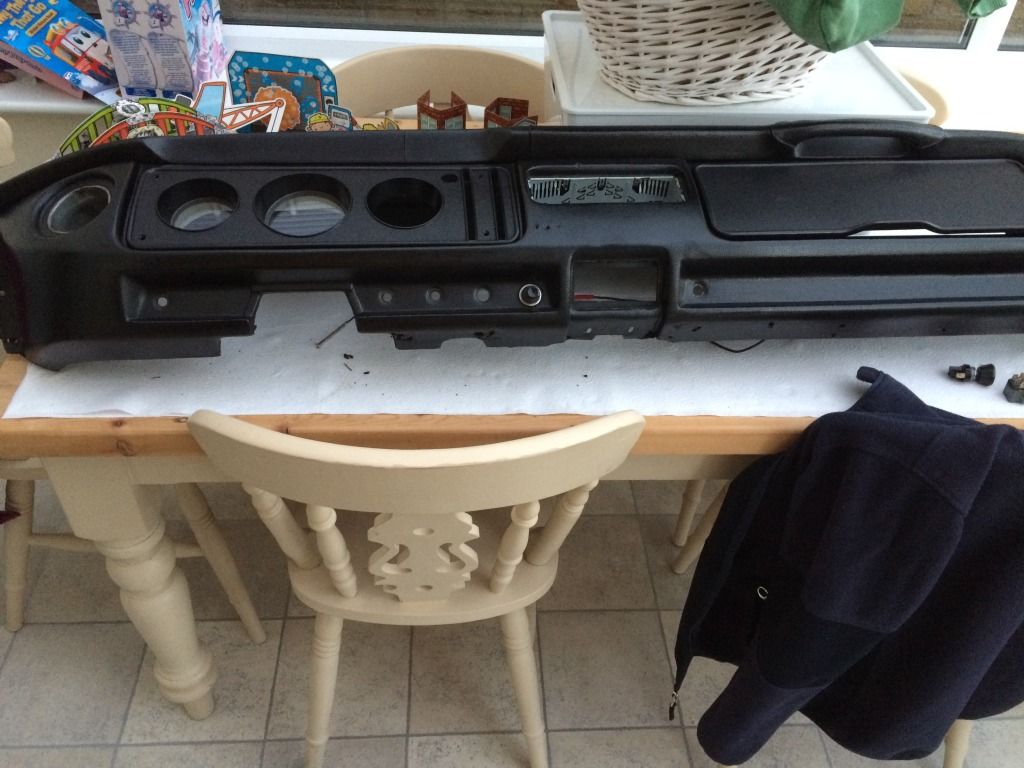
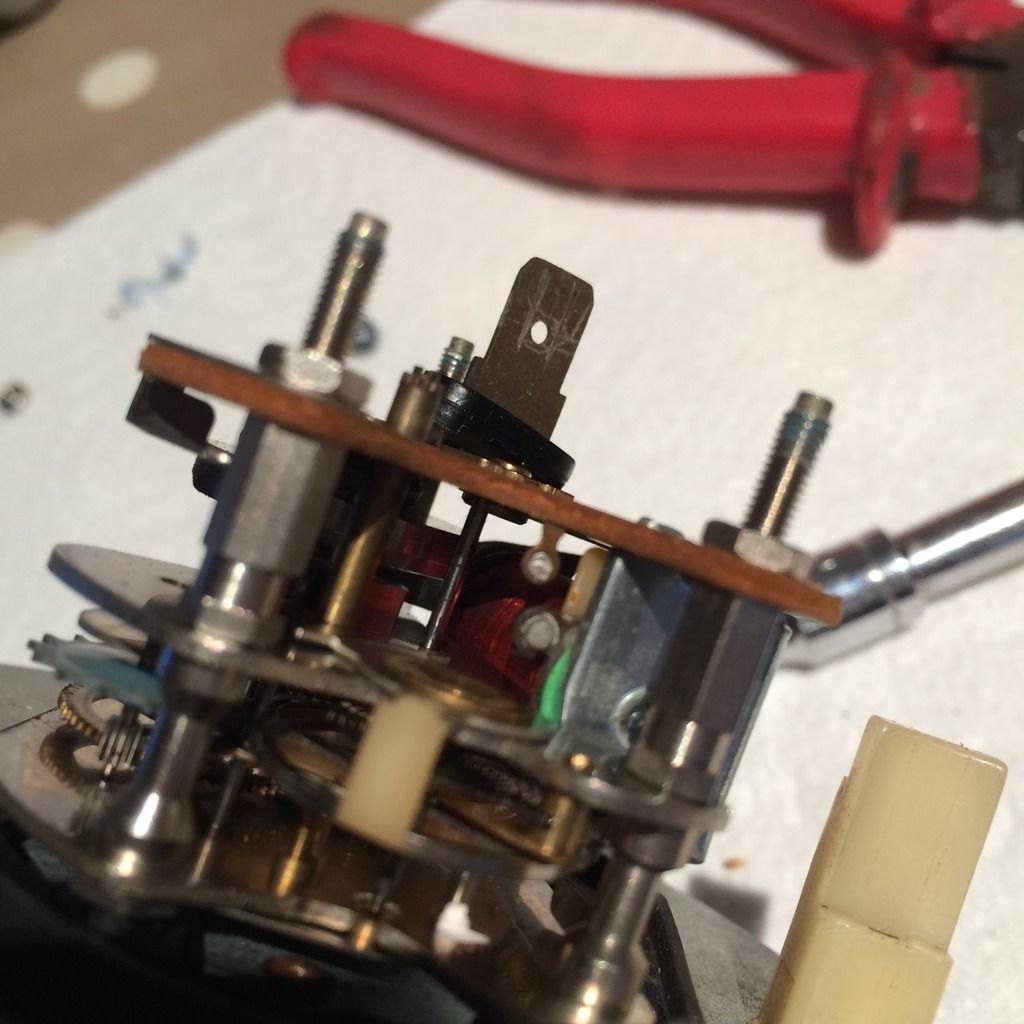
My dad got the deluxe clock working, which was a bonus, in the image you can see the two contacts that have separated, they in effect are a fuse that is made from solder that melts at different temp caused by current passing through them, or at least i think that how i remember my dad explaining it to me.


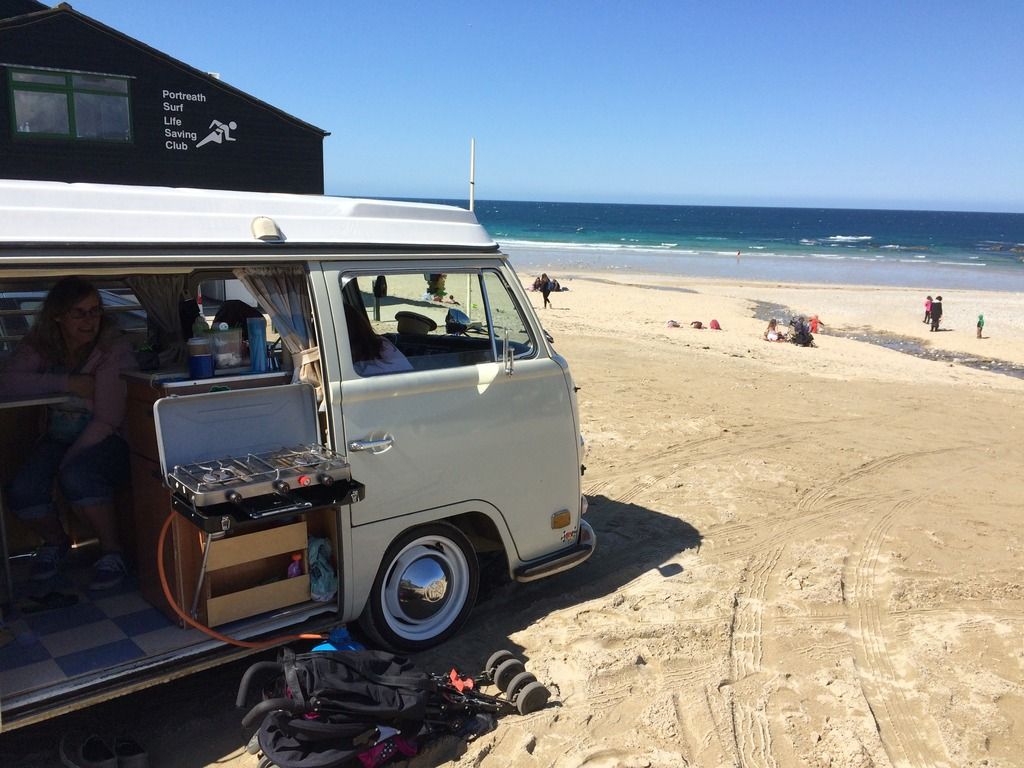
Then we shot down to cornwall to visit the family.


On my return from cornwall i decided to change the rear hubs, stub axles and bearings for some apparently better units that i had purchased about a year ago, there was no argument the stubbs were better as they were NOS but the hubs i don't thing are a great improvement, however they are serviceable and now they have the correct FAG bearings in them i hope they will be good for some time.
Whilst doing this job i decided to treat the rear suspension to an inspection and paint allowing a dew little mods that i picked up of other forum members.


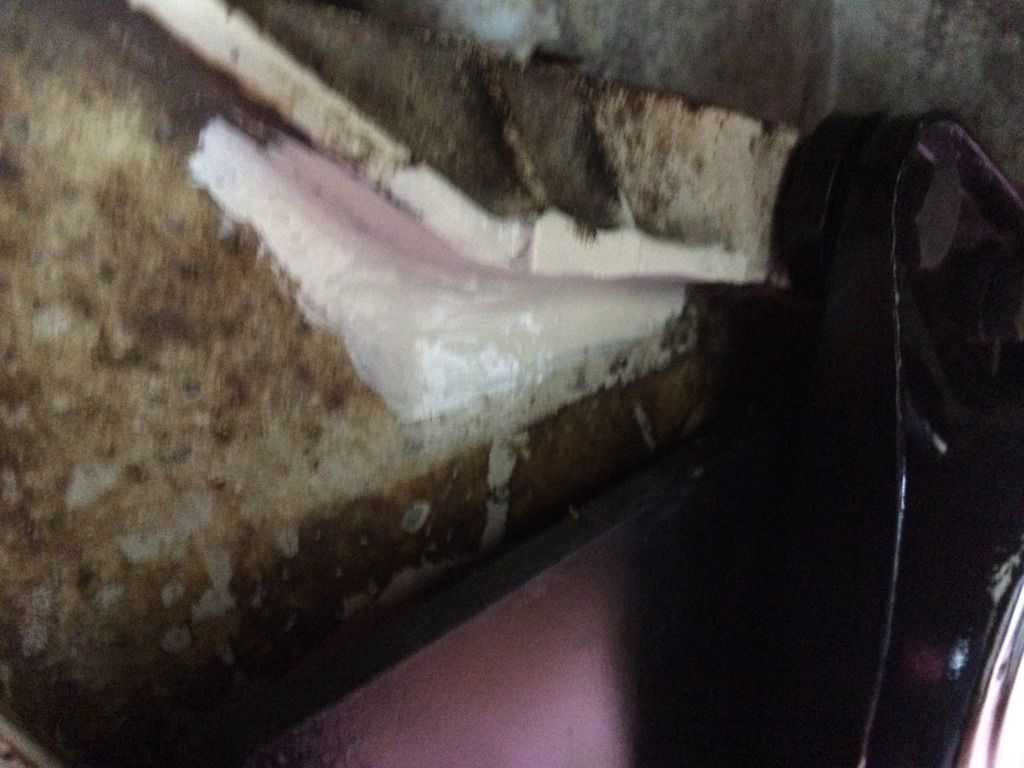
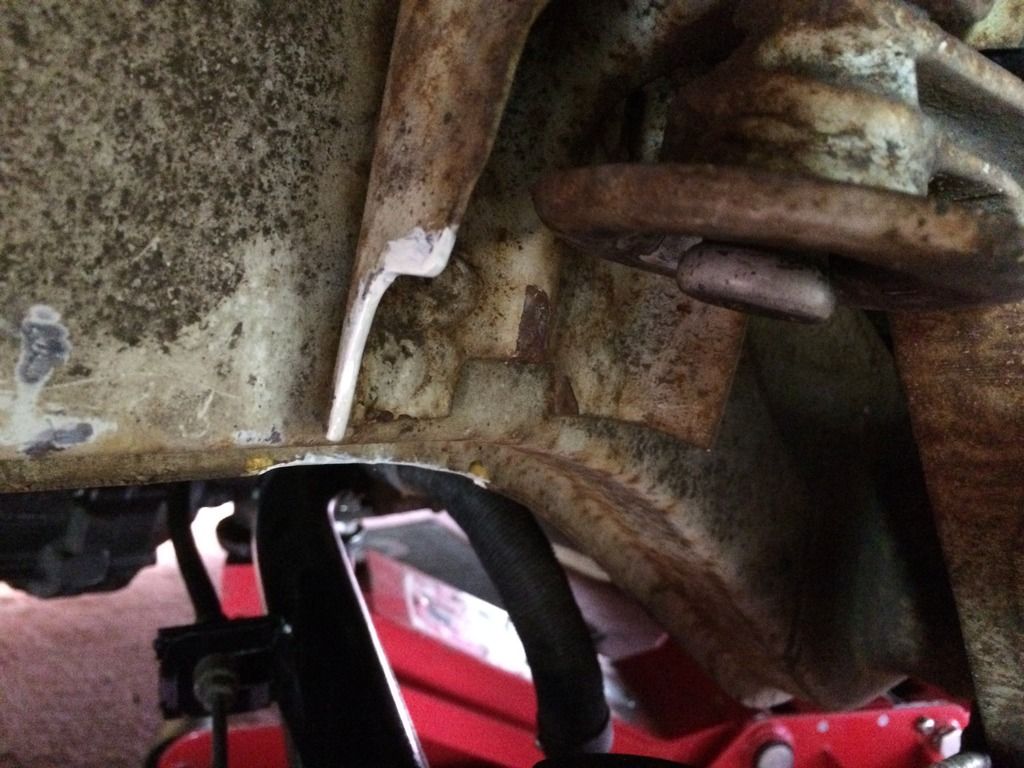
I found as part of the inspection that smaller portion of my adjustable spring plates (the splined part) had been fouling on the spacer between the torsion housing and the end cap, due to this i clearance it and gave it a lick of paint.
 
The damage on the van has always bugged me as i was aware it was what i considered to be reasonably extensive, with damage to the right rear corner that had closed the shut gap between the corner and tail gate.
The front had significant damage to front panel having had a spare wheel on it and then a reasonably heavy bump to the windscreen aperture and roof line ,mixed in were some horrid bodged repairs as often seems to be the case with some of these american vehicles.

Luckily for me Midland Paintwerks were able to fit me in and happy to take the job on.


A rear corner cut was available in time or on budget so Stuart and drew worked their magic !


Onto the front


Latest posts

Top