Fitting our Headliner

Early Bay Forum

Help Support Early Bay Forum:

This site may earn a commission from merchant affiliate links, including eBay, Amazon, and others.

vinvan

Well-known member
Joined
Aug 24, 2013
Messages
762
Reaction score
2
Location
North West
Hi Yall
Me and my mate Dave (Davydomes) fitted our headliner this weekend thought i would post a few photos

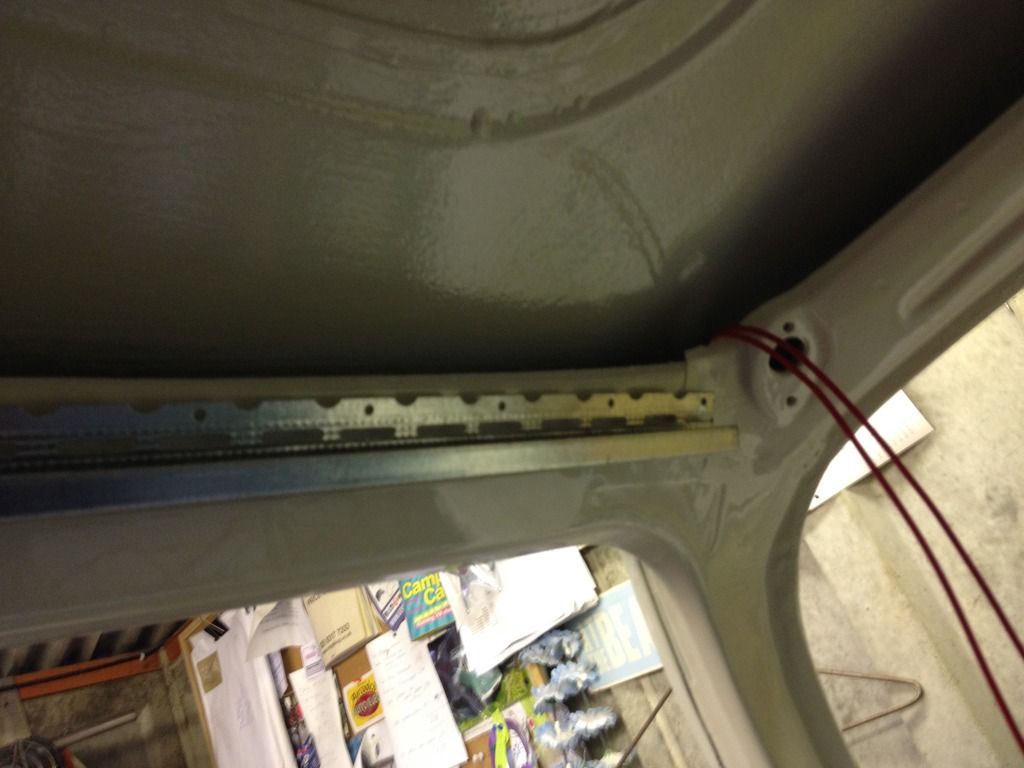
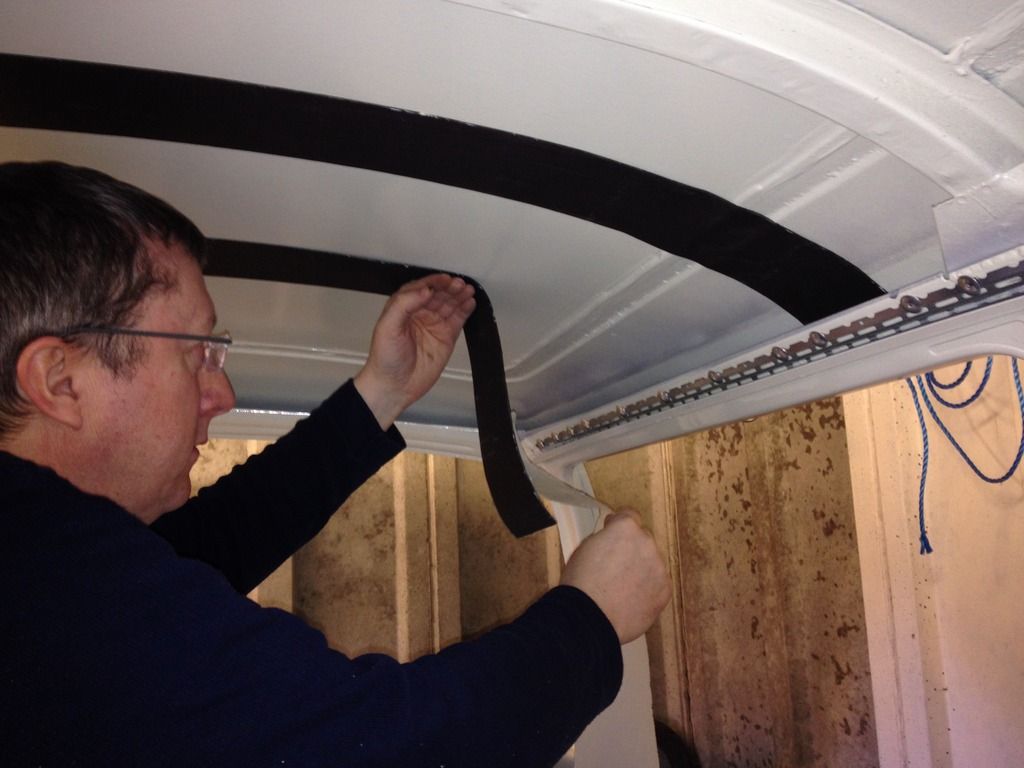
First job fitting the "J" channel
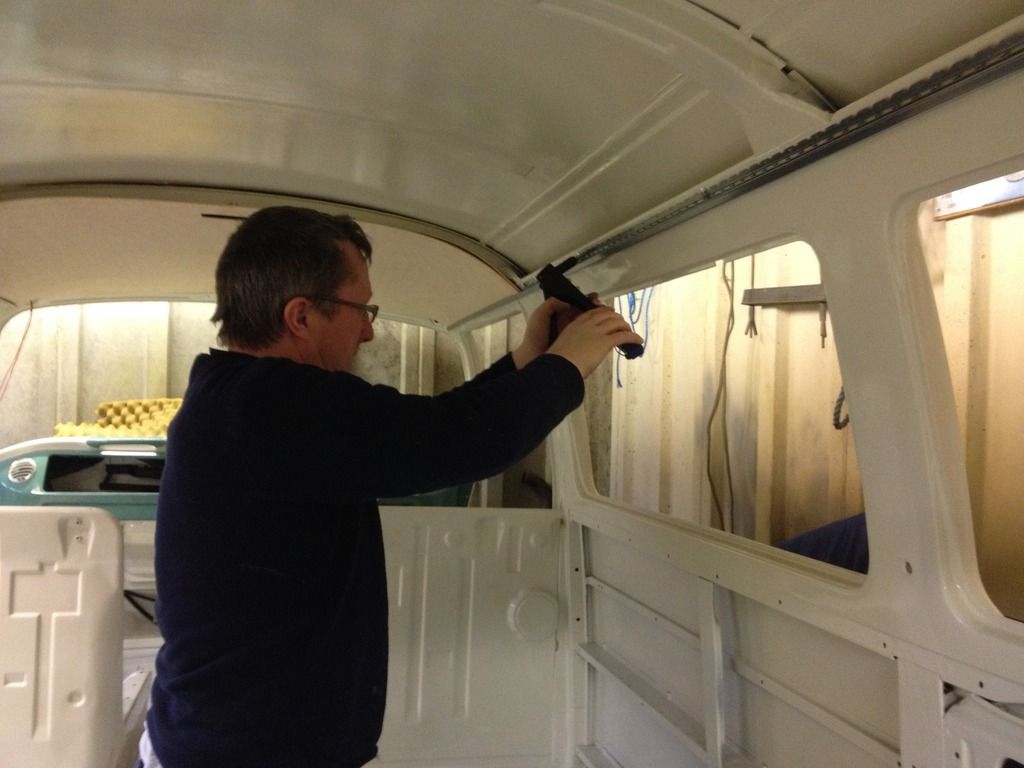


Pre fit the panels


Next some sound deadening and insulation


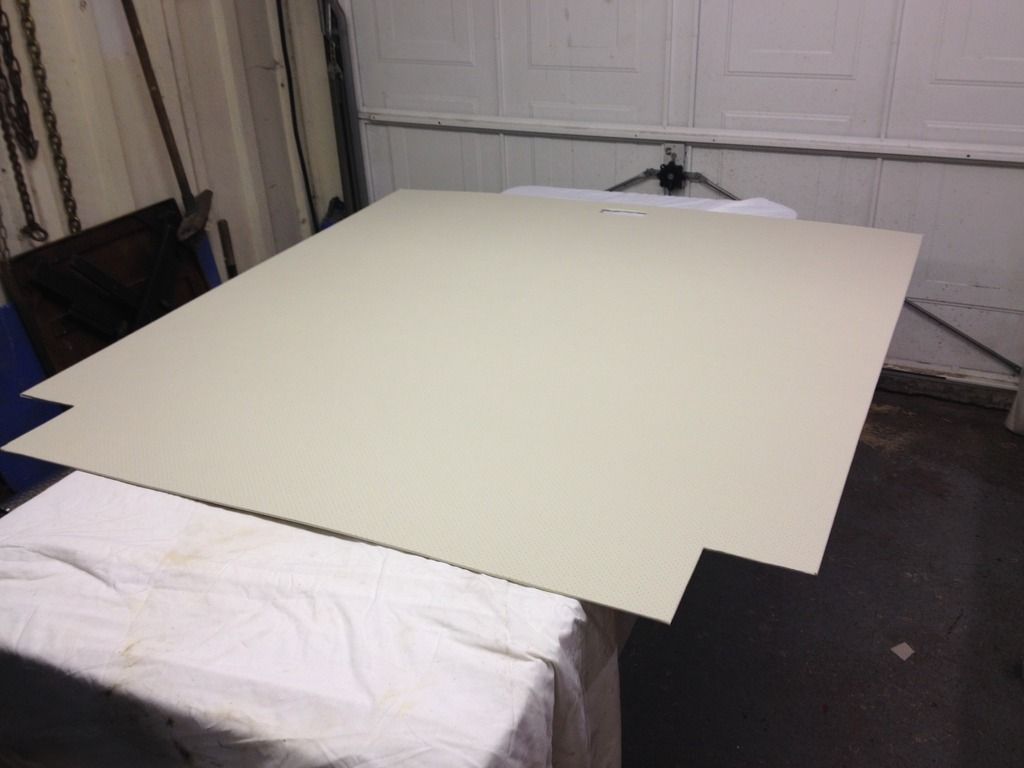
Next trim the ply panels lots of measuring and cutting (remember measure twice cut once)


Then cover the panels with the material and trim


One of the covered panels


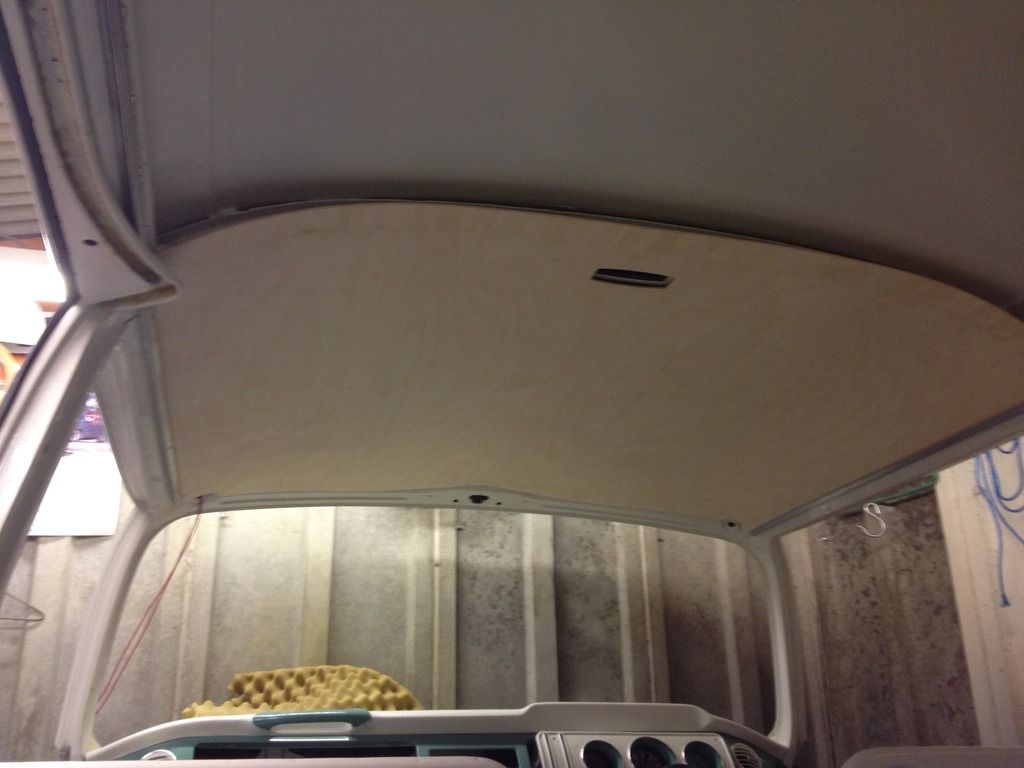
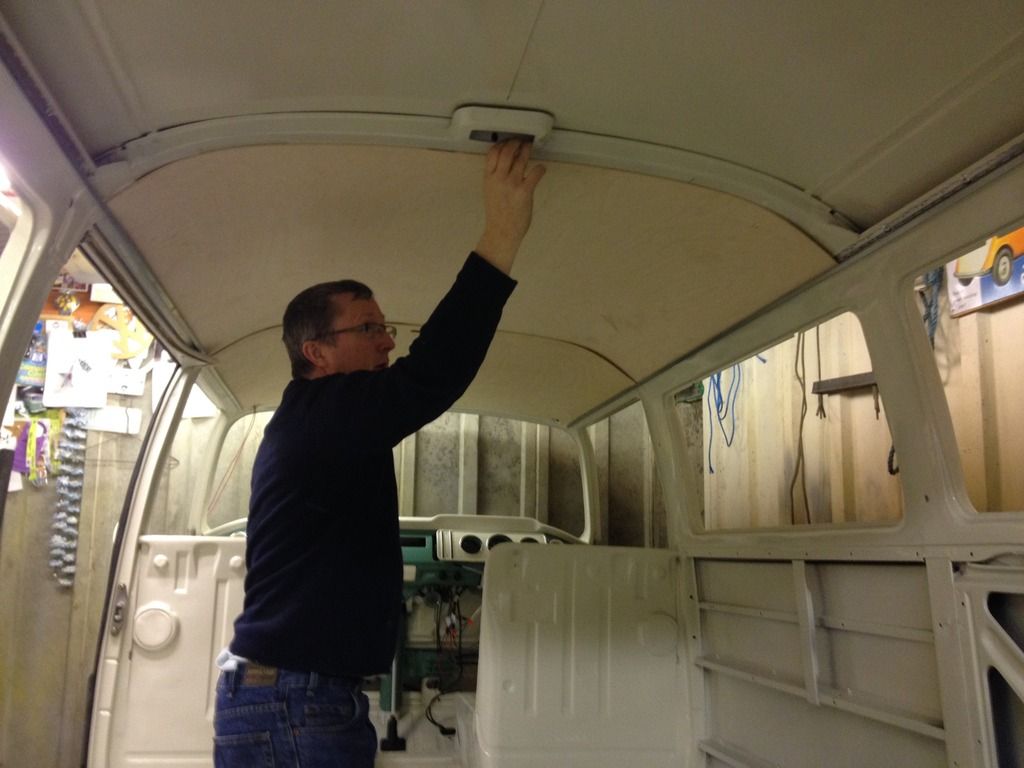
Then fit the panels to the bus
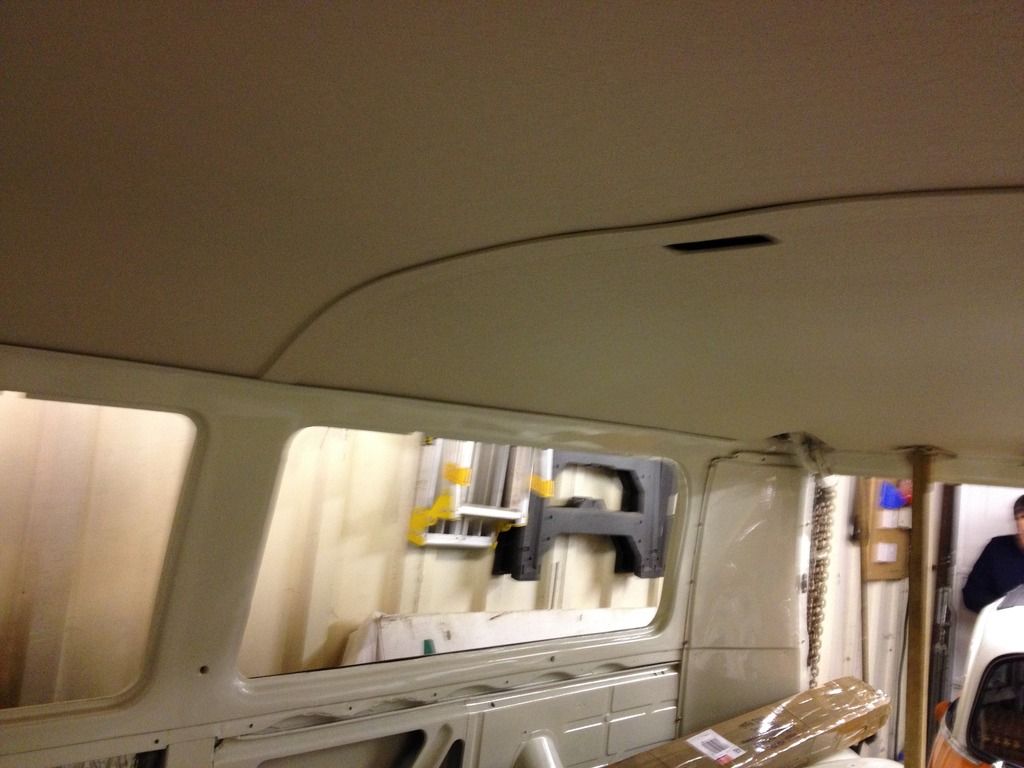
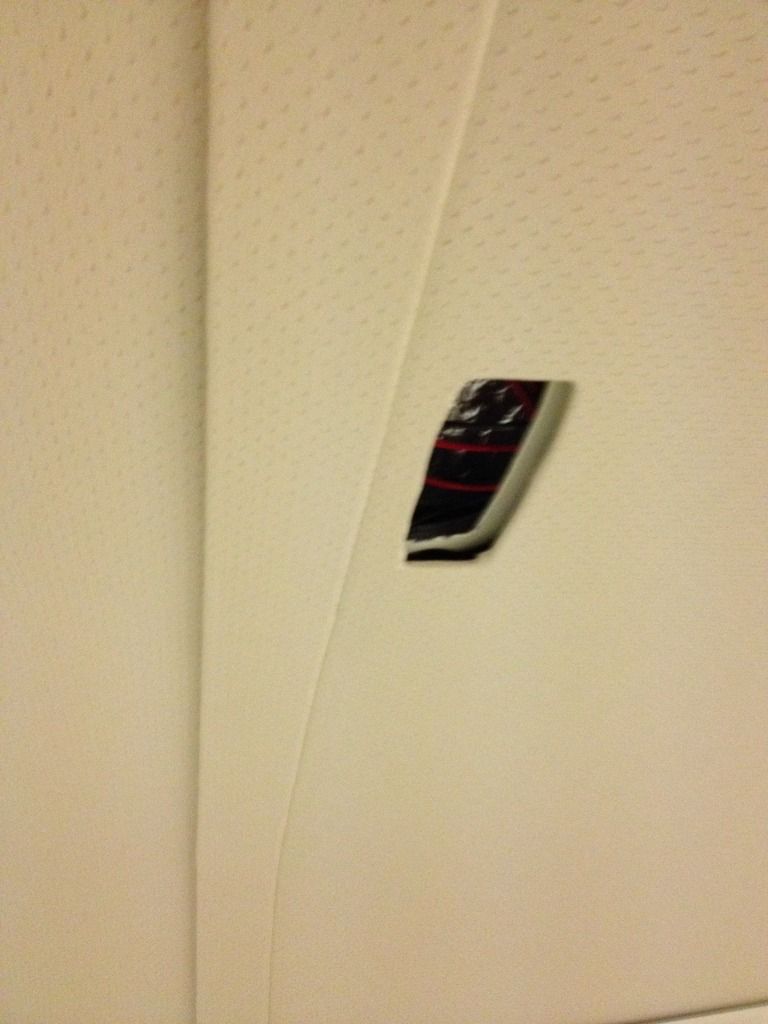


"DONE"

Looks easy but it took us all weekend lots of measuring, cutting,pre fitting, measuring, cutting pre fitting, about a dozen cups of tea 2 packs of biscuits, loss of blood, and lots & lots of swearing,
But looks GREAT

If anyone needs any info just ask

Thanks for looking

Rob & Dave (Vinvan & Davydomes
 
Yep - None stop for two days! Slept like a baby last night. As Rob says - just ask if any questions. Lemur and others on the forum did the same and we used these posts as the guide and it worked!
 
Looks great !!!!! Well done ,just about to do mine ,wood varnished j rails bought etc then you put this on forum and I like the idea of covering the boards how much and where was it from.
 
I´m also interested if you have a templates or if you just went with measuring when you prepared the plys. And the location of the J channel is stock or something you worked out?
 
Ok you lot
Bought the ply headliner panels from "Custom Shop Designs" they are on Ebay visit there shop, J channel from B&Q "10 mm Plasterboard Trim" there are two different profiles you will need three lengths of the same profile aprox £4.50 each, aprox 60 flange head rivets 4.8x12mm, a 5mm drill bit, clamp the j channel to the bus aprox 6mm from the top of the window rubber and aprox 5mm from the windscreen rubber drill and pop the rivets make sure everything is straight, we painted the J channel after it was fitted but if we did it again we would paint them off the bus.
Now it's time to try the ply panels it will need two persons, put each side of the ply into the J channel so the ply is bowed down then pop it up it feels like it wont go but it will (it's a bit scary) if you find the ply still wont go up all the way it will need to be trimmed, we measured it with the one of the two thin filler strips you get in the kit (make sure you measure where the roof supports are if you get the strip to fit then you can cut the ply to that length, BUT REMEMBER the front and back panels have a slight curve, had ours in and out several times before the fit was perfect, for final trimming we used a small wood plane, DON'T FORGET MEASURE TWICE CUT ONCE
The headliner material was from "Livedale Foam & Sundries Ltd, Wigan Enterprise Park Seamans Way, Ince Wigan WN2 2AG, Tel: 01942 825144 also on ebay" you will need aprox 4.5 mtrs, we went for 5 mtrs to be on the safe side, there are several colours to choose, plus 4 tins of high temperature spray adhesive, you will need high temperature because in the summer (if we have one) the heat on the roof will make the material peel off if you use normal spray adhesive, think the lot came to £70 there will be postage on top
Glueing the liner to the ply is easy enough just overlap about 2 inch all round, glue both surfaces wait about 1 minute then carefully put them together at one end and smooth, trim glue and fold over the ends
We fitted the panels immediately so the glue would go off in situ,
If the panels don't quite butt up use a block of wood and mallet and tap them together
Then all that's left is the two filler strips just measure cut cover and pop into the J channel, if there is a slight bow in filler strips or the panels we used a bead of clear silicon and wedged them with some wooden strips and left overnight
DONE

Ps There is only one hole cut in the ply for the interior light we have two on our bus so we had to cut one out

Good Luck
Lets see some pics when they are done

Thanks Rob & Dave
 
Further to Rob's post. Find link to a very good guide with pics that we used as the main source for information - which was posted on here by Dave C.

We used this combined with Lemur's build thread (thanks chaps!).

http://my1969vwmicrobus.blogspot.co.uk/2013/05/fitting-my-birch-ply-headlining.html

Hope this helps.

A few things from the experience:-

We fit the front panel first. This over hung the first roof beam which houses the front interior light. In order for the middle panel to rest up against the first and second beam (to maintain curve profile). We had to cut the front panel back about 50mm so that it sat up on the front beam leaving about 15mm for the centre panel to rest on when butted up against it and reach the second beam. This left more than enough exposed beam to support the back piece. Which as Rob pointed out - we had to cut out the hole for the second interior light.

If you do paint the Plaster Edging Strip (J Strip :D ) before fitting be especially careful when putting the pop rivets in because when the rivet snaps the jolt may cause you to scratch the J strip paint - so be careful if you want to avoid touching up the paint.

Rob had a handy little wood plane that could be used easily with one hand and this is ideal when shaving the edges of the 3mm plywood panels to get the best fit. Also as Rob said - The back panel needed most of the "fine fitting" because it tapered in from the sides and bends/dips towards the back. You will need to be patient and keep re-fitting/shaving etc. until you are happy with it.

Dave
 
same as Dave buts its the material I can't find livedale foam on eBay ,only found one Which was 180.00 notes, I found their web site but it has no photos or prices?????????
 
Try this item number on Ebay 172005169267 for the fabric
And this for the ply http://www.customshopdesigns.com" onclick="window.open(this.href);return false;
 
Thank you found the headliner and ordered ,it didn't have vw or camper in title so couldnt find it :lol:
 
Thanks for your advise guys cab completed today after a lot of effort now everything looks dirty/discoloured :lol:
 
Looks really good bob. Nice to meet you earlier :D
 
Thanks for your advise guys cab completed today after a lot of effort now everything looks dirty/discoloured :lol:


Hi , just looking at this as its a to do job on my sunroof/ex westy bus. Looks like yours is a sunroof bus, did you pit the trim around the hole? On mine it looks like there's not enough room for the roof to shut with the trim on
 

Latest posts

Top