Charlie Brown The '71 Ex Dormobile...

Early Bay Forum

Help Support Early Bay Forum:

This site may earn a commission from merchant affiliate links, including eBay, Amazon, and others.

the_troupster

Well-known member
Joined
Oct 14, 2010
Messages
578
Reaction score
0
Location
North-West (Preston)
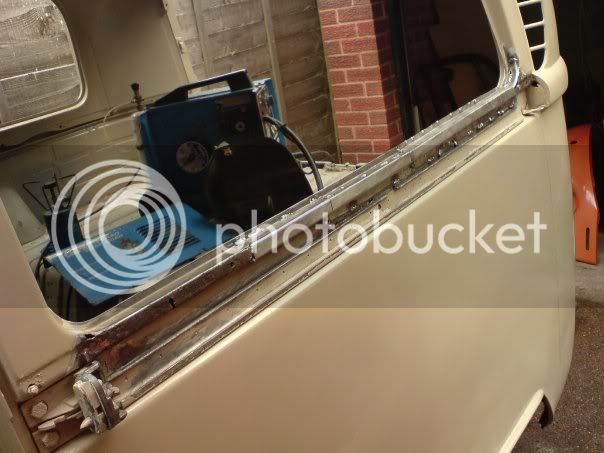
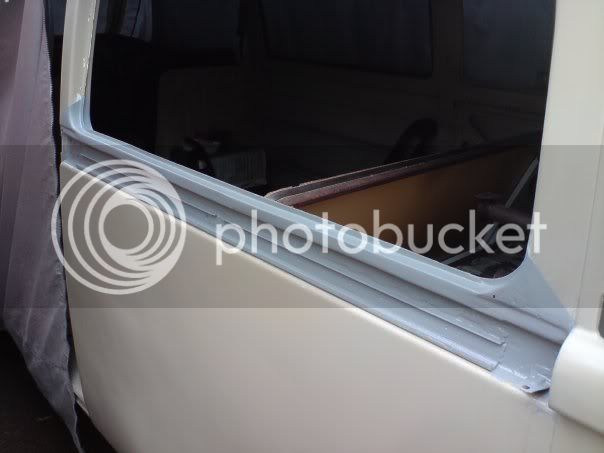
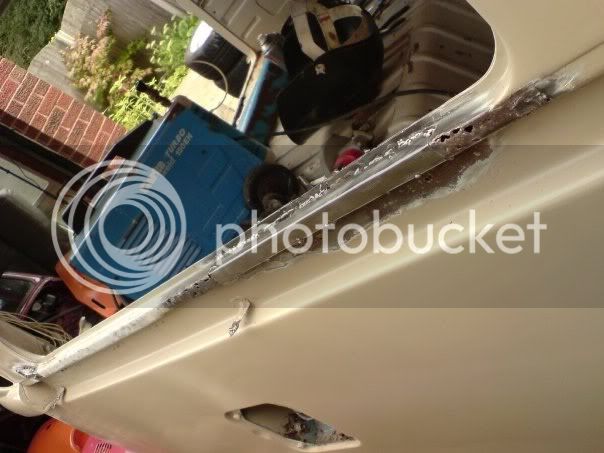
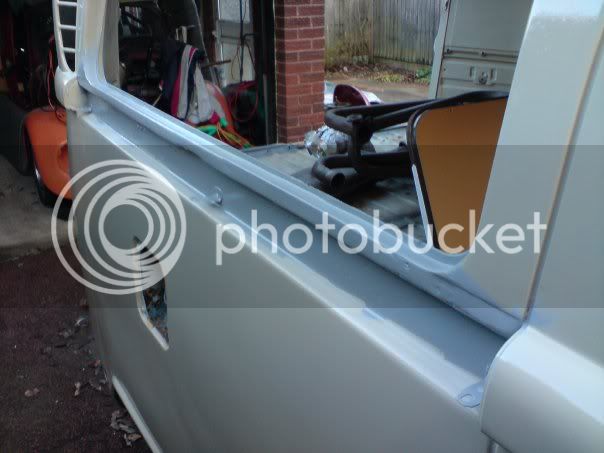
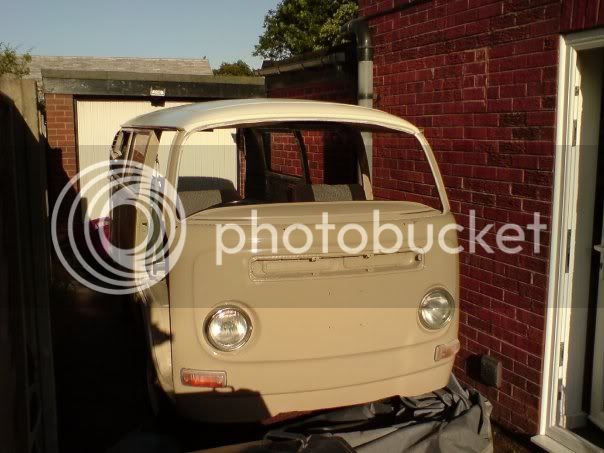
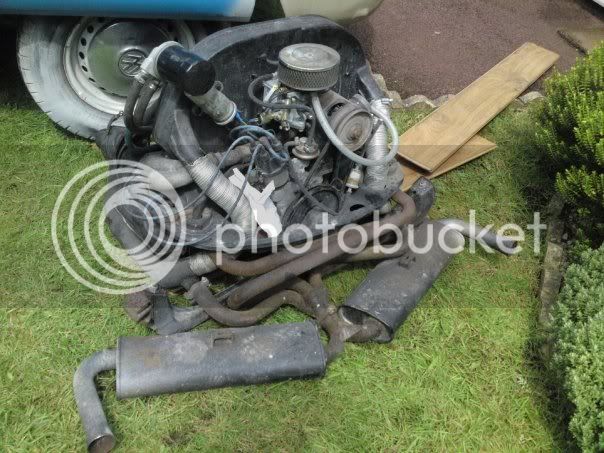
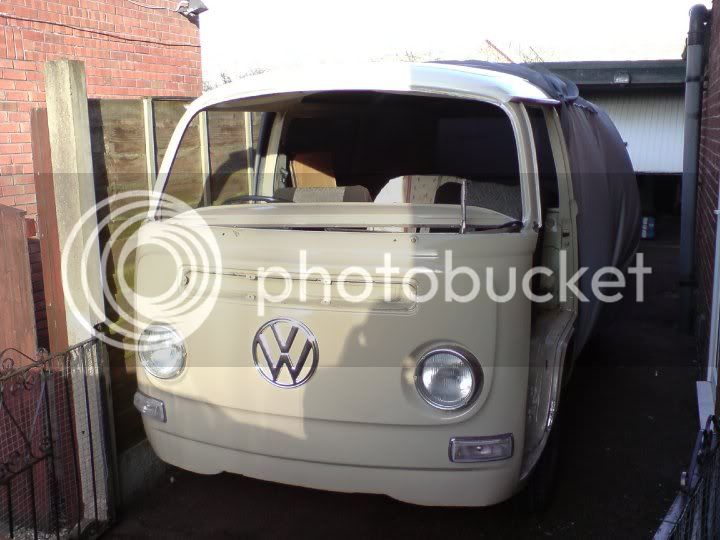
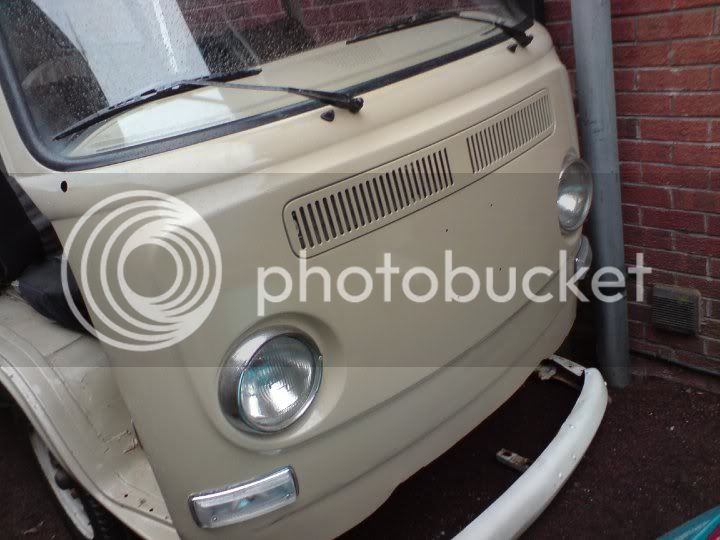
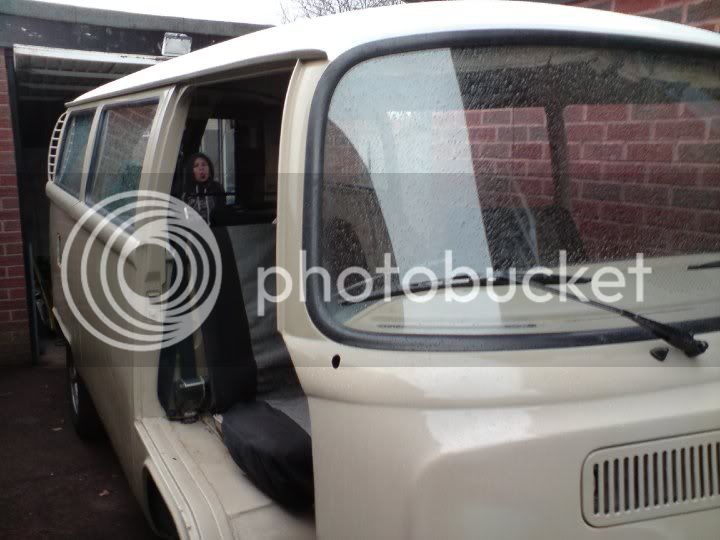
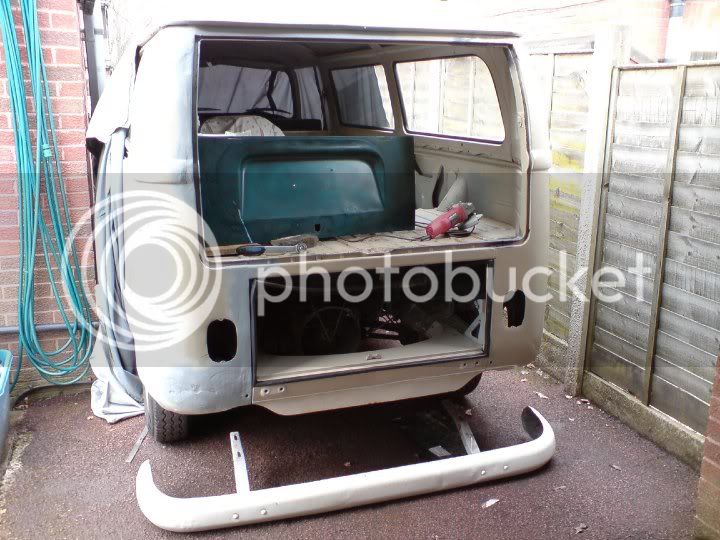
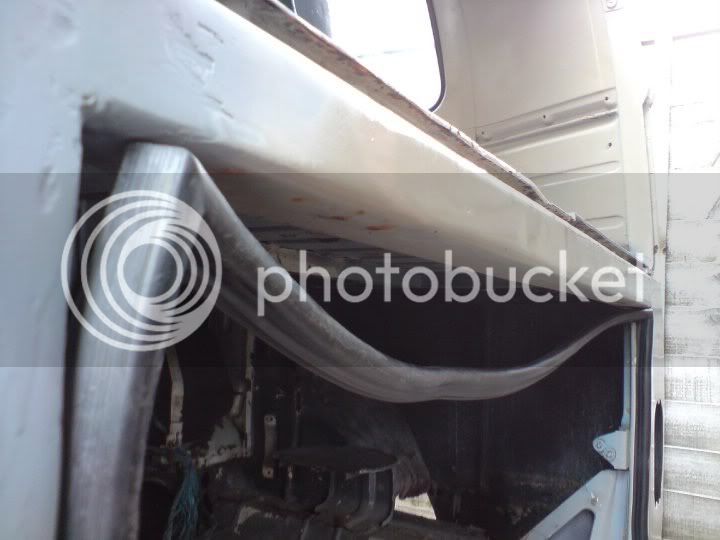
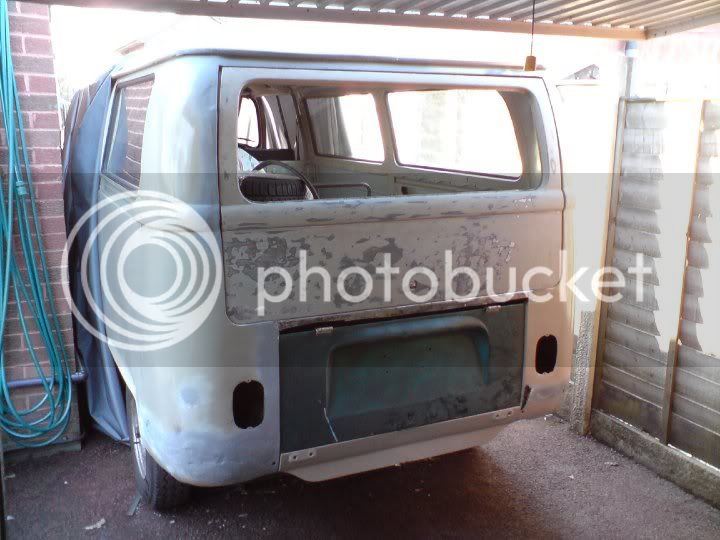
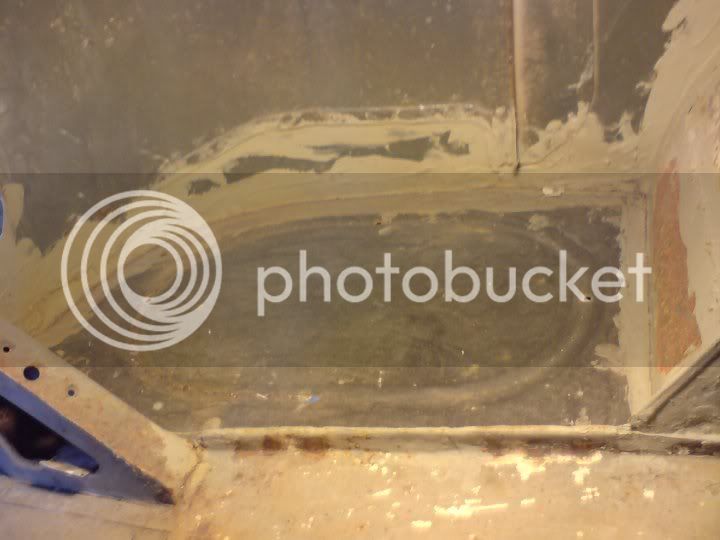
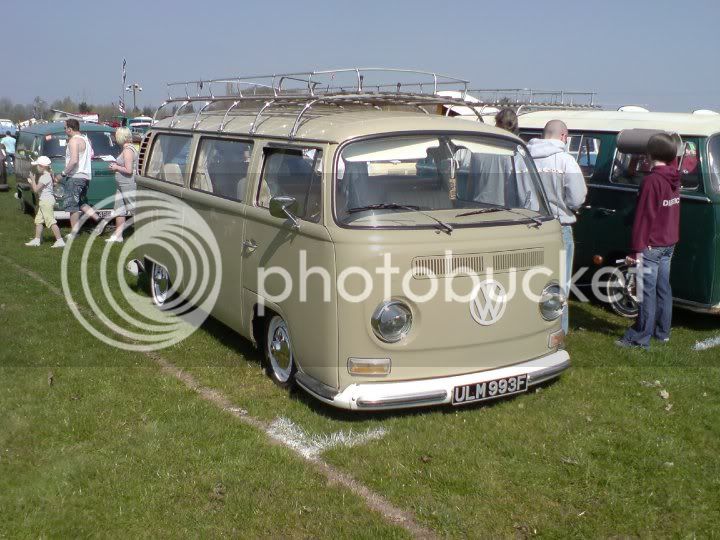
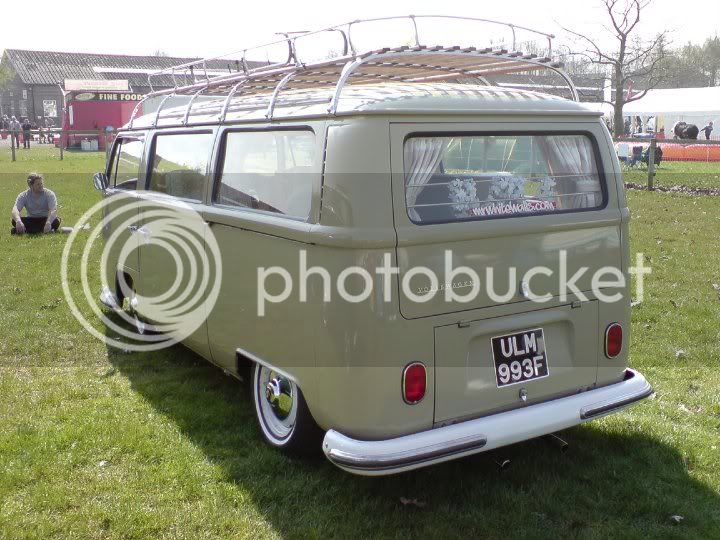
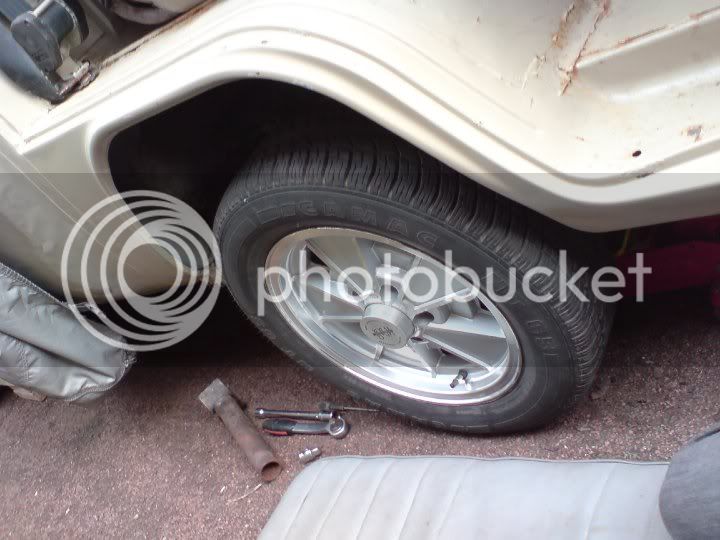
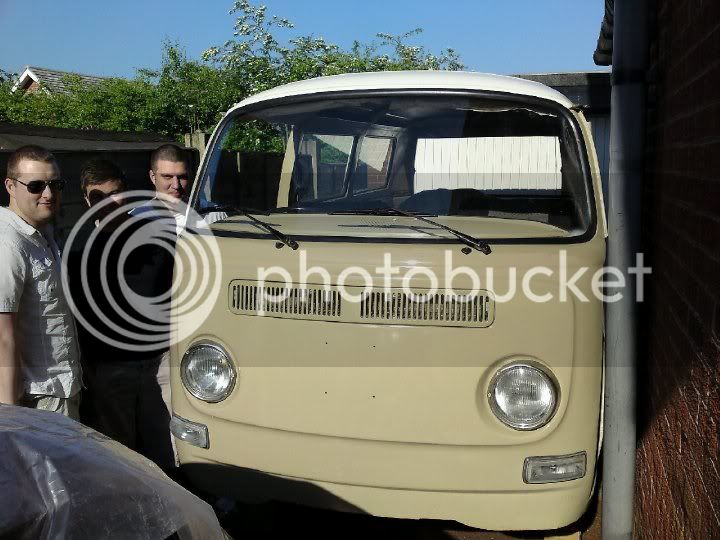
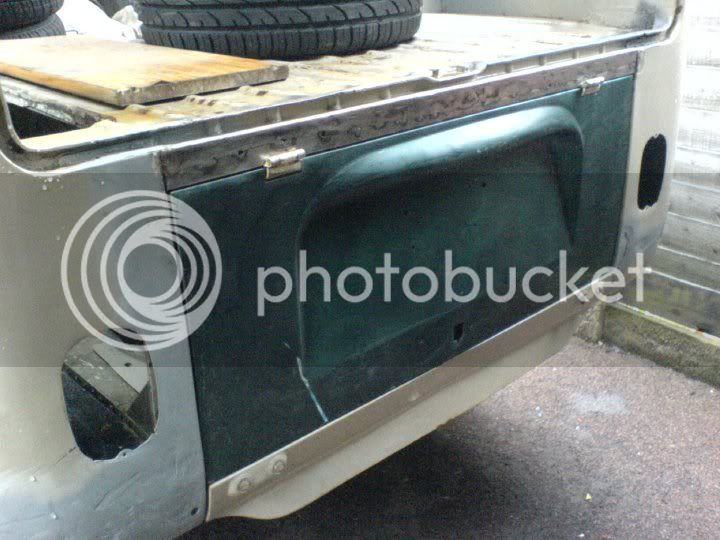
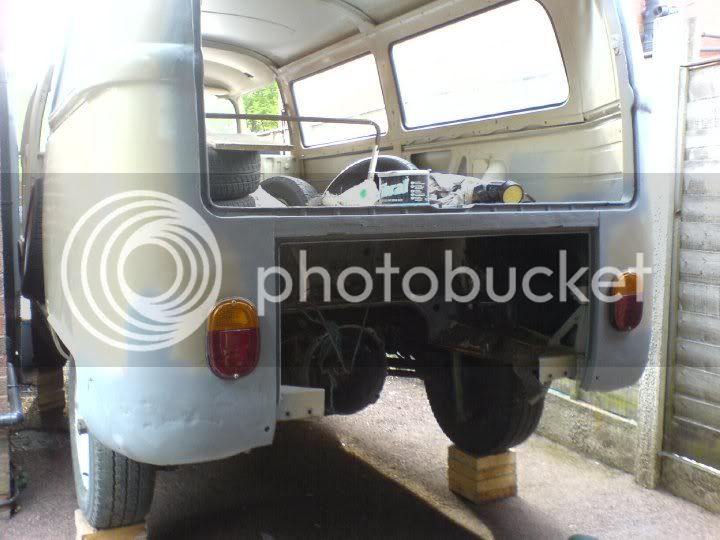
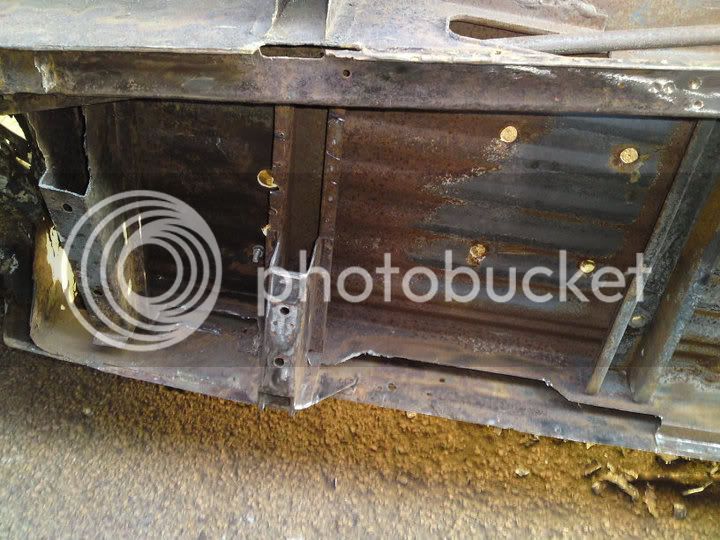
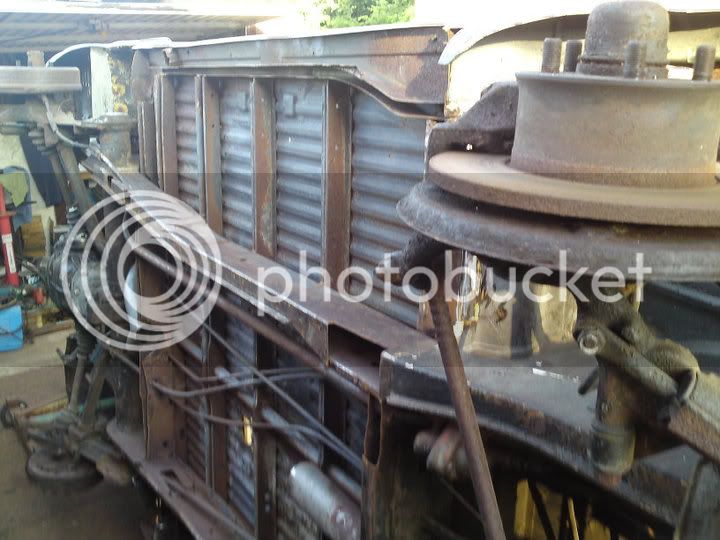
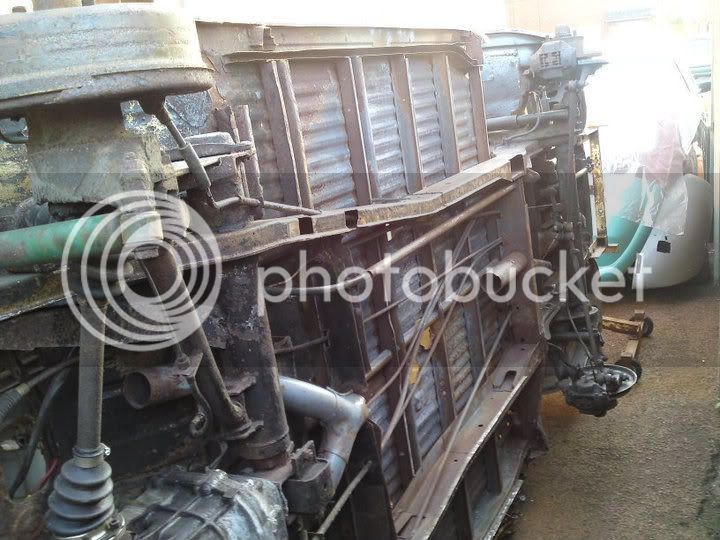
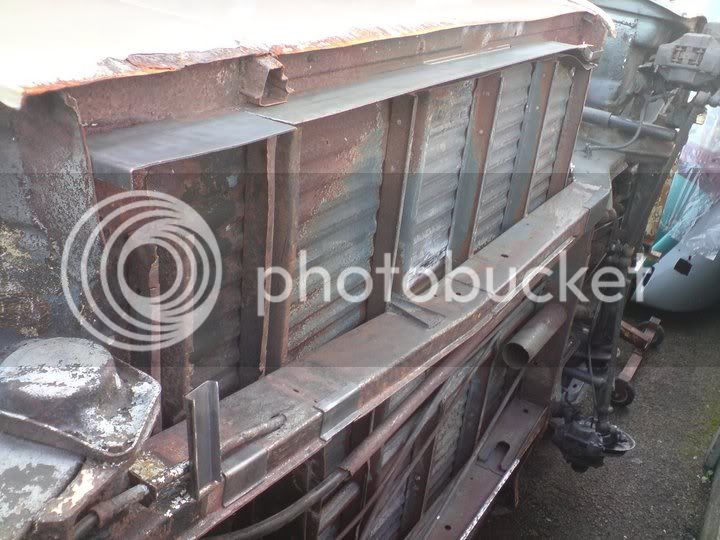
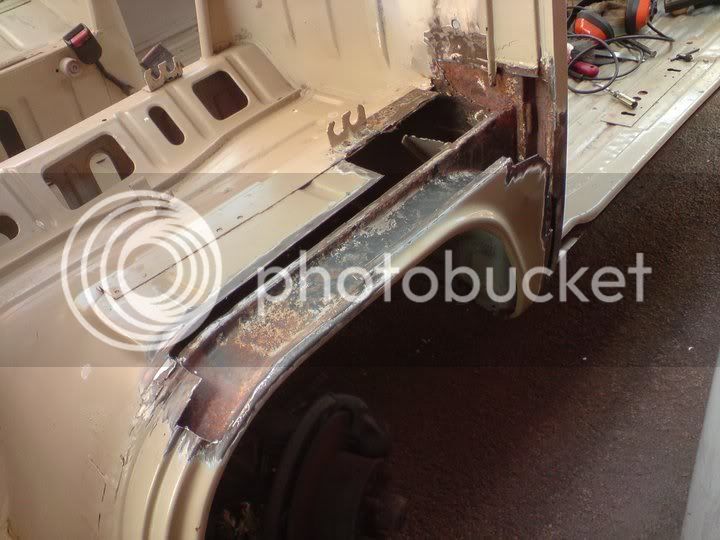
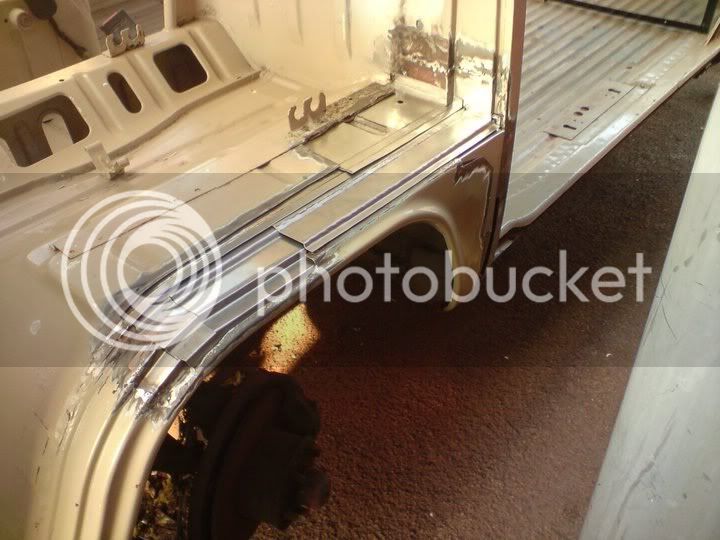
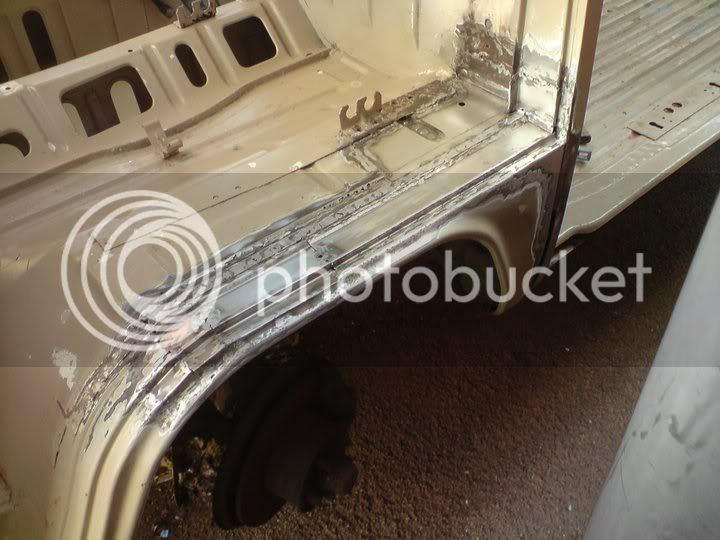
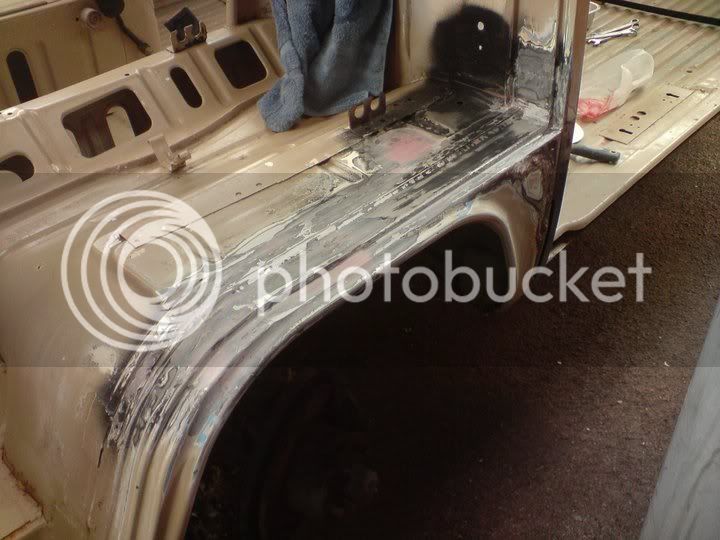
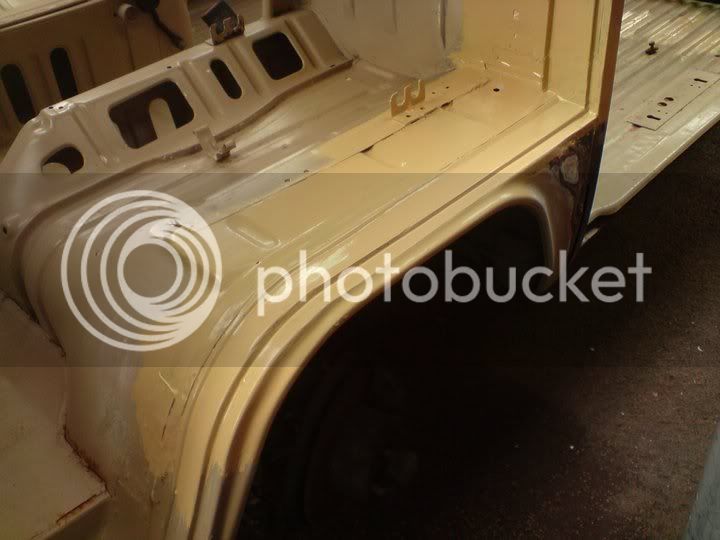
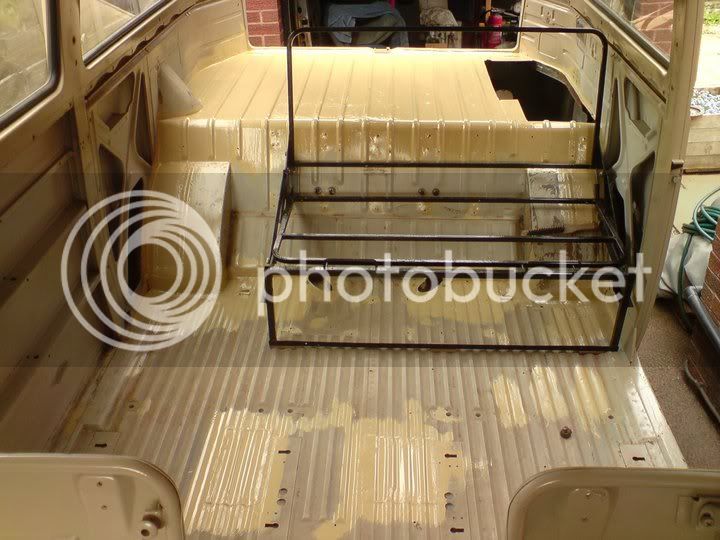
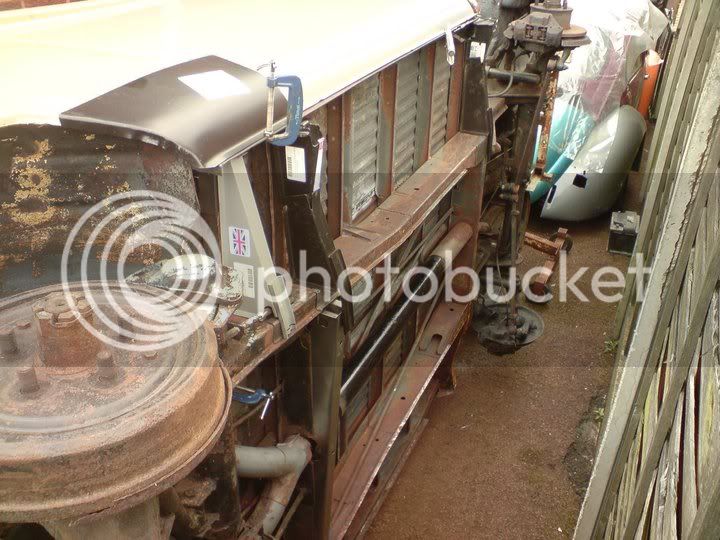
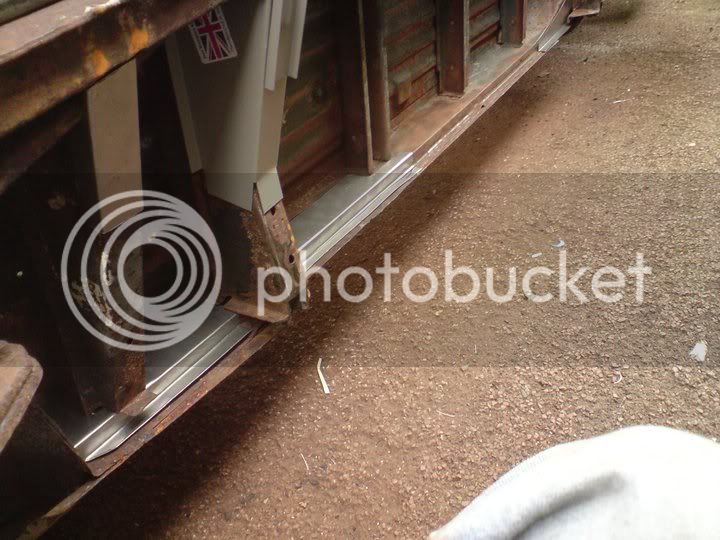
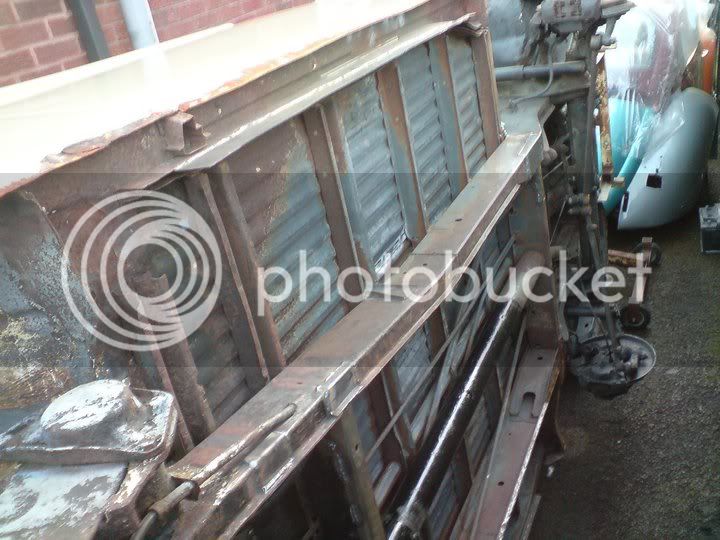
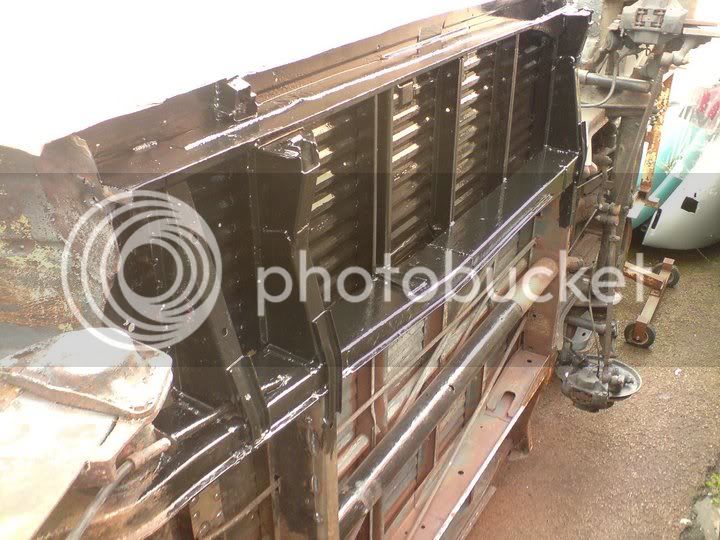
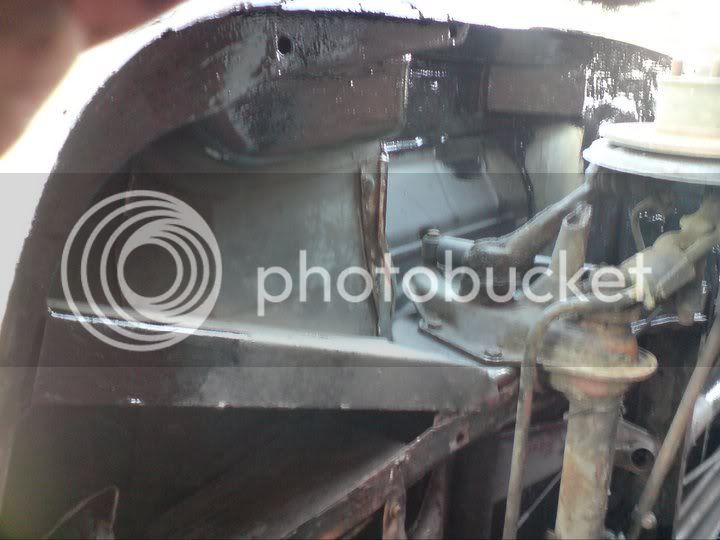
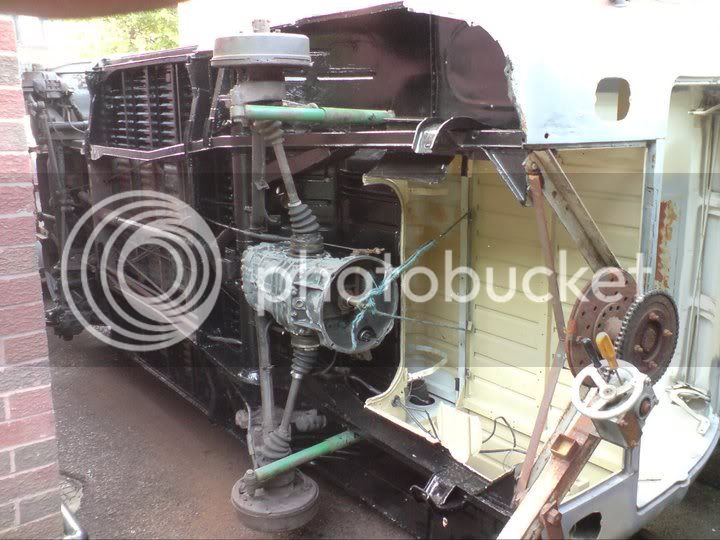
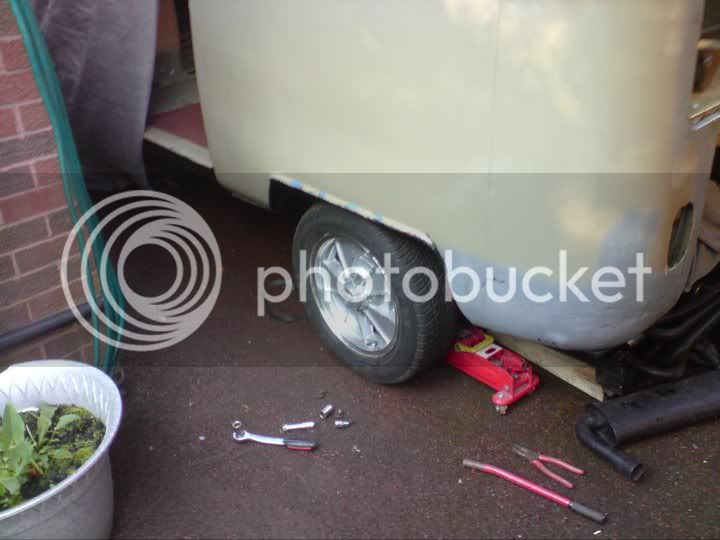
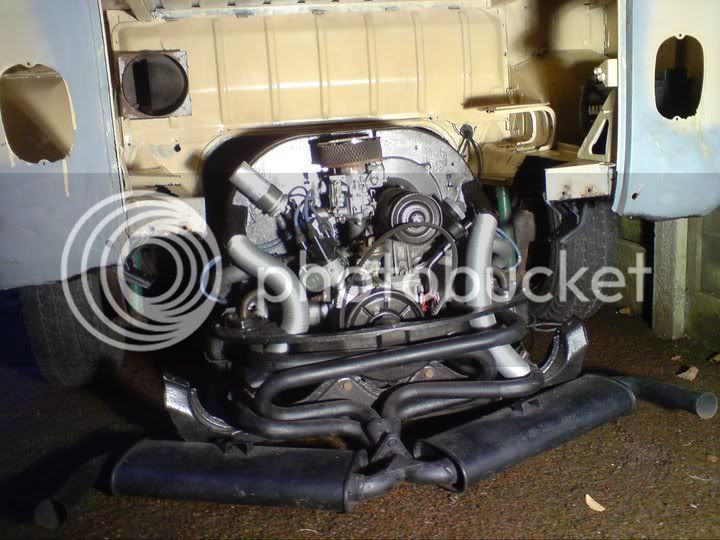
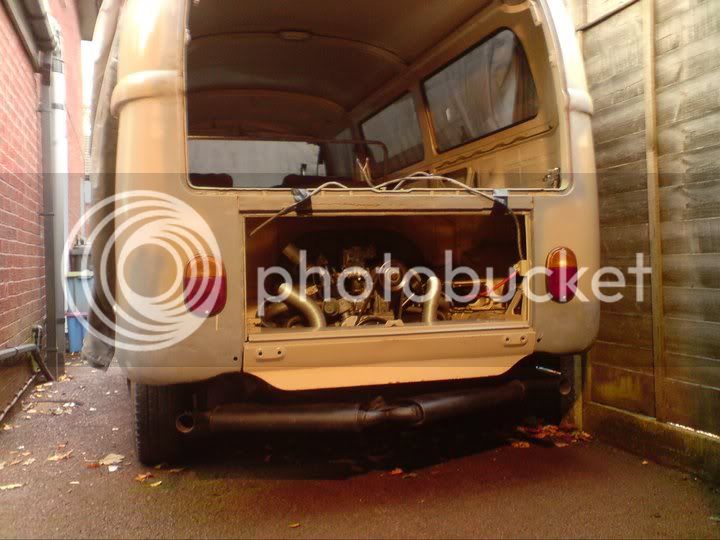
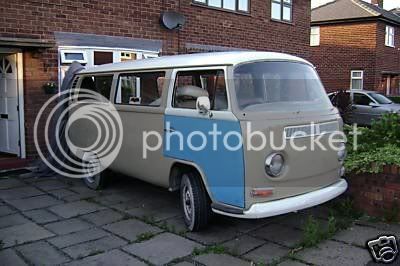
Hi, may I present Charlie Brown (named by the misses as she has a yellow newbie named Woodstock) the '71 Dormobile. I got him 16 months ago now and have been working on him most eves/wkends since then. I have now completed most of the rust repair and am currently working on mechanicals/paint.

I hope you enjoy the slide show. Feel free to comment, but please DO NOT repost the all the pics in your replies! All the best, Jim

1.jpg


The original EBay auction pic

12.jpg


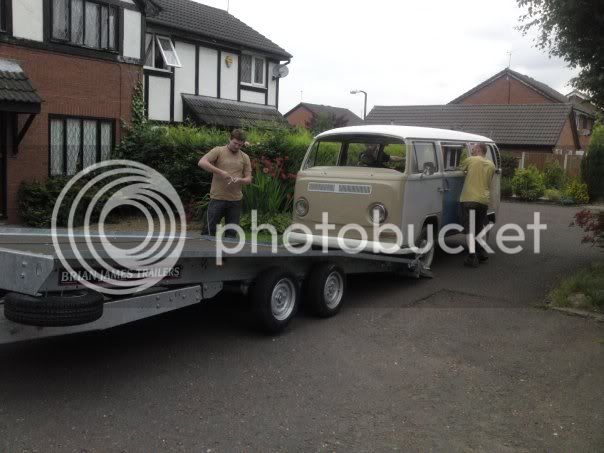
Being unloaded by the old owner (Dave) and new

14.jpg


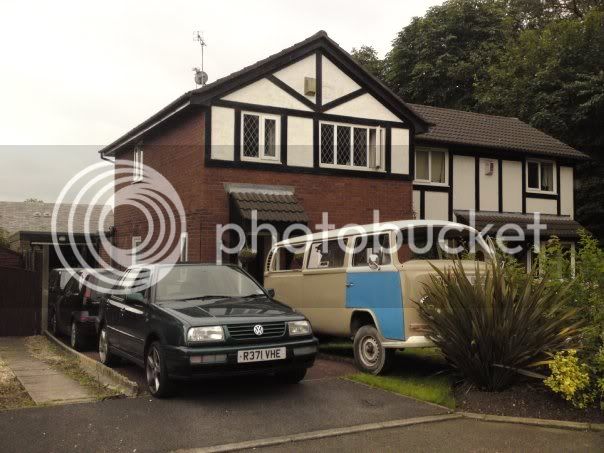
Was on the front lawn for the first week! Rovers now being melted down into tin cans and Beetle chassis is back where it should be under the Bug in the garage

5.jpg


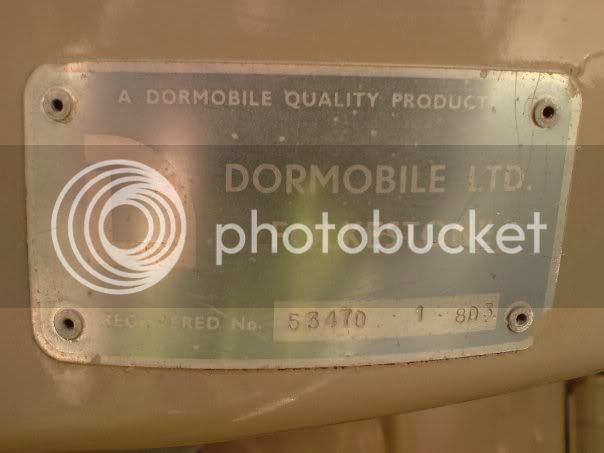
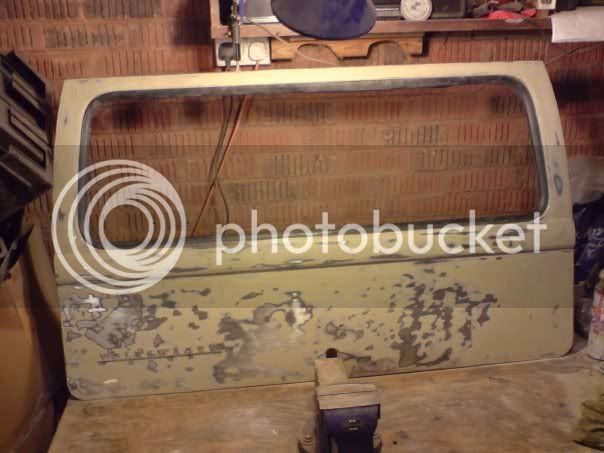
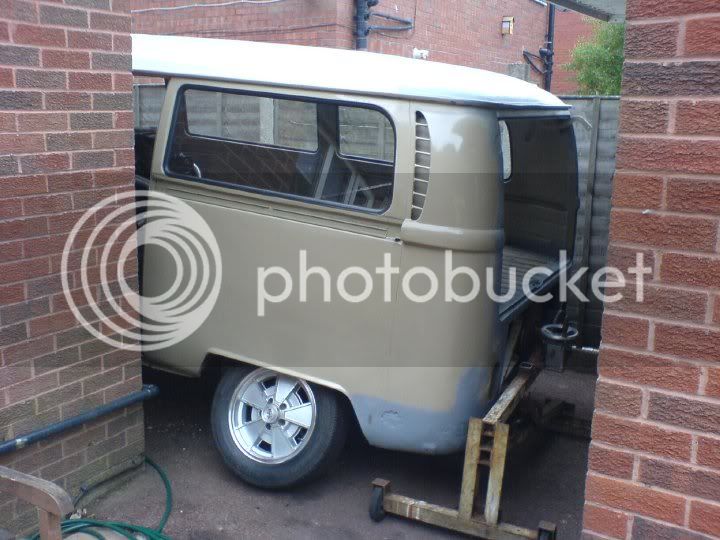
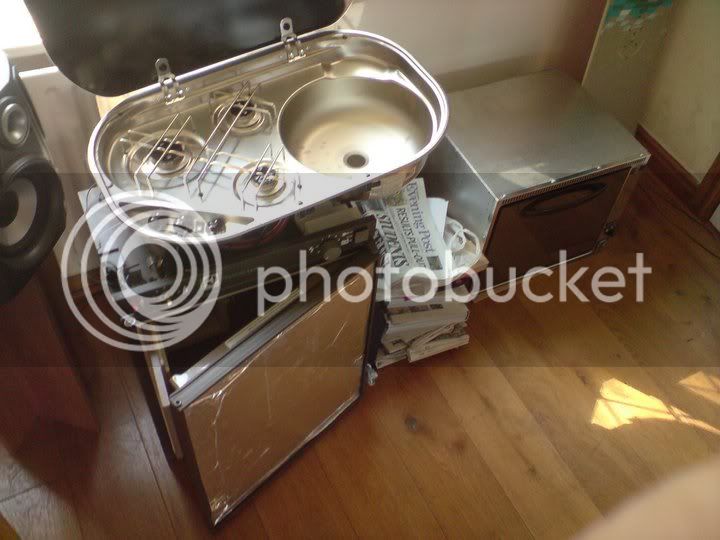
It was a Dormobile camper

2.jpg


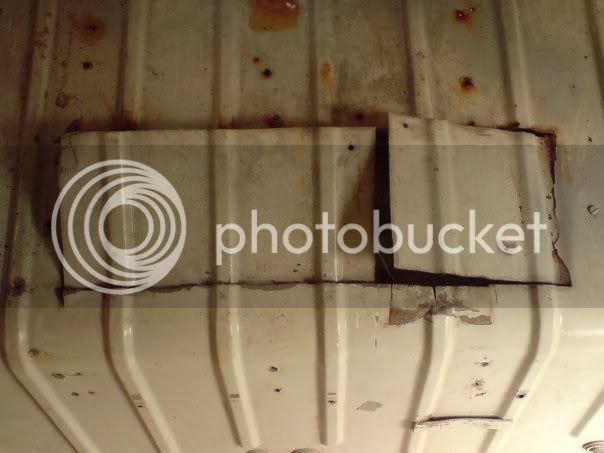
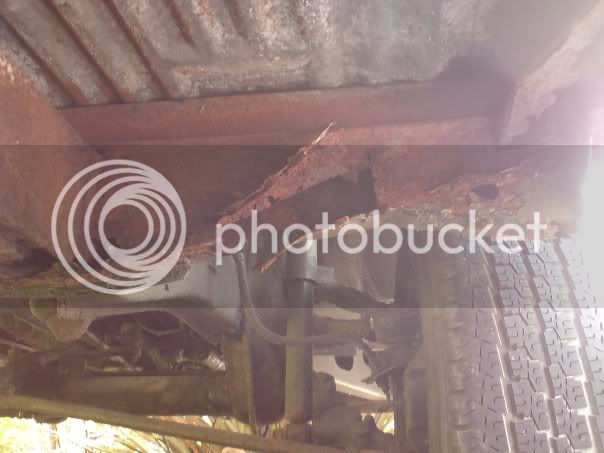
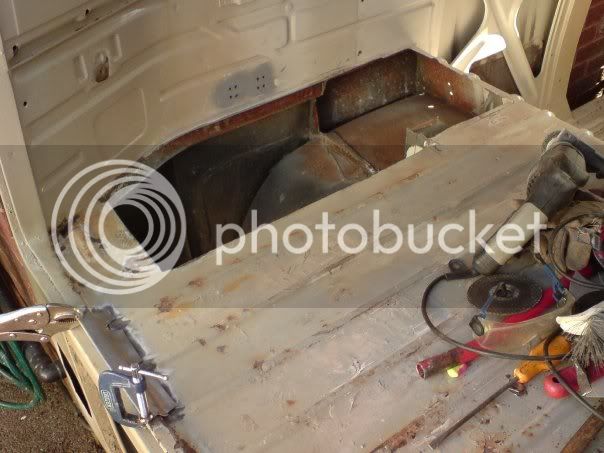
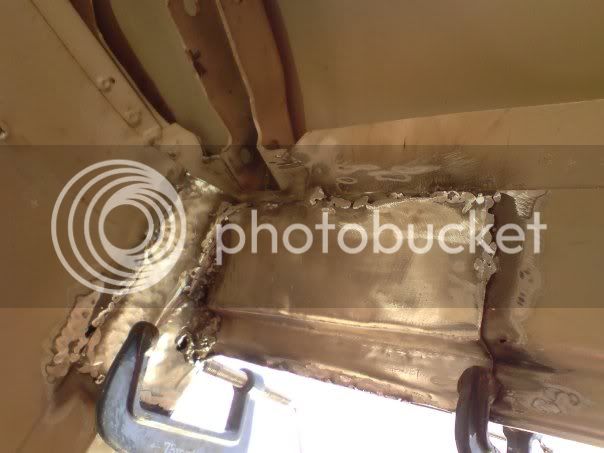
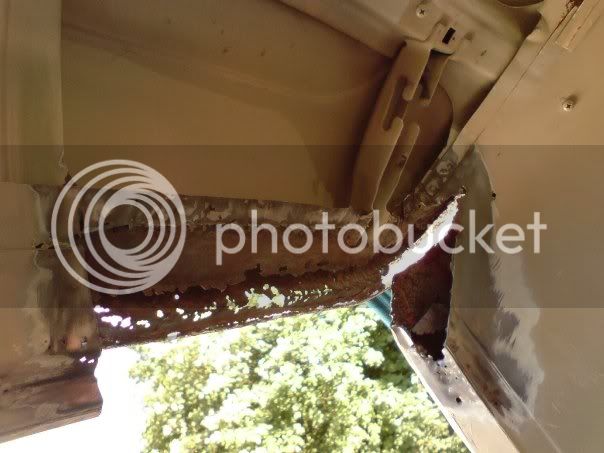
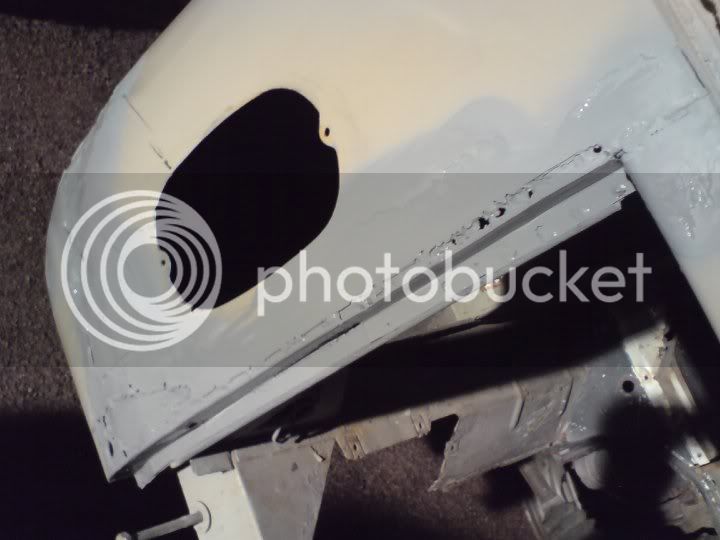
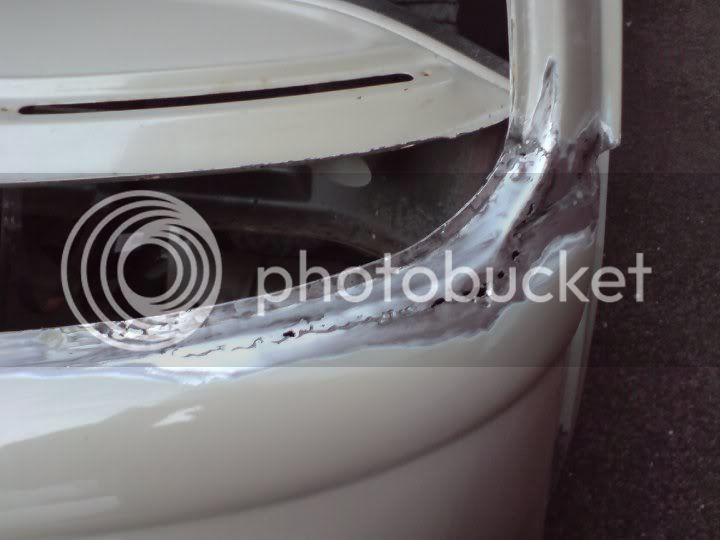
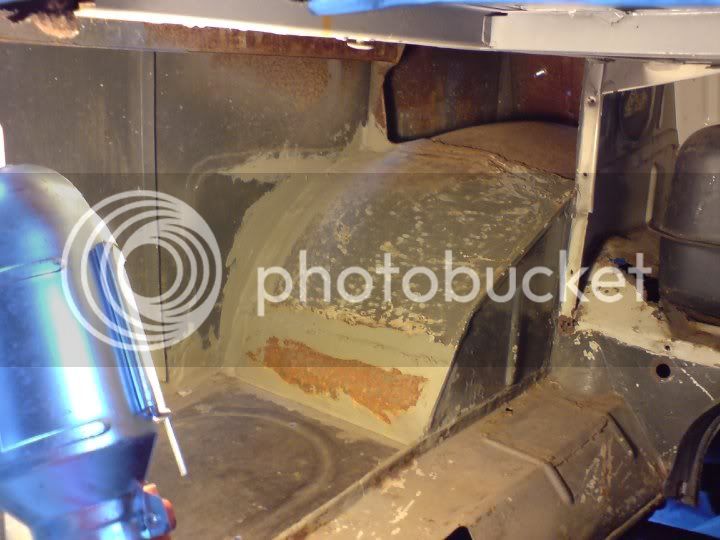
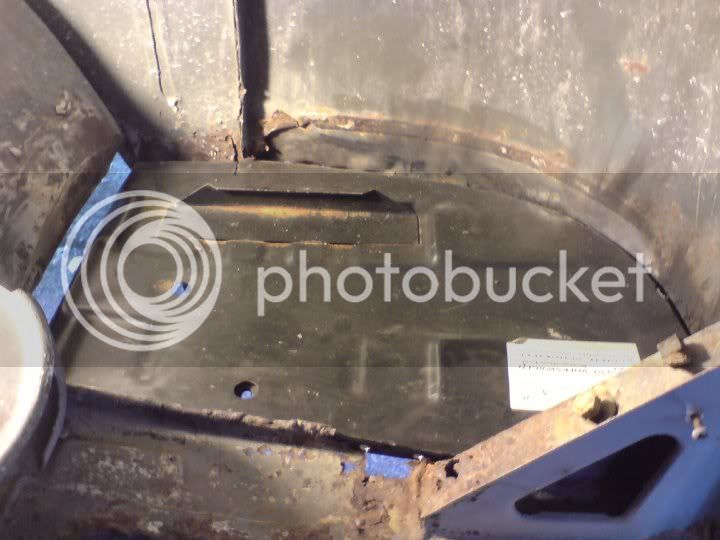
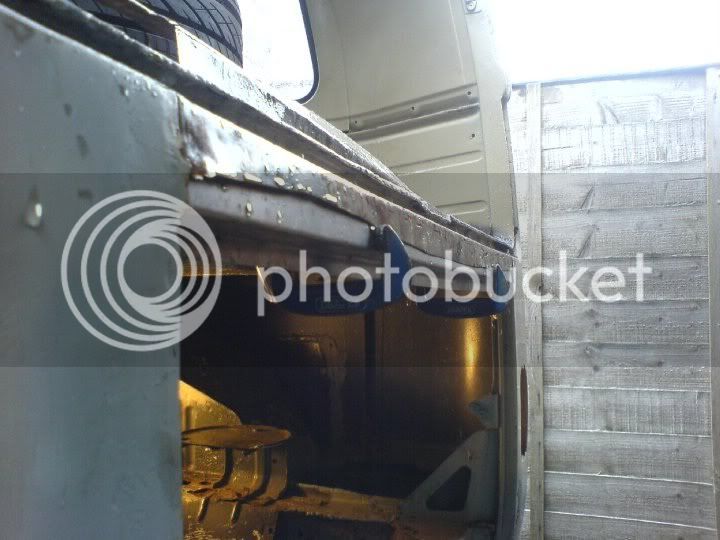
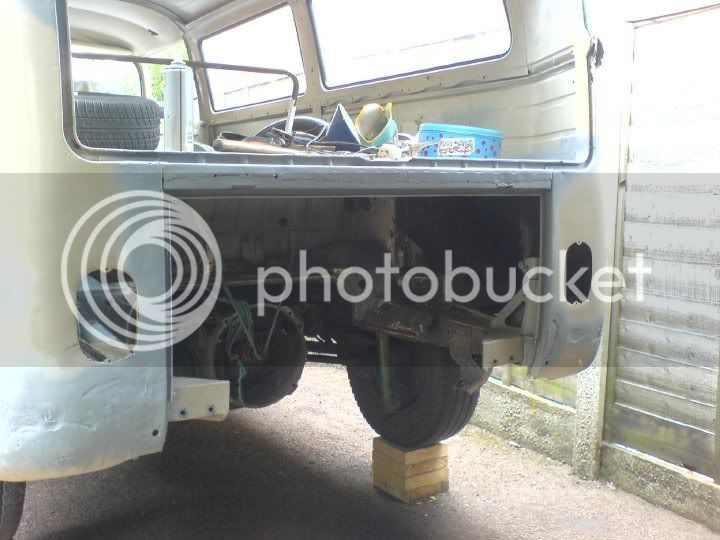
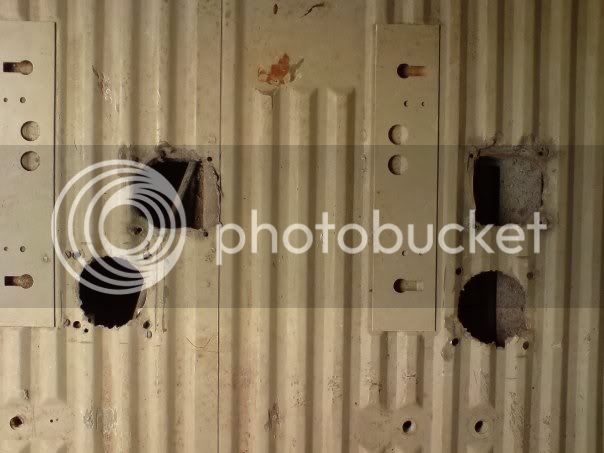
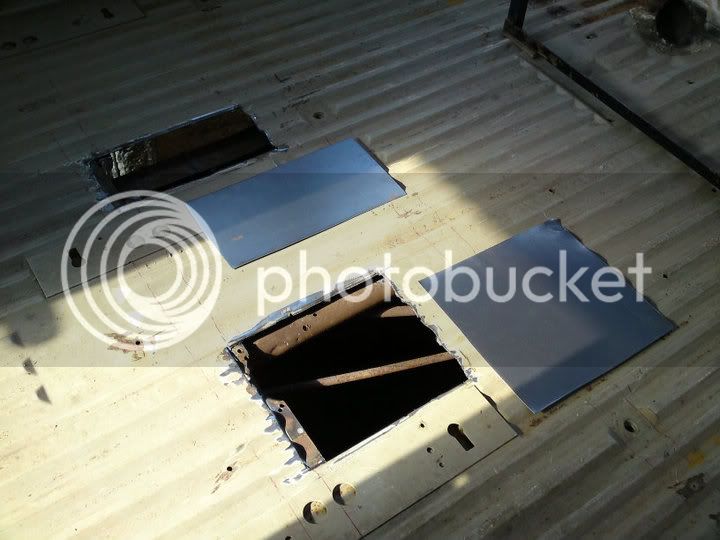
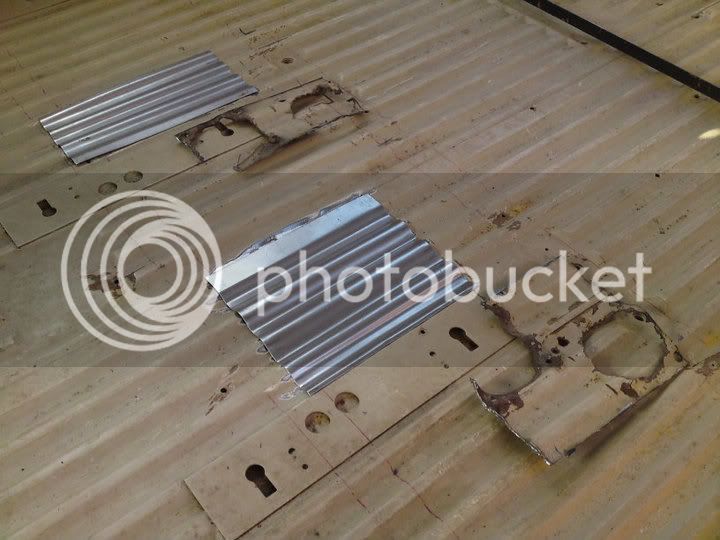
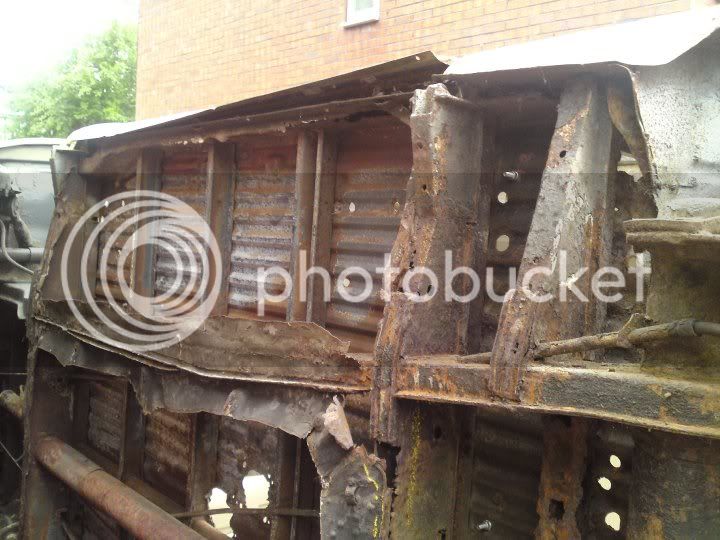
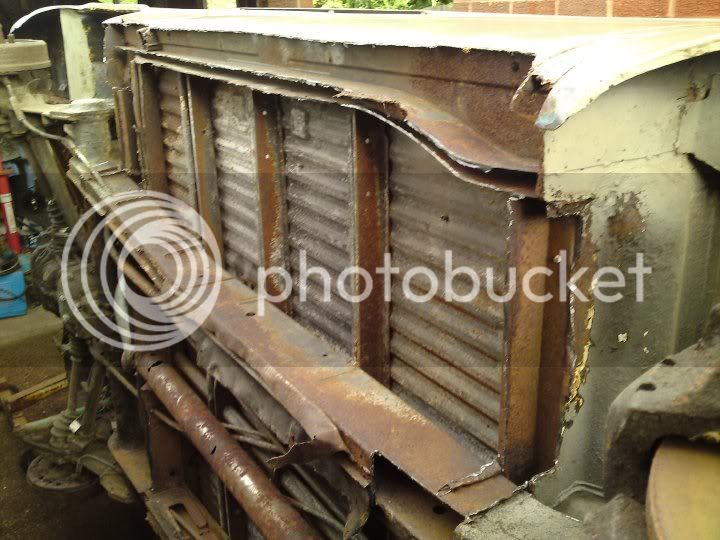
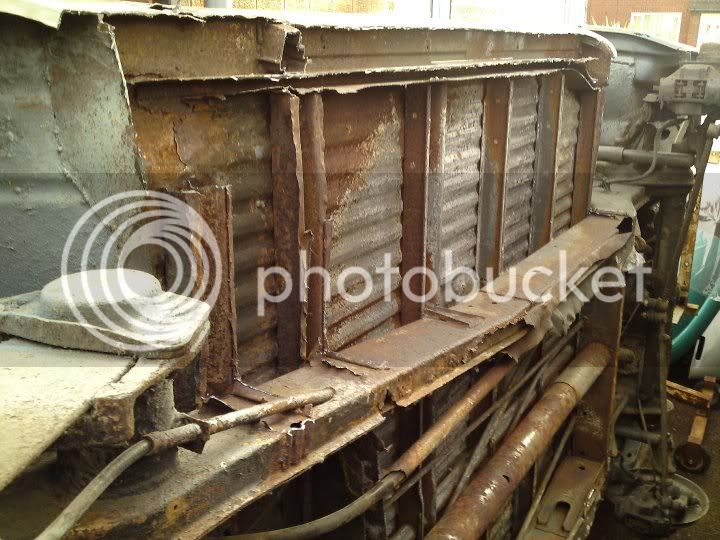
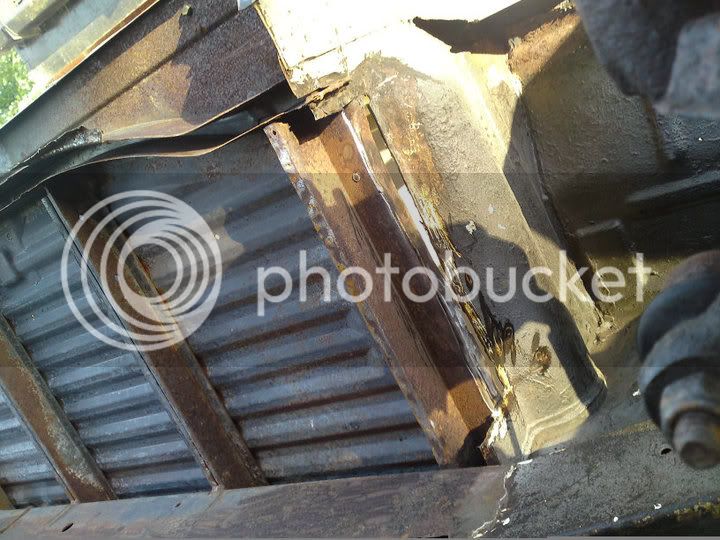
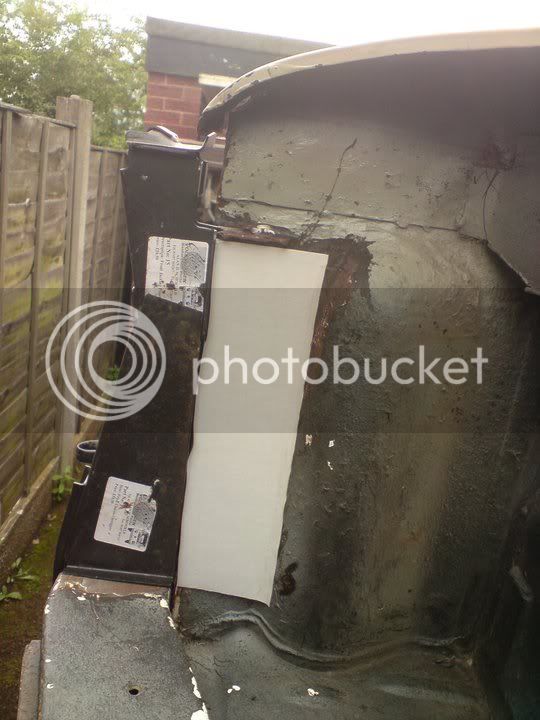
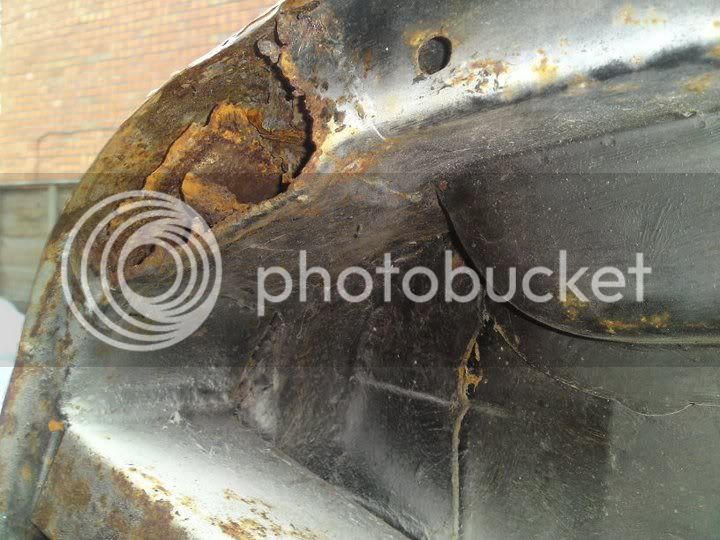
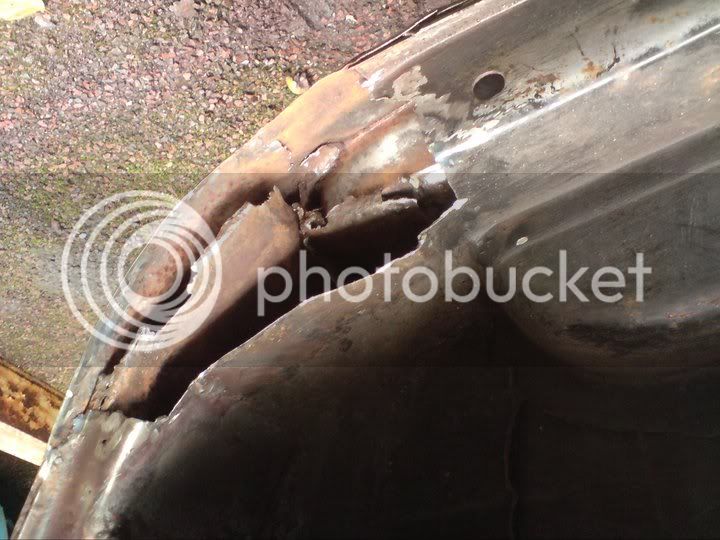
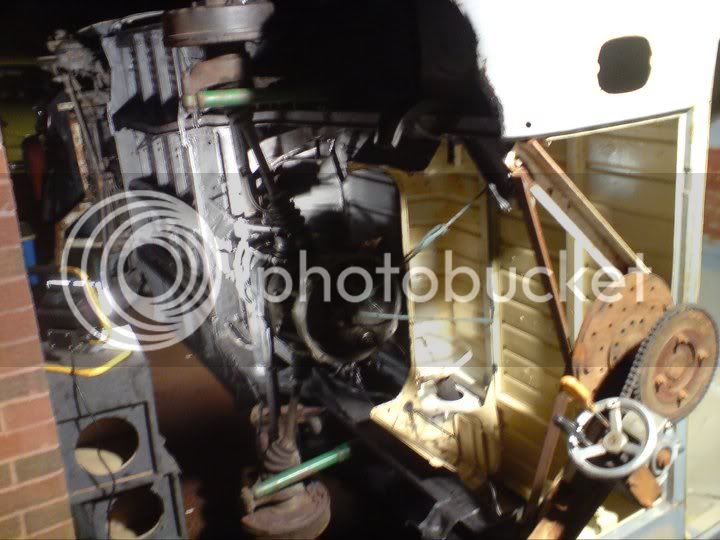
Hacked metal work for access to fuel sender
 
3.jpg


The rust that came out the fuel tank! I think I'll be looking for a replacement...

99.jpg


Worst bit of structural rust. Front outrigger

29.jpg


This old vent hole had been badly bodged with a heavy checker flooring plate with loads of filler on it. It pretty much fell out under its own weight!

30.jpg


Heres a proper piece of steel being welded in.

6.jpg


Using some filler to level it all off. Slightly less than was used before...
 
31.jpg


Finished with a bit of primer on top ready for future top coat.

8.jpg


Spare wheel well was rusty so cut it out and making into a cubby hole for more camping goodies

7.jpg


Widown frame repair. Passenger side

20.jpg


As previous. Looking damn better than it did to start with!

untitled.jpg


Window frame repair. Drivers side
 
19.jpg


Fibreglassed and Primered. It might need a spot of filler here and there, but it's largely ready for top coats.

10.jpg


Tailgate hinge repair. Drivers side

9.jpg


Tailgate hinge repair. Passenger side. You can see here the holes in the roof gutter which lead to all this grot. Nasty

11.jpg


Savannah Beige in the evening sun. Mmm...

15.jpg


I have got the replacement 3/4 width bed installed instead of the full width bed it came with. So there's now some room down the side for cupboards. Note the winter ambiance... Brr!
 
16.jpg


I sourced another tailgate as original was completely goosed. This one's come up ok now I've removed what seemed like Dulux gloss from all over it!

17.jpg


Eperspacher BN4 petrol heater on the way. Toasty toes whilst on future snowboarding holidays!

18.jpg


The original engine lid gets some rust repair and a coat of British Racing Green! It'll keep the surface rust at bay until I order some Savannah Beige.

13.jpg


It's engine as delivered. It has now been stripped of stupid 'in front of the fan mounted' aftermarket oil cooler. A replacement fanhousing will also be needed as this ones been badly patched up in the past.

21.jpg


Engine appears to be a fairly fresh recon unit. It's pretty clean inside.
 
22.jpg


Cate managed to grow some muscles and help move the engine out of the rain and ready for rebuilding. Here she is sporting her freshly repainted tin and replacement fanshroud.

27.jpg


Here's how i've left the engine for now. Covered up waiting for installation. Just needs a service and then it's ready to go!

26.jpg


Last bit of grot on the gutter to sort. Tempretures are starting to get bearable, so work can start progressing again!

untitled2.jpg


Gutter mostly finished. Just needs some slight filler in places and a lick of Cloud White/Savannah Beige.

28.jpg


Current area of work. 3 small patches to weld in here tomorrow evening. Grates me that all this was caused by a holed gutter.
 
23.jpg


Welded up in the daylight. I'm not too happy with how this turned out. I should of replaced the whole rear corner, but i've covered it up in fiberglass for now.

24.jpg


Fitted my birthdays presents! From Cates mom, Italian spec clear indicators. And placed on for this shot, new VW roundel from my sister.

25.jpg


Windscreen repair...

36.jpg


Back plate welded in and top piece ready to go.

37.jpg


Whoops! Blew a few holes in the rust thinned metal.
 
38.jpg


I got a can of Savannah Beige mixed up at Halfords ($$$) so I could finish the window repairs. Here's the windscreen fitted, along with wipers, screen washers and the vent panel painted and in place.

39.jpg


Side view showing side windows in and my little helper being cheeky in the background.

40.jpg


Here's this weekends work. I've got to replace the engine lid hinge area as its been badly repaired in the past without metal to hold engine lid seal.

untitled3.jpg


Like thus...

41.jpg


Just playing here and mocking panels up for this shot. You can see i've chopped the bottom out the engine lid hinge bit though. The back certainly looks alot more grotty than the front!
 
42.jpg


Here's a repair to passenger side battery tray I did in the autumn. Still needing paint.

43.jpg


I removed a closing panel here back in the day to open up the 'cubby hole' I created when chopping out the spare wheel well.

44.jpg


Drivers side battery tray welded in. A few patches needed around here. In fact I counted 11 still to do around the back of the van. Yawn...

33.jpg


I had a good look around this van at BusTypes this last weekend. It's not far off where I'm heading with mine.

34.jpg


Here's the back of it. Queue Borat... "Very Nice!"
 
35.jpg


Picked up some cheap MWS BRM replicas. Cate has agreed to redo them with black detailing instead of the silver. I think something will have to be done about the ride height in due course!

54.jpg


Catching some rays at Cates birthday BBQ

untitled4.jpg


Making a start on the engine lid hinge area. Despite the drizzle the bank holiday weekend would allow some good progress

51.jpg


Got the recess sorted for the hinges.

52.jpg


Welded back panel in that includes the seal lip.
 
53.jpg


Some fiberglassing done. Need to do some filler, which should be fairly straight foward now that I have a random orbit sander.

27797_101.jpg


Here, I'm half way through making up a mount for the car roller. I've got the back mounted. I lowered it right down to see what it'd look like lowered on the BRM alloys I got recently. Front mount completed day after.

32.jpg


Curious holes in the floor. Any ideas?

63.jpg


Decided the best way forward was to chop it out and start again.

64.jpg


I'm not very good at getting the bends right due to not having the proper metal bending tools, but this should be good enough once welded in.
 
62.jpg


Few small patches to do here.

46.jpg


Over view of the darkside.

47.jpg


Spot the grot. I had removed the belly pans earlier in the year. I like the fact that I can work like this now and I'm not going to get showered in sh*t!

45.jpg


Drivers rear jacking point. The whole area is soft here. The actual jacking point has squashed up. The rear outrigger had been replaced in the past with a front outrigger! It's all on the piss, so that will have to come out.

49.jpg


I've started chopping out the grot. Definitely going to have to get a few extra panels than I originally envisaged and a bit of 2mm plate to repair the holed chassis leg and inner sill.
 
50.jpg


Here's the view from the rear. Looks like i'll chop out the rear tophat and replace with new. I'll probably have to take the gearbox out to gain access.

58.jpg


Rear of front wheel arch cleaned up ready for new metal.

59.jpg


Couple of patches should see passenger sill buttoned up.

60.jpg


Overview of progress on the underside from the front.

61.jpg


And from the rear.
 
70.jpg


Here's my petrol heater after some thorough testing of it's components. It all checks out so far, although i'm having trouble getting it to run smoothly on 12 volts. The unit is from an splittie so needs 6v. The resistor i've nailed on the front is too large and only leaves 4v on its output.

71.jpg


Fuel pump side. A smaller resistor required before I can fire it up for the first time with fuel.

68.jpg


This weekend i've made a start on the 25 repair patches that are needed on the frame. Here's one of many cardboard templates.

67.jpg


1 and 2mm sheets ready for nibbling. I've still got 3 patches to do...

66.jpg


Here's all the 2mm stuff shaped and ready for welding.
 
72.jpg


I've started collecting some interior goodies which has blown the budget somewhat! Smev hob and oven and an old £40 fridge from Tatton Park that actually works! Dead chuffed

69.jpg


I had to test it of course!

46913_101.jpg


I hate it when 1 quick patch turns into 8! This is the story of the Passenger seat belt mount repair... Grot cut out.

untitled5.jpg


Panels made up.

75.jpg


Welded in.
 
74.jpg


Filled.

79.jpg


Painted in some cheap Hammerite I picked up at DubFreeze. Will keep the rust at bay until painted properly.

80.jpg


Also painted floor areas. Bed remounted after lowering to allow oven to be mounted alongside in future. Nice bit of black paint on there too.

78.jpg


After a week off work, I was hoping to have all this finished. However I spent ages on the seat belt area. I have manged to get all the panels cut and shaped ready for welding in though. Hopefully only a couple more weeks eves/wkends work left here.

77.jpg


Last bit of the day. Passenger side sill repairs. Hopefully will get all this painted up and back on its wheels in a few weeks!
 
82.jpg


2mm stuff welded on. I can turn the wick up on the welder for thicker metal. It makes it alot easier to burn through any remaining paint/rust without fear of blowing through the metal.

81.jpg


This weekend I welded in the 2 jacking points and the inner sill. Also wirebrushed and painted this section. Looks smart hey?!

73.jpg


Here's the last bit of welding to do on the underside. Left (and right) front corner.

83.jpg


Grot cleaned back.

33912_1015.jpg


Plate welded in, seam sealed and painted. Front arch also painted in this shot. I still need to tidy up the cab floor repair panels that had previoulsy been fitted. Will need sealing properly.
 
You have been a very busy boy :D

Great work you are doing so far and looks like you are on the way to having it finished for next summer.

Welcome ;)
 
Some more to upload yet!

Yeah, next summer is the plan... In fact, I hope to have it MOT'd for the new year, although the interior will take a fair bit longer than that.

PS: Sorry, for the strange captions... I've ripped them from my facebook album so were written with that context in mind.

57.jpg


Here's today's current 'look'. Got engine bay painted. Just the central area left to scrub and paint now. A few other bits n bobs to do, then underseal (!) before finally setting back down on its wheels.

87.jpg


Here's the last pic of the underside. Heat pipe insulated and all undersealed.

86.jpg


Now back on its wheels and back undercover for the winter!

untitled6.jpg


Kevin the Cat inspecting my work. I passed this time.

84.jpg


Original wheels will be painted Cloud White, the same as the roof and bumpers.
 
56.jpg


Trying the new BRM wheel nuts. Is 8.5 turns enough?

65.jpg


Fuel tank in and engine in place ready to be lifted and connected up.

85.jpg


Engine and petrol heater in. Lots of wiring and connecting up to do. Waiting on parts, but should be running next week!

Phew! That'll do for now. I'll add some more as work progresses...

Jim
 

Latest posts

Top