graysummers
Well-known member
- Joined
- Jun 16, 2009
- Messages
- 470
- Reaction score
- 15
- Year of Your Van(s)
- 1972
- Van Type
- Crossover
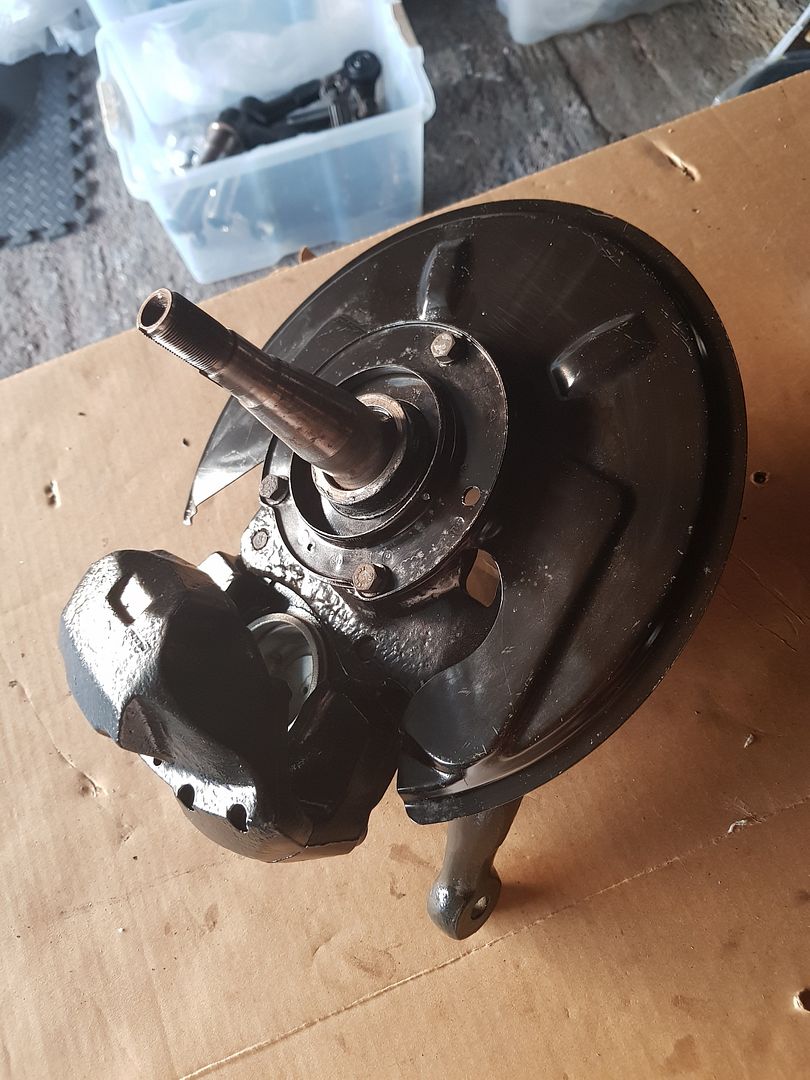
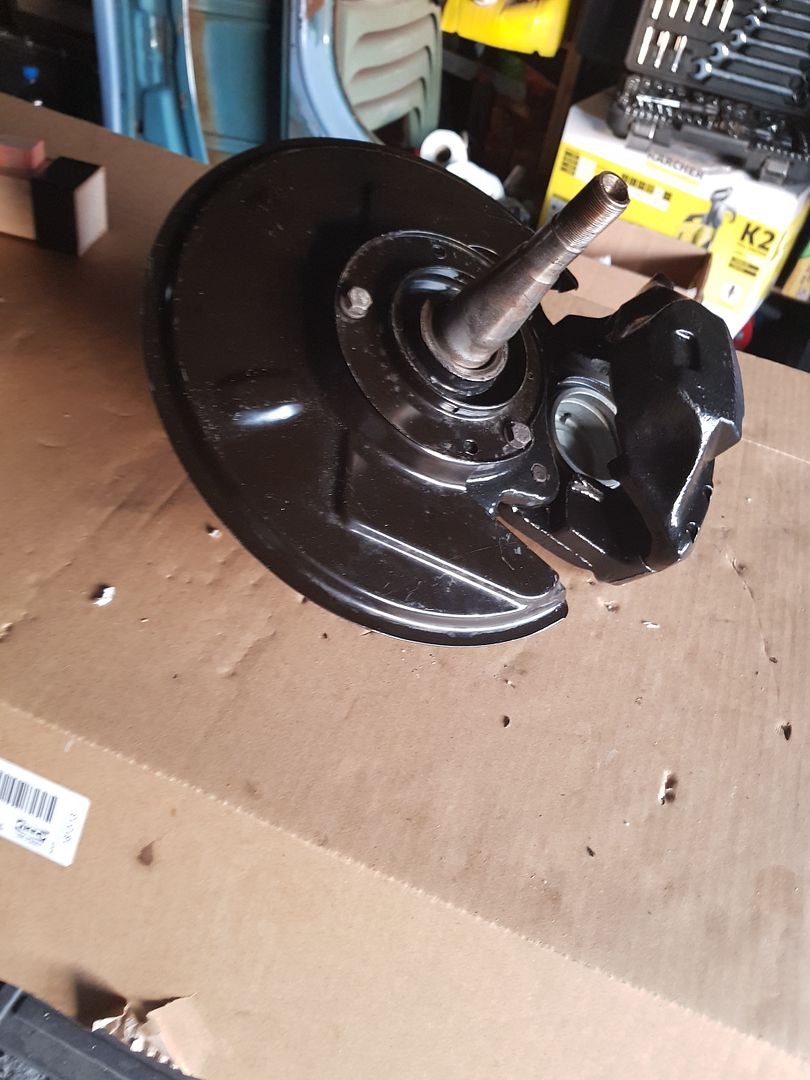
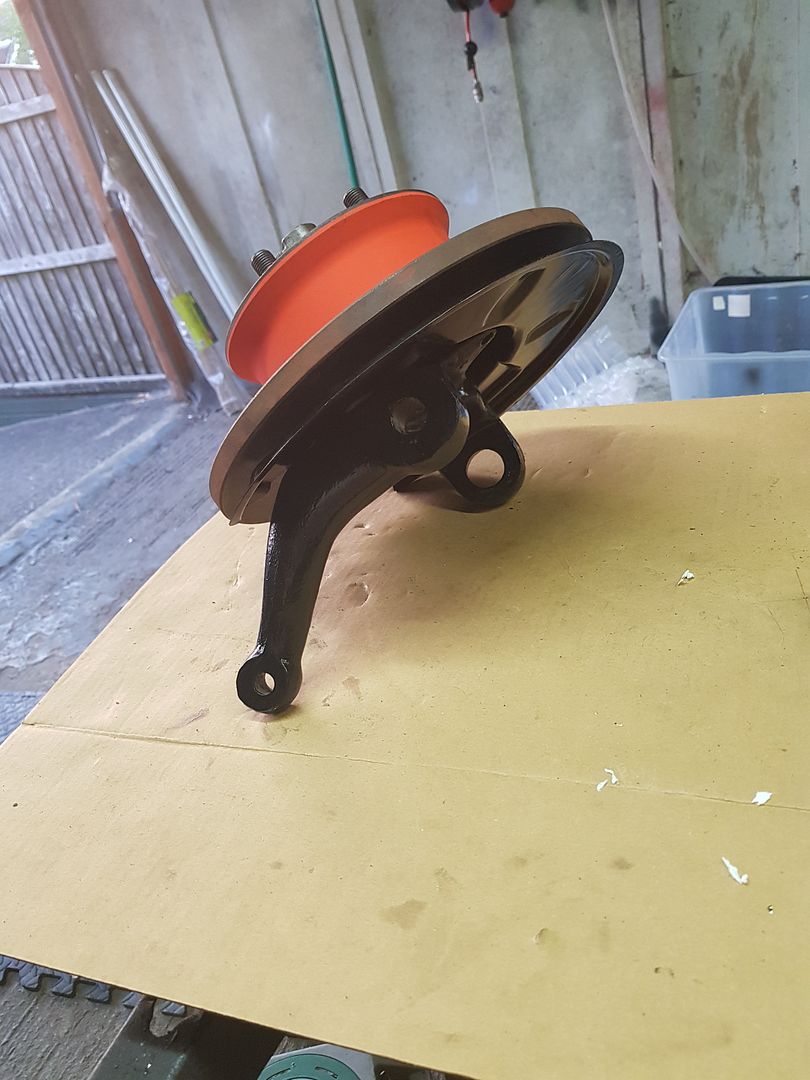
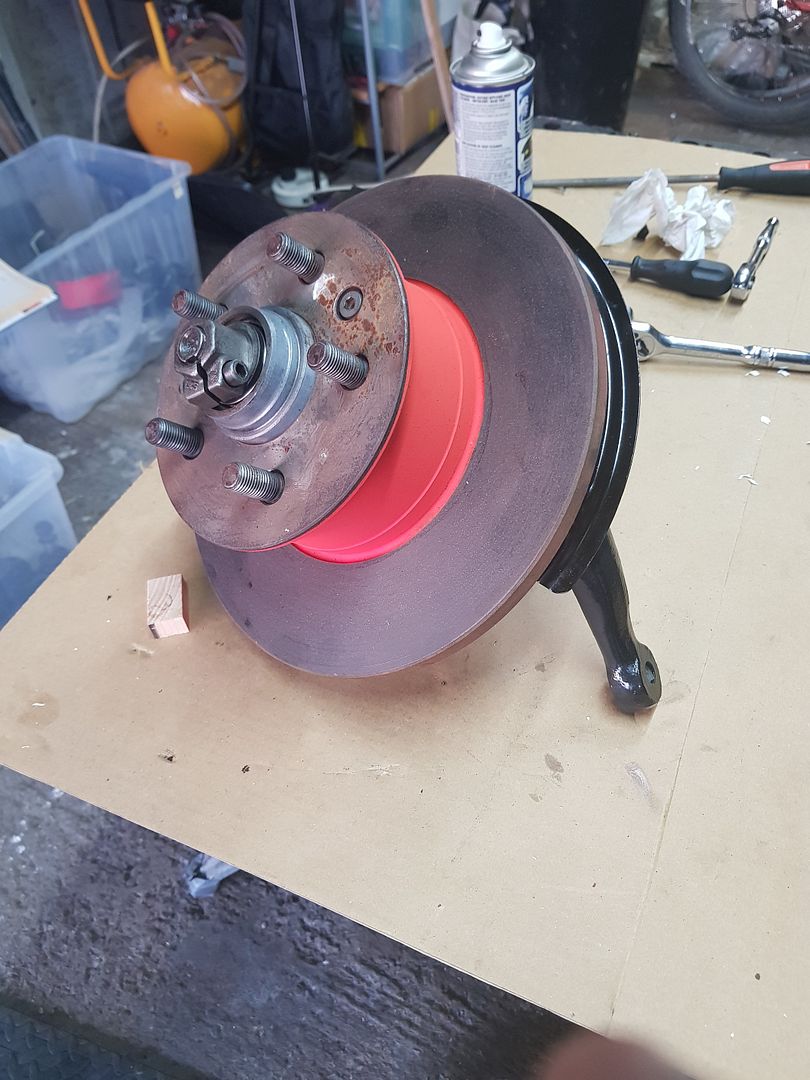
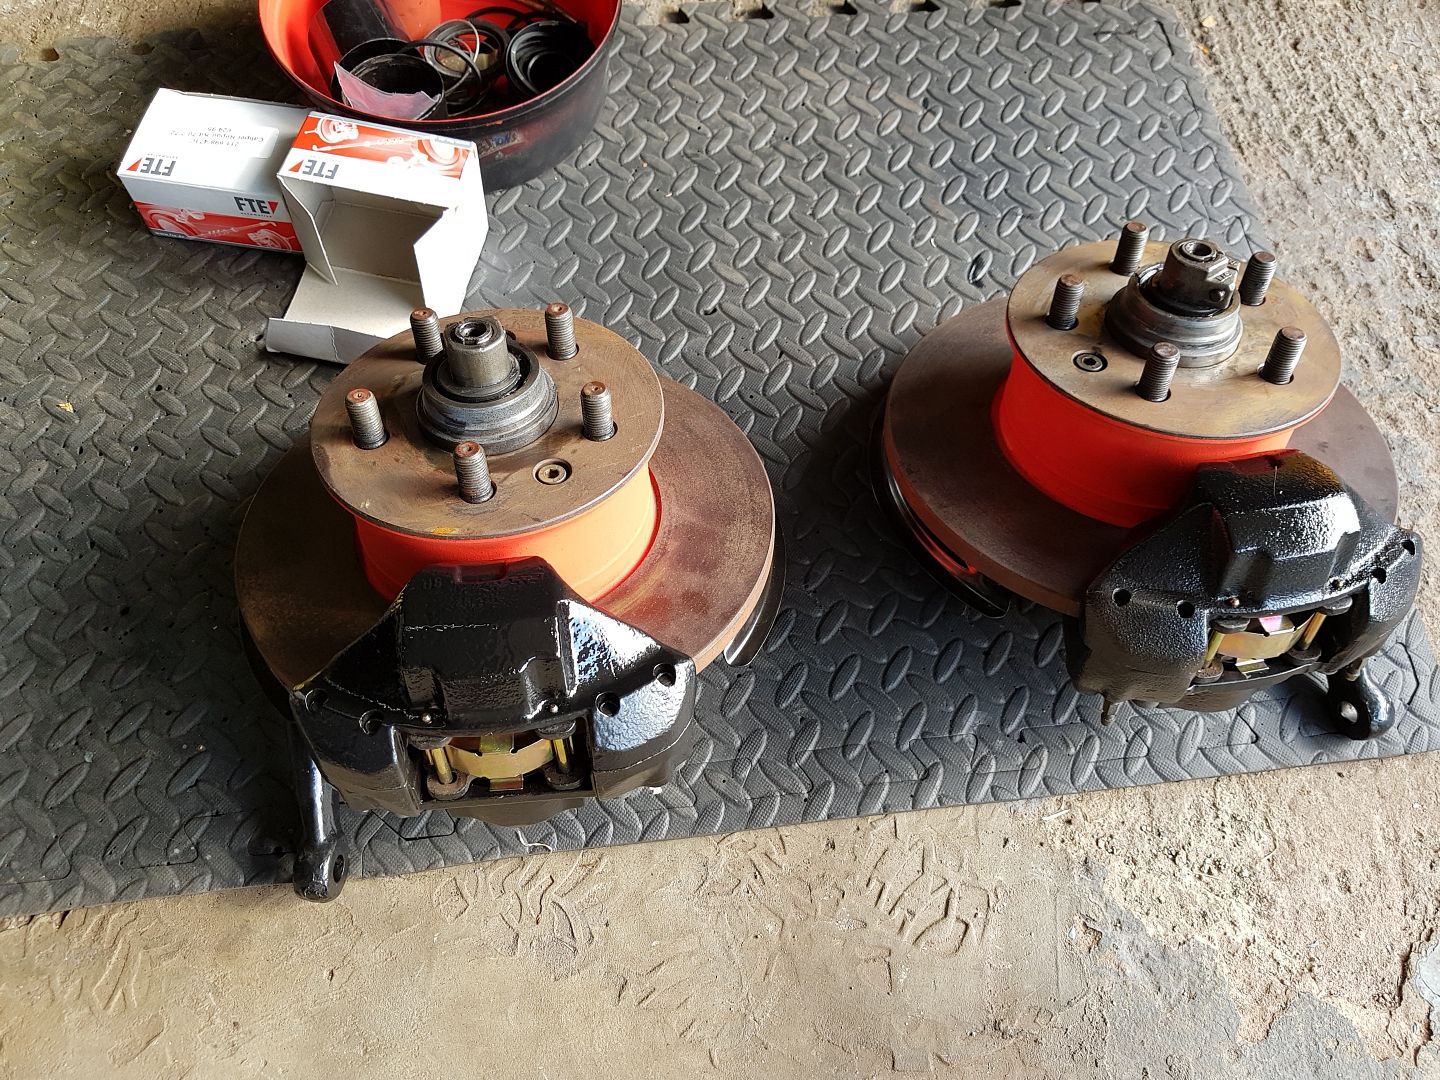
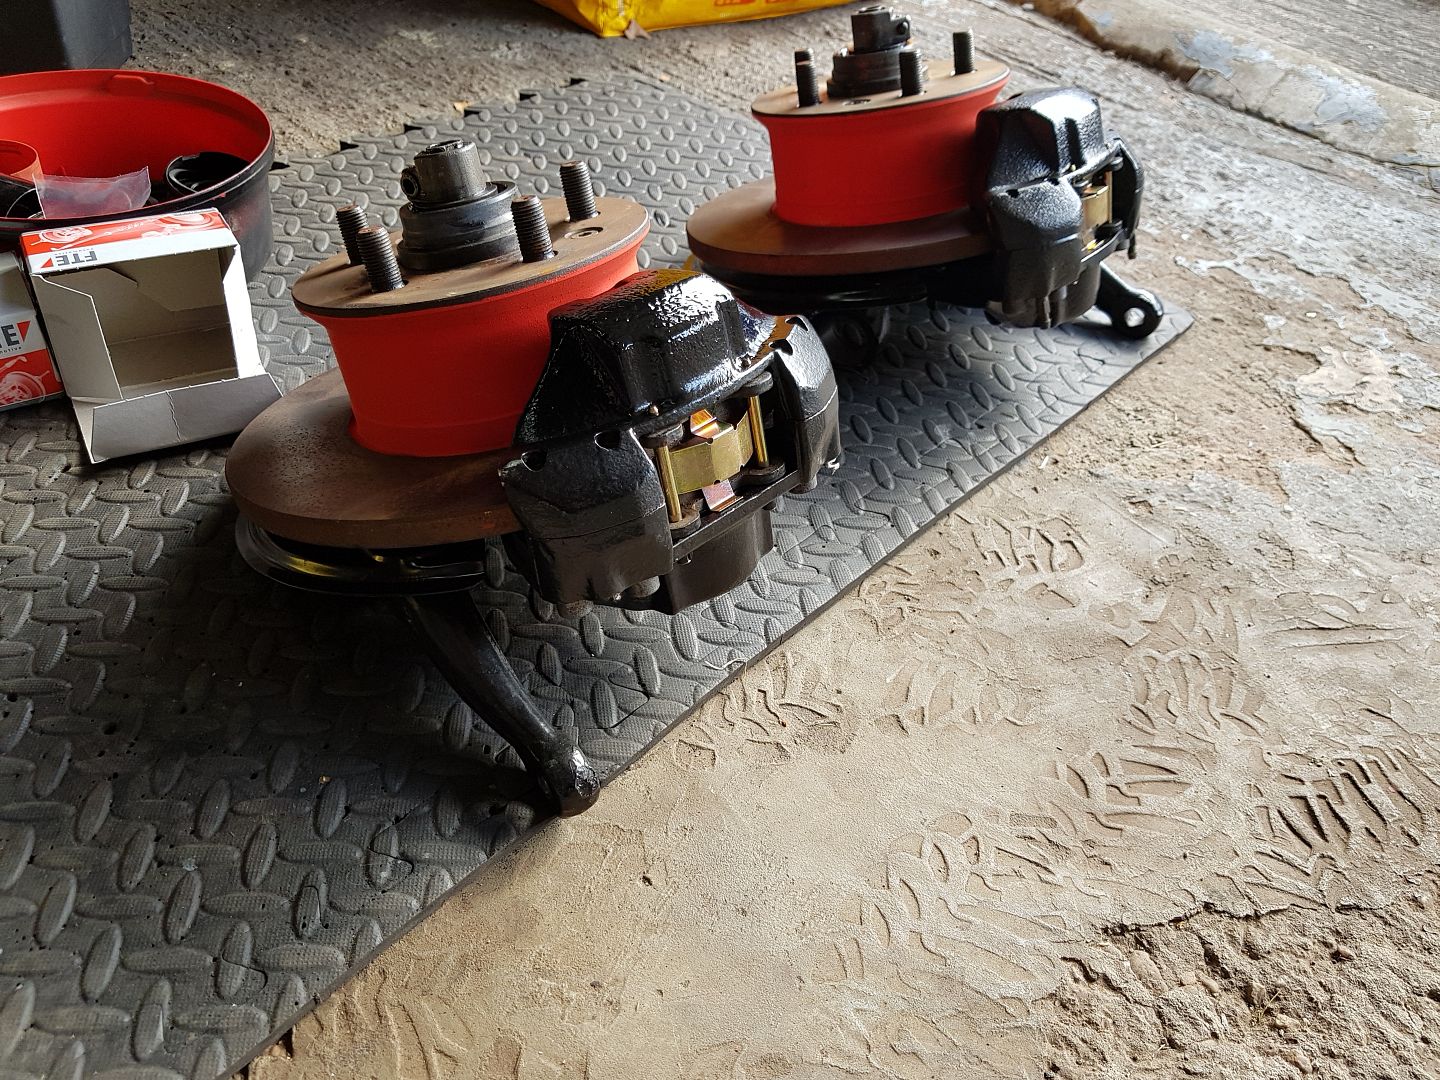
I like, nay....love the progress. Fun city. Looks solid, heart-lifting and satisfying. Underpants looking like they’ve been to a very decent launderette. Great to see the brake considerations and the ‘keeping you up in the air superb framework’ solid in progress. Bet you’re over the moon.
")
 What matters I suppose is the make and therefore experience of using different makes resulting in preferences in this area. Paul? Not sure what he used on my bus. But he is a keen seeker of getting the best. I’ll ask what he used and where from.