Project DC - 4 door dual cab with a couple extra cylinders

Early Bay Forum

Help Support Early Bay Forum:

This site may earn a commission from merchant affiliate links, including eBay, Amazon, and others.
Dasdubber said:
Ok, back to the DC….and back to the rhinoplasty….

Aug284_zpsbabd0c52.jpg


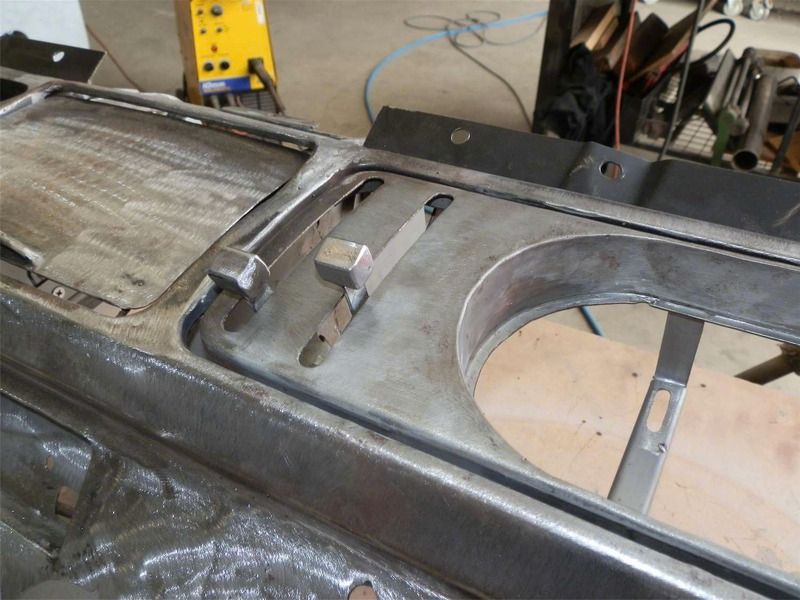
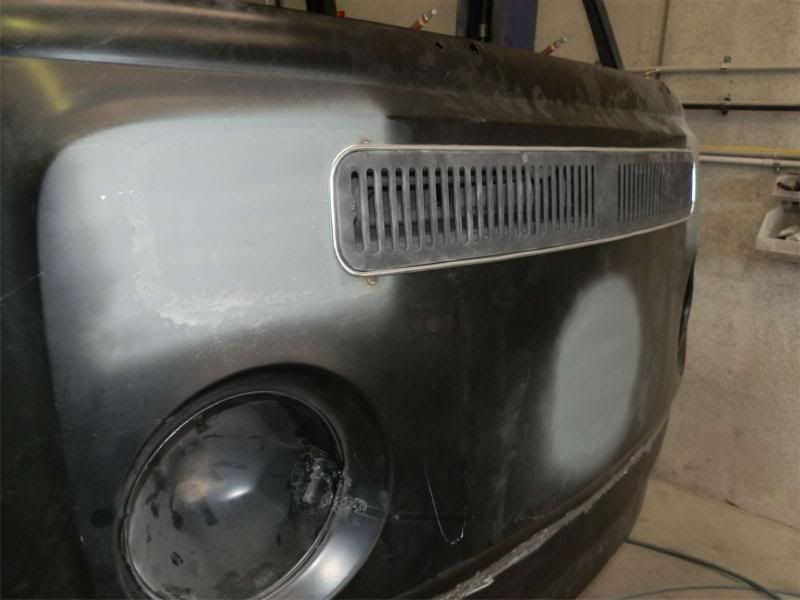
Late bay indicator holes gone and new vent trim mocked up to ensure aperture was the right size/shape
Sep32_zps709eb055.jpg


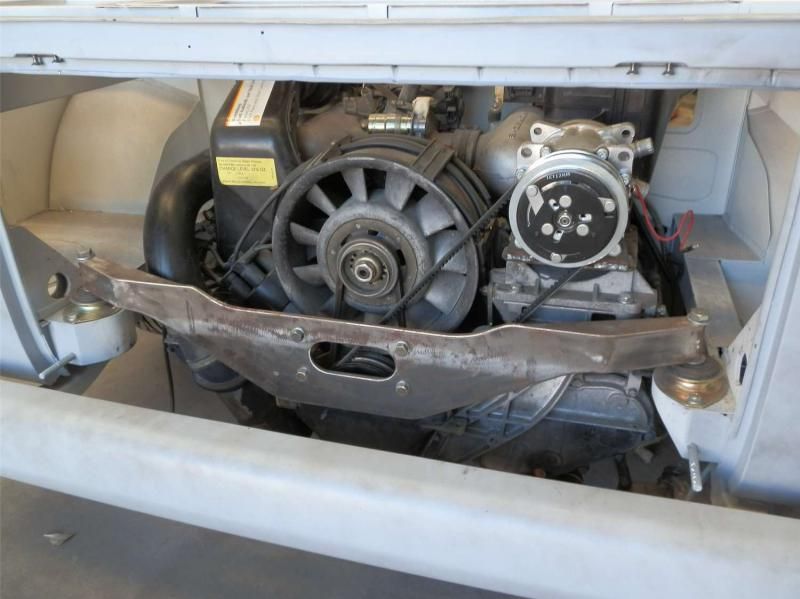
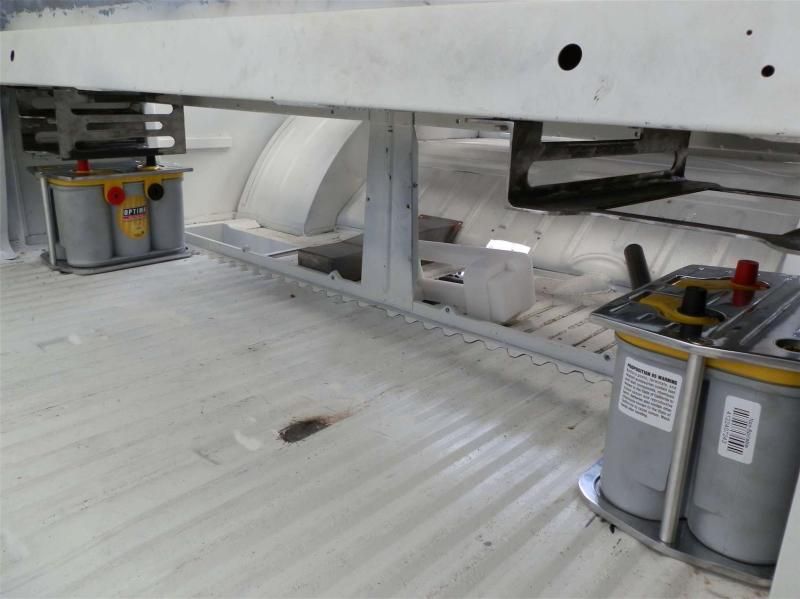
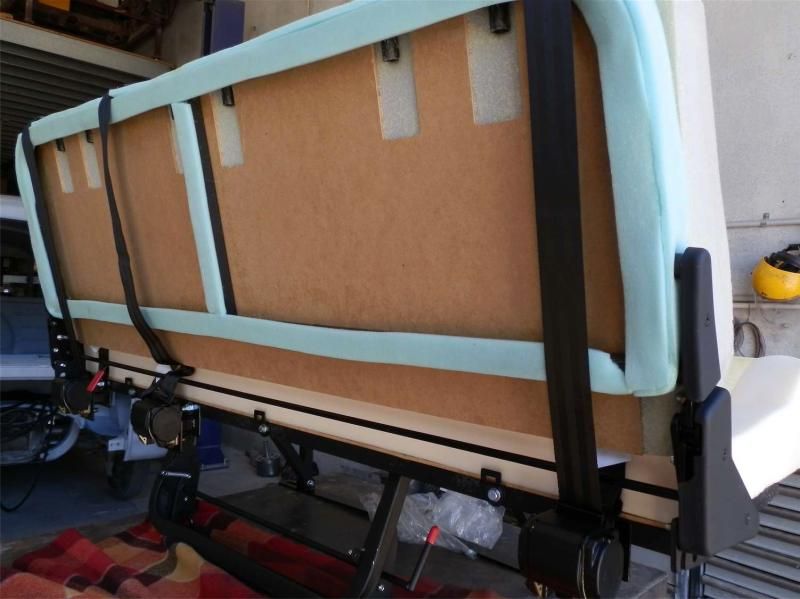
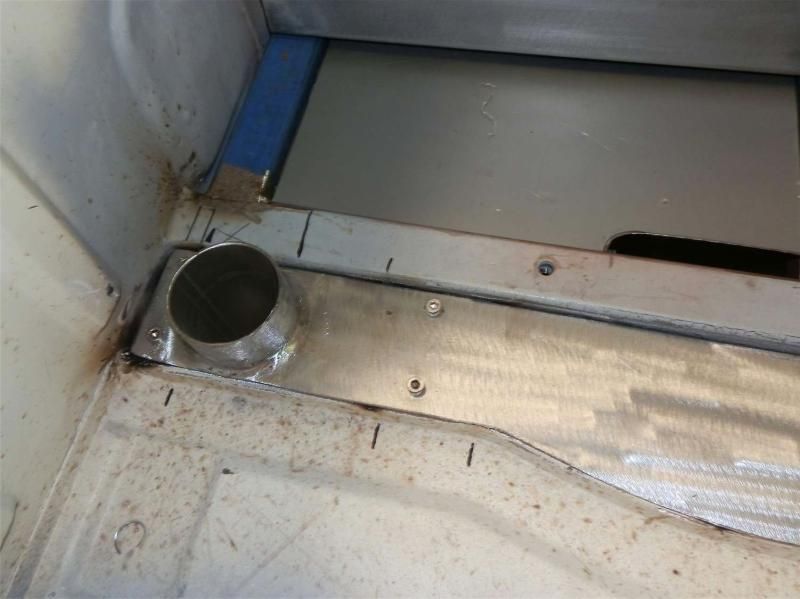
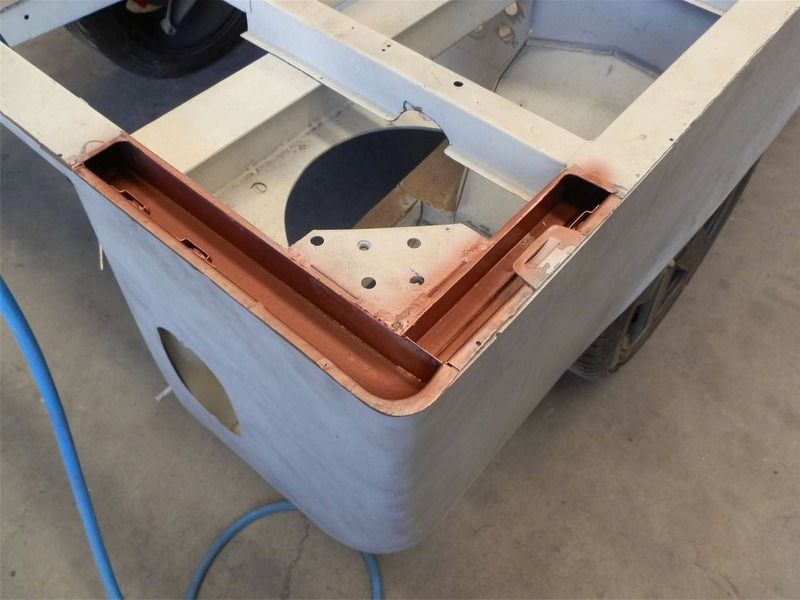
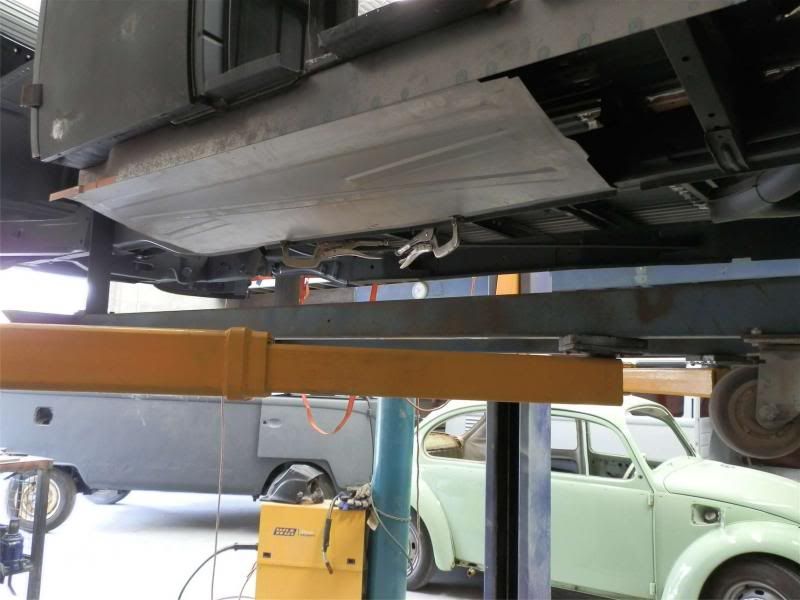
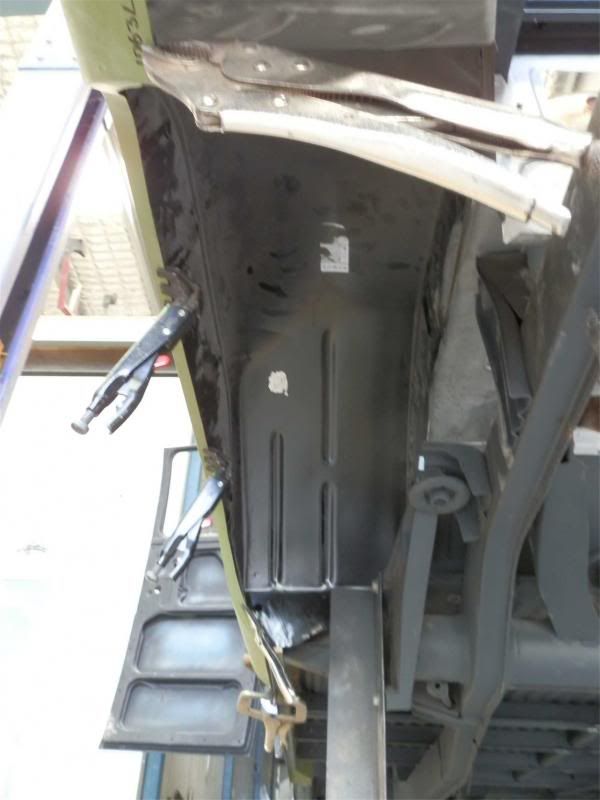
Belly pans (sides only) will help to provide some more torsional rigidity for the DC
Sep36_zps378874f4.jpg


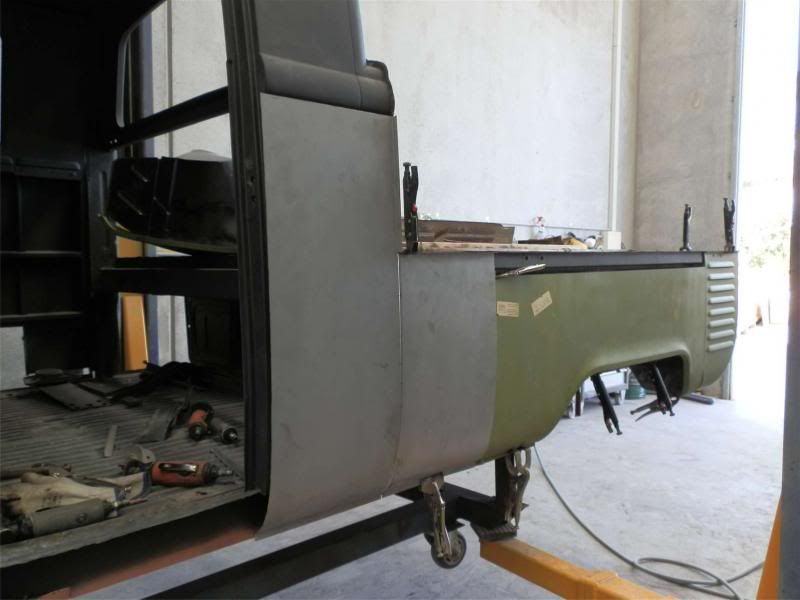
Initially we were going to run with splitty rear corners and modify them to fit since no bay DC panels were available repro….but in the end found a pair of NOS rear corners in the UK that we had shipped over instead
Sep41_zpsb8326940.jpg


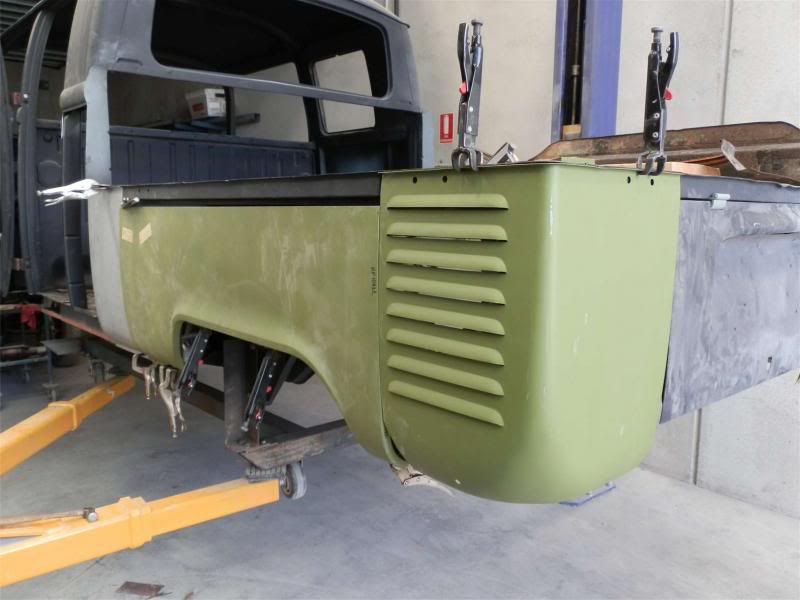
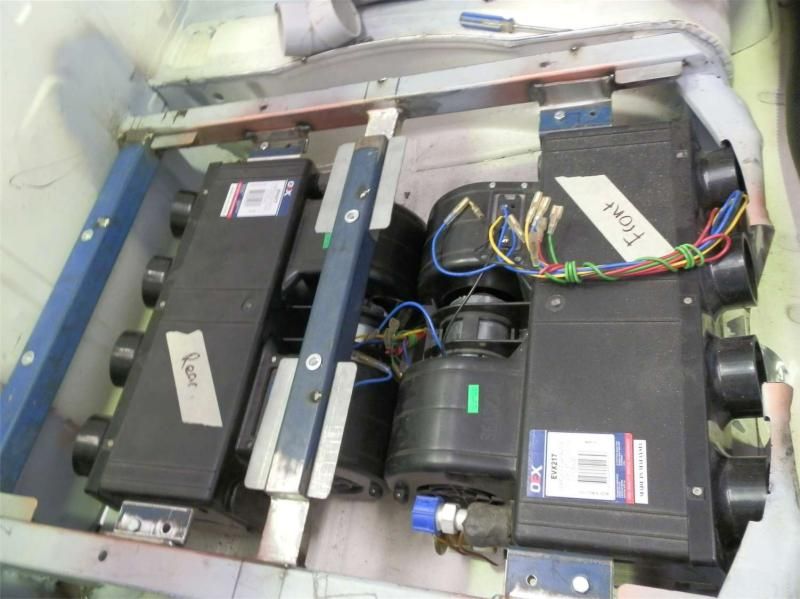
Similarly, no complete side panels are available so we used an early bay section and then tabbed the rest to suit….also decided to delete the side vents for a cleaner side (air will be ducted from underneath, more about that later)
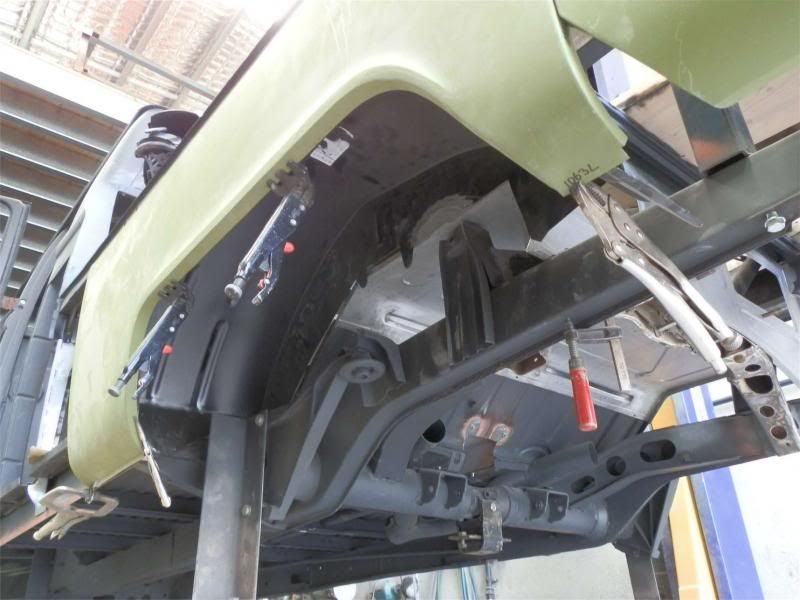
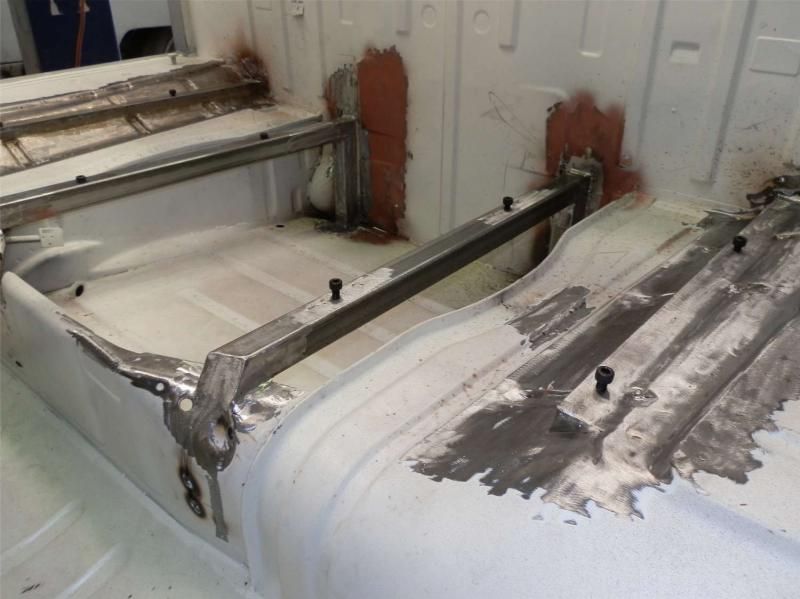
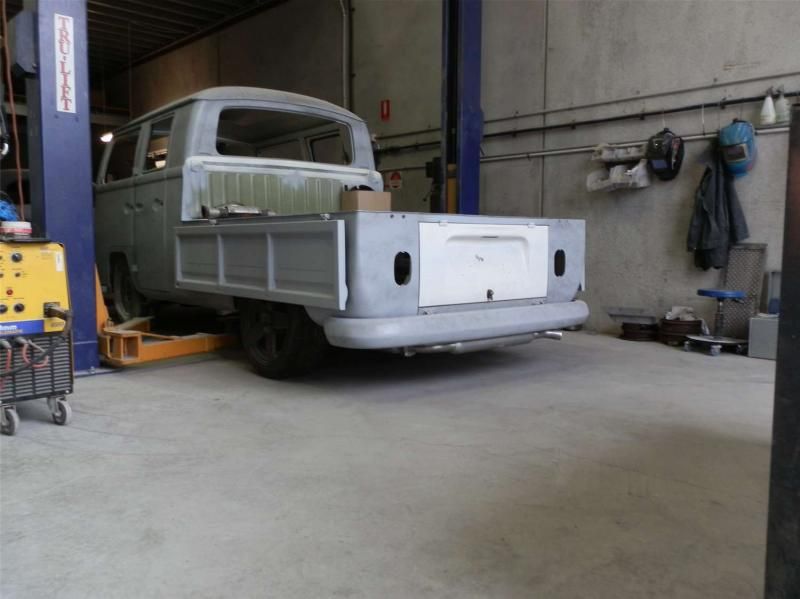
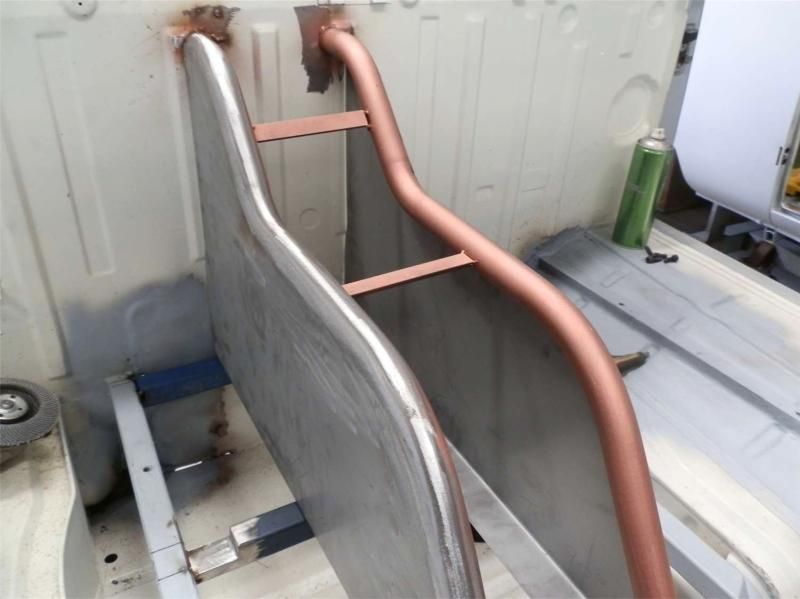
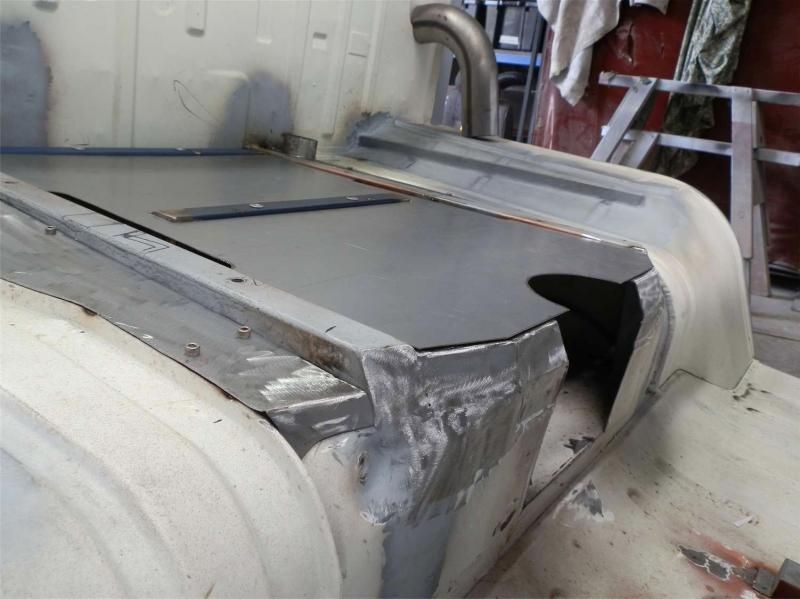
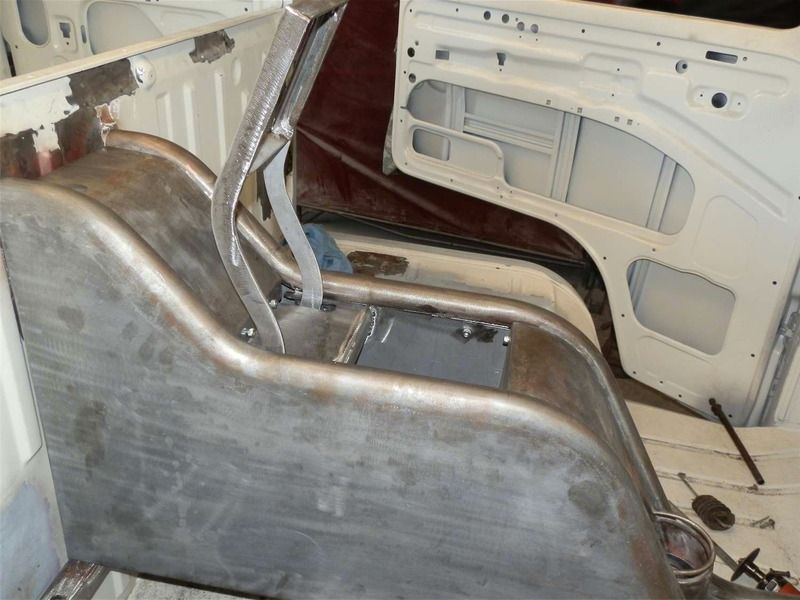
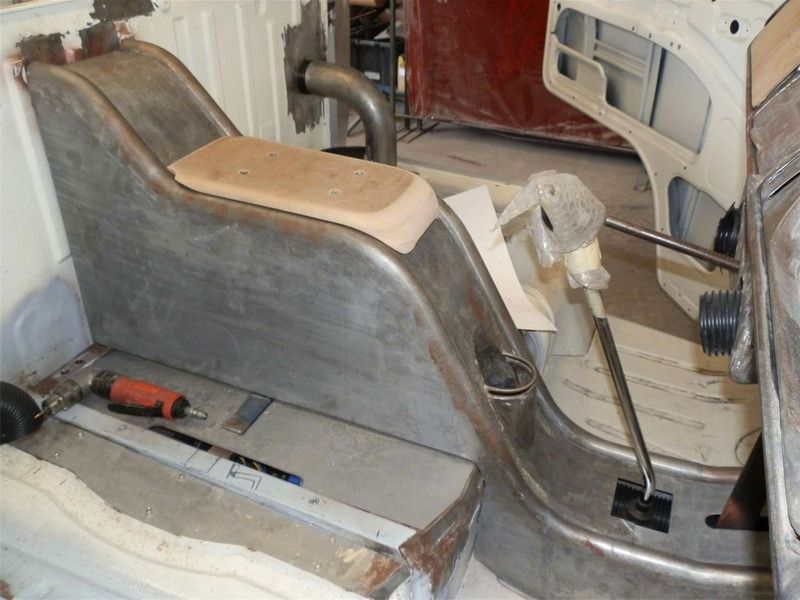
Sep44_zps1a7f6991.jpg


New rear tubs
Sep43_zpsf4243b9d.jpg


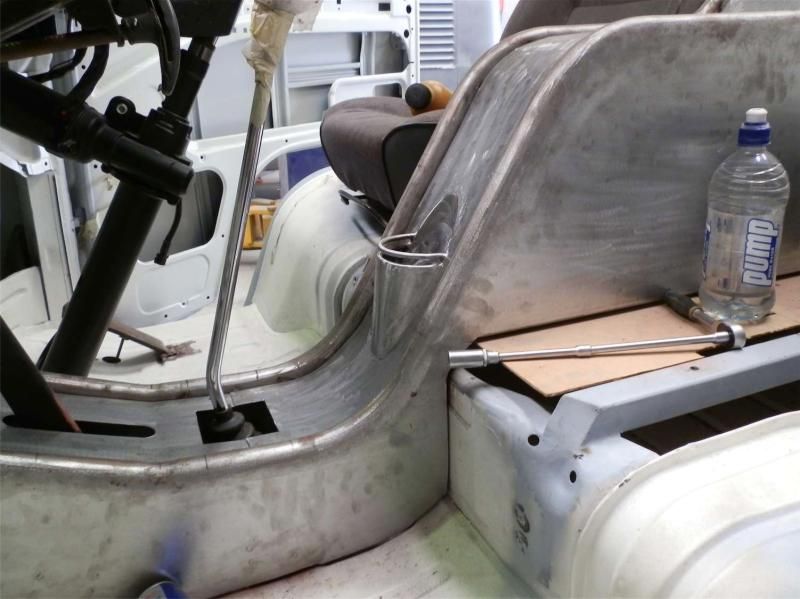
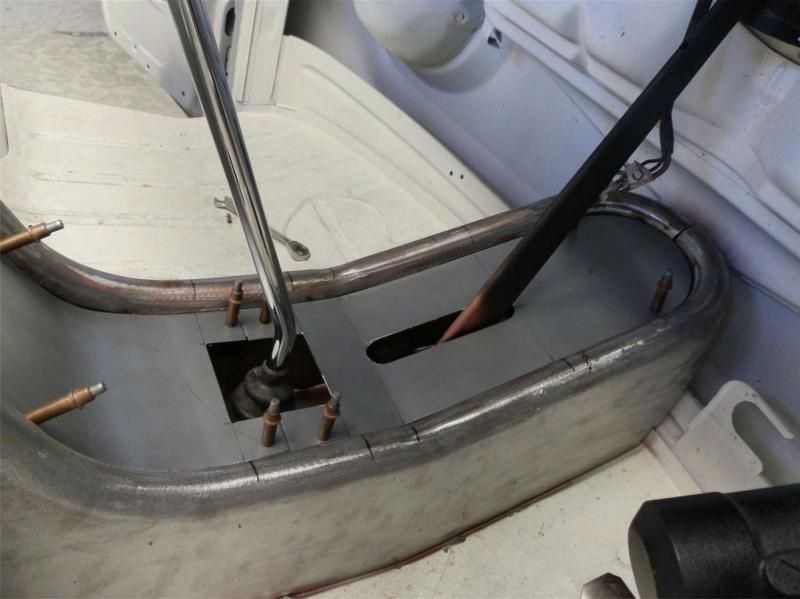
A lot of subtle mods on this DC that will mostly go missed (which is alway the aim) include things like reversing and deleting a lot external seams to keep the sides super smooth
Sep51_zpsf58bfbd2.jpg

work looks great buddy
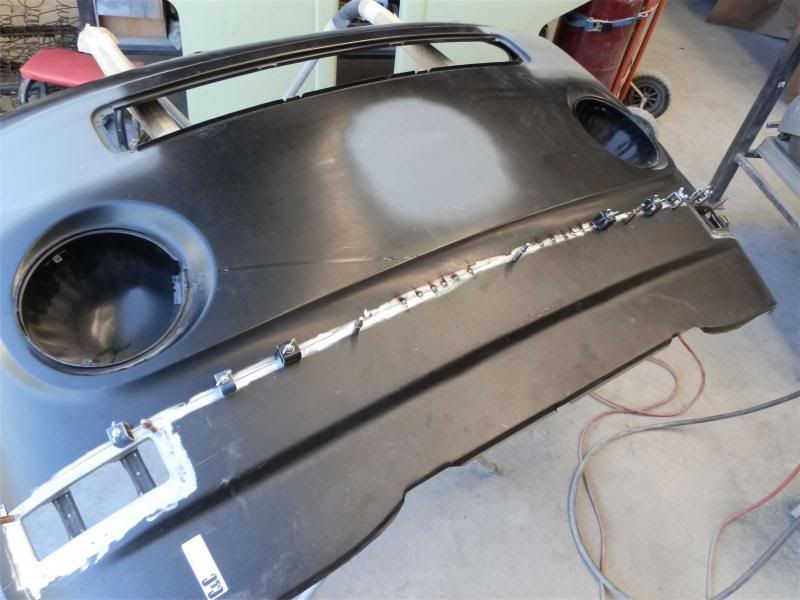
 :) when u fitted the lower nose did u just tack every inch or so or did u eventually weld across the whole panel? cheers buddy
 
Tacks were only to hold the panels in alignment, definitely full butt weld right across….you just have to go very slow, alternate the area you are welding and keep it cool to avoid warping the $hit out of it! And even after that you still have to panel beat/shrink any areas that have pulled slightly. :)
 
Long time no update - kind of hard to find time sometimes with multiple resto's on the go!

Anyway, a lot of fabrication work has been happening over recent months so rather than rambling on, here is a quick pictorial update. You can find all the pics on my site:
http://dasrestohaus.com.au/gallery2/v/Current+Restorations/Project+DC/?g2_page=68" onclick="window.open(this.href);return false;

Porsche 3.2L rear engine brace has been fabbed, and since then the engine has been sent to Brisbane for full rebuild.
Sep1820141_zps26850239.jpg


The Mercedes van seats will be reshaped during upholstery stage but provide some more comfort than the stock units
Sep2420145_zps243daa31.jpg


Lots of fab work on the runners to centre the seats to the cab and steering column, all the while complying with the engineering/certification requirements
Sep2420143_zps3b6c23bb.jpg


The owner wanted to get rid of the stock plastic 70s styling on the dash so a custom glove box was fabricated with revised hinges so the lid opened downwards
Oct1320145_zpsb5bd05e8.jpg

Oct1320142_zps7e53f034.jpg


Similarly, a lot of work went into the enclosure for the Dakota Digital gauge pod
Dec220141_zps2845eec4.jpg

Nov520143_zpscdc658a7.jpg
 
The exhaust system also has to comply with noise restriction tests for certification so a baffled primary muffler (non packed to sustain the heat being so close to the heads) in addition to a secondary resonator will keep the noise down - if the owner decides to remove the secondary muffler and just run a straight dump pipe, that will be up to him ;)
Jan1220152_zps3659823b.jpg

Jan1220157_zps67ee7e57.jpg


Onto the electronics, two four channel amps mounted above the primary Optima Yellow Top battery will power the drivers/tweeters (8 of each!), and then a mono block will power the 2 12in subs. Josh fabricated the custom racks (all of which will be hidden) to maximise the space available
Feb3%202015%202_zpshssrv8k7.jpg

Feb3%202015%207_zpseofi1tc5.jpg


A processor will control the tuning of the system which also includes double din GPS/audio visual unit with reverse camera, and front seat head rest individual DVD players…..plus a dual battery system to control charging duties
Feb3%202015%201_zpswt2ebykg.jpg

Feb3%202015%204_zps2xvdjkwm.jpg


A Techsafe rear seat incorporates inertia reel belts (another requirement for the owner who has young kids) and head rests (and is fully complianced)
Feb4%202015%201_zps1txtkxtf.jpg

Feb4%202015%202_zps7jryz302.jpg
 
AJ has been flat out with the centre console fabrication - something a little different that provided some form and function
Feb3%202015%2010_zpsw40wiuc8.jpg


Electric power steering is another addition to make this thing drive like a new car
Feb18%202015%203_zpskvrxsukv.jpg


Upholsterer will stitch up a boot for the shifter and handbrake lever
Feb11%202015%206_zpsqeplpnxv.jpg


There will be a storage compartment/elbow rest up top, but a single cup holder on the angled front face was also a necessity
Feb18%202015%201_zpsy9ccc4py.jpg


Part of the briefing sessions with each owner is to find out exactly how they intend to use their car, perfect example was the fact he drinks mostly small red bull cans, plus the occasional coffee and bottle of water, so the cup holder had to be fabricated so that all drink sizes would be accommodated without wobbling around/falling out under brakes….and also have some degree of style and visual interest
Feb18%202015%205_zpsfm8z2ytd.jpg

Feb18%202015%206_zpsexjwsssl.jpg

Feb18%202015%207_zps7ptftfif.jpg


Air con evaporators have now been mounted, so next up is ducting (four vents in rear bulkhead, plus two hoses feeding the front which will split to four vents also)….
Feb19%202015%201_zps8hqzaycl.jpg


So the work goes on, and on…..and on :tu:
Al
 
This is truly exceptional work, your attention to detail is superb, well done.
 
Excellent work there guys , Always think its nice when people have these vehicles tailored to their own tastes and still keep it pretty VW , Thats the cool thing about the scene i guess ,these thing are as individual as their owners !!

COOL STUFF 8) 8) 8)
 
Nice project. I like the rear seat. I have 4 kids so am currently looking at different options as want 3 x 3 point in the rear and then change the front middle lap belt to a 3 point too. Been quoted around £500 to fabricate the fixings etc to modify what I currently have.
 
Time for another quick catch up after a couple months more solid work:

AC evaporator cover:
Feb23%202015%202_zpsjacmedpe.jpg


Ducting outlets from rear evap to outer vents in bulkhead (via flex hose)
Feb23%202015%206_zpscx3ktbsj.jpg


Console progress:
Feb24%202015%204_zpseu6oqted.jpg

Feb24%202015%205_zpsmc0fxrxj.jpg


Inertia reel seat belts mocked up with custom brackets (around the owner requested mandrel bent tube which forms the ducting to the rear AC vents)
Feb25%202015%202_zpsp0t7memg.jpg


Custom plumbing for the heater tube (from sub floor, ducted to foot outlets in nose and up to windscreen)
Feb26%202015%2011_zpsxuqe76iw.jpg
Mar2%202015%204_zpsqsuyqx9l.jpg
 
Start of lower dash mods to house handbrake lever (billet) and central AC vents:
Mar4%202015%206_zpsmw5to3v5.jpg


Pimple come dimple for handbrake
Mar5%202015%202_zpsvwfvwrzt.jpg


Recessed slot above lever is for audio processor controller (like a head unit that controls all the audio)
Mar5%202015%206_zpsurf4s0eu.jpg


Custom steel fresh air (one) and heater (one) levers to replicate original and keep to the 'chunky' brief delivered by the owner
Mar9%202015%203_zps5wmeocqt.jpg


More hand fab'ed metal work including this storage box which resides in the centre console - shape is to allow room for custom hinges which enable lid to flip right up and out of the way to access the storage compartment
Mar12%202015%201_zpszr9dysvl.jpg

Mar12%202015%207_zpsjwvwro5o.jpg

Mar16%202015%2013_zpscd40jwph.jpg
Mar17%202015%202_zpspyjp4n8h.jpg

Mar17%202015%201_zpsdkd783jj.jpg


Rear corner tray rail repairs
Mar16%202015%203_zpst7r6w8vn.jpg

Mar16%202015%206_zpsbdegzct0.jpg
 

Latest posts

Top