68_early_bay said:Very nice work coming along nicely 8)
I used double sided tape to keep my mats in place on the wheel arches especially the side ones on the walkthrough
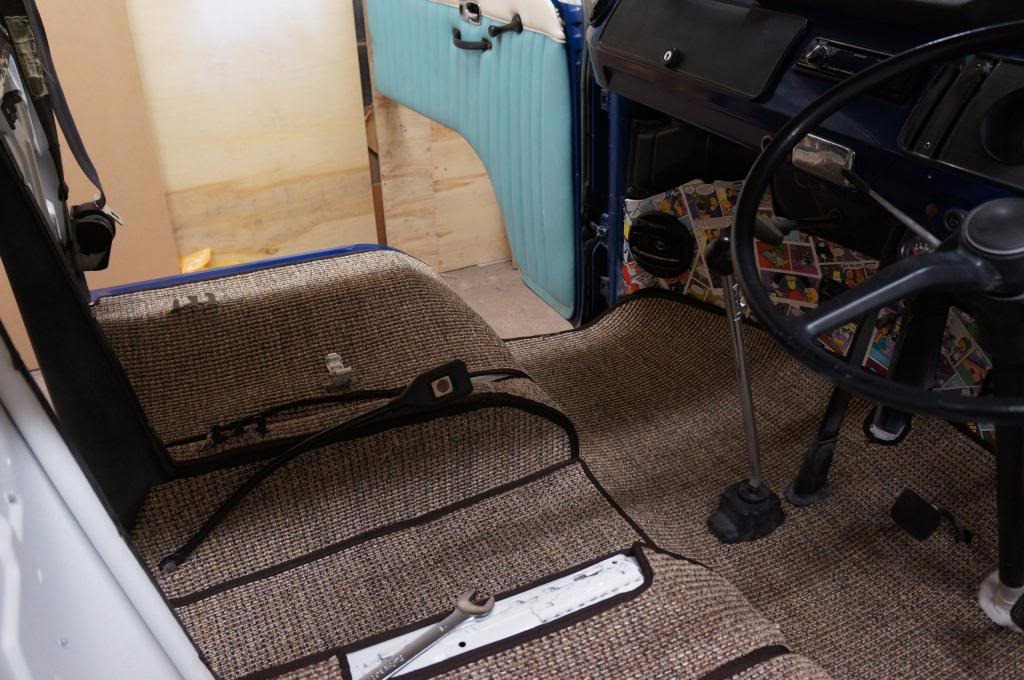
Thanks for the tip there, I was thinking maybe some sticky backed velcro maybe?, that way they'll be easier to remove should i need to clean them, We;ve not had the walkthrough sides though, just the under seat, cabfloor and walkthrough floor.. thought they looked 'too much' for our bus.. but yours look real nice there!!
")
Cheers
Liam