lard
Well-known member
Hi,
Been having an issue over the last month or so with the van die'ing on idle - previously had an airleak that was resolved and during this period had pretty much every new ancillary going (carb, dizzy, elec ignition, inlet boots, cap, rotor, alternator, coil, leads e.t.c.) and it turned out to be a leaking servo pipe ( :shock: ) - all was then well for 7 months until a month ago when it started happening again,
Fired it up this morning no problems on choke - and was also running well when idling on my driveway this morning after I swapped over to my spare carb for around 30 minutes (revving it up and dropping back was fine, no issues at all) - took it for a drive and it instantly couldn't idle and needed loads of revs to keep going - seems to be when it's warmed up that I have this problem as a cold engine is o.k. whilst idling away on the drive,
I did pick up a tight valve when checking gaps after an oil change (all others were fine) - what are the symptoms of a valve on it's way out? I'd assume rough running (didn't note if this valve was exhaust or intake) - high revs it seems fine though doesn't sound quite right, low revs it just bums out,
Any thoughts welcome!
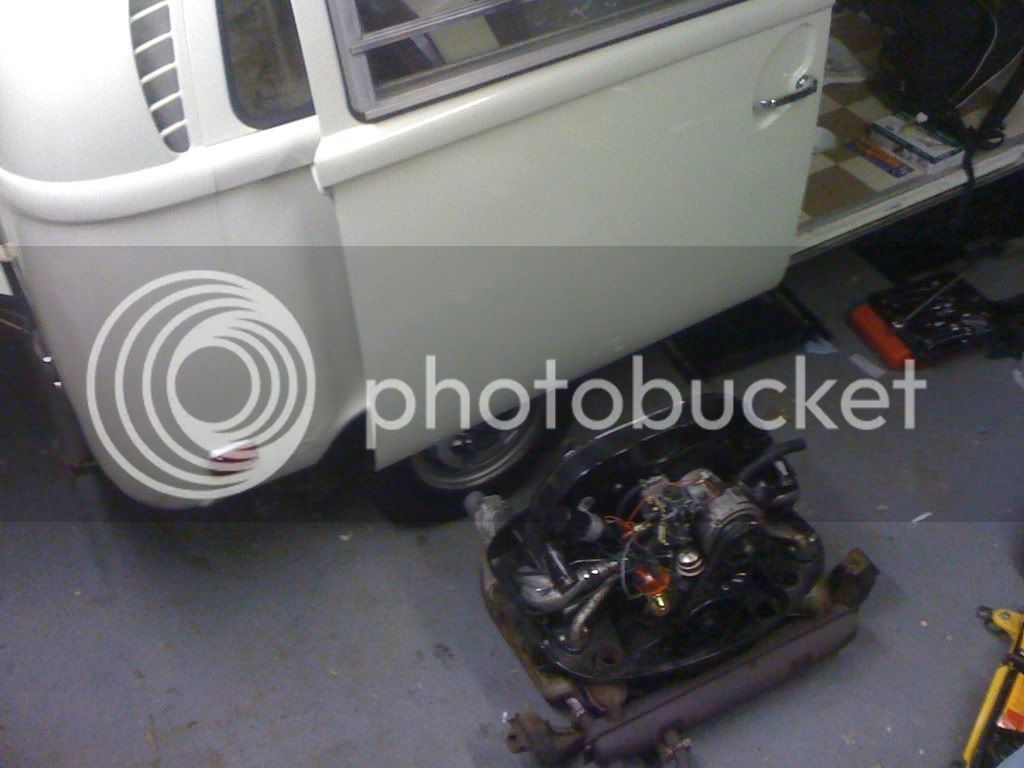
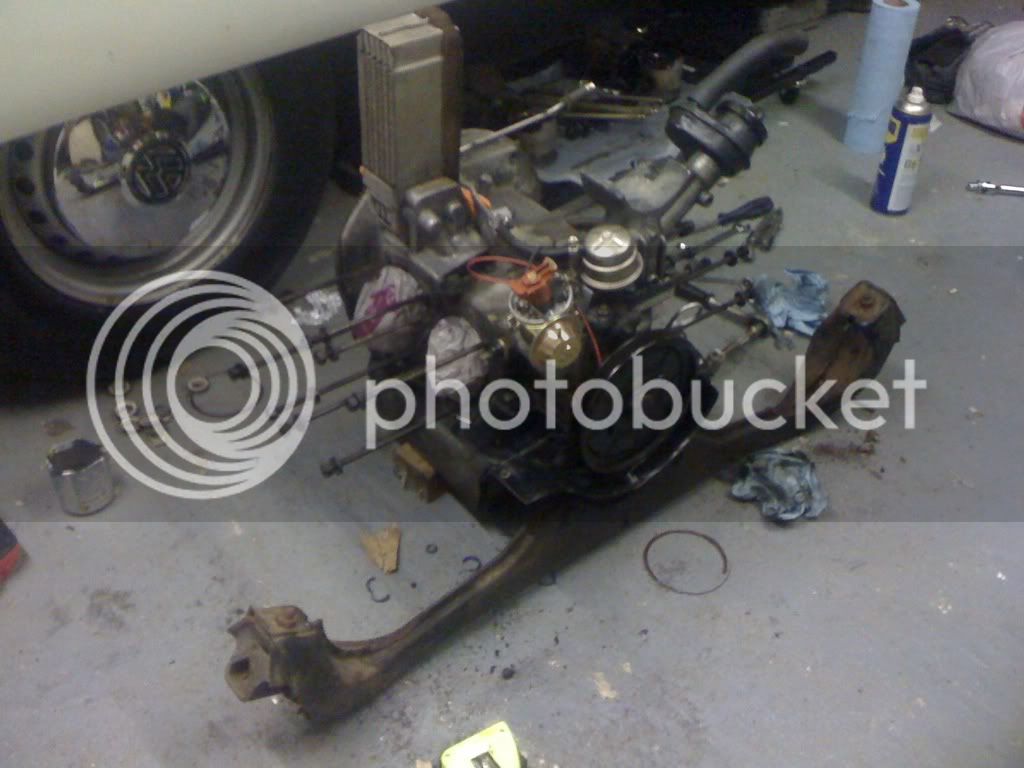
 , i hadn't had much chance to check out the engine, so i probably had a few other issues. like beetle tinware, a badly broken carb and very few pipes being connected to the right thing. :lol: