rockandrollcamper
Well-known member
Hello all,
I started a pretty rubbish build thread a good while back and never really got it off the ground. So, I thought id give it another go and make a conscious effort to do updates and hopefully get some motivation from you guys. Ive threatened to finish the bus for the last two years but feel this IS THE YEAR!!!! Plus Ive got 2 weeks camping in Dorset planned for July and I don’t intend on sleeping in a tent …..again!
So here it is my Jan 68 deluxe in Sept 2009
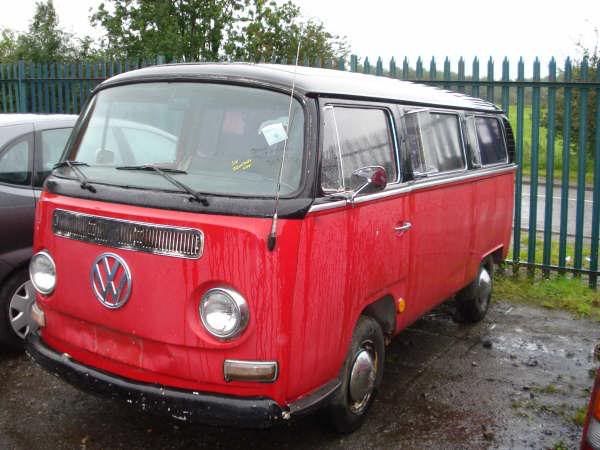
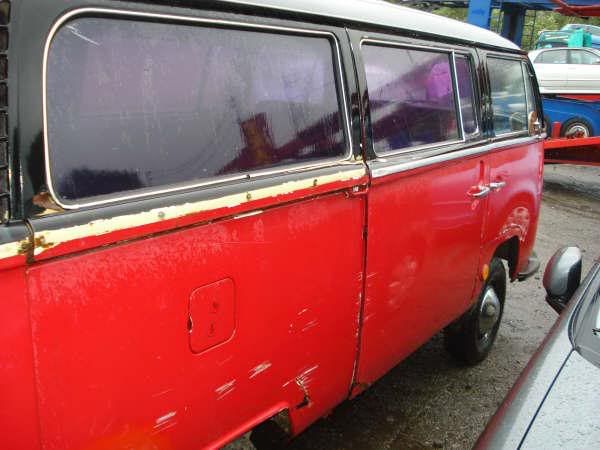
Id always fancied an ‘old vw’ but it was more luck than good judgement that I ended up with an early bay. Id just sold my T4, I was tentively looking for something aircooled when I seen this bus advertised on a local forum. It wasn’t the prettiest but it was a fair price didn’t need too much work.
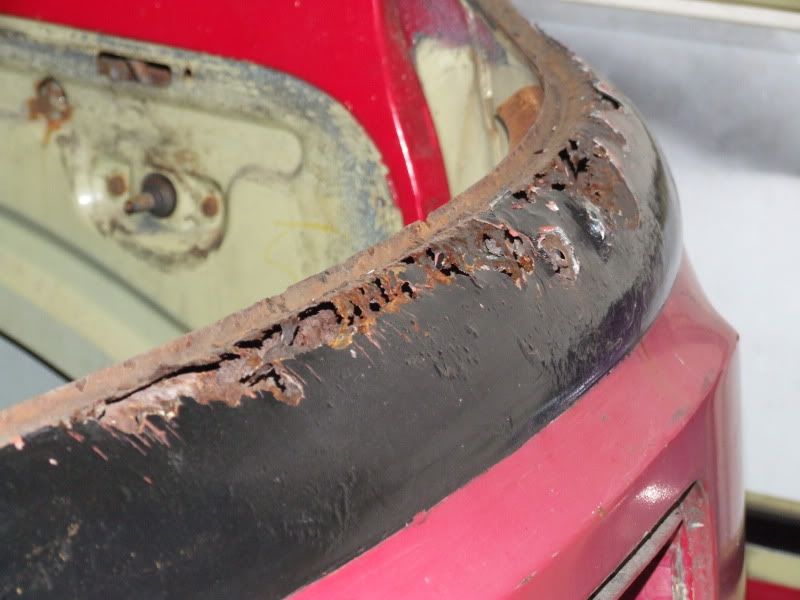
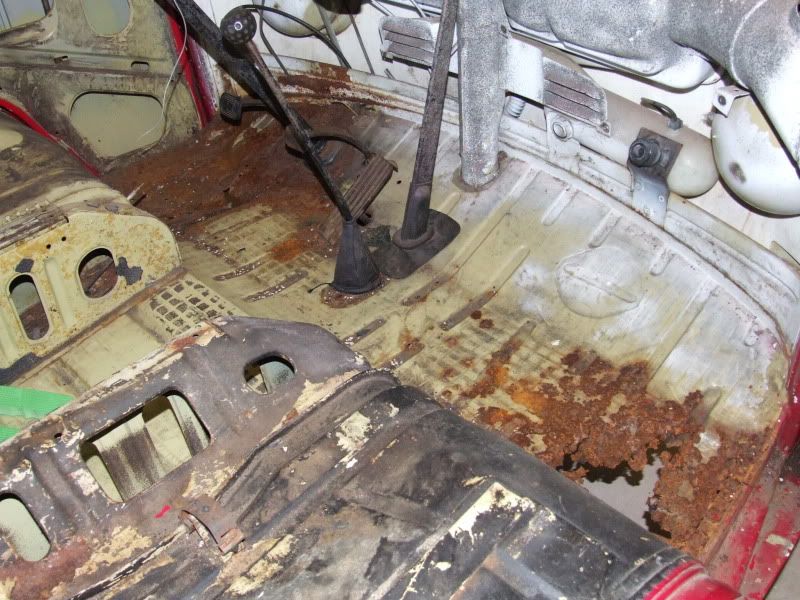
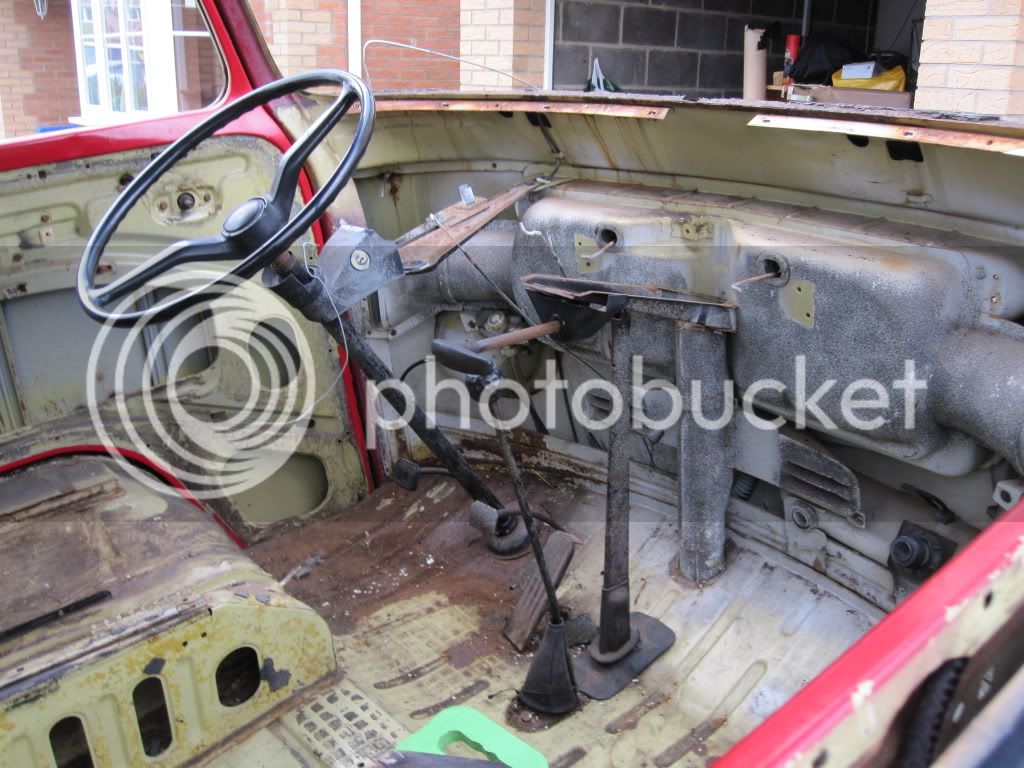
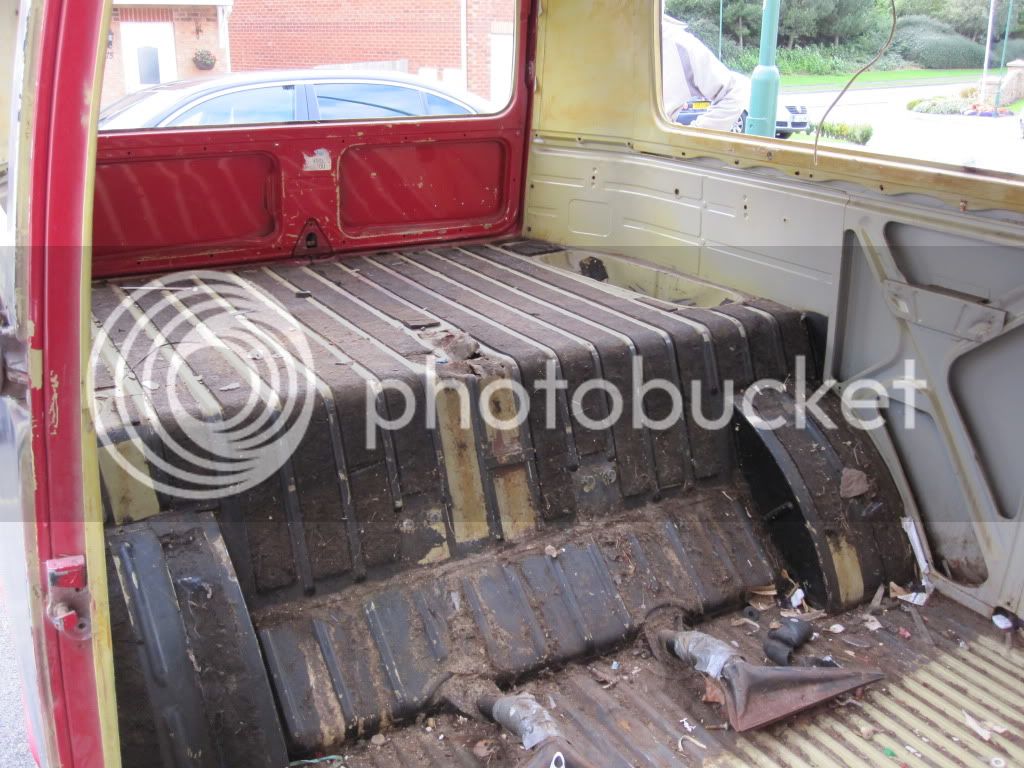
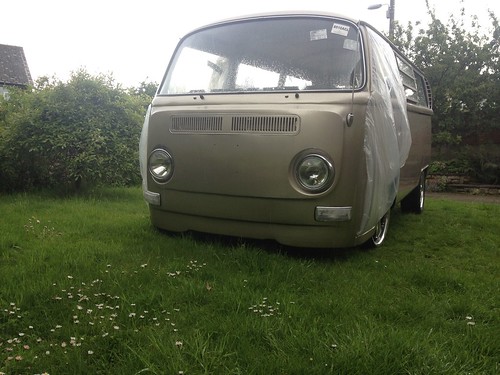
The front panel was knackered as were the cab floors and seat belt mounts. Other than that it was solid and pretty much a blank canvas to do what I wanted.
The Initial plan was to get the repairs done, swap the electrics and get an MOT on it but with one thing or another, moving house and being generally busy it spent the next 14 months pretty much the same as when I got it.
Turns out that wasn’t too bad a thing, it gave me time to hang around here picking up ideas from you guys and gave me a better idea of what I want from the bus.
The to do list went roughly like this
Fresh paint
Lowered
Plenty of bling
A bit more power
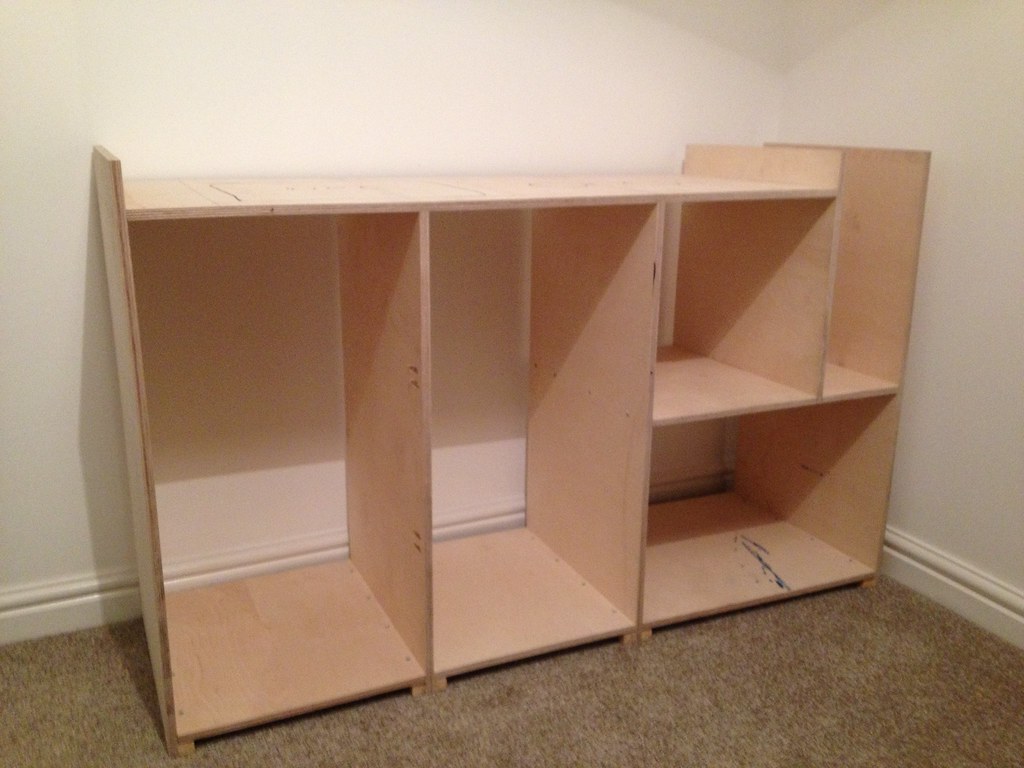
Full camping interior
So, Oct 2010 I set about stripping the bus completely and started getting prices for the repairs and paintwork. Spoke to a few people who were recommended on a local forum, prices varied massively but one guy seemed to be confident he could pull off the tricky colour which Id chosen, for a fair price and off it went. (READ – it was cheaper than the other READ not my wisest decision)
Fast forward to March 2011, I had a pretty bad snowboarding accident, hurt my back and broke my arm in 4 places and was sick as a chip. The bus was ready to come home but seeing as I was out of action it pretty much went straight into the garage. Now this is where the last build thread ran out of steam.
Well, Arm turned out to be much worse than first thought, took 3 operations and a year to get right so apart from the odd job such as the wheel detailing it never seen the light of day again till spring 2012.
2012 – This was going to be THE YEAR!
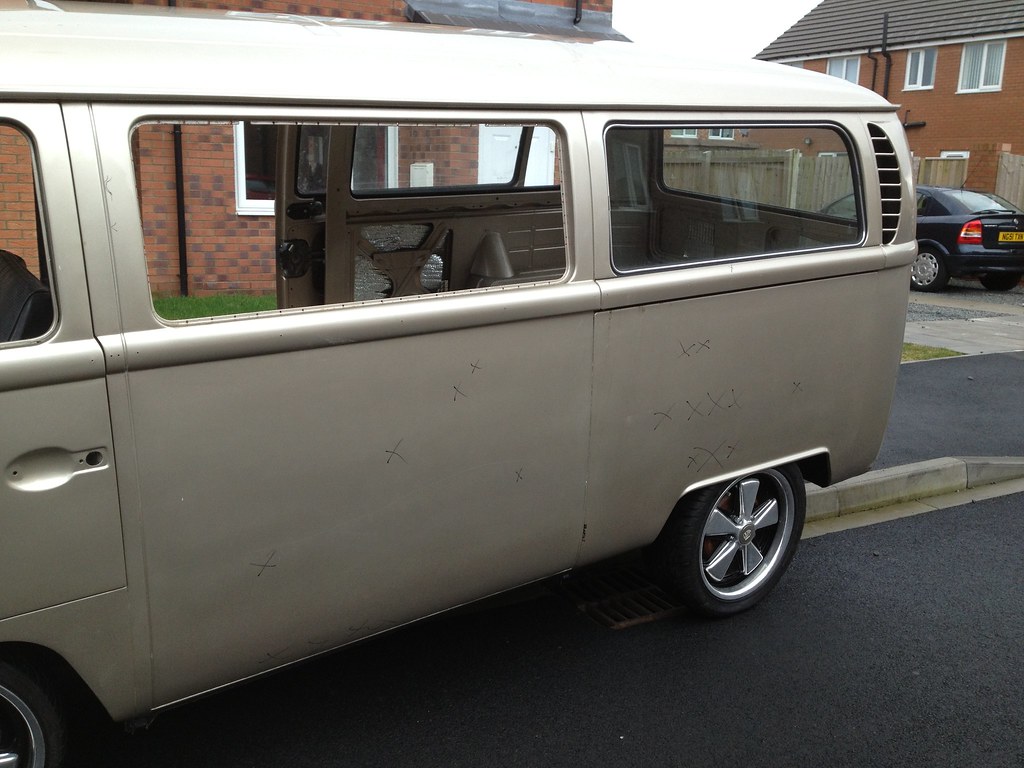
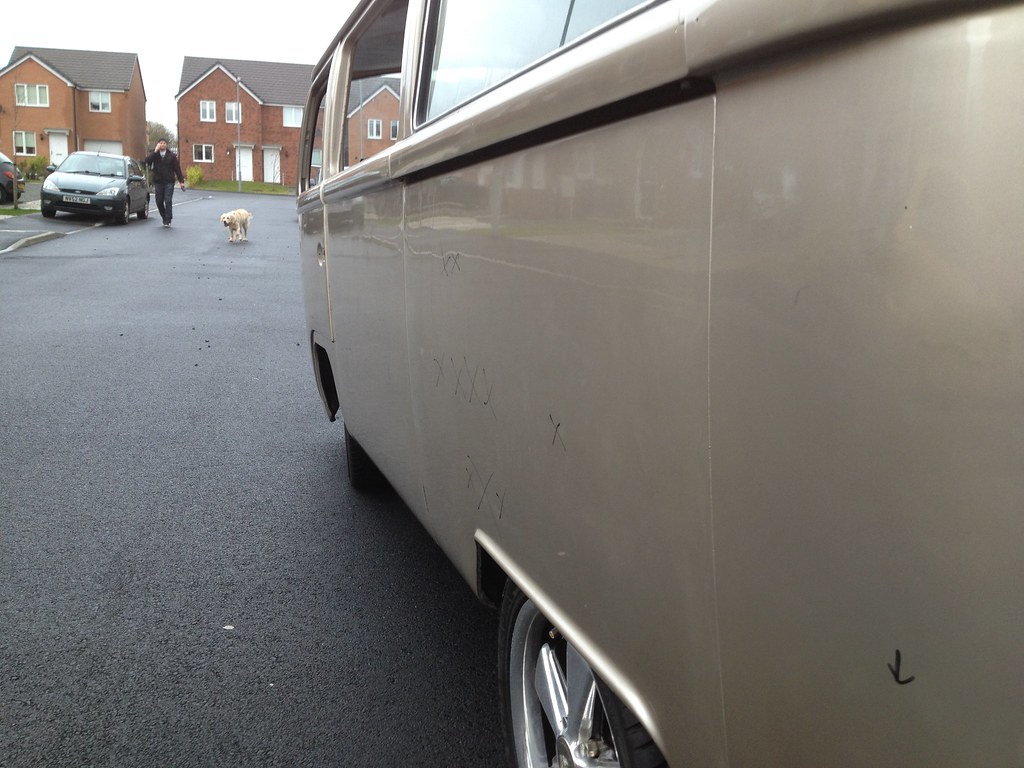
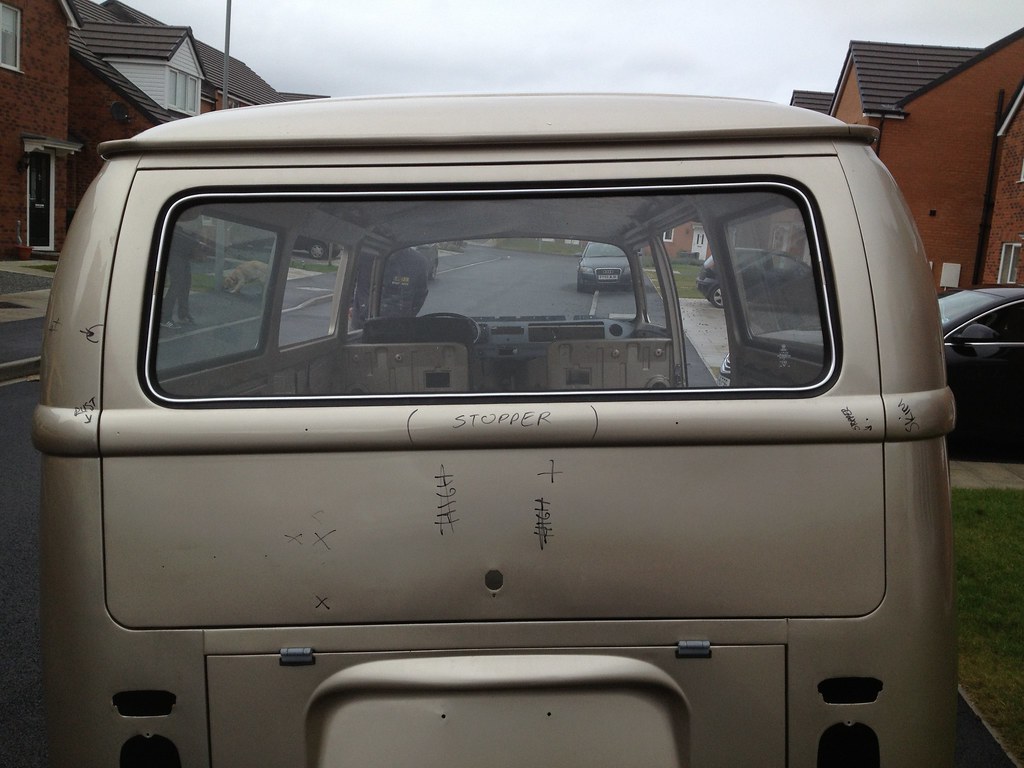
Now….. I don’t want to dwell on this for too long but in short, when I got the bus out I seen it in a new light. Quite literally. The repairs carried out were excellent but the finish on the paint…. Well its not the best. Anyway, moving on – you live and learn. This left me with a new dilemma. I knew the paint didn’t cut it but if I tried to get the bodywork sorted out then I could say goodbye to 2012 so I took the decision to get on with getting the windows in and the running gear fitted so this is some of the progress .
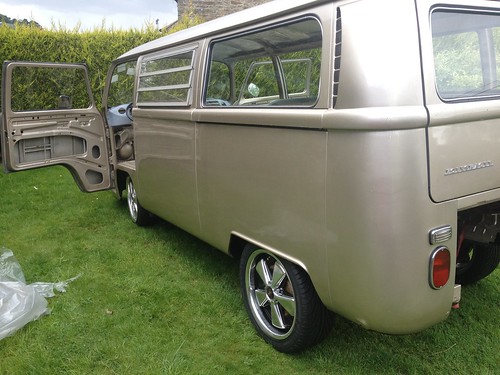
Firstly the windows went in.
This felt strange. I mean it was nice to get the new rubber in and think it was going to be watertight but at the same time it certainly wasn't nice putting them in knowing that some day they were coming back out for paint. It was like moving house, unpacking your belongings just to know they'll be getting packed up before long.
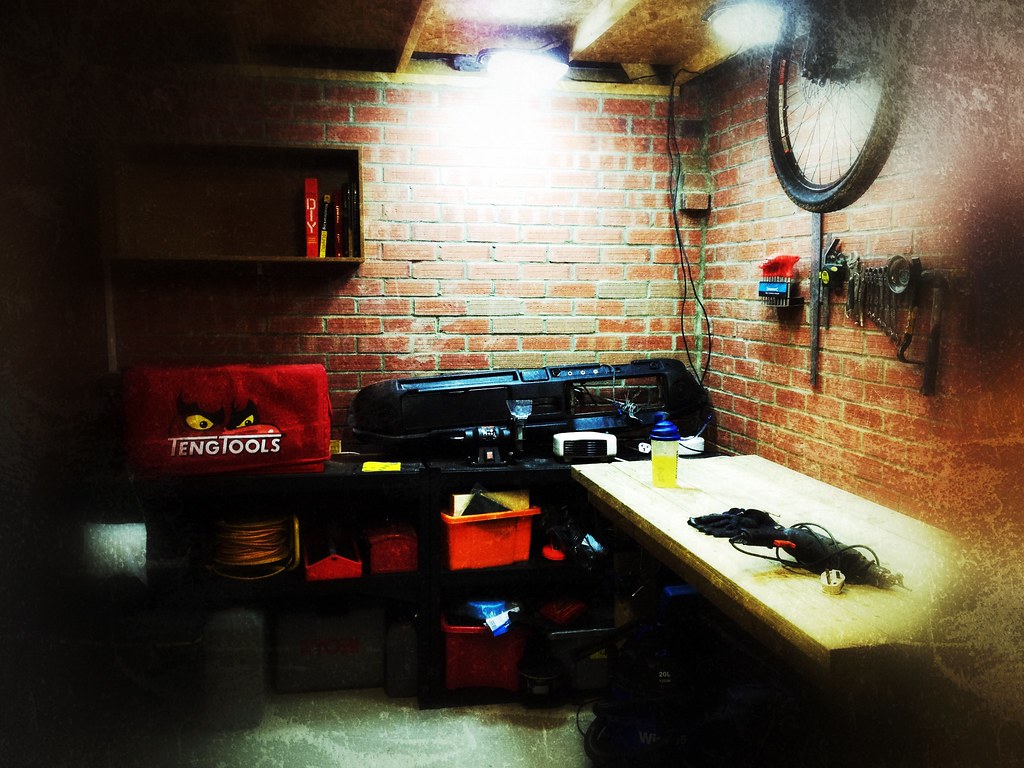
I then got on with fittinh the new loom, new lights, sound deadening, waxoyl.
I set about painting the fuel tank
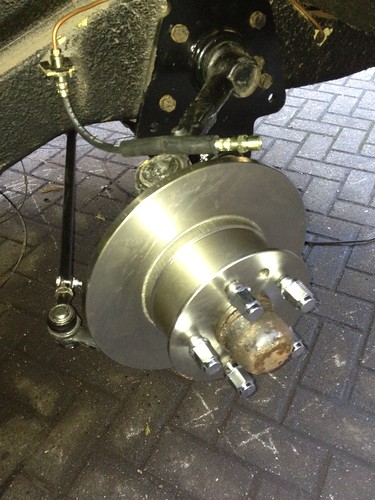
Next was building and fitting the beam. Its a weedeater with drop spindles and monroes

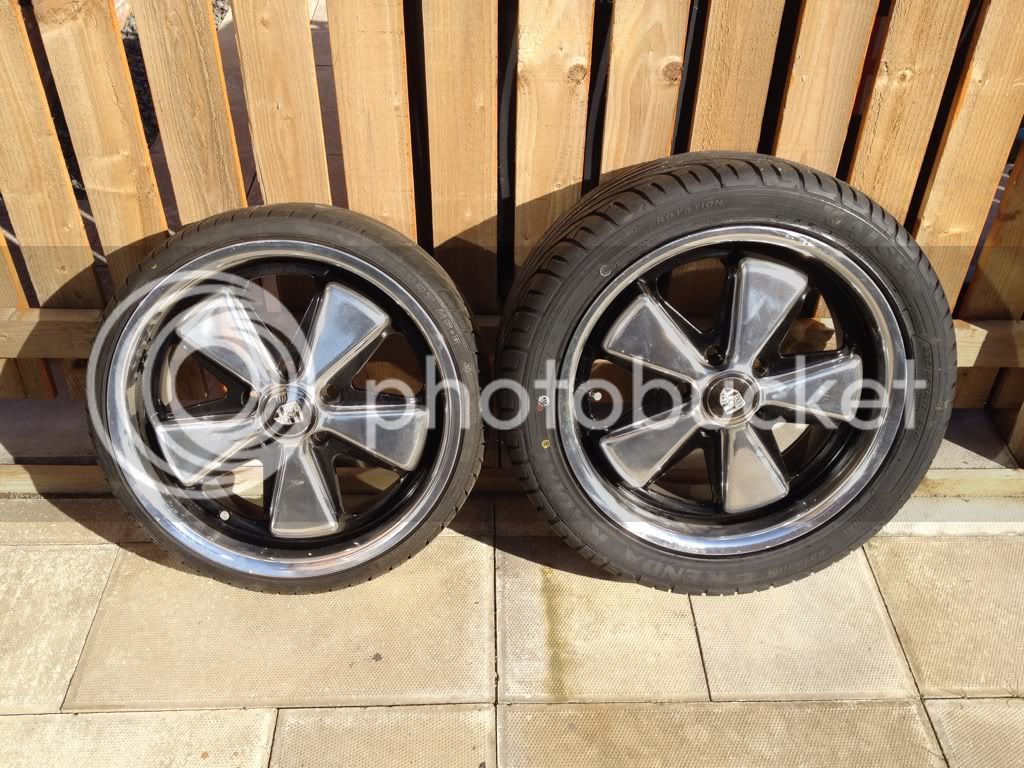
Now In know to many of you swapping wide 5 for small 5 is a cardinal sin but by this time id bought my wheels and tyres.
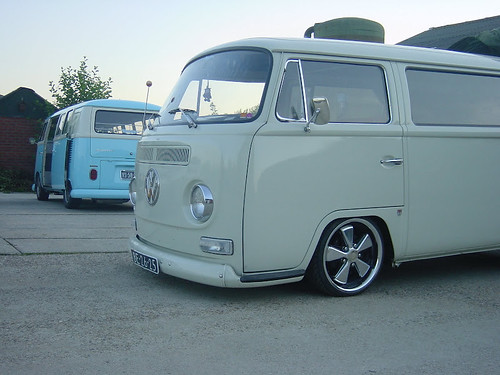
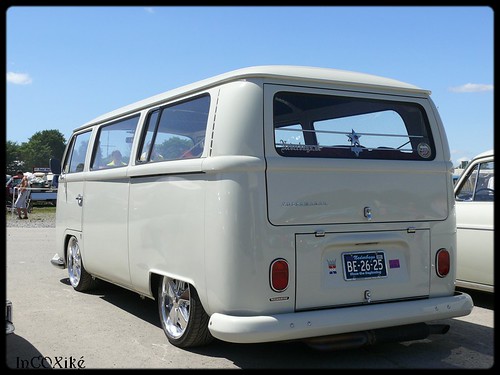
the tyre sizes and suspension set up is very similar to one of my all time favourite buses so with a bit of luck should have this sort of stance
Ive not had the chance to play around too much with the set up but at the moment its very ar4e in the air
That's about as far as I got in 2012. I didn't get on the road but I did make a lot of progress.
This is where the project continues Jan 2013.
Immediate plans are to sort the paintwork, fit a mild 1776, oak interior and some new vinyl – Im sure this will be THE YEAR!
Watch this space
Nigel
I started a pretty rubbish build thread a good while back and never really got it off the ground. So, I thought id give it another go and make a conscious effort to do updates and hopefully get some motivation from you guys. Ive threatened to finish the bus for the last two years but feel this IS THE YEAR!!!! Plus Ive got 2 weeks camping in Dorset planned for July and I don’t intend on sleeping in a tent …..again!
So here it is my Jan 68 deluxe in Sept 2009
Id always fancied an ‘old vw’ but it was more luck than good judgement that I ended up with an early bay. Id just sold my T4, I was tentively looking for something aircooled when I seen this bus advertised on a local forum. It wasn’t the prettiest but it was a fair price didn’t need too much work.
The front panel was knackered as were the cab floors and seat belt mounts. Other than that it was solid and pretty much a blank canvas to do what I wanted.
The Initial plan was to get the repairs done, swap the electrics and get an MOT on it but with one thing or another, moving house and being generally busy it spent the next 14 months pretty much the same as when I got it.
Turns out that wasn’t too bad a thing, it gave me time to hang around here picking up ideas from you guys and gave me a better idea of what I want from the bus.
The to do list went roughly like this
Fresh paint
Lowered
Plenty of bling
A bit more power
Full camping interior
So, Oct 2010 I set about stripping the bus completely and started getting prices for the repairs and paintwork. Spoke to a few people who were recommended on a local forum, prices varied massively but one guy seemed to be confident he could pull off the tricky colour which Id chosen, for a fair price and off it went. (READ – it was cheaper than the other READ not my wisest decision)
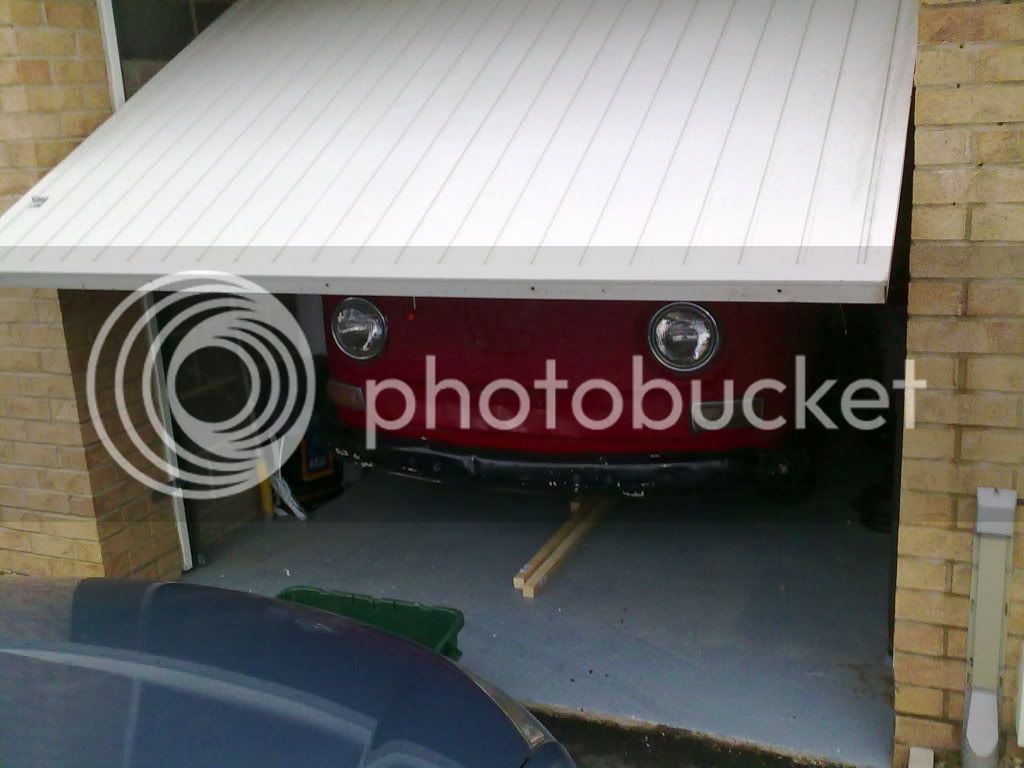
Fast forward to March 2011, I had a pretty bad snowboarding accident, hurt my back and broke my arm in 4 places and was sick as a chip. The bus was ready to come home but seeing as I was out of action it pretty much went straight into the garage. Now this is where the last build thread ran out of steam.
Well, Arm turned out to be much worse than first thought, took 3 operations and a year to get right so apart from the odd job such as the wheel detailing it never seen the light of day again till spring 2012.
2012 – This was going to be THE YEAR!
Now….. I don’t want to dwell on this for too long but in short, when I got the bus out I seen it in a new light. Quite literally. The repairs carried out were excellent but the finish on the paint…. Well its not the best. Anyway, moving on – you live and learn. This left me with a new dilemma. I knew the paint didn’t cut it but if I tried to get the bodywork sorted out then I could say goodbye to 2012 so I took the decision to get on with getting the windows in and the running gear fitted so this is some of the progress .
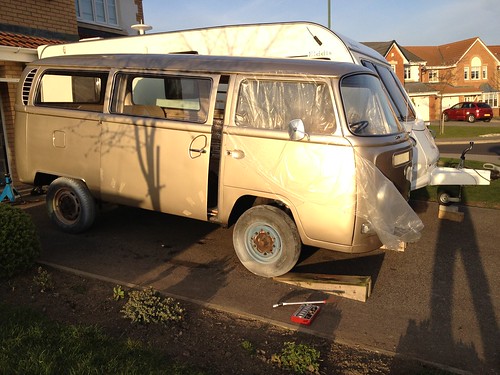
Firstly the windows went in.
This felt strange. I mean it was nice to get the new rubber in and think it was going to be watertight but at the same time it certainly wasn't nice putting them in knowing that some day they were coming back out for paint. It was like moving house, unpacking your belongings just to know they'll be getting packed up before long.
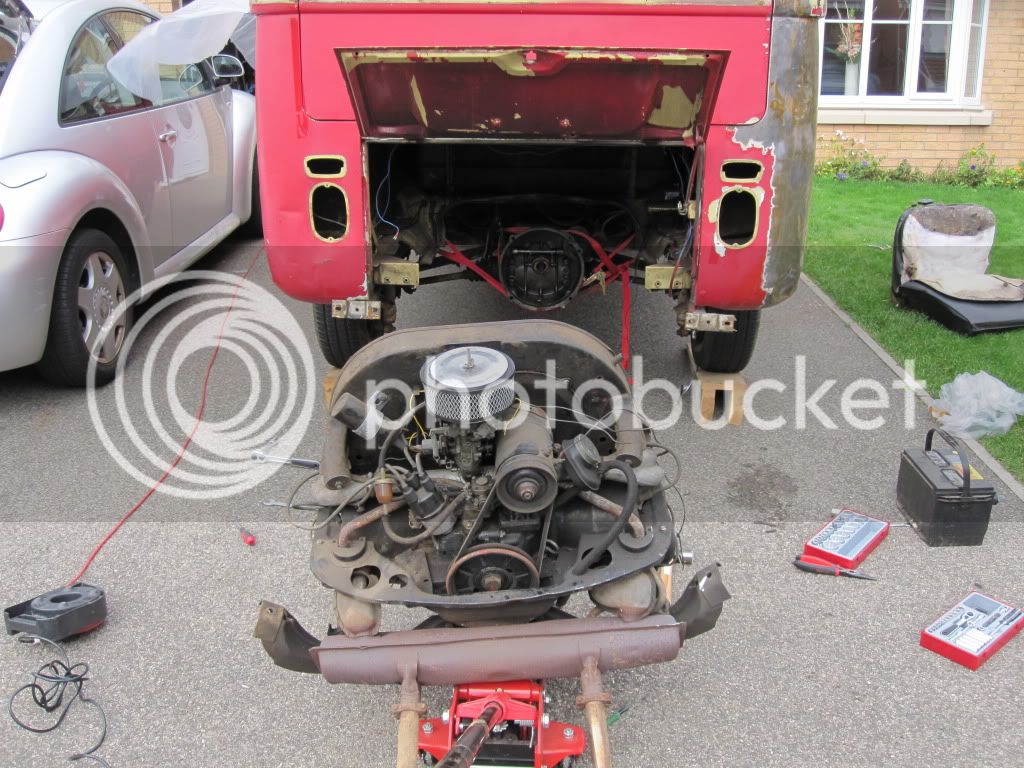
I then got on with fittinh the new loom, new lights, sound deadening, waxoyl.
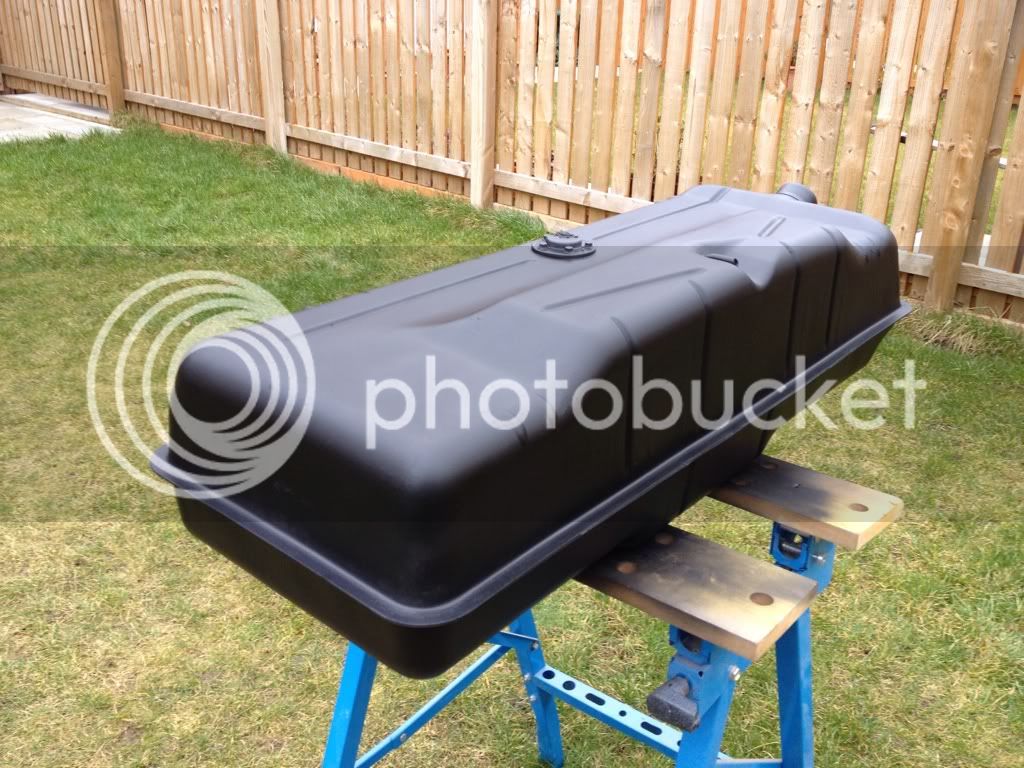
I set about painting the fuel tank
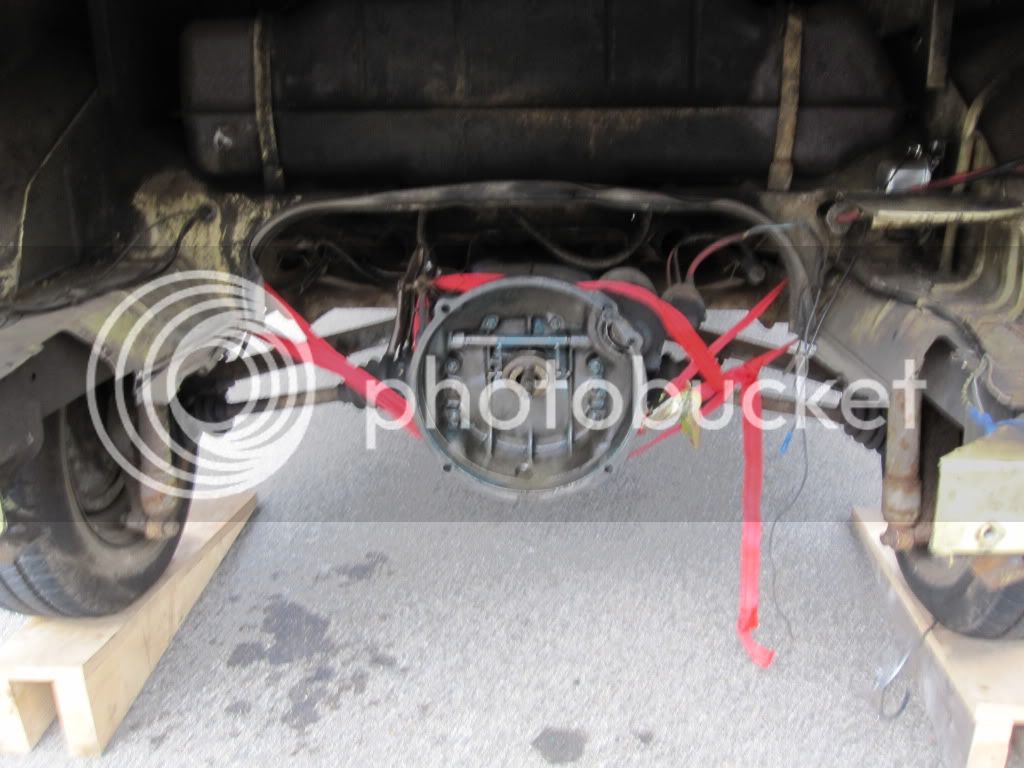
Next was building and fitting the beam. Its a weedeater with drop spindles and monroes
Now In know to many of you swapping wide 5 for small 5 is a cardinal sin but by this time id bought my wheels and tyres.
the tyre sizes and suspension set up is very similar to one of my all time favourite buses so with a bit of luck should have this sort of stance
Ive not had the chance to play around too much with the set up but at the moment its very ar4e in the air
That's about as far as I got in 2012. I didn't get on the road but I did make a lot of progress.
This is where the project continues Jan 2013.
Immediate plans are to sort the paintwork, fit a mild 1776, oak interior and some new vinyl – Im sure this will be THE YEAR!
Watch this space
Nigel