Interior work on my Bay...continued

Early Bay Forum

Help Support Early Bay Forum:

This site may earn a commission from merchant affiliate links, including eBay, Amazon, and others.
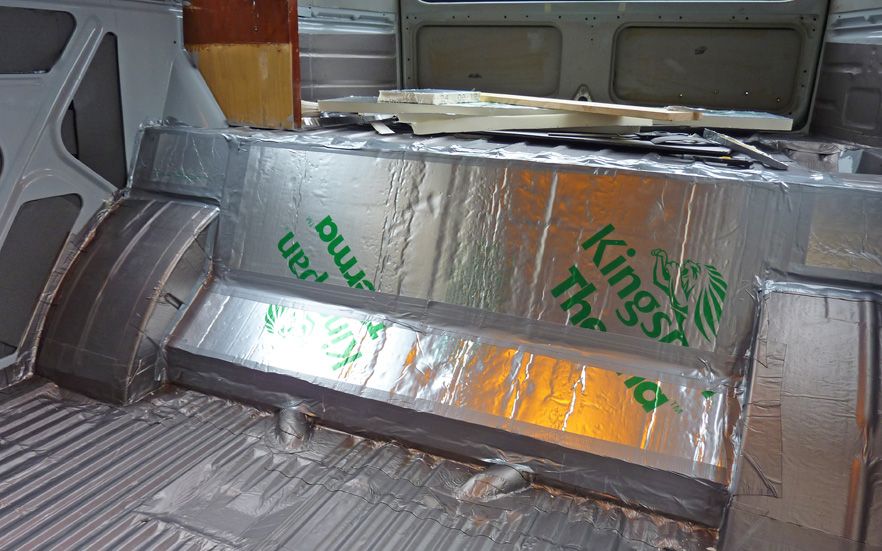
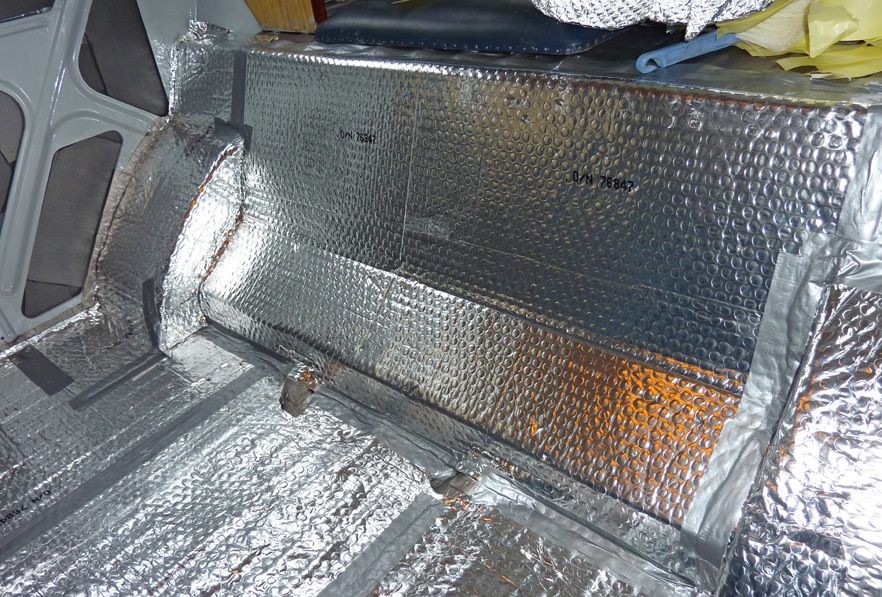
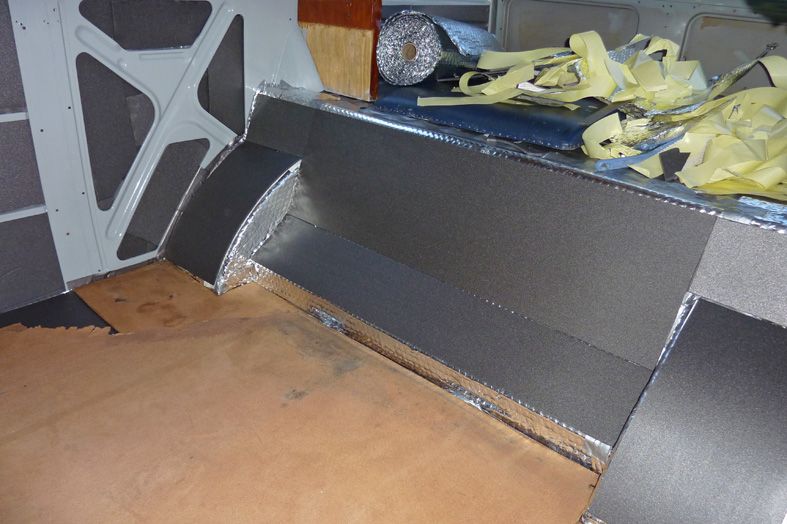
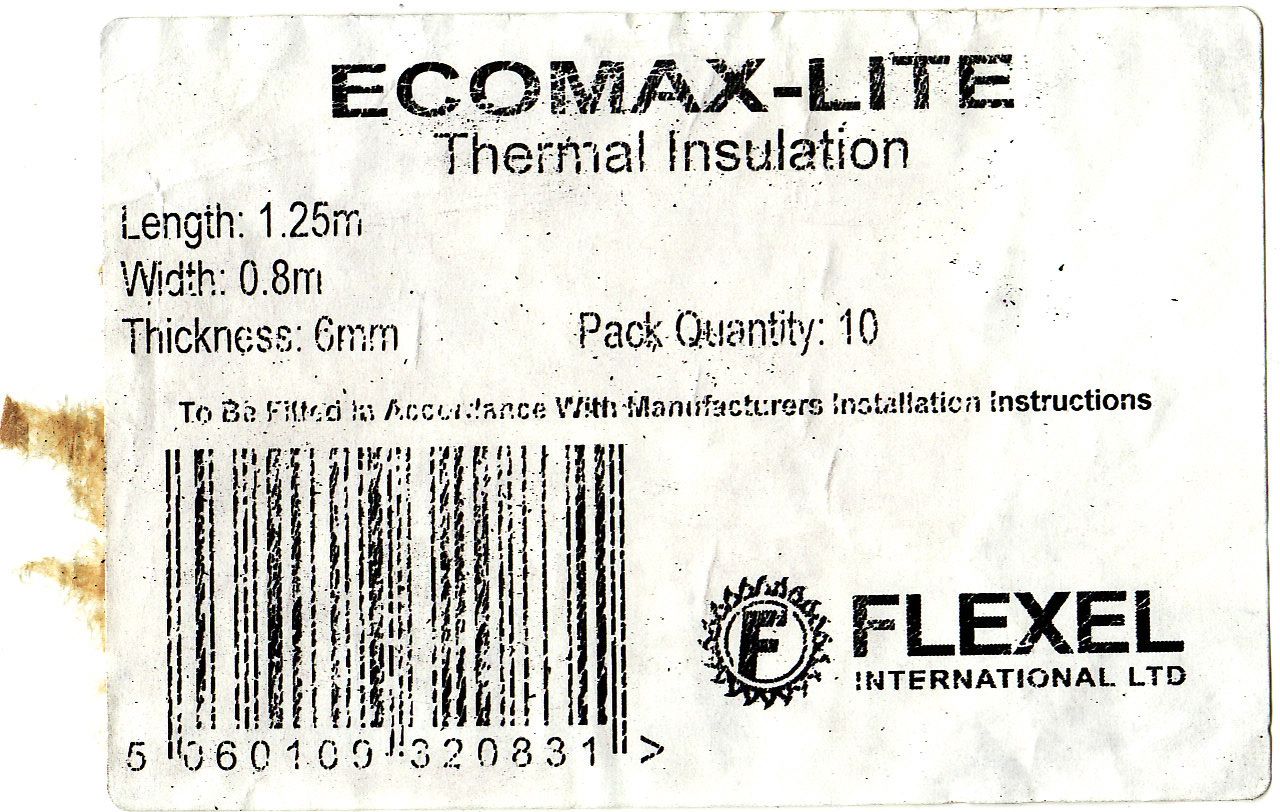
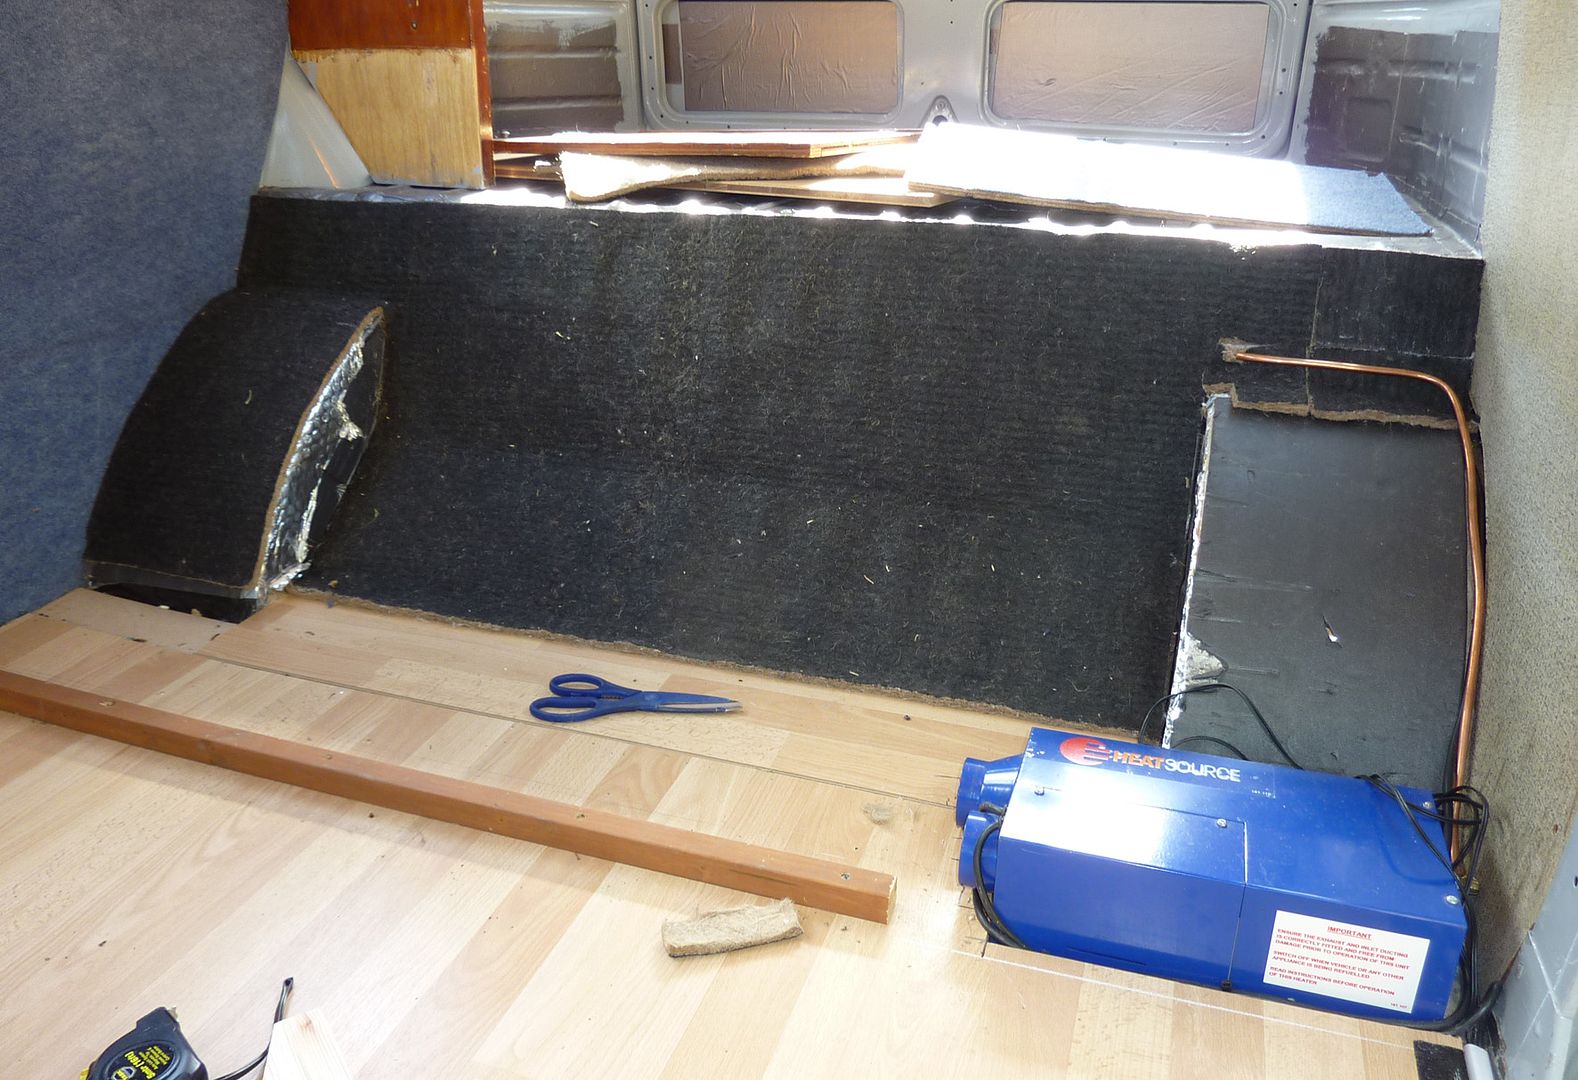
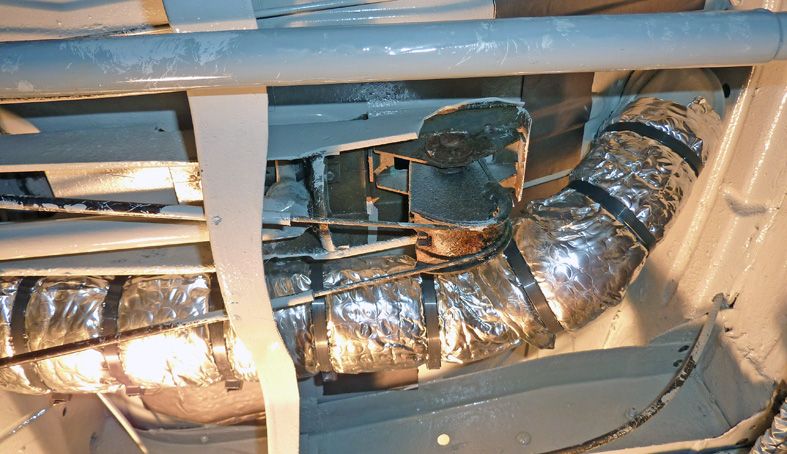
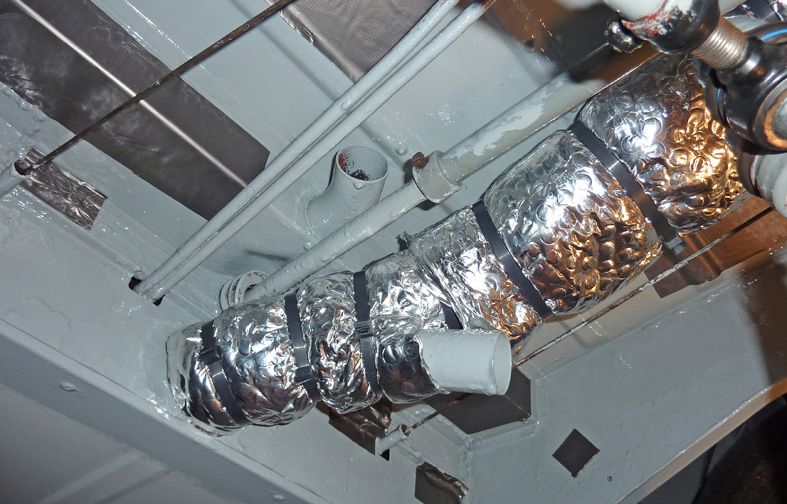
Added final wraps of thermawrap insulation to the heater tube at the front of the van, before refitting the belly pan.

086.jpg


087.jpg


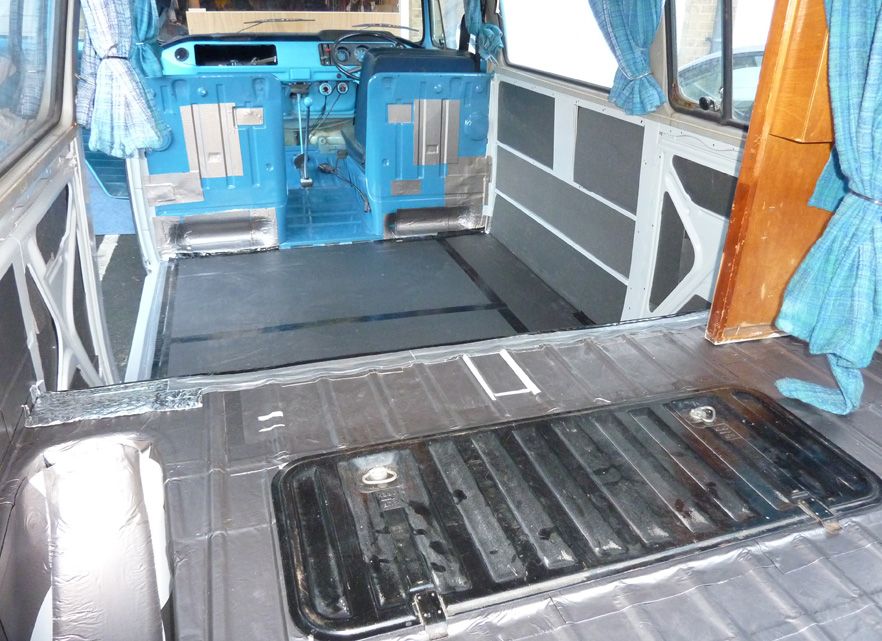
Added some flash tape in flat areas - I don't want to put any in the front cab on the inside. I'm actually going to paint over these bits, just to hide them a bit and maybe hel seal them on - no big deal if the paint does crack after movement, as the paint under them is good, but actually I doubt there will be any cracking anyway. Little patches are just covering the odd hole. I have sprayed dinitrol into any box sections.

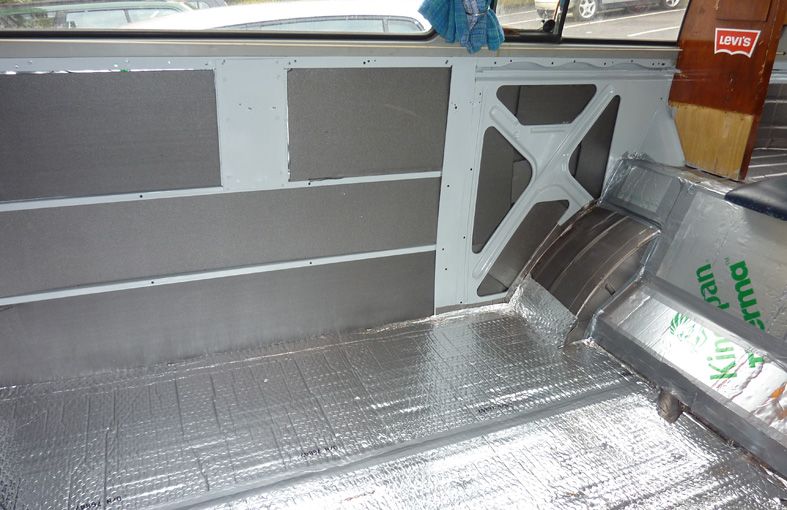
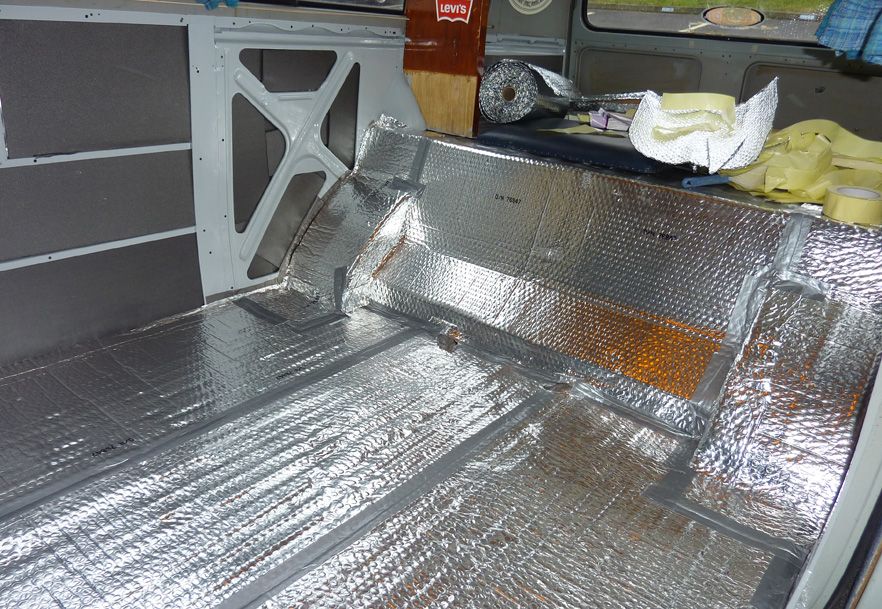
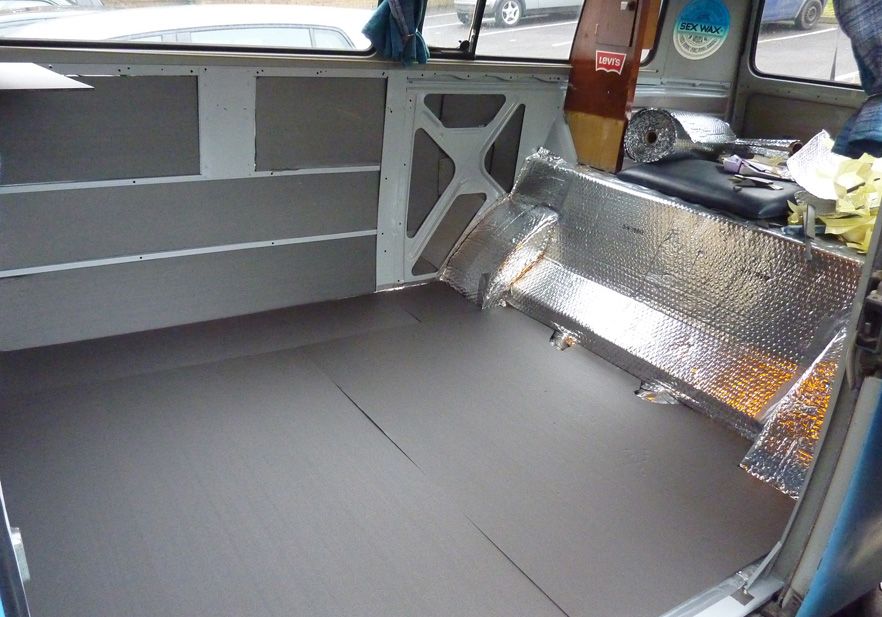
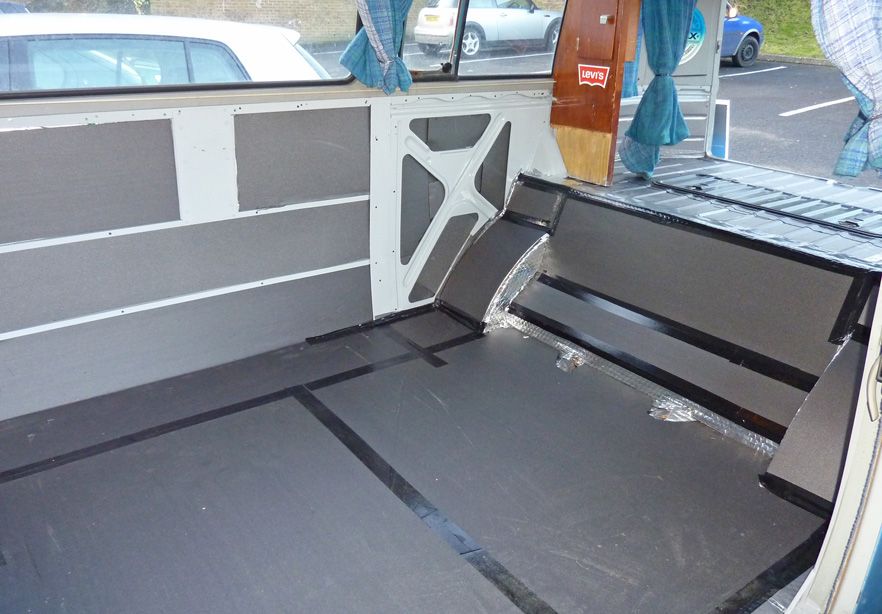
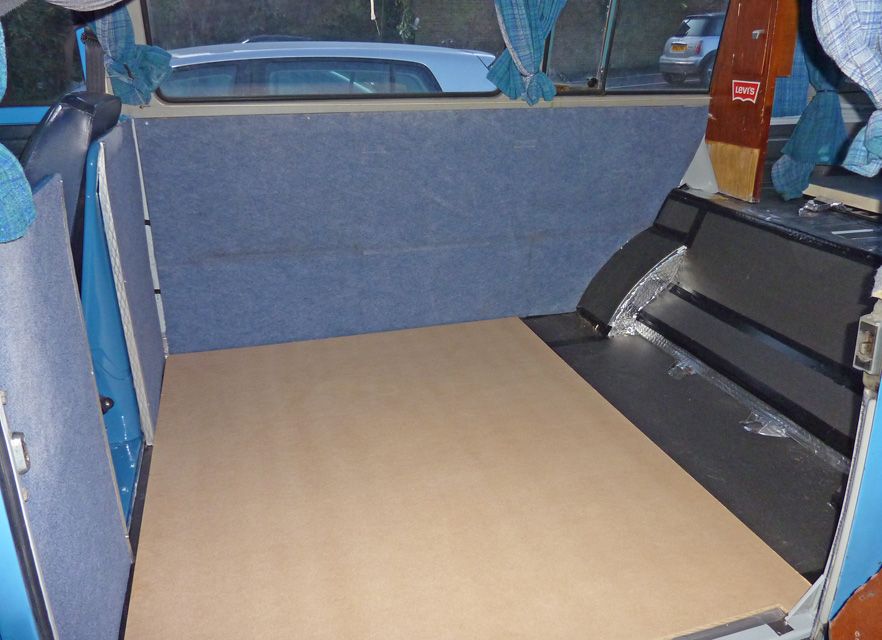
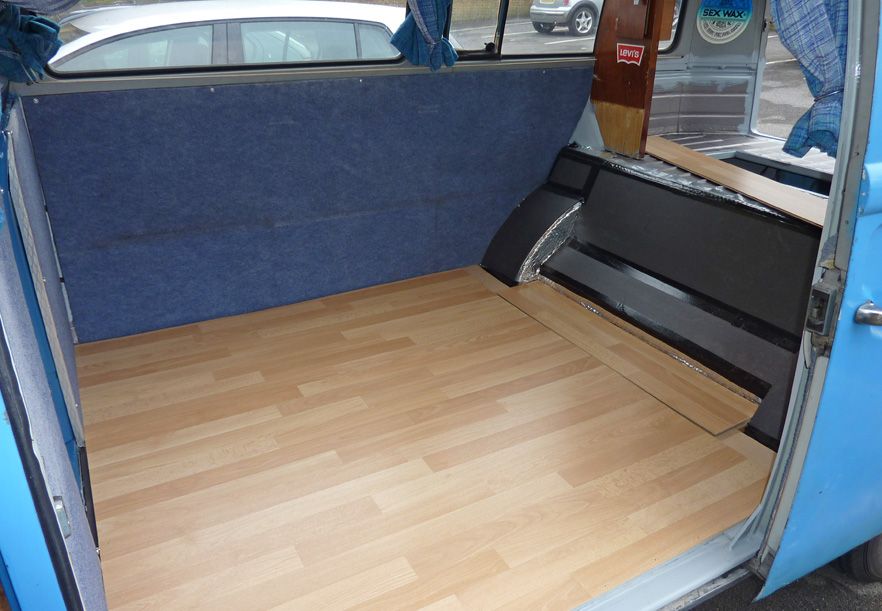
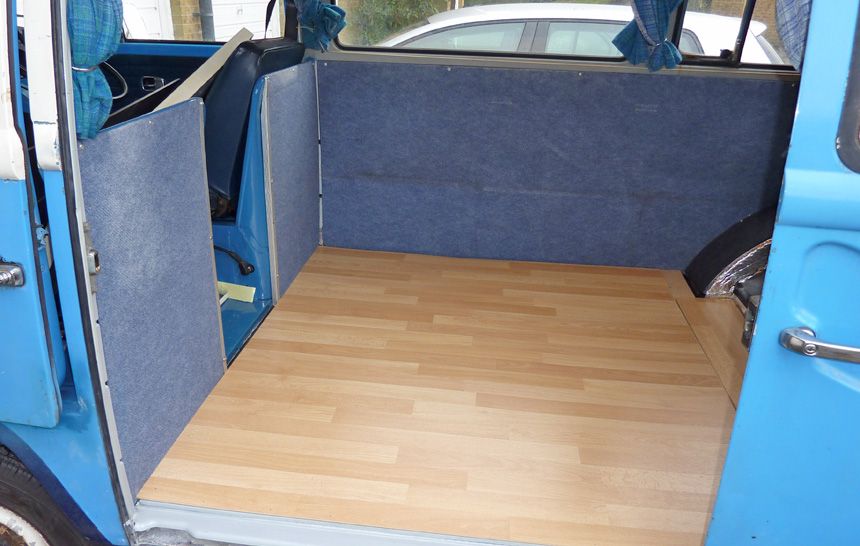
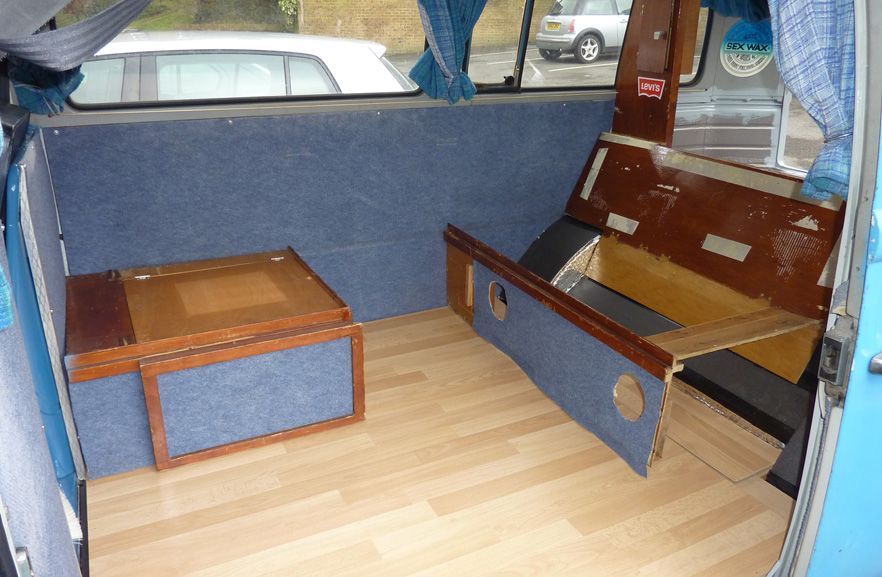
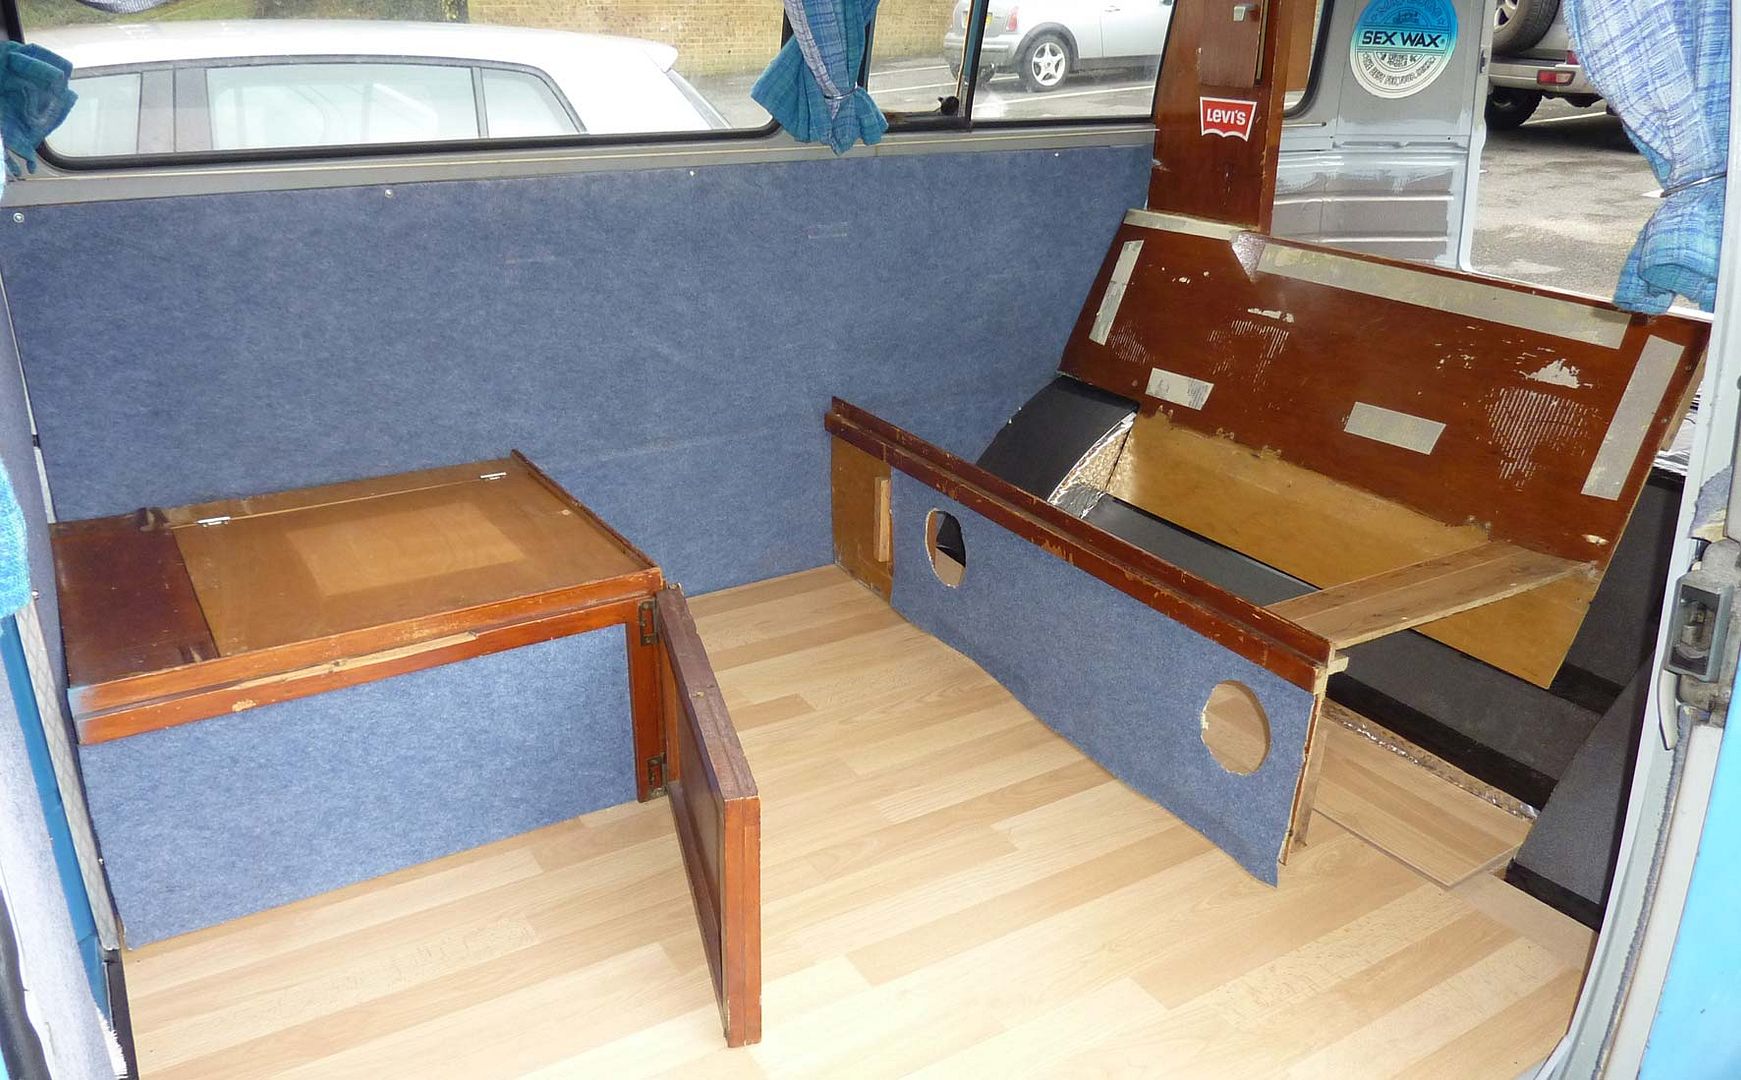
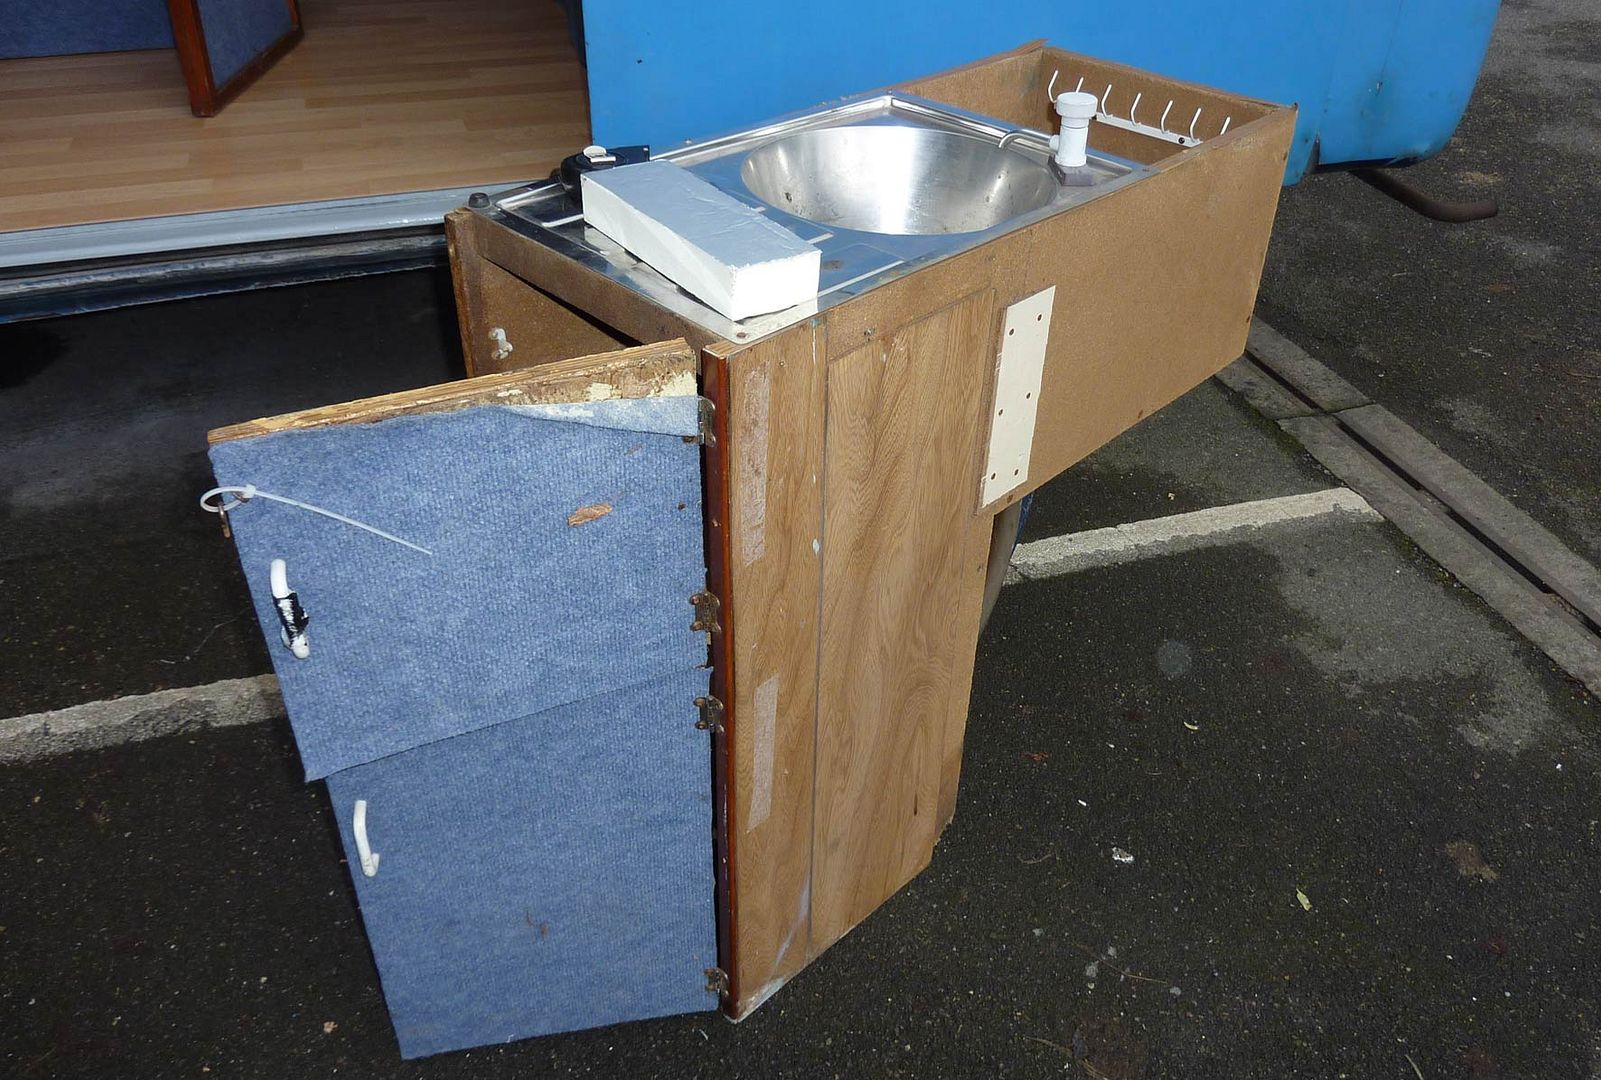
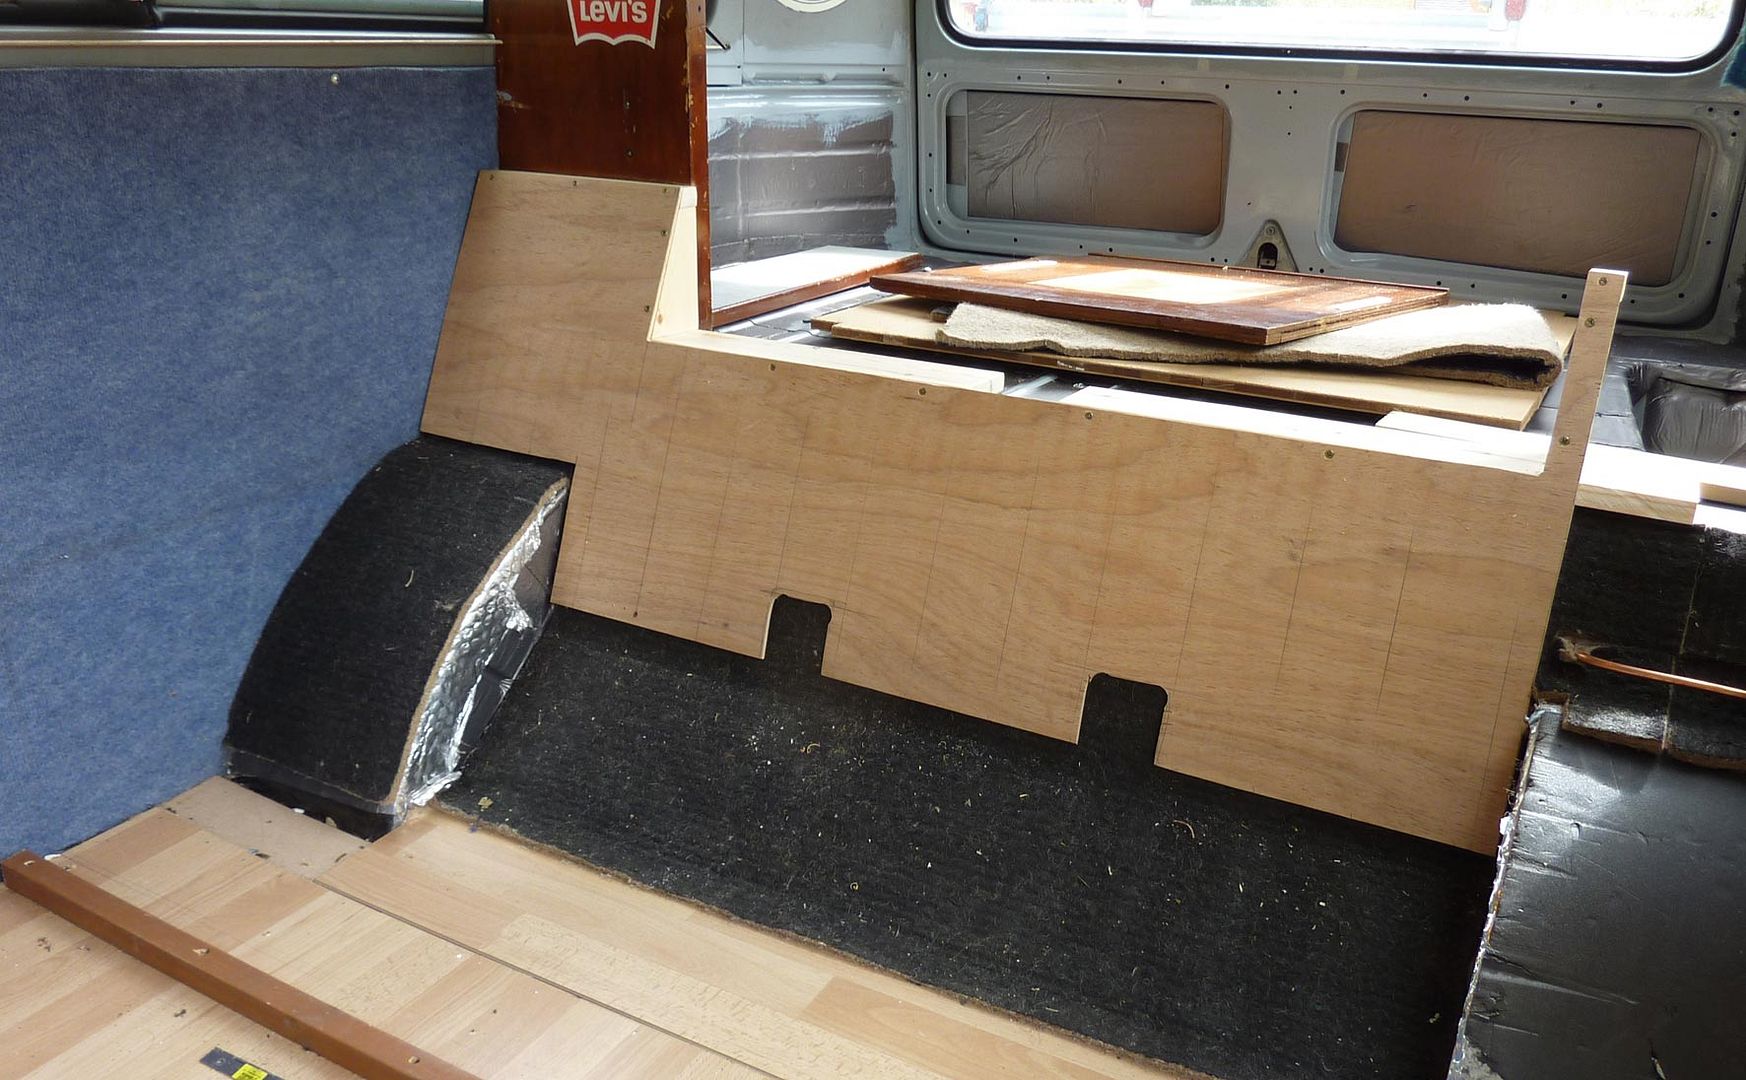
Have started to add a different layer of foam on the inside, before laying thermawarp on the floor, more foam (very thin) then - I expect - a ply floor, and for now re-attach my side panels. I might use them as a template and make some more if required.
 
Nice clean work there chap 8)
 
Almost finished the interior insulation.

I decided to add some of the 25mm foam to the bulkhead - trying to get it as quiet as possible inside. I won't miss the 25mm taken from the storage space :D

093.jpg


Final layer is some 6mm foam - insulation from B&Q again. It is a bit like a camping mat -or foam board without the cardboard. Quite stiff and comes in nice big sheets. I have used this to cover the thicker foam in the side skin, and give a nice clean final layer before the panels go back on. I'll also use it on top of the thermawrap on the floor.

089.jpg


088.jpg


Thermawrap goes on - just some double-sided carpet tape wih some duck tape on the edges.

090.jpg


...should be safe from brainwashing in this van :lol:

Floor layer:

091.jpg


and finally some on the bulkhead, just to finish it all off.

092.jpg


Next step is for some 6mm plywood on the floor, and I'll use the old hardboard floor to cover the bulkhead, leading into the boot space.
 
Yep! Drove into town to B&Q (van is fully MOT'ed etc etc) - hard to tell as yet, as top of engine is still exposed, and van sounds so much louder with no 'furniture' in it anyway!

094.jpg


Will be doing boot area tomorrow.

096.jpg


Floor going in - (old) side panels back on. These are fine for now, may change at a later date.

095.jpg
 
B&Q (a big store, Farnborough) - comes in a pack of 10 big sheets, closed cell, quiet stiff (just folds over wheel arches without snapping)
I'll get the info from the label tomorrow.
 
I'll be interested to see/hear what difference the noise insulation does indeed make!!

Anyway, flooring all finished - £10 for the lot, Homebase 'value' boards, tenner for one pack which easily does the whole floor.

097.jpg


098.jpg


Old inerior back in just to plan what next. I am keeping the same tried-&-tested layout, but with a few tweaks. I'll narrow the side cabinet/widen the bed slightly, as previous size was set by the sink that I never used. Going to make the interior a bit more bike-friendly as well. Will obviously be detailed here! :roll: ;)

099.jpg
 
Looking very good dude 8)

The flooring seems to work quite well too ;)

Keep the updates coming.
 
Right - about time I updated this thread as well, as the interior has progressed a little bit. I am also painting the outside, but I'll save that for another thread - same for Propex installation.

Before I go any further, people have asked about the smooth black foam I used to line the sides/floor etc - I bought it from a B&Q store, but I think you will only find it in one of their mega stores - this one was in Farnborough. Here is a picture of the lable:

foamdetails.jpg


Just a quick point about previous work - I am aware that some may see all that flash tape as over-kill. They may well be correct, and if I ever need to get under it, I'll regret it I am sure! But I was happy that what was underneath had been finished well in terms of rustproof/painting etc, so hopefully I wil never have to touch it. Condensation may be an issue but I am hoping it won't be - I'll have to check when it gets cold!

In answer to the question above - no, I didn't waxoyl behind the foam blocks on the side panels, for a number of reasons.
First - I hate the stuff and didn't want the mess/smell on the inside of the van (I have used the more modern Dinitrol products elswhere on the van)
Second - I have sealed the panels well with paint, and am confident rust won't come through - they were rust free before, and I am changing the window rubbers above anyway, so not expecting any water to get anywhere near them - I hope!
 
Another change from before - I have taken the foam blocks off the rear bulkhead in fitting the interior back in. Mainly because they made it a pain to screw/bolt through.

093.jpg


I have replaced them with some sound-proofing felt though. I do gain some space back as well of course, but that was secondary to the fixing issues.
 
So that view above now looks like:

103.jpg


Will detail Propex instal elsewhere, and why it is where it is...

Note the wooden strip screwed to the floor - this is what the front of the storage box will screw up against.
 
Ok - so, taking a few steps back. I was at this stage: (old interior just placed in position)

102.jpg


I was keeping the same layout ('cos that is what 'my' van has been like since I got it :D ) but I am tweaking the dimensions.
I have removed this sink unit:

101.jpg


I NEVER used the sink with water, so taking it out means I can make it slightly narrower - and so make the bed wider. This will mean new foam, but the original is breaking down anyway...
You can also see it was made of very heavy and dusty chipboard. I'll use ply and mdf.

Having stuck soundproofing felt (underbonnet/boot stuff from Frosts) to the bulkhead, I started to remake what had been there, using plywood. I was adding one 'new' feature, which would be to make the backreat/headboard fold down if I needed to carry something big. This would fold down flat to the level of the boot floor. I thought this was a new idea, but I just saw a similar feature on another camper van interior, so obviously great minds think alike :lol:

104.jpg


Rough cut-outs are for seatbelt mounts should I ever wish to use them. Pencil lines (if you can see them) show me where the ribbing in the chassis is below, for bolting to. Cut out along the top is for my folding section.

I thought I had taken more pics of the stages, but can't find them - so there is a bit of a jump to:

105.jpg


You can see holes for some speakers, and the Propex outlet fitted. Piano hinge for my fold down section, and the side panel for the cupboard unit to be built later.

106.jpg


Reason for the off-set access hatches - split is mid-bed, so I only have to remove one side of cushions to open righthand hatch - other hatch is over the wheel arch, and I don't need to get to that.
You can see my propex, which is not where people normally put it - it is there for a reason though - see other thread when I do it (I'll link from here)

You can also see the little storage space under the side window, which sort of links the front storage with the rear storage. My van has always had this little box. Obviously it supports the bed in the middle when the table drops down and joins it. I have always found it really usefull for tools, keeping dirty stuff away from general storage, and easy to get to without moving cushions etc:

136.jpg


I have added carpet to the structure - matches the side panels, and is what I had fitted before. Also happens to be the cheapest stuff you can get from carpet shops!

133.jpg


137.jpg


135.jpg


Speakers must be 15 years old now, from Halfords - but they work pretty well, so will do for now :D

134.jpg


Here is my fold-down back rest in action:

107.jpg


108.jpg


...and from the boot. This section will all be boxed in/lined. I may even make a few storage 'pockets' in it.

109.jpg


110.jpg


111.jpg


Nice flat extended boot for big items - such as:

P1010699.jpg


P1010701.jpg


That is as far as I have got for now - rush was to get it usable for the CLIC24 event we did back on May, which it was.

P1010882.jpg


Once I have finished outside/windows, I'll get back to this and finish it off properly.
 
looks like good work to me ... and you still have time to train for a 24 hour mtb event :lol:

Baz
 
:oops: - well, no. Failed miserably if I'm honest....but there is always next year! :lol:
 

Latest posts

Top