You are using an out of date browser. It may not display this or other websites correctly.
You should upgrade or use an alternative browser.
You should upgrade or use an alternative browser.
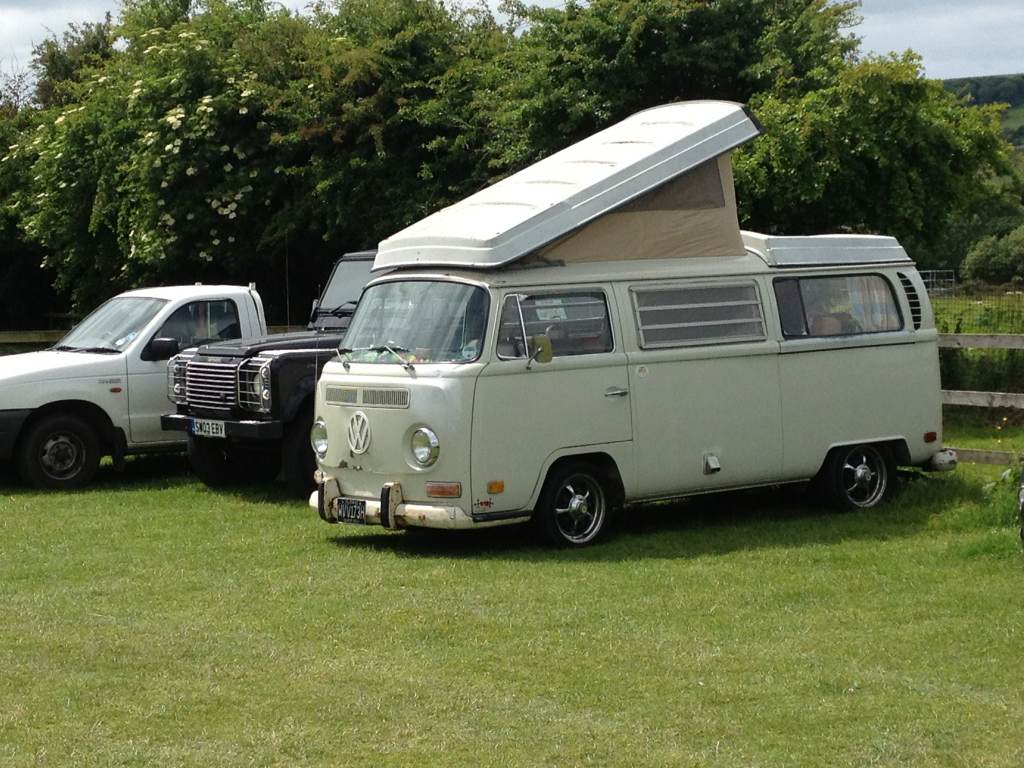
1970 Michigan Missile.
- Thread starter *Sam*
- Start date

Help Support Early Bay Forum:
This site may earn a commission from merchant affiliate
links, including eBay, Amazon, and others.
*Sam*
Well-known member
- Joined
- Dec 25, 2011
- Messages
- 2,301
- Reaction score
- 0
Cheers for the comments guy's, to be honest it's been great fun doing it but there are plenty of jobs I need to do again.
Not having my own garage at the start meant I had to get it done really fast so jobs like painting the trailing arms and spindles, skimming the drums etc didn't get done
I am slowly starting to get my garage sorted so i should be able to start doing things to a more except able standard.
Not having my own garage at the start meant I had to get it done really fast so jobs like painting the trailing arms and spindles, skimming the drums etc didn't get done
I am slowly starting to get my garage sorted so i should be able to start doing things to a more except able standard.
*Sam*
Well-known member
- Joined
- Dec 25, 2011
- Messages
- 2,301
- Reaction score
- 0
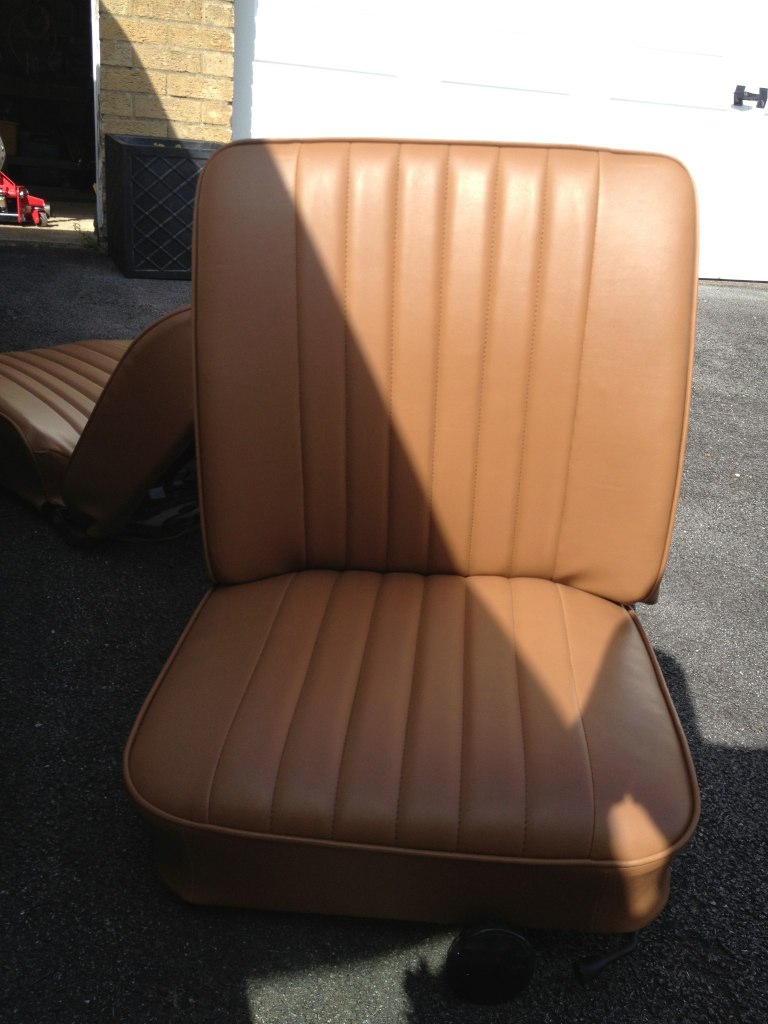
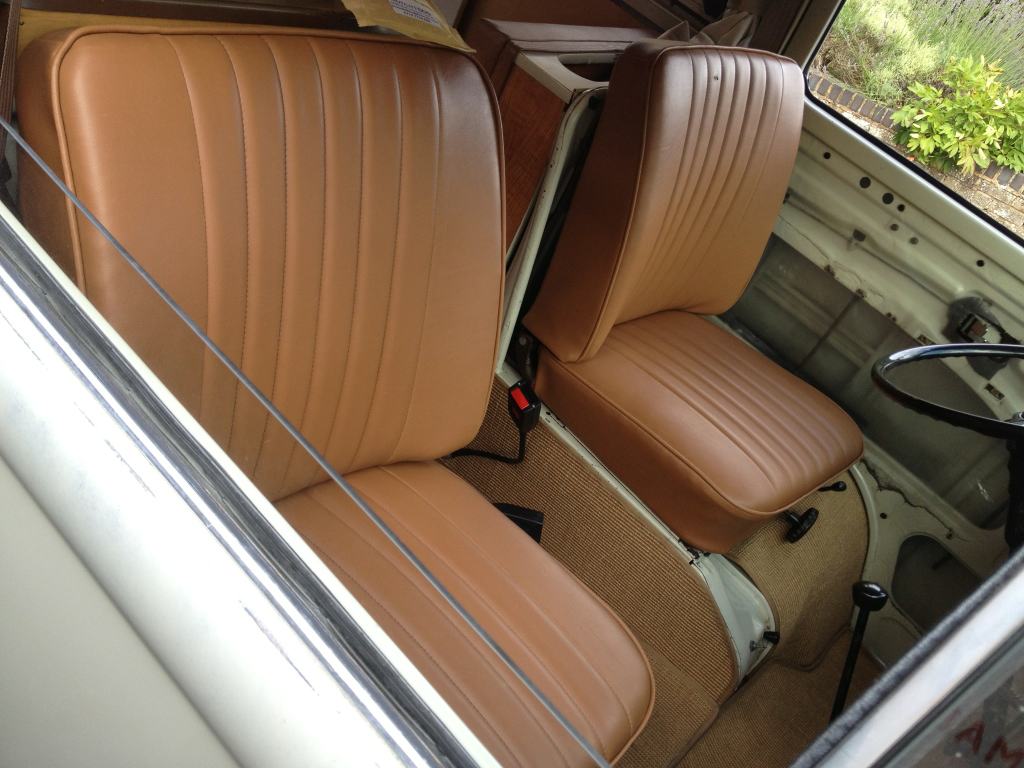
New door cards varnished and ready for trimming

Whilst the interior was out the way at the trimmers I stripped down the steering column to fix the horn.
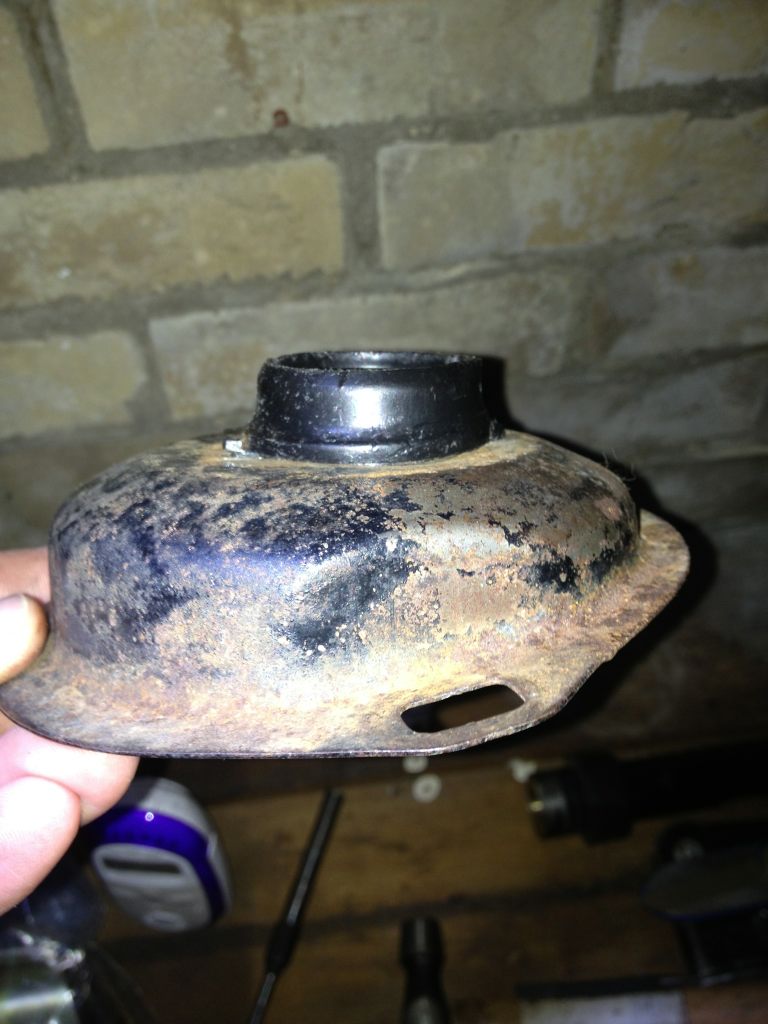
Straightened out the cover at the base of the column and shot some paint on it.
The issue with horn was a faulty new steering coupling, I have made a reimport fix whilst I wait for Heritage to get a new genuine In stock.


*Sam*
Well-known member
- Joined
- Dec 25, 2011
- Messages
- 2,301
- Reaction score
- 0
I have been slowly completing a few jobs on the bus.
Dropped the engine so I could replace the fuel sender.

The inside of the bus was in a similar state when I got it so I wasn't massively surprised to find that squirrels had been living in the fuel tank bay.

All cleaned up and wax oiled

Attention turned to the tank now, I painted it and after a long wait I sourced a sender following some help from this forum. I was lucky as most places were sold out of genuine ones this was the last one C&C had and they now show as NLA !
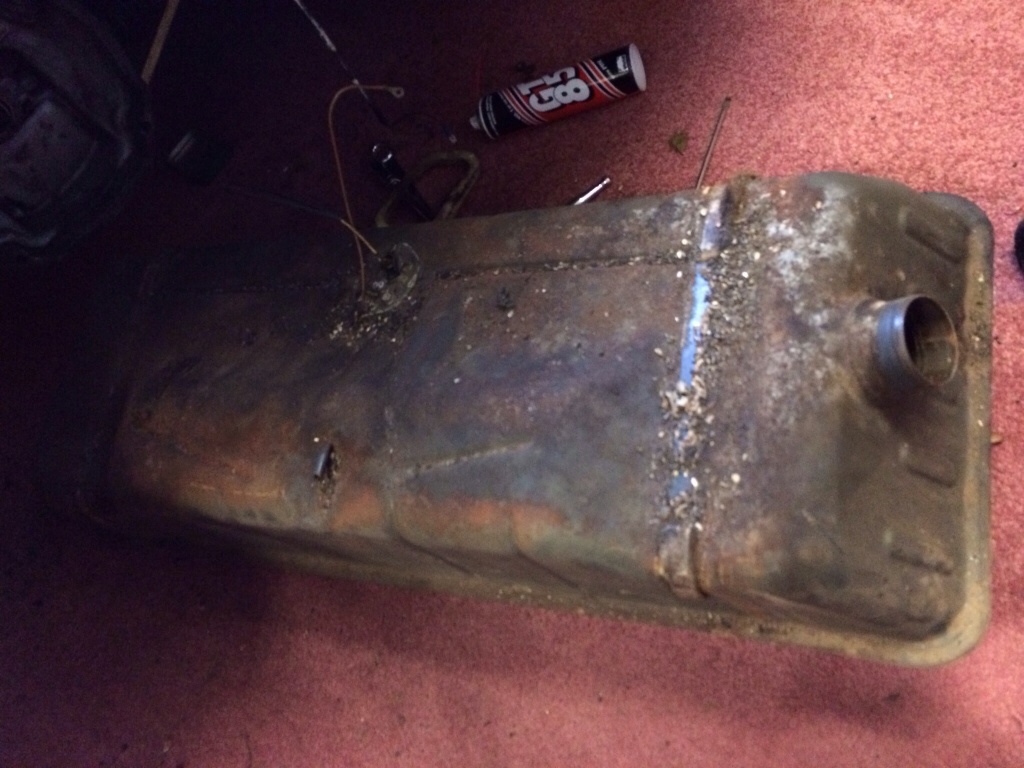
Rust neutraliser applied and the tank painted along with new cushion pads installed.

New sender

Dropped the engine so I could replace the fuel sender.

The inside of the bus was in a similar state when I got it so I wasn't massively surprised to find that squirrels had been living in the fuel tank bay.

All cleaned up and wax oiled

Attention turned to the tank now, I painted it and after a long wait I sourced a sender following some help from this forum. I was lucky as most places were sold out of genuine ones this was the last one C&C had and they now show as NLA !

Rust neutraliser applied and the tank painted along with new cushion pads installed.

New sender

*Sam*
Well-known member
- Joined
- Dec 25, 2011
- Messages
- 2,301
- Reaction score
- 0
The heat exchanges on my bus are bug ones, I looked swapping the operating lever over to the correct side but when I opened them up it requires a lot of work to do..
There is a flap that is welded to the operating shaft, this would need to be removed and then using a small grinder the tabs removing. The shaft could then be pulled out and put back the other way, the flap then would need welding back on to the shaft, as I don't have my own welder until march I decided to leave them and lock wire them open.
To try and help the heating system i looked at areas i though hot air could escape, i then used a high temp sealant to seal them and wrapped them in heat exhaust heat wrap.
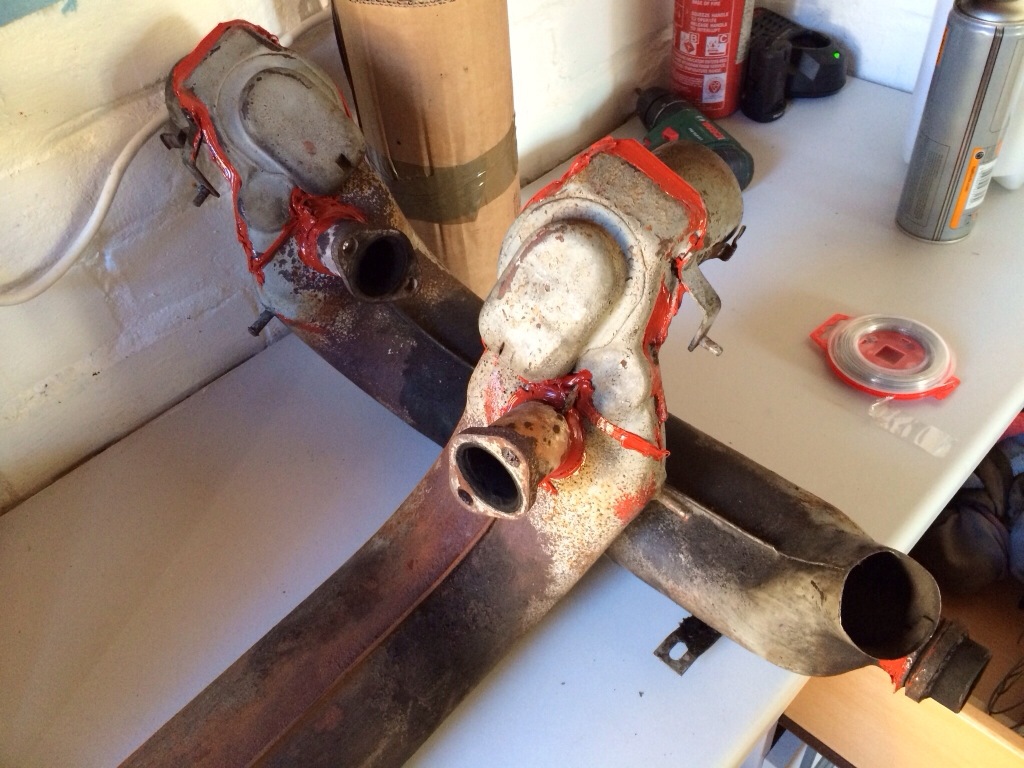

With that finished I wrapped all the joints on the heat exchanger to exhaust and to the body job done and the heating is toasty.
There is a flap that is welded to the operating shaft, this would need to be removed and then using a small grinder the tabs removing. The shaft could then be pulled out and put back the other way, the flap then would need welding back on to the shaft, as I don't have my own welder until march I decided to leave them and lock wire them open.
To try and help the heating system i looked at areas i though hot air could escape, i then used a high temp sealant to seal them and wrapped them in heat exhaust heat wrap.


With that finished I wrapped all the joints on the heat exchanger to exhaust and to the body job done and the heating is toasty.

*Sam*
Well-known member
- Joined
- Dec 25, 2011
- Messages
- 2,301
- Reaction score
- 0
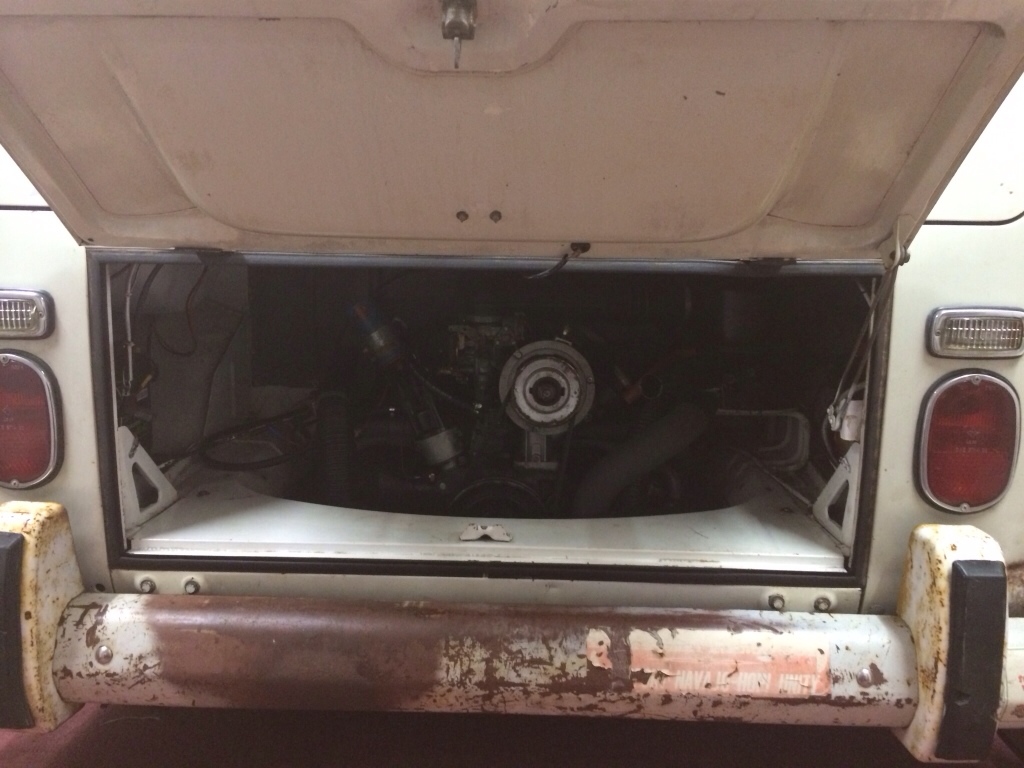
It's now time to get ready to fit my narrowed beam and air ride. In order to do this I needed to drop the back of the bus down a bit more so I could have the bus nose first in the garage and still close the door. It's as easy job with the adjustable spring plates however I was already all the way down on the adjuster so I needed to rotate the plate a spline, again easier with adjustable plates than the standard.
I ended up moving the plate up (lowering the bus)2 splines and up 10 turns on the adjusters so now the 3rd spline from standard.
Looks like it was a spline to much oops !

The bus now has zero rake, I will see if I can get it off my drive like this and if so I will just nudge the front down with the new beam, although I guess there is a chance the drive shaft will hit the chassis rail if do then it will go back up a spline
Anyone know how much 1 spline on an adjustable front beam equates to in ride height ?
I ended up moving the plate up (lowering the bus)2 splines and up 10 turns on the adjusters so now the 3rd spline from standard.
Looks like it was a spline to much oops !

The bus now has zero rake, I will see if I can get it off my drive like this and if so I will just nudge the front down with the new beam, although I guess there is a chance the drive shaft will hit the chassis rail if do then it will go back up a spline
Anyone know how much 1 spline on an adjustable front beam equates to in ride height ?
Aircooler
Well-known member
Really nice bus! Where do you bought the Faux roof bed? Would be nice in my bay! 
Best regards
Reto
Best regards
Reto
Aircooler
Well-known member
Cool, thanks! Will ask him for a bed for my 72 bay.*Sam* said:Cheers Aircooler, I got the bed from Faux, he is a member on this forum.
Regards
Reto
aogrady
Well-known member
*Sam* said:New door cards varnished and ready for trimming

Are they MDF or ply? How was the fit, I got some off ebay (ply) and they weren't great....
Where did you get them from if you dont mind me asking?
Cheers,
Alistair
*Sam*
Well-known member
- Joined
- Dec 25, 2011
- Messages
- 2,301
- Reaction score
- 0
Hi Alistair they are MDF and from JK.
I varnished them before I sent them to the trimmers to help prolong the life of them.
They fit ok although I struggled to get the escutcheon plate on but I think this caused by the amount of wadding used to trim them
I varnished them before I sent them to the trimmers to help prolong the life of them.
They fit ok although I struggled to get the escutcheon plate on but I think this caused by the amount of wadding used to trim them
Similar threads
- Replies
- 0
- Views
- 392
- Replies
- 0
- Views
- 88
- Replies
- 3
- Views
- 1K
Vehicle For Sale
1971 T2a Double Cab Pick Up
- Replies
- 0
- Views
- 619


