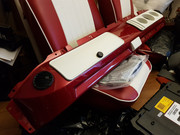
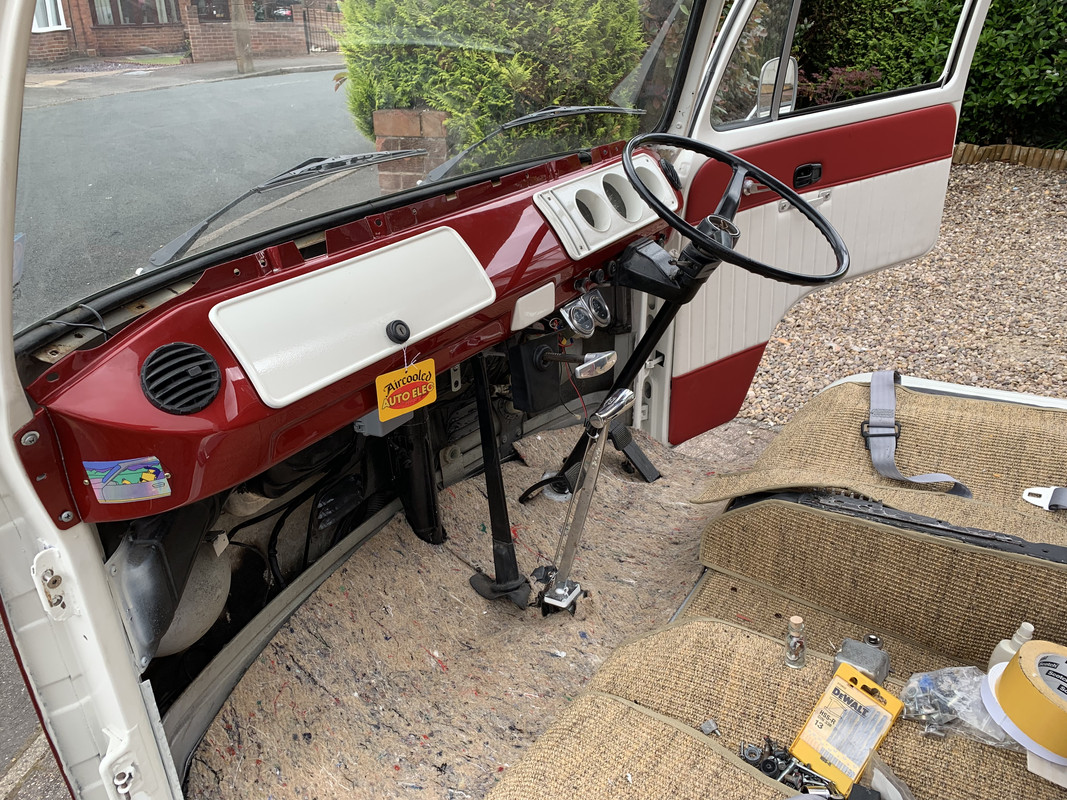
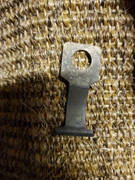
1969 - GGL 468G

Early Bay Forum

Help Support Early Bay Forum:

This site may earn a commission from merchant affiliate links, including eBay, Amazon, and others.
BoggyB said:
I thought I'd replace the knackered heater levers, the bits that stick through the dash anyway, while I had everything out. As I pulled one out the metal clip bit pinged off, bounced off the roof and landed right down the the central pipe. It'll be interesting trying to get that out


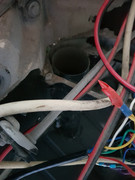
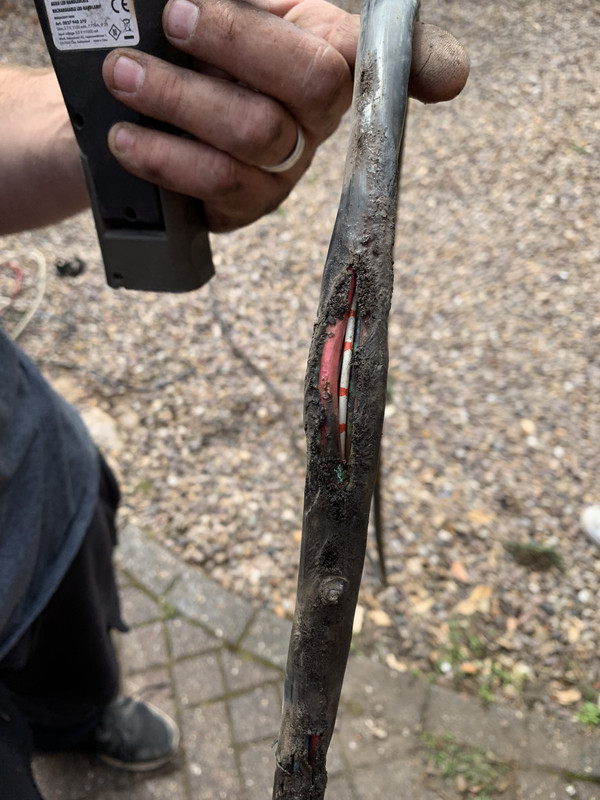
Hurray, got it out. I like to gadget my way out of most situations so I bought an endoscope with a hook attachment.

Here it is successfully hooked. It was super satisfying to finally hook it, it was a bit like trying to play a video game with all the controls mixed up.Spot all the leaves and crap in there with it.


Getting there. 8 hours worth of lining the tiles up, getting ready to glue the first one, chickening out and lining them all up again...

Still, they're down now. I'll probably scratch the hell out of them trying to get the bed in.
 
Good save with the endoscope :)
Liking the tiles - looks very nice. So to does the dash panel!
 
No more progress until the loom has been replaced but my MCJ circular vehicle direction modification apparatus has arrived. Worth the wait.


Old wiring loom out. A welder at some point in the past almost burned through all the pvc coating on it during a repair. Close call.


38-F50908-E15-C-4-D96-9-CA0-D932-F72-F1-AD2.jpg
 
All wired up. The engine starts and the lights work and everything!

Part one of the dashboard is in. Almost there now.

3-D2338-DE-EBC3-494-F-9920-5-C0-AACF2-B869.jpg
 
Victory! It took a 3 arm gear puller and one of those C shaped plates but this popped off with a satisfying bang. There’s some old damage from a long forgotten attempt to prise the horn push off but other than that it’s alright. I’ll be keeping it so I might fix it up.

64-F3-E6-A8-F94-B-44-CE-A029-1-F320-A7-BB22-F.jpg


5-AA1-ECF4-A0-D8-417-A-8-F35-6-A6-DF69235-BC.jpg


6-EB99073-2-D69-414-D-8-A18-219-C6-FB9-F655.jpg
 
Bling city :)
Need to get mine off also - not looking forward to it to be honest!!
 
If you need the c shaped plate let me know and you can have it, it’s no use to me now.

Rest of the dash is in, heater controls connected, glove box fitted, daft bit of carpet slung on top. The red ribbons are covering the cracks in the padded rubber bit. I thought it gave it a bit of a bandaged look.

The rubber bit was looking a bit grey and tired in general, and no amount of cleaning was helping it, so I gave it a light spray with glossy plastidip to get it looking nicer. You can't tell it's on there, it's rubber so doesn't feel wrong, won't crack and doesn't cover any of the texture.

676-F5337-BD87-47-C9-857-D-5627-F9861-E4-B.jpg


After the last few years of it being a stripped out, grey van it’s starting to feel like a warm and cosy camper. Pretty satisfying.
 
Interior is looking good, even with the bandaid fixes :)
Thanks for the offer of the c shaped plate - will take you up on that - I could come and pick it up and have a nosey at your van too.
 
It doesn’t quite compare to yours so prepare for disappointment!

I’ve got the bed in now so I can officially start calling it a camper again. I just need to secure the cushions to the boards and we’re set. Oh and a board for the front of the frame.

177549-EB-9410-4-F7-F-89-C0-80-CD0841-C3-E6.jpg


AF8-E2064-8-BDC-43-A7-BF8-D-6-D88-EA727-D7-F.jpg


The headlining is kinda half arsed, I just covered the previous owners ply headliner boards with some fabric. The intention is to get a proper dormobile roof for this so I’ll do a nicer job of it then with some perforated vinyl. I’ll need a good 3 grand going spare before then though.
 
fallingoffalot said:
Where did you get the tiles?

https://www.madmatz.co.uk/madmatz-9-tiles.html

They take a while to fit, but they're well made enough that you don't need to worry about them being wonkily cut or anything. Recommended.

I got the metal trim from here. Not particularly cheap (nothing is for these things) but it looks good and fits well.

https://www.vanwurks.co.uk/product/sliding-door-trims/stainless-steel-sliding-door-trim-for-volkswagen-t2-bay-window


Glad you like it, i'll keep an eye on how yours turns out!
 
Spotted your van in Rotherham the other day, looks tidy [emoji106]


Sent from my iPhone using Tapatalk
 

Latest posts

Top