For those of you not on Volkszone, thought I would post my new project up on here and get to know you all a bit better.
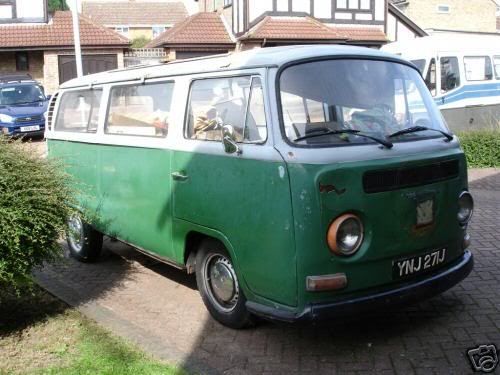
it's a cheap bay project bought on ebay for just under a grand.
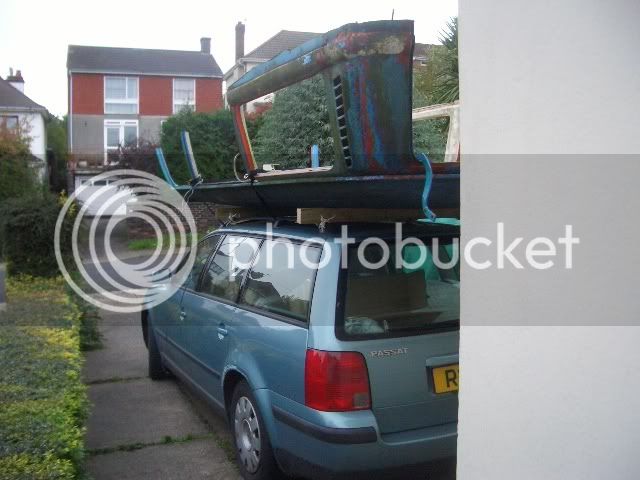
After a 9 hour drive / pickup last night ending after 3 this friday morning.
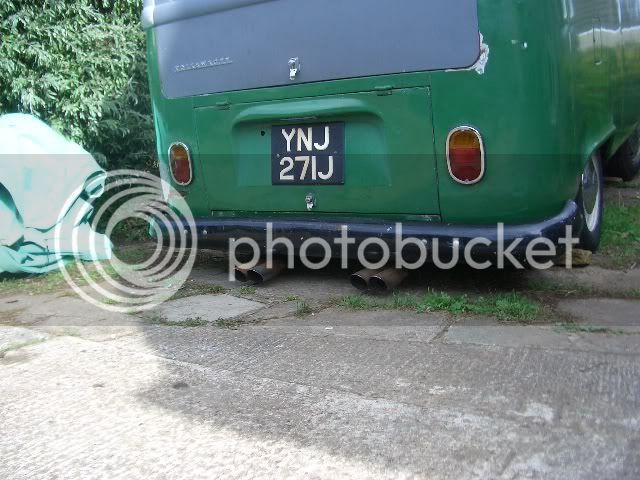
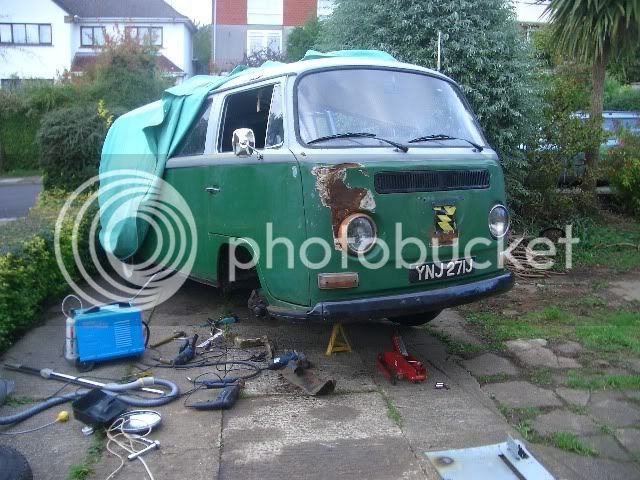
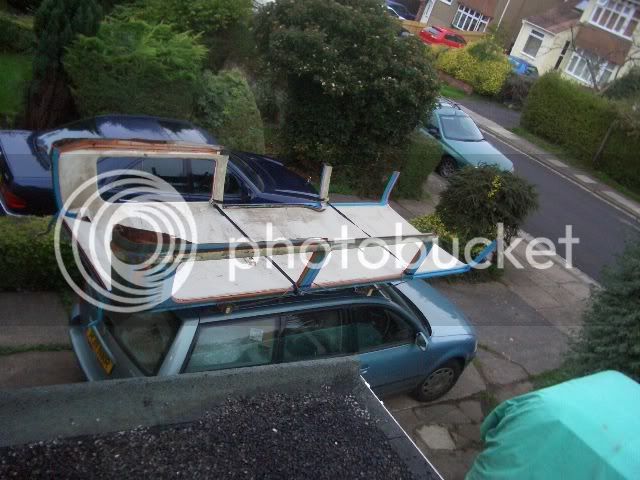
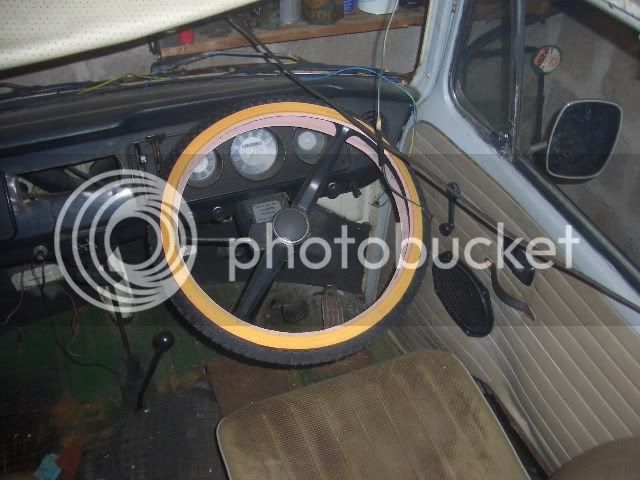
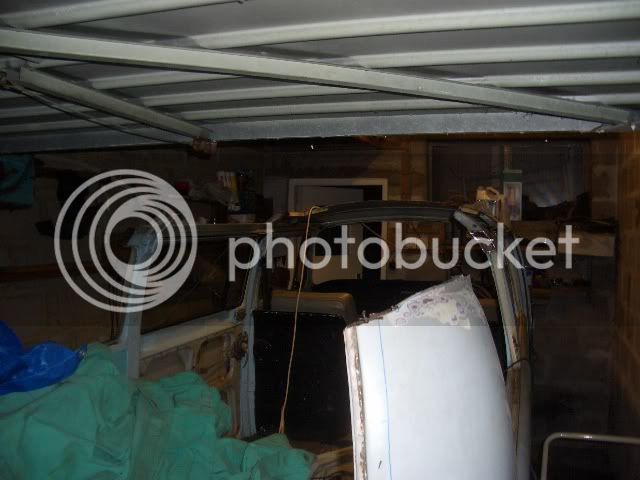
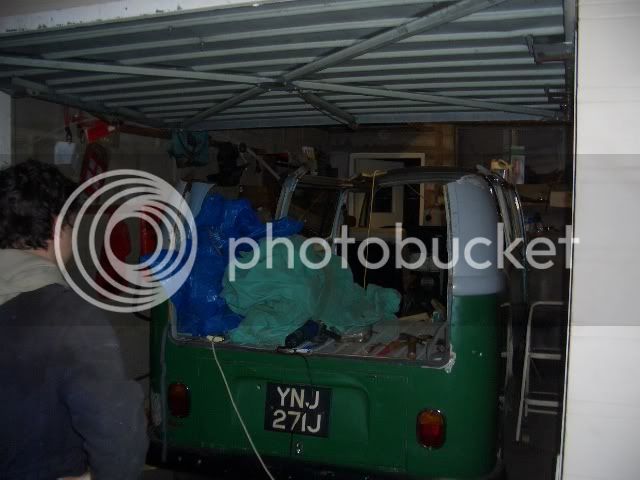
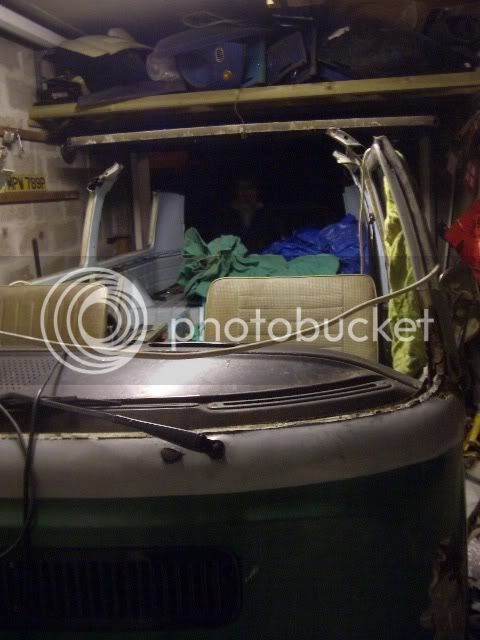
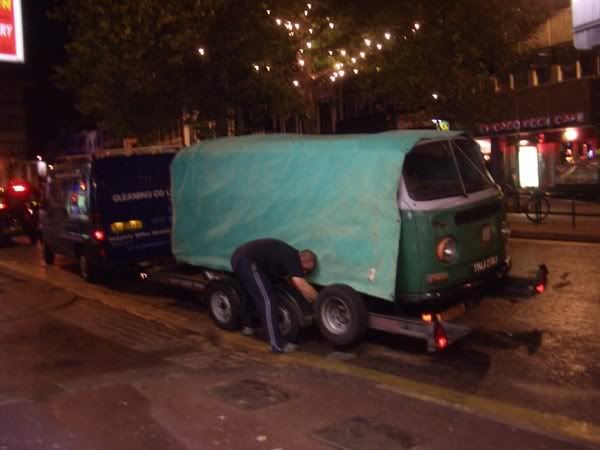
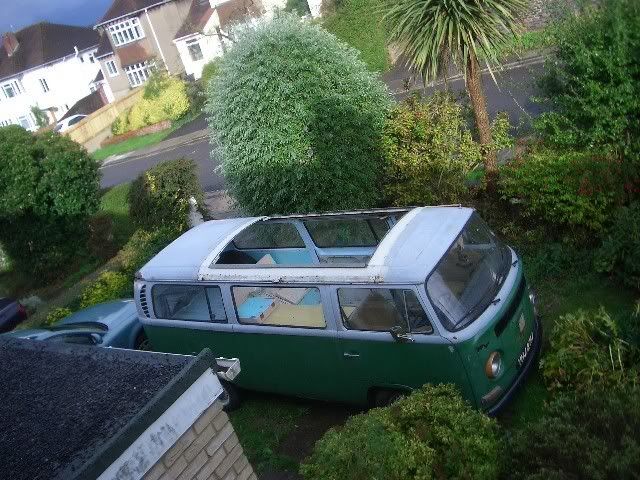
This is what just under a grand buys you in bay window land these days.
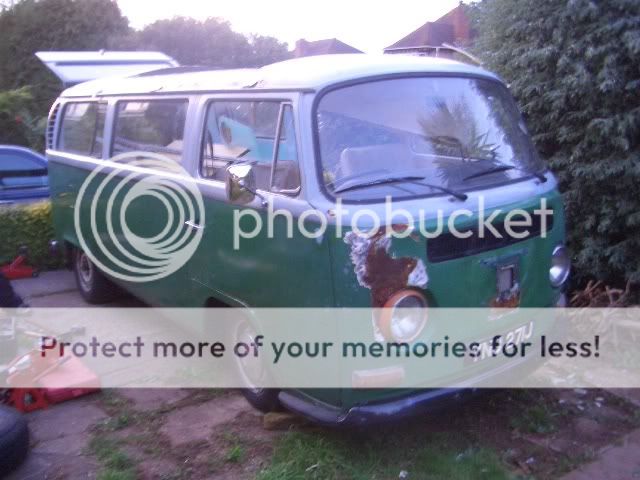
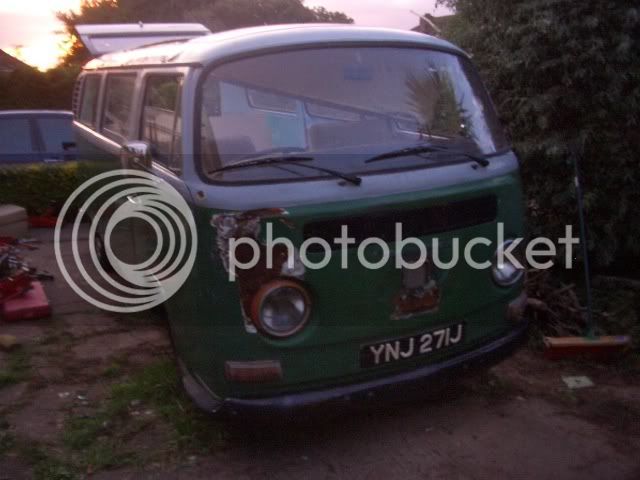
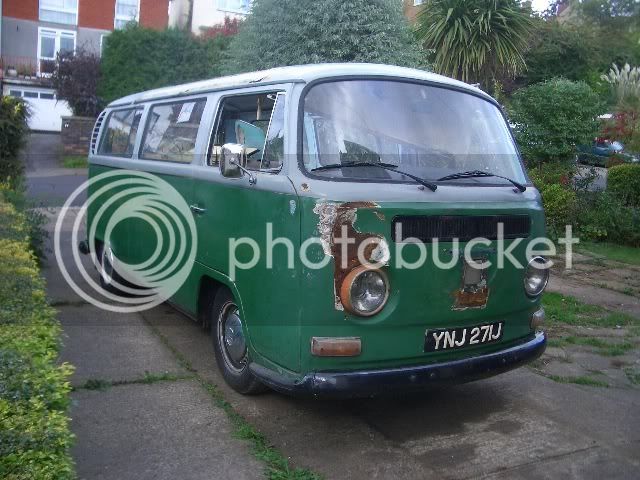
The journey back (thanks Percydub):
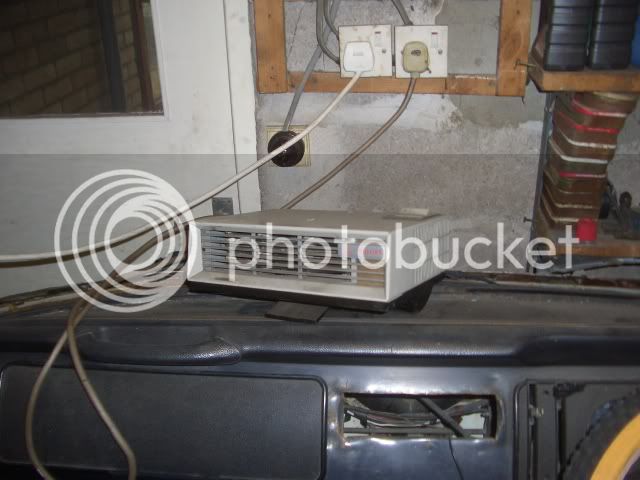
The good:
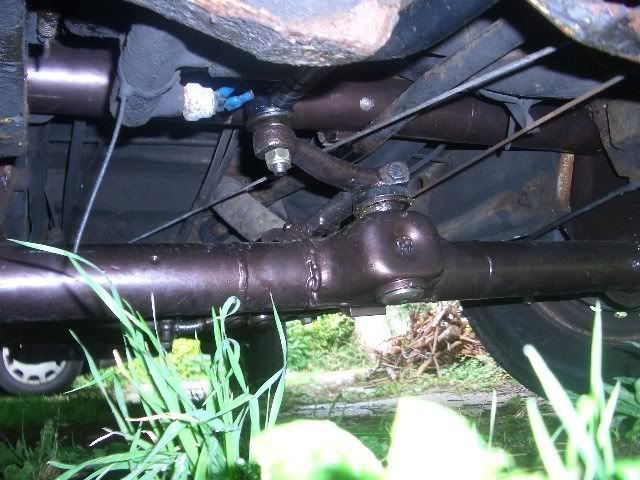
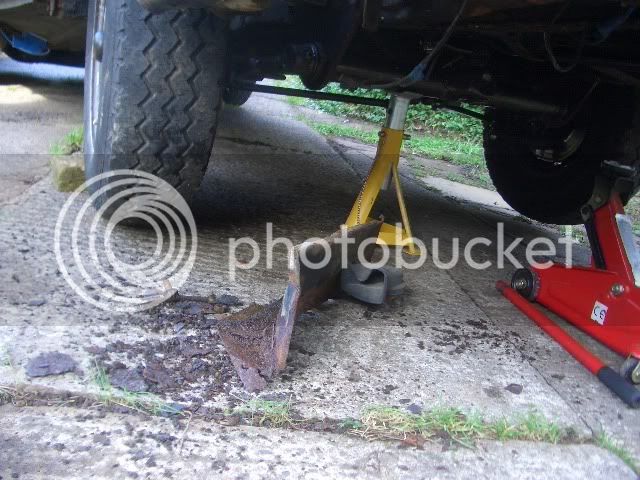
4" narrowed axle beam with creative adjusters - oh yeah - he'll go nice n low on it.
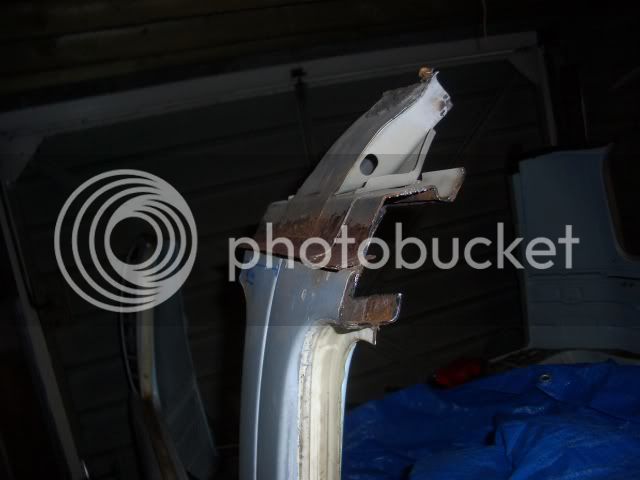
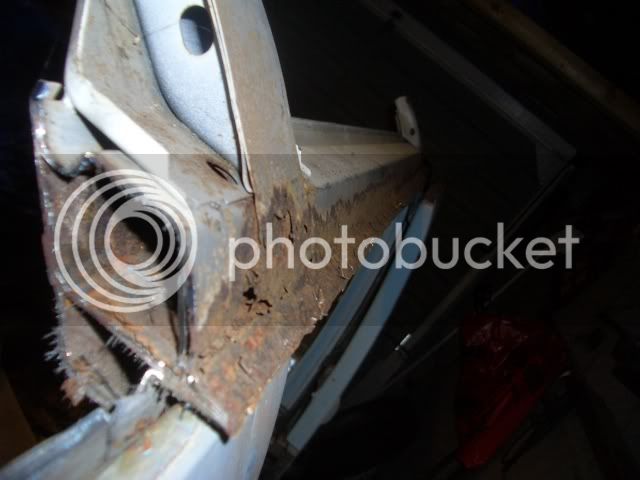
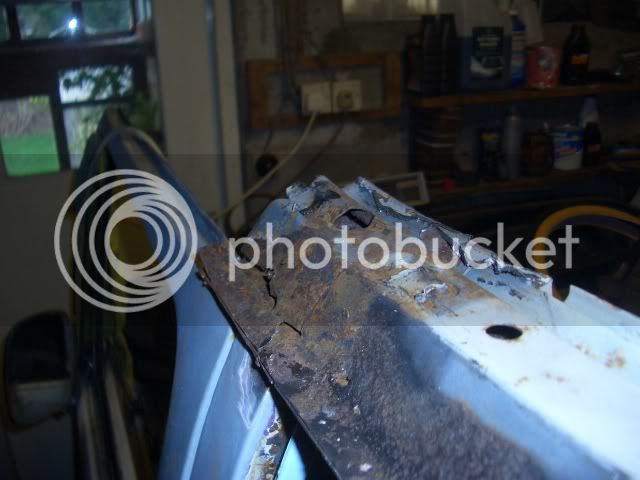
The bad:
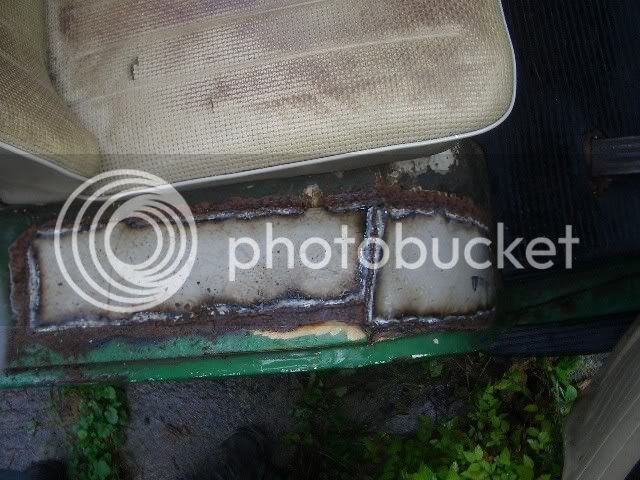
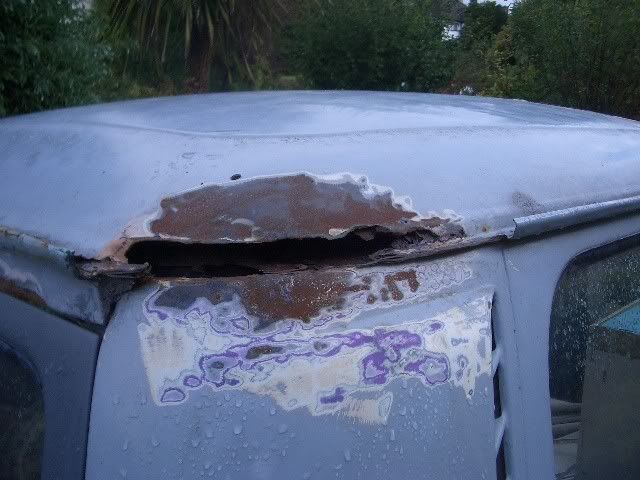
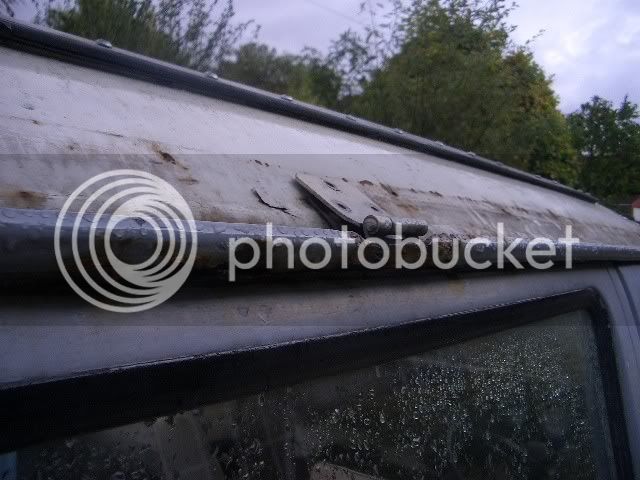
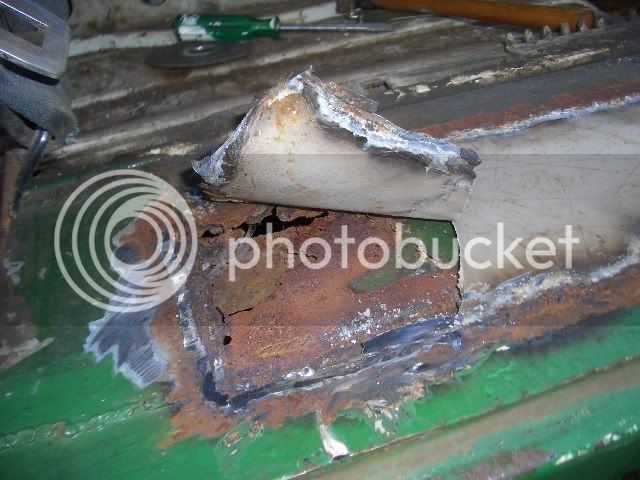
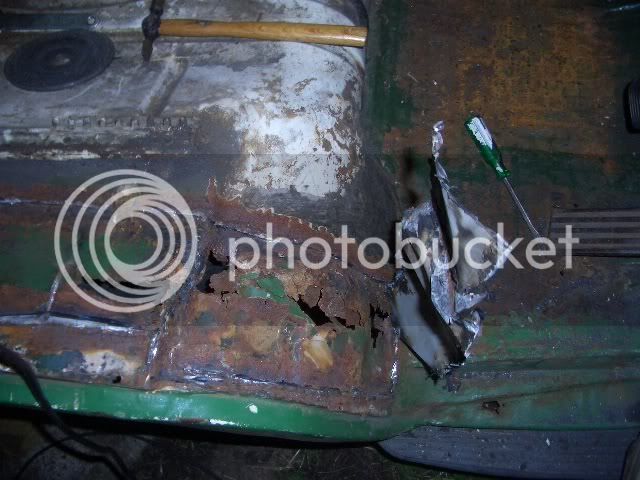
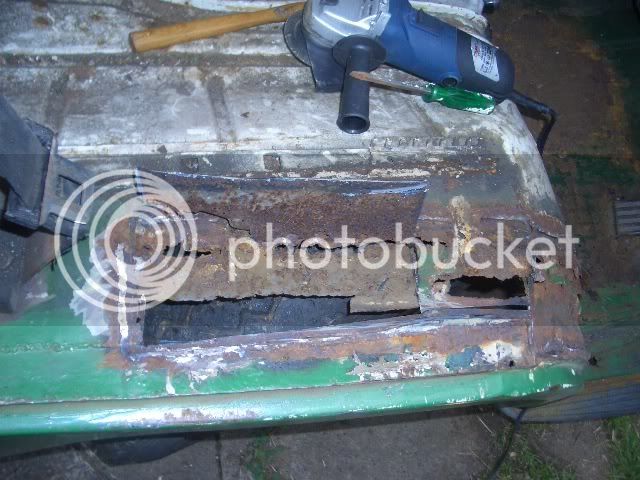
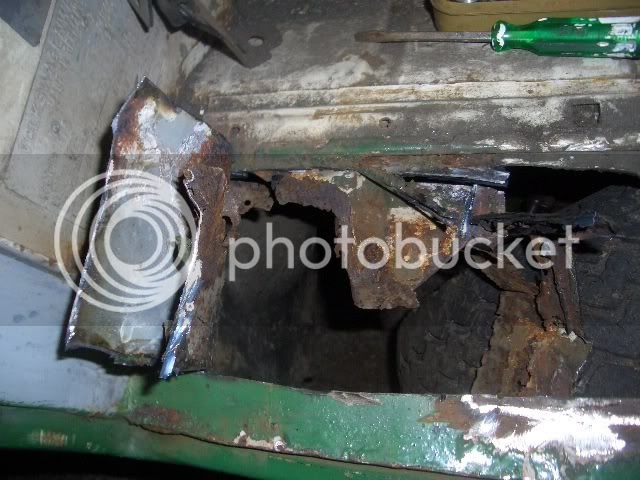
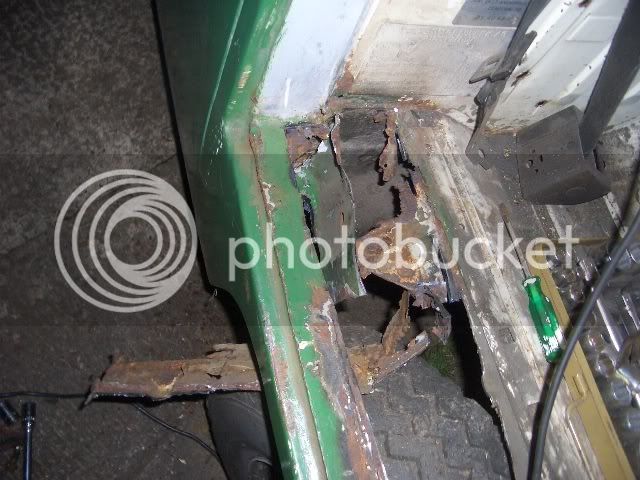
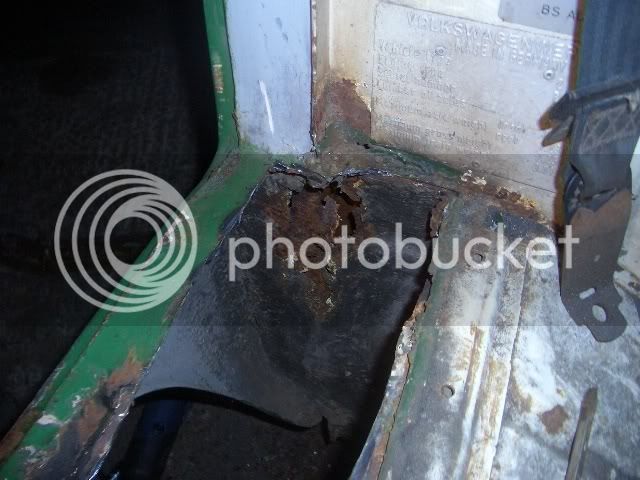
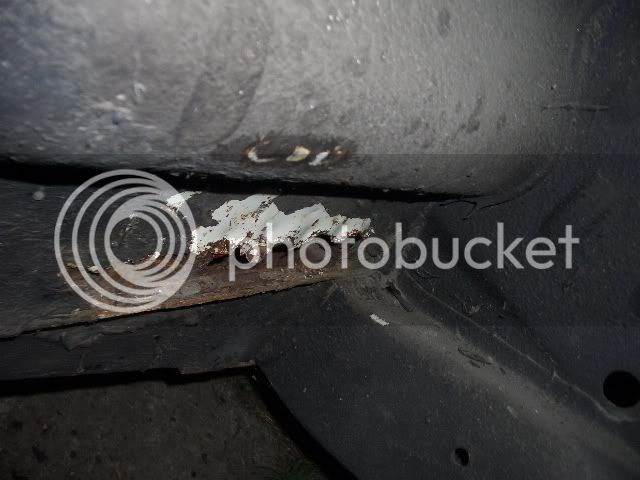
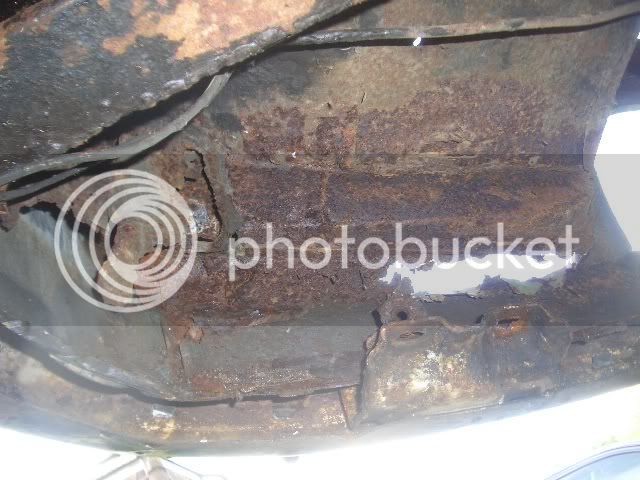
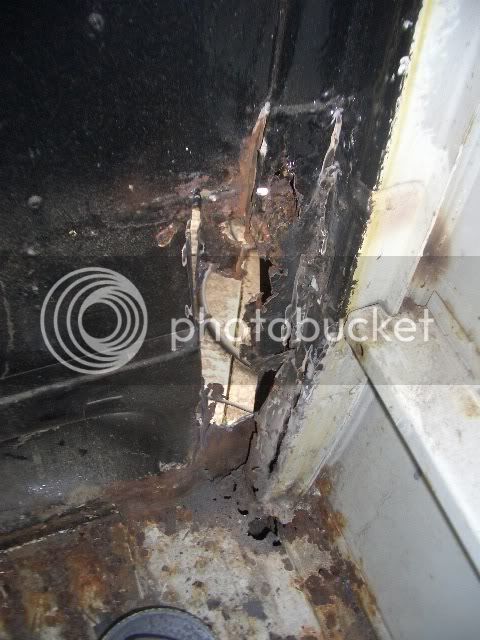
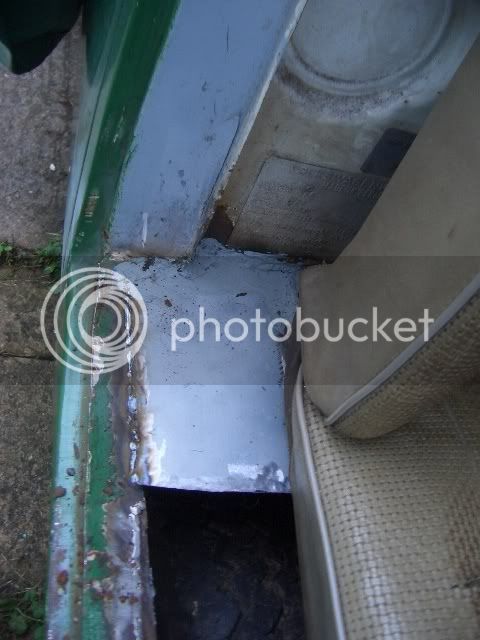
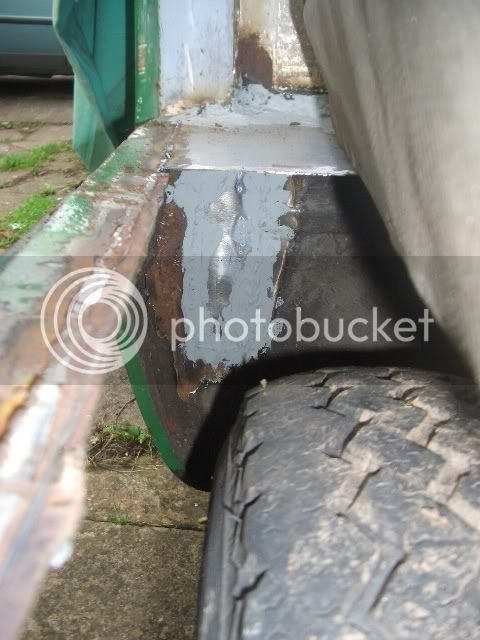
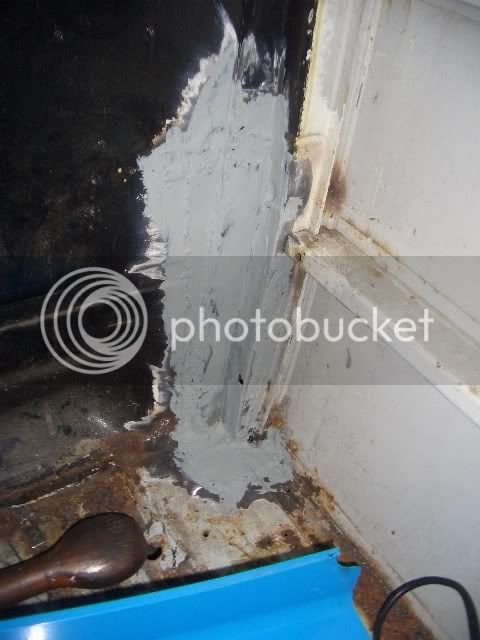
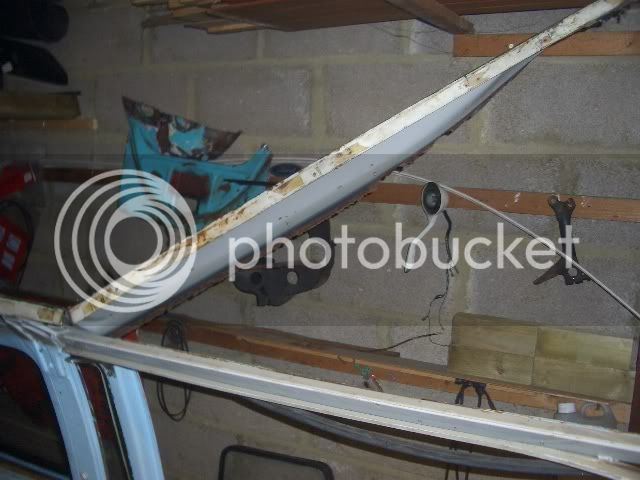
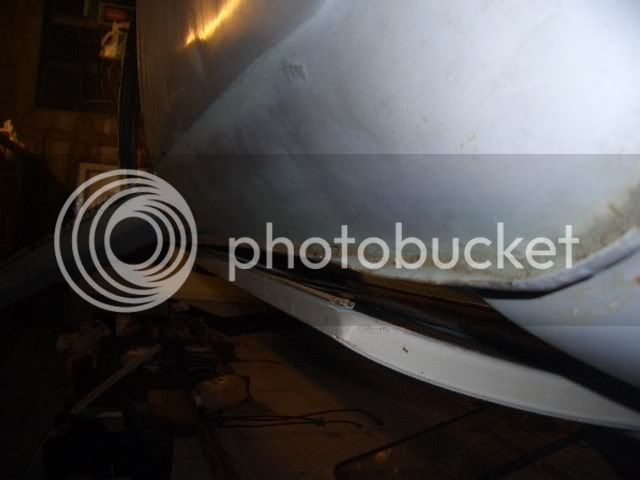
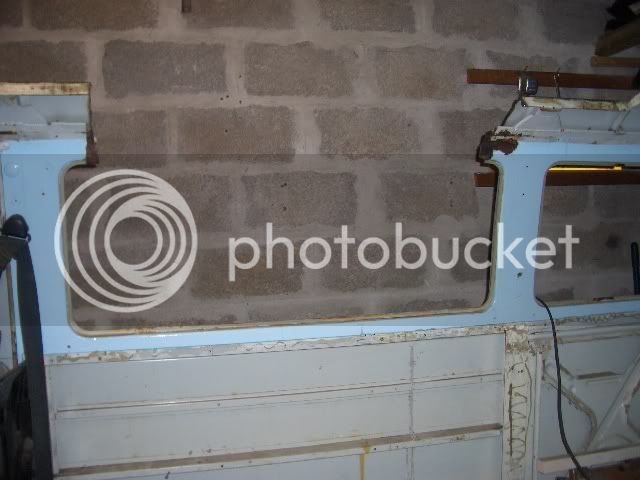
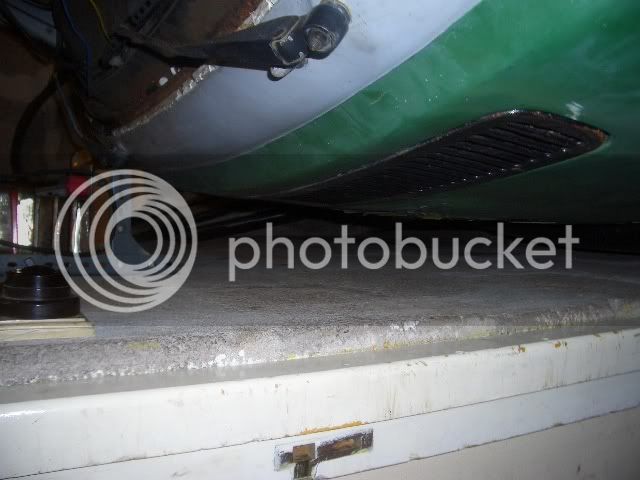
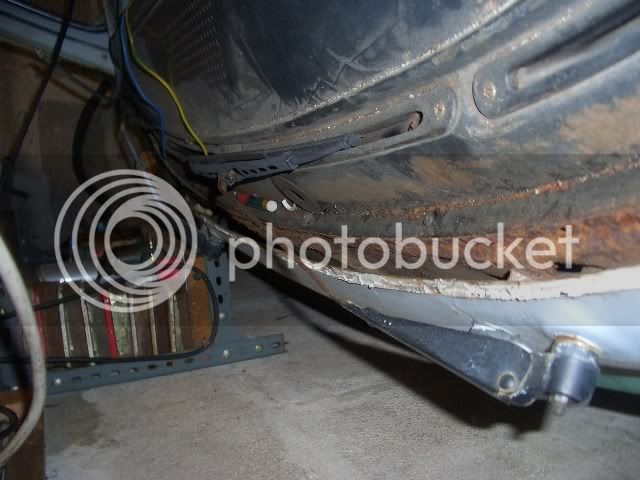
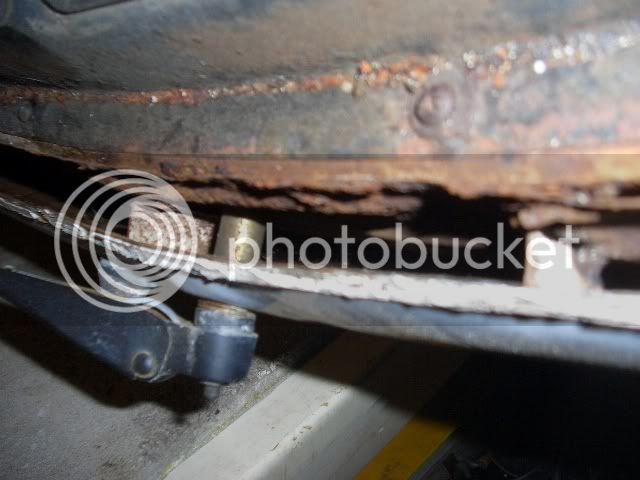
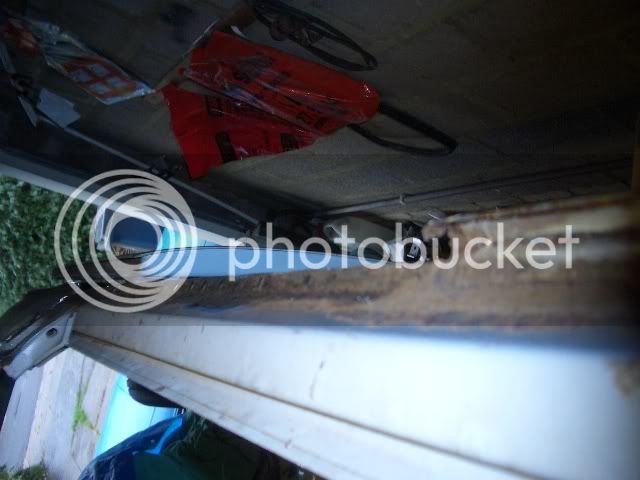
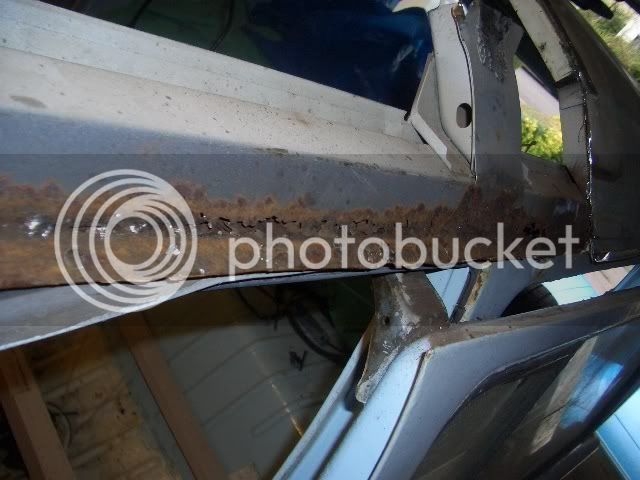
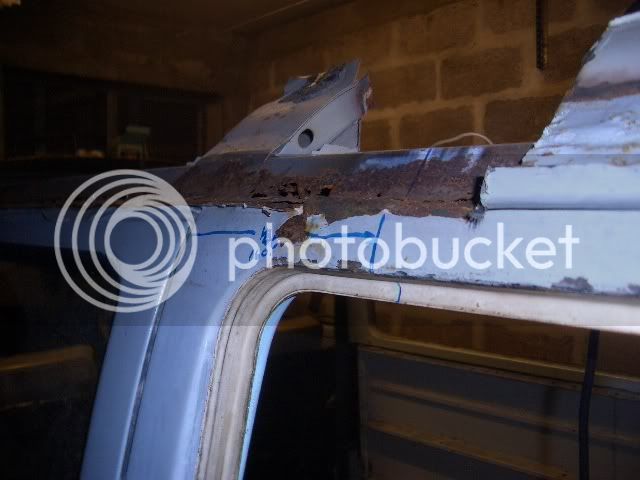
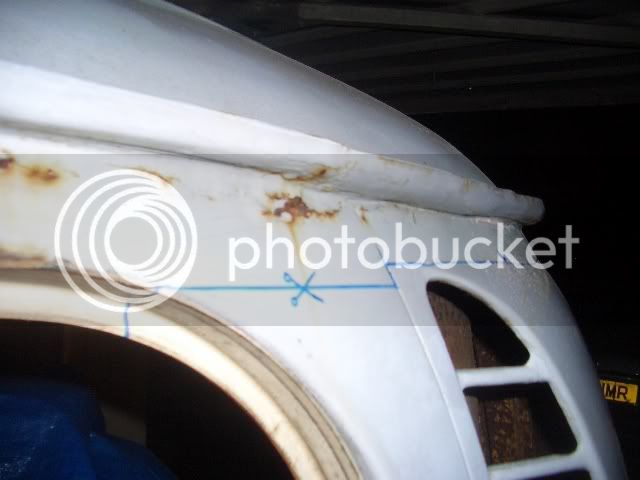
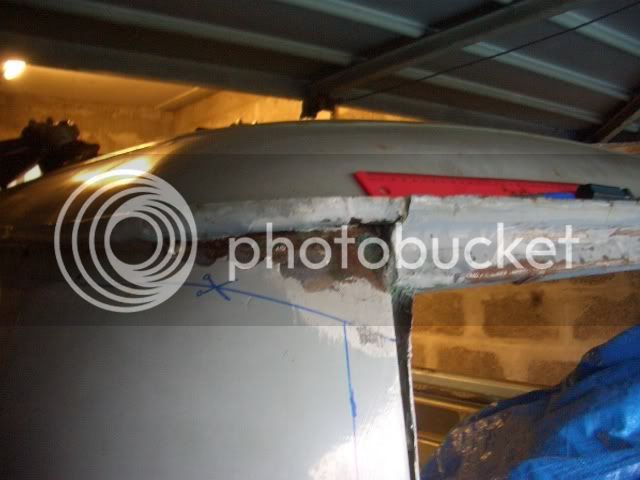
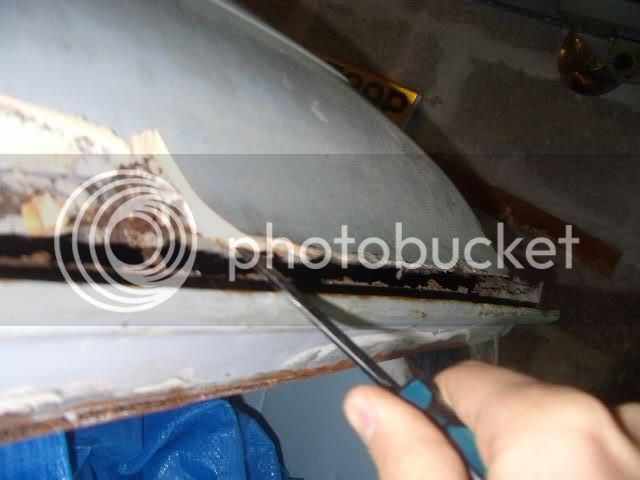
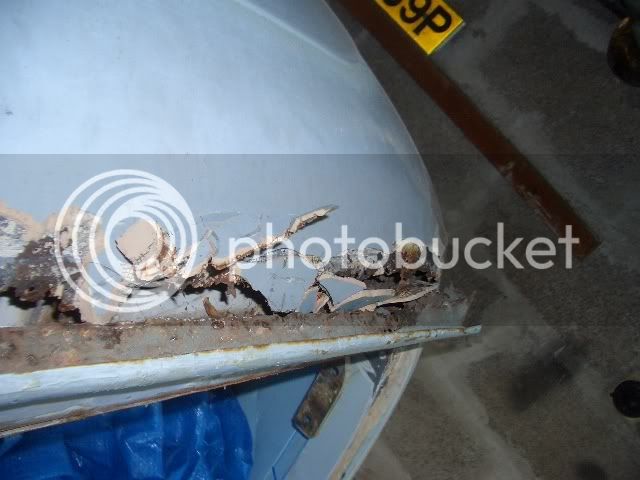
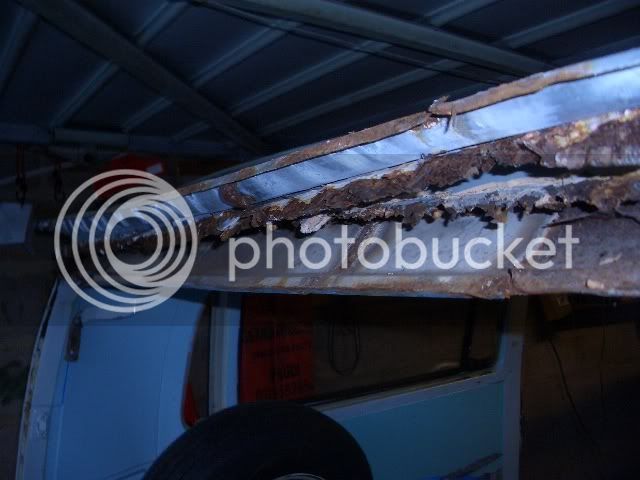
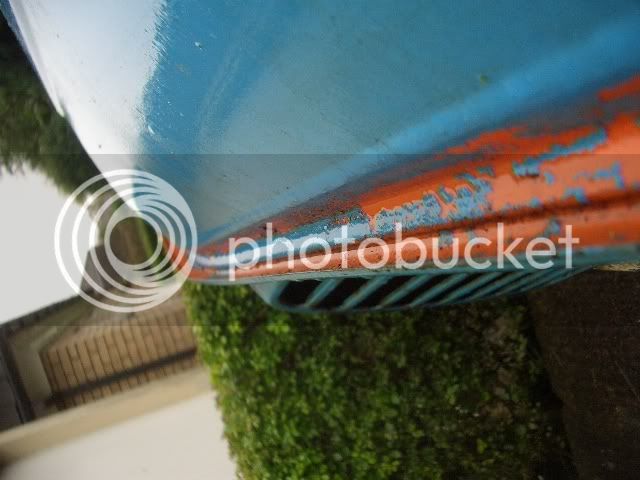
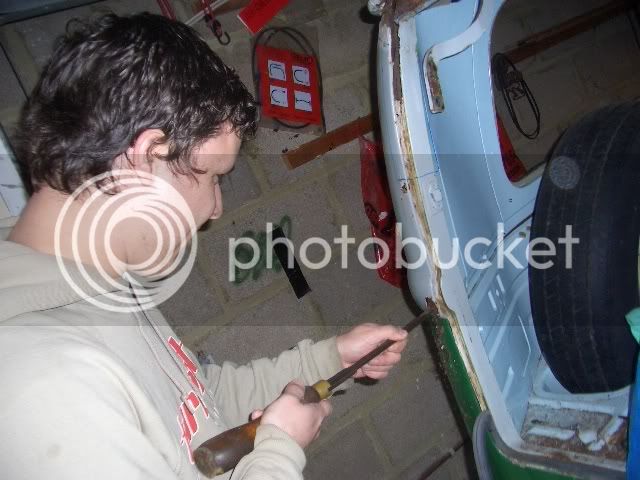
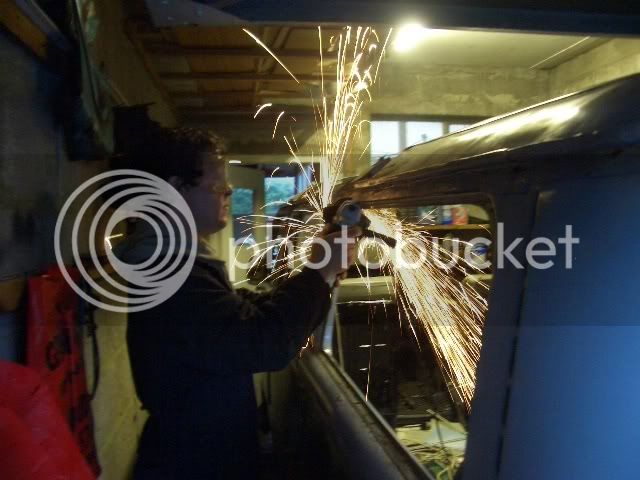
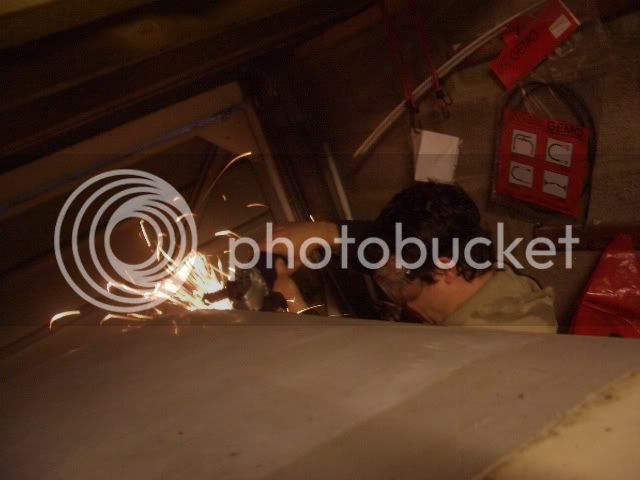
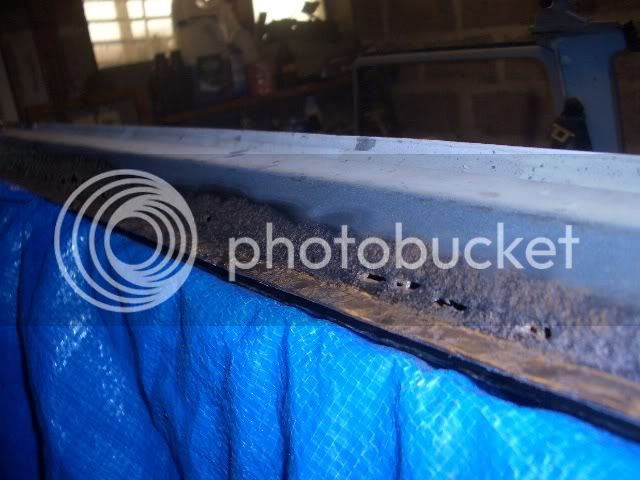
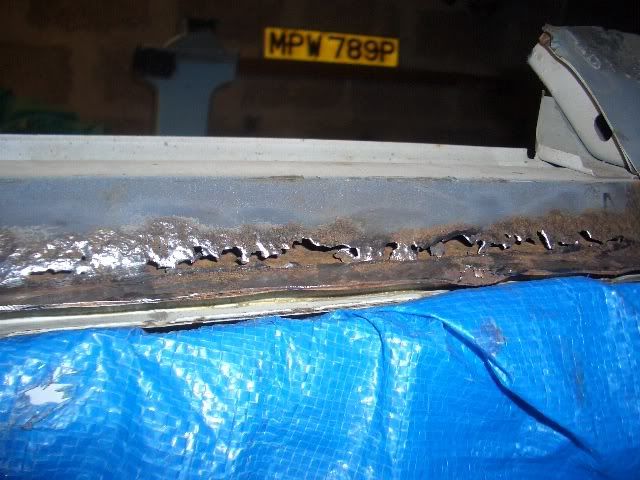
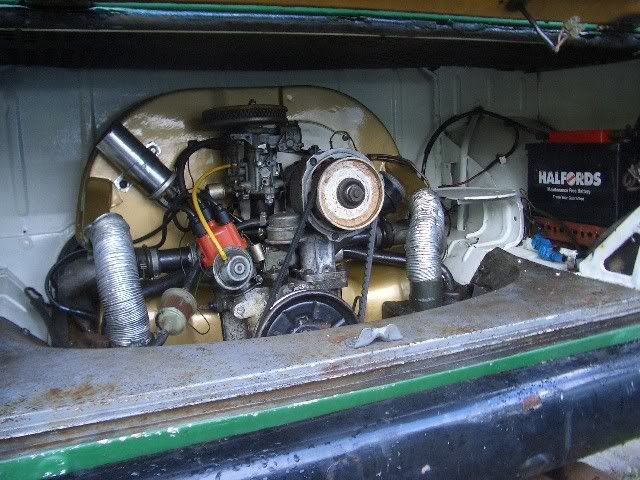
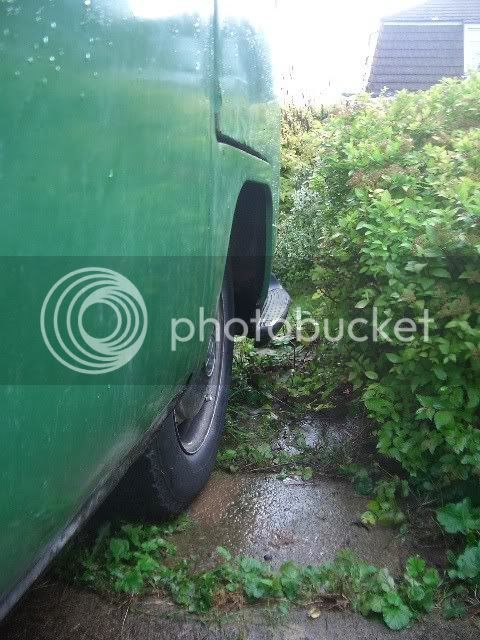
Just a bit rusty, but nothing a tickle with a welder can't sort out.
it's a cheap bay project bought on ebay for just under a grand.
After a 9 hour drive / pickup last night ending after 3 this friday morning.
This is what just under a grand buys you in bay window land these days.
The journey back (thanks Percydub):
The good:
4" narrowed axle beam with creative adjusters - oh yeah
- he'll go nice n low on it. The bad:
Just a bit rusty, but nothing a tickle with a welder can't sort out.