Rear side Quarter Lights - installing new rubbers

Early Bay Forum

Help Support Early Bay Forum:

This site may earn a commission from merchant affiliate links, including eBay, Amazon, and others.

Saercoed

Well-known member
Joined
Nov 14, 2012
Messages
62
Reaction score
0
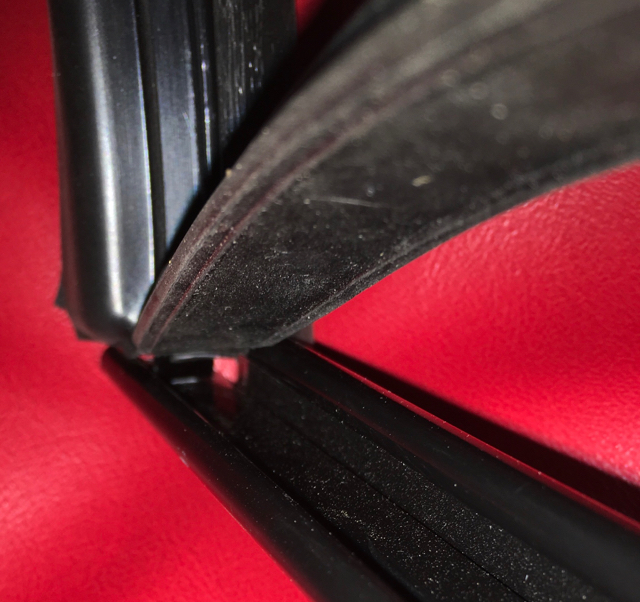
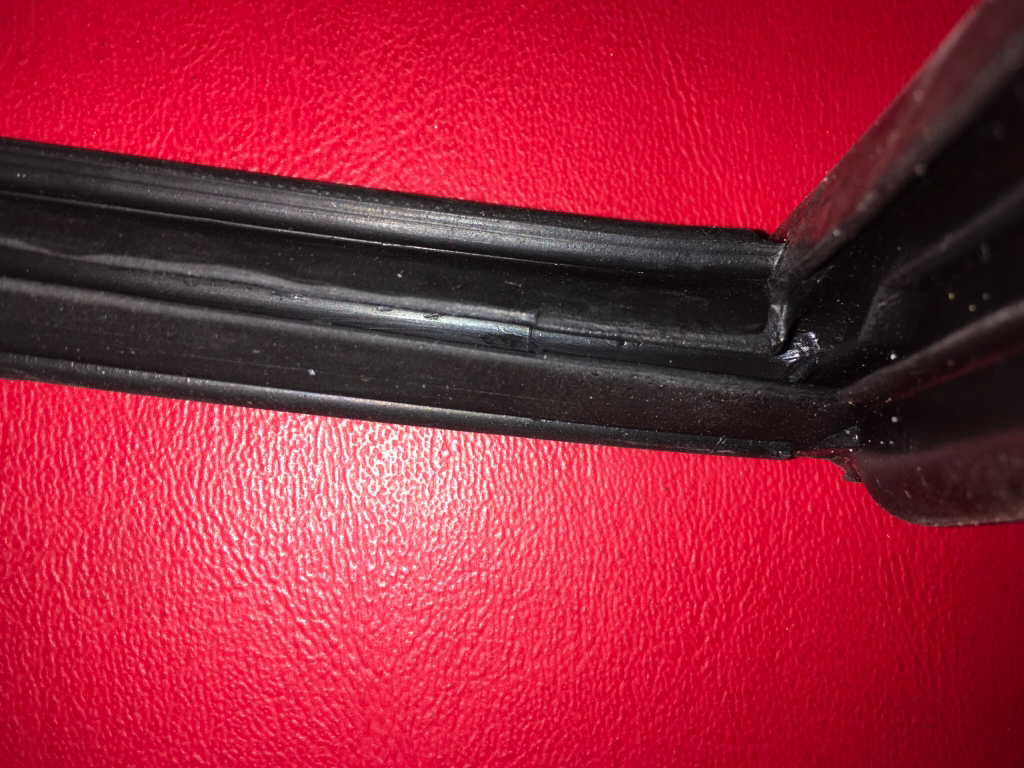
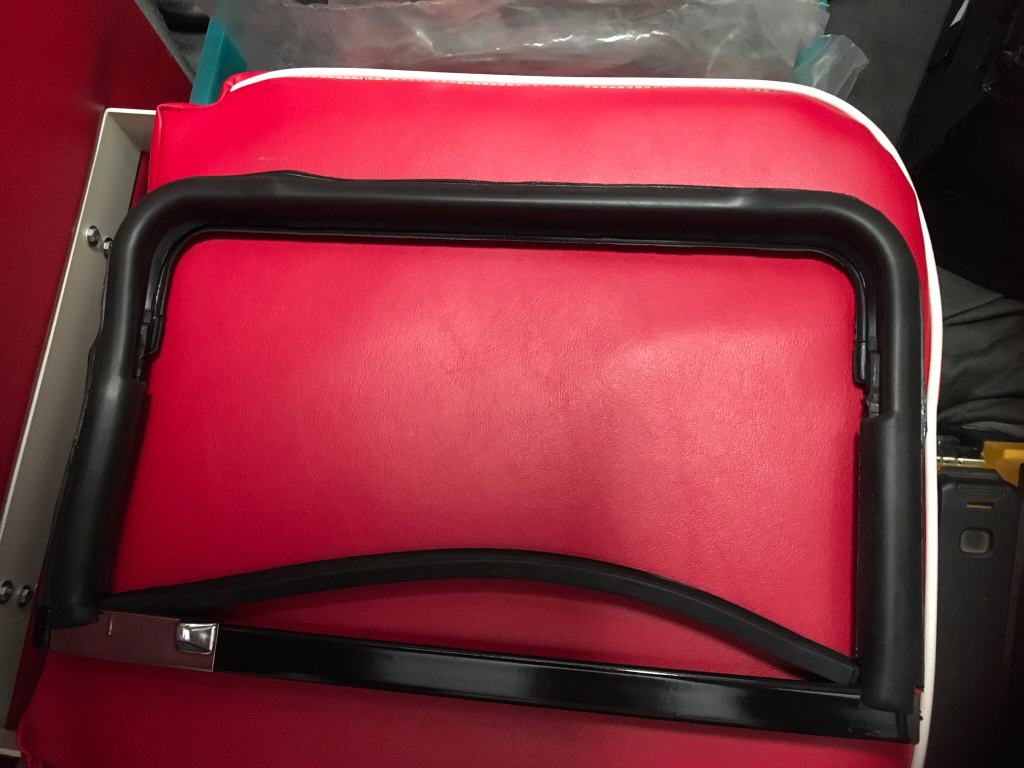
Does anyone have any advice on how to get the vertical section of rubber in the groove? I have riveted the two parts of the metal frame together and partly installed the rubber on the "C" section but the last bit is beating me!
ef295f8d23f13f3e3a832ad69f5c80c8.jpg
1fd4b4fe9b46cec3f4a7faa358b7084b.jpg
33c688ba6c007a910d3df84b1bf93ed5.jpg
7ccfa10b89ae2de1fc0622c85a24c515.jpg
b2204f0540130d133f56c4db5b63e759.jpg
 
Saercoed said:
Does anyone have any advice on how to get the vertical section of rubber in the groove? I have riveted the two parts of the metal frame together and partly installed the rubber on the "C" section but the last bit is beating me!
ef295f8d23f13f3e3a832ad69f5c80c8.jpg
1fd4b4fe9b46cec3f4a7faa358b7084b.jpg
33c688ba6c007a910d3df84b1bf93ed5.jpg
7ccfa10b89ae2de1fc0622c85a24c515.jpg
b2204f0540130d133f56c4db5b63e759.jpg
WD40 mate. Get as much of the larger side of the rubber hooked in as possible and then ease the smaller side under the lip with a really blunt flat bladed screw driver. Being really careful not to slip and damage yourself, the rubber or the channel. Once you get one bit started work along and it will start to slip in nicely. If it's a new frame and new rubber good luck getting it into the van. They can be a nightmare. Make sure you close the quarter light window before installing it a leave it closed during the whole process otherwise the frame may bend.
 
I don't think WD40 is entirely rubber safe, silicone spray is the way to go with this one.

Did exactly the same thing on my bus recently. I can't actually open the quarter light anymore though, the new 3/4 window and quarter seal are that tight.

Sent from my Wileyfox Swift 2 using Tapatalk

 
Yes you're absolutely right silicone spray is best although WD40 only eats natural rubber. Plus I don't think the small amount used would have any effect especially if you clean everything after installation like I do.
I'm glad to hear others can't open the window after installation and it's not just me. I figured it was more important to have a tight seal and keep water out than being able to open it.
Let us know how you get on I'd be interested you hear how you find the process. Good luck buddy.
 
i just did the same repair while getting my bus painted. i used a mild hand soap (neat) and a blunt screwdriver to prize the rubber under the c section lip . If you work from the ends of the vertical section to the middle its easier and make sure you get the flatter C section side in first as its easier to push the other side in.

this side in first...

14ljwpz.jpg
 
I've got two bruised thumbs from trying the taller side first :lol: but everyone has there own methods

I found it easier to rest the frame on the straight edge with the glass fully open as a stand and shallow c section furthest from me (helps if you have another bod to hold the frame steady). This allowed maximum pressure and with less chance of scraping the paint off the vertical. Then with the taller c section I only had to push down for it to slip in place, the shallower c section had to go down and slide in.

I also found the new aluminum C frame was millimeters longer than the original and bending the tabs where the vertical was fixed to, helped when fitting the larger window in behind. We had the whole window assembly in and out a few times before we realised this was the only way to get the quarter light rubber to seat and fit flush to the body at the font side.

don't be afraid to give it a good tap to get the quarter light to fit as far forward as possible in the bus. The vertical upright with the c sections also has tabs that must fit over the bodywork of the bus its self before you start to push the whole quarter light forward. You will find a nick at the top of the frame aperture of the bus to allow this to slide in place. I should have took a few pictures but we were under pressure to get done for MOT (passed with no advisories).
 
Johnny said:
I've got two bruised thumbs from trying the taller side first :lol: but everyone has there own methods

I found it easier to rest the frame on the straight edge with the glass fully open as a stand and shallow c section furthest from me (helps if you have another bod to hold the frame steady). This allowed maximum pressure and with less chance of scraping the paint off the vertical. Then with the taller c section I only had to push down for it to slip in place, the shallower c section had to go down and slide in.

I also found the new aluminum C frame was millimeters longer than the original and bending the tabs where the vertical was fixed to, helped when fitting the larger window in behind. We had the whole window assembly in and out a few times before we realised this was the only way to get the quarter light rubber to seat and fit flush to the body at the font side.

don't be afraid to give it a good tap to get the quarter light to fit as far forward as possible in the bus. The vertical upright with the c sections also has tabs that must fit over the bodywork of the bus its self before you start to push the whole quarter light forward. You will find a nick at the top of the frame aperture of the bus to allow this to slide in place. I should have took a few pictures but we were under pressure to get done for MOT (passed with no advisories).
Thanks
 
Where did you get you new rubbers from? I'm struggling to find some for my 3/4 windows with 1/4 openers.
 
It's more than a year old post but I write down how I made it. I took the frame apart drilling the rivets off. I used soap and pulled in the seal to the vertical C section first. It was a bit hard but I could do it. These seals made from a really strong rubber, so I stretched it a bit and it was easier to pull in from one end holding the C vertical section in a vice using soft jaws. After I put back the other frame and riveted one side only, placed back the glass and riveted the other side. I fought a lot with them but looks OK and open and close, however I haven't installed them yet.
It's a different way but may helps to other. Only one negative thing that the factory rivets must be drilled out.
 
I would strongly recommend NOT using wd40. It stays wet too long and means all the buggers slip out again, same for any window seals.

Would only recommend fairy liquid water solution in a spray bottle. Works well
 
Anybody else have trouble getting the seals tight to the body? Starting to think these seals were a waste of time!
 
Top