71 Dormobile Spruce Up........

Early Bay Forum

Help Support Early Bay Forum:

This site may earn a commission from merchant affiliate links, including eBay, Amazon, and others.

71Dormobile

Well-known member
Joined
Oct 10, 2006
Messages
532
Reaction score
1
Location
SWales
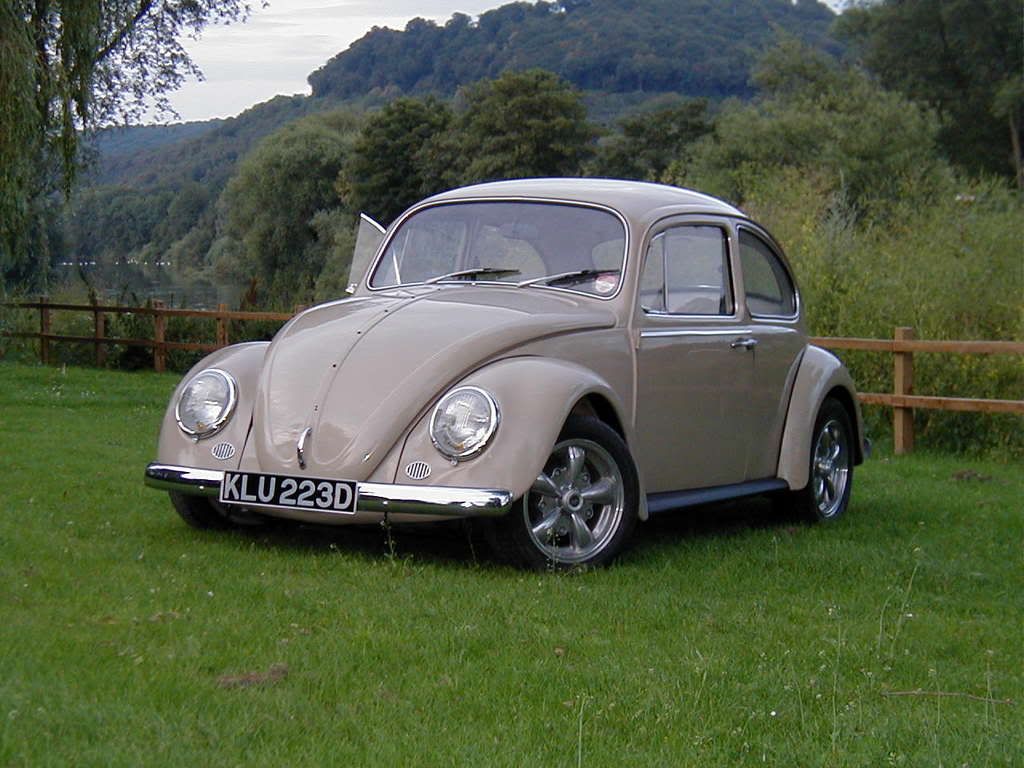
Spruce ups started with a bit of welding / practice on a couple of beetles, so having slaved on two...

OvalBack.jpg


P1010145.jpg


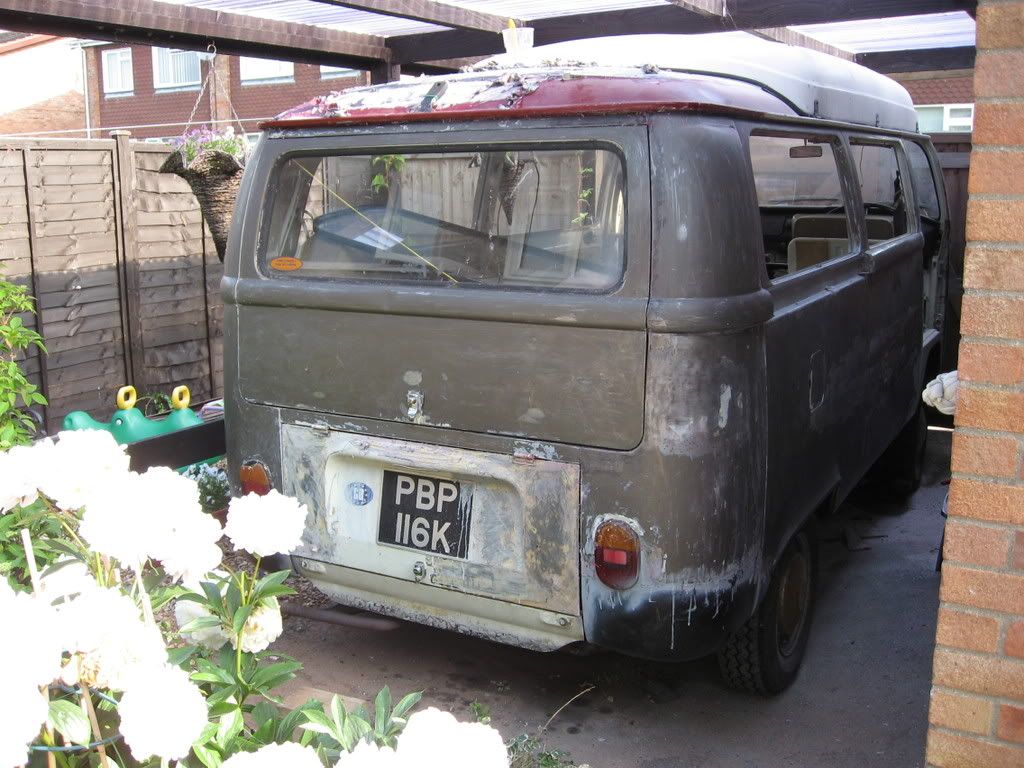
and selling them on before really appreciating them we bought our first camper, a 1971 Dormobile for a fair price from a great chap down in Burgess Hill.

P1010071.jpg


TheBUsInside.jpg


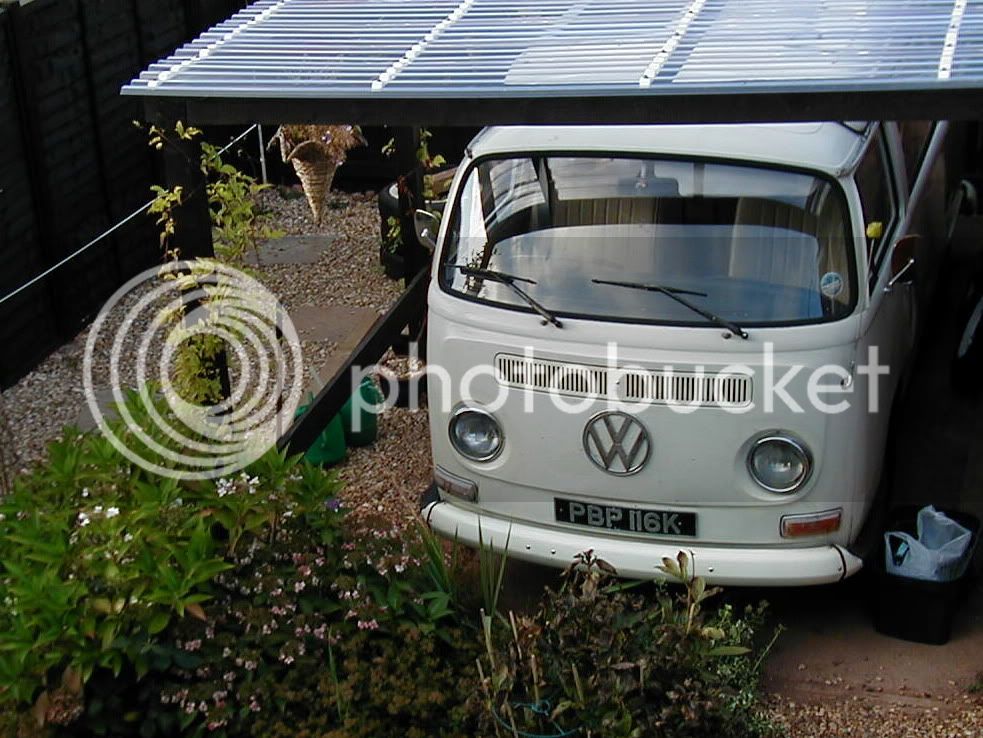
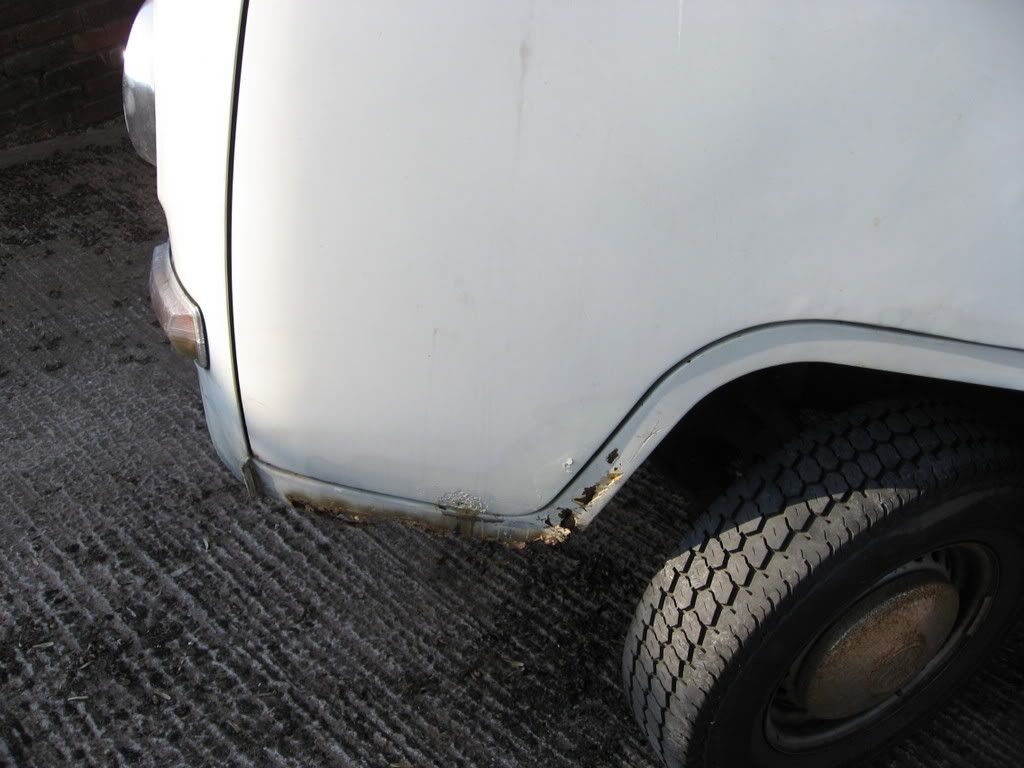
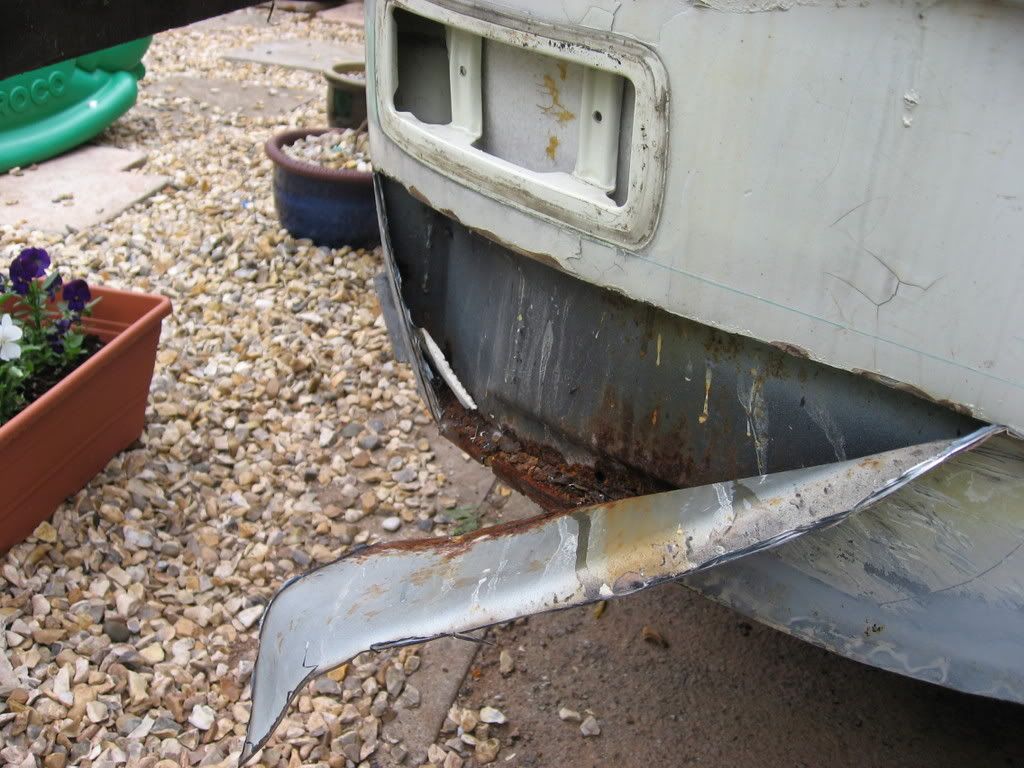
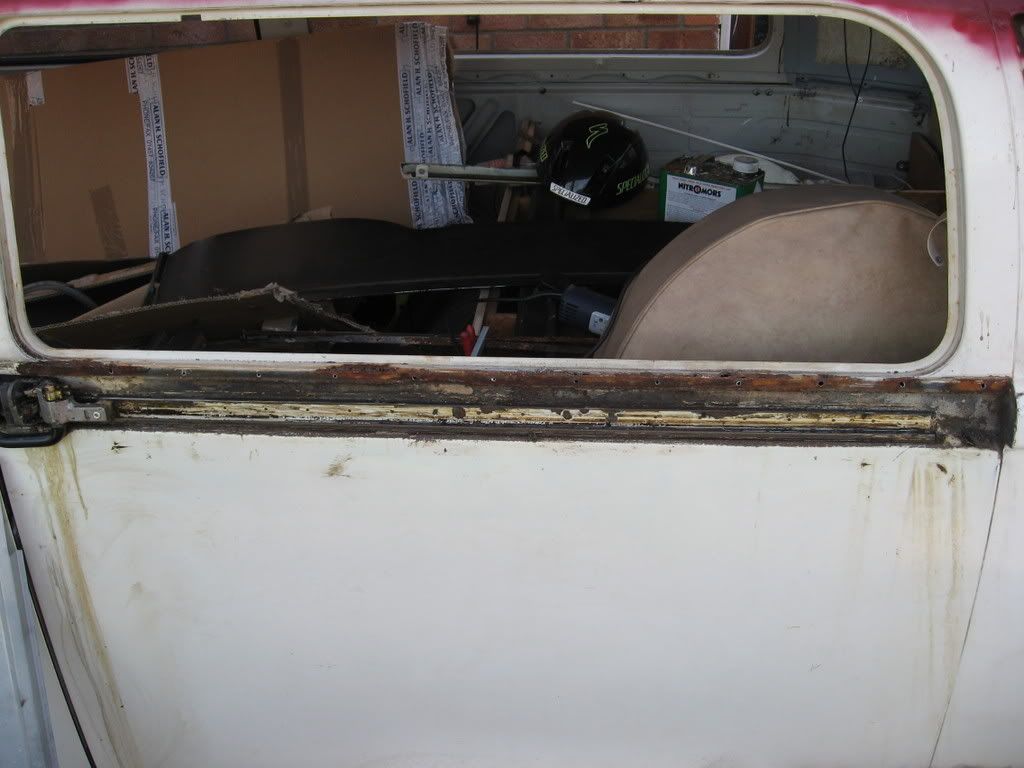
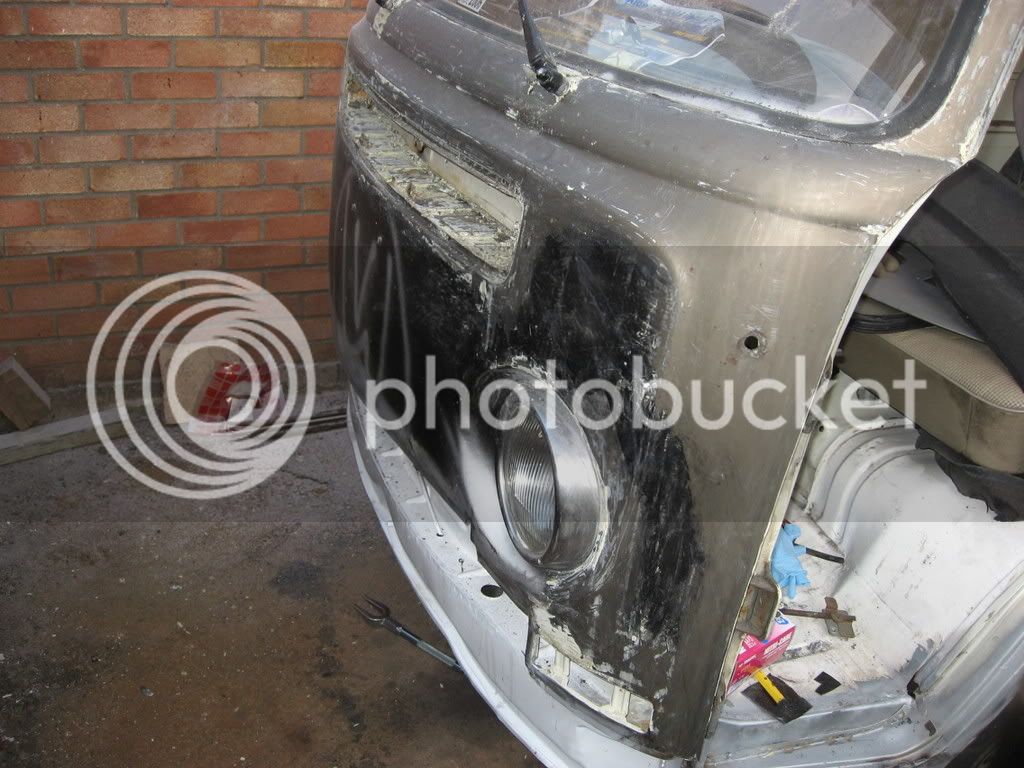
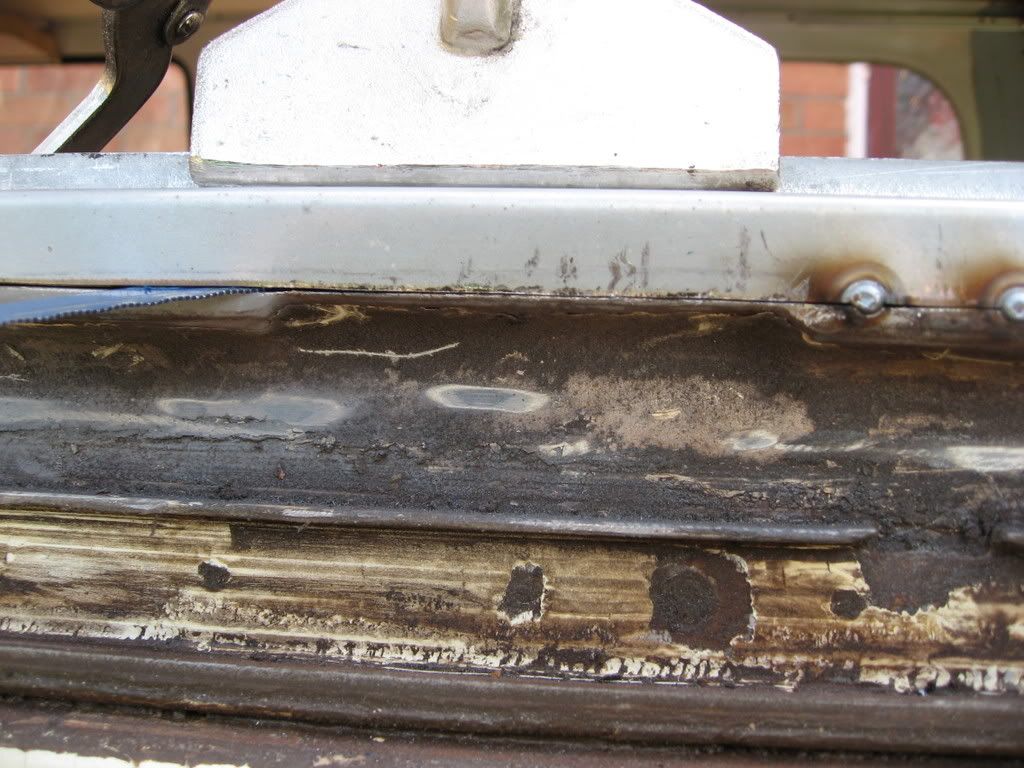
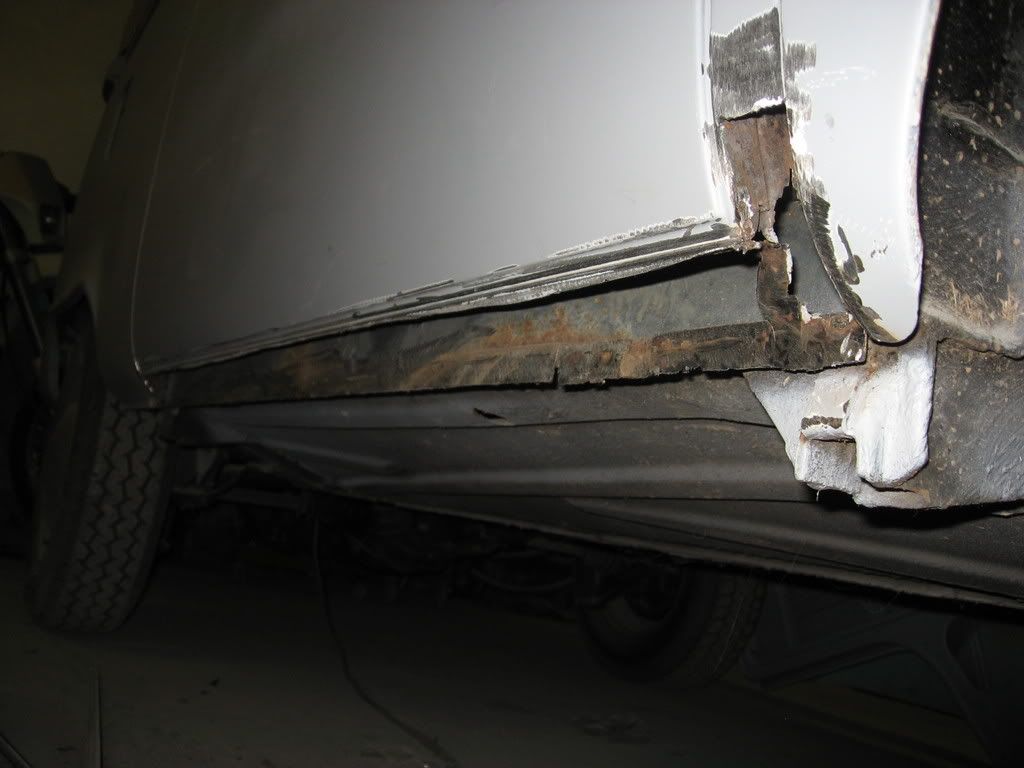
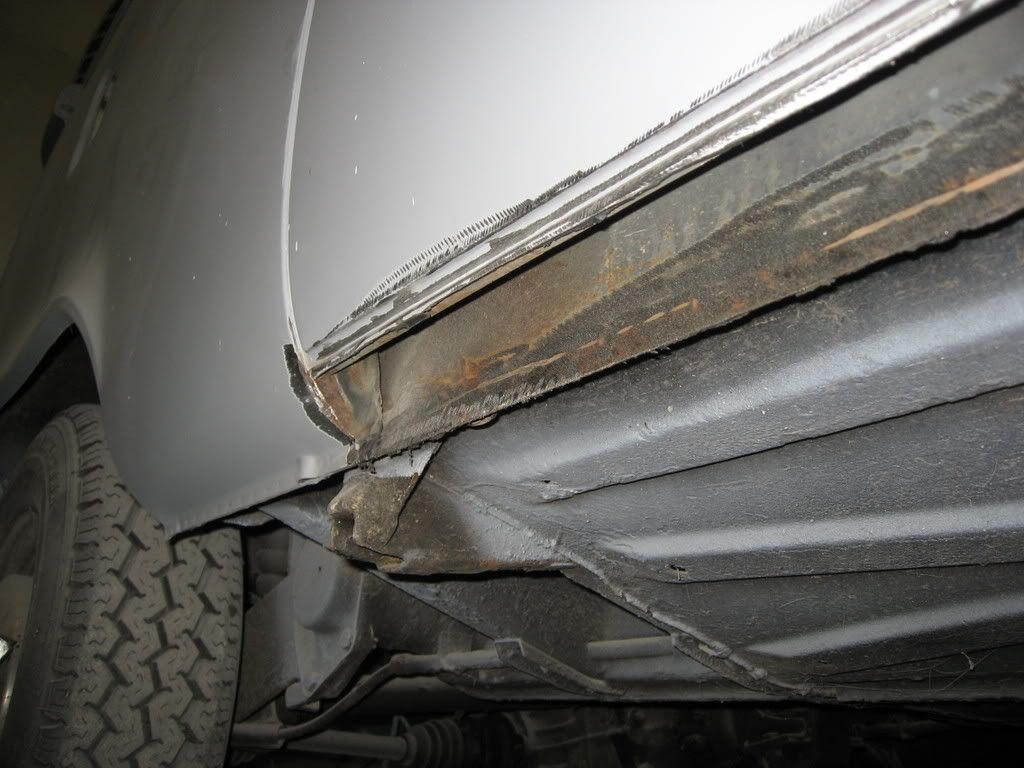
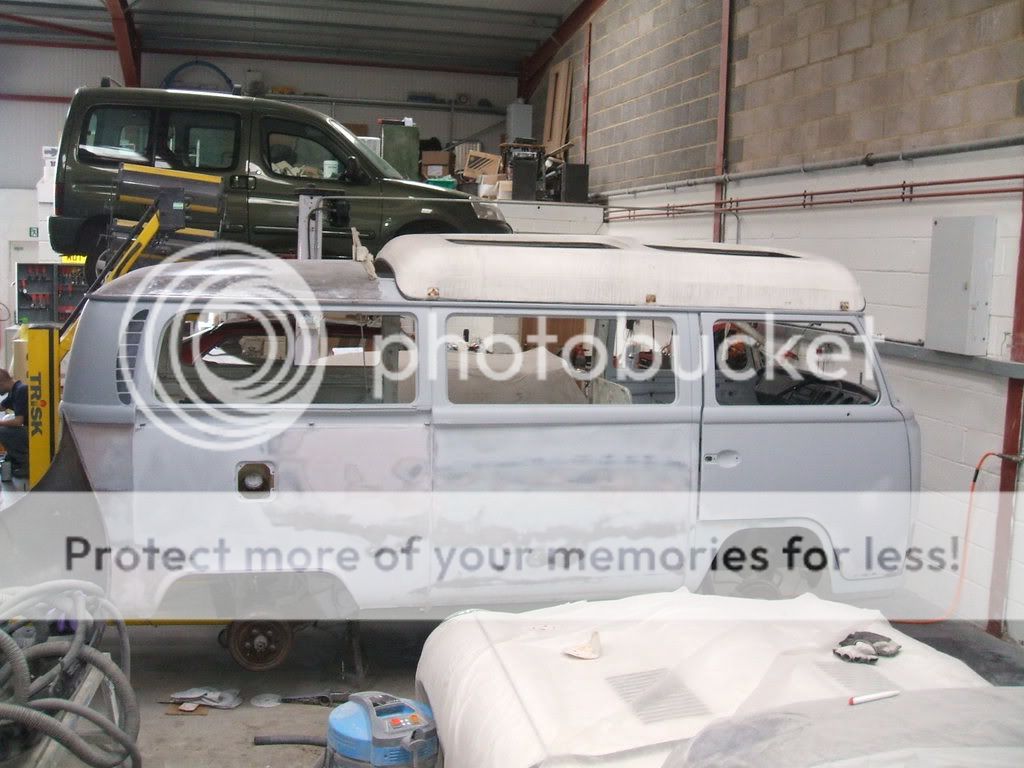
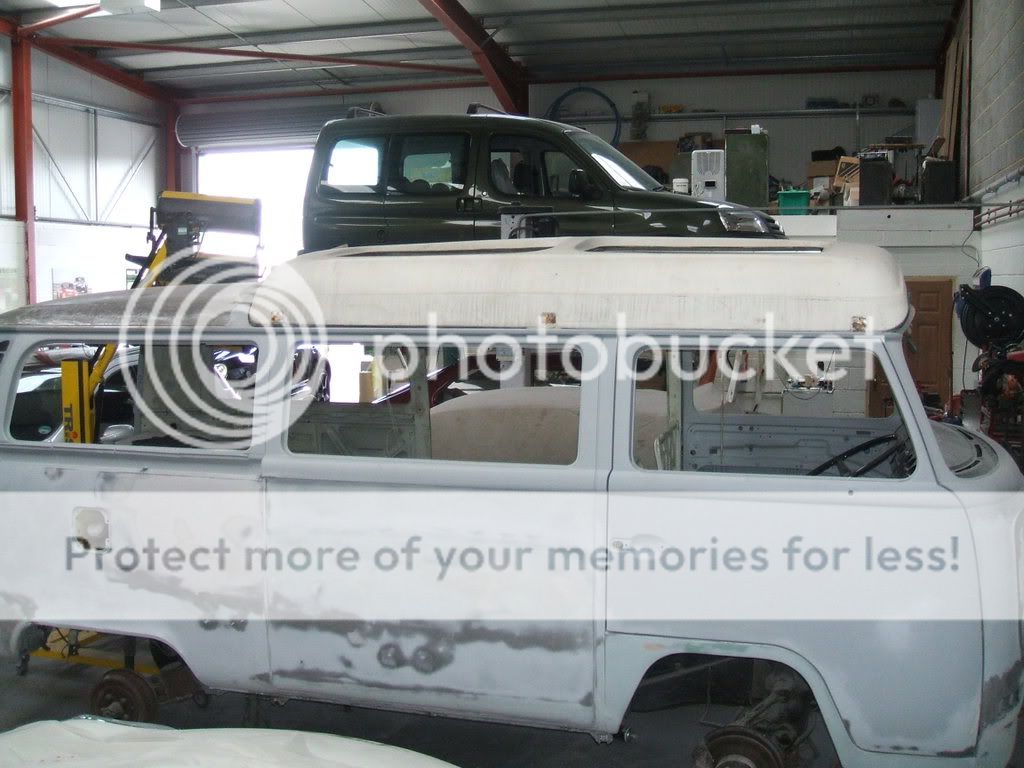
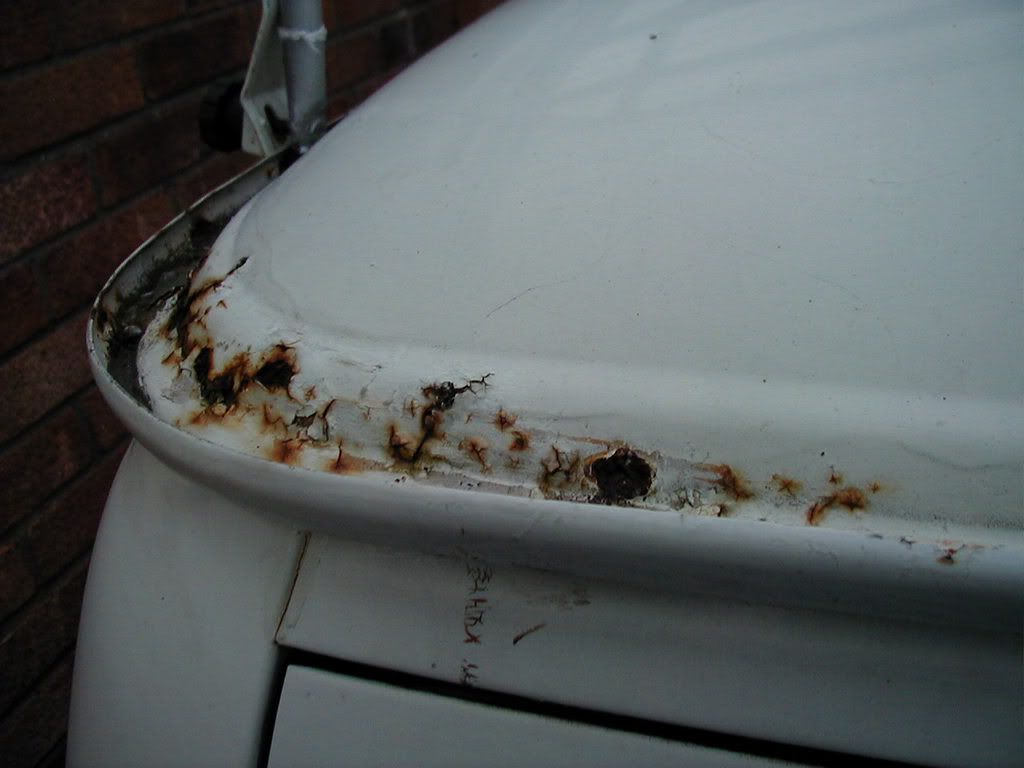
A very honest van although it was a bit rough round the edges....


P1010075.jpg


P1010077.jpg


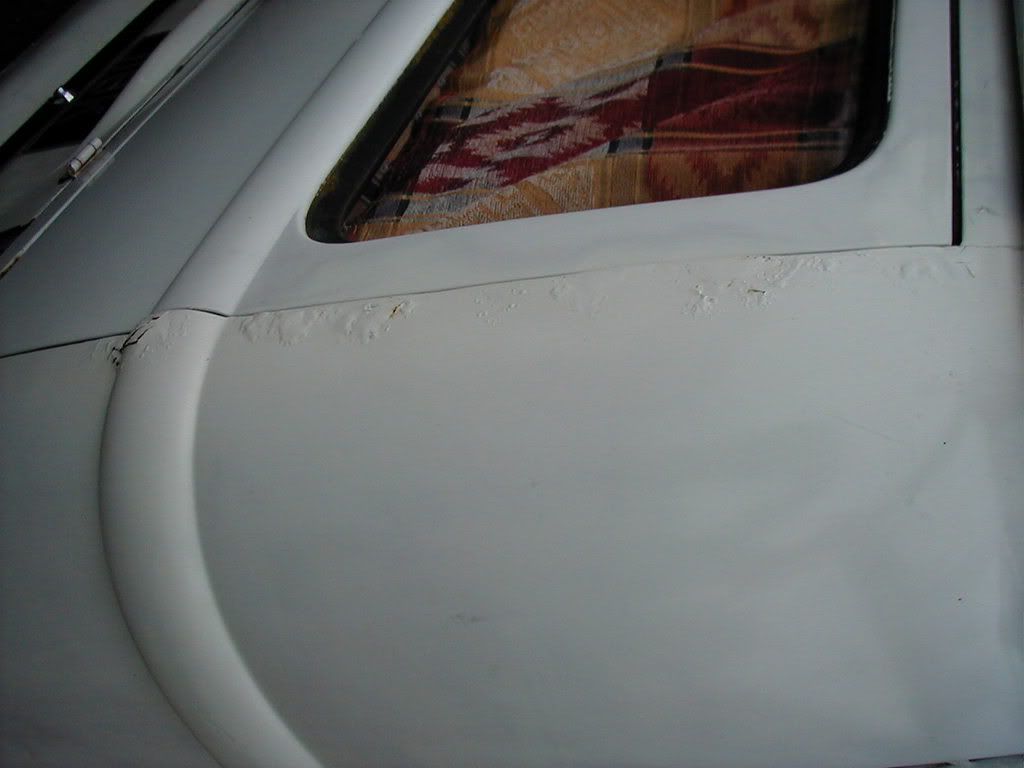
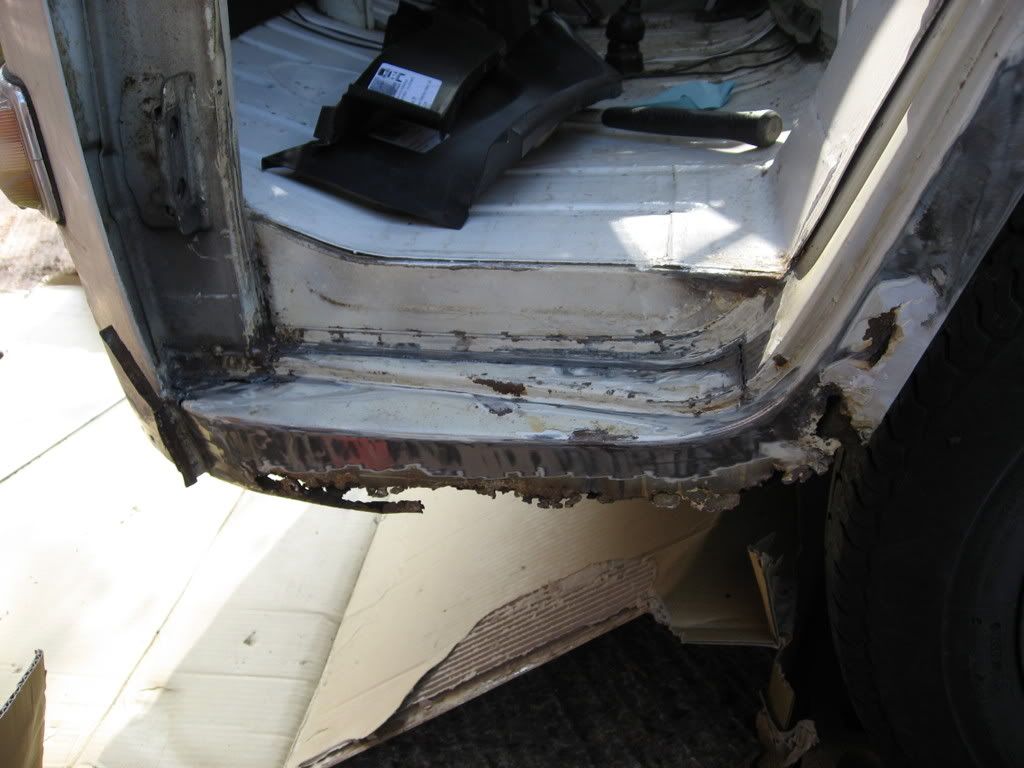
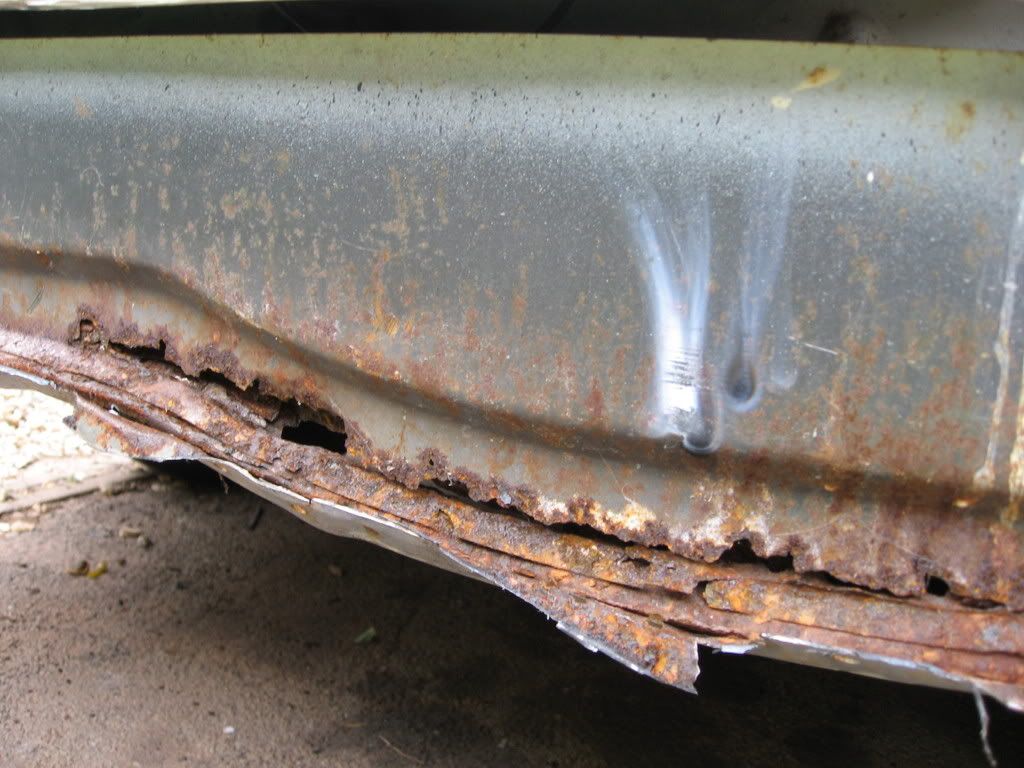
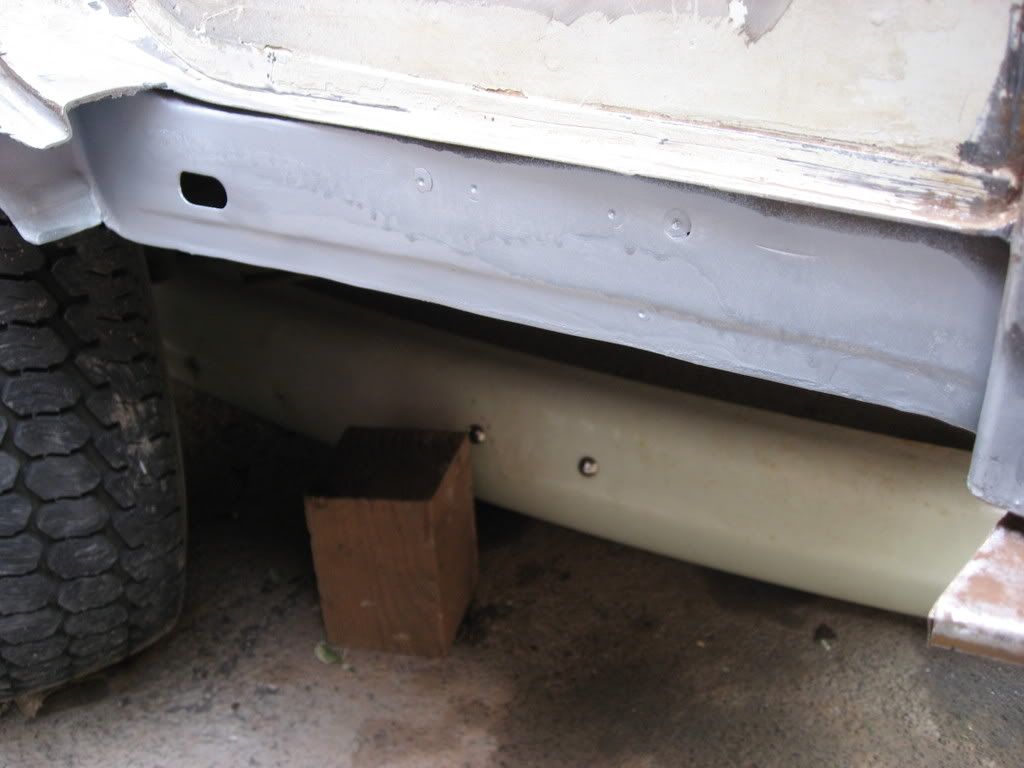
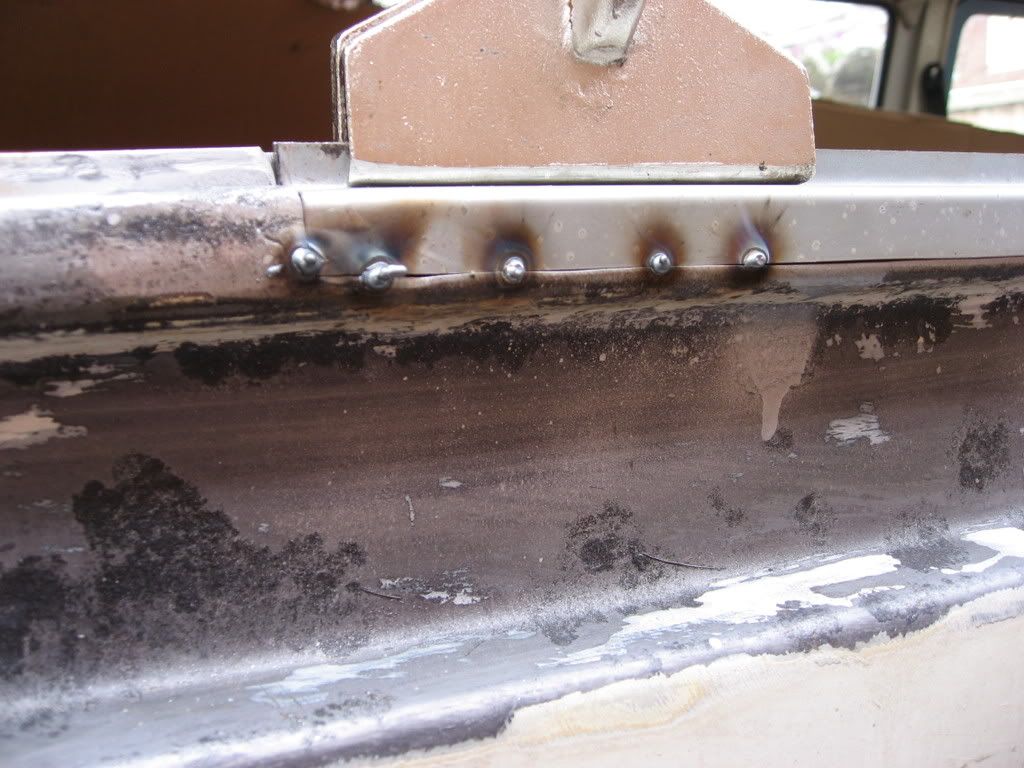
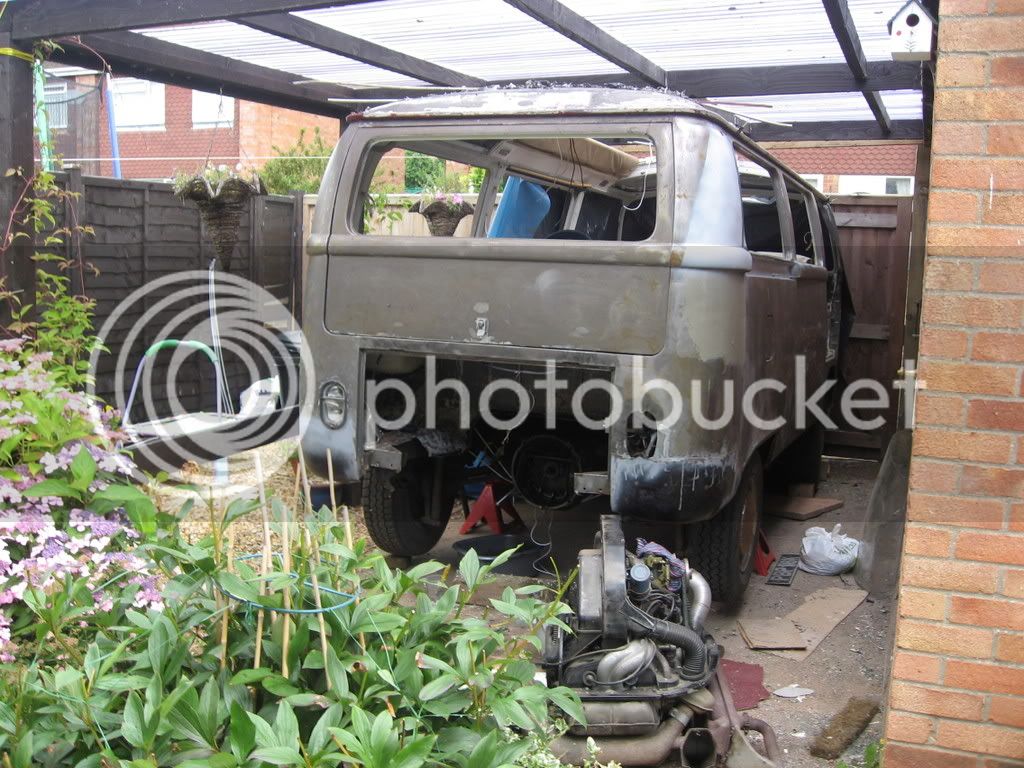
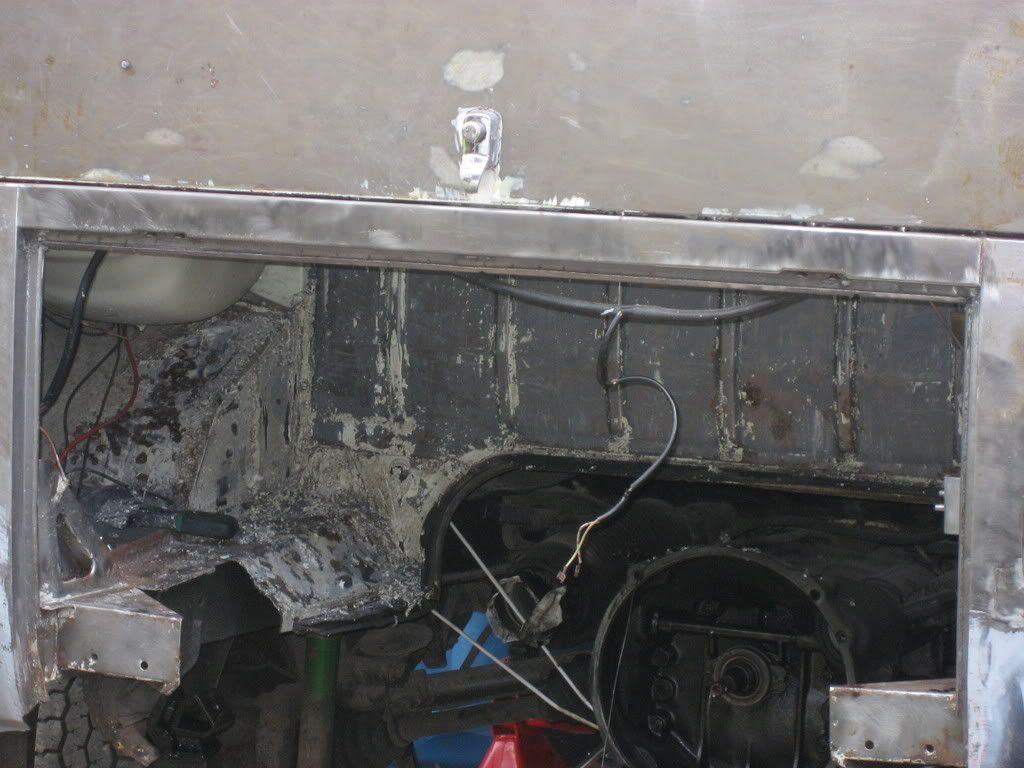
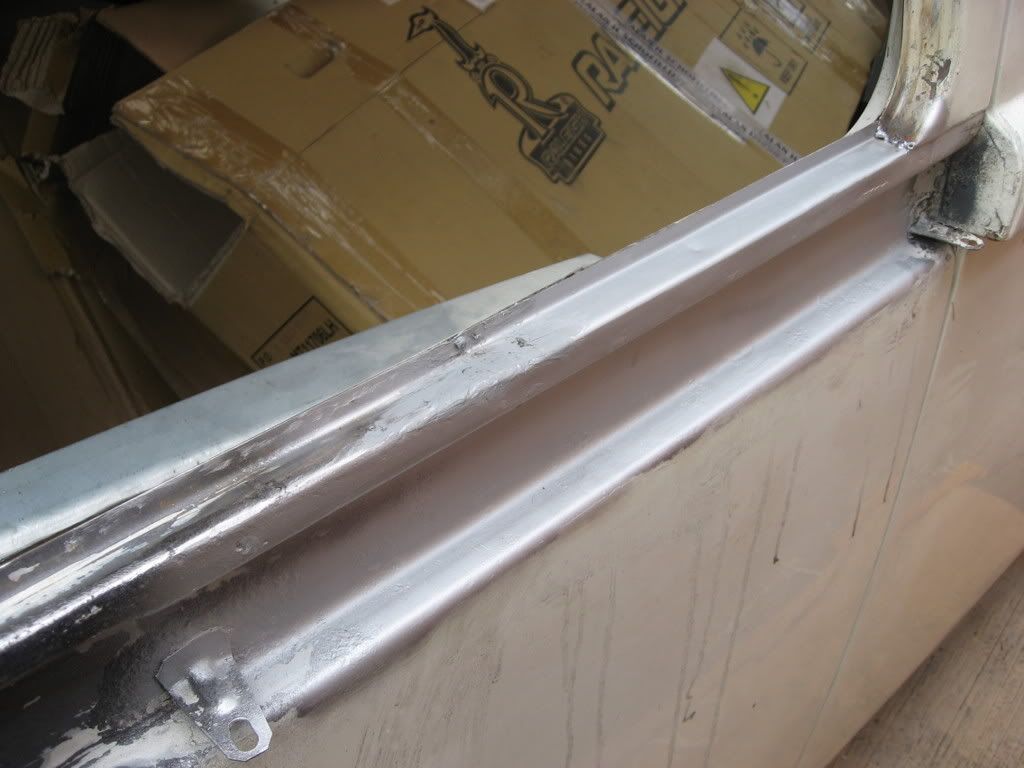
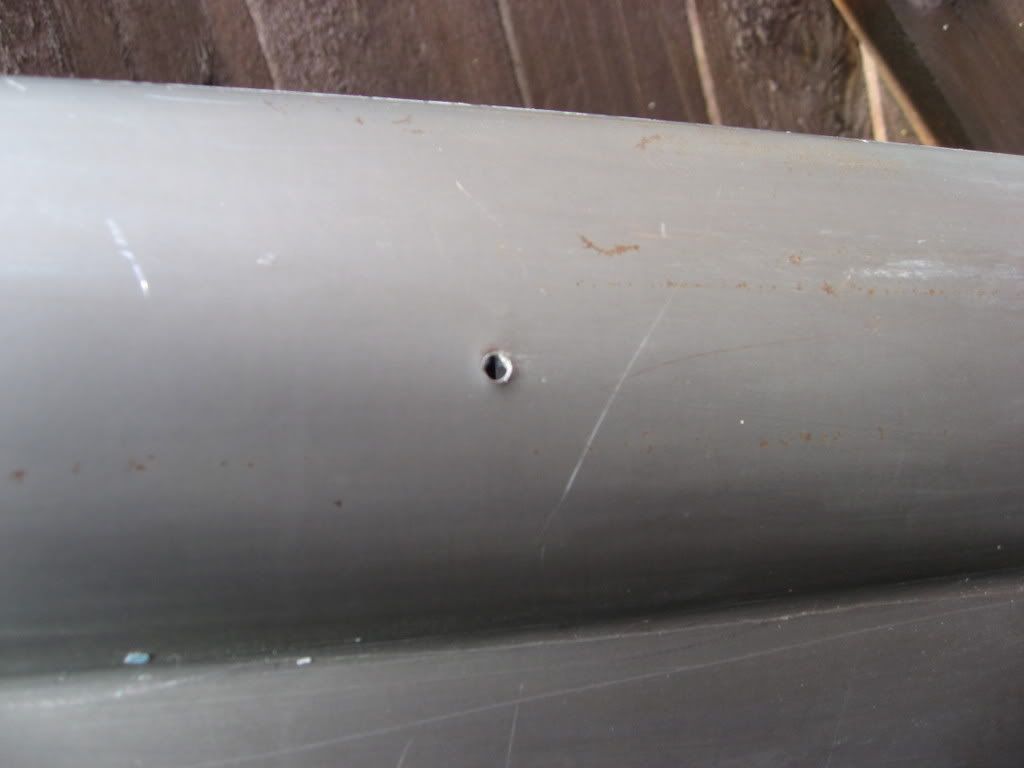
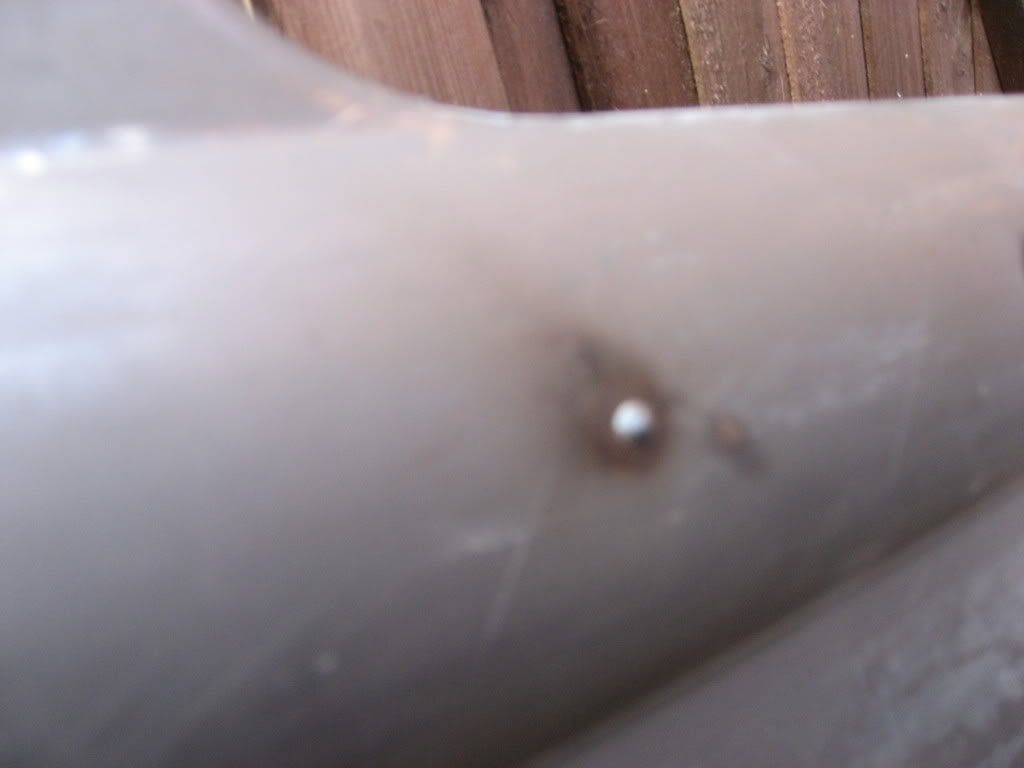
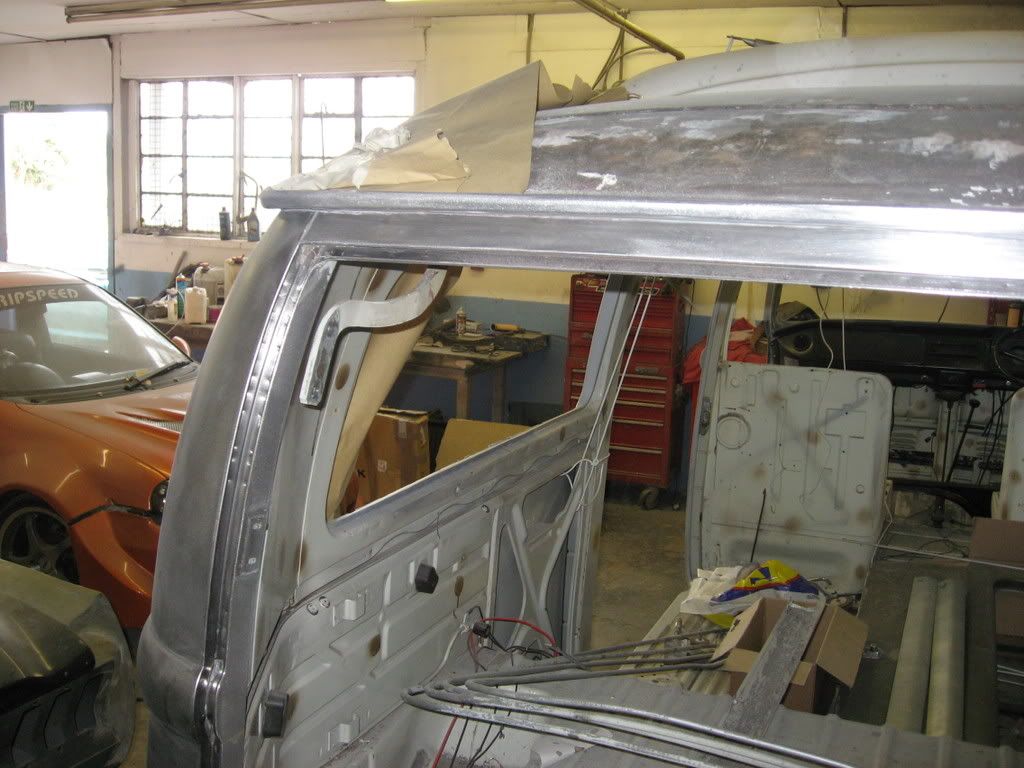
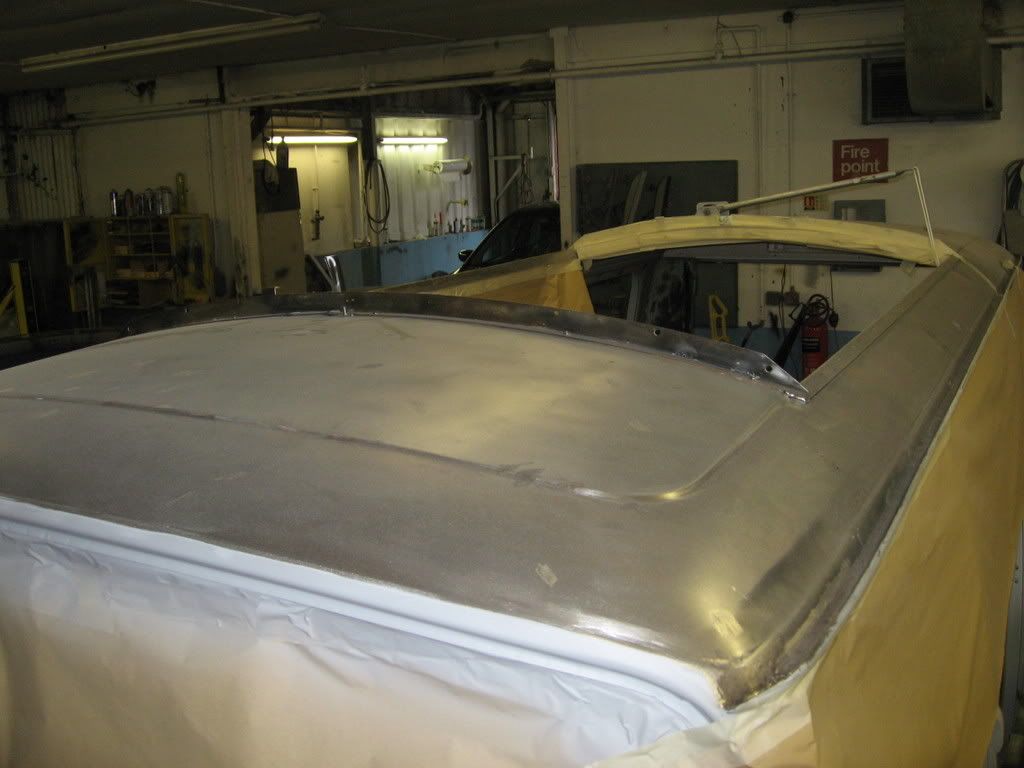
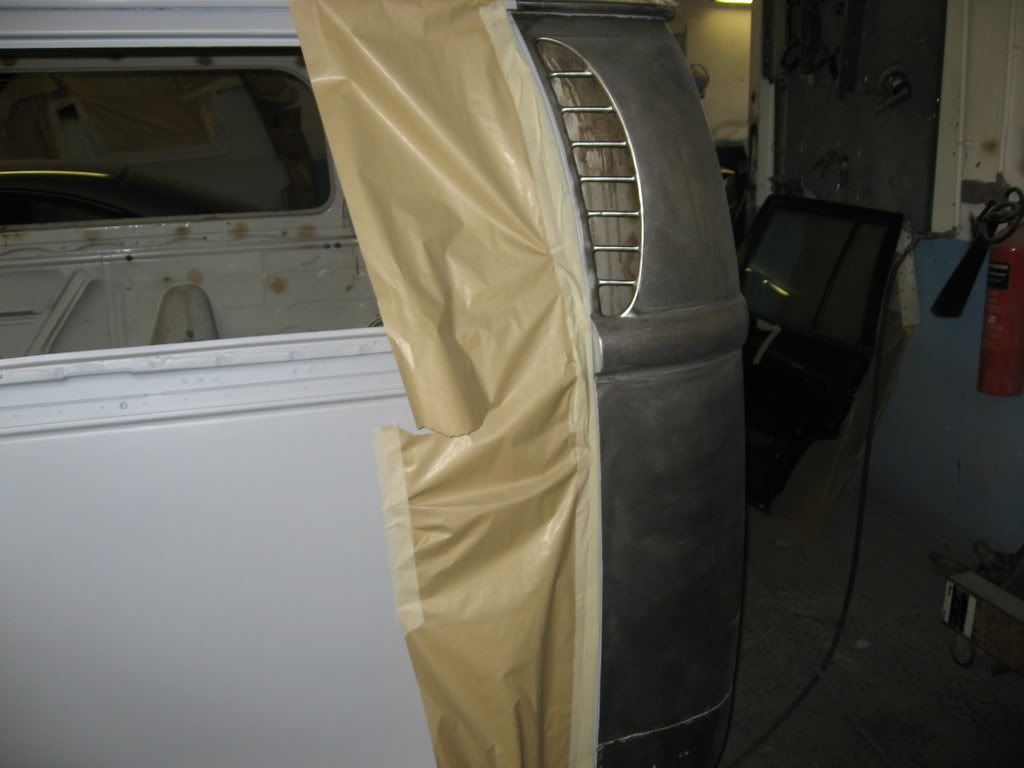
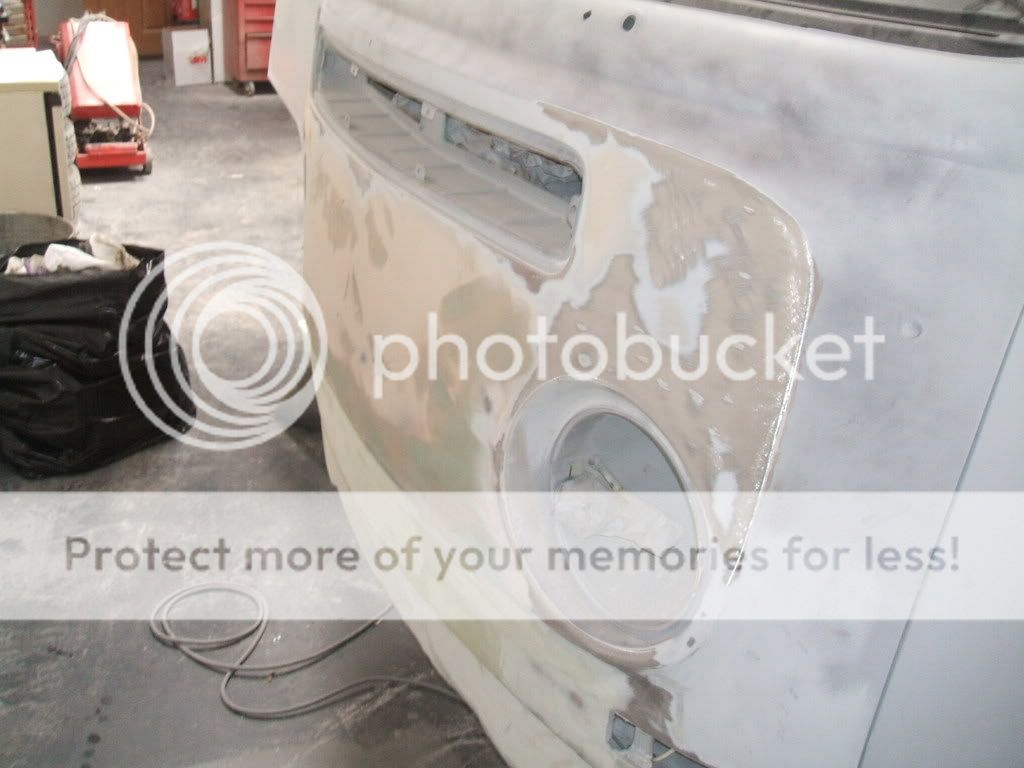
So work began with a few exploratory holes and then I booked the van in for a bit of welding work to be undertaken.....

IMG_0797.jpg


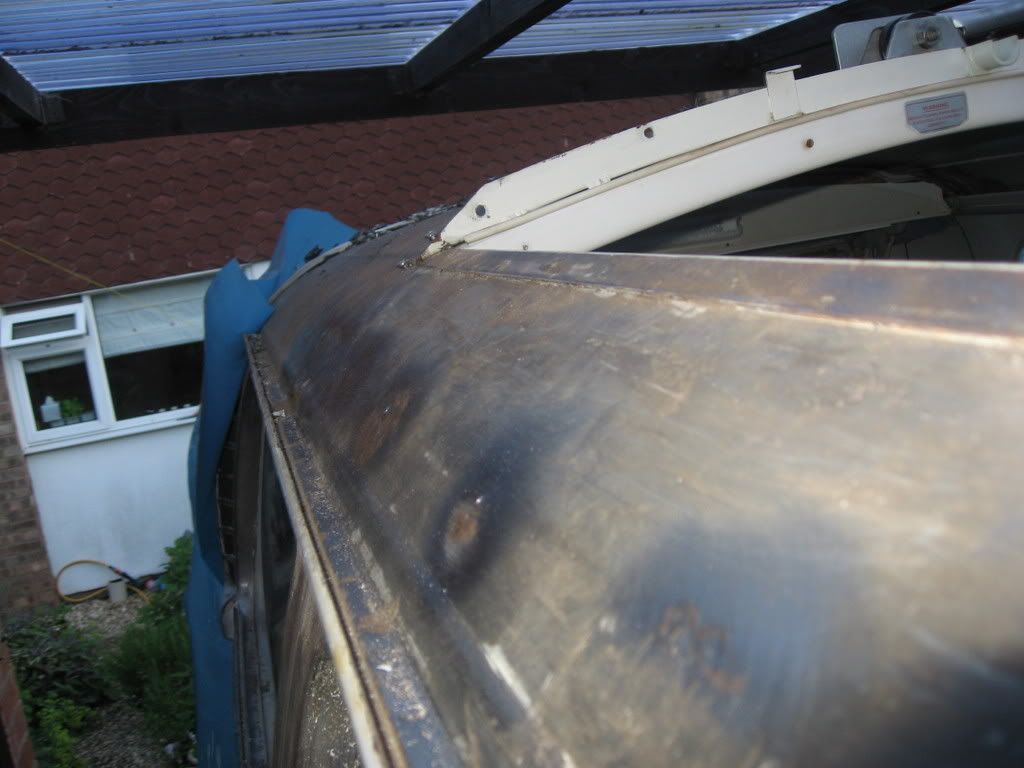
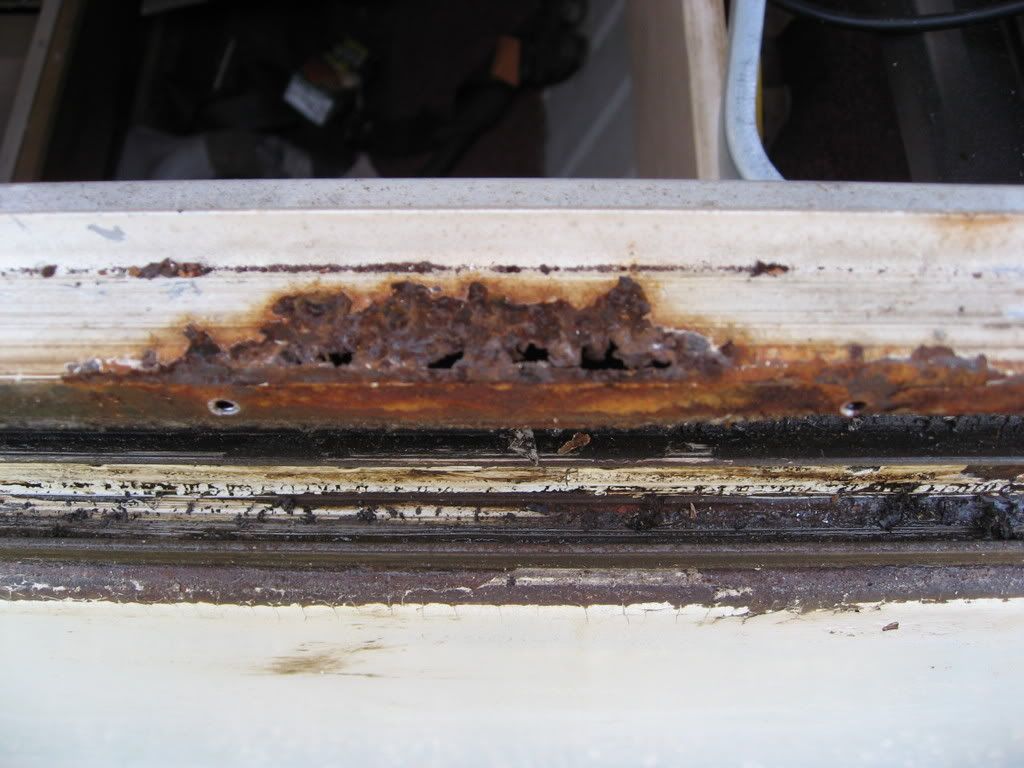
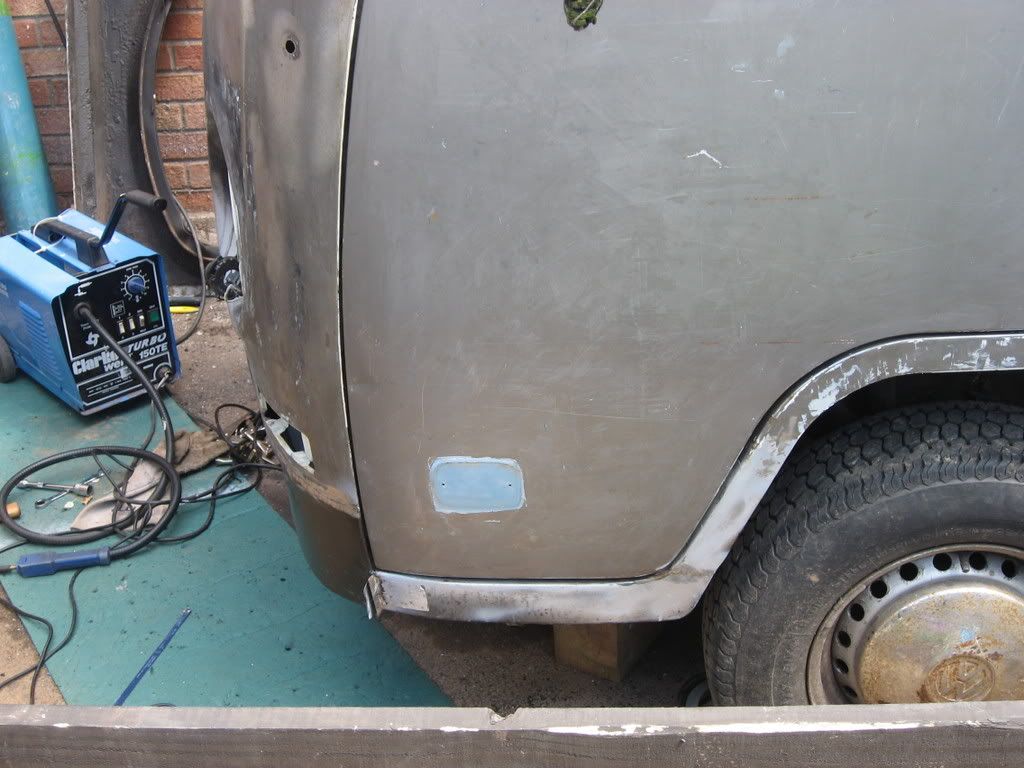
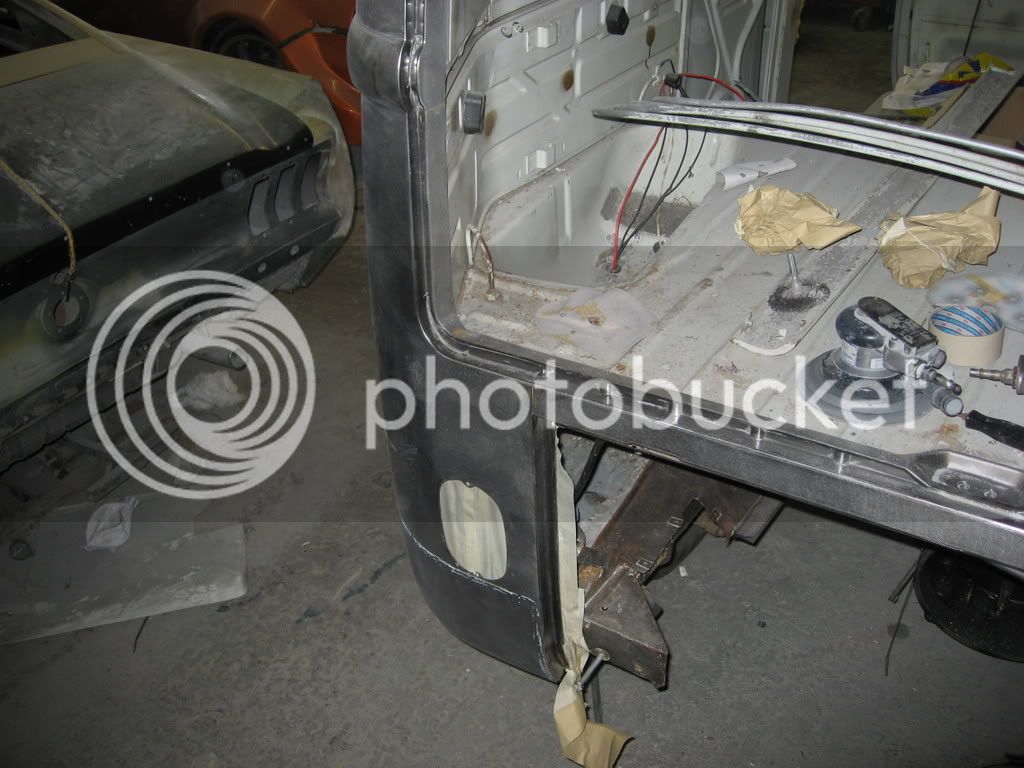
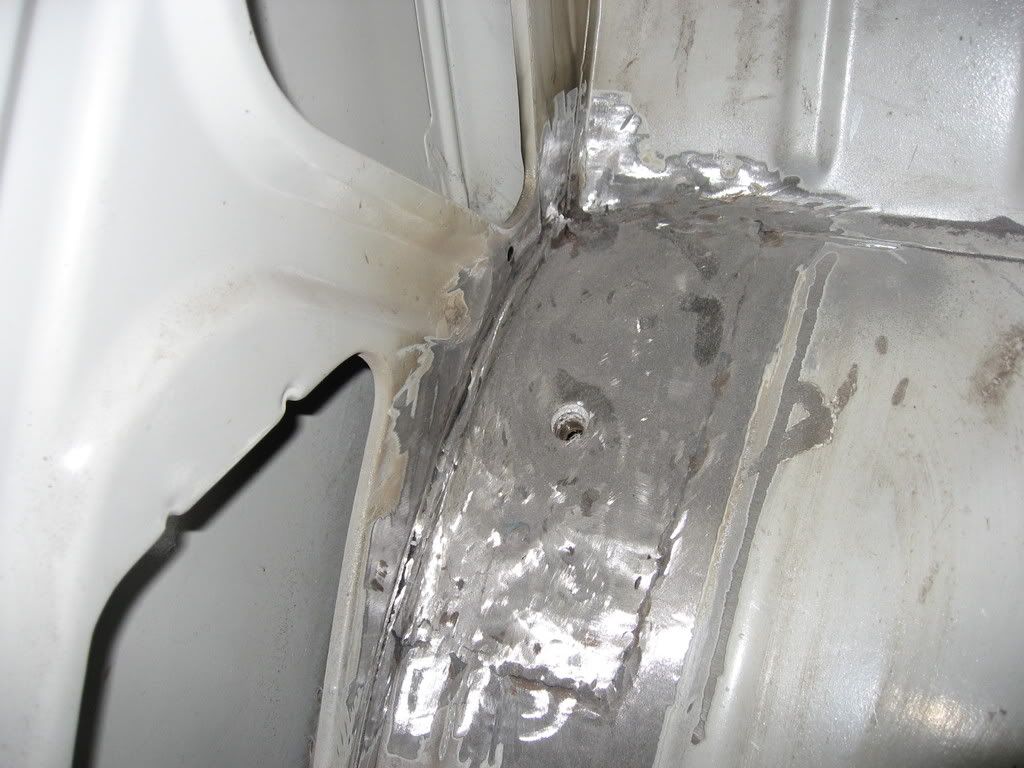
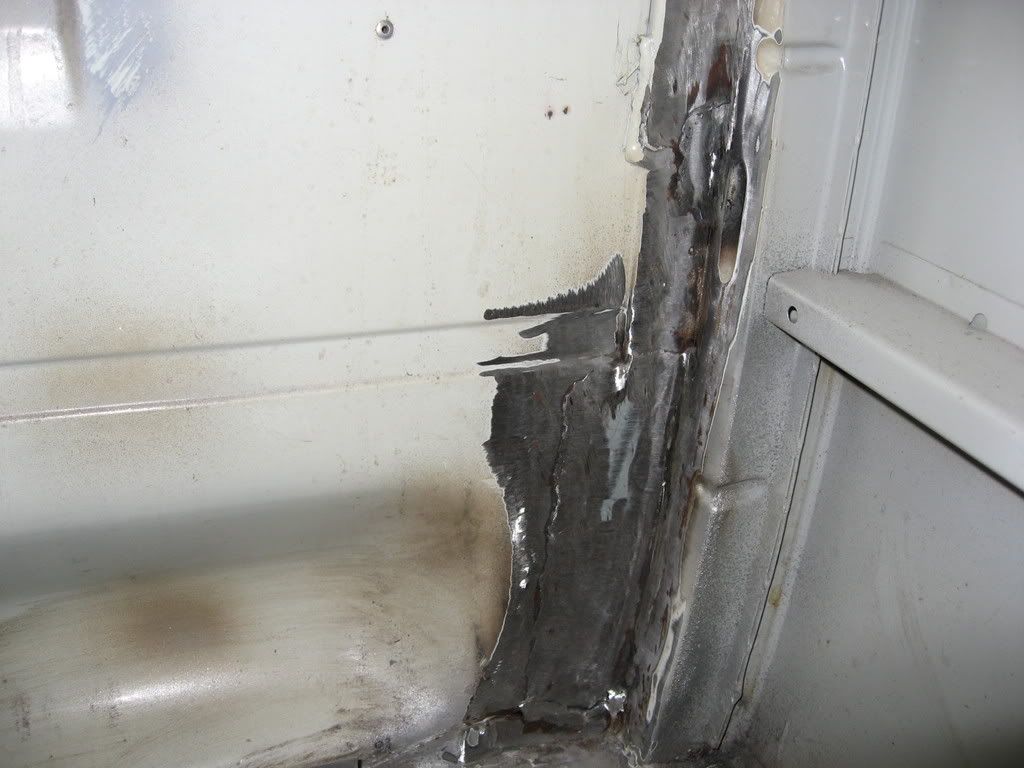
A word of advice never under estimate the amount of rot........May have had to remortgage the house if I'd left the van in the workshop beyond the repair on the roof and rear corner !!!

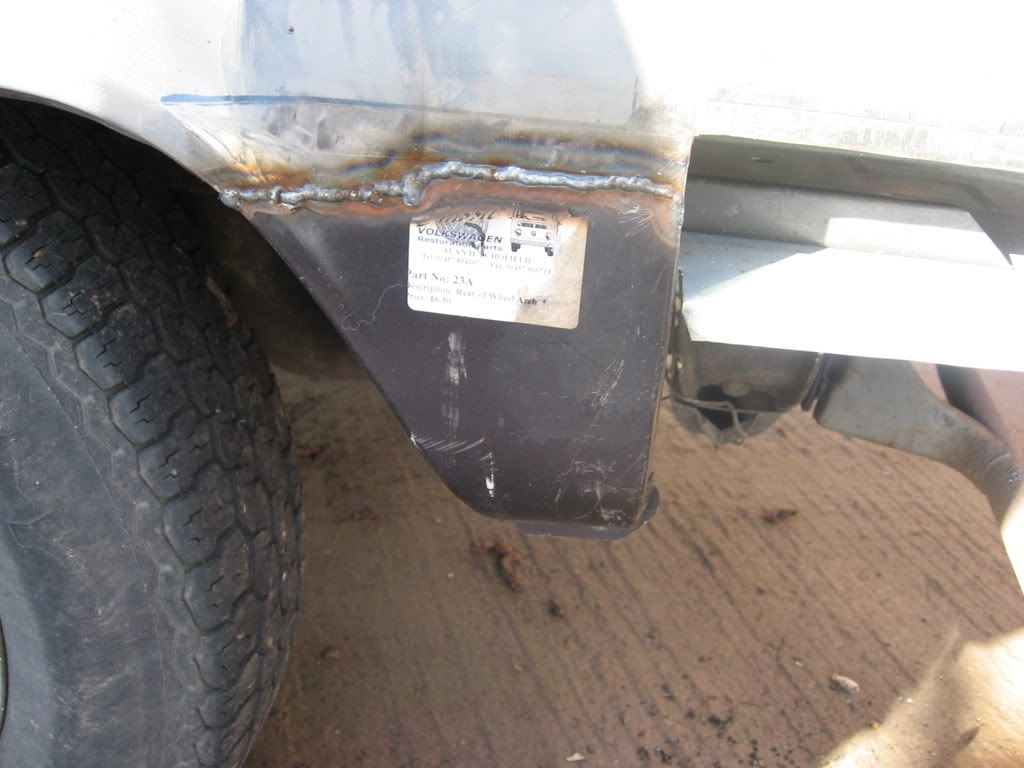
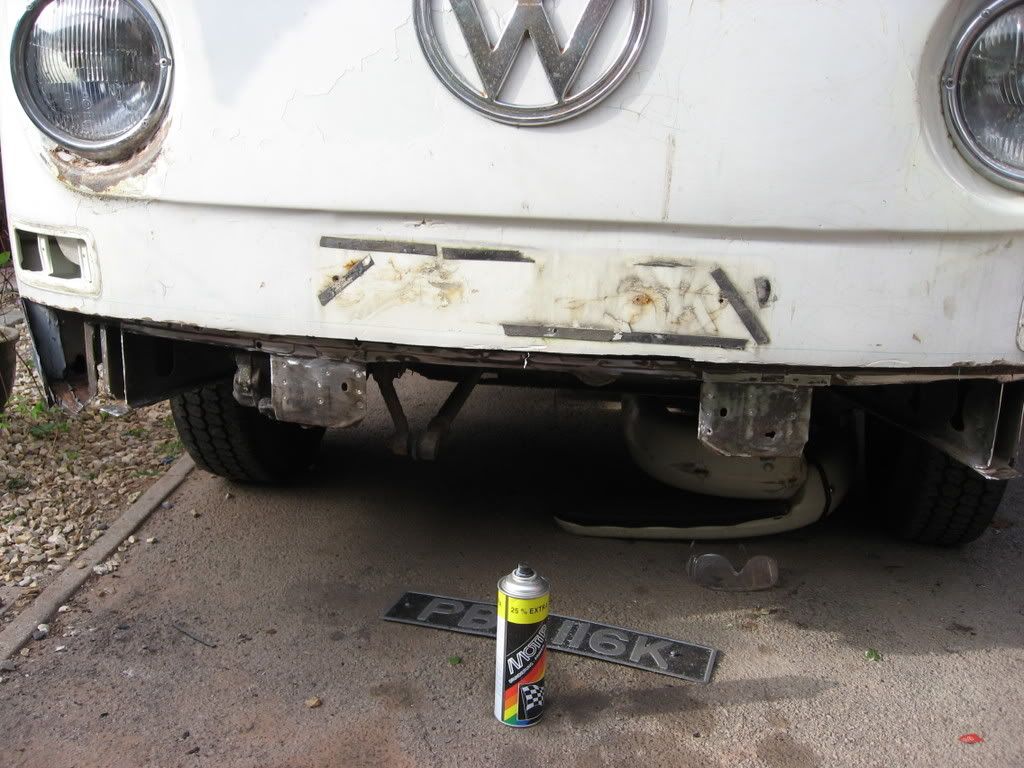
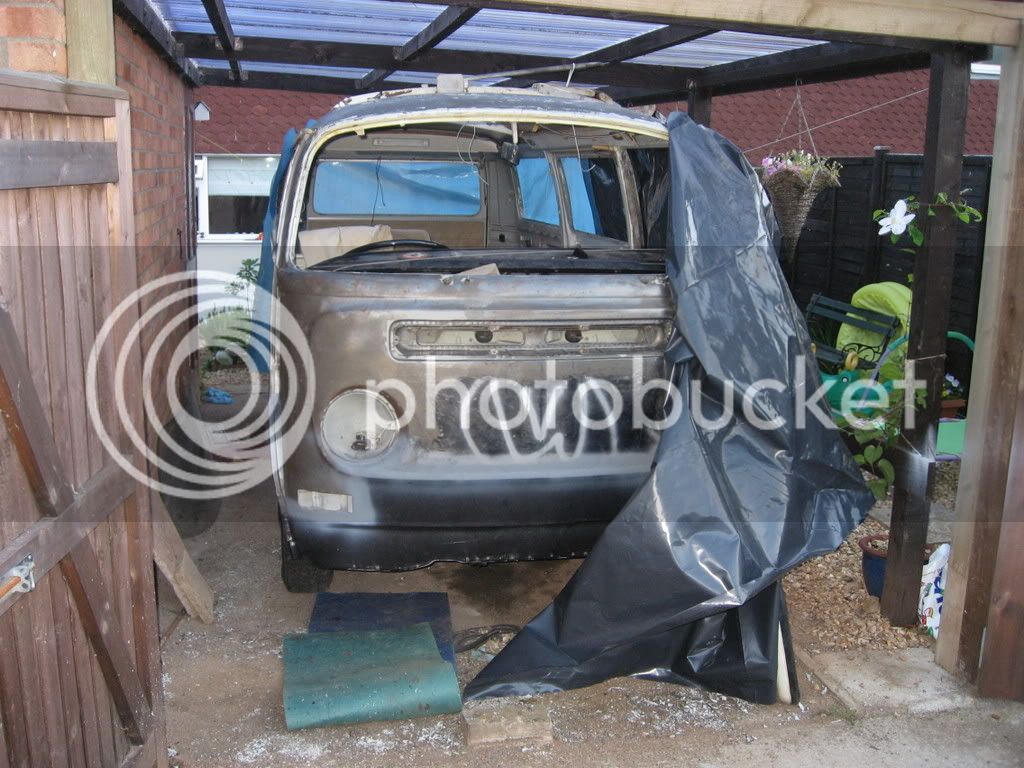
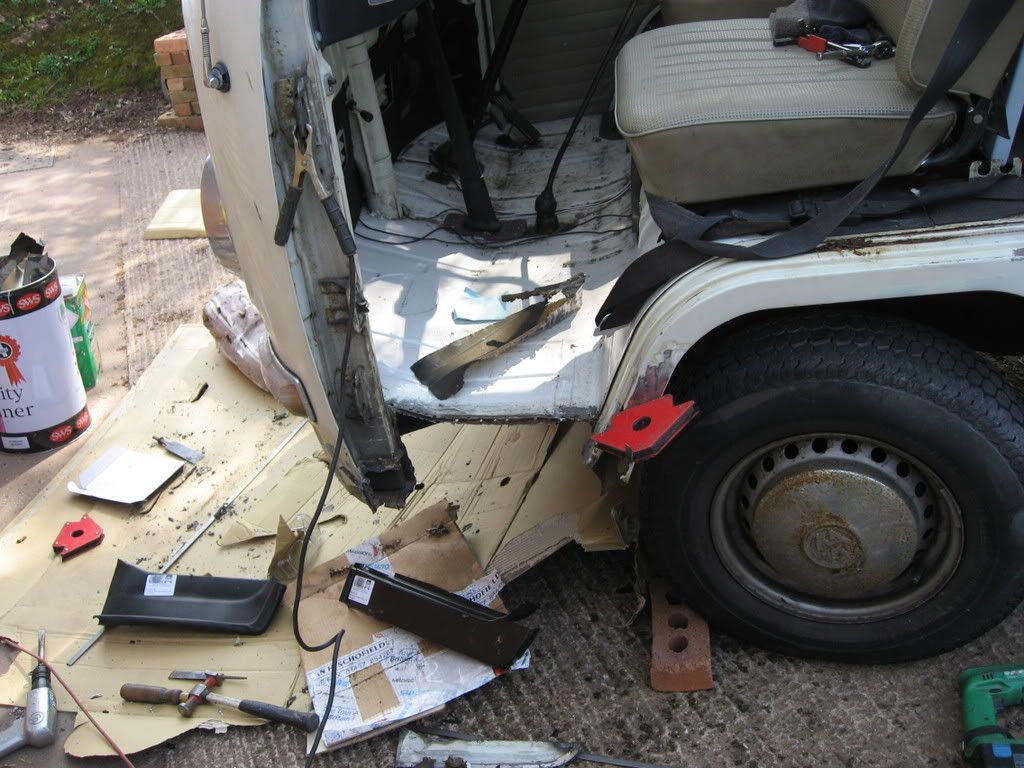
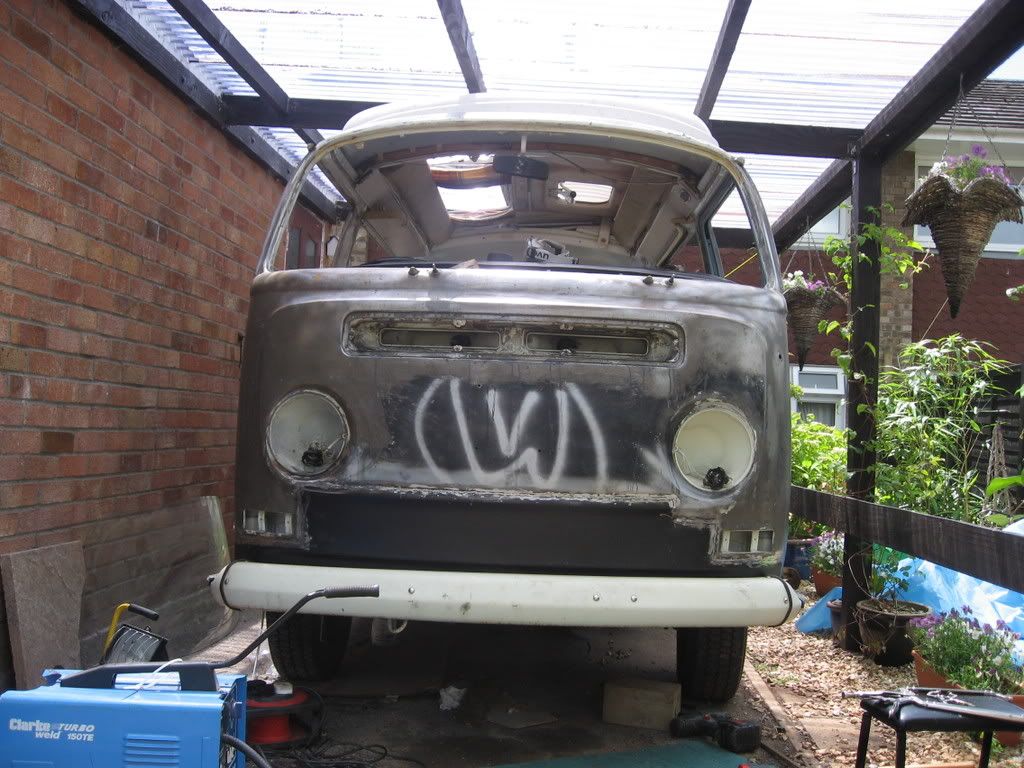
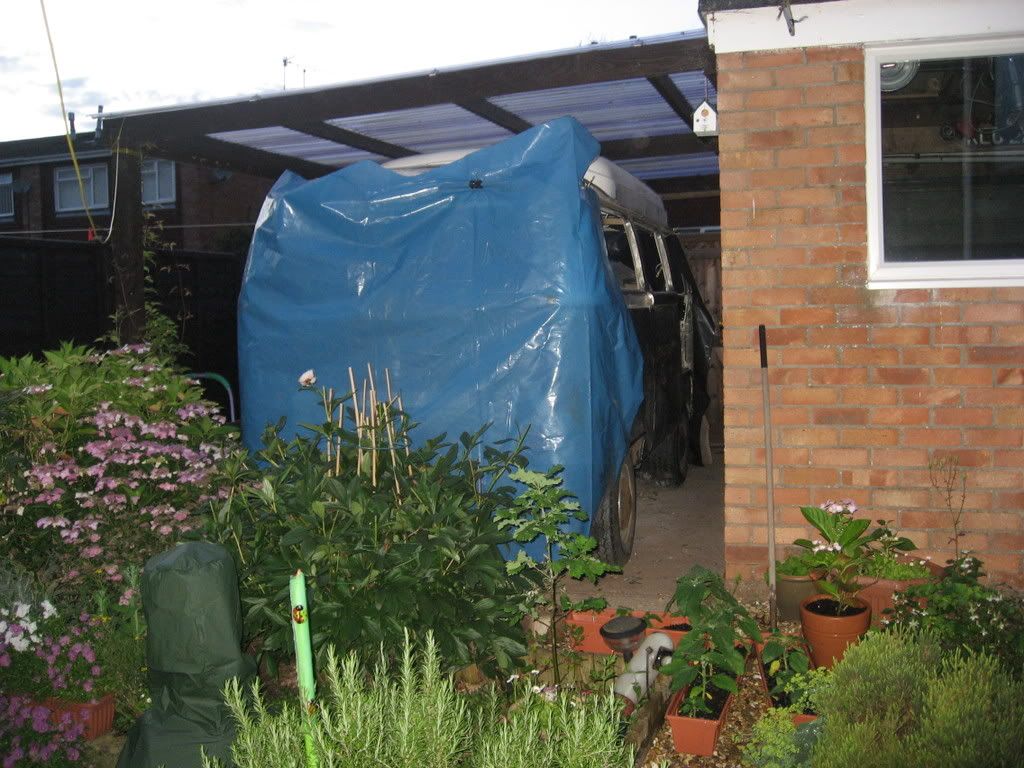
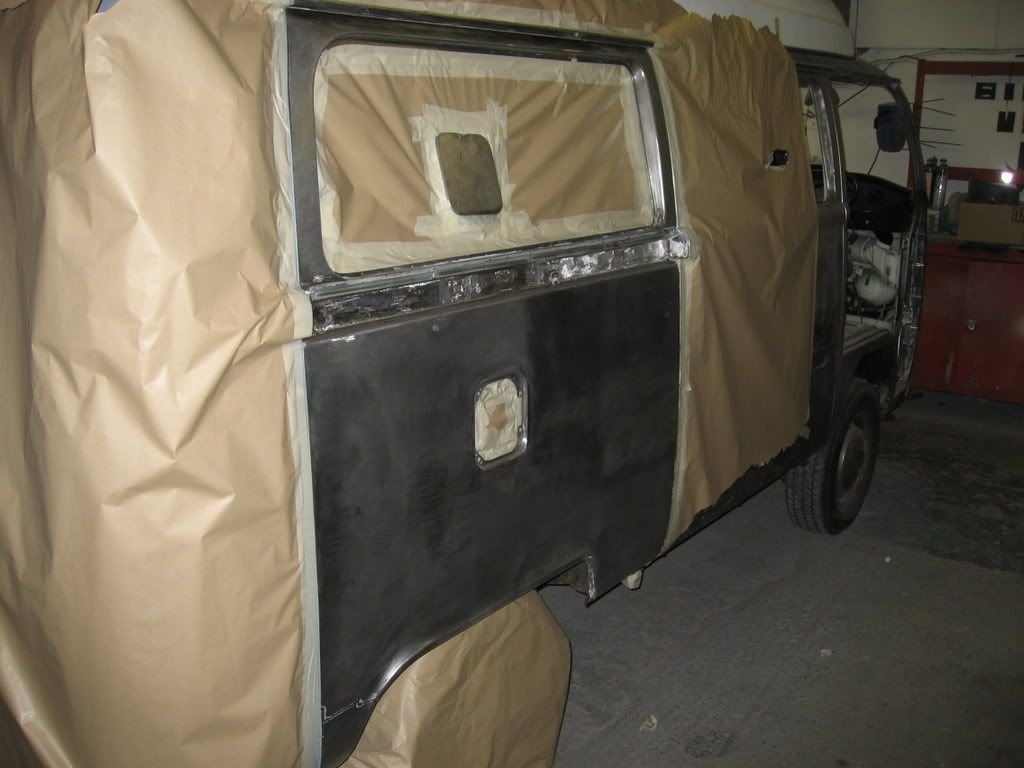
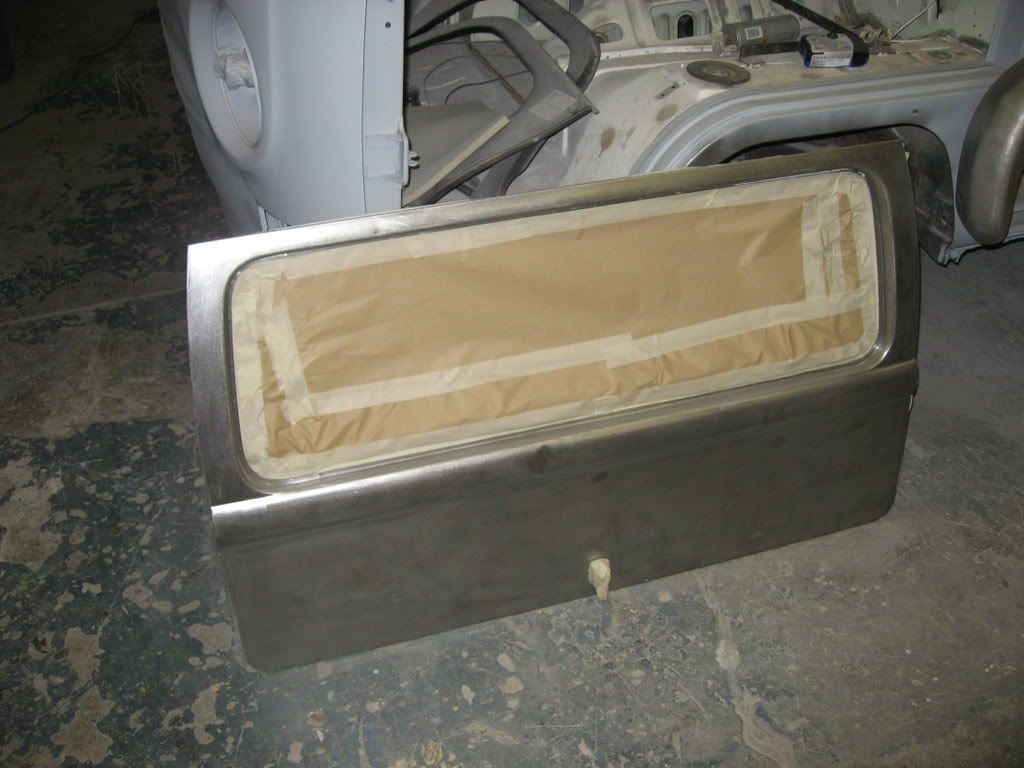
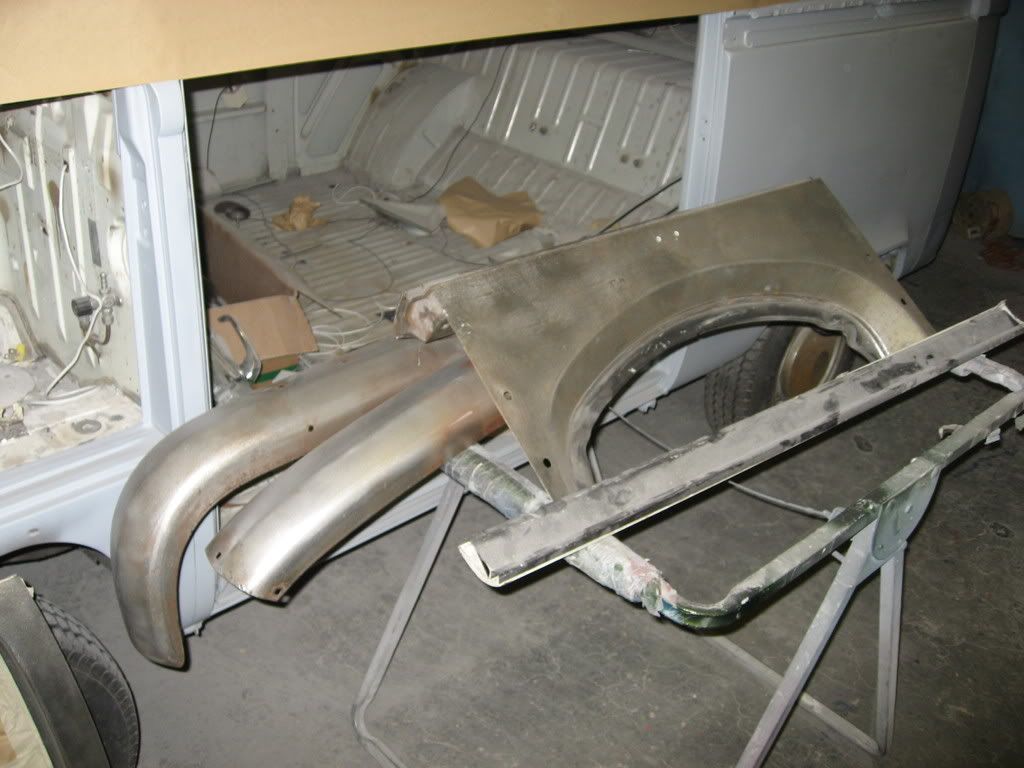
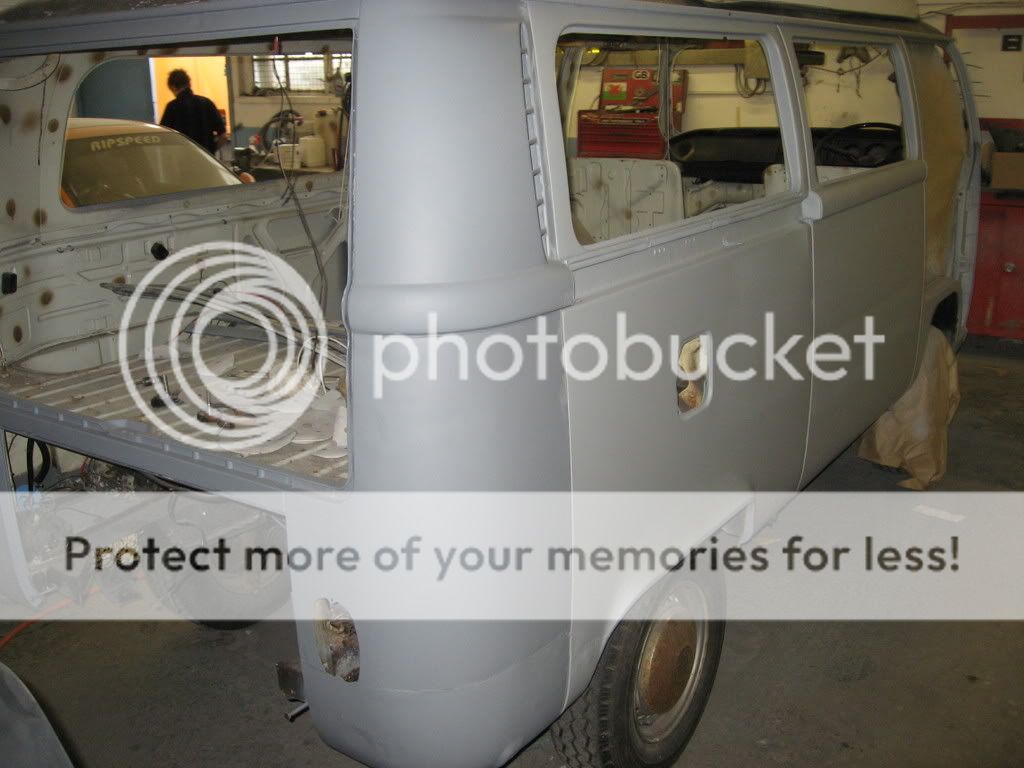
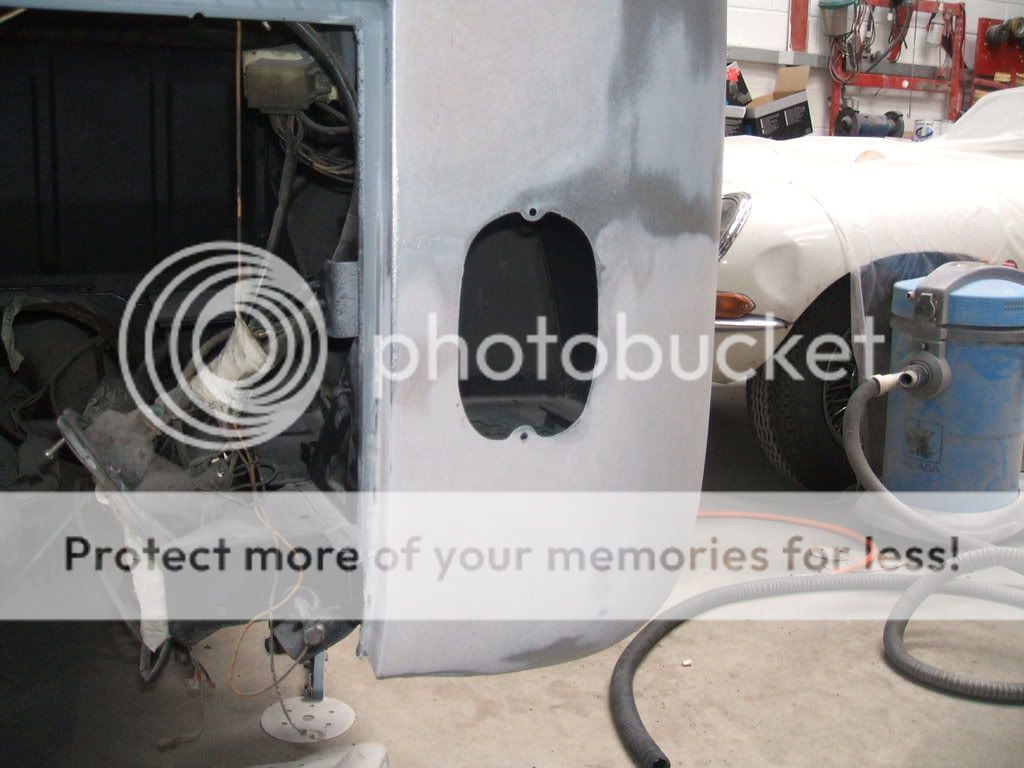
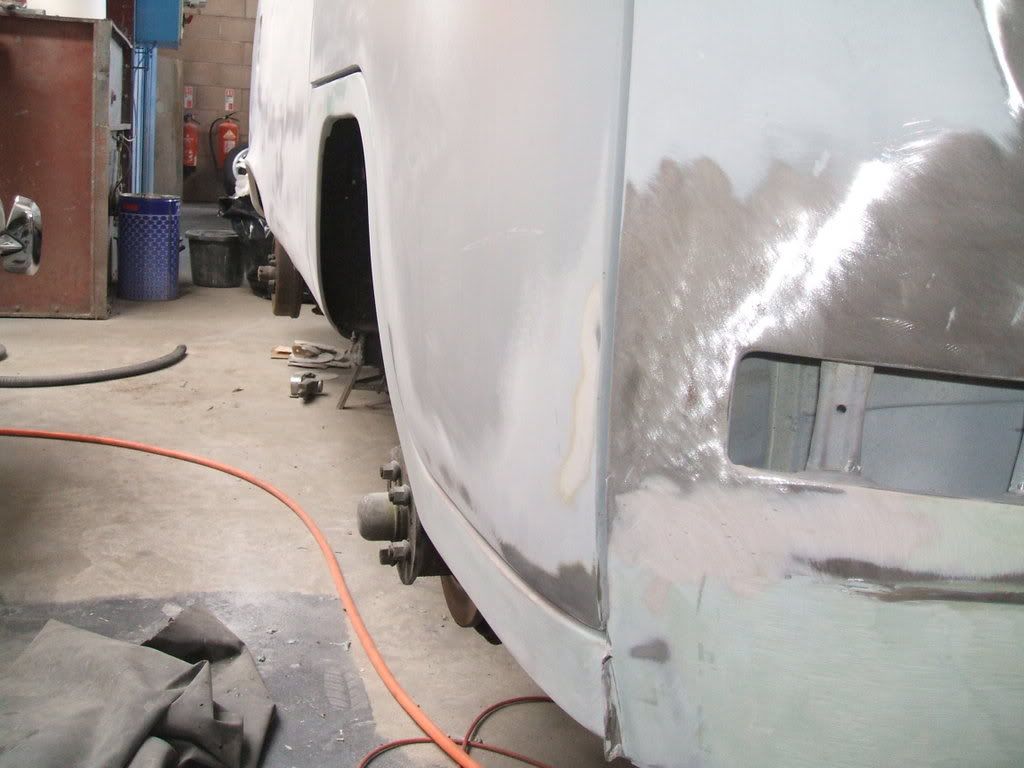
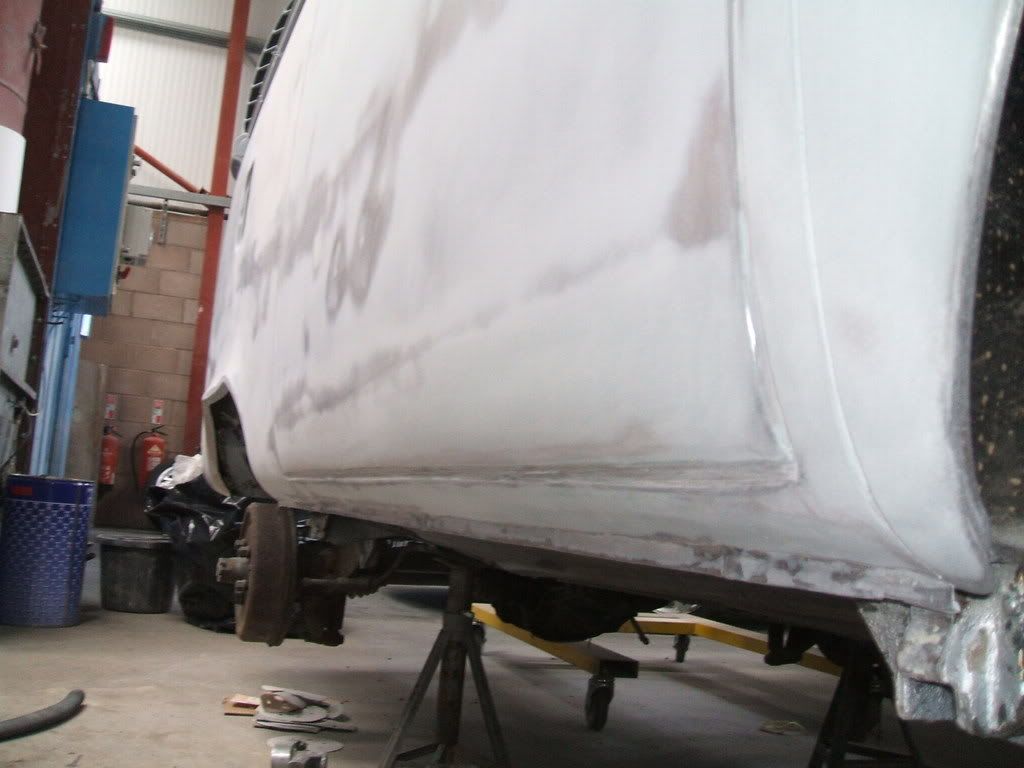
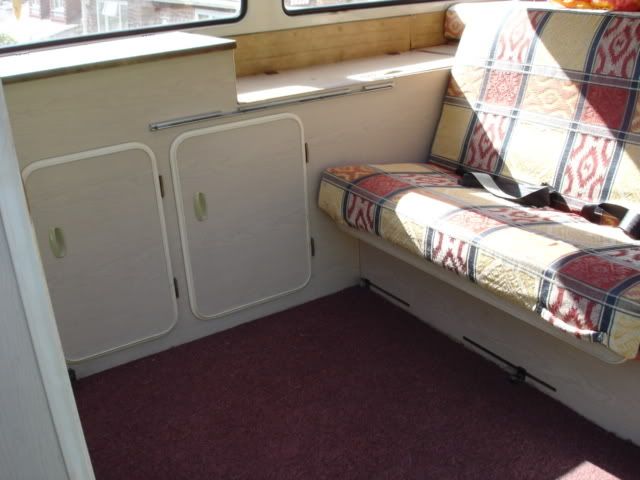
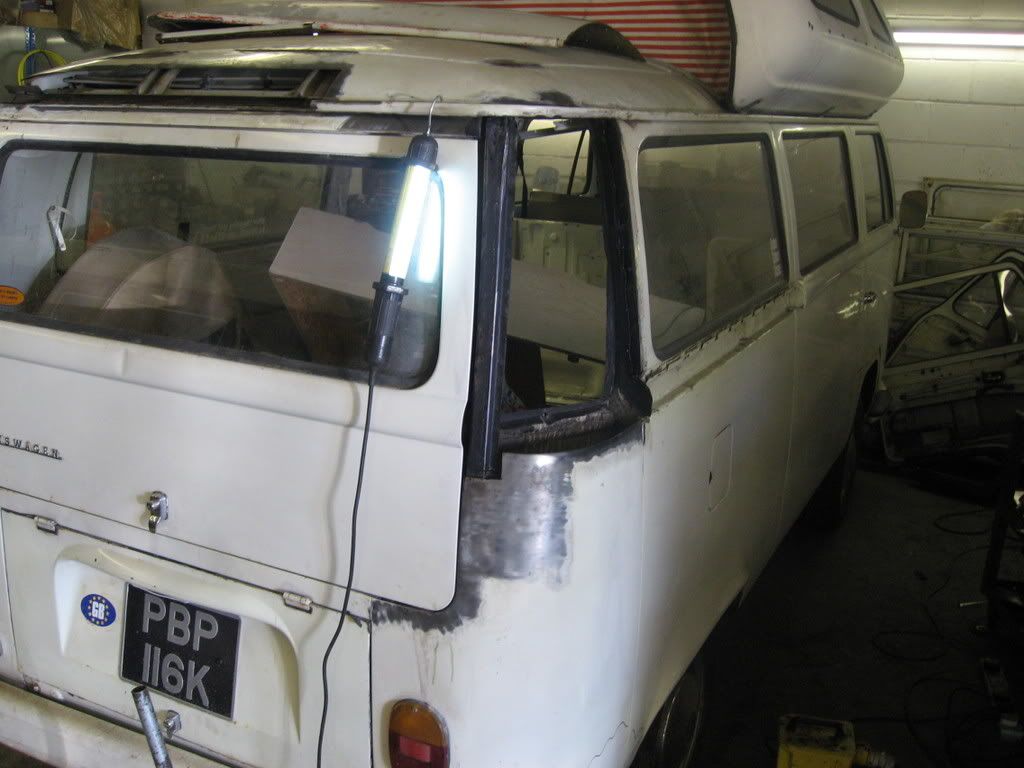
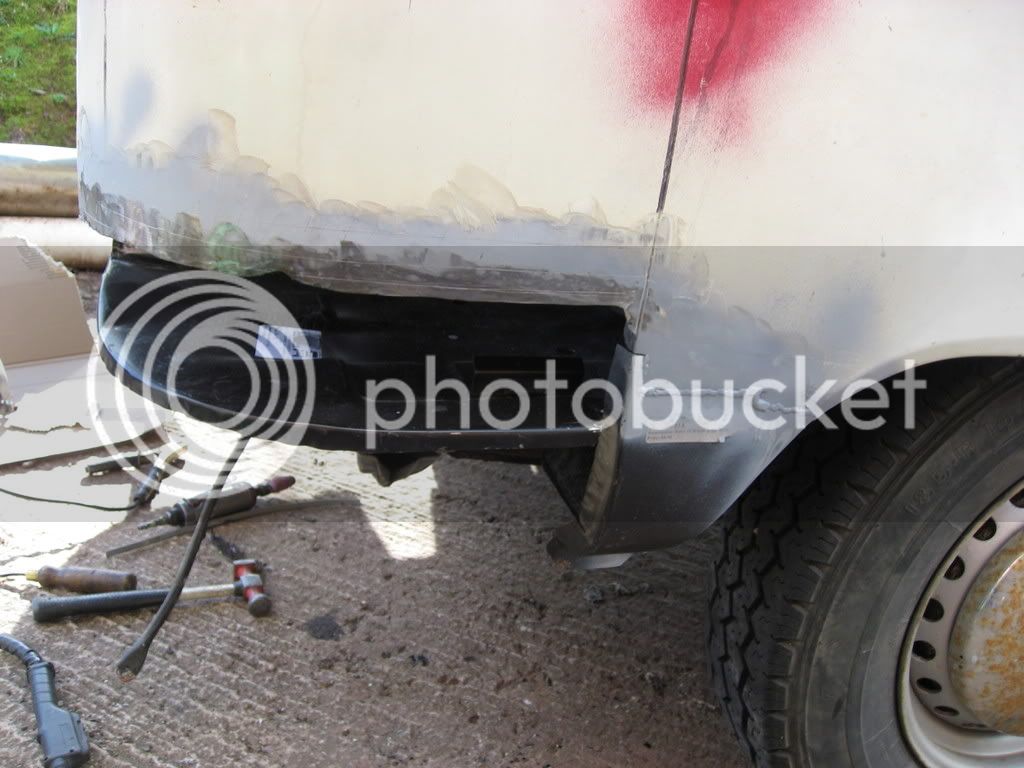
So we took the dormobile home parked her up and started work on the resto the hard way, with help form my mate Jim (a GOD when it comes to classic car restos) in the early days steering me through and letting me loose on some fantastic tools which make life alot easier.....

IMG_0926.jpg


IMG_0930.jpg


IMG_1027.jpg


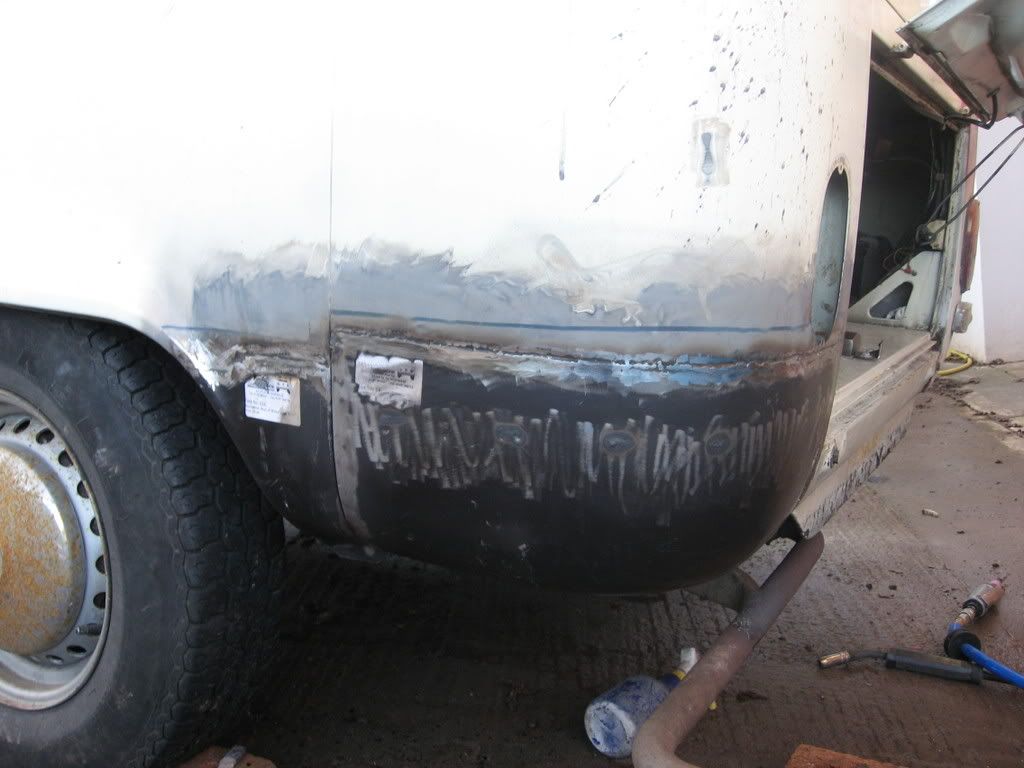
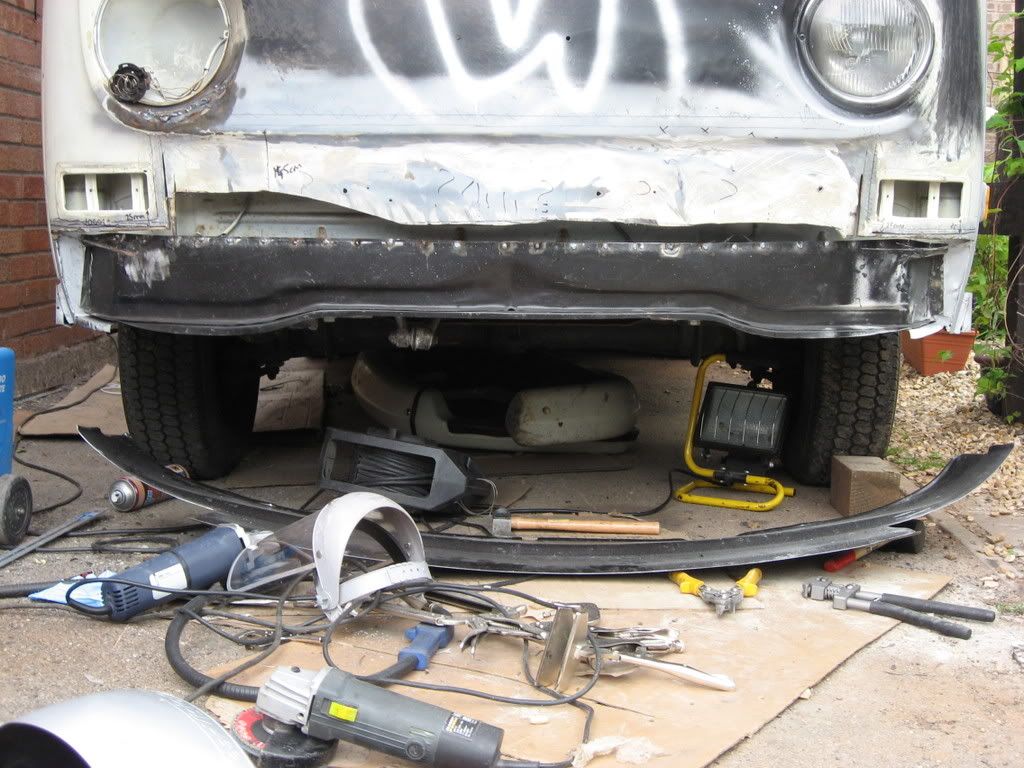
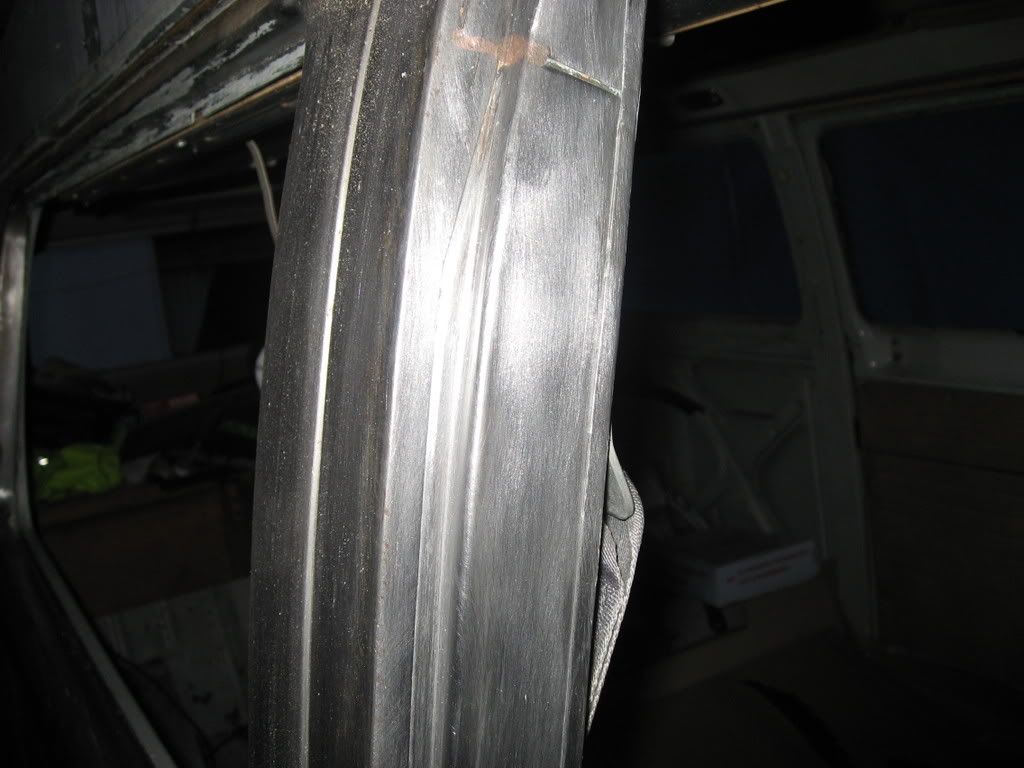
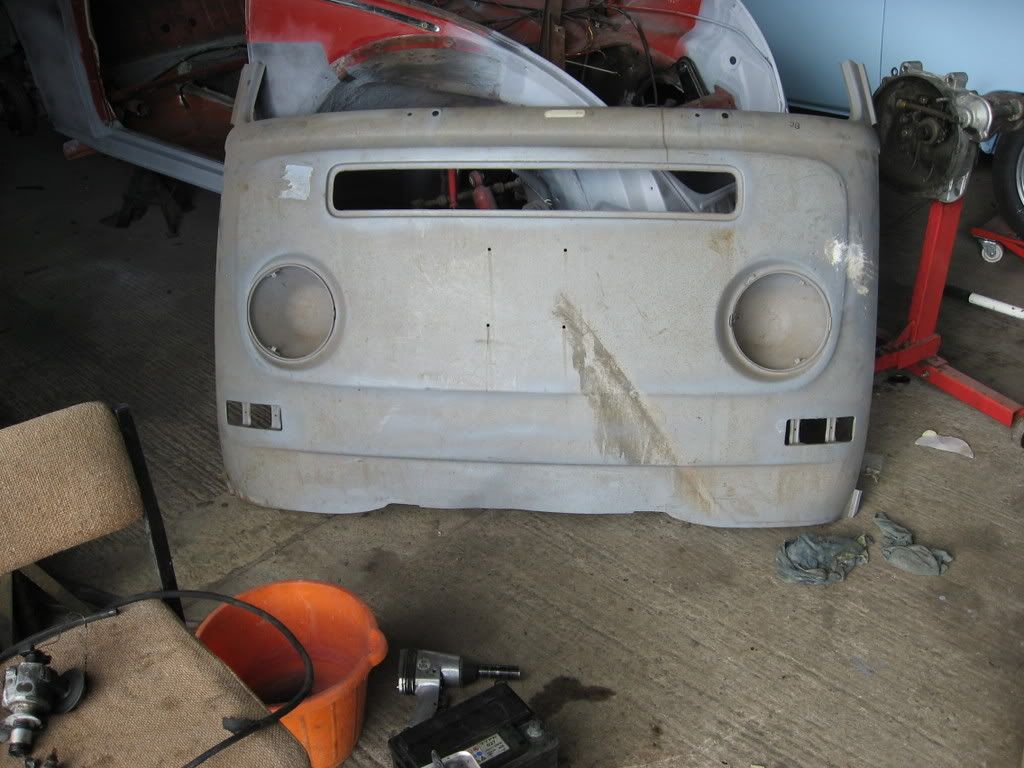
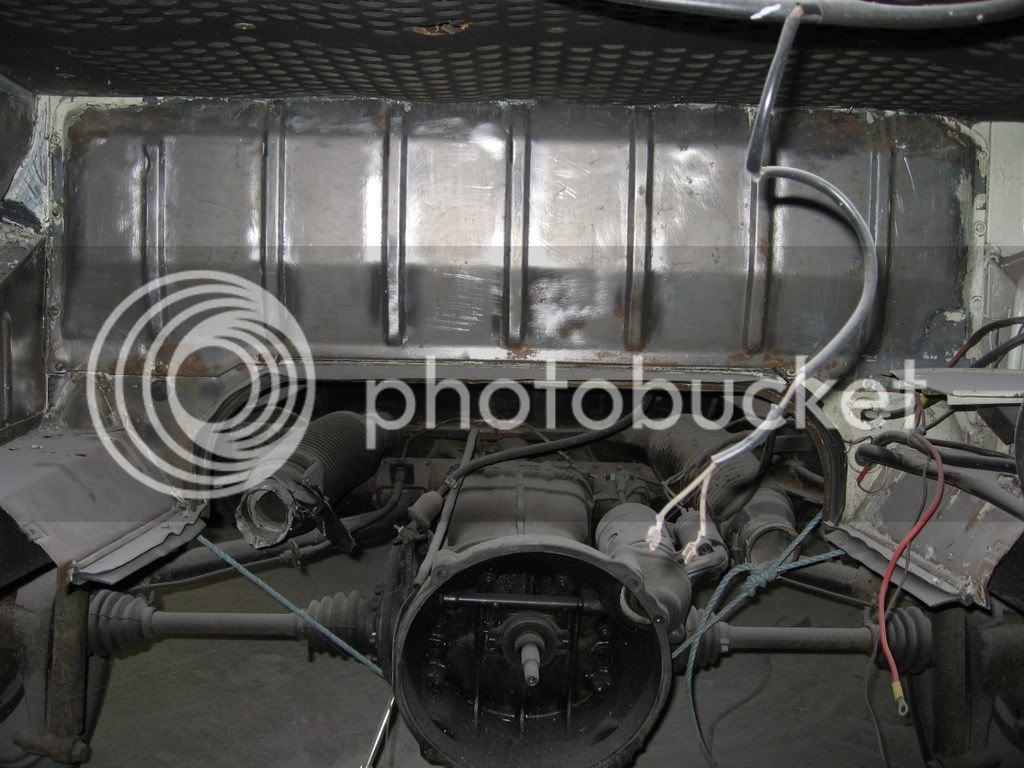
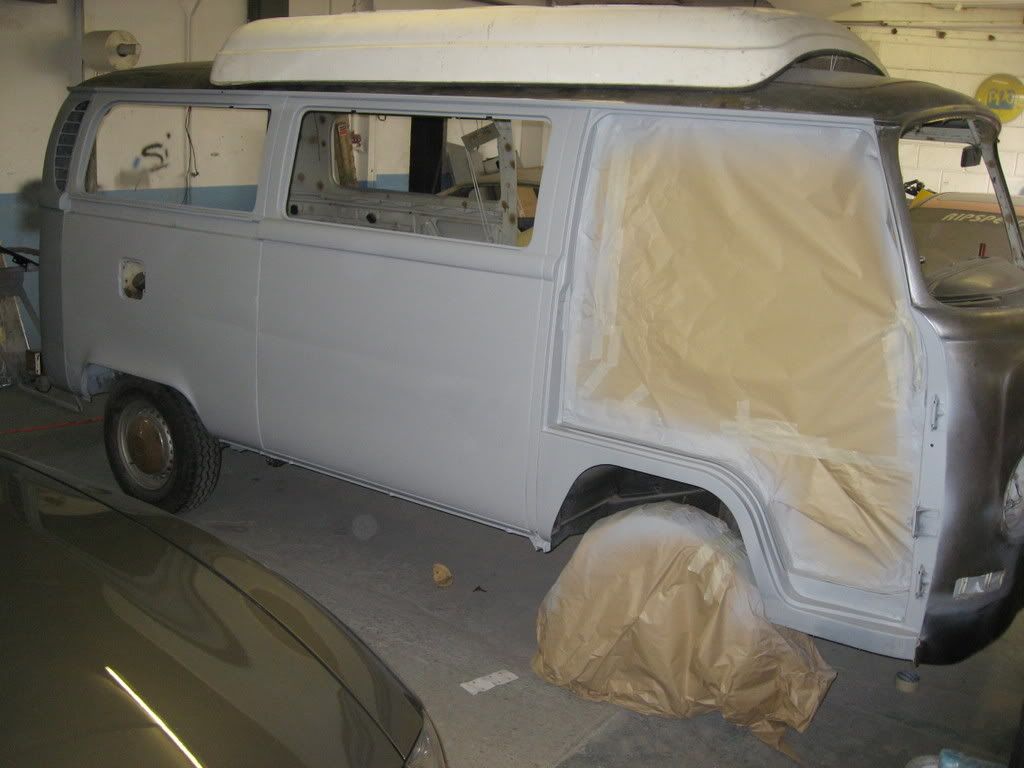
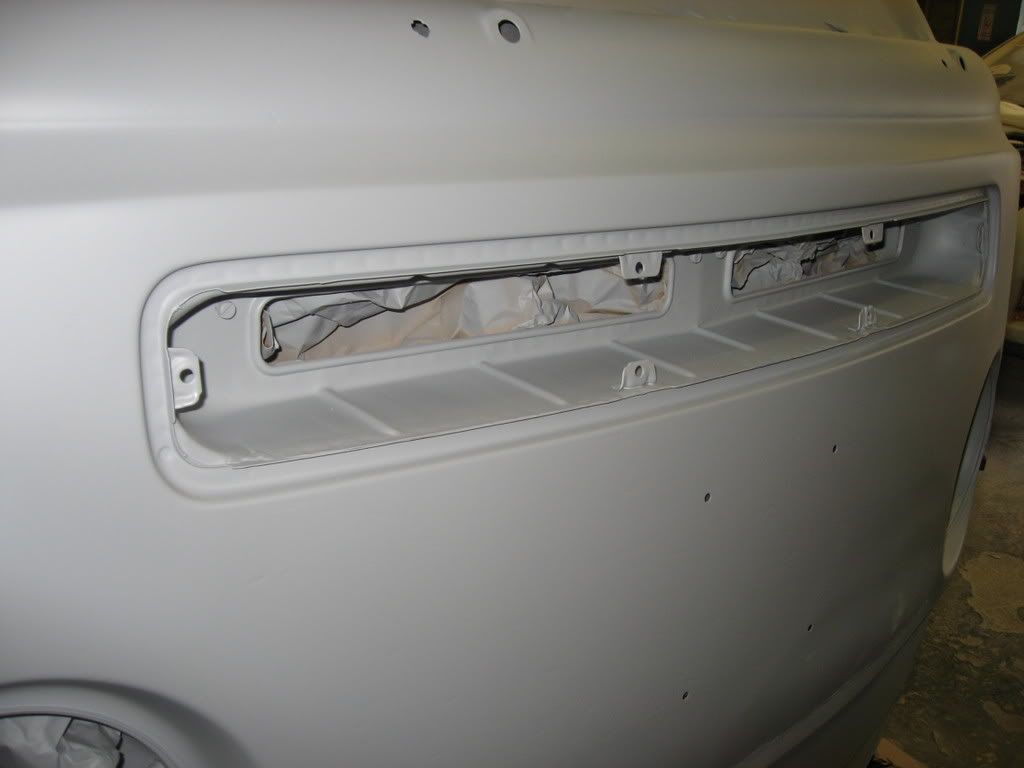
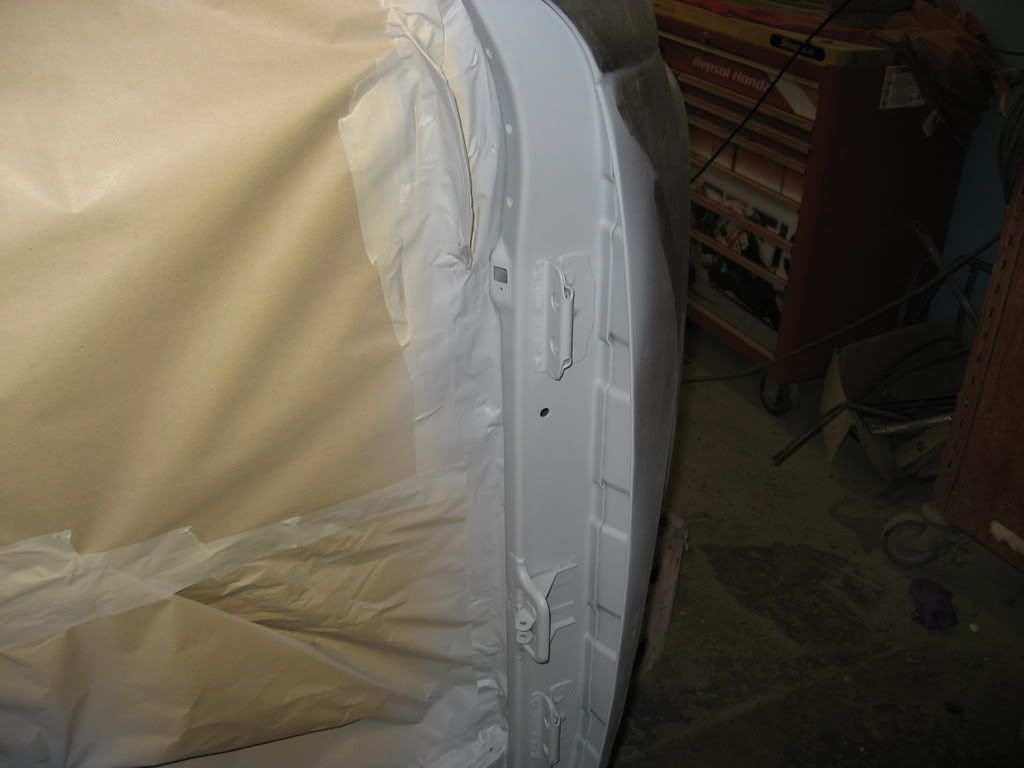
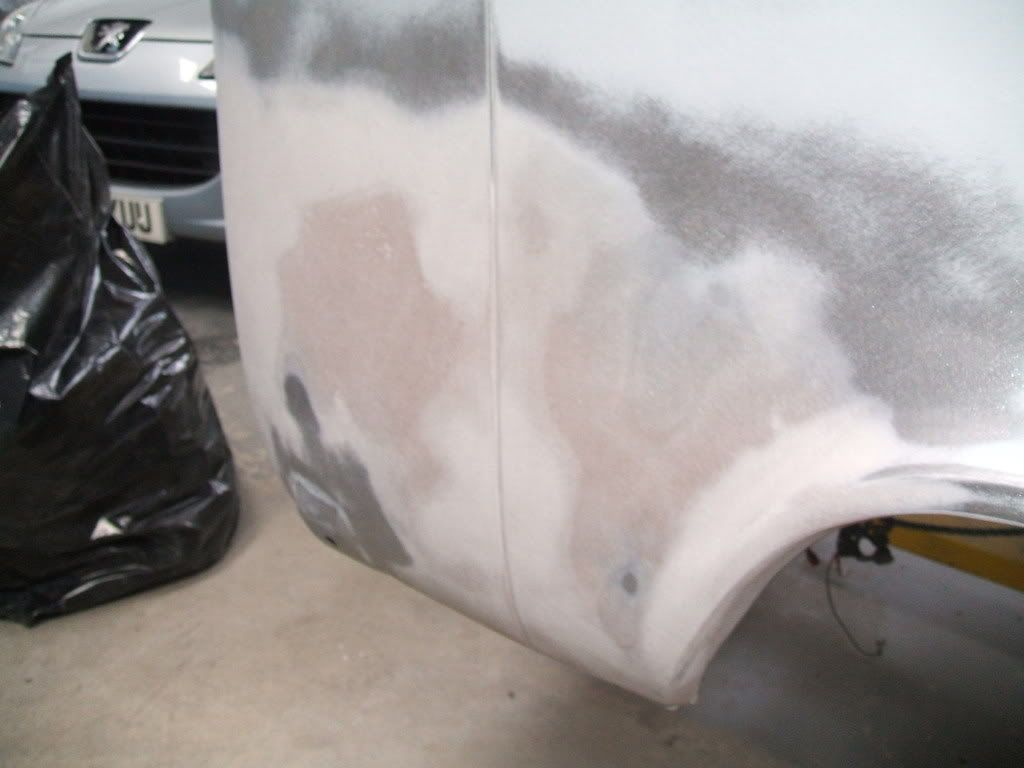
This kept me going for months mostly last year, was spending weekends evenings hours and hours.......but enjoting it all. Got a lot of inspiration off the forum and kept updated on alfies resto, a great effort on the van and the thread..
 
work went on with the front arches as well which were like a swiss cheese in part, kept the good and cut out the bad.....

IMG_1096.jpg


IMG_1149.jpg


Started getting the arches back in, was still driving her around at this stage.....

IMG_1166.jpg


IMG_0939.jpg


IMG_0948.jpg


After getting the arse end reasonably sorted it was time to get on with the front which didn't actually look that bad until one evening I stuck a screwdriver into the box section pulled it out and a shite load of rust came pooring out..... Only a spruce up became a bit more involved.....

IMG_1180.jpg


Now I could have left it at that and patch the job up but......

IMG_1185.jpg


Yep reckoned it looked pretty bad....


So off came the front panel.....


IMG_1192.jpg


The van had a ding on the front end so ended up cutting some out andtoying / dreaming of getting a NOS front panel on but was just to much wonga to part with although to this day I'm still thinking of doing it...

Cracked on puttin the fron innerds back together..

IMG_1357.jpg


also carried on with a few other repairs ......

IMG_1199.jpg


IMG_1409.jpg


IMG_1351.jpg


It's easy to be critical looking back over these to see what I could have done slightly differently but guess the main thing is I got out the brown stuff and got some solid metal back in the bus....
 
So on it went, largely through early 2007 this....


Decided on buying some solid doors a new rear hatch lid and front grill, got these from Graham down at FBI in Swansea. Very pleased with everything I got and would recommend to anyone. Actually picjked up the doors but the lid and grill got posted and I wasn't disappointed..

IMG_1171.jpg


Cracked on with the front end you'll have noted the nitromors around which was left over from bare metalling the 66 beetle. Decided to have a better look at the front end and see what rot was present, actually was fairly solid.....

IMG_1430.jpg
....

Put the front outer panel on did the best I could with the old mans mig and my welding skills, as I said would love a NOS front but she is now reasonably straight and solid again.....

IMG_1515.jpg


By this stage all the windows were out I'd stripped the interior and also decided a new pop top cover was required as it was a little patchy on the seams and was beyond a scrub with a bottle of jif so off it came, stripped it back down to the shell......

IMG_1532.jpg


Got a bit carried away with the nitromors as well, there was alot of paint layers both car and household paint as well....

IMG_1434-1.jpg


carried on nitromorsin the van, paint was real thick in fact on the front panel it was all cracked, the only way to be sure was to strip the lot and cut out the brown stuff at the same time and put in soem fresh metal.......

IMG_1439-1.jpg


dropped the engine out as well and cleared the engine bay

IMG_1533-1.jpg


although opted not to bare metal the inside of the van as there was only the original paint present...

IMG_1483.jpg


The roof and gutter was solid in other places a little minor patch works required, the repair on the rear corner was OK although the sealant was extremely thick inside the rear vents and will have to be taken out and reapplied.

IMG_1522.jpg


works continued stripping the engine bay back to the shiny stuff

IMG_1534.jpg


The hours were clocking up rapidly spent many evenings on a 7 - 11 slot scrapping off paint, some of you may think this is overkill but I figured if I was gonna do the job and be sure about it I may as well find all the dings dangs and brown stuff and sort it out rather than get it looking pretty only to find the dreaded rust coming back to bite....

Having started in early Jan 07 with the intention of having a spruce up getting the van into a solid state and having her on the road for the summer I was rapidly loosing time and the potetial to get her on the road for our hols in August.... Theres a load more photos I haven't dropped on which show more welding a refurb on the steering box etc but by the end of July 2007 I was ready for her to go into the spray shop for the paint job......

A few more pics of the works underway......

IMG_1151.jpg


Shiny metal...

IMG_1484.jpg


NOS panel would have been nice but the price was a bit of a deterant

IMG_1403.jpg


Steering box refurb...

IMG_1473.jpg


IMG_1475.jpg


IMG_1471.jpg
 
WOW :shock:
Bloody cracking job there :D
Looking forward to the next set of pics :wink:
 
Cheers for the feedback, yep the steering box had a lot of play in it, had to take it off to sort out the front end so stripped it down cleaned it up and then a great mate of mine in the engineering trade sorted it for me boreed bushed and sealed, amazing whats possible when your in the know....

Here are soem more pics of the work in progress which got missed out along the way, should have updated this as I progressed but figureed better late than never.....

IMG_1412-1.jpg


IMG_1413.jpg


IMG_1414.jpg


Bit more grinding required......

IMG_1352.jpg


Checking the bumper fit

IMG_1502.jpg


Wrapped up during the bare metal process which took hours and 10 litres of nitromors...
IMG_1510.jpg


Yank doors were stripped to bare metal also this came off far easier only the original paint on these babies, they had the trim strip holes so these were welded up and then ground down.....

IMG_1507.jpg


IMG_1508.jpg


Checking the door , new lower arch section fit

IMG_1504.jpg


OK off for a cupper...
 
Good work, and great to see another bare metal job, this is another one that gives me inspiration! 8)
 
Great job man, keep it up - My resto is along the same lines, my rot was on the outer chassis - not so much upstairs.
Nice work on the steering box.
 
Blinkin ace work chap, loads of hard work and great results. 8) credit to you
 
Thanks for all the positive feed back on the works undertaken.

The van went off to the spray shop I'd decided against having a dabble at this the guys carried on with the hard work, completed stripping the van exterior down to bare metal working panel by panel and then priming the van to keep the rust off......

IMG_1598.jpg


IMG_1599.jpg


IMG_1638.jpg


IMG_1883.jpg


IMG_2002.jpg


IMG_2007-1.jpg


IMG_2008.jpg


More welding has been required here and there, the guys at the spray shop have continued on the same theme undertaking a cracking job with great attention to detail, chopping out the rust and putting in fresh metal where required.

IMG_2216.jpg


IMG_2218.jpg


IMG_2231.jpg


IMG_2276.jpg
 
So here it is as it currently stands at the end of April 2008 having had all the brown stuff chopped out and ground down the prep works are underway and its really coming together. I need to get the interior furniture seats/ engine etc sorted and have all ready to put her back together ready for the hols......

DSCF0539.jpg


DSCF0542.jpg


DSCF0541.jpg


DSCF0538.jpg


DSCF0537.jpg


DSCF0533.jpg


There was a big swipe line down the side of the bus, had thought it was a repair previously but no signs on the inside and the metal was all solid....

DSCF0532.jpg


DSCF0531.jpg


Thats all for now folks....
 
Went up and had a look at the van today looking good, no pics at the mo but its getting a layer of filler primer then it's gonna get blocked so it's as straight as it can be prior to getting primered up ready for the top coats.....

Not so sure about colour half of me wants to keep it original and have it white again the half is thinking of a sav beige up to the waistline and white top half.

Mean time have got the new dormobile canvass ready for fitting and have been studying the instructions ready for the return and refit and I'm also toying with the idea of making a new interior but on the same kinda dormobile theme shame not to keep it totally orig maybe but it was fairly shagged and it seems a shame to fit a tatty old interior back in
 
Looking good, where you to in monmouthshire ???? I'm in Caerwent, you'll have to pop round and give some advice on my bus, panel work and filling...etc, don't know where to start.

Keep up the good work.
 
Thanks for the feedback Bay-low71, were up in Mon so not to far away, hopefully the van will be on the road later in the year so you may see us chugging around.

Fire over a PM if you like would be happy to steer where I can ...
 
Nothing to report, hopfully get some progress pics and fire them up soon, starting to think about the interior and trying to decide whether to stay dormobile and tart up what I have with parts etc or sell the lot and start a fresh.

Seen some nice interirosrs if you have £2000 + but other than that am flummoxed, any suggestions...
 
hey mate i'll try and dig out some pics from a show if i can. there was one show van that had an interior similar to dormobile but looked more modern if thats what you're after. i think this is what i'm going to go for, but that wont be for at least a yr
 
Some seriously good work matey :)
I noticed you have a clarke welder the same as mine, and you seem to have mastered it, something i haven't achieved yet. Any chance you could give me some ideal settings for a job like you've done! I have issues with the fact that it keeps burring up at the wheel, and the feed is inconsistant on a new reel of wire. Any advice would be greatly appreciated.
Cheers in advance.
 

Latest posts

Top