"Bluey" the Green 1971 Westy - eh?

Early Bay Forum

Help Support Early Bay Forum:

This site may earn a commission from merchant affiliate links, including eBay, Amazon, and others.

yachty

Well-known member
Joined
Jun 18, 2011
Messages
293
Reaction score
3
Location
Usually all at sea and three sheets to the wind!
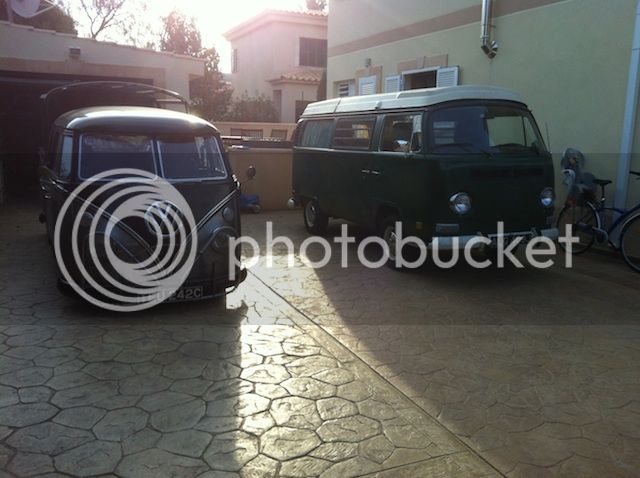
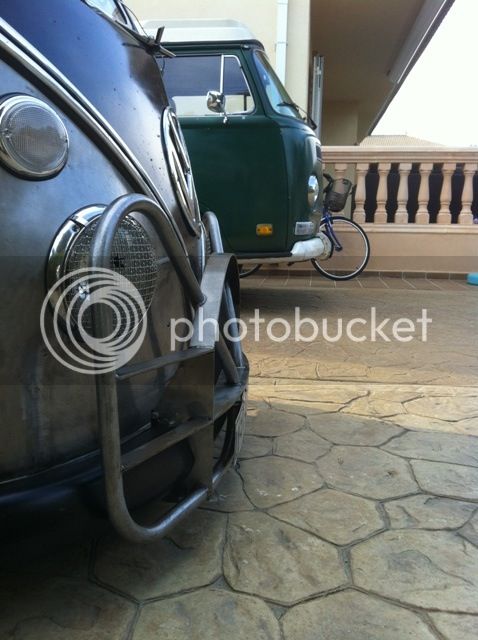
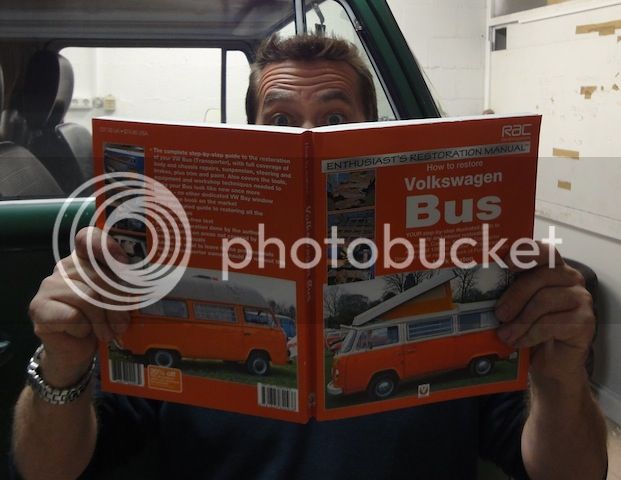
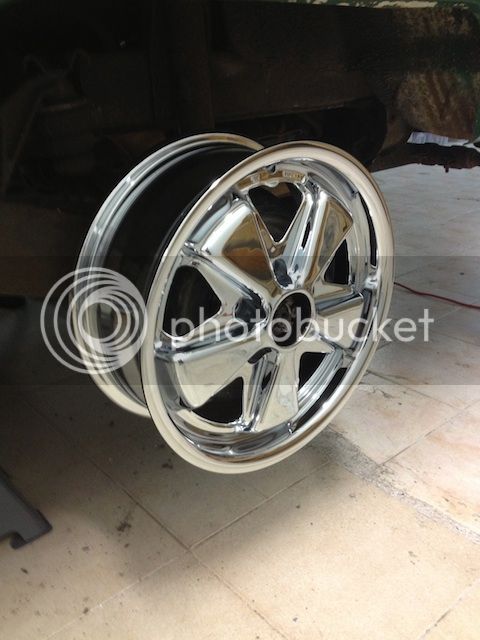
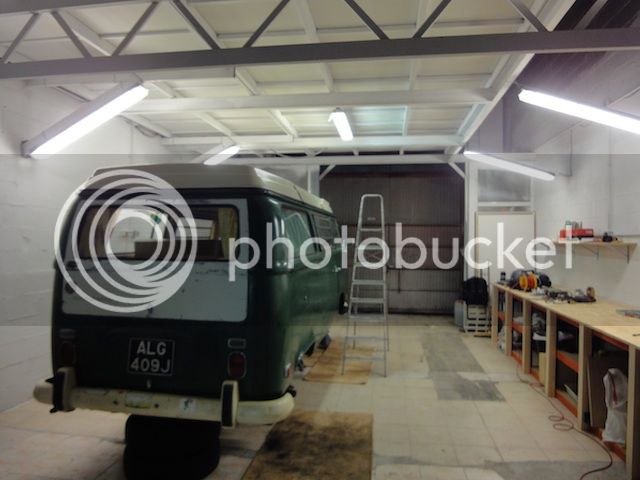
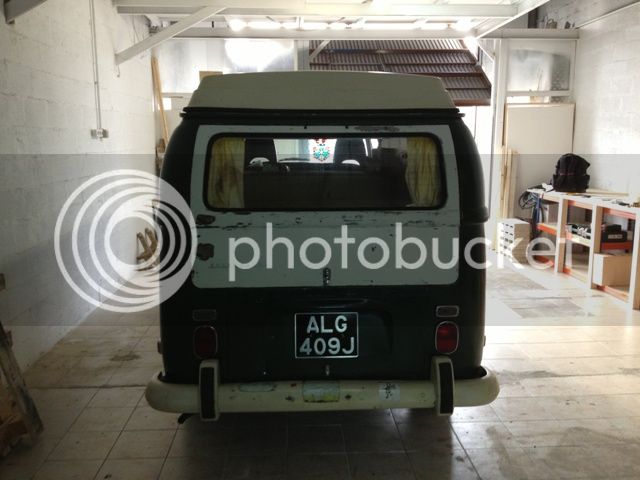
Well, its a year since I said hello to EarlyBay.com so thought it was about time I started a thread about our 1971 Westy which has been christened "Bluey" by our kids and about to begin a transformation by my own slightly experienced but still somewhat novice hands. Don't let the fact Bluey is currently painted green, and was originally white mislead you. In a vain attempt to ease my conscience about spending more of their inheritance on another VW, I have cast caution aside and allowed the kids a full say in his revamp and they have decided he will be Blue with shiny wheels. I have interpreted this as Brilliant Blue with Chrome Fuchs and Slamwerks running gear :tongue0022: They are happy, I am happy, we are happy..........the wife not so happy and last heard muttering something about finding campsites next to hotels, but she'll be with us when we roll out the first time.........she'll have to, as its highly likely there will be no money left for hotels to be honest!!! :lol:

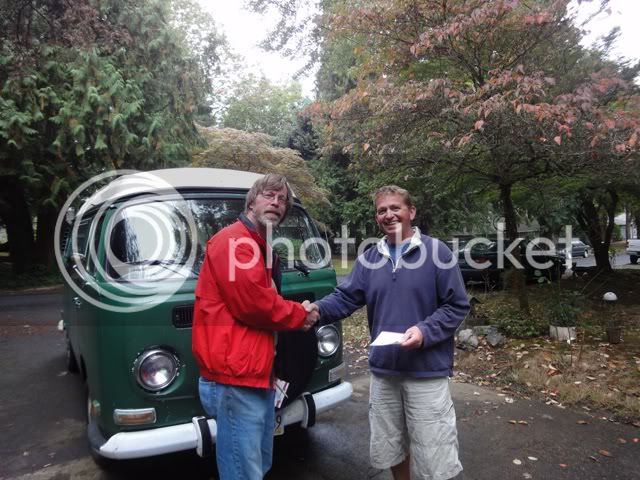
Anyway, Bluey was originally sold as part of the VW Tourist scheme whereby you could pick up your bus from the factory, drive around Europe on holiday for a bit and then have the factory ship it to your local dealer in the states for you to collect from there. A damn fine idea if you ask me. Bluey ended up on the US West coast in Oregon which is where I found him in October 2011 after he had been through 3 fairly careful and caring owners. I'd spent the summer working on the US East Coast skippering the sailing yacht I work on and had had this plan festering for awhile to buy a bus and drive the Pacific Coast highway before heading home. I'd spent all summer browsing the classifieds on the samba but as is usual with my job, had no idea if the trip was going to be possible until virtually the last minute. Anyway, once I knew it was a goer I got lucky and up popped Bluey. A full runner, everything working and a stack of receipts dating back 20 years or so and perfectly situated for a road trip down the west coast to LA and the shippers. A few emails, a phone call and a deposit and the deal was done, sight unseen!!! Talk about blind faith!!! This is me (on the right) picking Bluey up..........

ClosingTheDeal.jpg


This was a pleasant surprise..............

71vwbus003.jpg


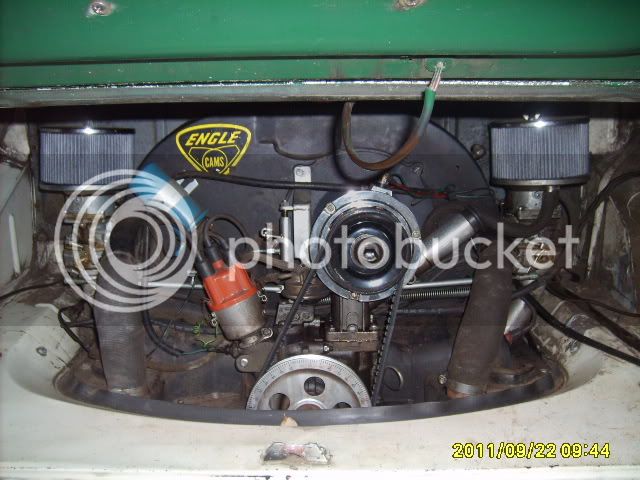
A quick root through the receipts and I found an invoice for all new parts for a 1776 with dual kadrons and a type 4 oil cooler conversion. A quick check of the odometer against the recorded mileage on the invoice showed it had less than 10k on it. Result ;) Then I found another receipt for a recon gearbox dated a year later. Sweet 8) I got outa there PDQ before the PO tried to bump the price up :lol:

After a quick tool up at the local camping shop I was off and heading errr East!!! I decided I needed to do Oregon Historic route 30 along the columbia gorge first, and then loop around Mt Hood before heading for the coast and Route 101.

This is a google map of the route I did with pics and stuff. There are 2 maps. You need to click on next at the bottom to see the second half of the trip.......

http://goo.gl/maps/EmakW" onclick="window.open(this.href);return false;
 
Bluey made it to Folkestone, UK in December 2011 and we trailered it up to my folks house in Chester for a winter lay up, only to find it wouldn't fit inside my folks garage!!!

So I decided to get the MOT and registration done sooner rather than later and drive it home to Mallorca pronto. After a freezing couple of weeks in the UK, lying on my back, outside in the pissing rain in January, it passed the MOT and I got it registered 8)

I drove it down in February and after a quick detour to Dubfreeze to pick up some bits and bobs for the resto/slam job and another detour to Evil Bens in Cornwall to do some work on my crewcab ready for VooWoo 2012, we arrived safely in Mallorca after a 3 day trip.

This is on the way up to Andorra and the Col de Puyrens....

DSC02301copy.jpg


and some randomn shots somewhere in the north of Spain on the way to Barcelona.....

DSC02305copy.jpg


DSC02302copy.jpg


This is a map of the same trip I did in my 65 crewcab after the volksworld show a month later....

http://goo.gl/maps/JojFT" onclick="window.open(this.href);return false;

A gratuitous shot of my crew cab on La Collada de Toses in Spain on the way to Barceleona from Andorra. This road is awesome. Drive it if you get the chance ;) 8)

BucketDSC02379.jpg
 
Anyway, after arriving home in Mallorca, Bluey just sat there for a year because I was away with work for most of it and he wouldn't fit in the garage so I didn't want to leave him in pieces on the driveway whilst I was away for a few weeks at a time...........the wife would have gone mental! :mrgreen: We did take him out on the odd occasion and he did have a mate to keep him company.....

IMG_1347copy.jpg


As you can see, Bluey likes the highlife compared to his buddy.........

IMG_1348.jpg


But that is all set to change ;)
 
Anyway, things are starting to happen now.

I´m not promising that the pace of work will increase :D , but at least I now have a unit to play in and generally break stuff, leave vehicles in bits and run away from :msn4: :D

IMG_0448.jpg


Dodgy Spanish wiring and even dodgier mezzanine floors but its great ;D

Its actually rented by a mate of mine who has a yacht management company and he really only uses it to store the equipment/sails of yachts in refit. So, we did a deal and I get part of the ground floor for working on my cars! 8)

Getting organised..........

IMG_0551.jpg


Built the workbench using shelving from the Spanish equivalent of B&Q which was on offer, topped with 3/4" ply and supported front and back with 3"x3" legs.

Managed to get Bluey installed just before xmas..

IMG_0552.jpg


IMG_0555.jpg


IMG_0556.jpg
 
Cheers Just. It was indeed a stroke of luck. If the timing hadn't worked out, I doubt I'd be writing this, it was such a narrow window :D

So whats the plan?

Well, first off I'm going to sort out the ride height to my taste. I've got a complete Slamwerks K&L front end to install and adjustable springplates and horseshoe plates for the rear. I'm gonna experiment some to find the ideal ride height. Bearing in mind this is going to be used extensively for European road trips and therefore has to be able to get on and off the ferry from Mallorca when fully laden with a family of four, bikes and all the gear. I'd like to go slammed but its probably not practical. If it wasn't for the Hurst bumper on the crewie taking the strain I'd have to raise that as well :roll: :lol:

I'm pretty sure airshocks are going to come into play at some point but like I say, first on the list is to experiment with a dry build to see if I need to add notches and tubs with whatever ride height I decide on ;)

Once the ride height is sorted, it will get a full strip down to sort out the bodywork and get a new coat of shiny Brilliant Blue paint on the body and Cloud white for the roof and bumpers and probably, knowing me, a few bits of deluxe bling :D
 
So work started last week. Got hold of some 6 tonne axle stands to get Bluey as far off the ground as possible to make life easier.....

DSC02627copy.jpg


Looks like an AT-AT :lol:

Now, as seen as this is my first Early Bay and I plan to do all the work (bar paint) myself, I thought I better read up some.......

ShockPhoto.jpg


Shit, looks harder than I thought :shock: :lol:
 
Made a start on stripping the front end down.....

DSC02651copy.jpg


DSC02652copy.jpg


It all came apart fairly easily with no dramas. Because I'm keeping the 5x112 stud pattern, most of the brake components are being replaced with late bay parts to fit the brazilian dropped spindles I have, so all the old stuff is going into storage for the time being just incase ;)

Fitted a couple more lights to the "operating theatre" :D

DSC02653copy.jpg
 
Managed to drop the beam myself with some careful balancing on the trolley jack....

BeamOut.jpg


Looking goood under there. The whole underneath has been coated in some really thick underseal. The bits I've scraped off have revealed nice original Pastel White paintwork and surface rust....

LookingGood.jpg


Looks like I'll be needing a new servo. This one is/was full of water :shock:

WetServo.jpg


Quite surprised as I thought the brakes were working well but this together with the vac hose that crumbled when I took it off leads me to believe things were not working as they should :D


Decided to unwrap the new beam thats been sat in the back of the bus for almost a year :D

Goodies.jpg


Slamwerks1.jpg


:tongue0022:
 
Started work on the RHS back end yesterday.....

RHSRear.jpg


All came apart easily bar one of the spring plate/rear axle nuts and bolts which took 3 hours, a trip to the tool shop and hydraulic help from the trolley jack to overcome :D

Just the LHS to do tomorrow/Tuesday and then I can start installing the new stuff and getting her back on her wheels. Oh, talking of wheels? These turned up Thursday and had to take a snap 8) .........

BlingWheel1.jpg


A pointless exercise but we all do it don't we? ;) :lol:

Whilst I was pissing about with the bus, my mate was busy putting up a shelf and installing more lights over the workbench. I persuaded him they would work much better if angled towards my bus a little ;) .....

Workbenchlights.jpg


I think its fair to say the operating theatre is ready 8)

OperatingTheatre.jpg


No excuses now. Now I just have to pull my finger out :lol:
 
Muchas Gracias amigos ;)

TBH, its not that great :lol:

It is pretty solid though with just the battery tray,rear corner, lower windscreen surround and both sills to contend with. I'm hoping I can get away with patching the sills rather than replacing. The rest of it is pretty damn solid as far as I can determine.

The worst thing is the paint. The green is hand painted......you can see the brush strokes in it :roll:

I had a go at getting back to the original Pastel white using the rear hatch as an experiment. In the end there were 4 layers of paint on top of the original. A primer, A baby blue (still visible on the roof) some red oxide and then the green hand paint!!! I got through it slowly but surely but in the end the original white had been rubbed back too hard when prepped for the primer and it was pretty difficult not to go through it as you can see here..............

IMG_0557.jpg


I had at least 20 hours in the hatch to get it looking like that :lol: I gave it up as a lost cause :roll:

Its a shame really because the interior paint is still the original white and all the factory stickers are present and correct. But the kids want Blue and the wife wants shiny so what can you do :D

Anyway, I made some more progress today................It was a fiesta (bank holiday) in Palma so I got a few hours in the workshop and dismantled the LHS rear suspension and fitted the slamwerks adjustable spring plates to both sides. Out with the trusty angle gauge........

TheAngleofTheDangle.jpg


It was a bit more complicated than expected as the back end had sagged over the years and there was a 4 degree difference between the 2 sides with the stock spring plates at rest so it took a bit of experimenting with inners and outers before I got them the same and marked up with tippex.

With the existing sag, working out what was a one spline drop was a bit his and miss and I should have consulted the manual and set them to the stock angle first but what the hell.....this is them set at what Im almost positively sure, maybe, perhaps, could be a one spline drop from stock; with the adjusters wound all the way up.......just incase its the equivalent of 2 splines ;D

LHSAdjustableSpringplate.jpg


RHSAdjustableSpringplate.jpg


Time will tell :)
 

Latest posts

Top