bluenose
Well-known member
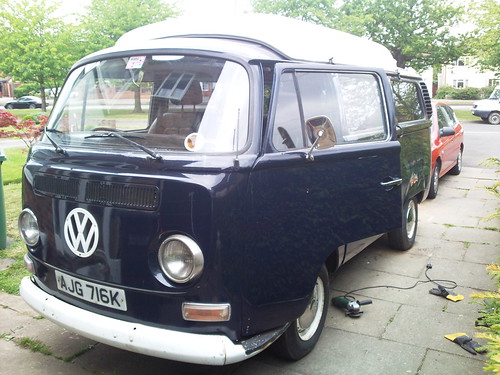
I brought this bus in may and it did have an MOT although i'm not sure how....
I started just by changing the fuel lines, cleaning the carbs and changing the dizzy for a vac to get the engine running nicer as the engine was rough.
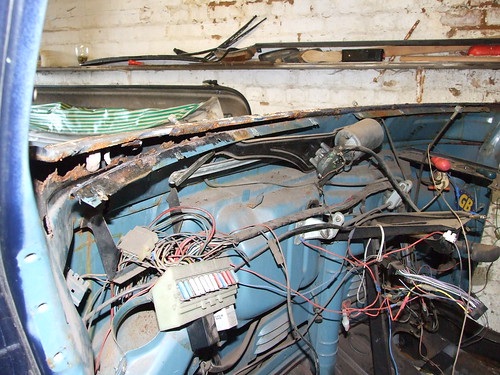
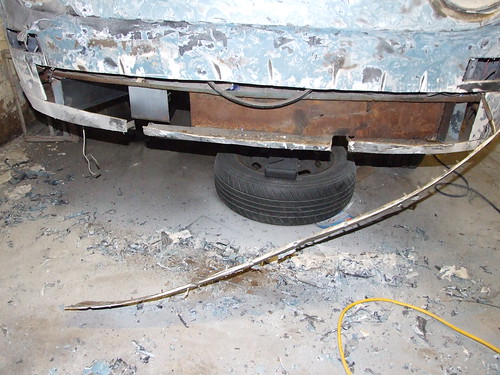
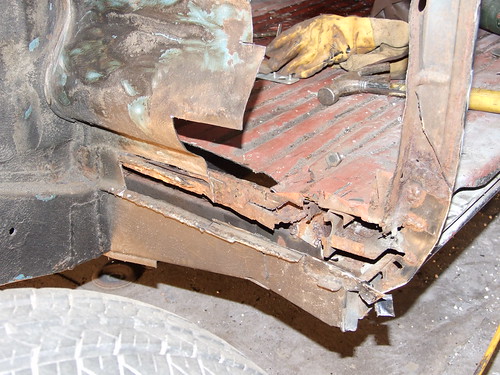
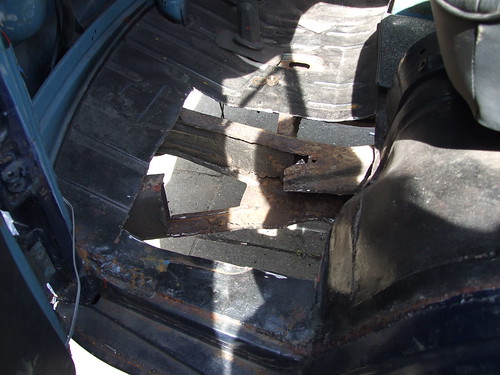
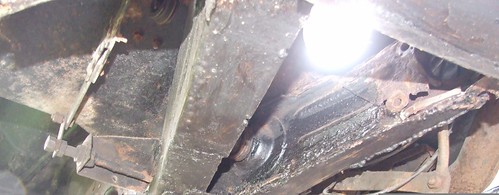
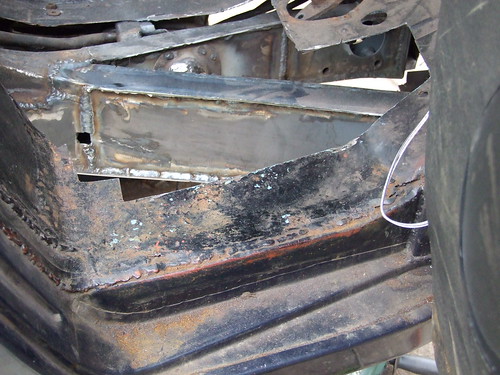
It was going straight in for another MOT until I had an initial inspection and the tiny hole i found turned into this!!

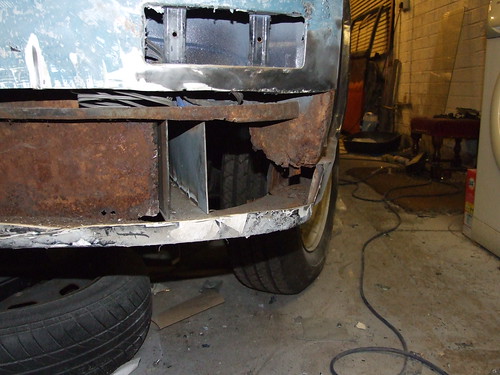
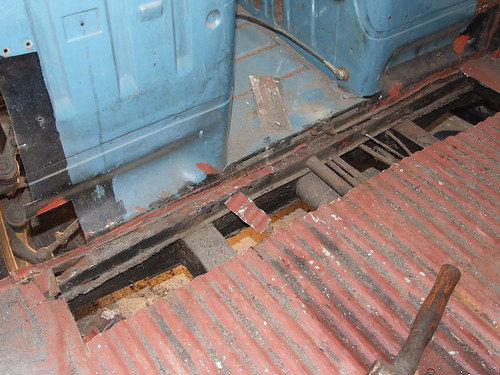
So it's turned into a project, great! I cut cut the passenger side chasis legs off as they were rotten to the core;
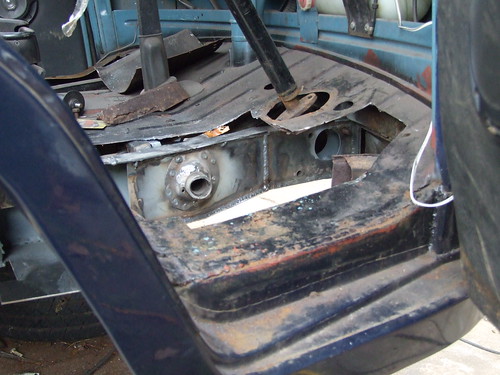
The driver side was knackered too, I just pulled the steering box through the rust as i couldn't get the arm off it. The accelerator was well boggy too;
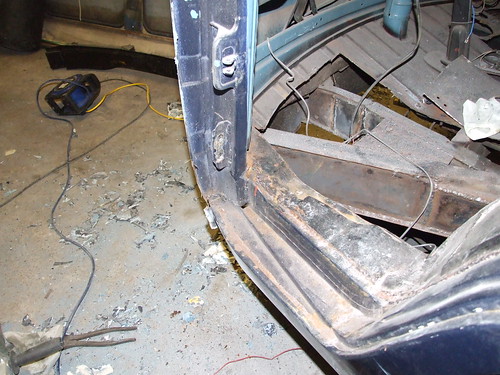
Cut it off;
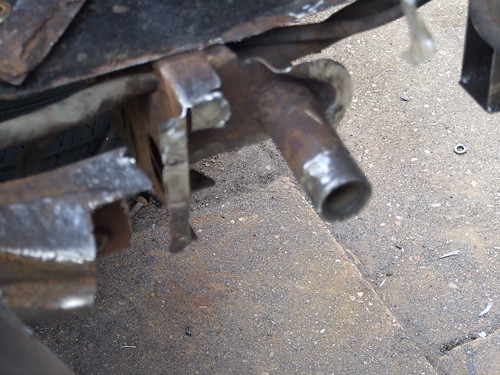
I drew the steering box holes on autocad to get them in the right place, drilled the plates and turned some tubes up to make the bit the steering box bolts to;

The bottom threaded tube the beam bolts on to had rotted away so it was only held by three bolts so I turned a new tube and tapped it M12 X 1.5 and welded it on.
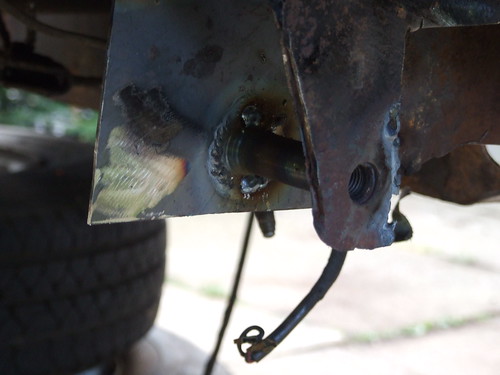
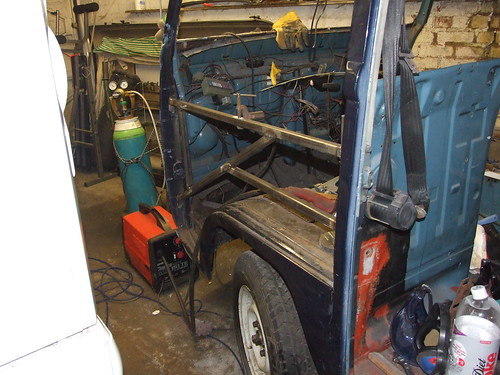
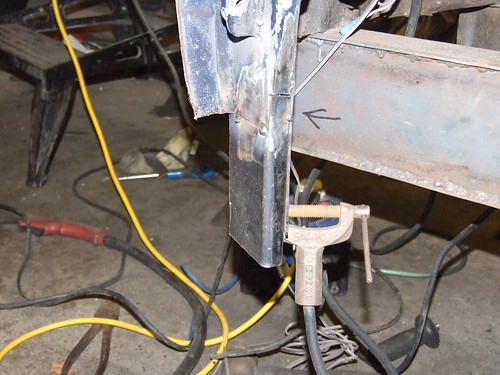
1 leg done;
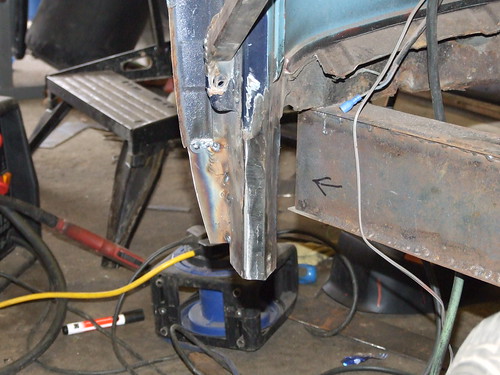
2 leg done;
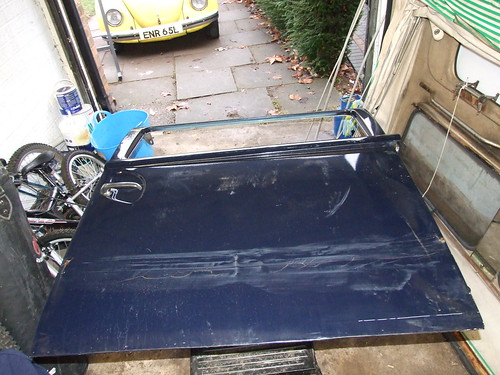
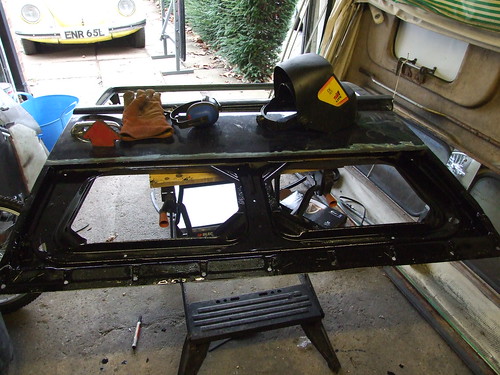
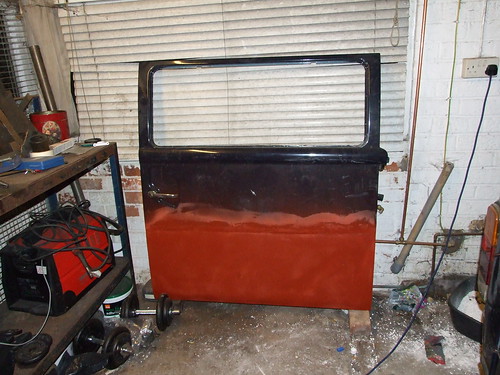
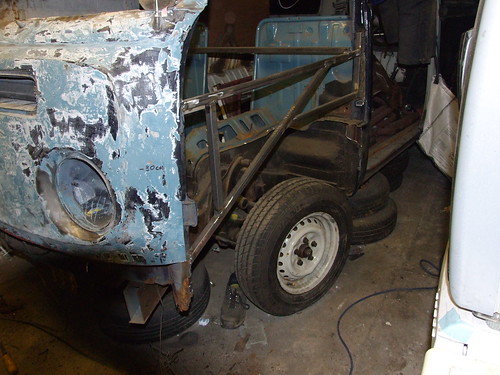
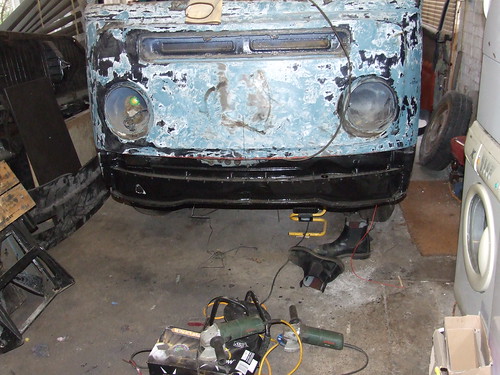
passenger side is done to. Next job is to get it in the garage before i freeze and do the lower front panel because the outer looks wrong and the inner is missing....
Would have been so easier to get cuts off a van but i've seen them going for £250 per side!! Cost me £30 in metal from tamworth steel so far!
I started just by changing the fuel lines, cleaning the carbs and changing the dizzy for a vac to get the engine running nicer as the engine was rough.
It was going straight in for another MOT until I had an initial inspection and the tiny hole i found turned into this!!
So it's turned into a project, great! I cut cut the passenger side chasis legs off as they were rotten to the core;
The driver side was knackered too, I just pulled the steering box through the rust as i couldn't get the arm off it. The accelerator was well boggy too;
Cut it off;
I drew the steering box holes on autocad to get them in the right place, drilled the plates and turned some tubes up to make the bit the steering box bolts to;
The bottom threaded tube the beam bolts on to had rotted away so it was only held by three bolts so I turned a new tube and tapped it M12 X 1.5 and welded it on.
1 leg done;
2 leg done;
passenger side is done to. Next job is to get it in the garage before i freeze and do the lower front panel because the outer looks wrong and the inner is missing....
Would have been so easier to get cuts off a van but i've seen them going for £250 per side!! Cost me £30 in metal from tamworth steel so far!